Apple devices work particularly well with one another, and in this guide, we’ll share 17 ways to use your iOS device and your Mac together for a more productive and efficient experience.
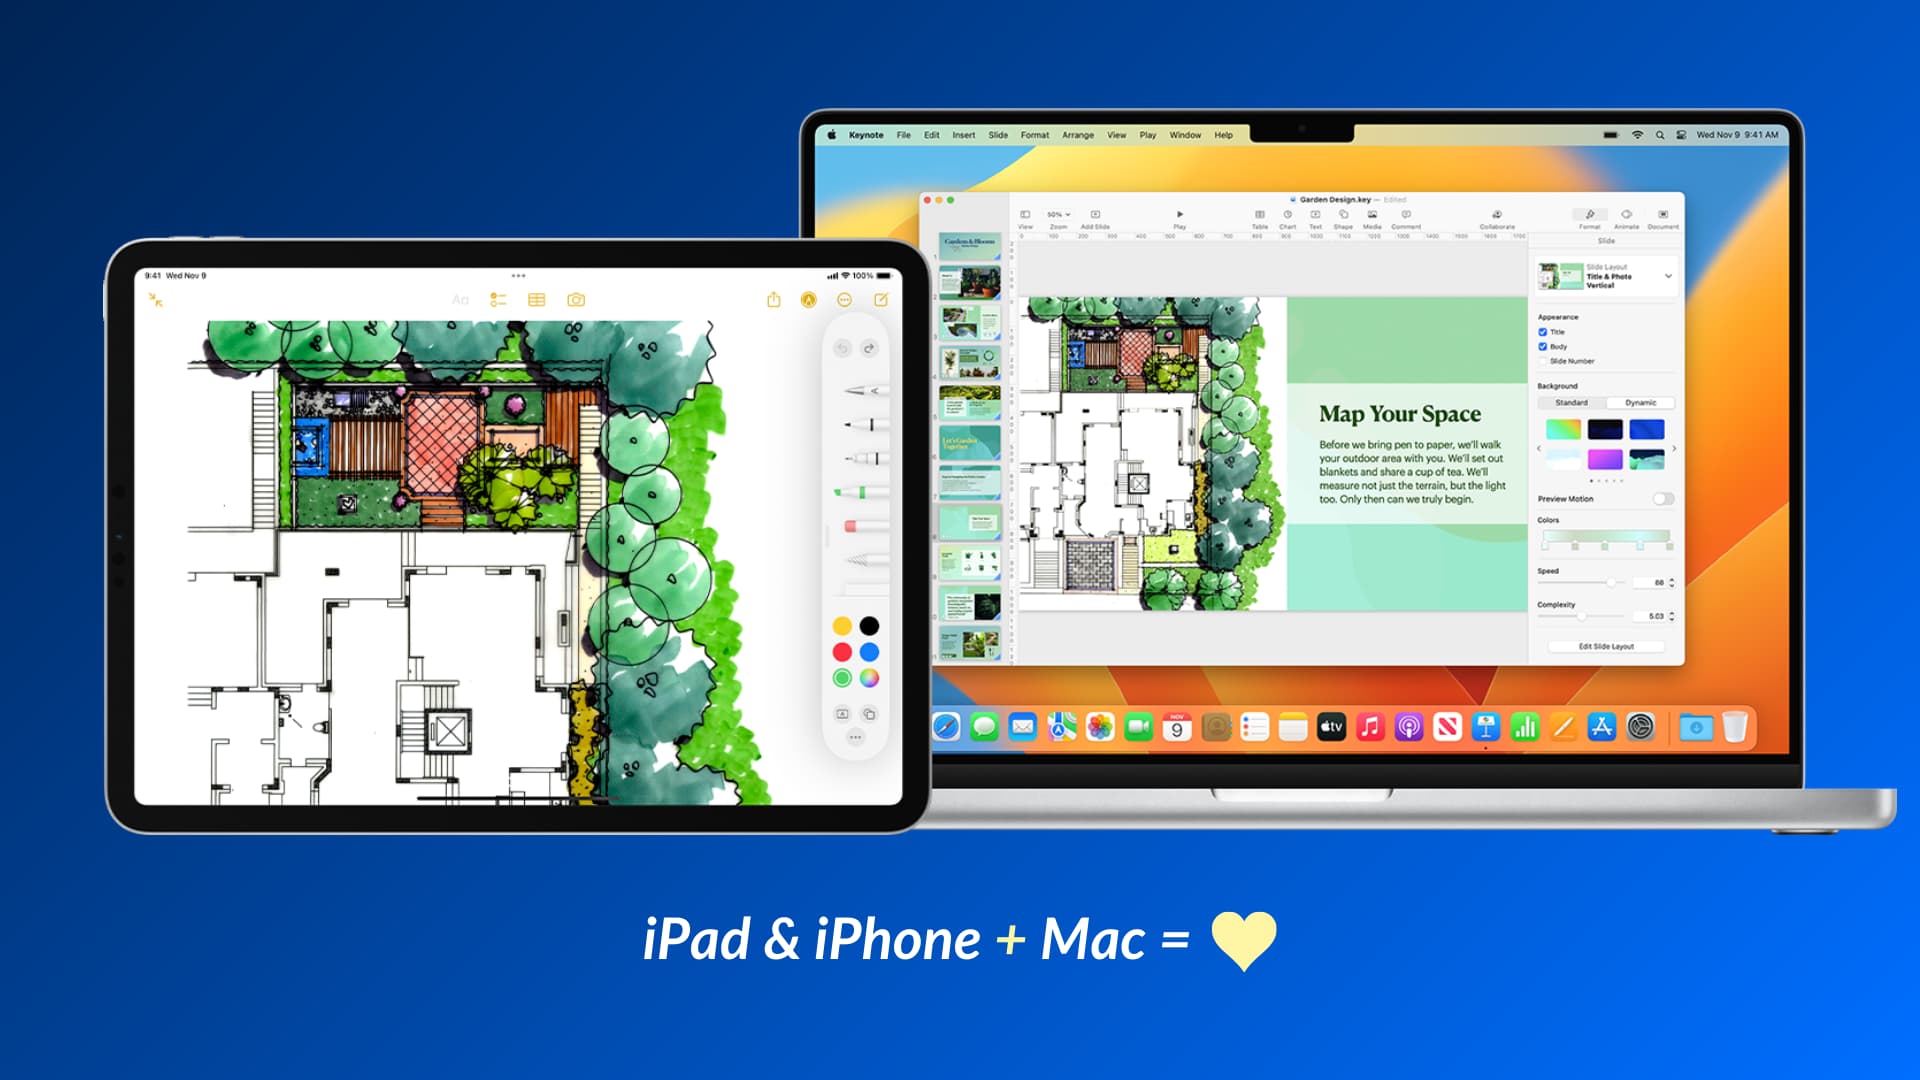
Thanks to iCloud and Continuity features, your iPhone and iPad can talk to your Mac and vice versa. This lets the devices work in tandem, adding features to the other or supplementing one another. For instance, since your Mac lacks touchscreen input, your iPhone or iPad can wirelessly turn into a drawing pad for your Mac! How cool is that?
Note that I’ve limited the list below to features supported by Apple out of the box and don’t require additional app downloads or complicated configurations. This means tips like using your iPhone as a mouse for Mac aren’t mentioned below.
Before you begin, make sure you’re using the same Apple ID/iCloud account on your iPhone, iPad, and Mac.
1. Use your iPhone on your Mac

Once you update your iPhone to iOS 18 or newer and your Mac to macOS Sequoia or later, you can use the iPhone Mirroring feature to see and use your phone or your Mac.
2. Get iOS app notifications on Mac
After you set up iPhone Mirroring, all your app notifications will be sent to your Mac if your iPhone is locked and not in use. Your iOS app notifications appear on your Mac, even when iPhone Mirroring is not active!

You can manage which app notifications appear on your Mac by going to System Settings > Notifications > Allow notifications from iPhone. You can also manage individual iOS app notifications for Mac by going to iPhone Settings > Notifications > app > Show on Mac.
3. Use your iPad as a display for your Mac
Do you think one Mac screen isn’t enough, or would you be more productive if you had a second display? Easy! Just use your iPad as a secondary display for your Mac, and then you can move Mac apps to your iPad’s display or just mirror your computer’s screen to the iPad to see the same content on both.
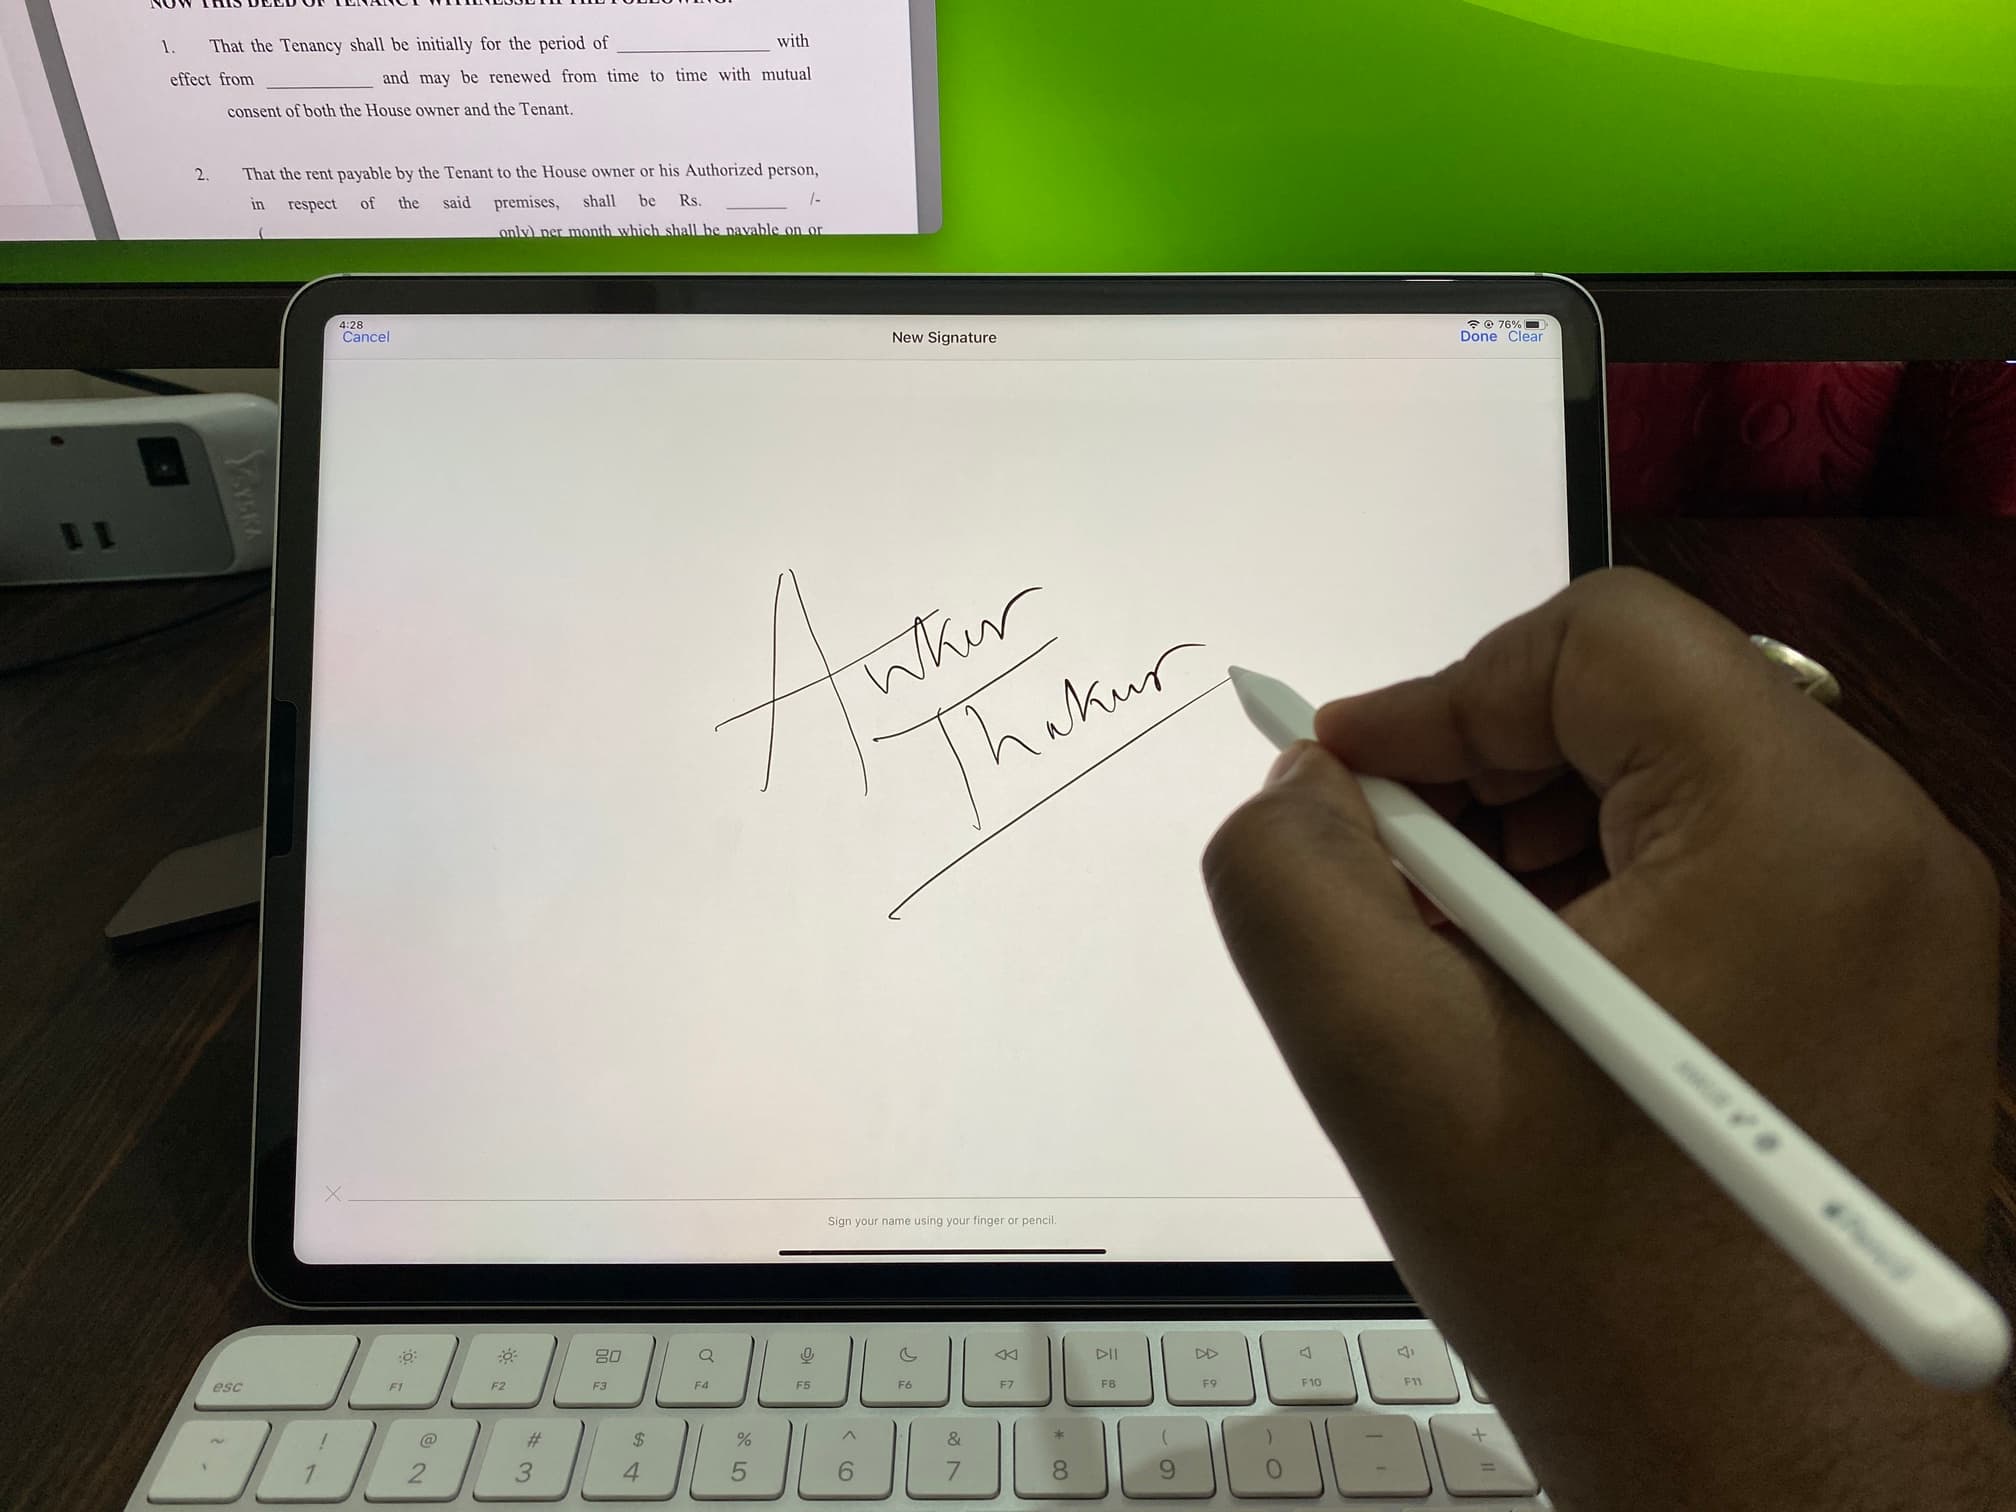
4. Sign documents on Mac using your iPhone or iPad
Do you have a PDF or other document on Mac that needs your signature? You can turn your iOS device into a wireless touch screen for your Mac. After that, you can use your finger or Apple Pencil to sign on your iPhone or iPad, and that signature will appear on your computer! To know more, learn how to sign documents on your Mac.
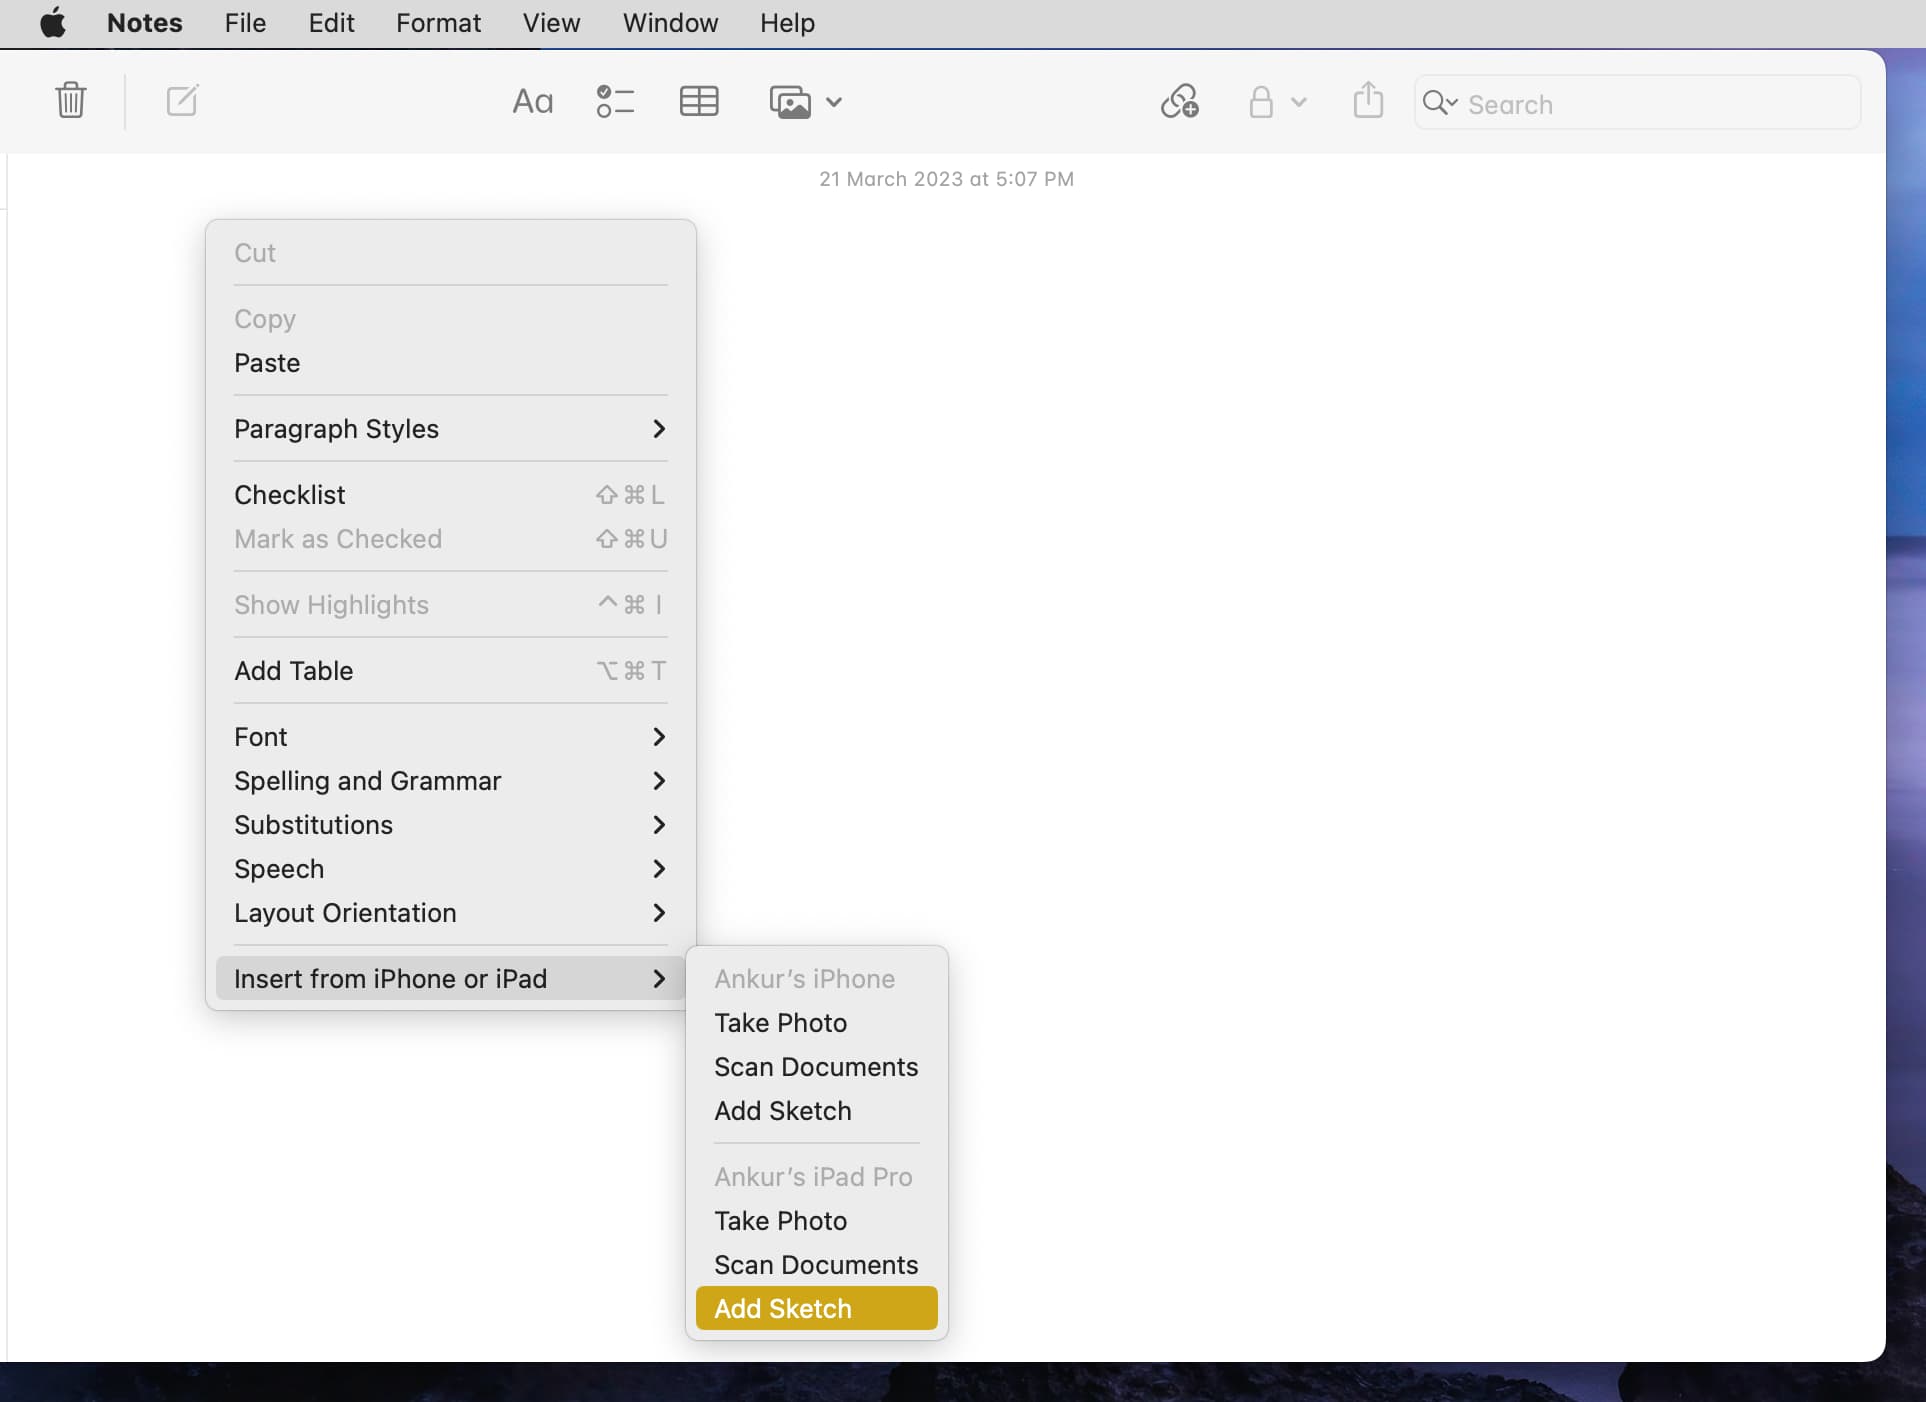
5. Draw with Apple Pencil on iPad and Mac
The fantastic Apple Notes app supports drawing in a note. However, since your Mac does not have a touchscreen, you can get help from your iPad and Apple Pencil:
- Control-click or right-click inside a note on your Mac.
- Select Insert from iPhone or iPad and choose Add Sketch under your iPad’s name.
- You’ll now see an empty white canvas on your iPad. Use your Apple Pencil or finger to draw, and after finishing, tap Done to have the sketch appear on your Mac.
6. Use iPad and iPhone as a document scanner
With Continuity Camera, you can scan a document, business card, menu, or something similar using your iOS device and have that show up on your Mac.
- Open the Notes app on Mac and go to a note.
- Right-click and choose Insert from iPhone or iPad > Scan Documents.
- The camera scanner will now open on your iPhone or iPad. Use it to scan your paper, and it will magically appear on your computer.
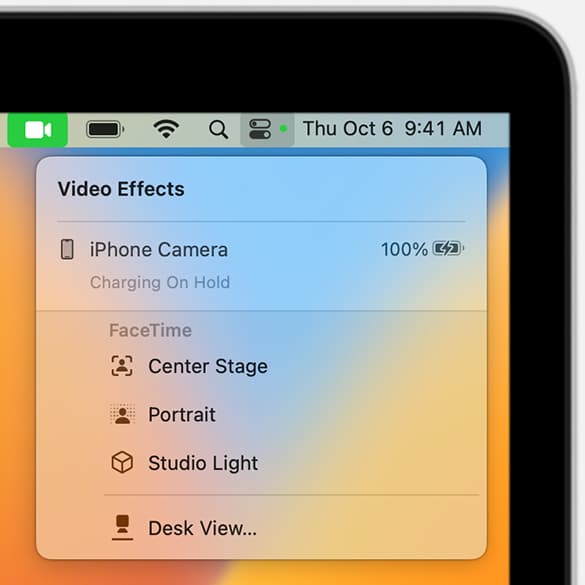
7. Use iPhone as your Mac’s webcam with pro features like Desk View
While MacBook Air and MacBook Pro have a decent built-in camera, you need to buy an external webcam or a monitor with a camera (like Apple’s Studio Display) if you want to take video calls on your iMac, Mac Pro, Mac mini, or Mac Studio.
However, if you have an iPhone, you can use it as a wired or wireless camera for your Mac desktop or notebook. What’s even better are the handy video effects like Center Stage, Studio Light, Portrait mode, and Desk View that enhance your video-calling or recording experience.
8. Use your Mac’s keyboard, trackpad, and mouse wirelessly on iPad
If you have not bought Apple’s Magic Keyboard, Magic Keyboard Folio, Smart Keyboard Folio, or Smart Keyboard for your iPad or don’t have extra peripherals to connect to it, you can simply use your Mac’s keyboard, trackpad, and mouse on it. It’s easy and works well.
9. Use Instant Hotspot between iPhone and Mac to eliminate the need to type the password
With Instant Hotspot, your Mac can effortlessly join your iPhone or cellular iPad’s Personal Hotspot without the need to unlock your iOS device or enter the Hotspot password.
10. AirPlay from the smaller iPhone or iPad screen to your Mac
If you want to move from the iPhone or iPad screen to the big Mac monitor, you can easily AirPlay the video, photo slideshow, or image to your computer. Similarly, if you are not satisfied with your iPhone’s sound, you can AirPlay music from it to your MacBook’s speakers.
11. Copy text, images, and videos between iOS devices and Mac
Universal Clipboard allows you to copy a word, sentence, paragraph, entire article, photos, and videos using the usual steps on one device (say, iPhone, iPad, or Mac) and simply paste it on another. You don’t have to do anything extra!
12. Use Handoff to continue iPhone or iPad tasks on Mac
Handoff lets you start something on one device and continue it from that same spot on another nearby device. This means you can begin composing an email on your iPhone and finish it comfortably on your Mac when you’re at your desk. You’ll see the icon for the Handoff app in the Dock on your Mac and iPad and App Switcher on your iPhone.
13. Use iPhone or iPad as a remote during presentations
When you’re showcasing a Keynote presentation from your Mac at your office or college, you can pair your iPhone and use it as a remote to switch your slides without having to touch your computer.
14. Use Mac as your iPhone’s photo backup
If you pay for iCloud+ or Apple One, all your photos & videos are already in the cloud. However, if you don’t pay for these additional services or don’t have enough free iCloud space, you can save your memories on your computer as a backup.
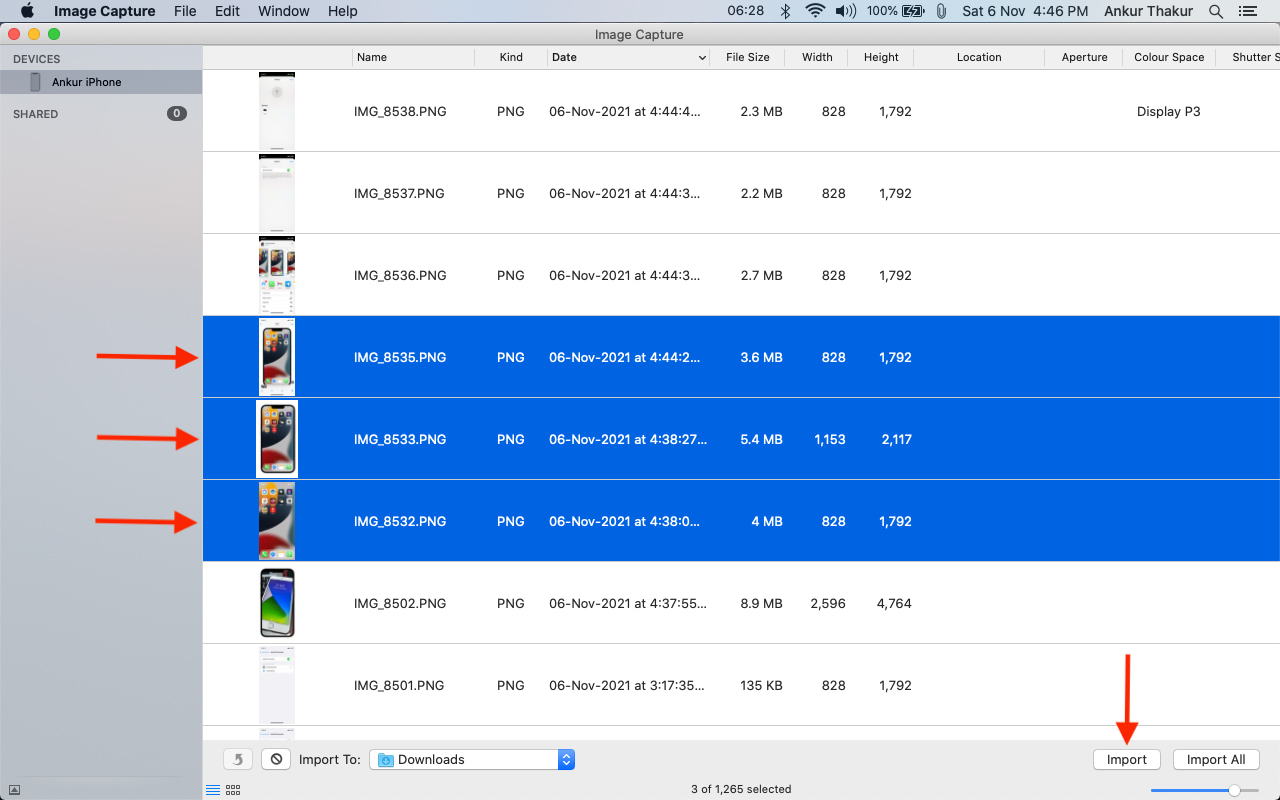
- Connect your iPhone or iPad to your Mac using an appropriate cable.
- Open Image Capture or the Photos app on your Mac and select your iOS device.
- Now, select the photos and import them to your Mac.
15. Back up your iPhone and iPad to Mac
You can ensure peace of mind by regularly backing up your iOS device to your Mac. This way, if something unfortunate happens, you know your files are safe on your computer, and you can easily restore that backup on a new iPhone.
Additionally, if you back up to iCloud, the new files/backup replace your old backup. However, on Mac, you can archive an iPhone or iPad backup, and this backup file will remain untouched. Later, you can even use the archived backup to downgrade from iOS beta to the non-beta version.
16. Use your Mac to record your iPhone or iPad screen
While iOS offers an easy built-in screen recording, you may prefer to use Apple’s QuickTime Player on Mac to capture your iPhone’s screen when you want to record FaceTime video calls.
17. Use your Mac as your iPhone charger
And finally, this one is obvious! Since iPhones no longer ship with a charging adapter, you can use your Mac to charge your phone.
Note: Don’t make it a routine to charge your iPhone or other devices via your MacBook while it’s unplugged, as it can reduce the lifespan of your laptop’s battery.