Learn how to set up and use iCloud and iCloud Drive on your Mac to store and sync data across your various Apple devices.
iCloud is an integrated service that lets you sync data, store files, use Universal Clipboard, make iOS device backups, and a lot more across all your Apple devices.
iCloud vs. iCloud Drive
iCloud is a cloud service, and iCloud Drive is one of its components.
Simply put, iCloud Drive is Apple’s alternative to Google Drive, Dropbox, OneDrive, and other cloud storage solutions. But since it’s Apple, it works seamlessly with your iPhone, iPad, and Mac. You can store files on iCloud Drive, and so can apps like WhatsApp.
On the other hand, iCloud handles many other tasks, including:
- It stores your contacts, photos, notes, messages, reminders, calendar events, passwords, and other data.
- iCloud syncs the above-mentioned data across your various Apple devices and the web.
- You can create device backups to iCloud.
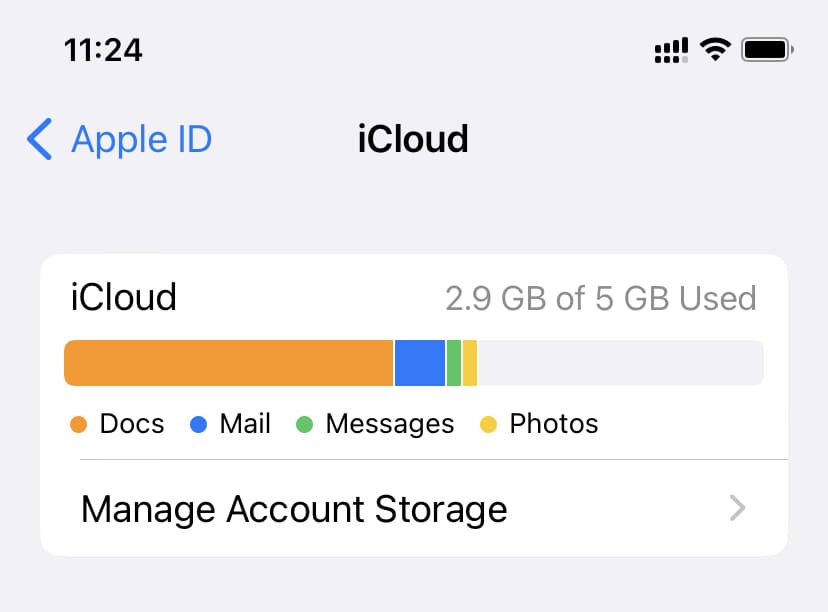
Available space
Every Apple account comes with 5 GB of free space, shared between iCloud and iCloud Drive. Adding more Apple devices to your account does not increase the 5 GB of cloud space. However, you can subscribe to iCloud+ or Apple One to increase it to 50 GB up to 12 TB (that is, more than 12,000 GB).
Isn’t my Mac already signed into iCloud?
While setting up your new or erased Mac or finishing a new installation of macOS on a volume, you’re encouraged to sign in with your Apple Account. This is to enable things like Find My Mac and use iCloud (and everything it offers). If you don’t have an Apple Account, you can create one during the setup process. You can also create an Apple Account for your child.
Enable iCloud on Mac
- Click the Apple icon () in the top left corner of the screen and choose System Settings.
- Select your Apple Account in the top left. If you’re not signed in, click Sign in and use your Apple Account email and password.
- Then, choose iCloud.
- You’ll see several options here that work with iCloud. Some of them are tucked behind the “See All” button. Enabling them basically means using iCloud. Depending on your needs, you can turn on the switches for Photos, Passwords, Contacts, Calendars, Reminders, Notes, Safari, Stocks, Home, Wallet, Siri, etc.

Using iCloud
Once you enable specific options in iCloud, open the respective app to see it in action. For instance, after enabling Contacts in iCloud settings (above steps), open the Contacts app on your Mac, and you’ll see that it shows contacts from your iPhone (if you’re using iCloud Contacts on your iPhone).
From now on, any changes you make to a contact on your Mac will sync to your iPhone and vice versa. The same applies to other iCloud options you choose to enable. For instance, if you create a note on your Mac, it will automatically appear on your iPhone or iPad.
Related: How to stop specific notes from uploading to iCloud
Enable iCloud Drive on Mac
- Go to System Settings and click your Apple Account at the top.
- Select Drive. You can also click the See All button and then select iCloud Drive.
- Turn on Sync this Mac and then adjust the following options as needed.
- Desktop & Documents Folders: You can turn this on to keep all the current and future files and folders in your Desktop and Documents folders in iCloud Drive. As a result, these are not only safely stored in the cloud but also sync to your other Mac, where this feature is enabled, ensuring a uniform desktop and document experience. However, if you’re on the 5 GB iCloud plan, I recommend unchecking the Desktop & Documents Folders. Otherwise, anything you add to these folders will upload to iCloud and fill all your online space.
- Optimize Mac Storage: Turn this off if you don’t have much local space on your Mac. However, if you have ample storage on your Mac’s internal SSD, you can turn it on to save a copy of all iCloud Drive files locally.
- Apps syncing to iCloud Drive: You can allow or block apps and services from storing data in your iCloud Drive.

Using iCloud Drive
Once you enable iCloud Drive, your selected options will automatically start to work with iCloud Drive. For instance, voice memos you make on your iPhone will now automatically sync to your Mac. Similarly, voice recordings you do on your Mac will upload to iCloud Drive and sync to your iPhone.
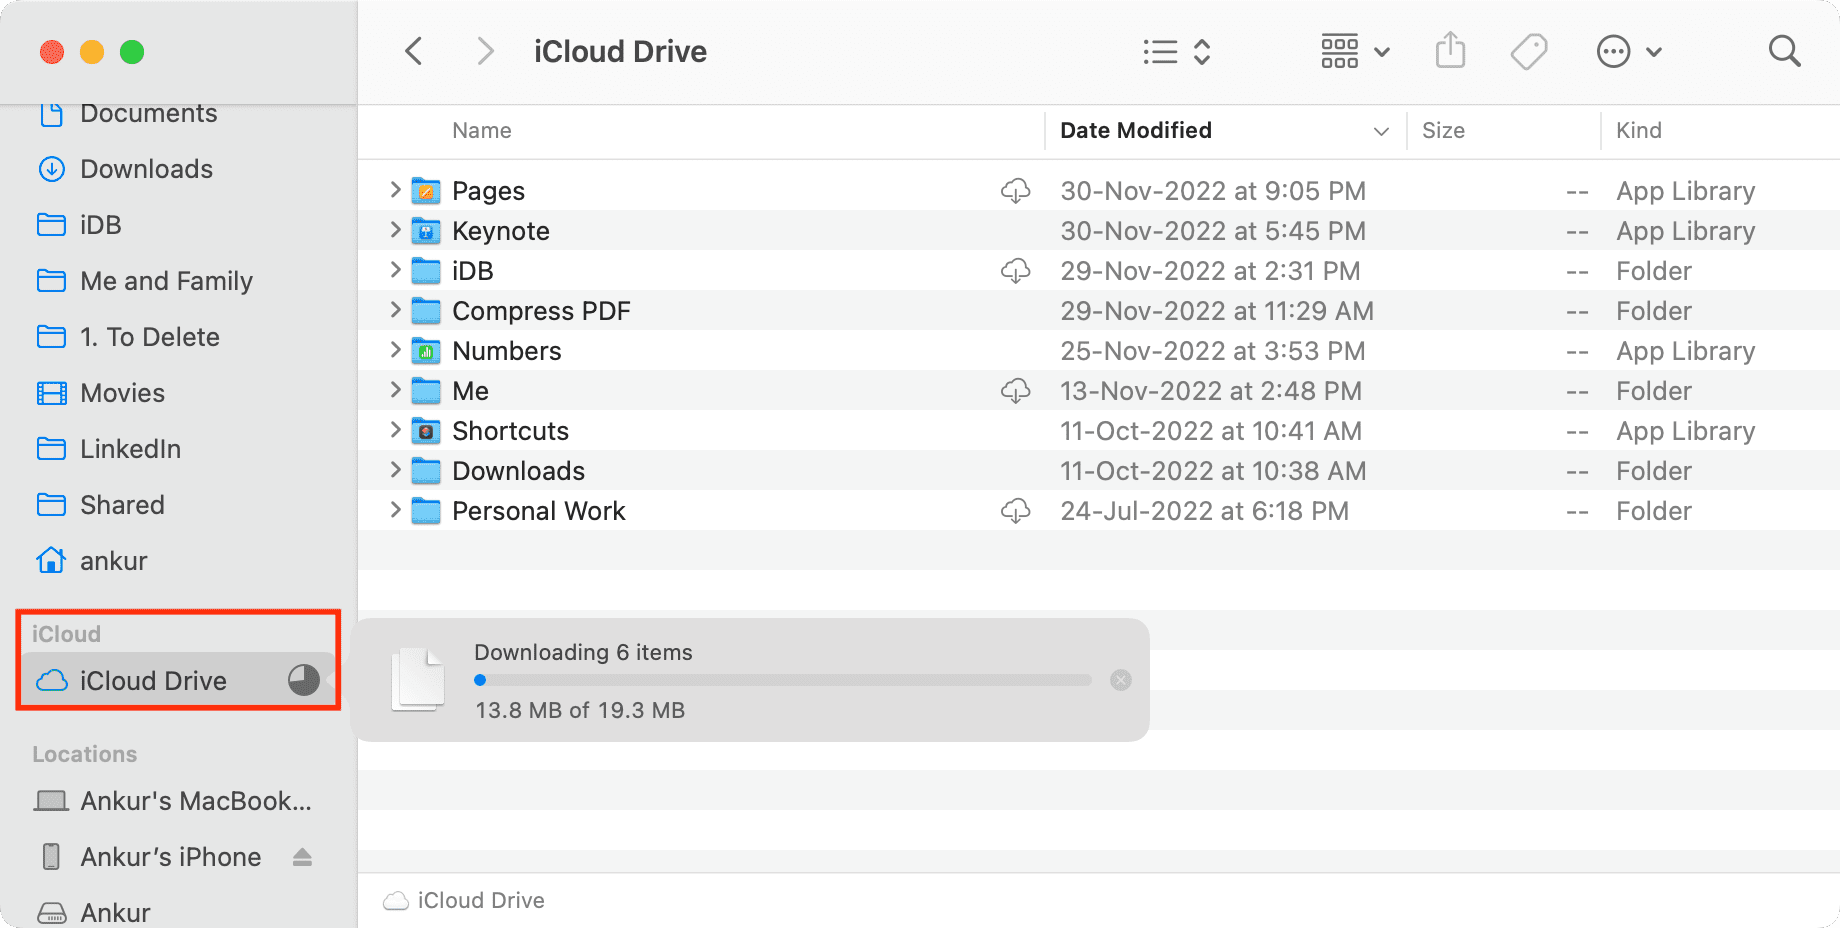
Additionally, you’ll see a new iCloud Drive option in your Finder sidebar. It will download your existing data stored in iCloud Drive. Plus, files or folders you add to the iCloud Drive section inside Finder will upload to iCloud and be available on all your Apple devices:
- On your other Macs: Inside the iCloud Drive Finder section.
- On your iPhone or iPad: Inside the iCloud Drive section of the Apple Files app.
- And iCloud Drive on the web, accessible via a web browser on Apple and non-Apple platforms.
If you need to move some files from your Mac to your iPhone, you can use AirDrop, or you can simply drag them to the iCloud Drive folder inside Finder. This will automatically upload the files to iCloud Drive, and they will appear on your iPhone.
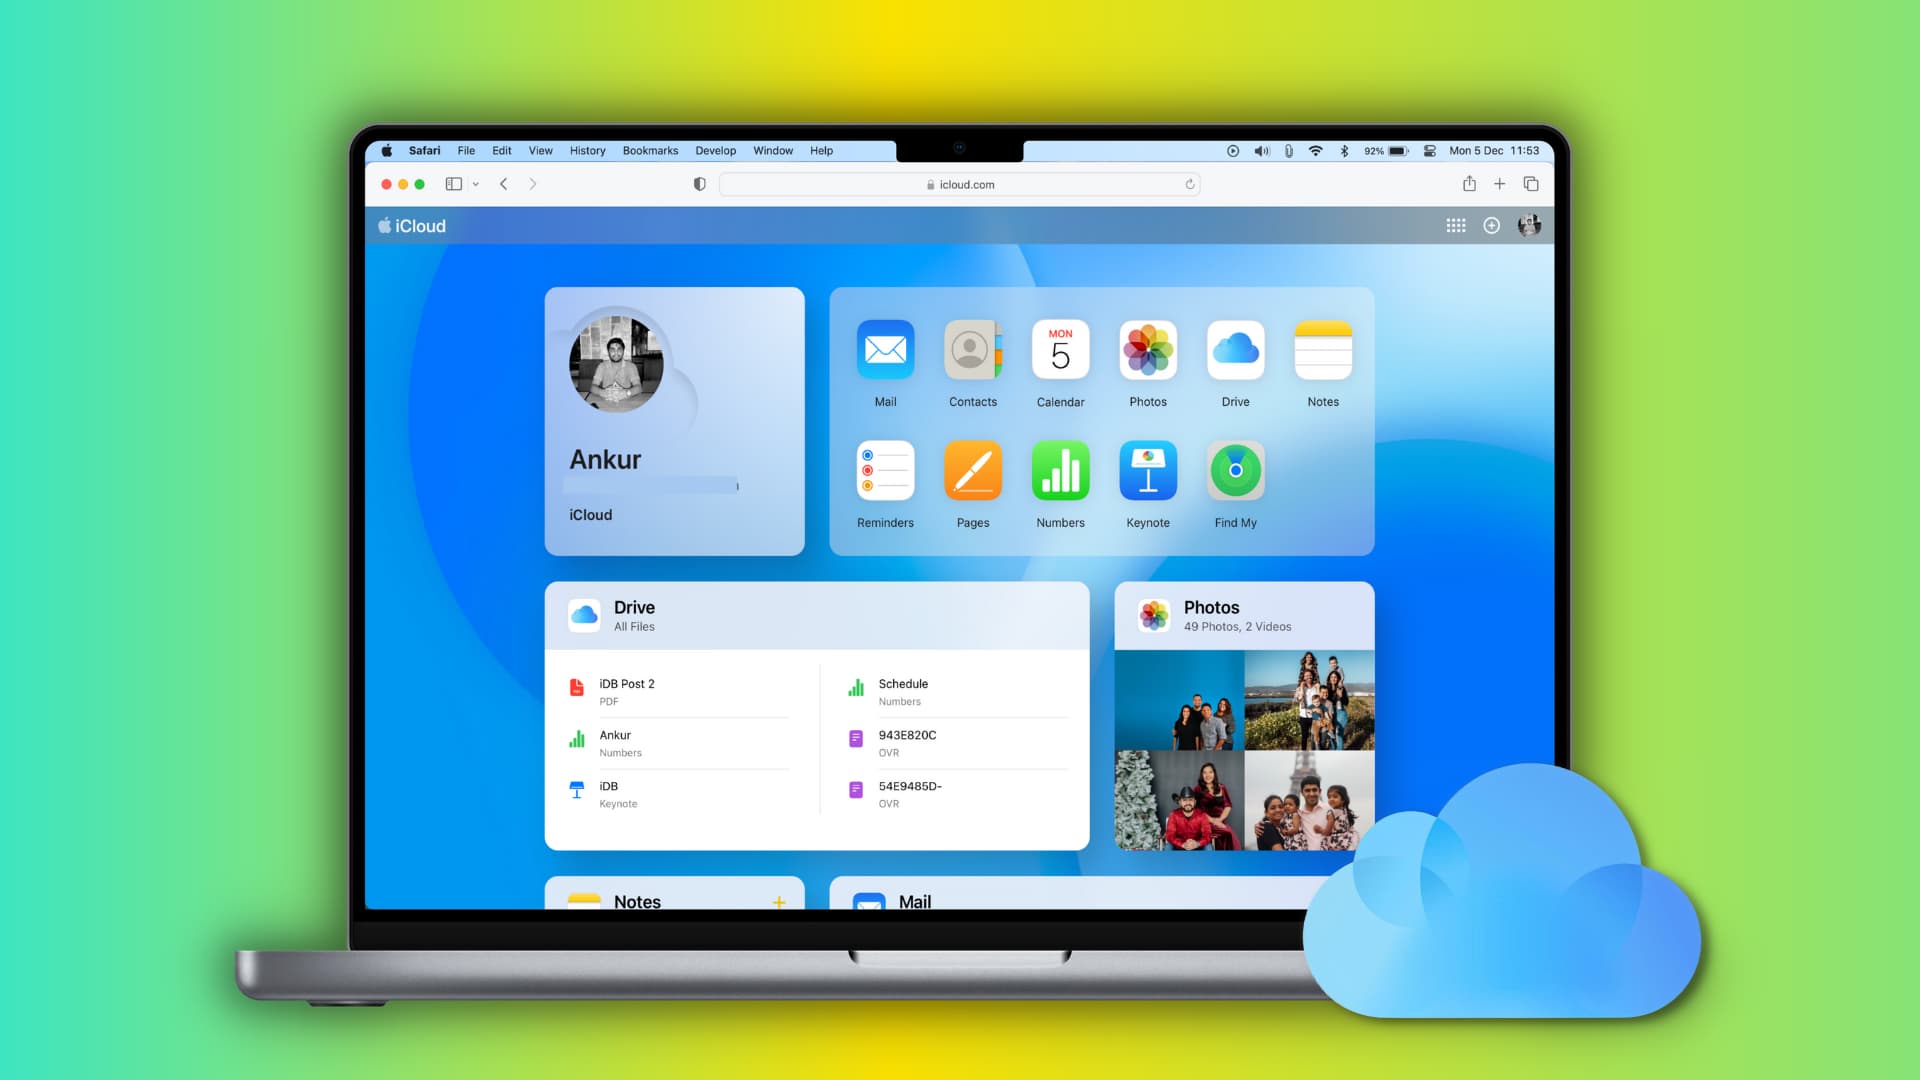
iCloud and iCloud Drive on the web
Follow these steps to use iCloud Drive and important aspects of iCloud within a web browser on your Mac, Windows PC, iPad, or smartphone:
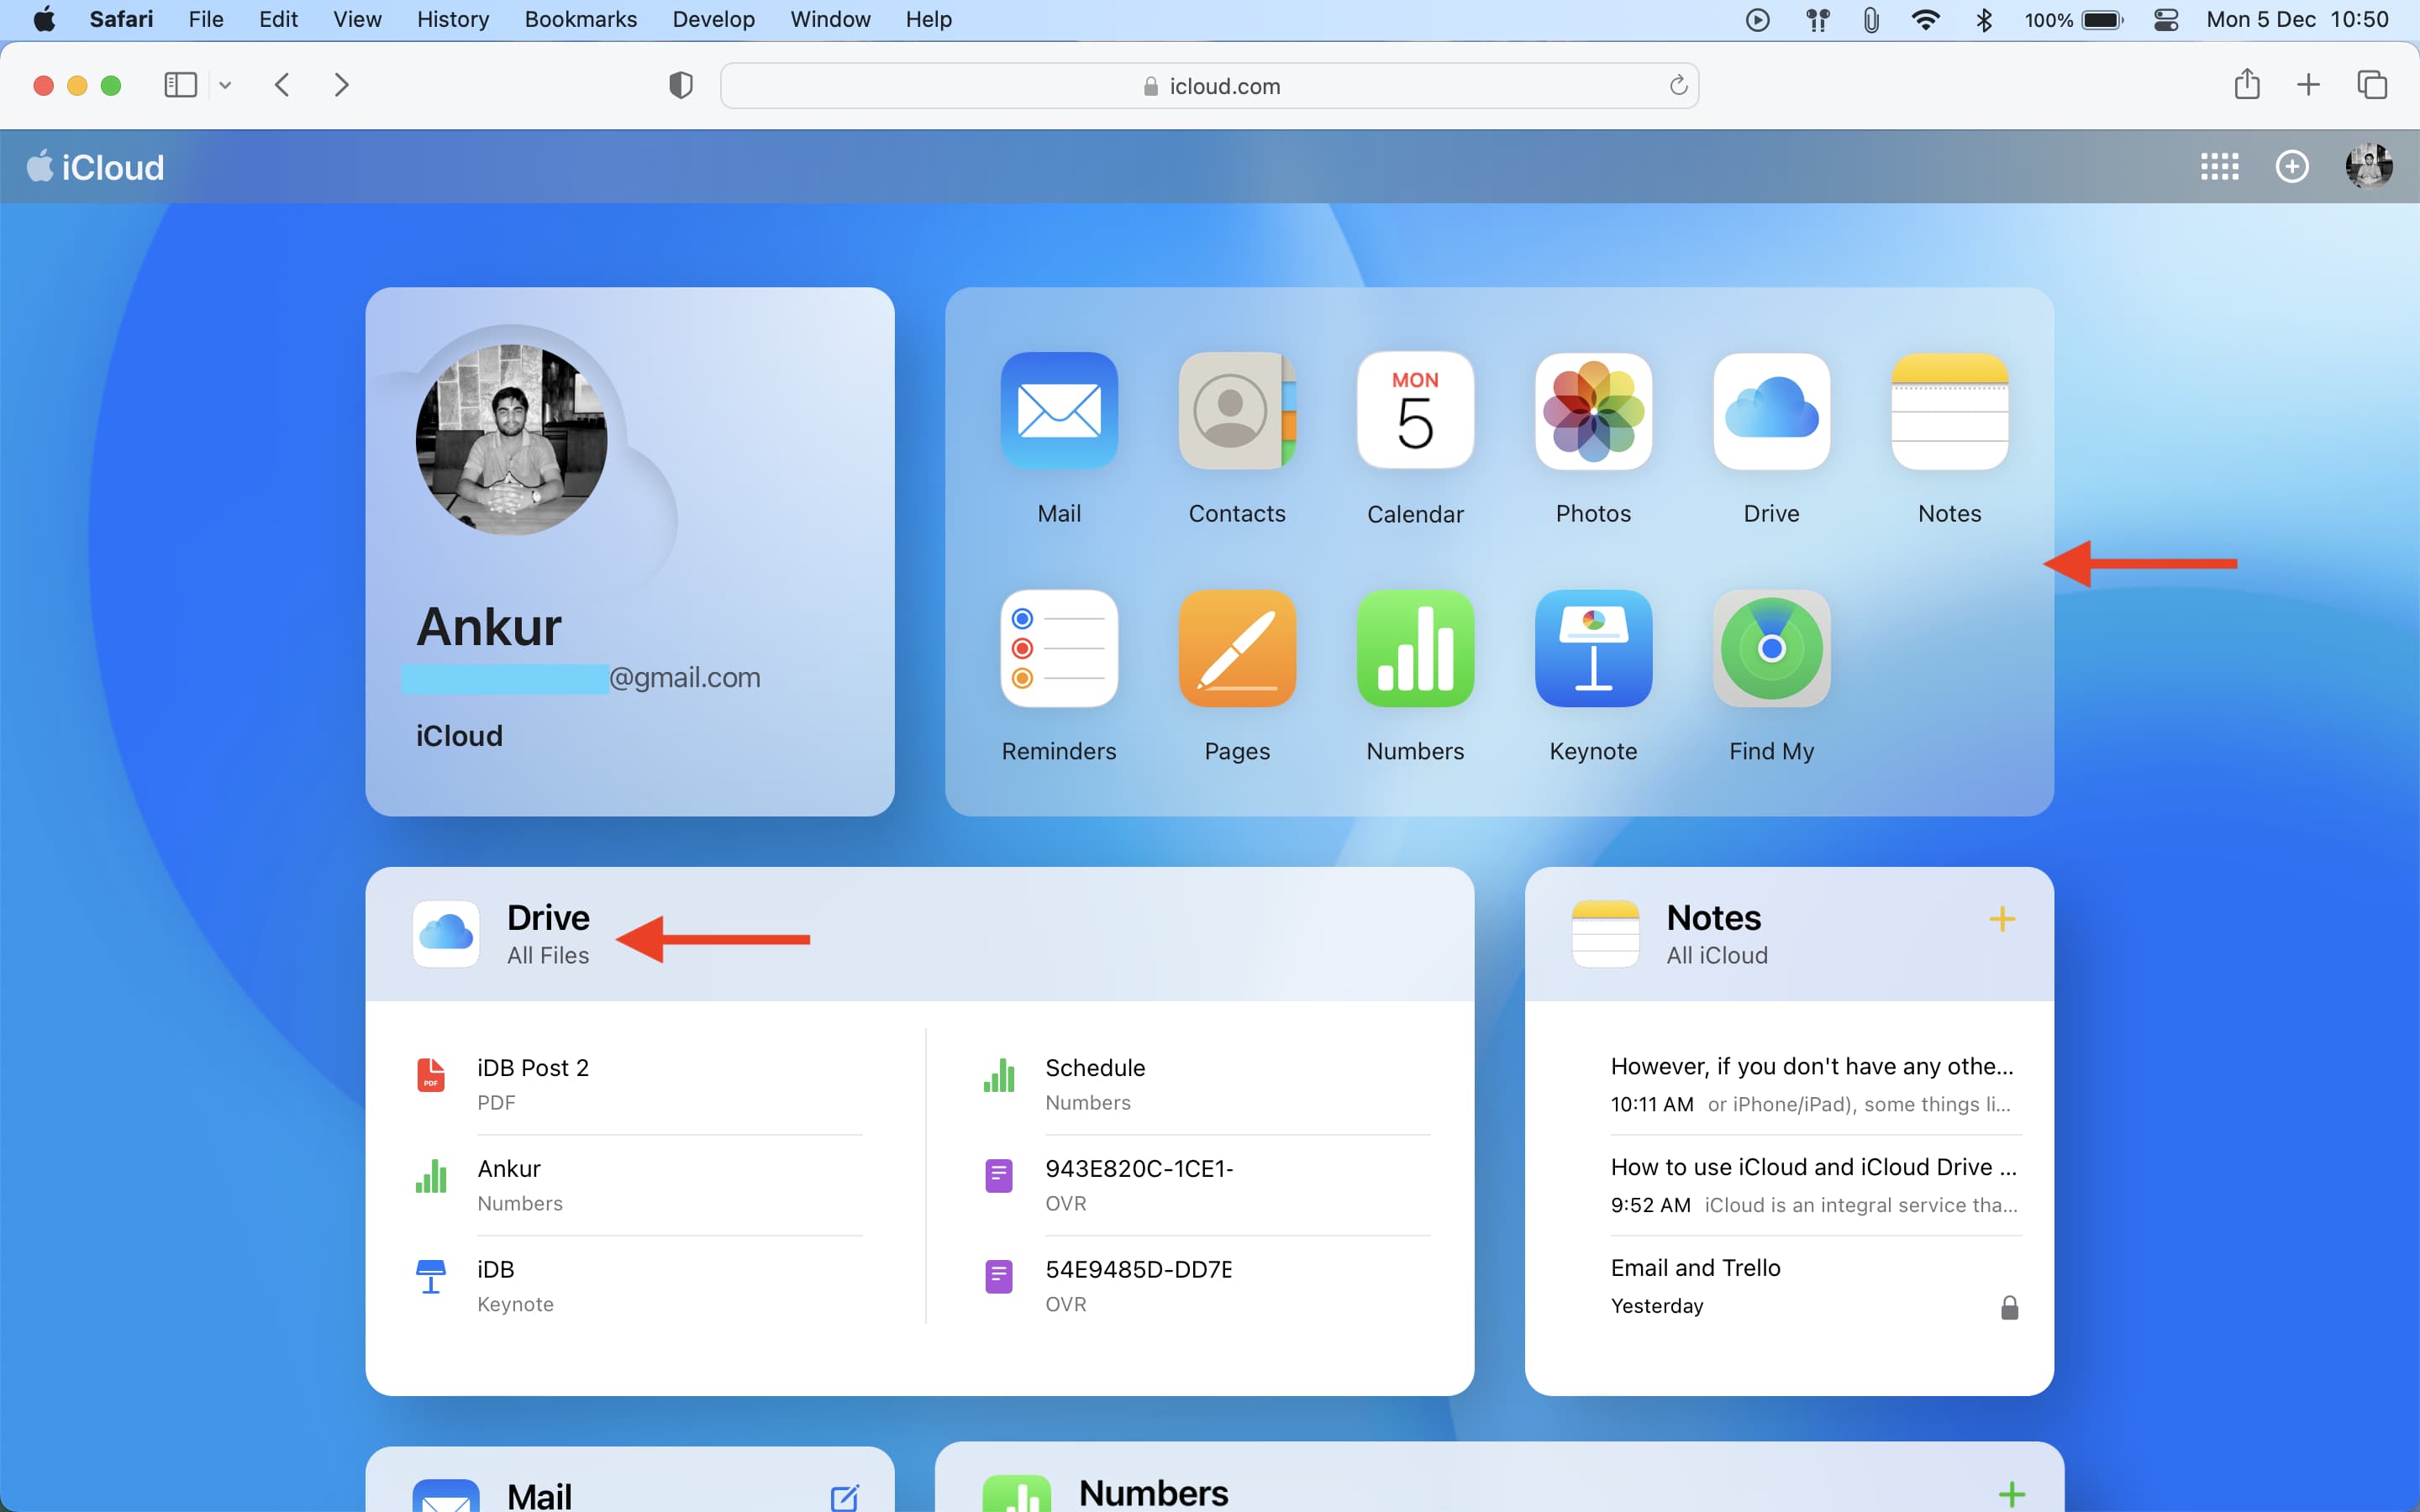
- Visit icloud.com/iclouddrive/ in Safari, Chrome, Microsoft Edge, or another browser of your choice, and log in using your Apple Account email and password.
- Once you’re logged in, you’ll see iCloud Drive, and clicking it will show all your files. From here, you can download them or upload new ones. You’ll notice that it’s just like Google Drive or Dropbox.
- Additionally, you can access and use your iCloud Mail, Contacts, Notes, Reminders, Calendar events, Photos, and iWork apps (Keynote, Numbers, Pages) on the web.
How to stop using iCloud
If you don’t want to use iCloud on your Mac, you have two choices:
- Sign out of your Apple ID, which will automatically sign you out of iCloud on that device.
- Go to System Settings > Apple Account > iCloud and turn off all the settings you see there. This basically means you aren’t using any service offered under iCloud on this Mac. Turning off iCloud on a device keeps the iCloud data stored in the cloud until you delete it. Permanently deleting your Apple Account will also remove your stored iCloud data from Apple servers.
On a related note: How to get your iCloud Drive files on your Windows PC