In this troubleshooting guide, we explain why you’re unable to take screenshots on your iPhone or iPad, and how to fix this issue.
The ability to take a screenshot is a feature built right into iOS and iPadOS. As a result, it works like a charm almost every time. However, sometimes screenshots fail on iPhone. The button press may not work, or the app you’re trying to screenshot might show an error message like “can’t take screenshots due to security policy.”
Before we get to the fixes, we recommend checking our full guide on taking screenshots on iPhone and iPad. It covers every iPhone or iPad model ever released and is especially useful if you are a new iPhone user.
If you know how to take screenshots, but it fails, and no screenshot is saved to the iPhone Photos app, here are nine solutions that will fix the issue.
1. Not every app allows screenshots
The first thing to know is that not every app lets you grab a meaningful screenshot. This is mostly the case with streaming services like Netflix and Prime Video, which block screenshots and screen recordings to prevent misuse of their digital content. In these apps, you can take a screenshot, but it won’t capture anything meaningful that was on the screen. Instead, it will just be a black rectangle photo.
If you find yourself in such a situation, there isn’t much you can do except use a different phone to take a picture of what’s on your iPhone screen.
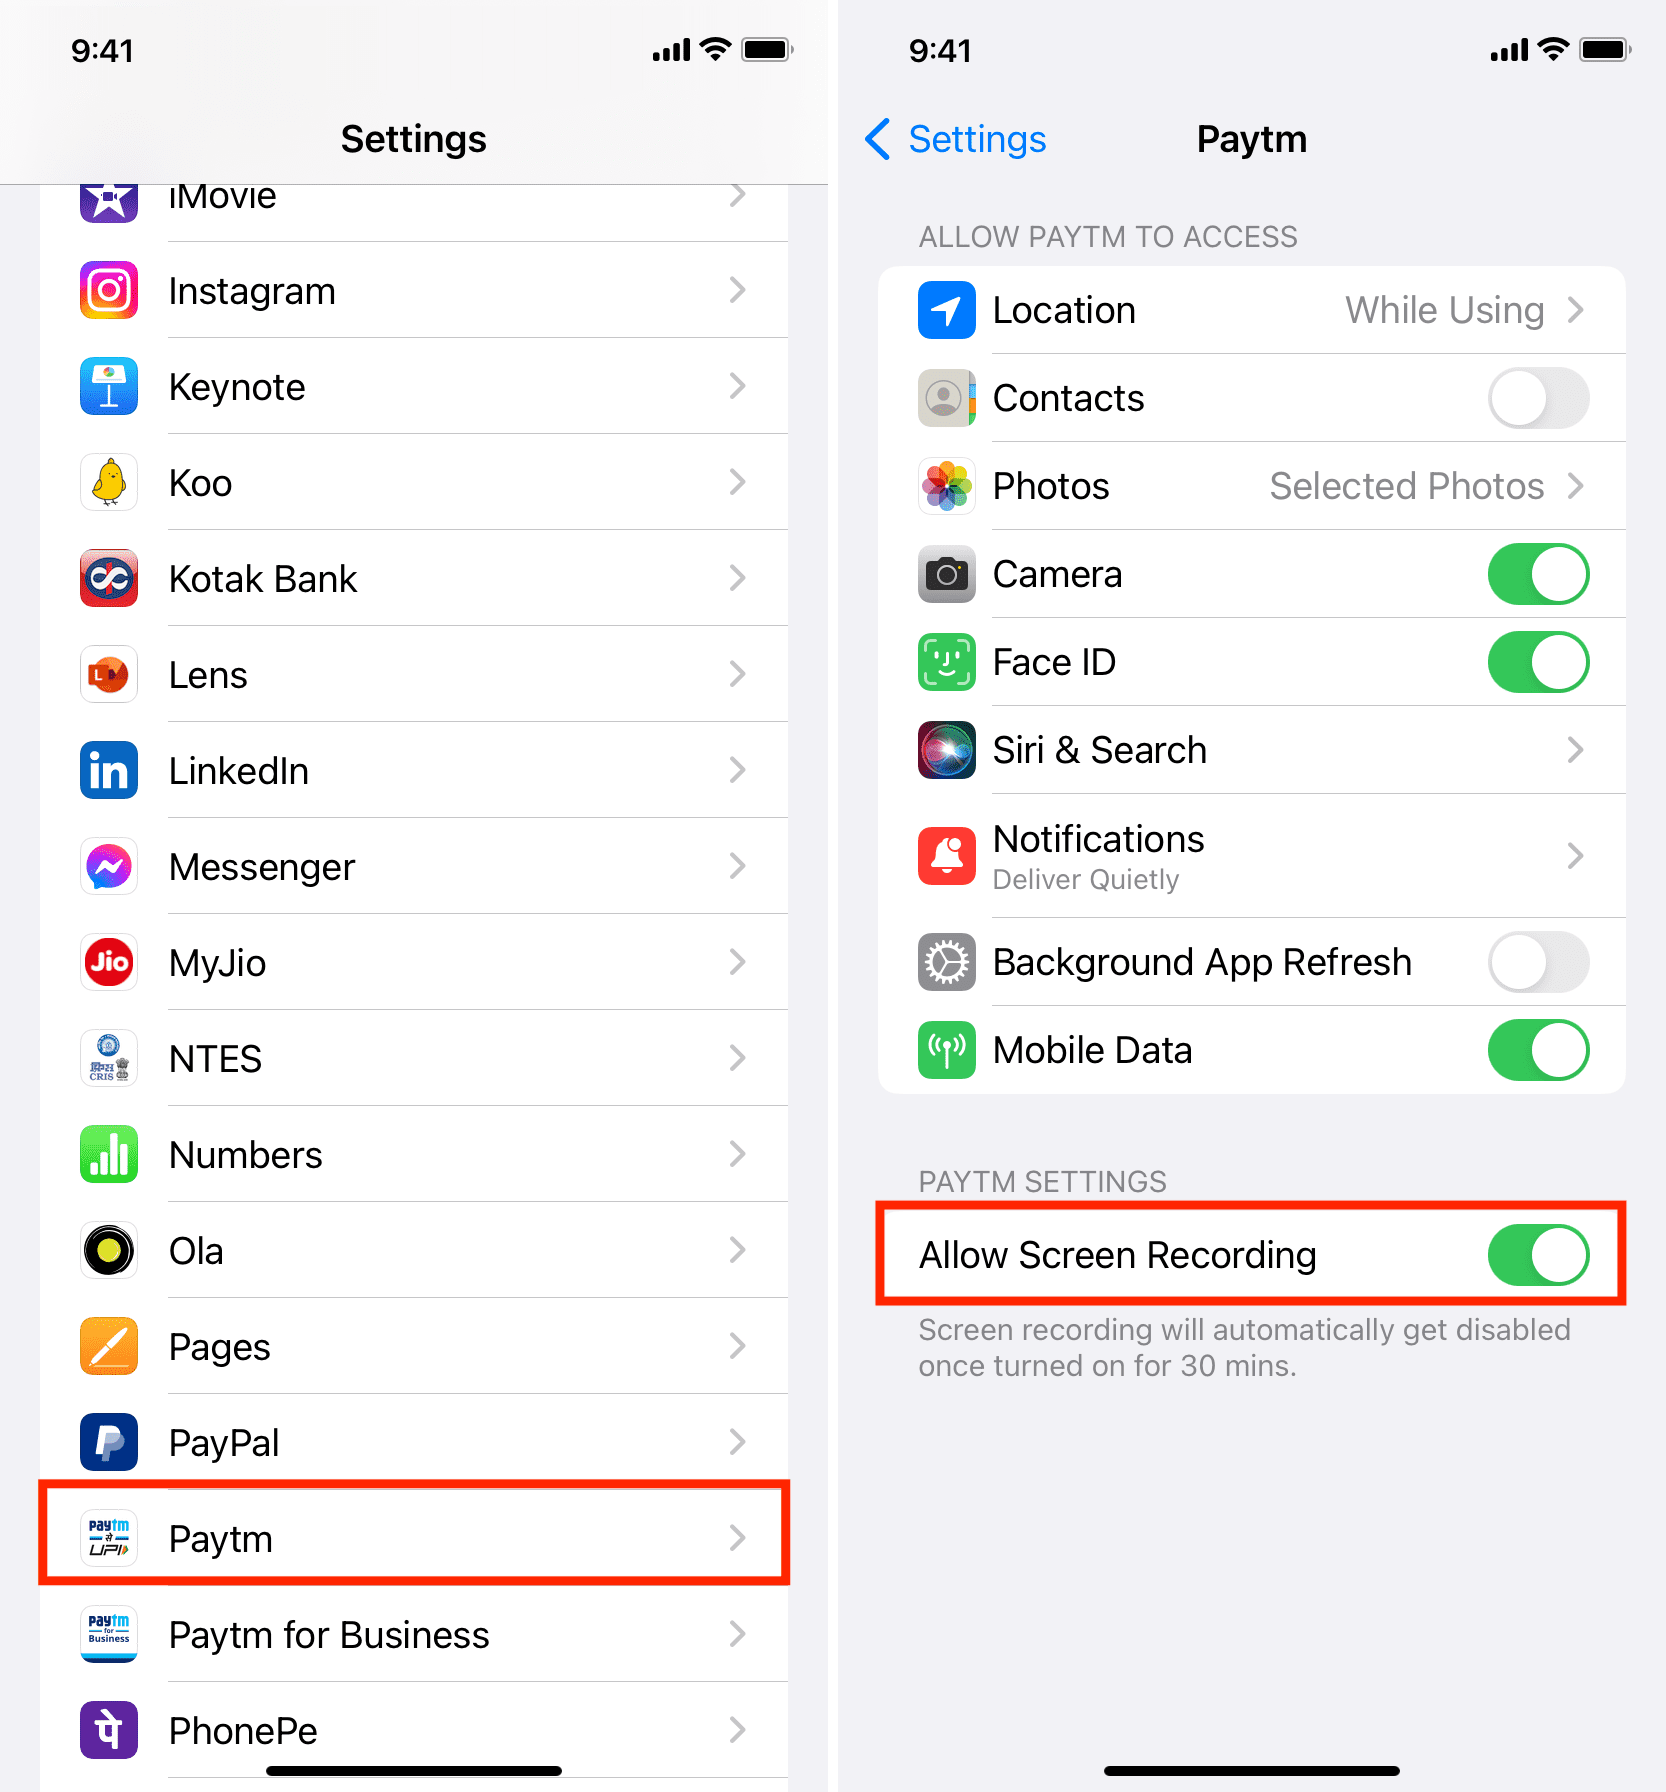
Next, we have banks and payment apps, which may block screenshots for security and privacy reasons. Some may restrict screenshots entirely, while the rest may allow screenshots/screen recording for 30 minutes after you give explicit permission. If that’s the case, do the following to take screenshots in such an app.
- Go to your iPhone Settings, scroll to the bottom, and tap Apps.
- Tap the app name.
- Enable the switch for Allow Screen Recording if you see it.
- Now, go back to the app and try taking a screenshot or doing a screen recording.
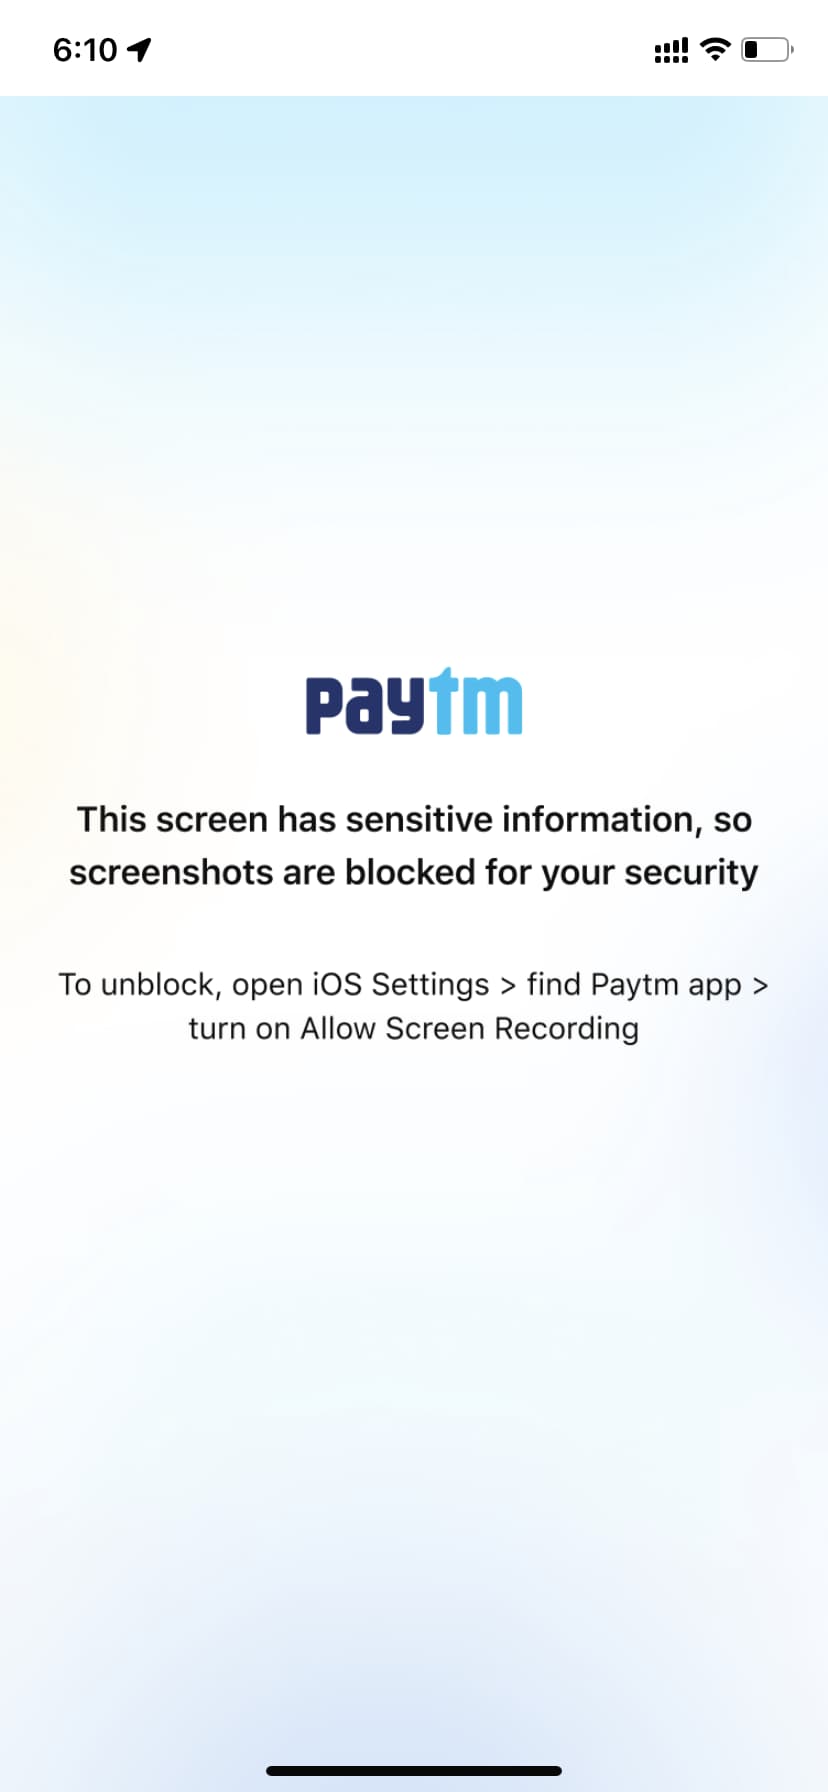
Note: In rare cases (like my bank app), you may not be able to take a meaningful screenshot even after following the steps above!
Tip: One of my bank apps doesn’t let me take screenshots of the screen where my balance, account number, and other sensitive details are displayed (see the image below). But, if I navigate inside the app and go to a different in-app screen where it shows just my bank balance and the statement, then I can take screenshots there! So, if you’re unable to grab a screenshot on your iPhone inside a particular section of an app, try going to a different section (that has more or less the same info you want to screenshot) and see if you’re allowed to capture the screen there.
2. End Guided Access
When you enable Guided Access on your iPhone, it keeps you or the person to whom you have handed over your iPhone, like your kid, limited only to that one app on the screen.
Additionally, when Guided Access is in action, you can’t take screenshots using any method. That is:
- You can’t summon Siri and ask it to capture a screenshot during Guided Access.
- You can’t use AssistiveTouch during Guided Access to take a screenshot.
- Even if you tap Options and enable the Side Button and Volume Buttons, you can’t take a screenshot.
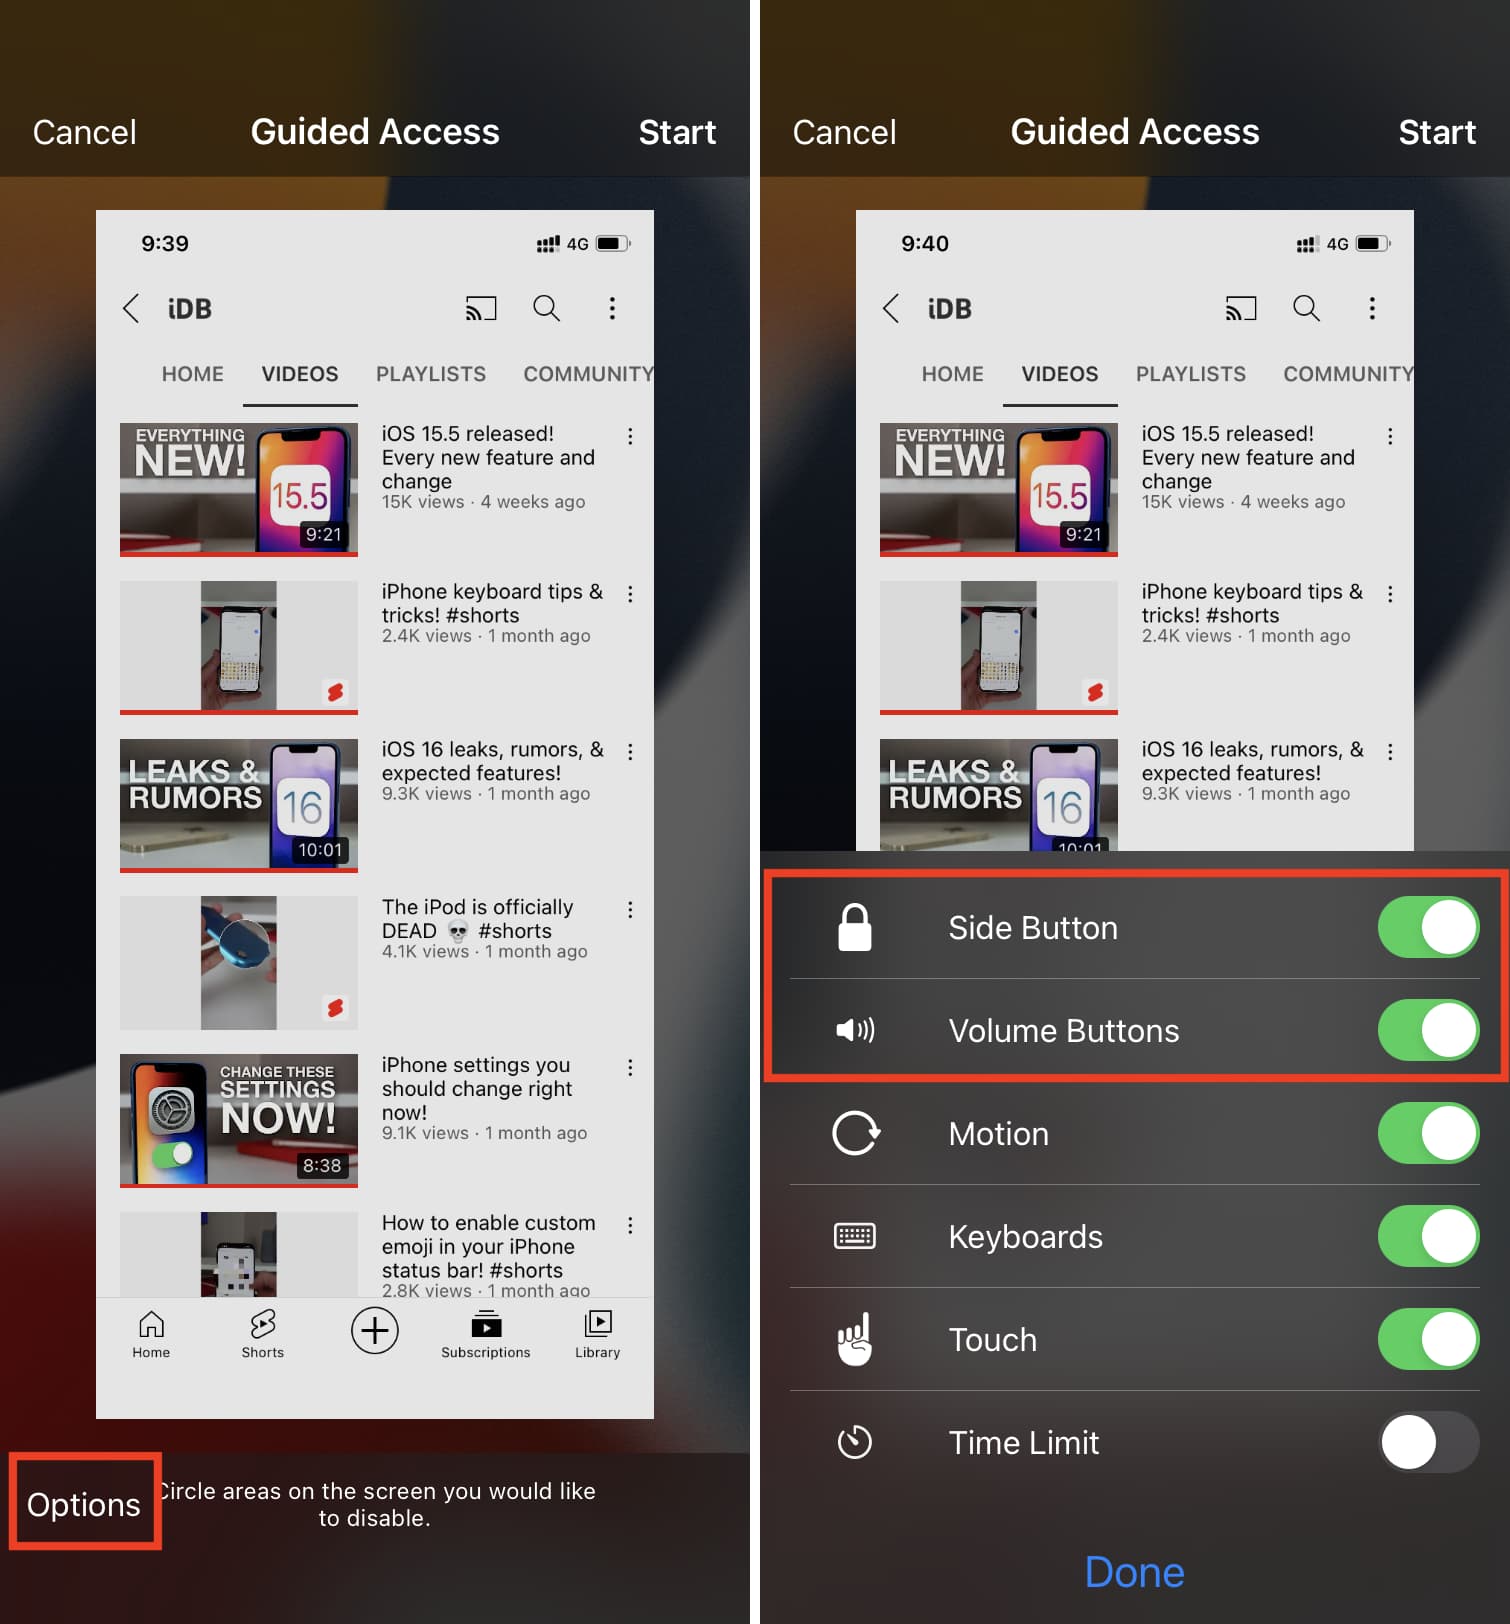
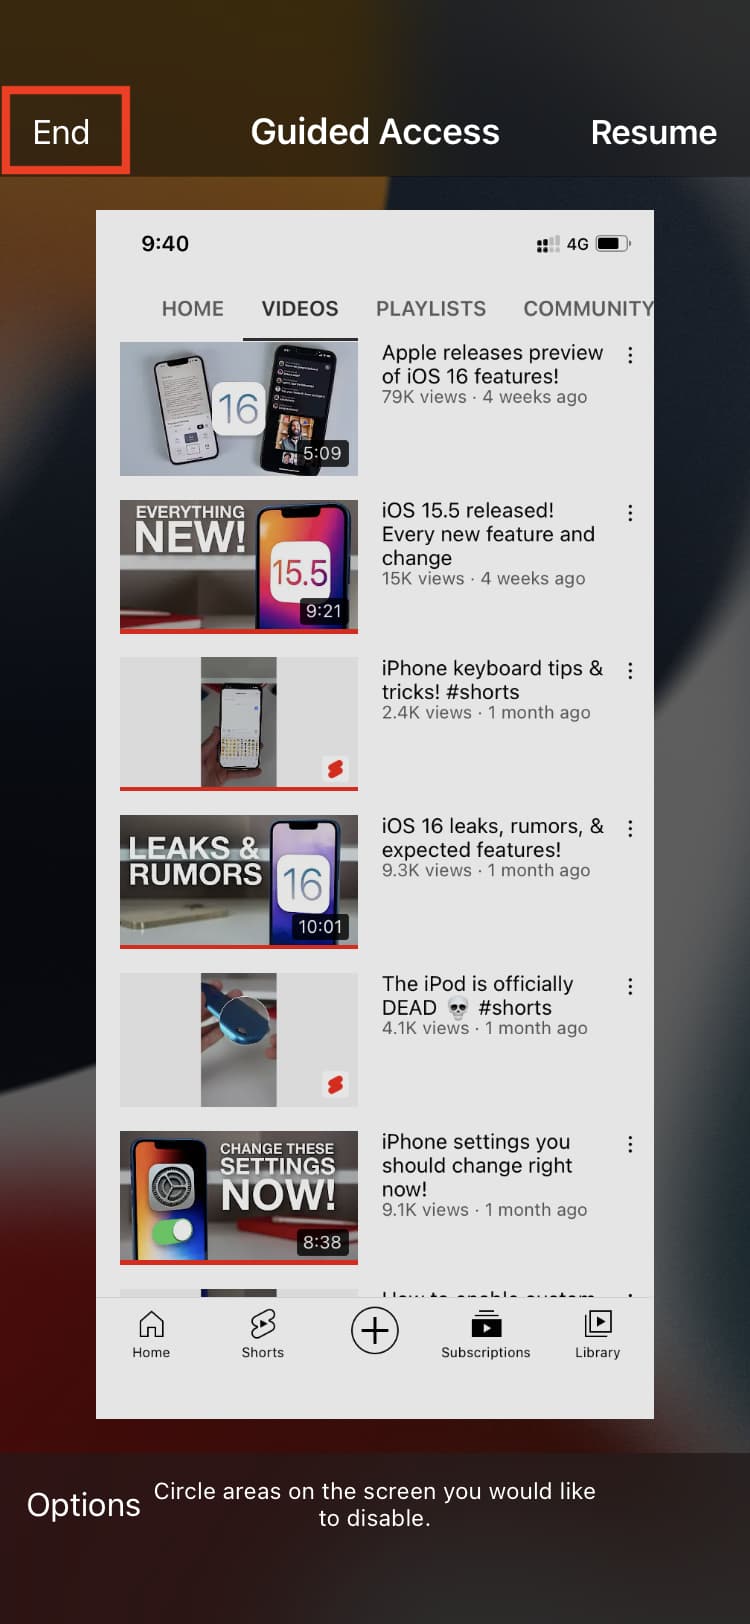
To end Guided Access and regain the screenshot functionality, triple-press the Side button and enter your Guided Access passcode. After that, tap End. Once you’re out of Guided Access, you can take screenshots using one of the methods you are familiar with.
3. Restart your iPhone
There can be situations where your iPhone develops temporary glitches that prevent it from taking screenshots. This isn’t a major problem, and you can fix it effortlessly by just turning off your iPhone and turning it back on.
4. Update your iPhone
I couldn’t find even a single old instance of bugs in iOS that prevented iPhones from taking screenshots. Still, if you’re running an old version of iOS on your iPhone, it’s best to go to Settings > General > Software Update to get the newest compatible iOS version. Hopefully, this can fix the issue with failing iPhone screenshots.
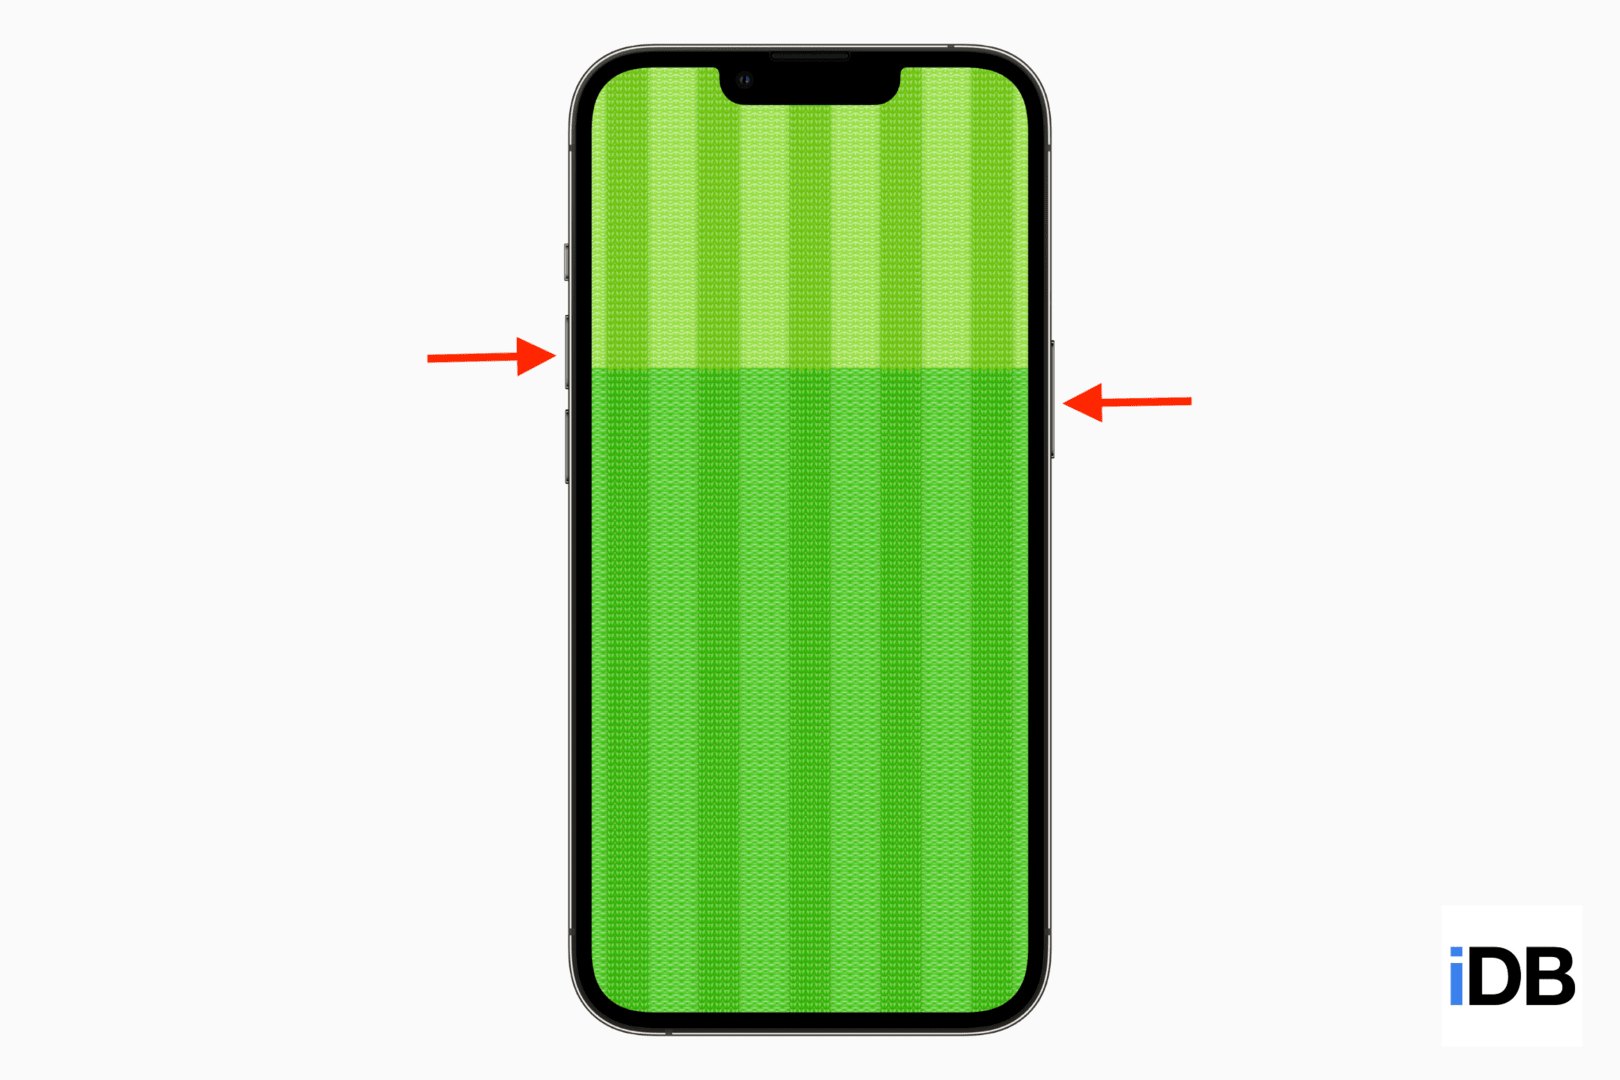
5. Check if buttons are pressed correctly
In some cases, the volume button or the Side button may not work properly on your iPhone. Because of this, you may have problems changing the audio level, locking your device, and taking screenshots.
If you recently dropped your iPhone on a hard surface, started using a new case, or haven’t cleaned your iPhone’s buttons in a long time, make sure to check carefully whether the physical buttons are working.
6. Use AssistiveTouch, Siri, or your Mac to capture a screenshot
By now, your screenshot problems should be fixed. But in the rare case things aren’t happy, here are other quick ways to take a screenshot without using the physical buttons:
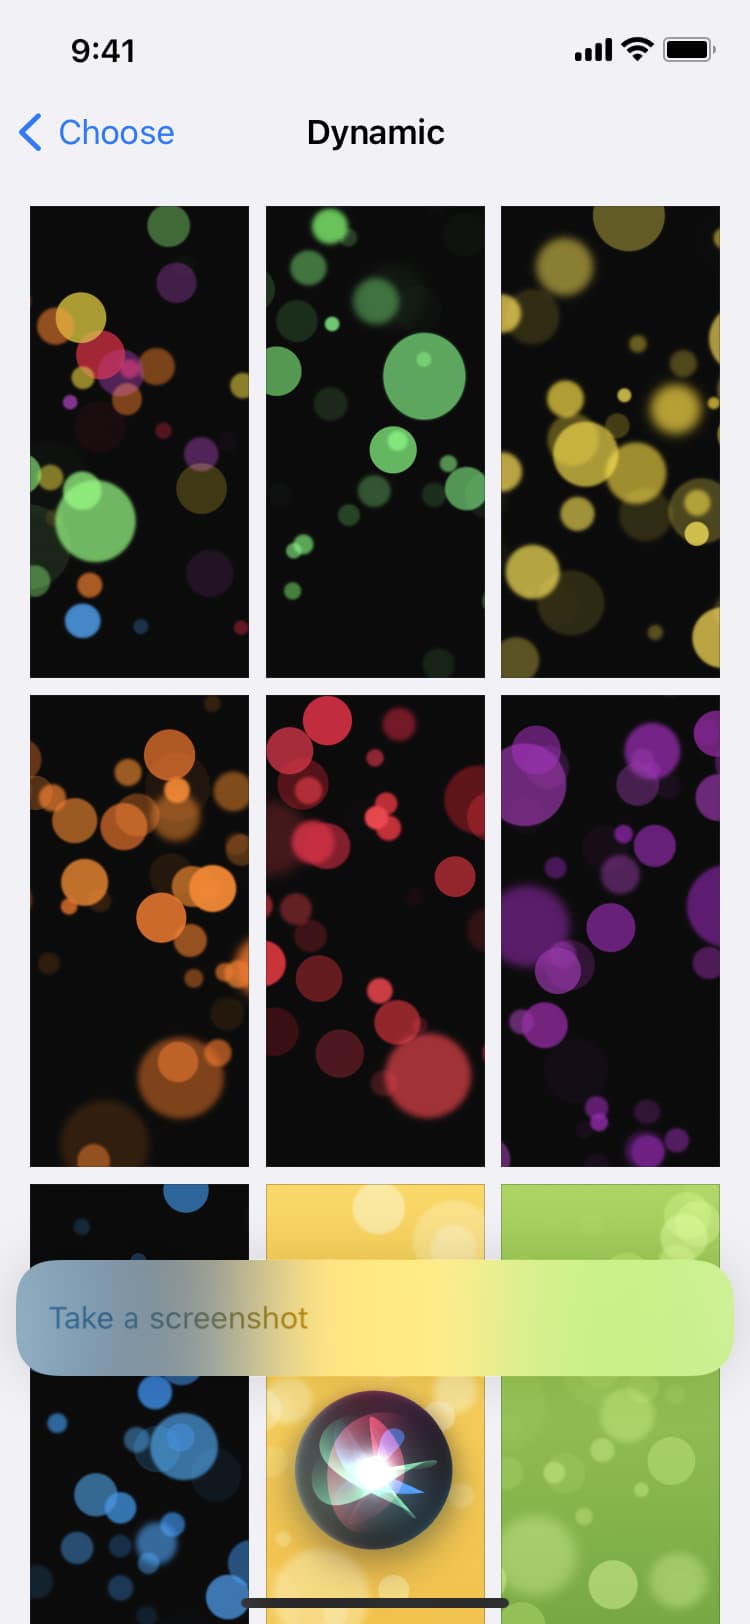
- Stay on the screen whose screenshot you want to take. After that, invoke Siri by saying, “Hey Siri,” and ask it to “take a screenshot.”
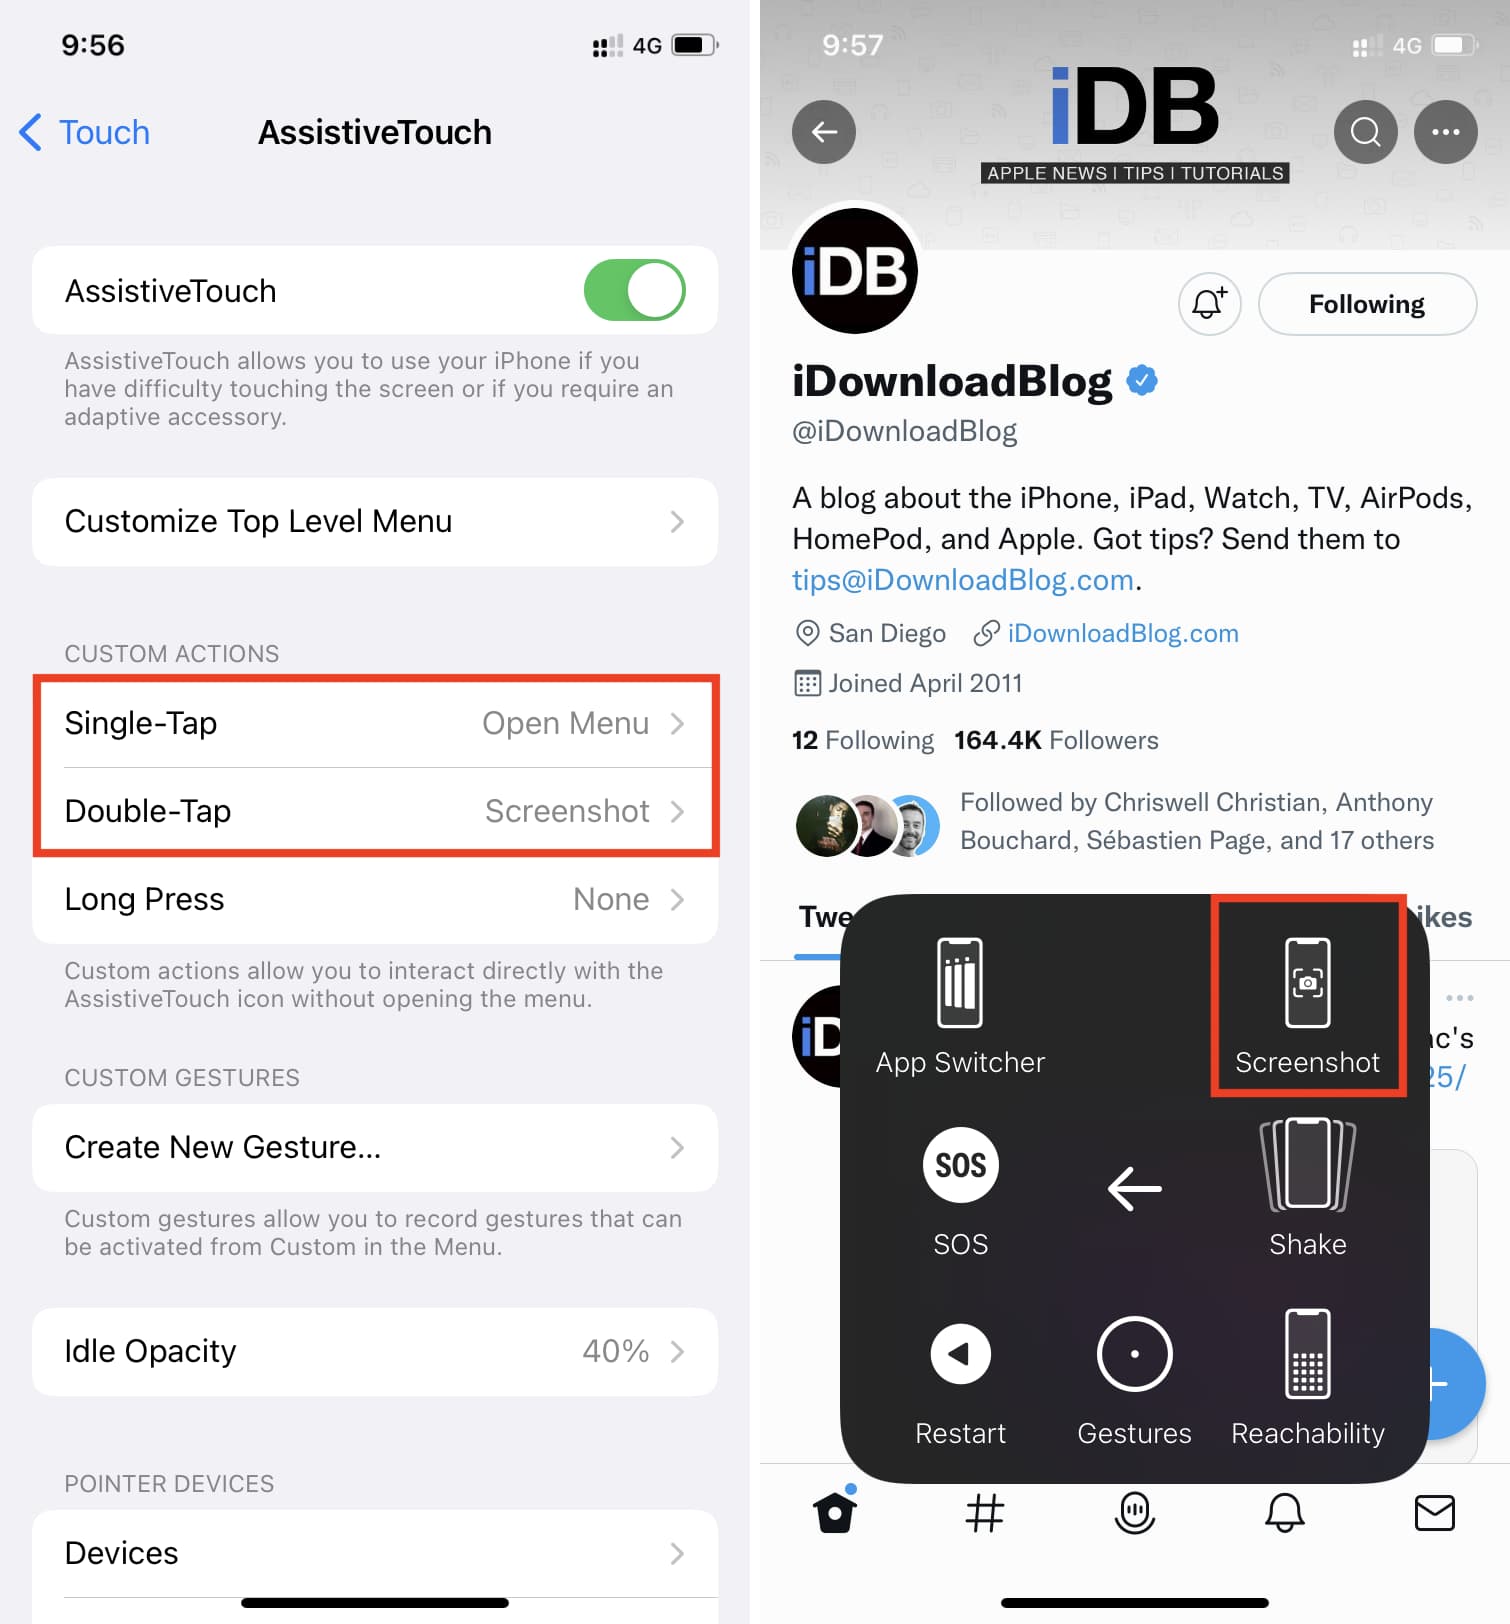
- Enable AssistiveTouch, which will add a virtual floating button on your iPhone screen. You can use this translucent button to take a screenshot. This tutorial shows you how to do that: How to take a screenshot on iPhone without using any buttons.
- Use iPhone Mirroring to view your iPhone’s screen on your Mac. After that, take a screenshot of the window where your iPhone’s screen is shown. Alternatively, you can view your iPhone screen inside the built-in QuickTime Player on your Mac and take a screenshot of its window.

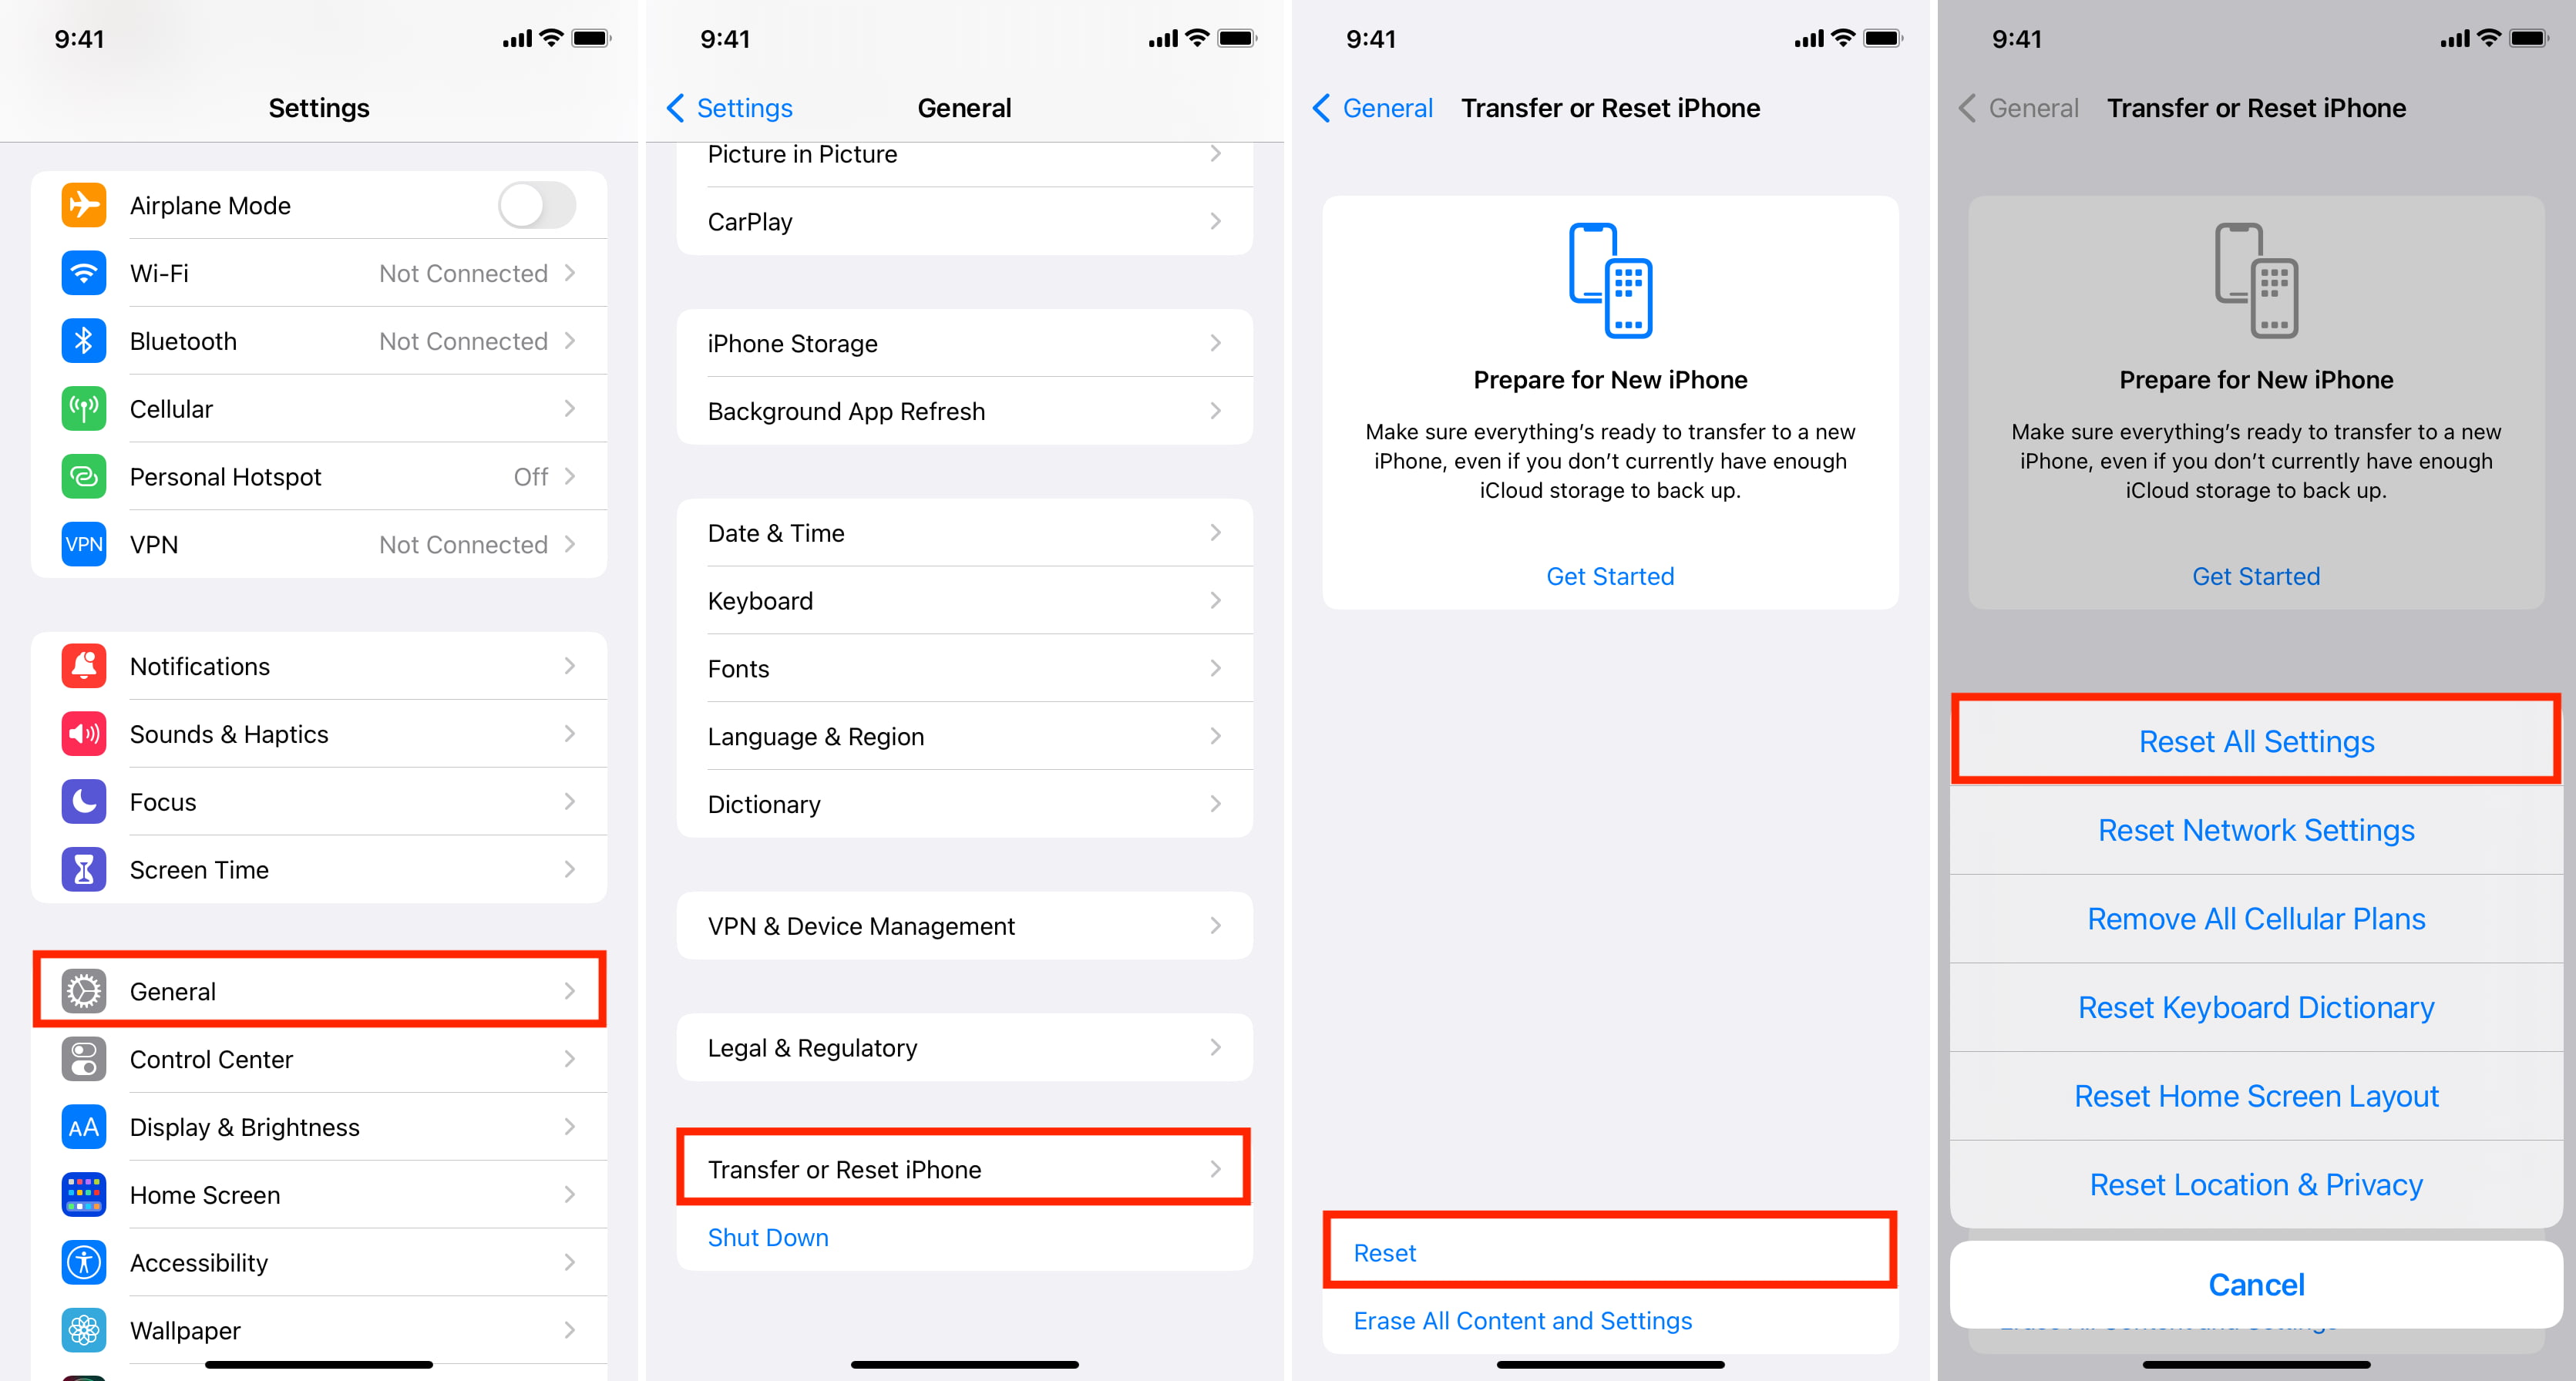
7. Reset All Settings
In case you’re still unable to capture screenshots on your iPhone, go ahead and reset all your iPhone settings. This should put all settings back to the default state and hopefully resolve the issue.
8. Erase and set up your iPhone again
If nothing mentioned above works for you, back up your iPhone to iCloud (or a computer) and then erase it. After that, set it up again by restoring the backup. This should almost certainly fix the issue:
9. Contact Apple Support and get your device inspected
Finally, if you still cannot capture a screenshot on your iPhone, chat with Apple Support and set up an in-store visit to a nearby Apple Store. Get your device inspected and fixed for it to do everything well.
On a related note: