From adding music to updating or restoring devices, learn all the important things you can do on your iPhone or iPad using Finder on Mac.
Connect the device to your Mac
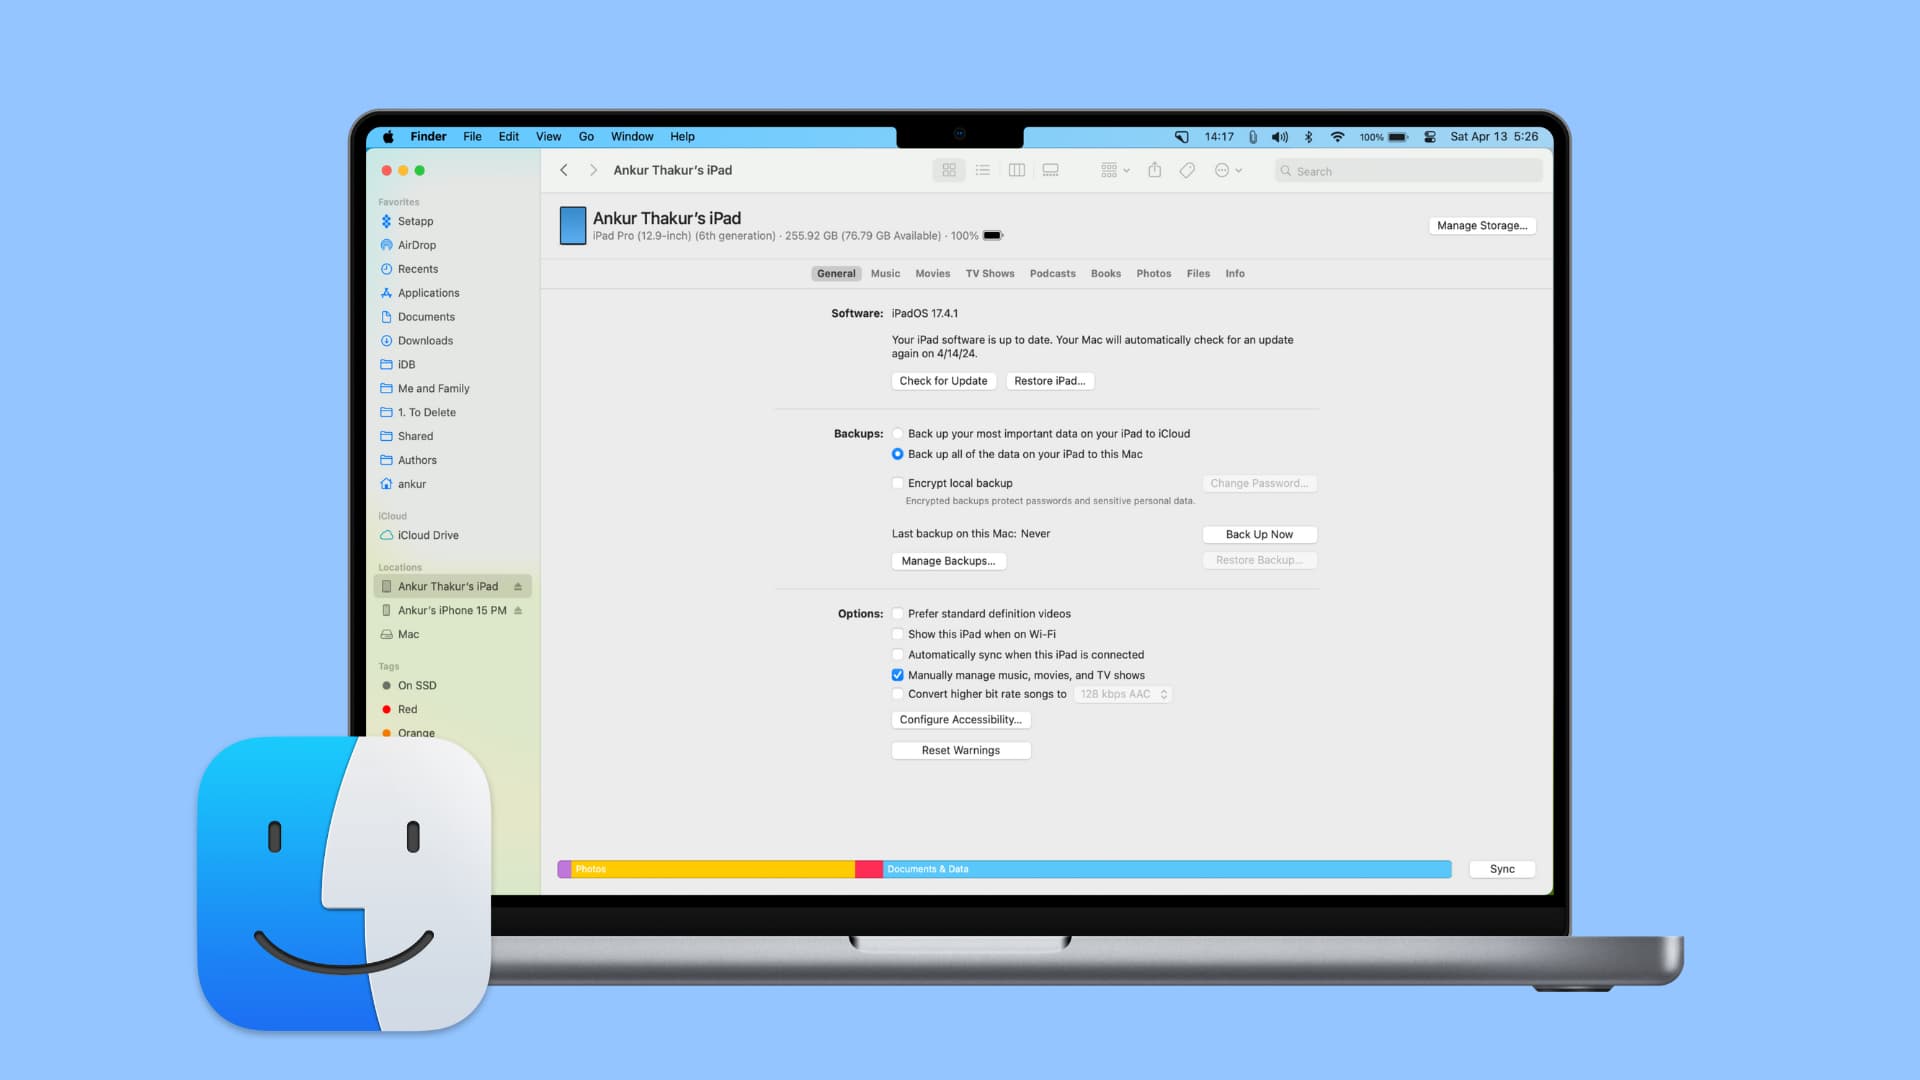
Finder is a built-in application on your Mac, which, in addition to managing your computer files, also lets you manage your iOS devices.
So, start by connecting your iPhone, iPad, or iPod to your Mac. An alert may pop up on your Mac’s screen asking permission to connect to the device. Click Allow. Next, look at your iPhone or iPad’s screen and trust the computer when prompted.
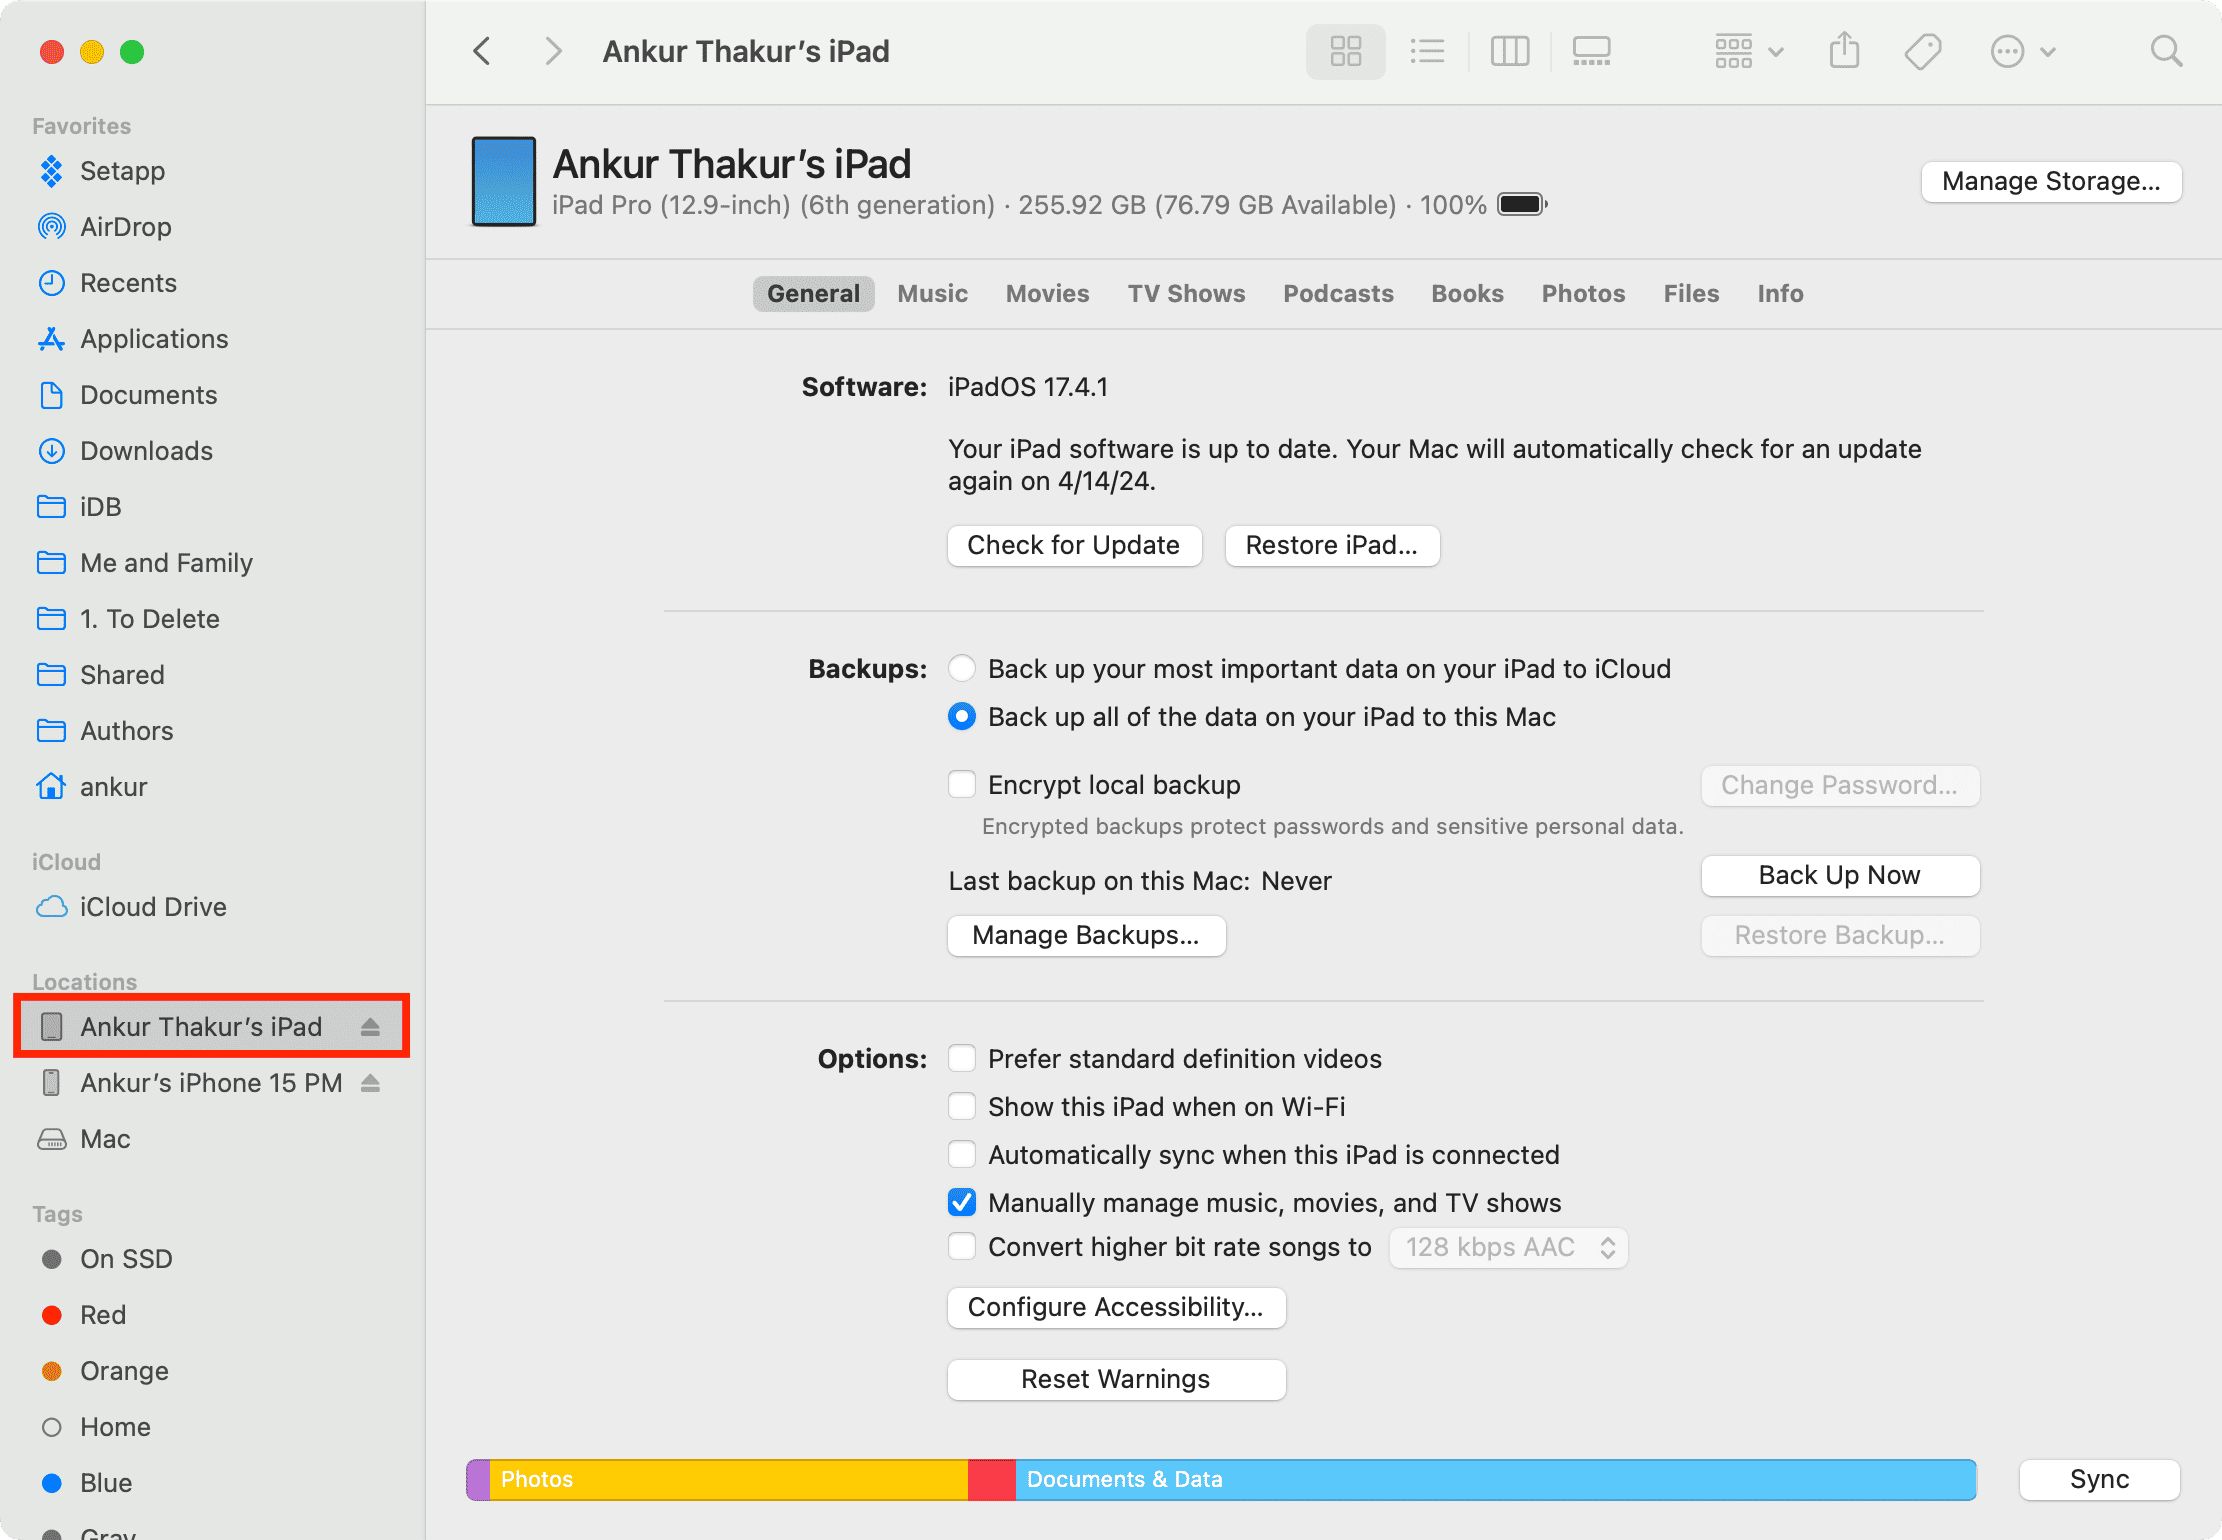
With your iOS device and Mac connected, open Finder and select the device from the left sidebar.
Here’s everything you can do now.
Note: iTunes is a thing of the past on both Mac and Windows PC, but if your computer still has it, you can use many of the tips listed below.
See device details
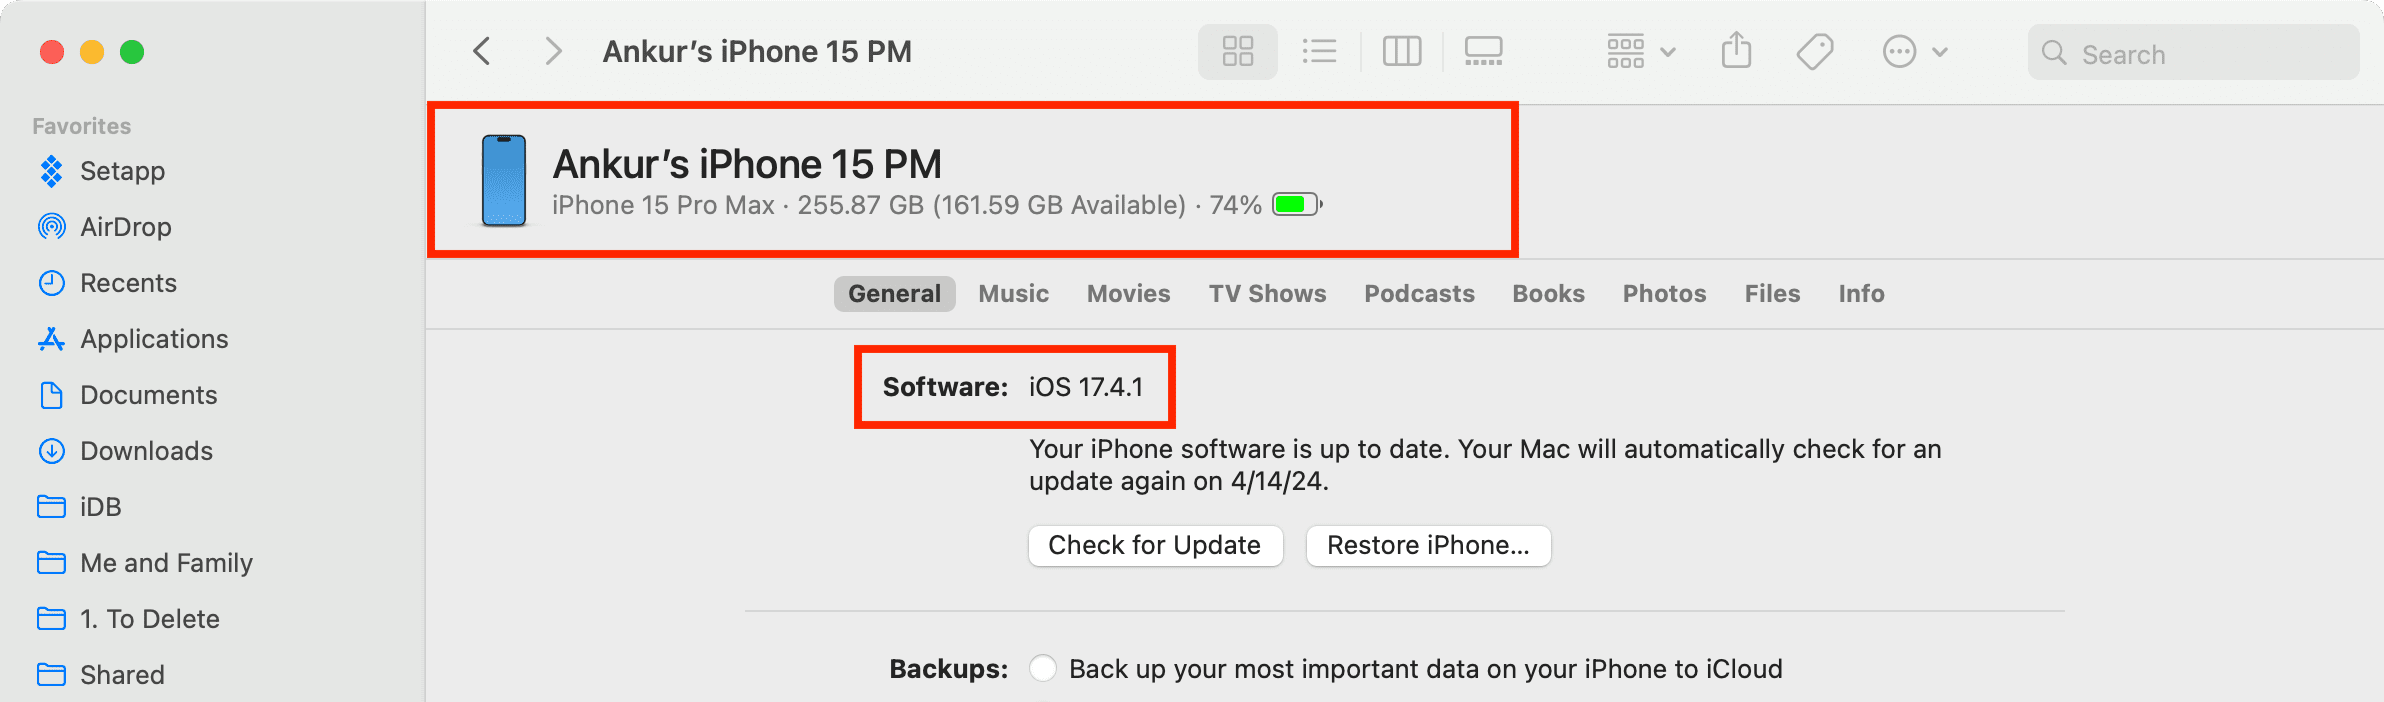
At the top of the screen, you’ll see the following details. Remember to click the section under the device name to see everything:
- Current device name. You can also change it from here
- Device model
- Total storage capacity and what’s available
- Current battery percentage
- Serial Number
- Model Number
- Product Type
- UDID and EID
- SIM number currently on the iPhone or cellular iPad
- IMEI number
- ICCID
- After this, if you’re in the General tab, you can also see the current software version (i.e., iOS or iPadOS)
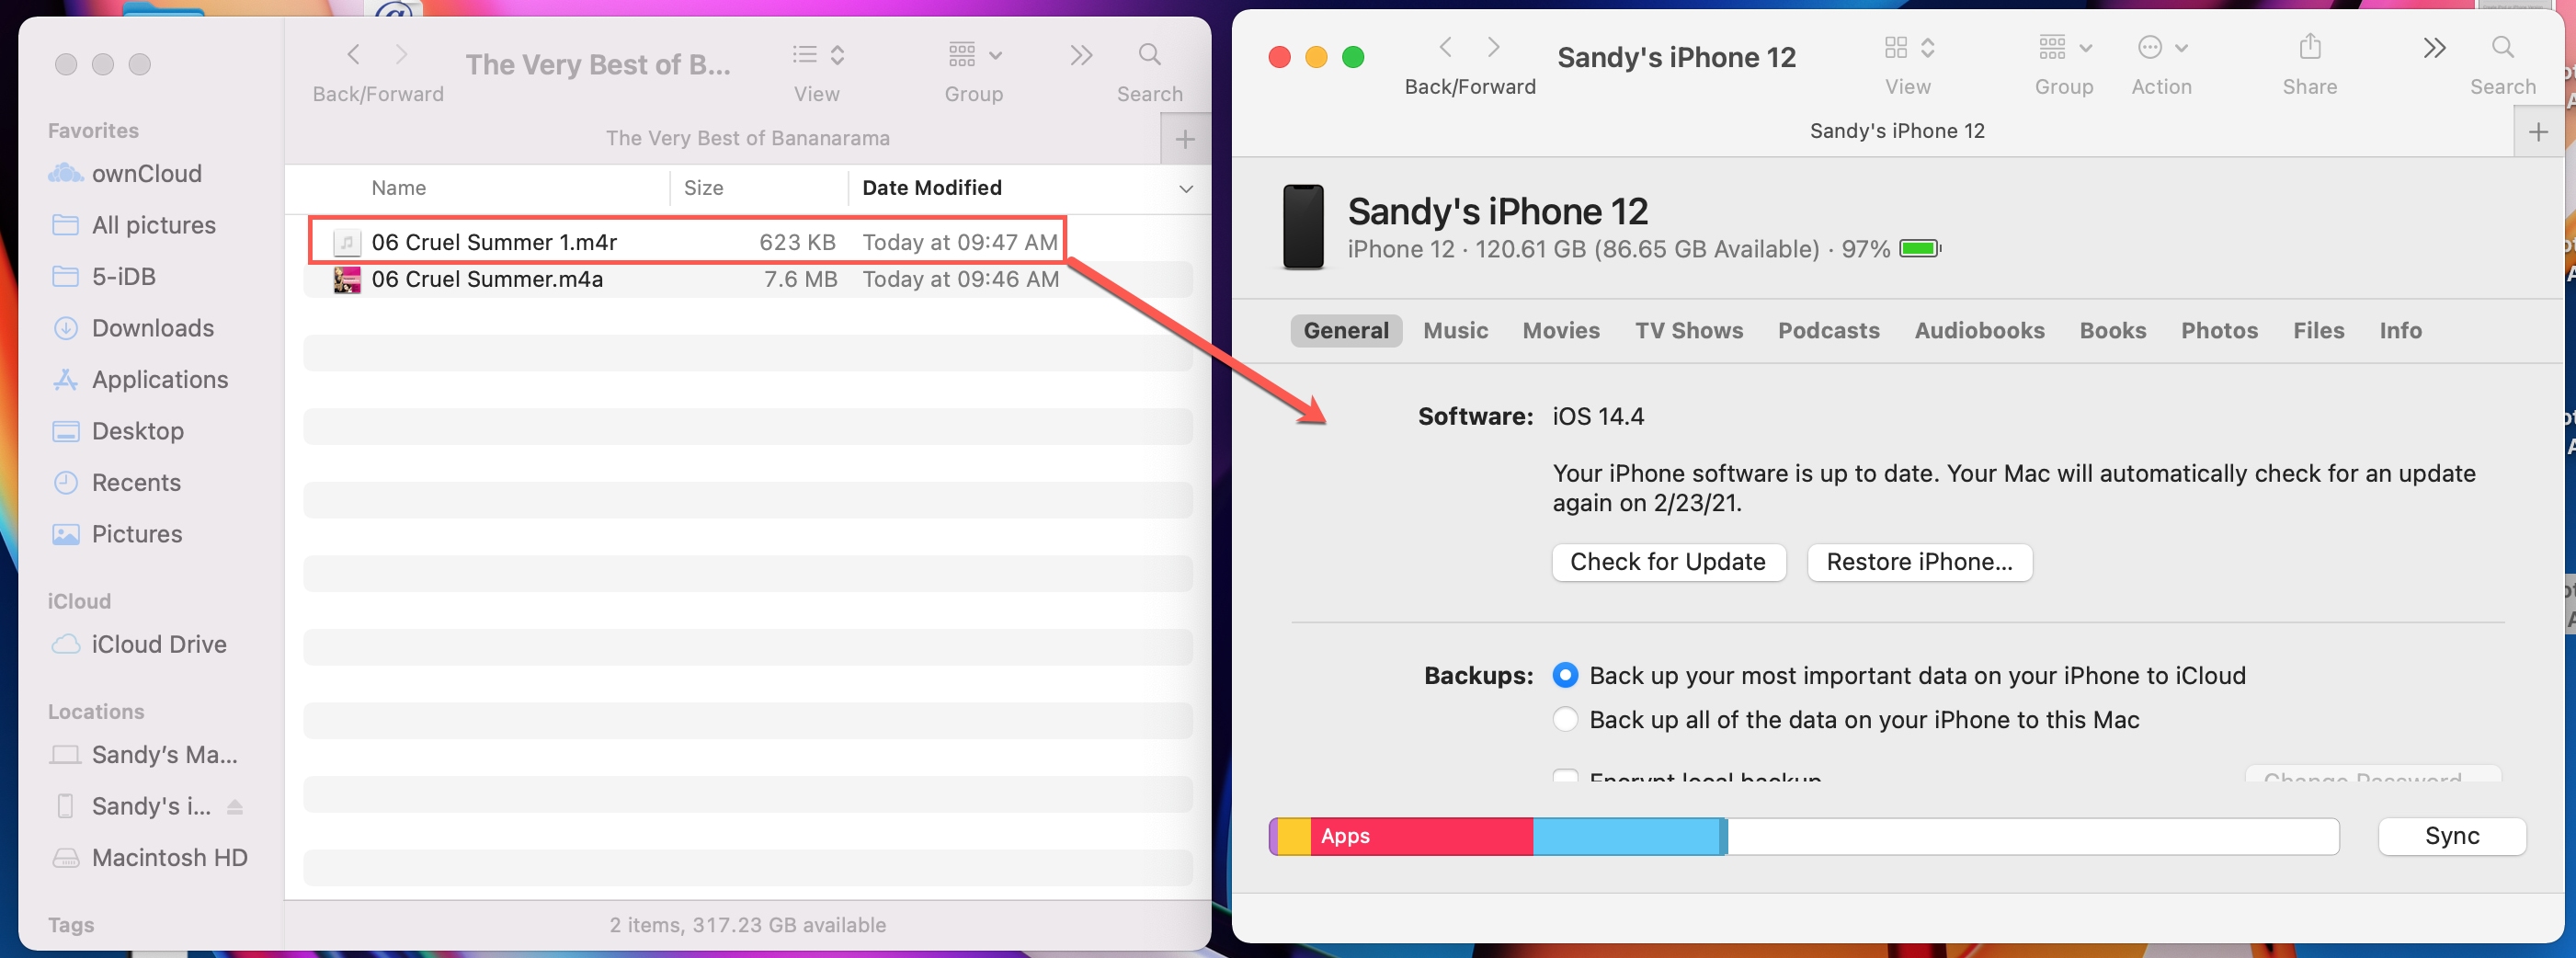
Sync media
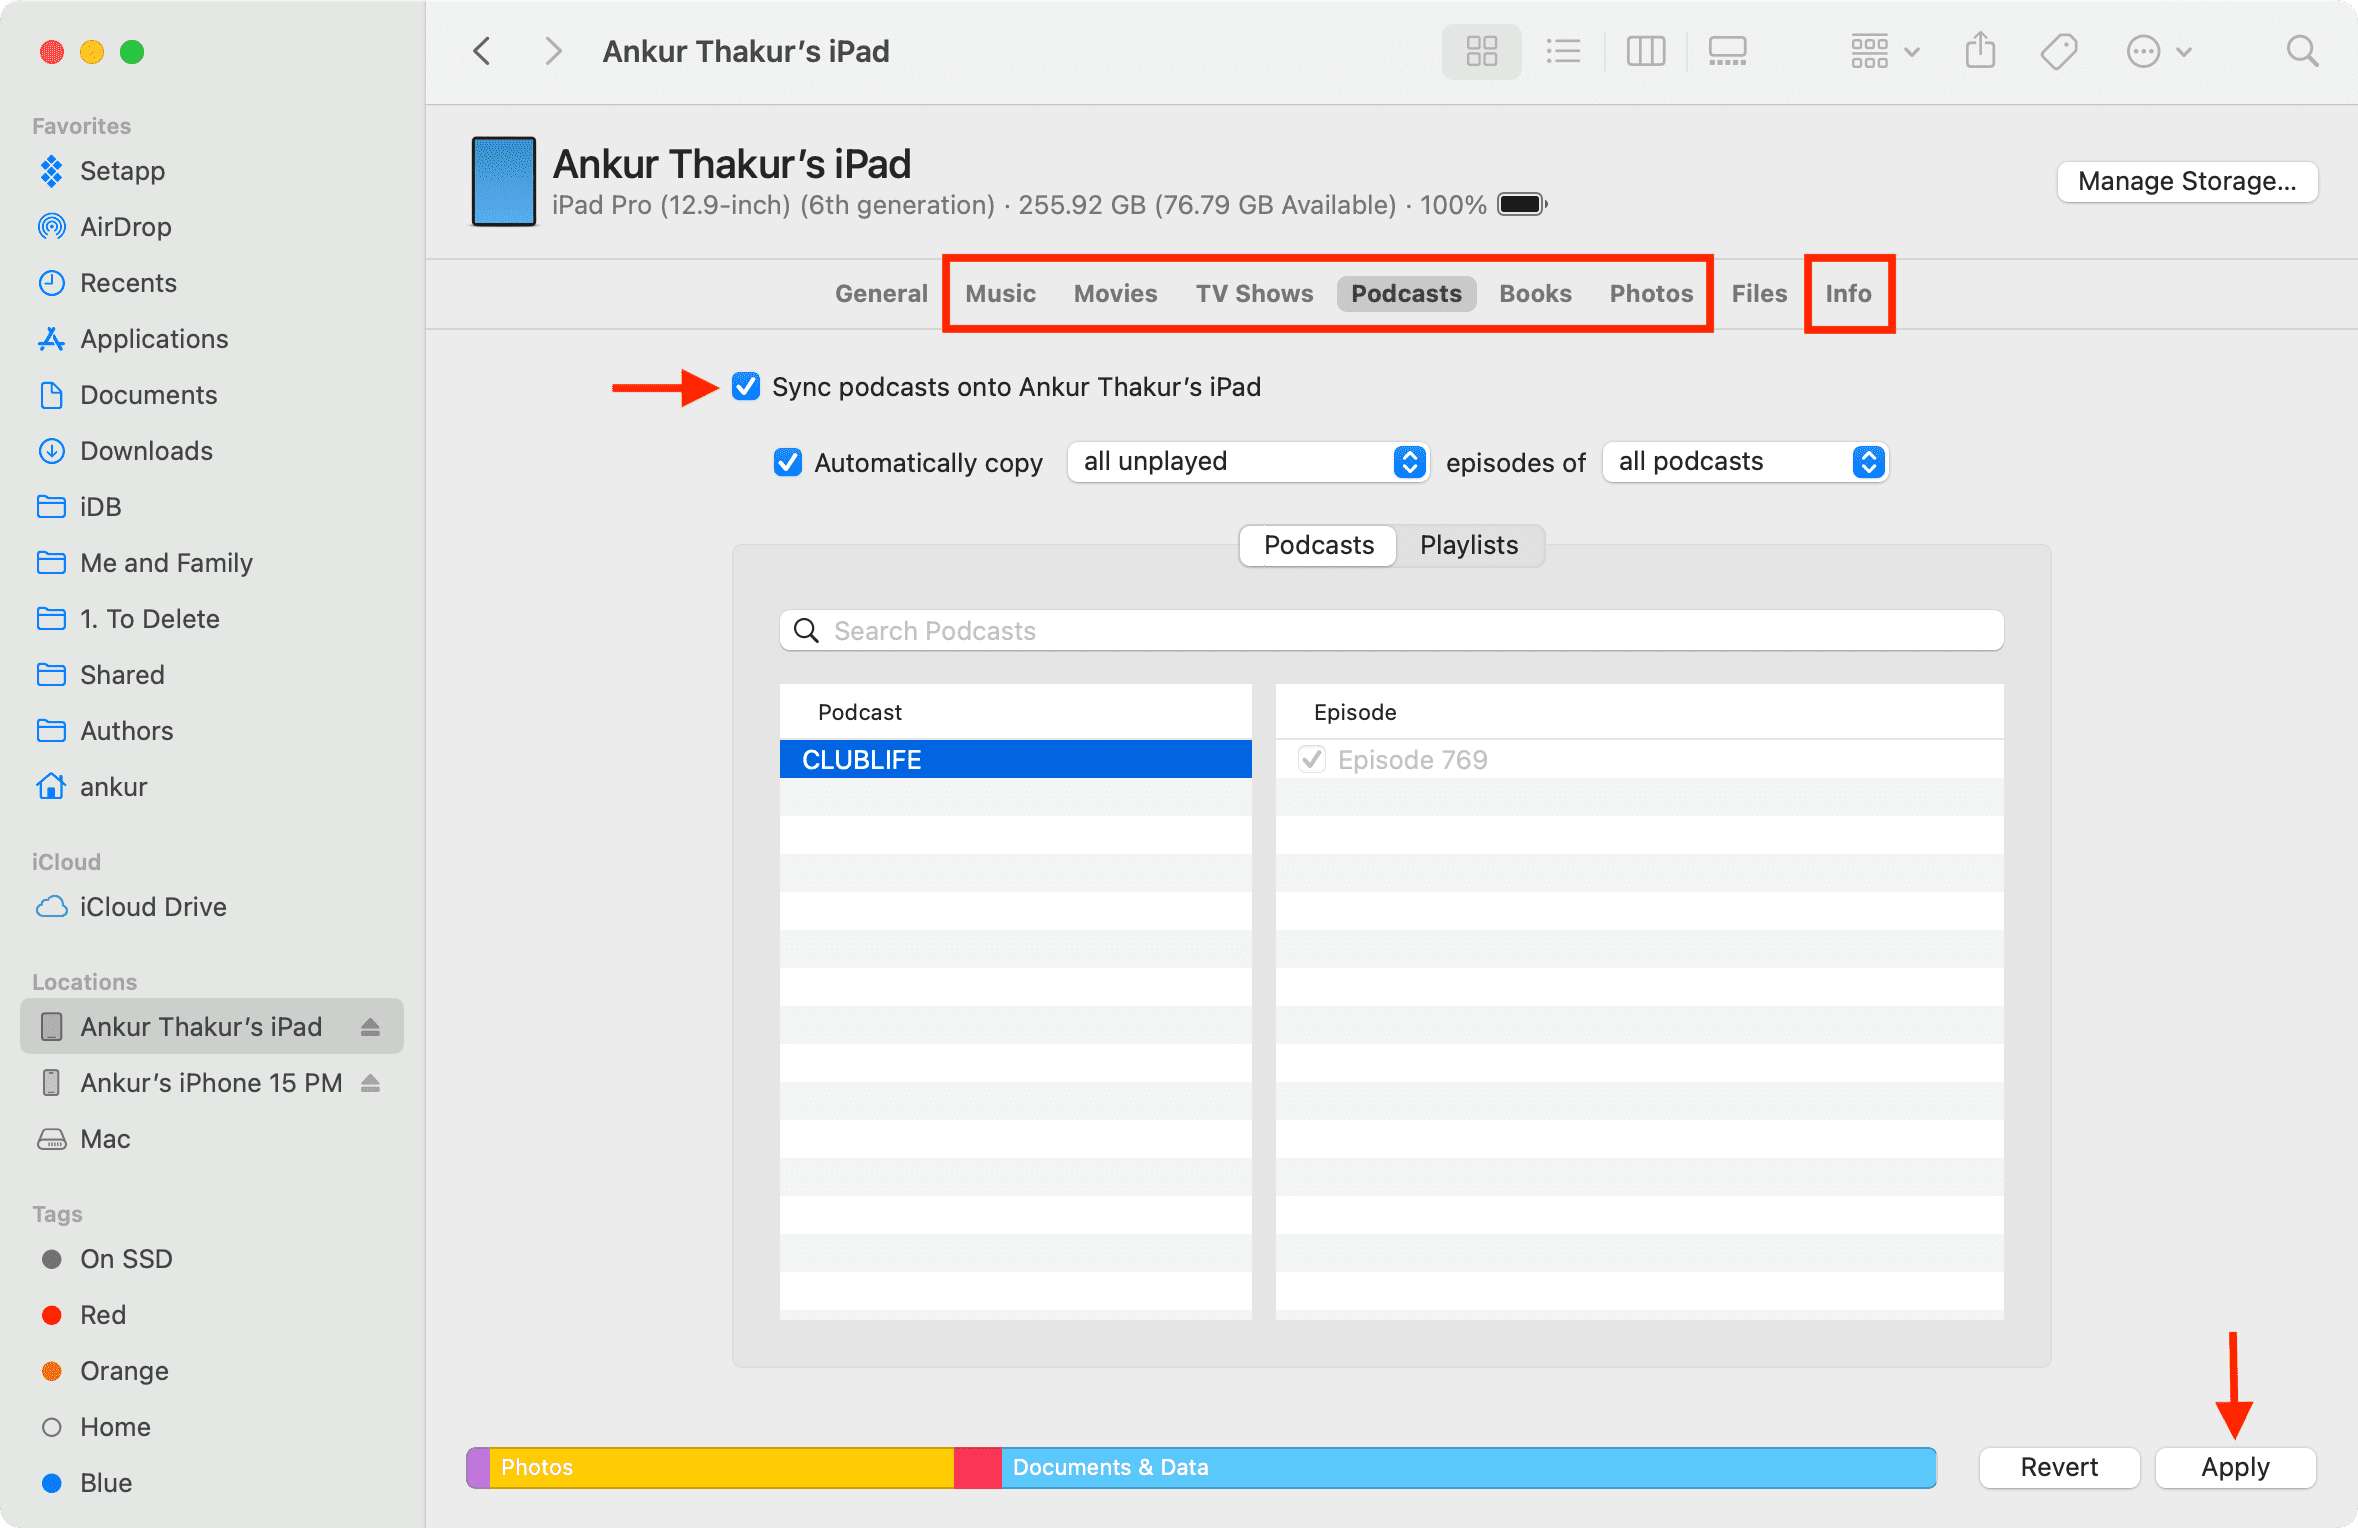
If you don’t use Sync Library (formerly called iCloud Music Library), iCloud Photos, or iCloud Contacts and Calendar, Finder is your best way to add songs, photos, and other media from your Mac to your iPhone.
To do that, click Music, Movies, TV Shows, Books, Podcasts, and other options from the top. Next, check the Sync box, select what you want to sync. Finally, hit the Sync or Apply button from the bottom right.
You can learn more about it in our dedicated tutorial that goes over how to sync music from Mac to iPhone.
Add ringtones
The Music app on Mac lets you create custom ringtones. And once you have done that, you can simply drag and drop the ringtone file to the iPhone or iPad interface in Finder to transfer to it.
Copy data to specific iOS apps like VLC
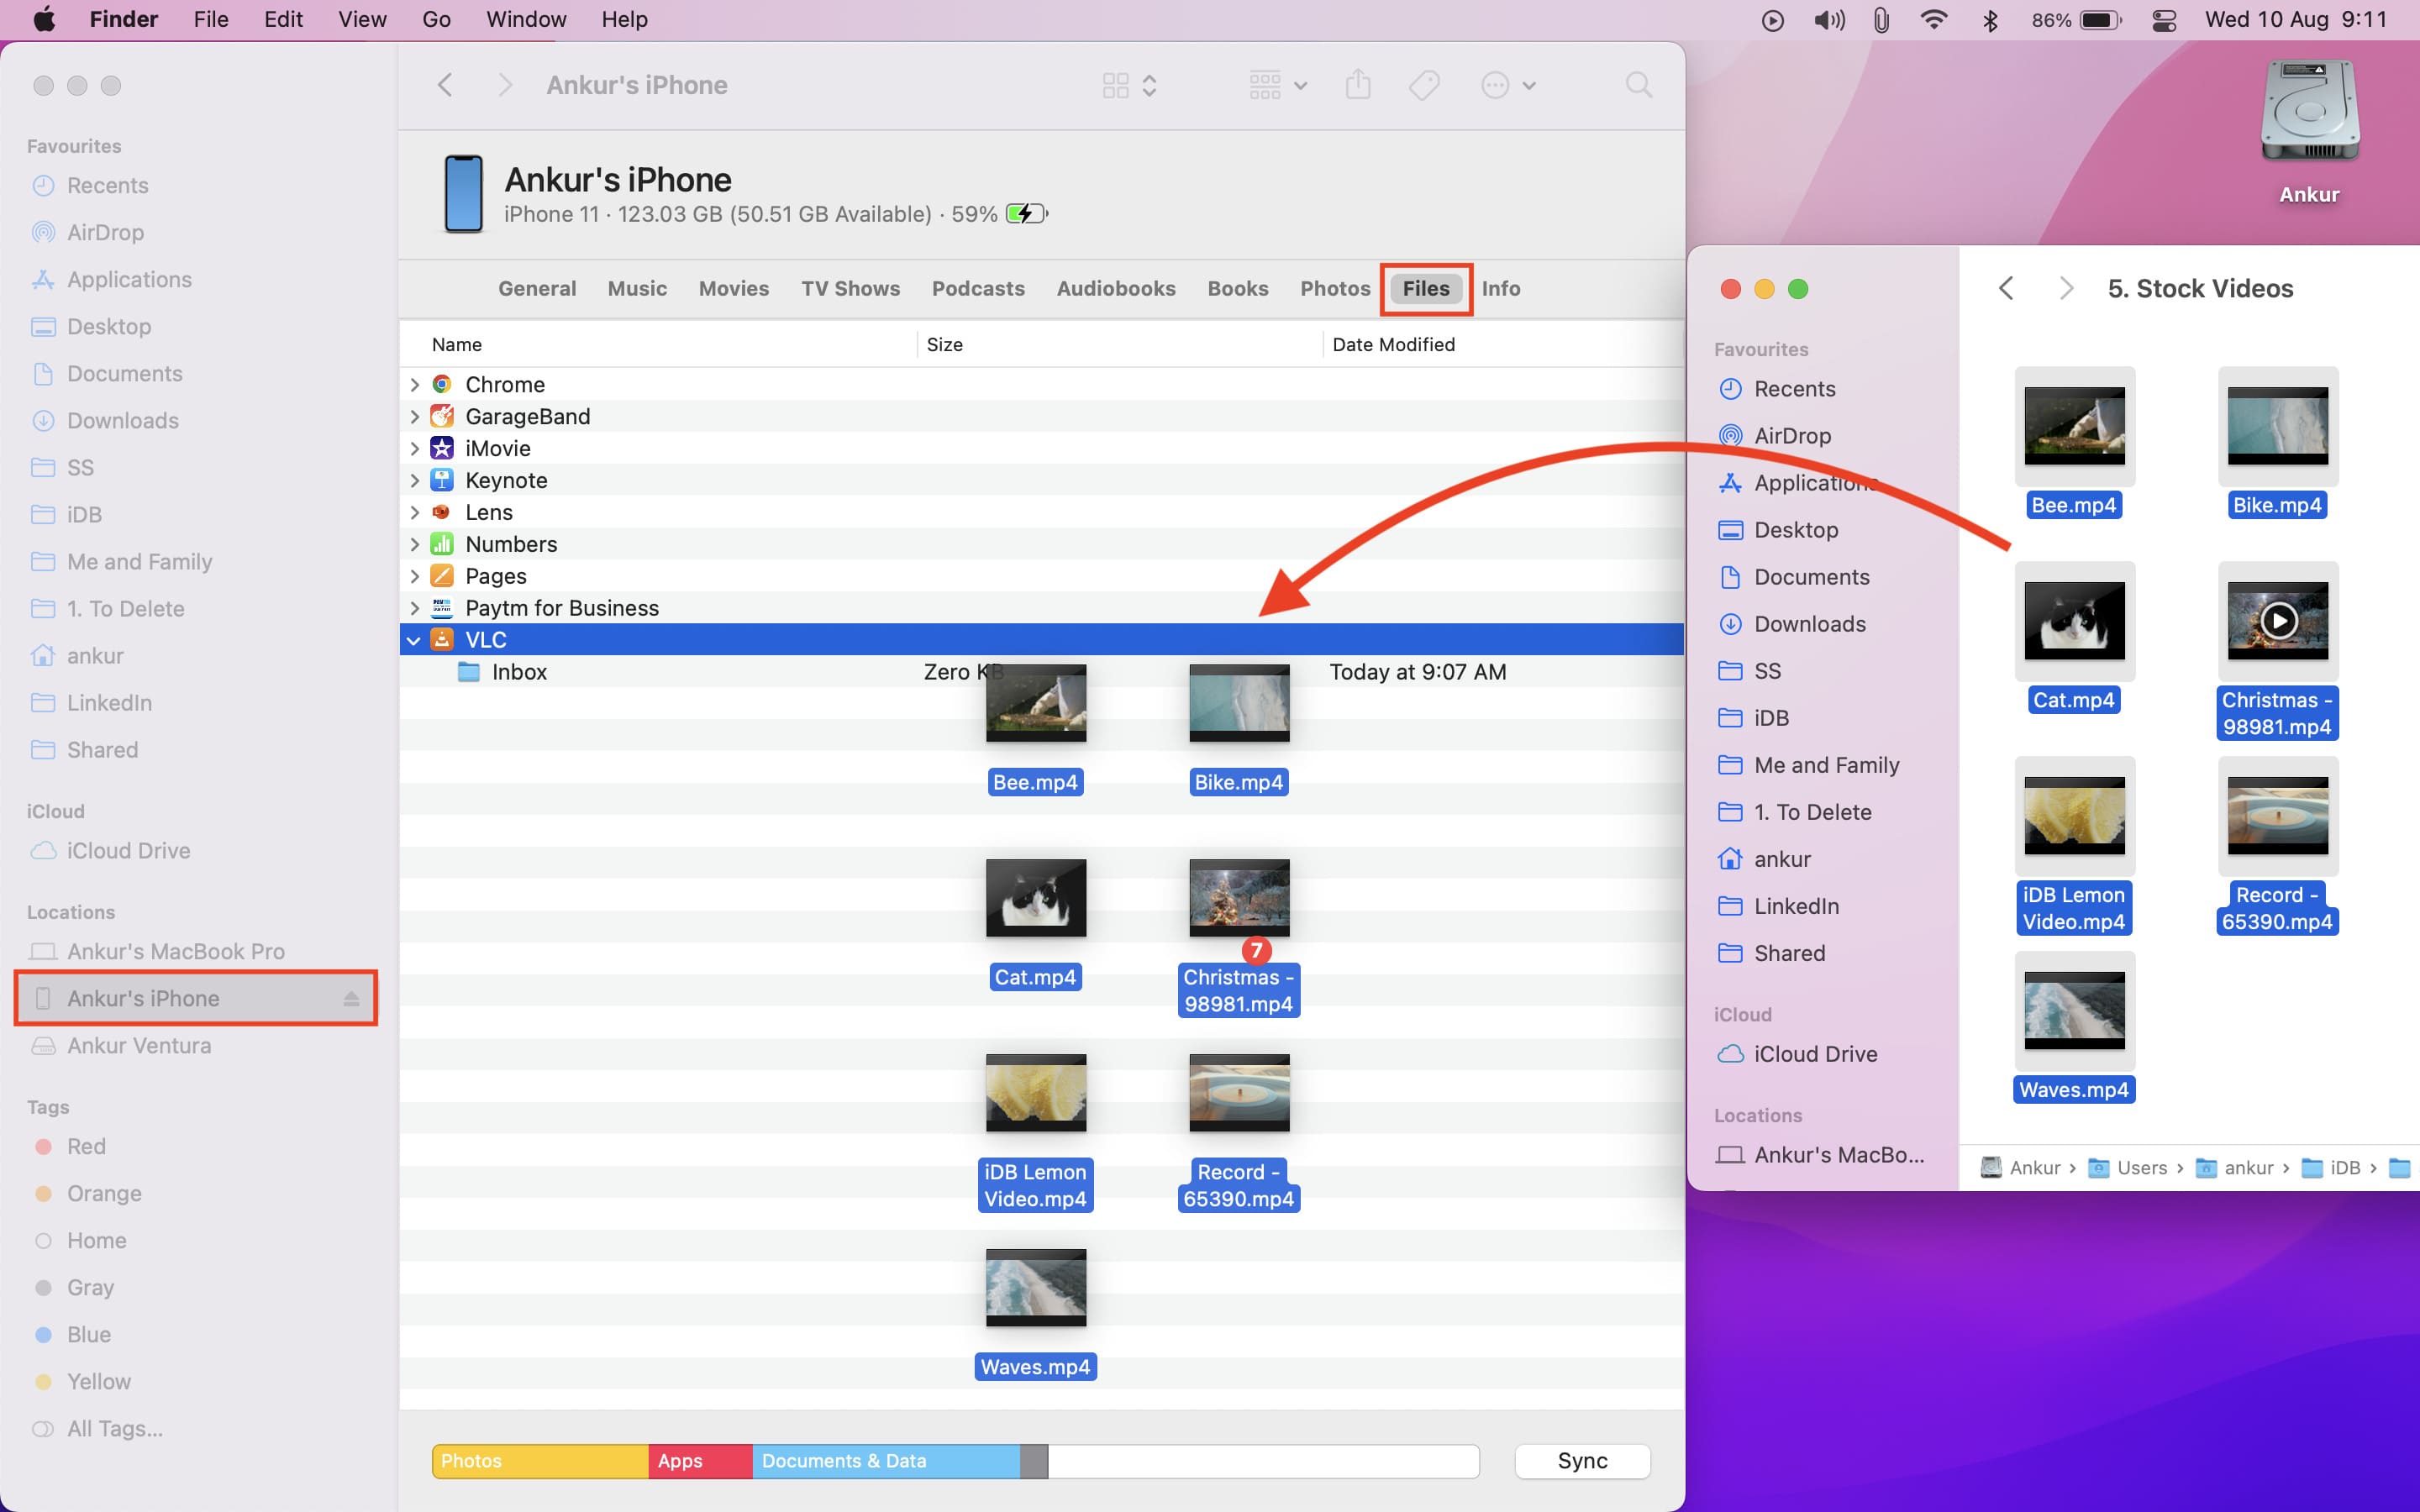
I love transferring my old videos or MKV files to VLC, Infuse, or PLAYit apps on my iPhone or iPad. You can go to the Files section and drag items from your Mac’s desktop or folder over an iOS app name to add to it.
Use iPhone as a pen drive
This one is related to the above tip. With the right apps, you can use your iOS device as a pen drive to store files of any kind, even if iOS does not support that file format.
Manage phone storage
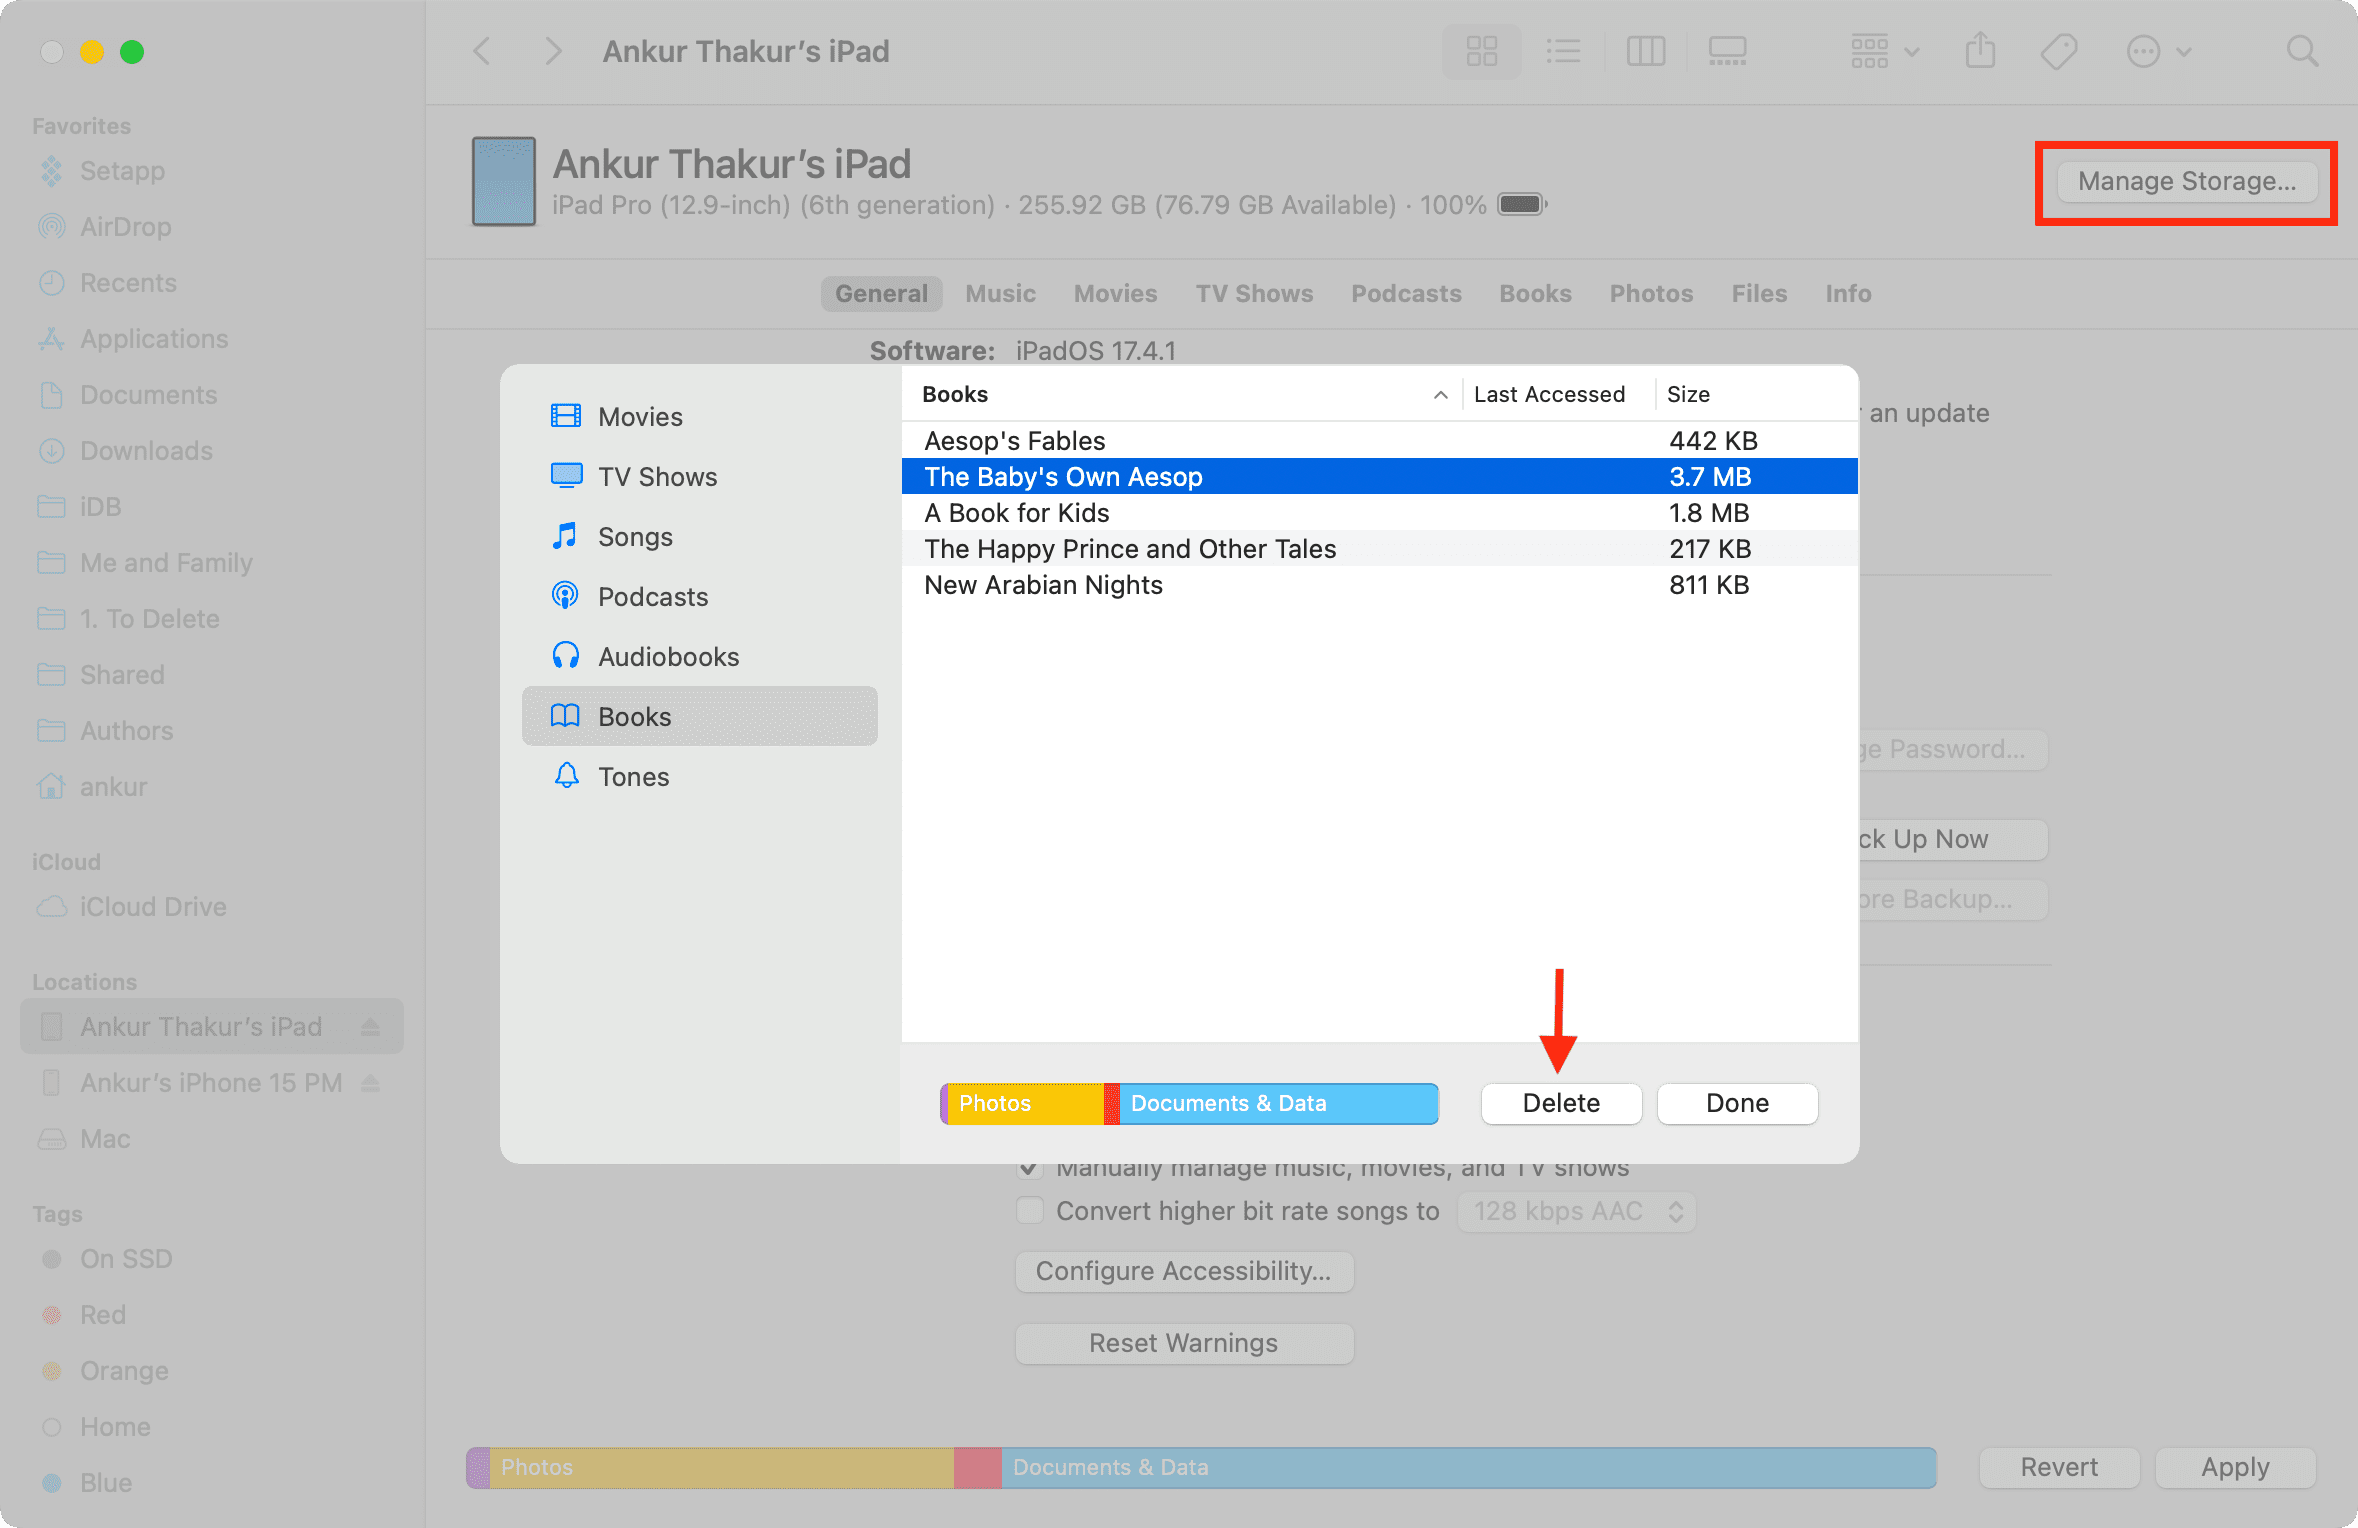
If you’re on the most recent version of iOS and macOS, you can hit Manage Storage from the top right of the iPhone Finder screen and then delete files to free space.
Turn some Accessibility settings on or off
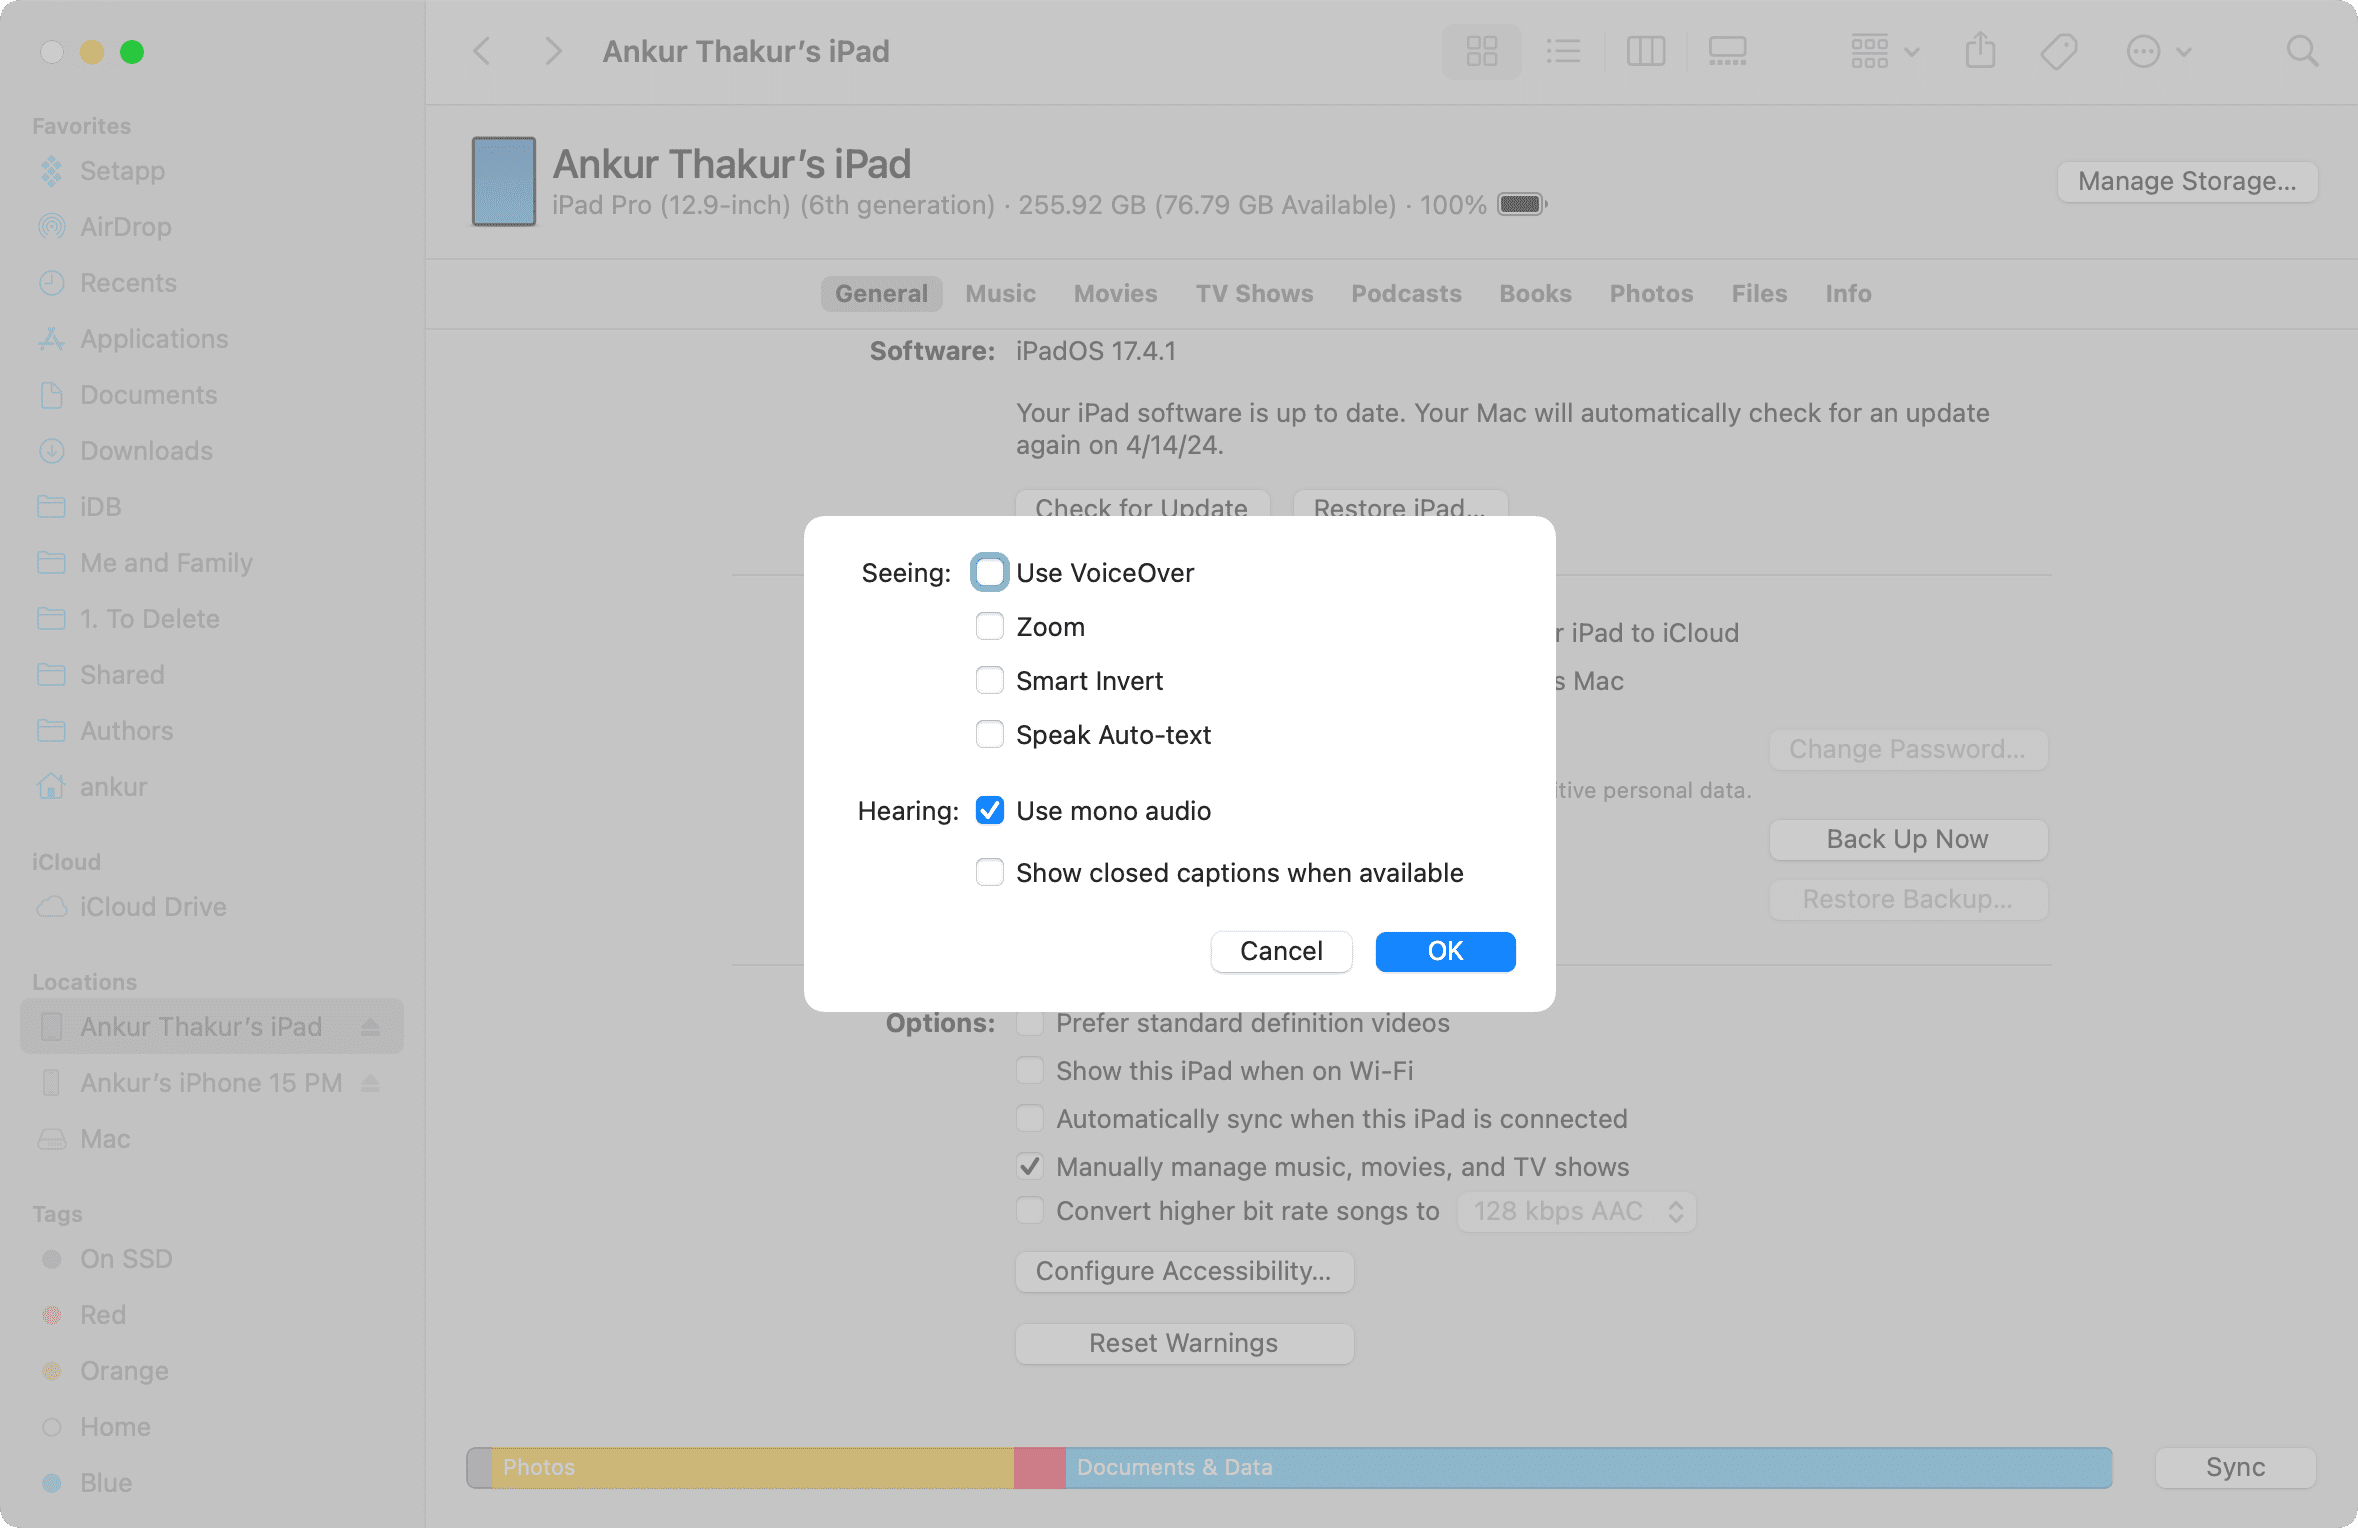
iOS has over 40 helpful accessibility features. Though you can’t manage them all from Finder, you can go to the General tab and click Configure Accessibility to activate or deactivate a few important ones. This is particularly helpful if you zoom your iPhone or iPad screen and can’t unzoom it right from the device.
Update your iOS device
Use the Check for Update button in the General tab to ensure your iPhone, iPad, or iPod is running the most recent version of its respective software.
Back up iPhone data to Mac
While backing up your iPhone or iPad to iCloud is effortless, you can also just as easily back them up to your Mac.
Backing up and archiving the computer backup file (which, by the way, you can’t do on iCloud) is especially important if you update to beta software and then want to go back to the previous non-beta version.
Set up a new iPhone
You can connect your new iPhone or iPad to Finder on Mac and set up the device. If you had backed up your old iPhone, you can move that data to your new device.
Restore the software
Turn off Find My and then use the Restore iPhone/iPad button to install a fresh copy of the software.
In case your iPhone, iPad, or iPod is bricked, frozen, or acting up, you can put the device in recovery mode and then reinstall its software to fix these issues. This method is also helpful if you happen to forget your device passcode.
Manage iPhone or iPad without cable
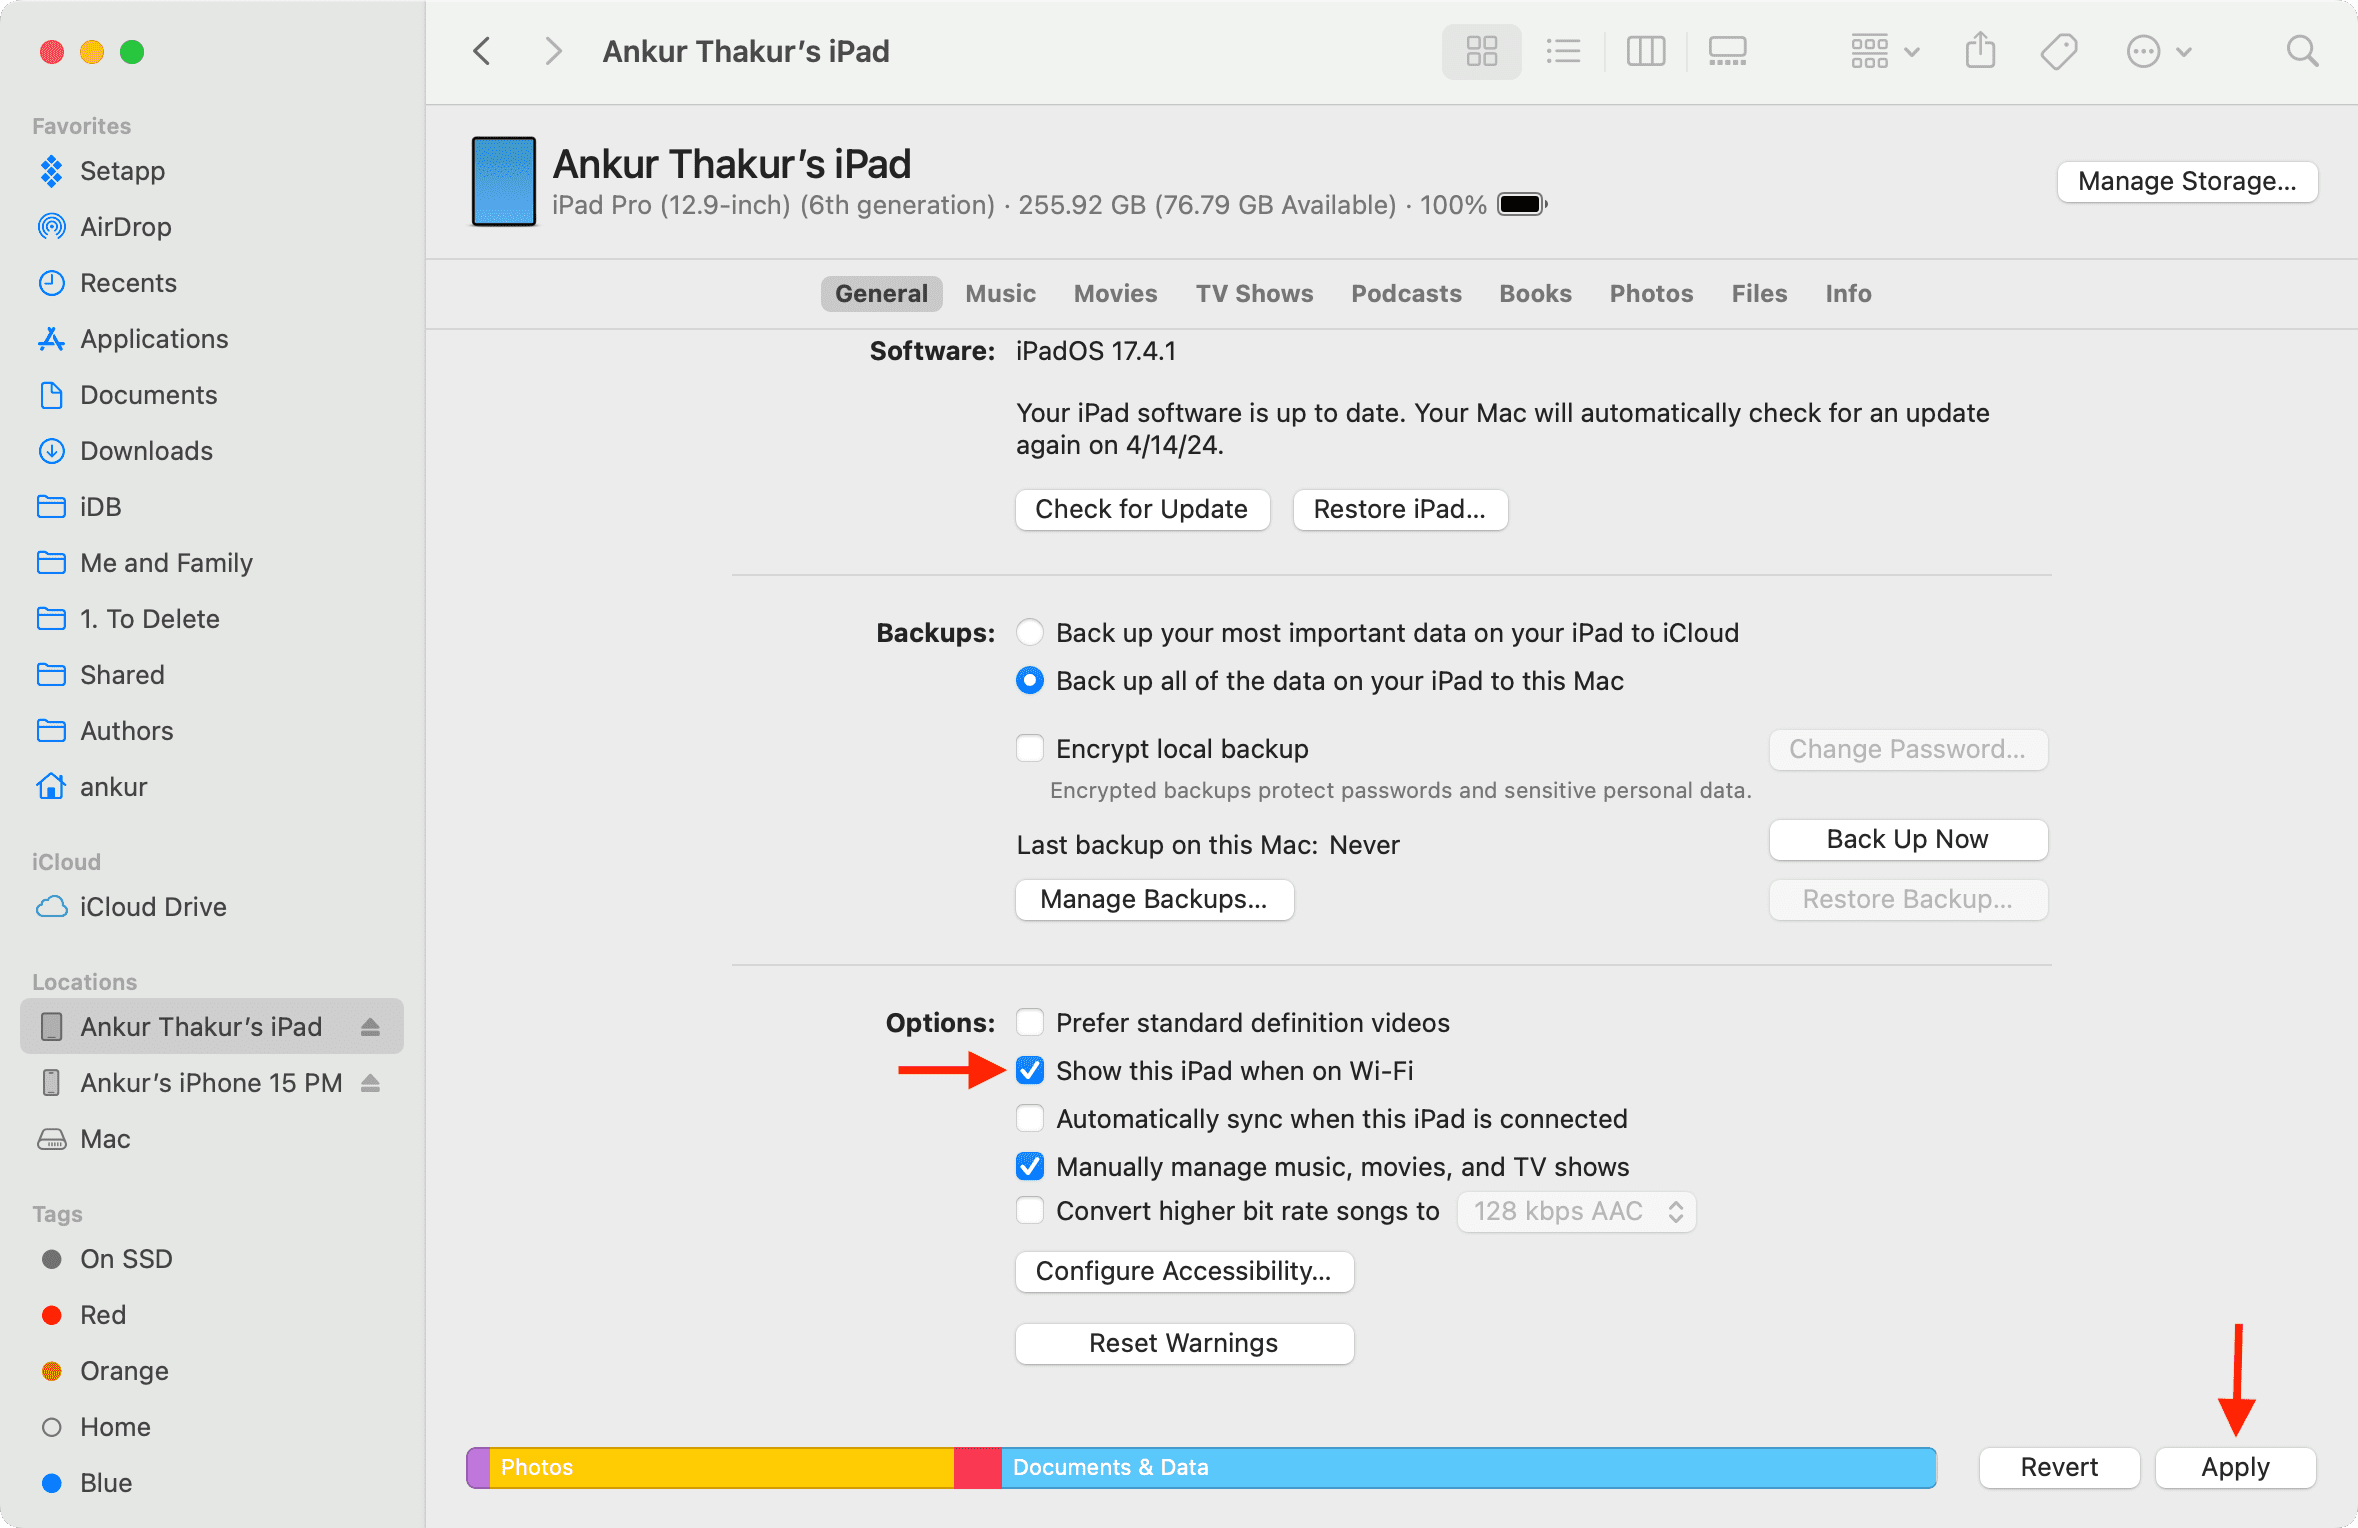
Go to the General section, check the box for “Show this iPhone/iPad when on Wi-Fi,” and hit Apply.
After this, when your iPhone/iPad and Mac are on the same Wi-Fi network, the iOS device will appear in the Finder sidebar. You can do most of the things, like syncing media and changing settings, without connecting with a cable.
Some things, like restoring the device and updating, will still require a wired connection.
Eject the device
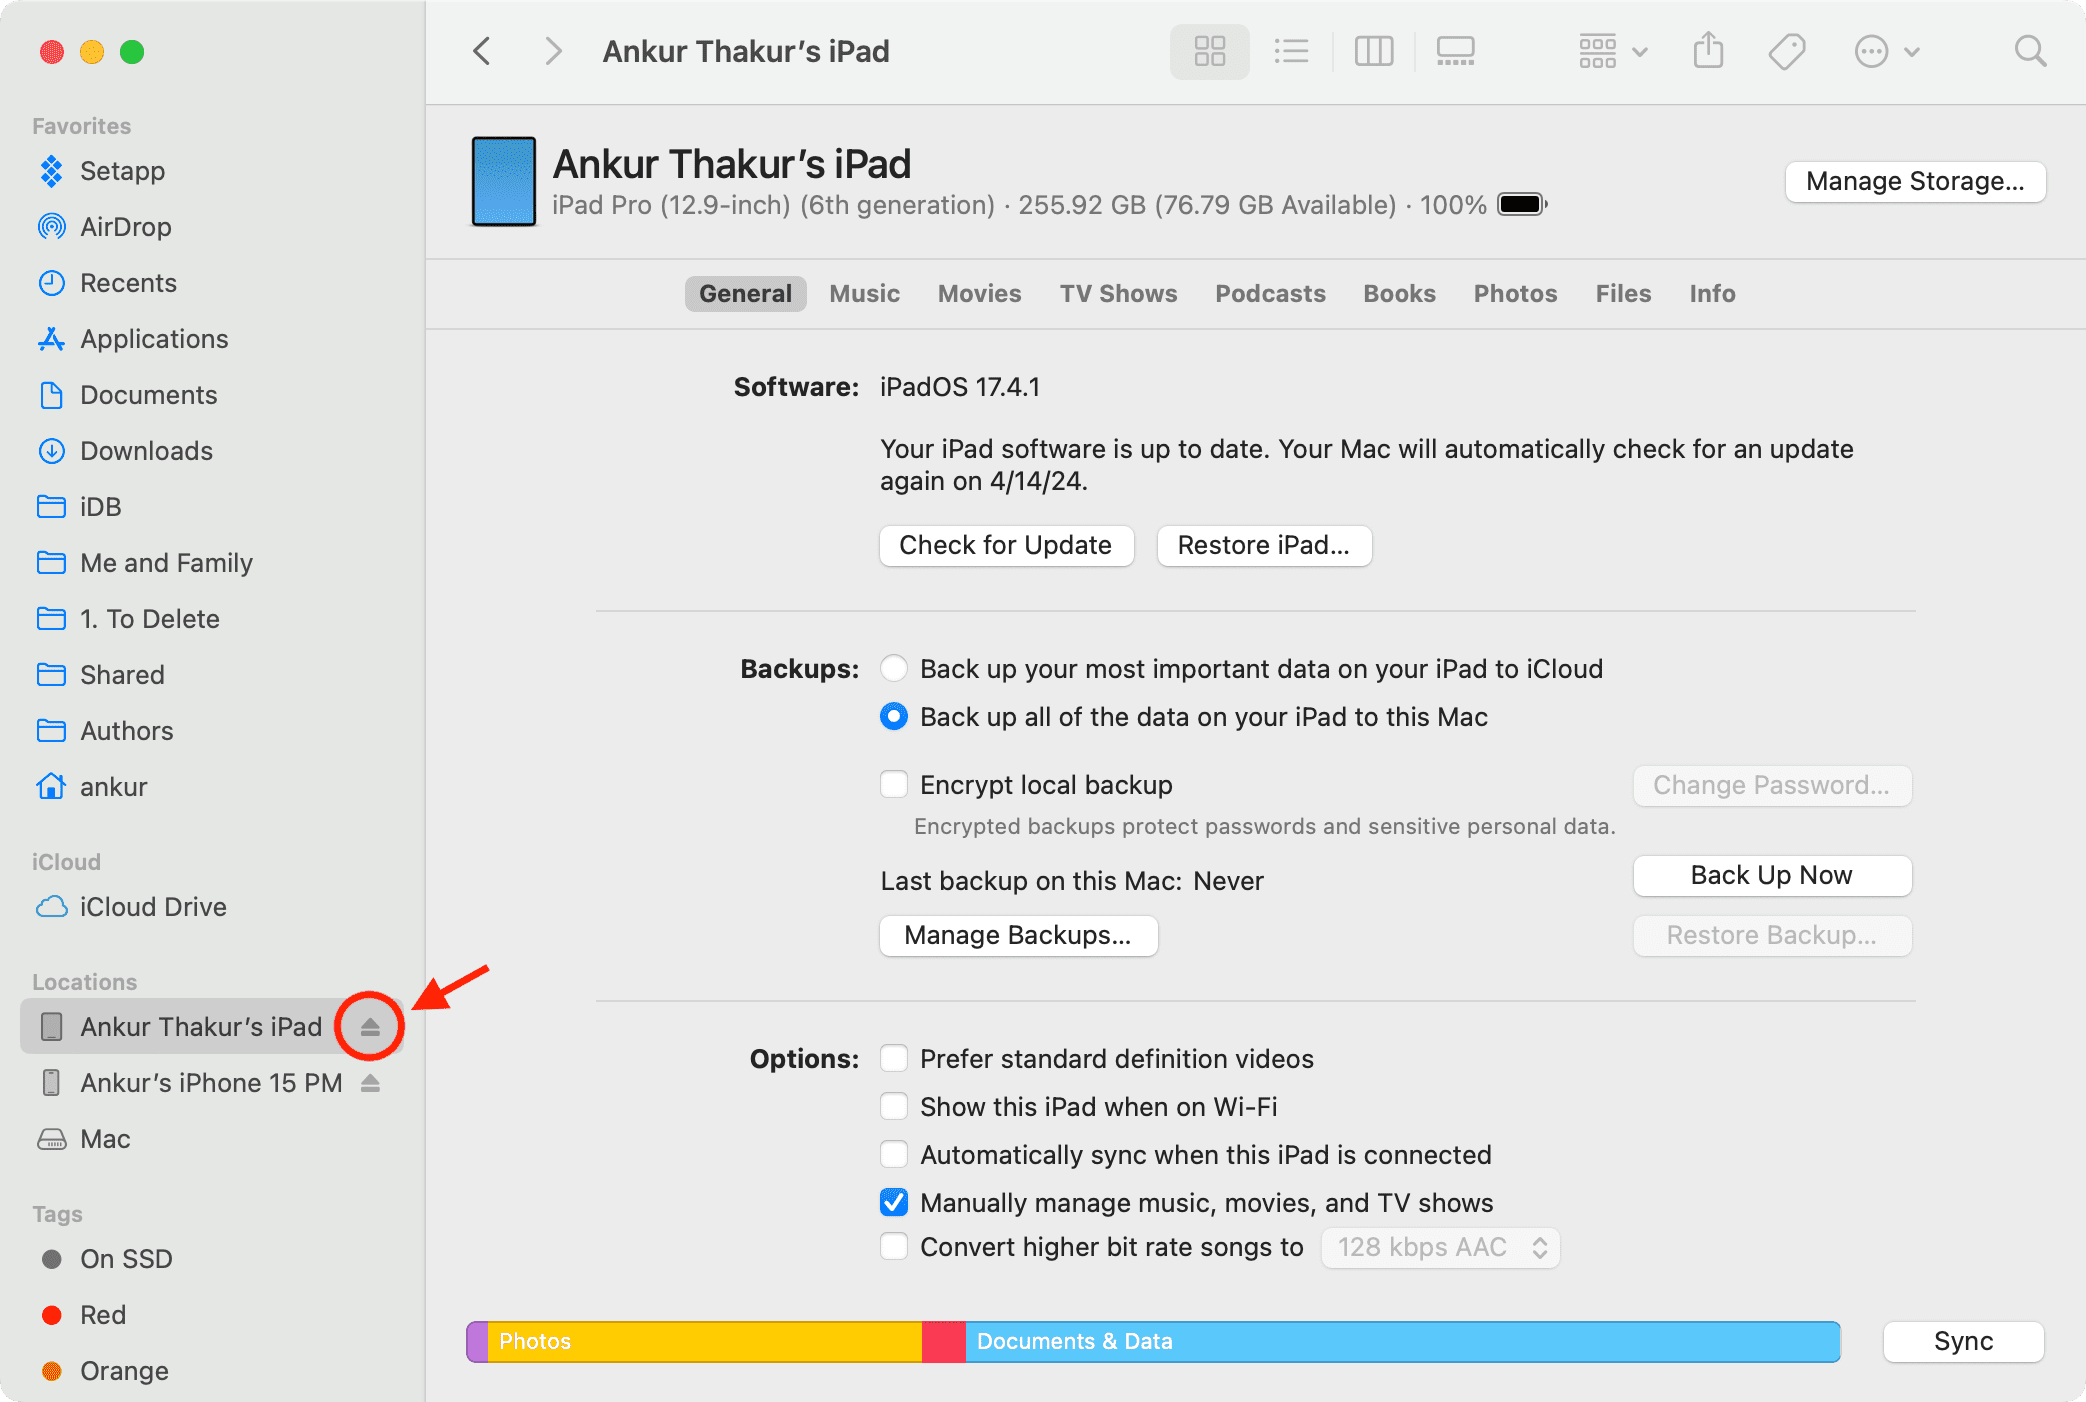
Once you finish working with your iPhone or iPad in Finder, click the eject icon. Now, you can’t do the above things unless you unplug and reconnect. However, the device will continue to charge even after being ejected.
On a related note: How to use the Apple Devices app on your Windows PC