Whether you’re having problems with your iPhone or iPad or perhaps would like to start anew, recovery mode can be a helpful solution.
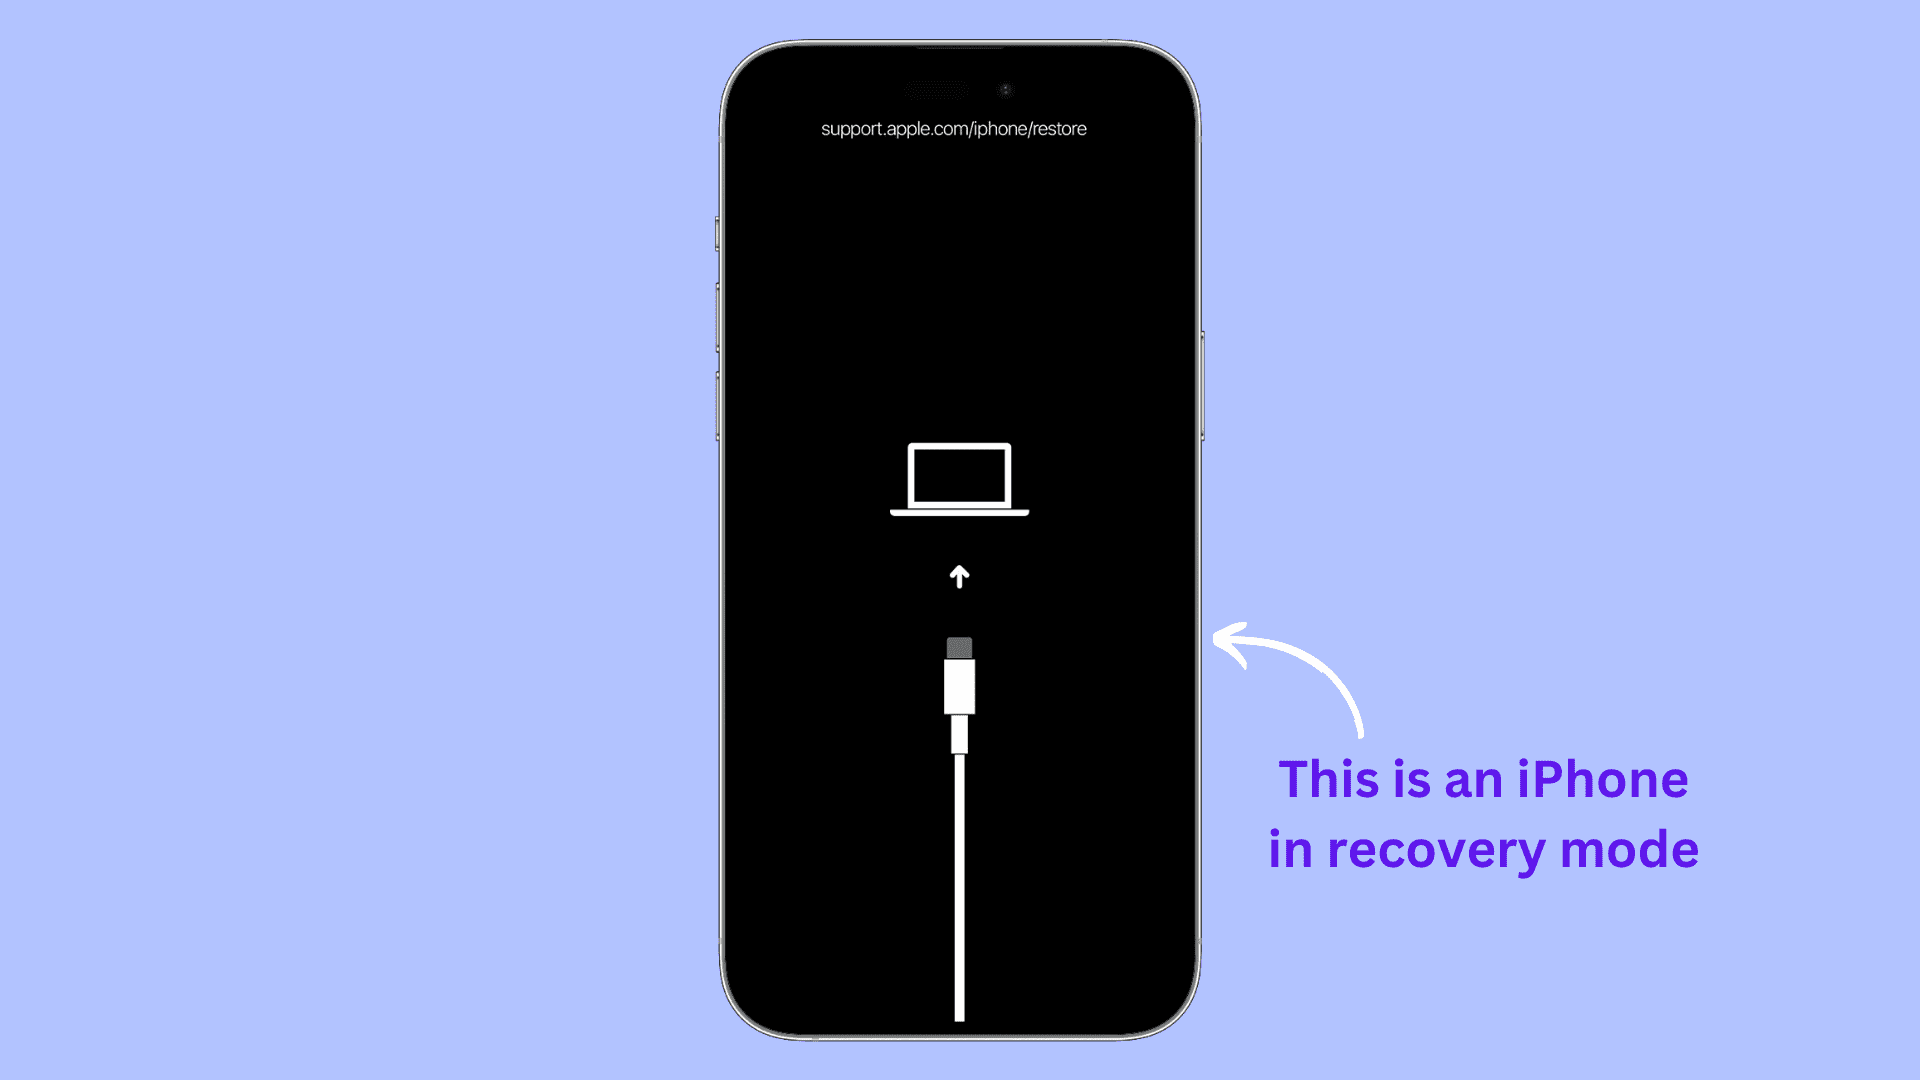
It’s a feature built into iOS and iPadOS for device troubleshooting that lets you update the device or reinstall the operating system to fix issues and restore it to its original factory settings.
Why use recovery mode
Restarting your iPhone or iPad or performing a force restart (if the screen is unresponsive) can fix many issues.
In case of significant problems, however, you might need to put your device in recovery mode to be able to update or restore its software. Here are some examples of major iPhone and iPad issues that require recovery mode:
- The device is stuck on the Apple logo and doesn’t boot back up.
- The device is unresponsive, and you can’t force restart it with the physical buttons.
- Your iPhone or iPad is stuck in a reboot loop, where it endlessly restarts.
- You have forgotten your iPhone passcode.
- macOS Finder, the Apple Devices app, or iTunes can’t recognize the device plugged into your Mac or Windows PC.
- macOS Finder, the Apple Devices app, or iTunes keeps throwing errors when you attempt to update or erase an iOS device.
- You’re in the middle of an over-the-air update session, but the installation progress bar stops and doesn’t move for an extended period of time.
- You see a “Connect to Mac/computer/iTunes” screen on your iOS device.
- The new Recovery Assistant in iOS 27 fails to fix the software issue.
Do you lose data in recovery mode?
It depends on what you do after entering recovery mode. If you choose to update the software, all your settings and data will be intact. But if you don’t see the option to update or updating doesn’t fix the problem, your only option is to restore or restore and update your iPhone or iPad, which will erase all data and settings.
What you need
In addition to your iPhone or iPad, you’ll also need the following:
- Mac running the latest version of macOS or a Windows PC with the latest version of the Apple Devices app (successor of iTunes)
- USB-C or Lightning cable
- USB adapter if you can’t connect your iPhone or iPad to Mac or PC directly with a USB-C or Lightning cable
- An Internet connection on your Mac or PC
Put your iPhone or iPad in recovery mode in iOS 27
Follow these steps to put your iPhone or iPad in recovery mode if it’s updated to iOS 27 or iPadOS 27 and the device is working.
Step 1: Get your Mac or PC and the right USB cable in order (you’ll need them in Step 6 below). Close all Finder windows on Mac or quit the Apple Devices app on PC if open.
Step 2: Power off your iPhone or iPad if it’s switched on. Wait for at least 1 minute to ensure a complete shutdown.
Step 3: Press and hold the side power button on iPhone or the top power button on iPad and keep pressing it until you see “Loading recovery options” on the screen. You’ll see this after the Apple logo and the “Continue holding for recovery” screens. We have talked more about it here: How to enter recovery restore screen on iPhone in iOS 27

Step 4: Tap Recovery Mode on the Restore your iPhone/iPad screen.
Step 5: Tap the Restart iPhone or Restart iPad button.

Step 6: Quickly connect your iPhone or iPad to your Mac or PC using a USB cable.
Step 7: Open Finder on Mac or the Apple Devices app on Windows PC, select your iOS device in the left sidebar, and then use the Update or Restore button as needed.

You can learn more about using recovery mode in our guide on downgrading from iOS 27 to iOS 26.
Put your iPhone or iPad in recovery mode if the device is unresponsive
You can use these steps if your iPhone or iPad is frozen or not working. Of course, it also works even if the device is responsive.
Step 1: Open Finder on your Mac or the Apple Devices app if you’re on a Windows PC. If the app was already open, quit and re-launch it.
Step 2: Connect your iPhone or iPad to the computer with a USB cable.
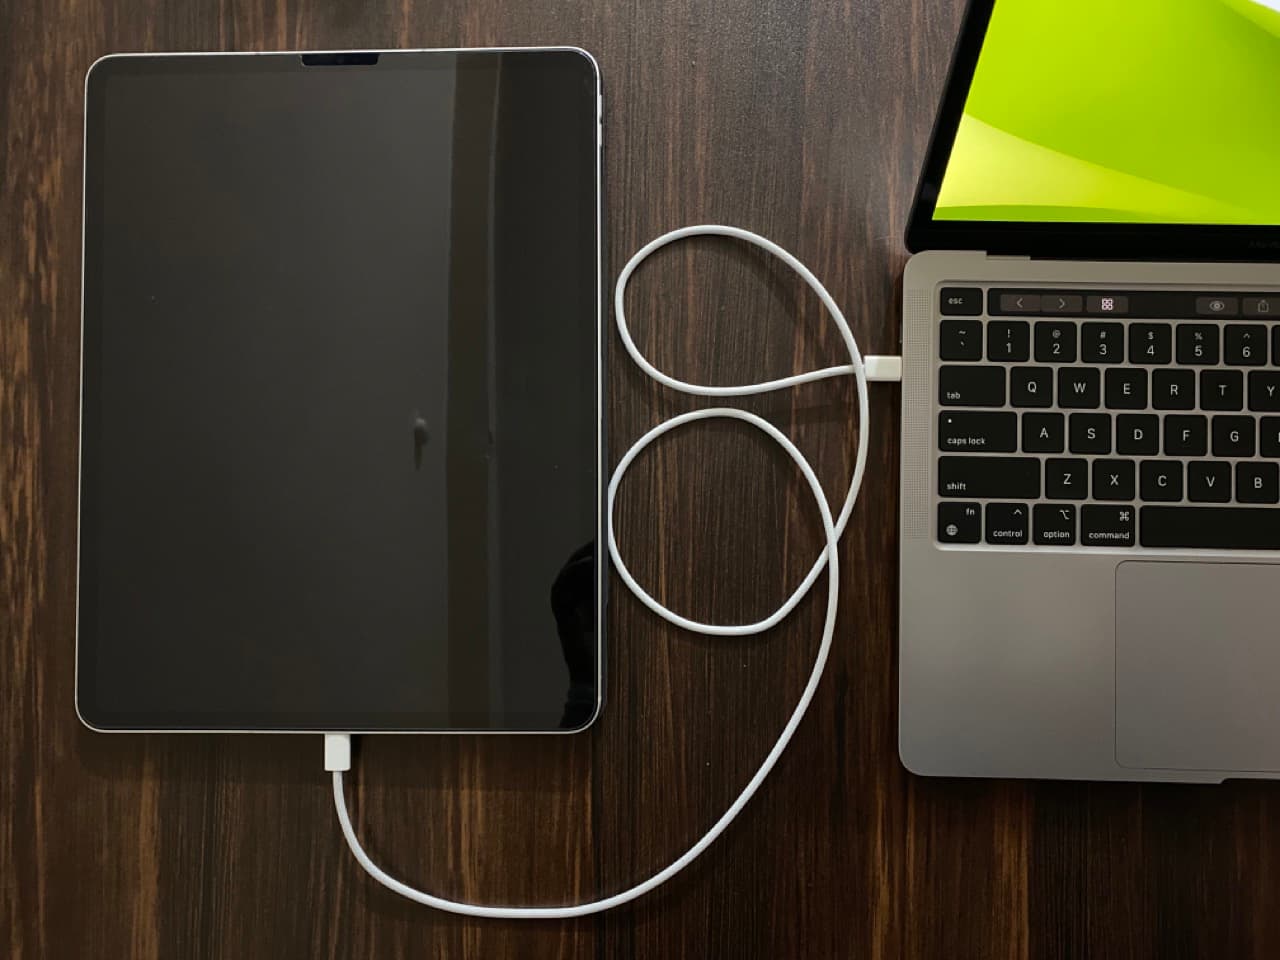
Step 3: To put your iPhone or iPad in recovery mode, follow the steps below for your specific model.
Important: When pressing and holding the required button combinations, your iPhone will display the power off slider. Don’t stop holding the buttons because you’ll see the Apple logo after that. Continue holding the buttons until your iPhone displays a cable icon pointing toward a computer, indicating it’s in recovery mode (see the top image of this tutorial).
Put iPhone 17 to iPhone 8 in recovery mode:
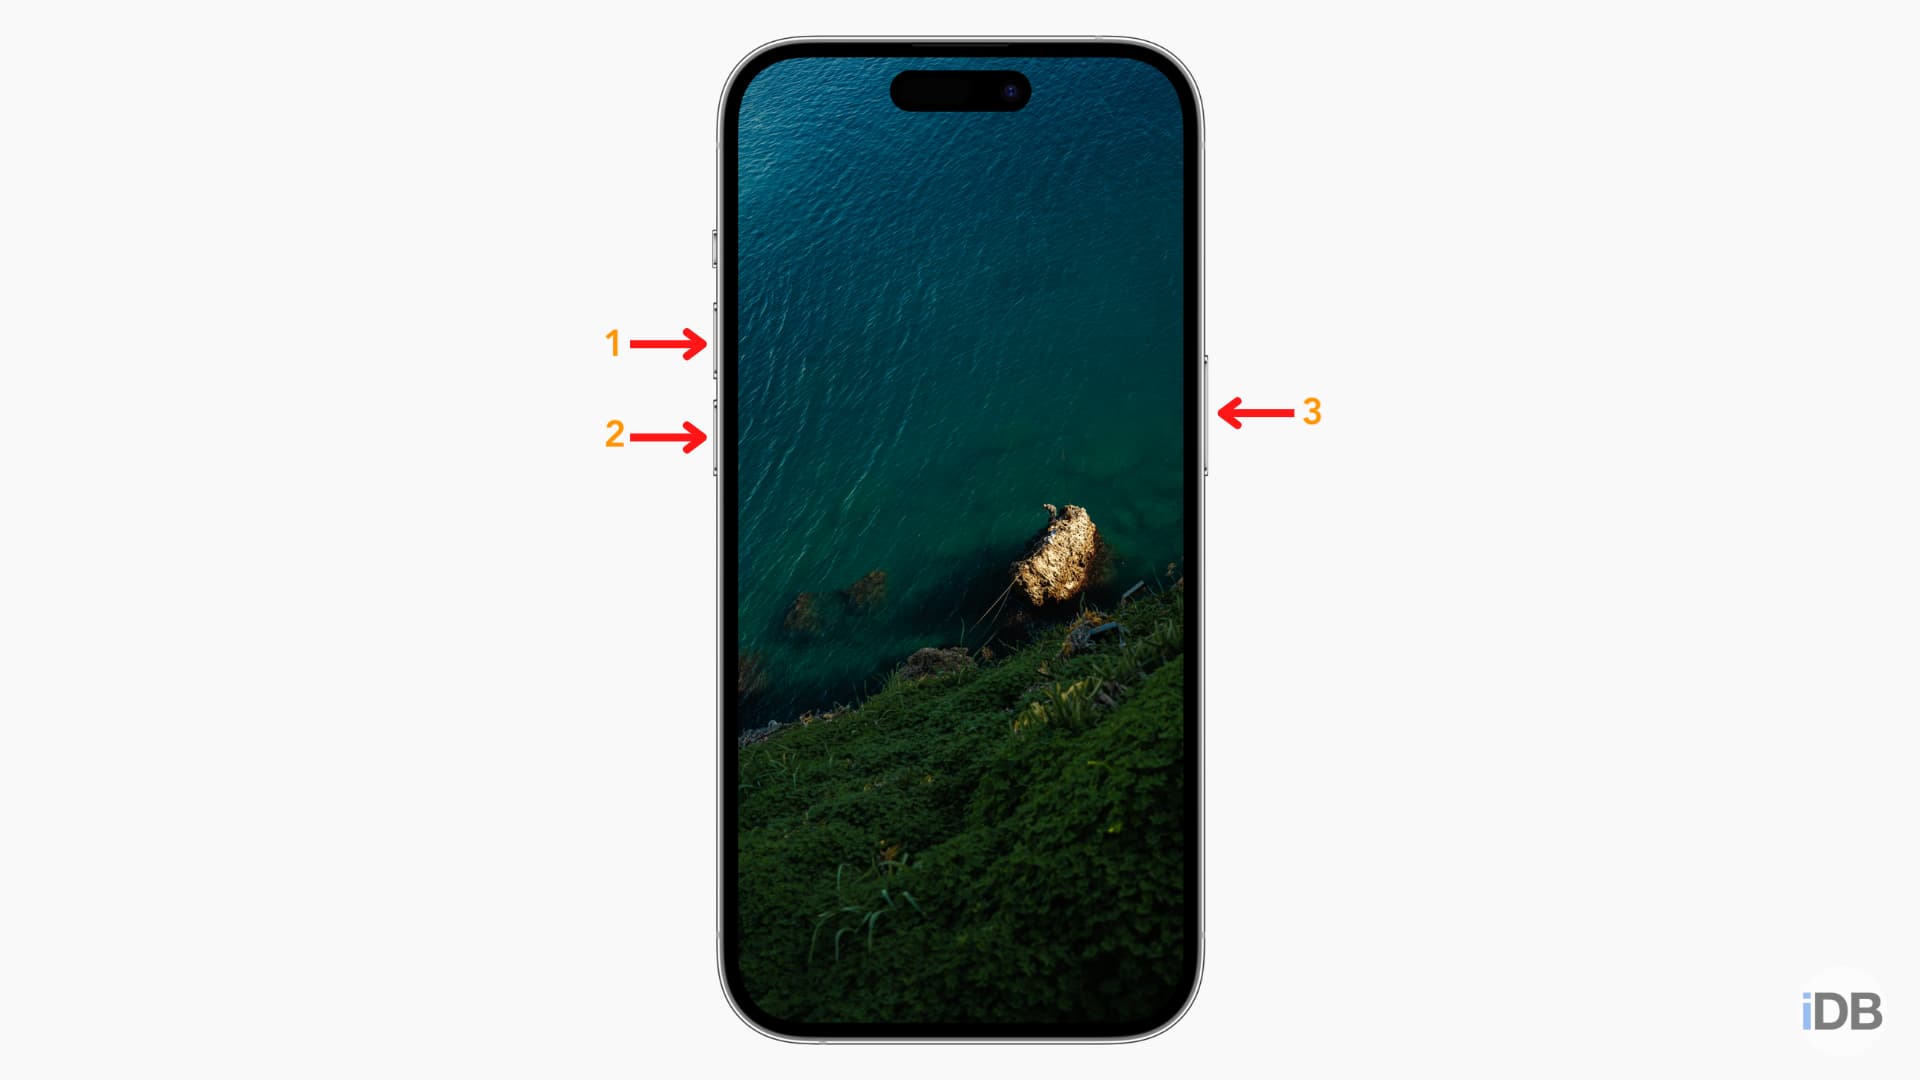
This includes all iPhone 17, iPhone Air, iPhone 16, iPhone 15, iPhone 14, iPhone 13, iPhone 12, iPhone 11, iPhone Xs, iPhone XR, iPhone X, iPhone 8, and iPhone SE (2nd generation) models. Both steps 1 and 2 should be performed in quick succession:
- Press the volume up button and release it quickly.
- Press the volume down button and release it quickly.
- Press and hold the Power button and keep pressing it until you see the recovery mode screen on your iPhone.
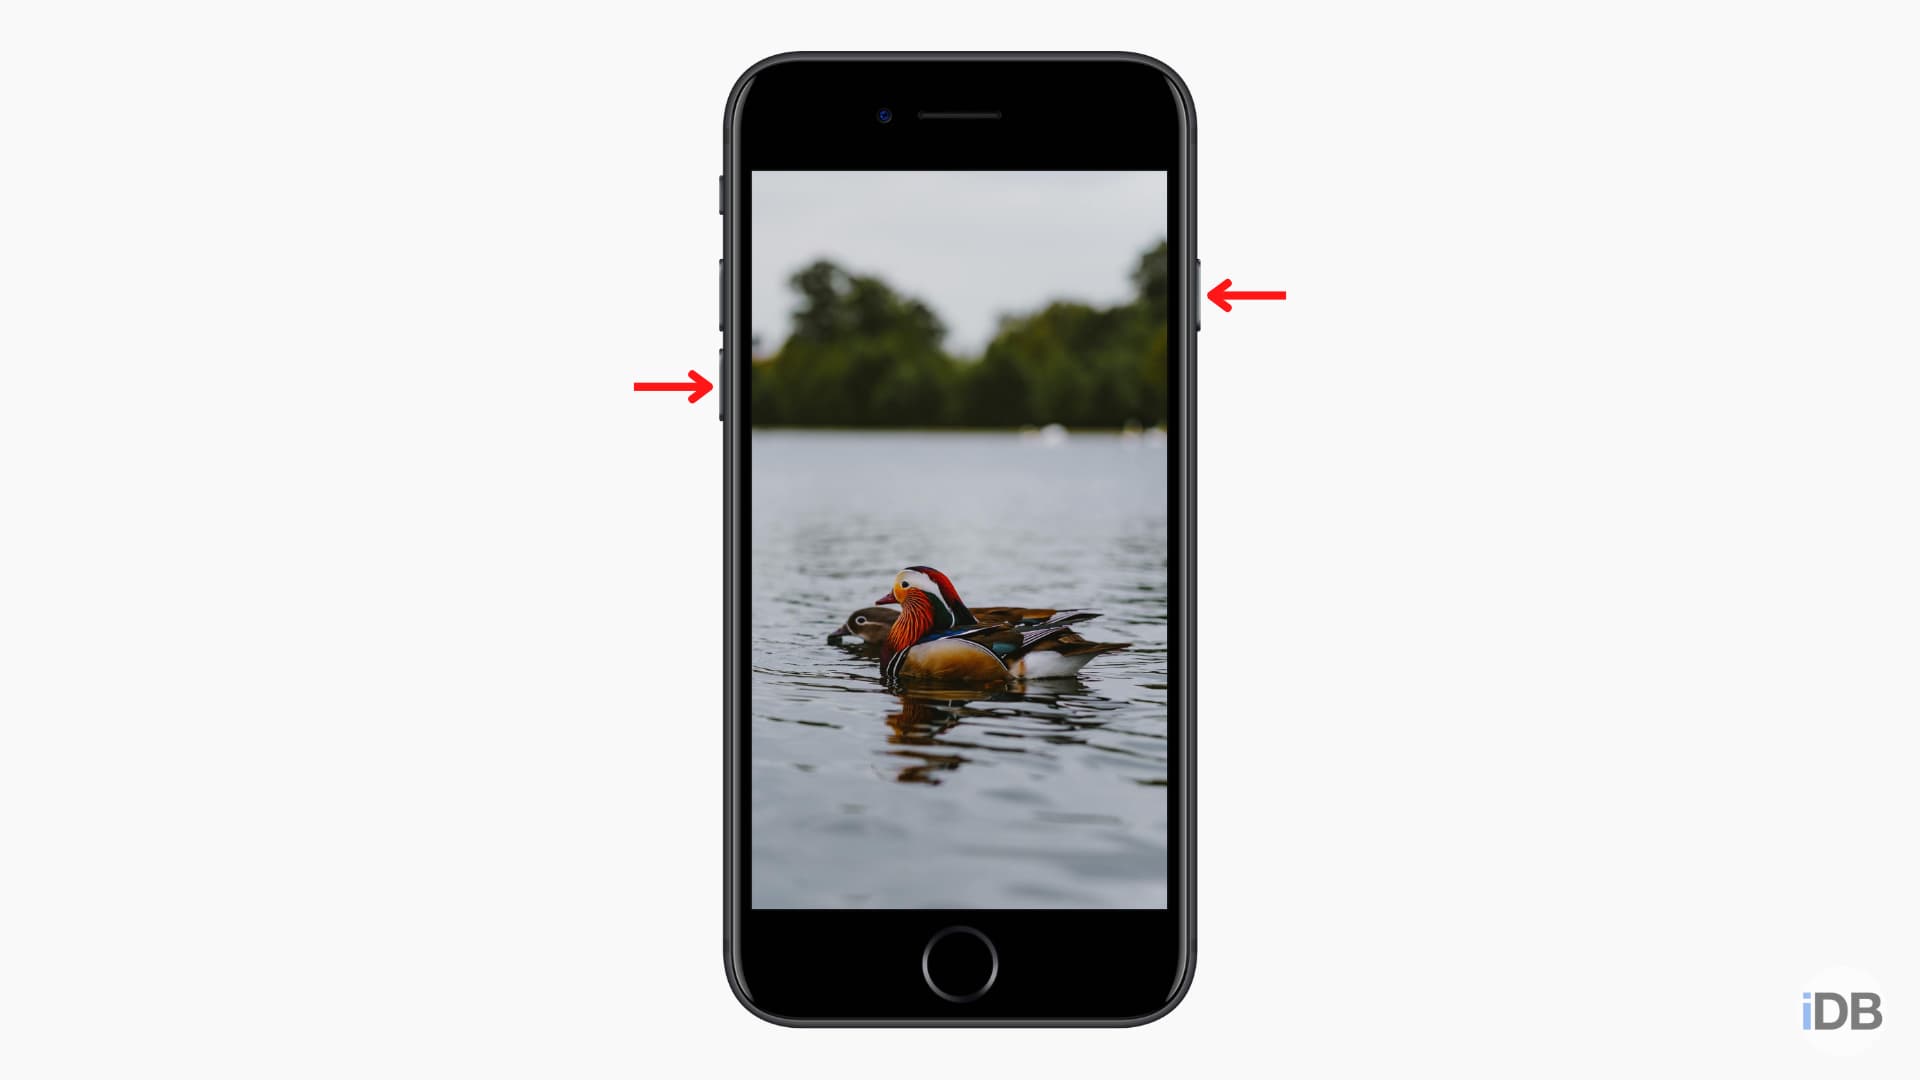
Put iPhone 7, 7 Plus, and iPod touch (7th gen) in recovery mode:
- Press and hold the Power button and the Volume Down button simultaneously.
- Keep holding the buttons until you see the recovery mode screen.
Put your older iPhone or iPad in recovery mode:
The following steps apply to older iPhone and iPod touch models such as the iPhone 6s, iPhone SE (1st gen), iPhone 6, iPod touch (6th gen), and older.
- Press and hold the front circular Home button and the Power button together.
- Keep holding the buttons until you see the recovery mode screen.
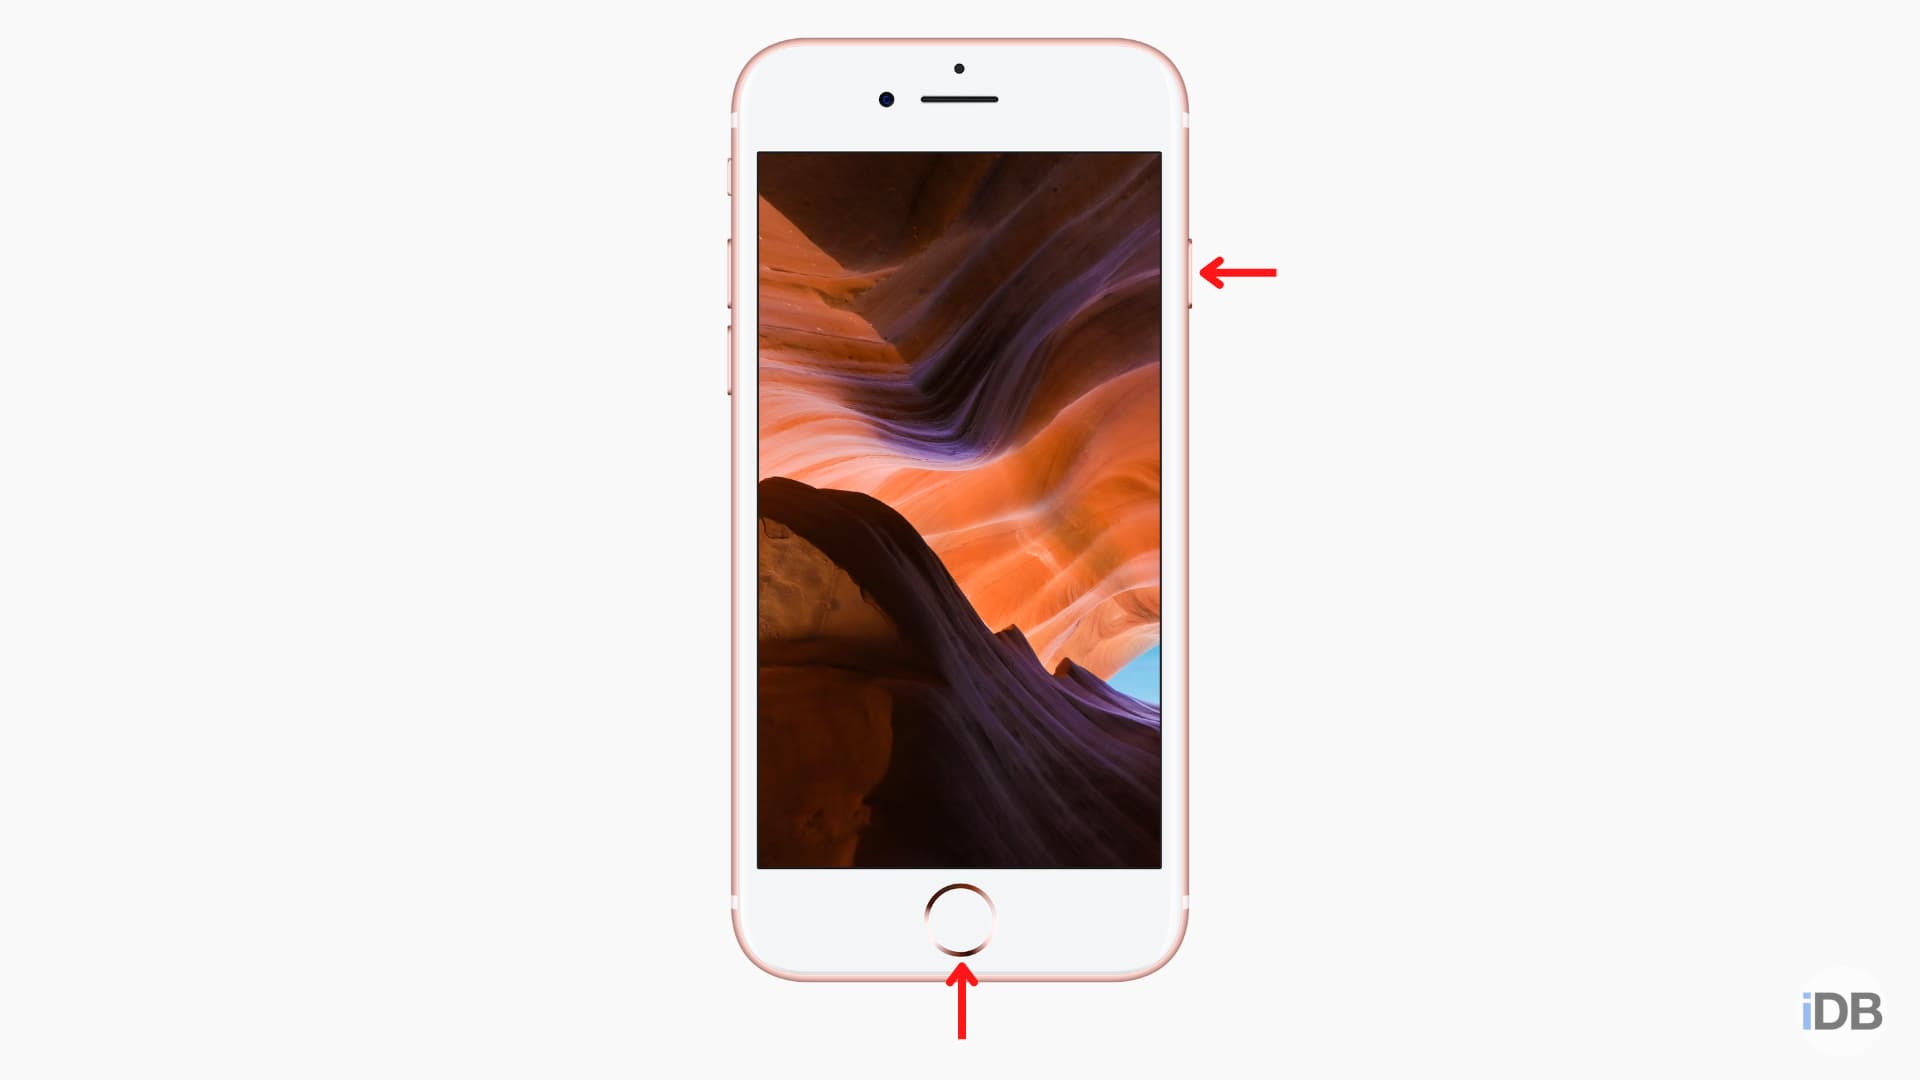
Perform these steps in quick succession.
- Press the volume button nearest to the top Power button and release it quickly.
- Press the volume button farthest from the top Power button and release it quickly.
- Press and hold the Power button until you see the recovery mode screen on your iPad.

- Press and hold the Home button and the Power button together.
- Keep pressing them until you see the recovery mode screen.
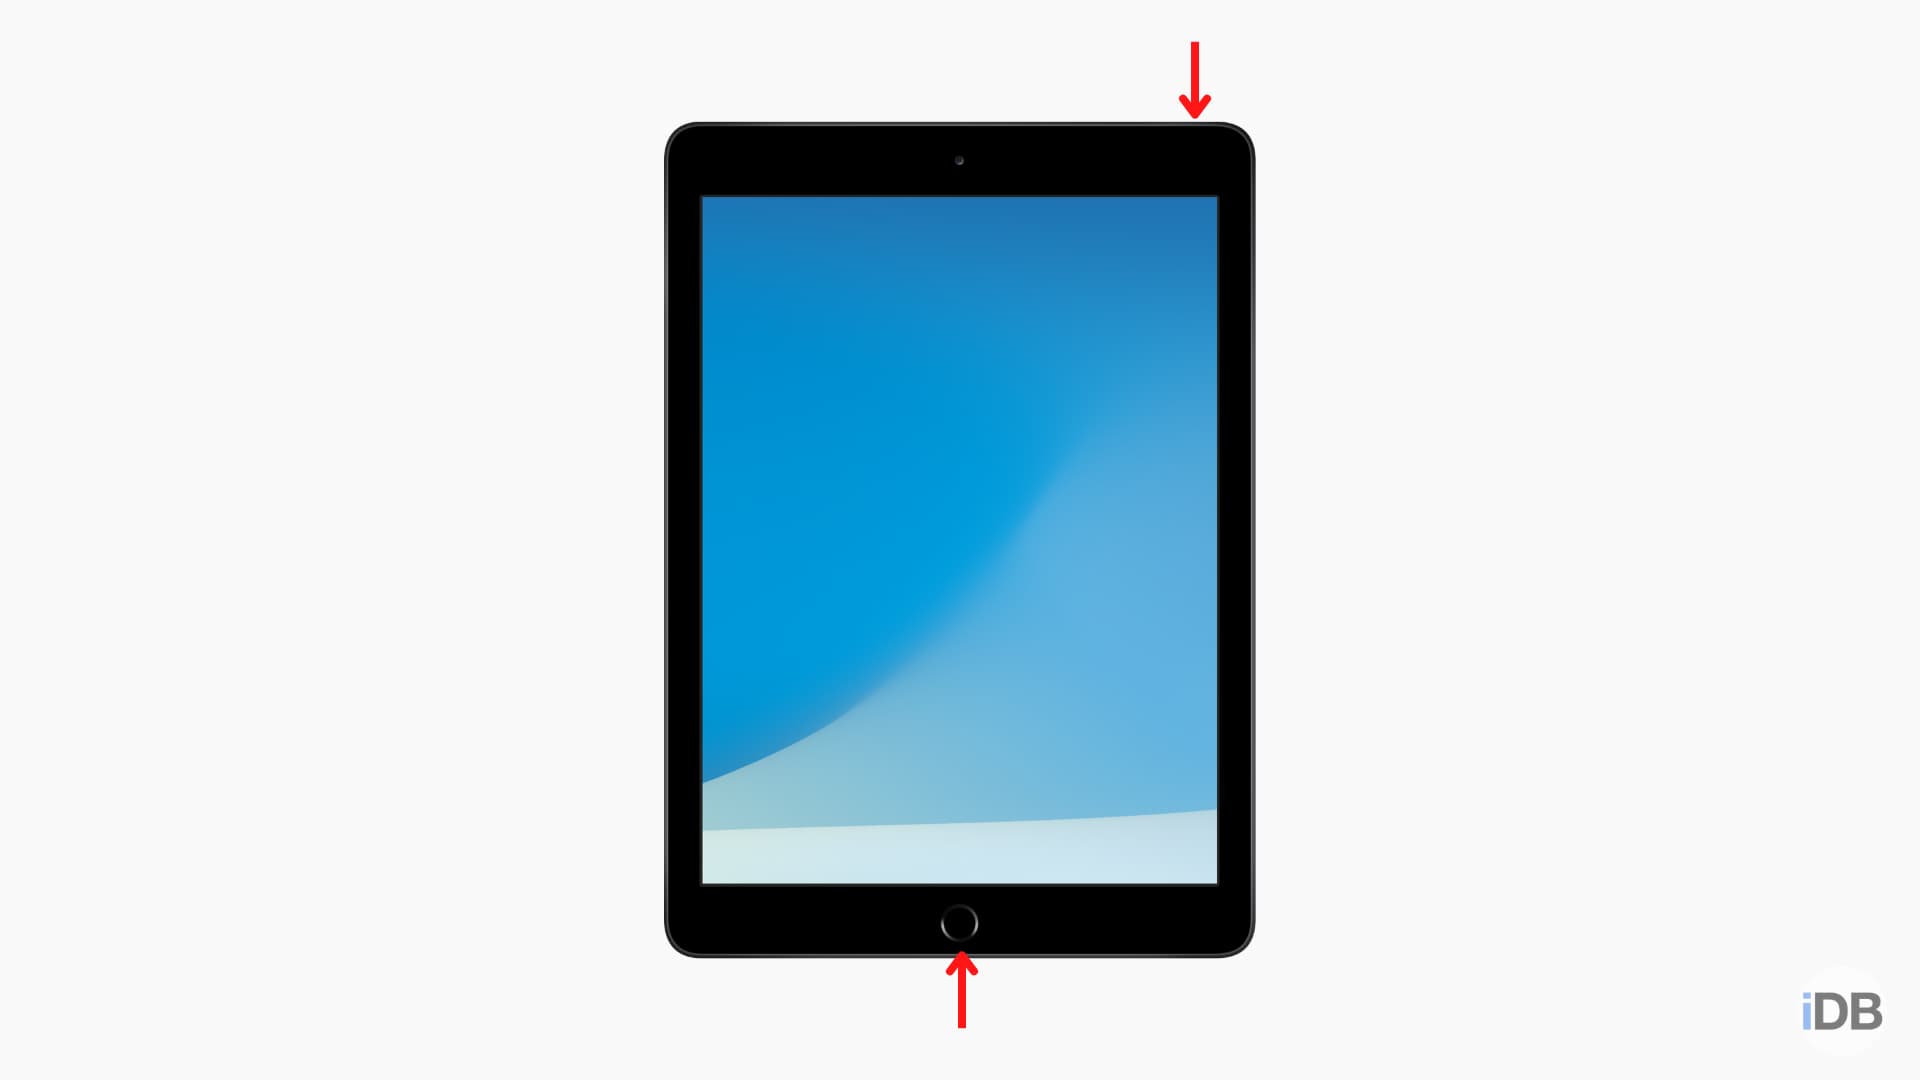
Step 4: If you’re on a Mac, select your iPhone or iPad in the Finder by clicking it in the sidebar under Locations.

If using the Apple Devices app on your Windows PC, select your iPhone, iPad, or iPod in the Devices section of the sidebar.
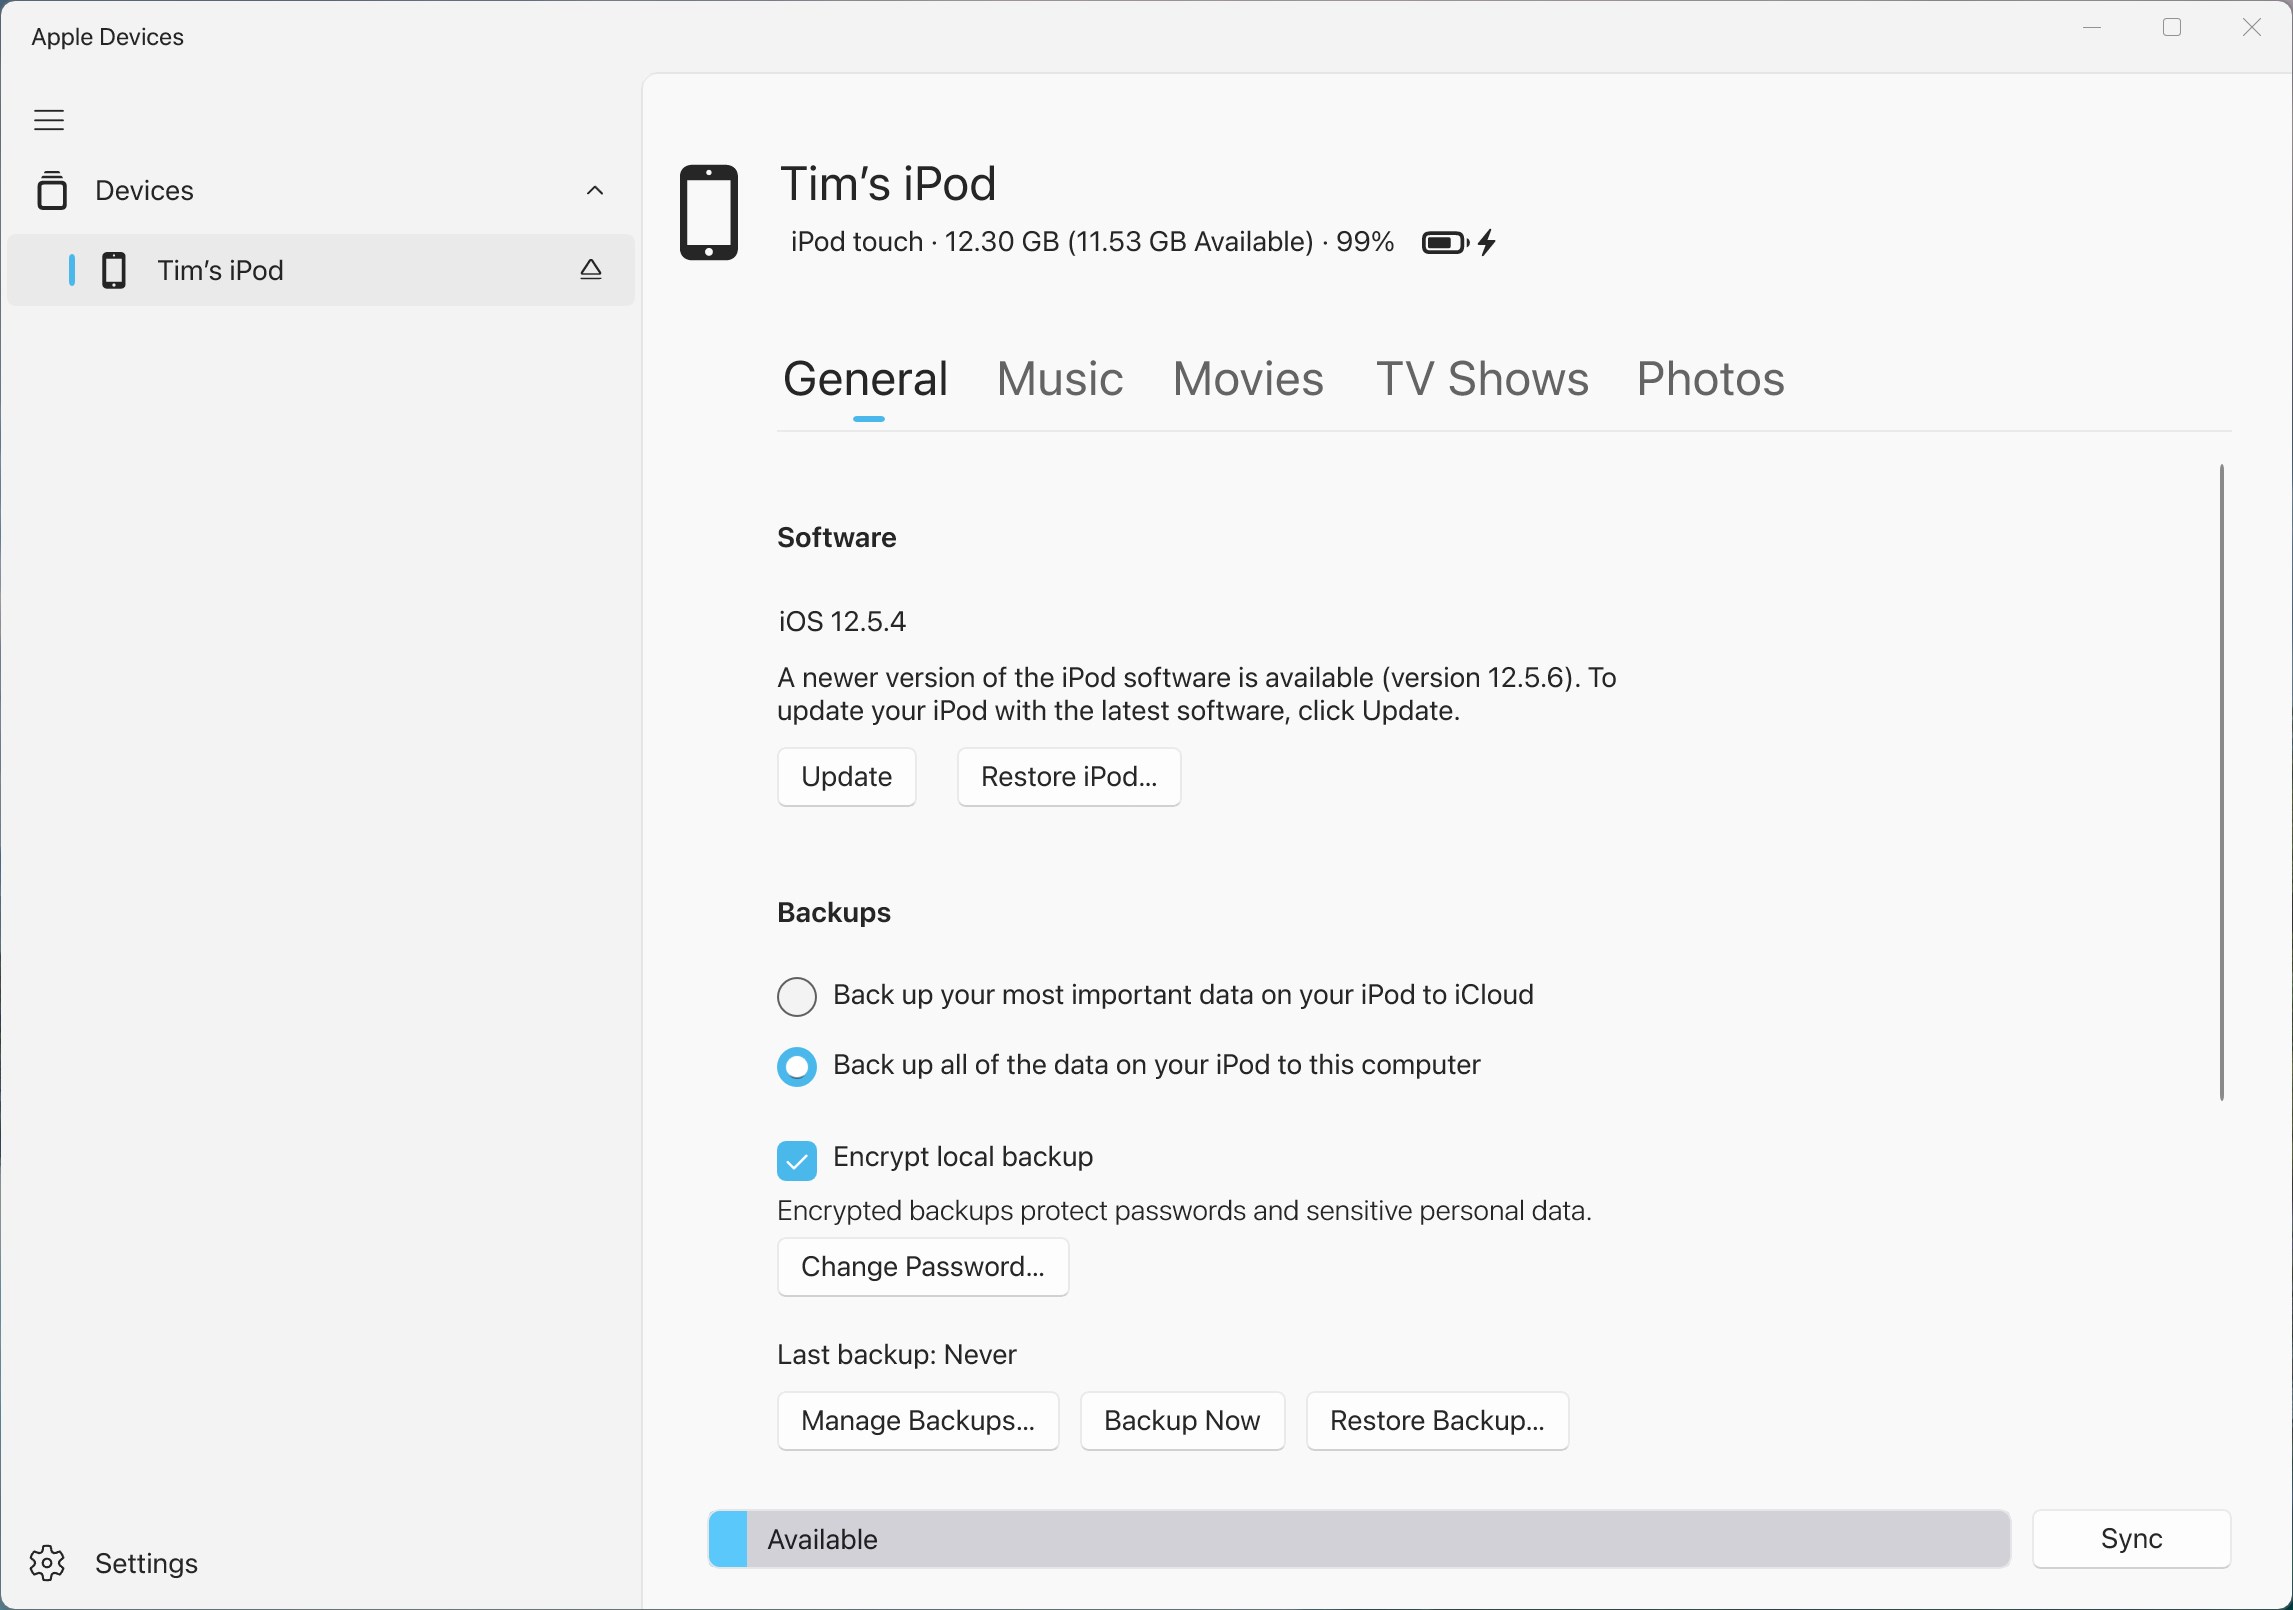
Folks using an old version of iTunes on a Windows PC should click the tiny iPhone or iPad logo at the top of the screen.

Step 5: You may see a prompt saying, “Allow accessory to connect? Do you want to connect Apple Mobile Device (Recovery Mode) to this Mac?” Click Allow.
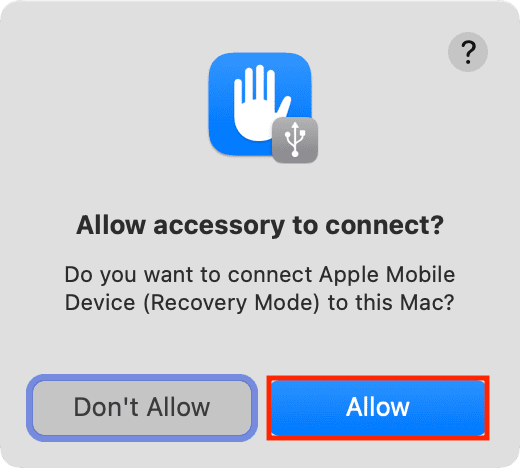
Step 6: You’ll see a prompt in the Finder or the Apple Devices app/iTunes saying, “There is a problem with the iPhone [or iPad] “iPhone” that requires it to be updated or restored.”
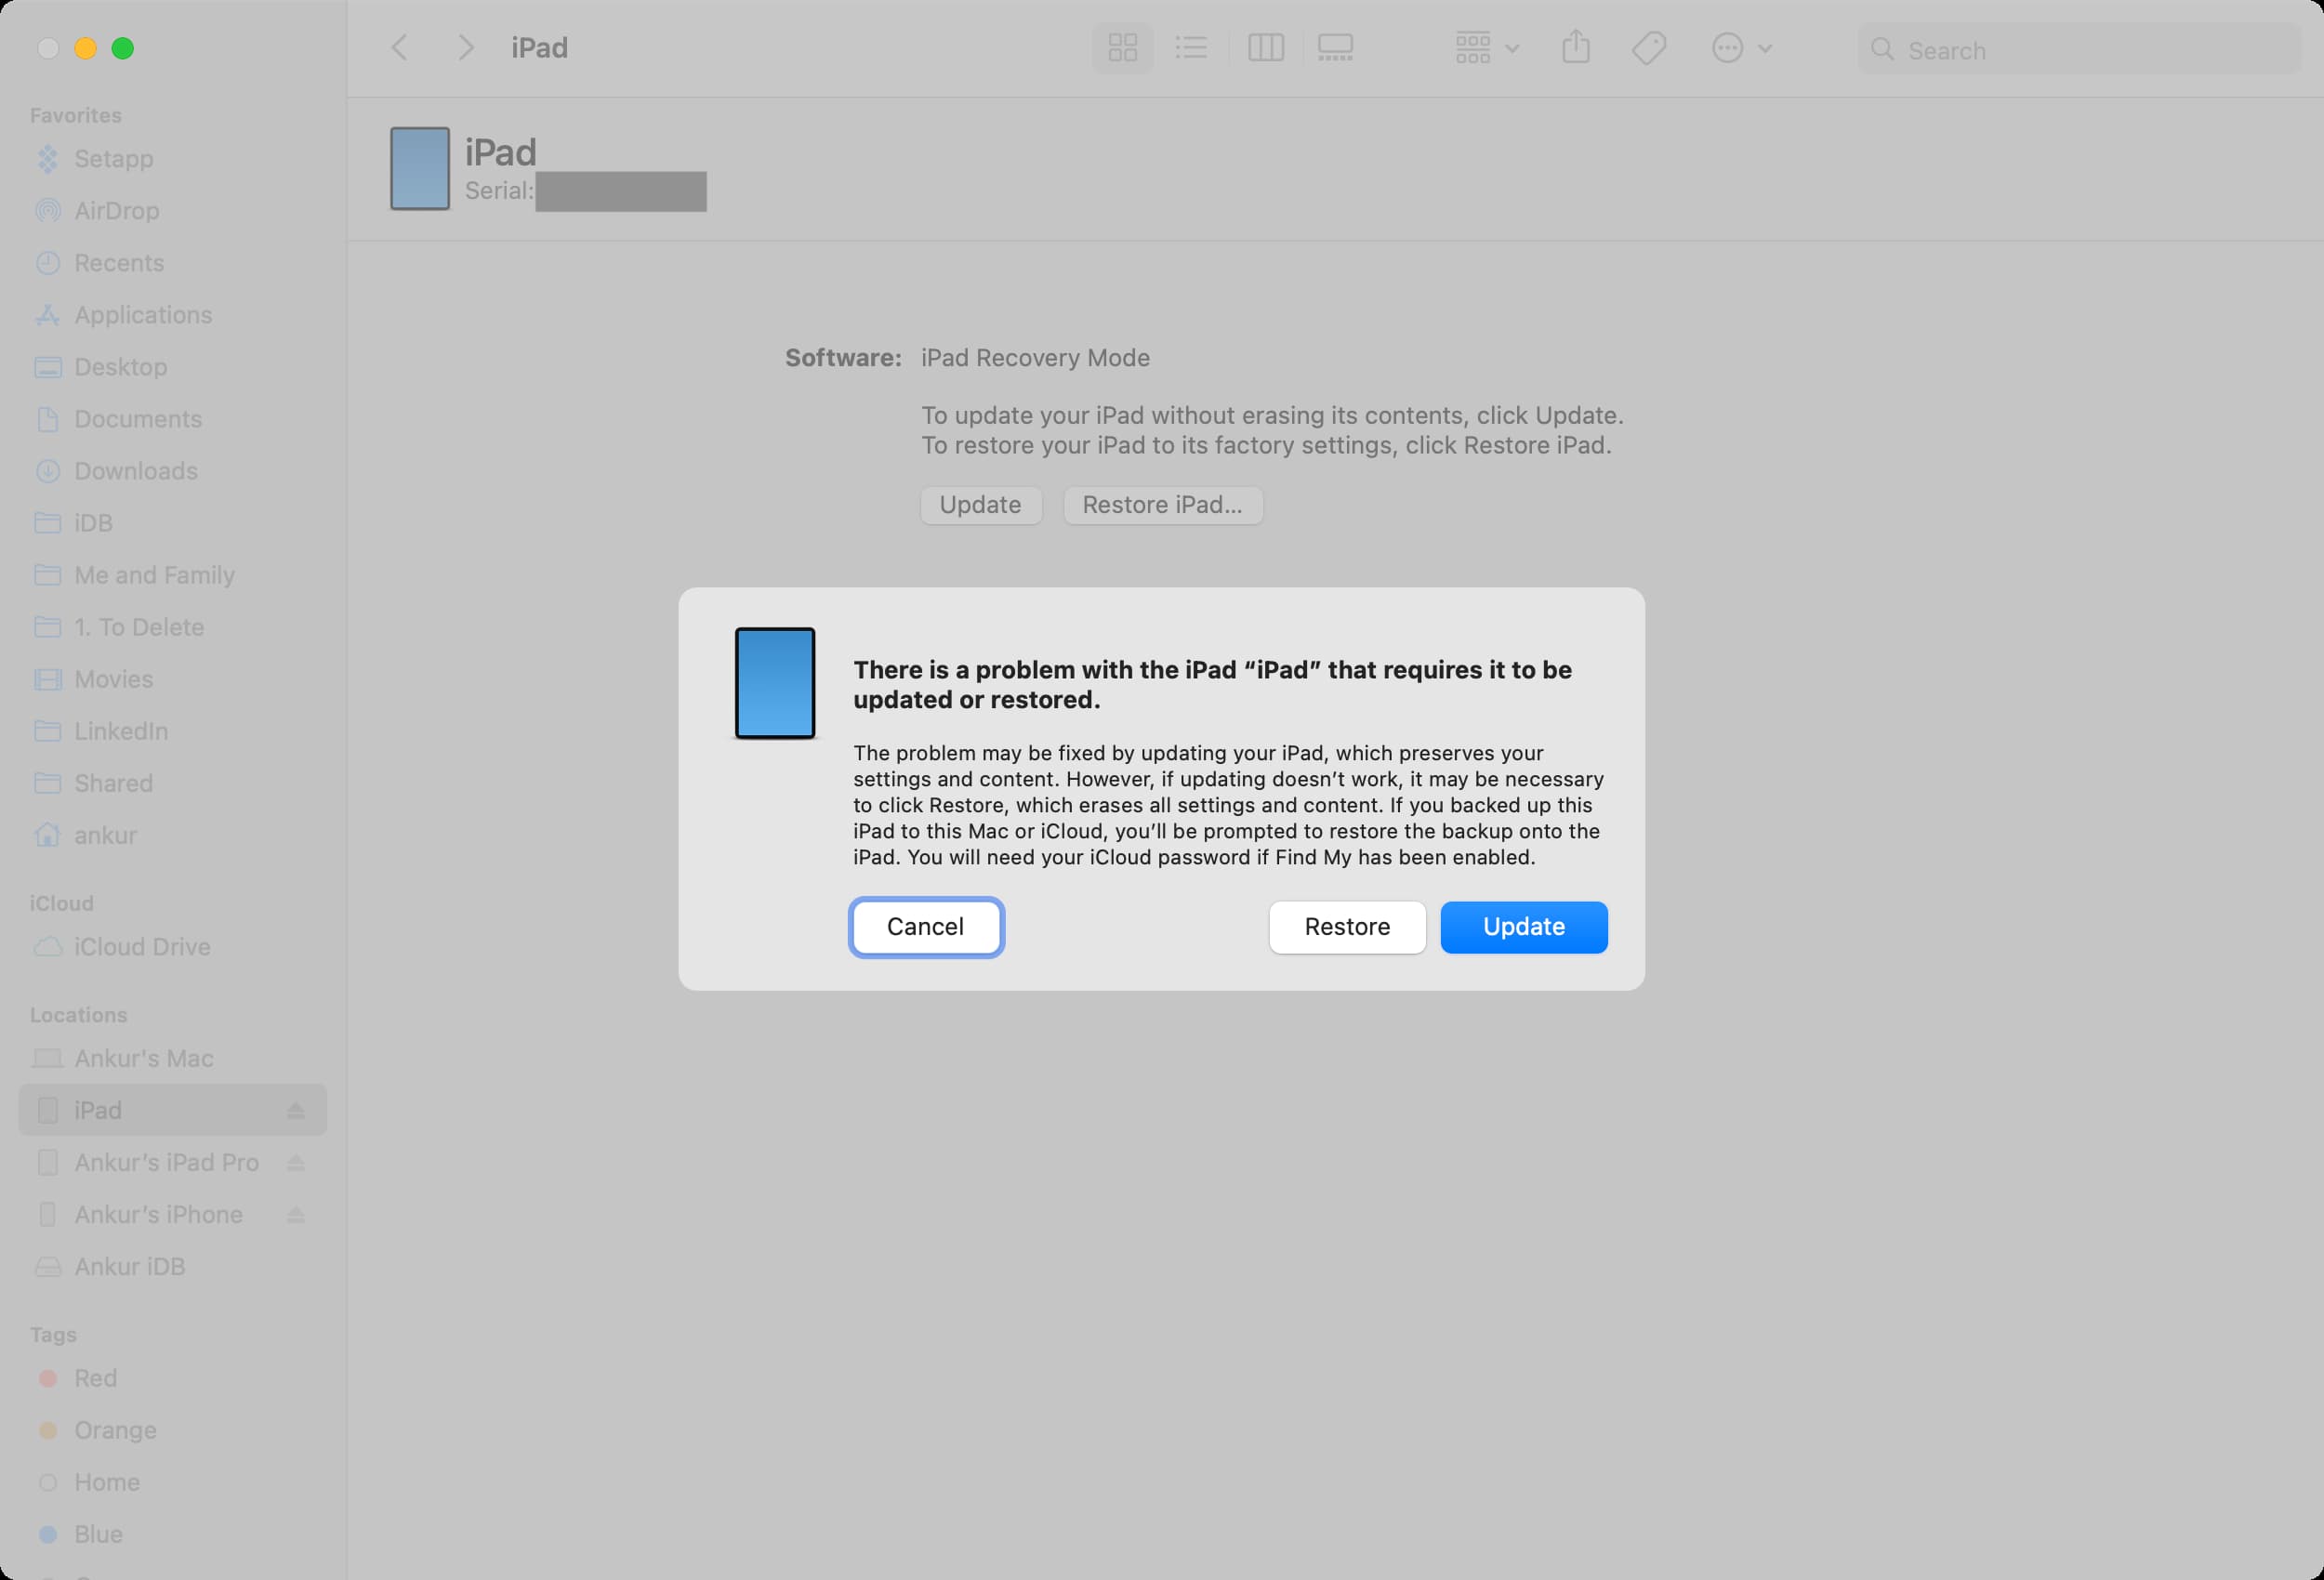
- Updating: Click Update and follow along to install the latest software version that should fix the problem without erasing any data or settings. Once completed, all your apps, text message history, documents, email accounts, settings, etc., will be intact.
- Restoring: If you don’t see the option to update or updating doesn’t fix the problem, choose Restore, which will delete everything on your iPhone or iPad. After you restore your iOS device using recovery mode, you’ll need to set it up again.
Note: If it takes more than 15 minutes to download the software while restoring or updating, your iPhone or iPad will automatically come out of recovery mode. If that happens to you, let your computer finish downloading the file before putting your device back in recovery mode.
Exit recovery mode midway
To exit recovery mode, press and hold the Power button on your iPhone or iPad until the recovery mode screen disappears, then let go when the Apple logo appears. Your device will boot up normally.
Also, check out: How to enter recovery restore screen on iPhone in iOS 27