Follow a few simple steps laid out in our tutorial if you'd like to discover and play a secret Google Easter egg pinball game in the company's official app for iPhone and iPad.
How to play a hidden pinball game in Google’s iPhone app
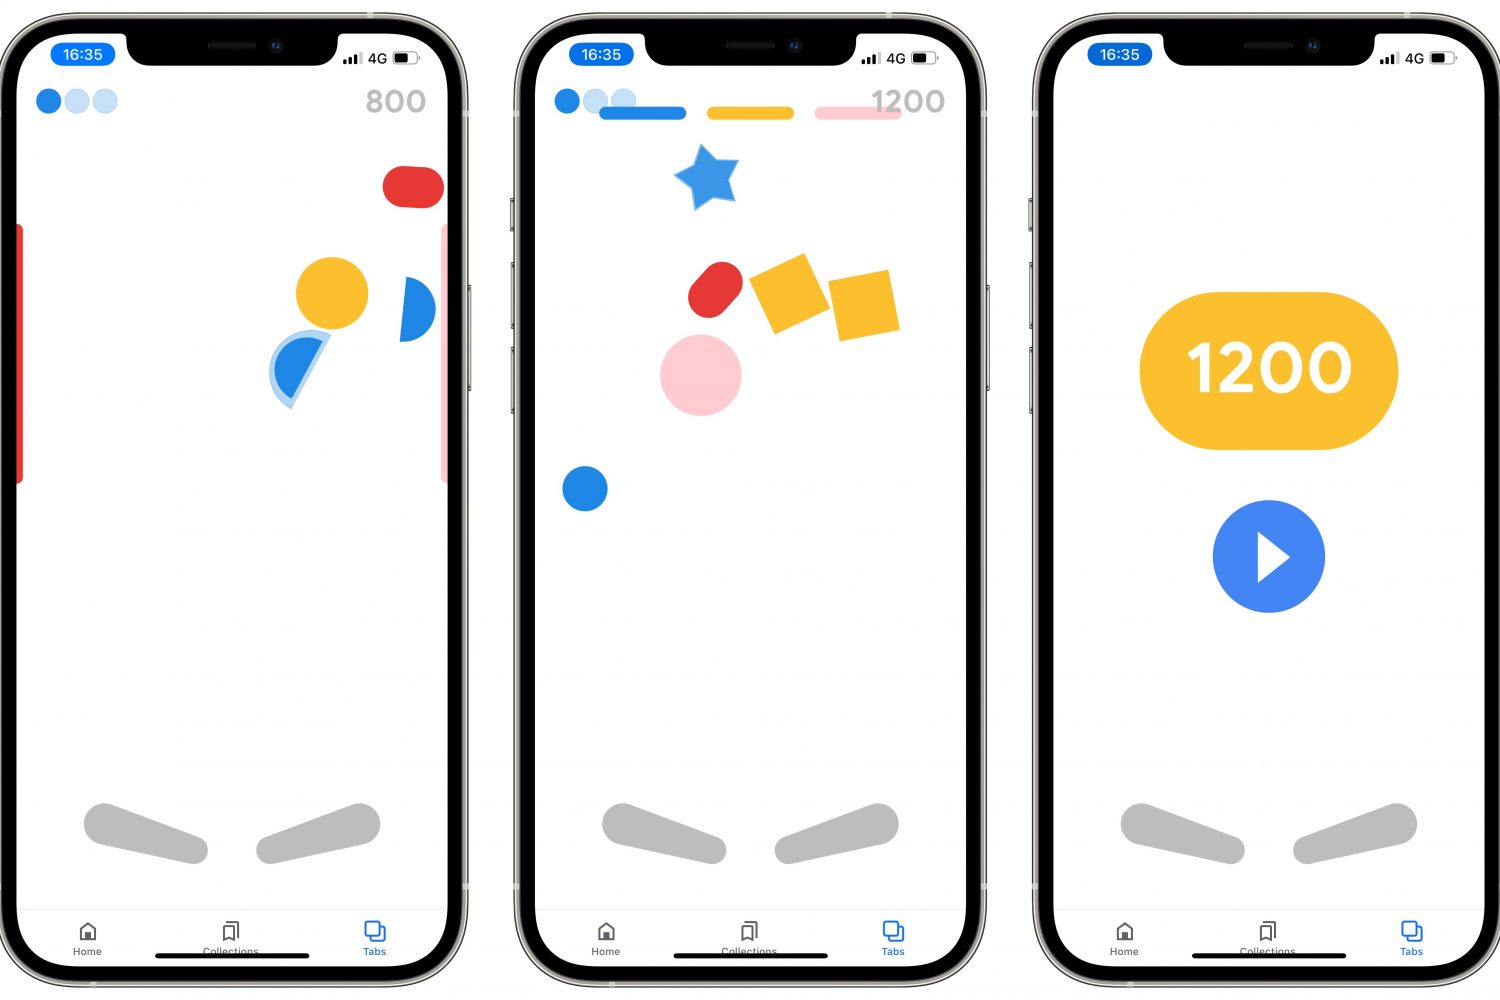
Follow a few simple steps laid out in our tutorial if you'd like to discover and play a secret Google Easter egg pinball game in the company's official app for iPhone and iPad.

Alongside the new iMac 24-inch announcement in April this year, Apple also unveiled a new 'Hello' screensaver in macOS Big Sur. The new screensaver showed off the new colors of the M1 iMac lineup. In the screensaver, the greeting 'hello' appears in bright animation and different languages. The iMac 24-inch features an all new design, and is available in seven colours.
The Hello screensaver wasn't available to all macOS Big Sur users, unless you purchased the new 24-inch iMac. If you have one of those, then you could enable the screensaver from the Display options in Settings. However, Apple did include the screensaver in macOS Big Sur, but did not enable it. In this post, you will learn how to install the Hello screensaver on your Mac.
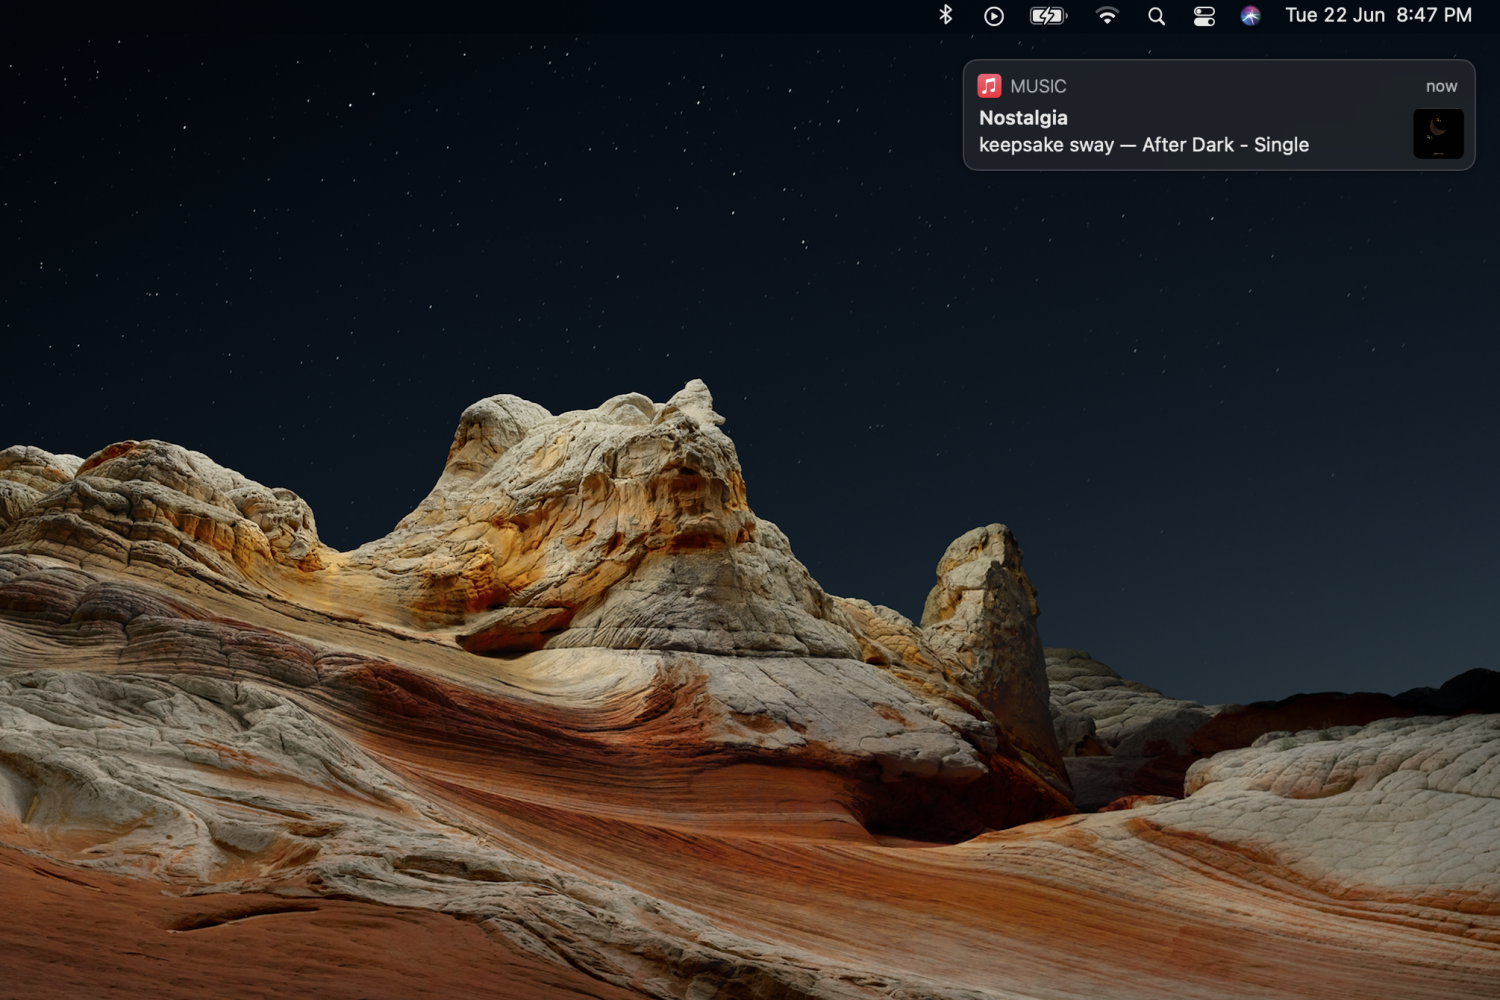
While notifications and alerts on macOS can be useful, they can easily become distracting if they aren't important. A notification that slides in and slides out while you're working, can make you lose your focus. Apple did make some changes to Notifications in the latest macOS Big Sur update, but they can still be annoying at times. Some notifications will slide in and stay on the screen, and will only go away if you click on the close button.

Learn how to easily hide, blur, or pixelate sensitive parts of a photo or screenshot on your Mac using built-in and third-party tools.

Learn how to enable Picture in Picture (PiP) for the YouTube app on your iPhone or iPad for seamless multitasking while watching videos.

Learn how to use Apple's Spatialize Stereo feature to boost stereo, two-channel audio, and other non-Dolby audio content on your iPhone, iPad, and Mac.
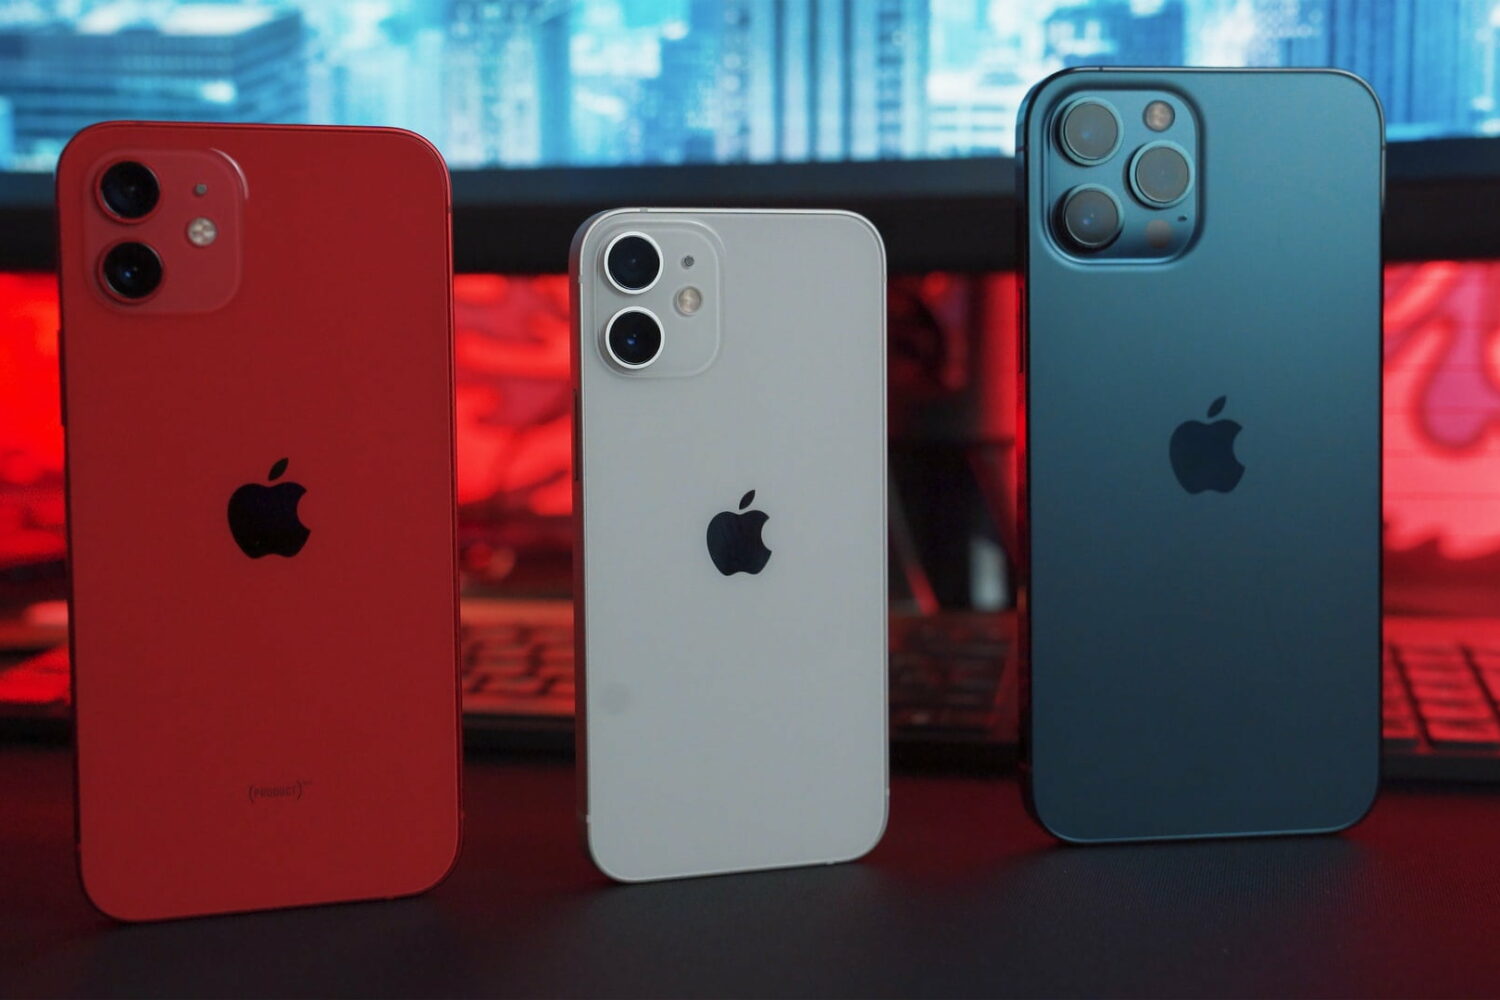
Learn how to remotely trigger the iPhone’s camera shutter and take perfect selfies and group shots, or record video hands-free without physically touching the device.
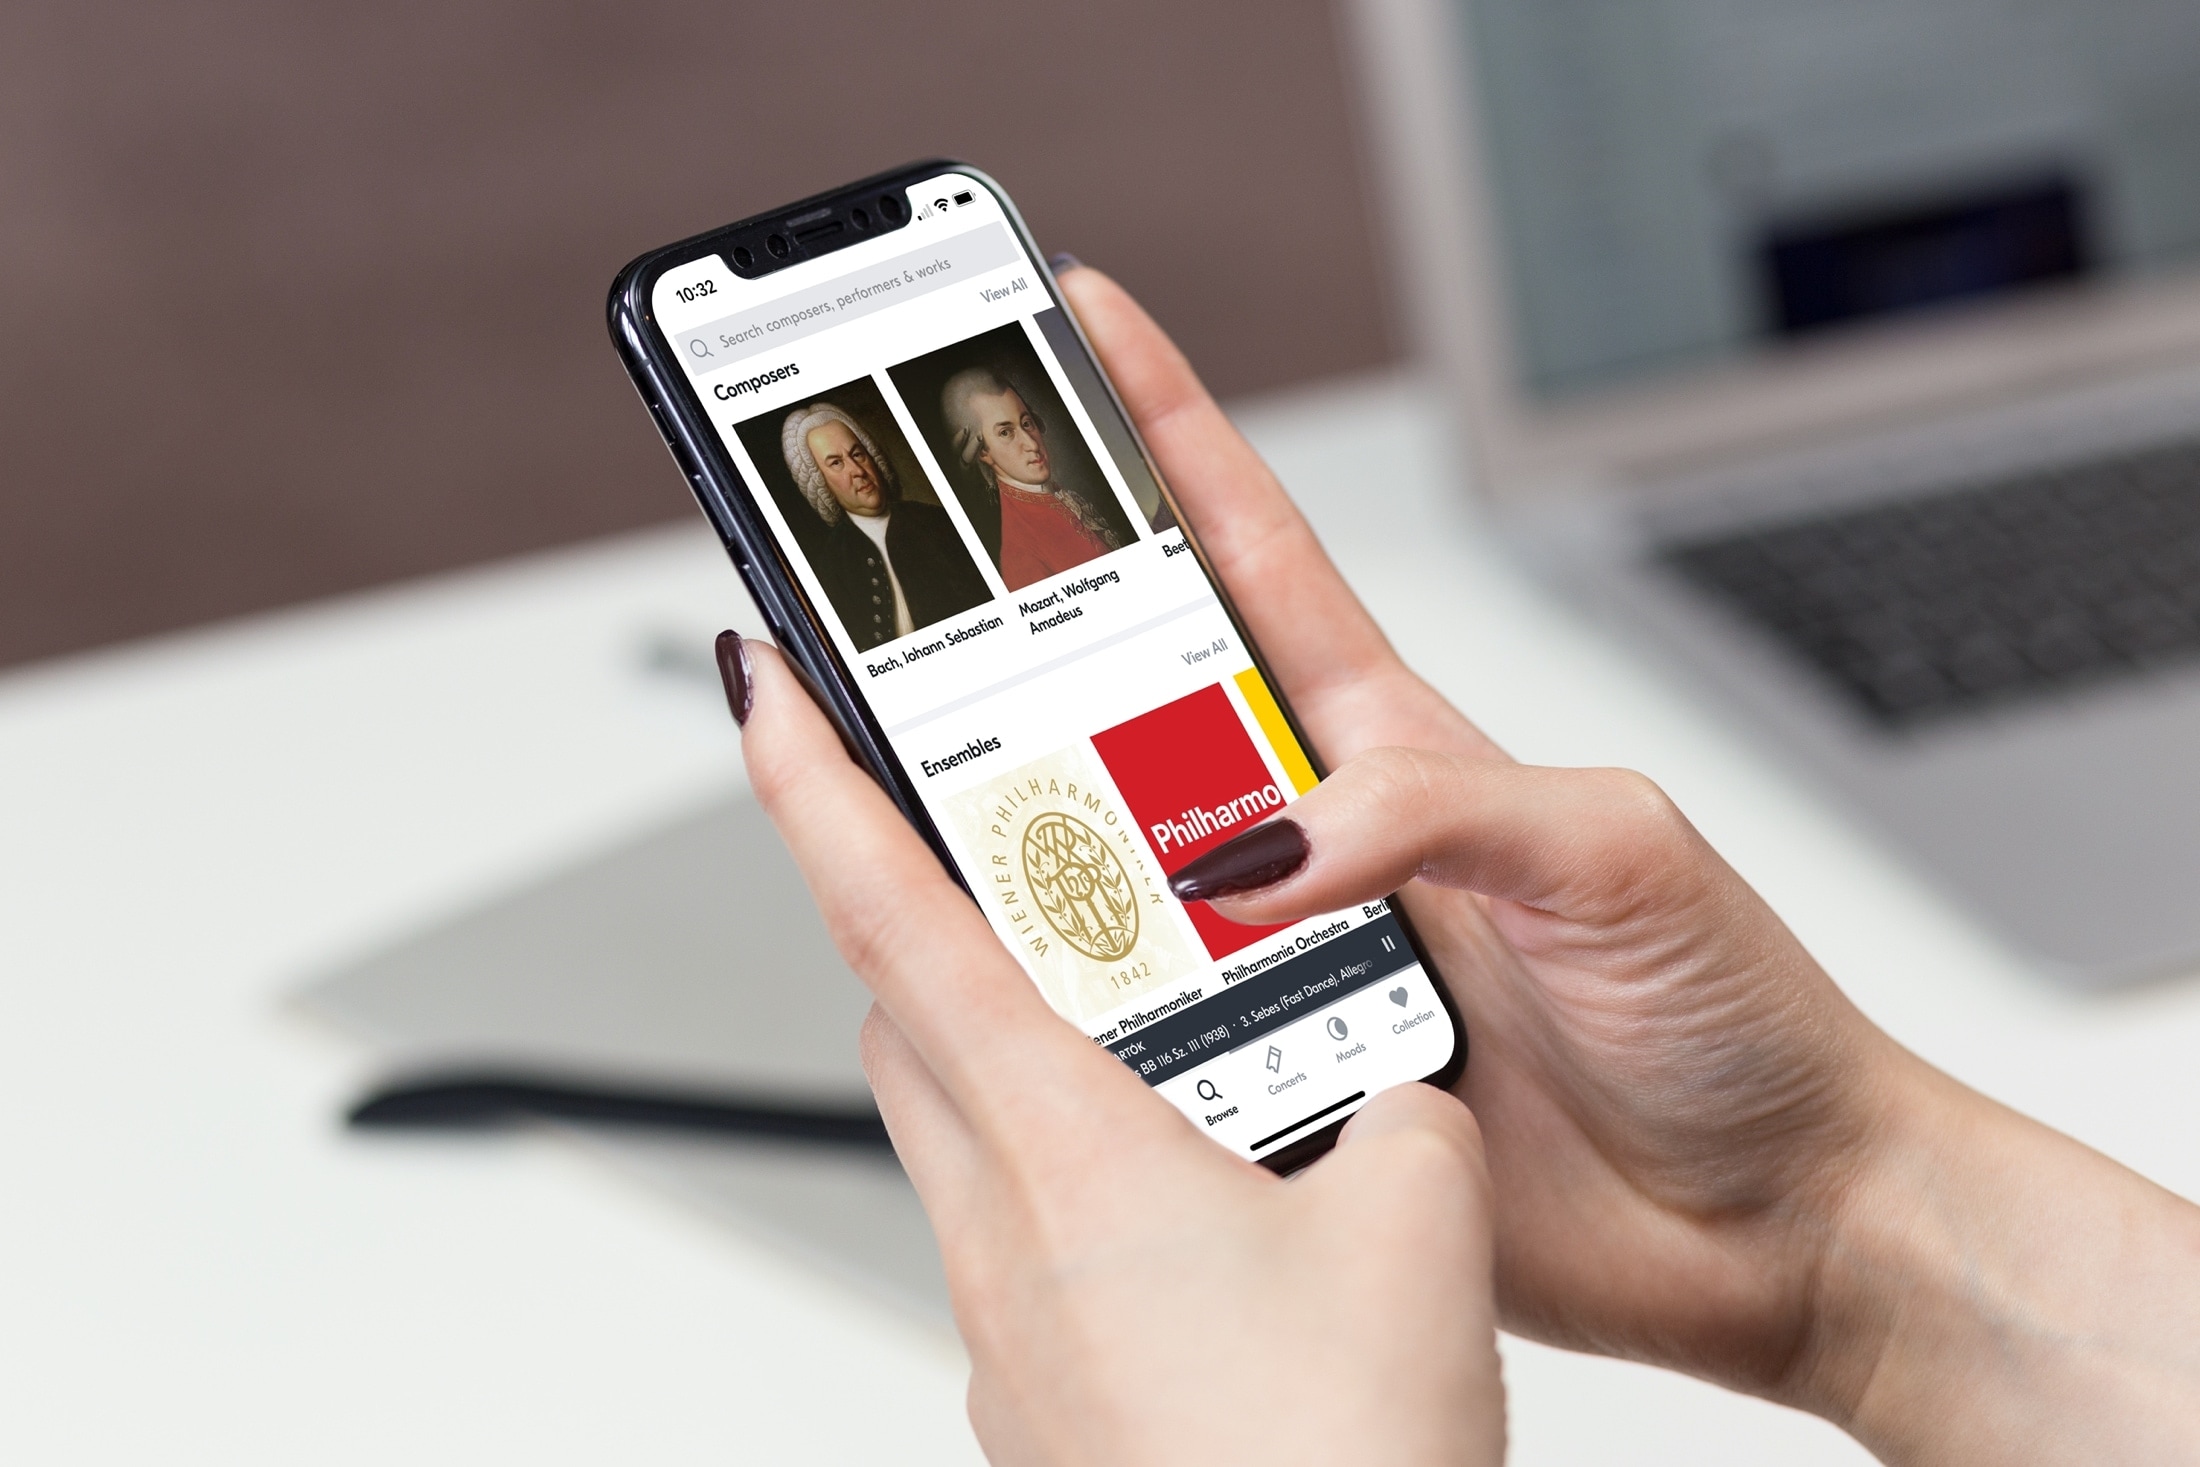
Learn how to make Siri remember your preferred music streaming service. When you give a voice command to play a song or artist, Siri will play it directly on that service without you needing to specify the app name.
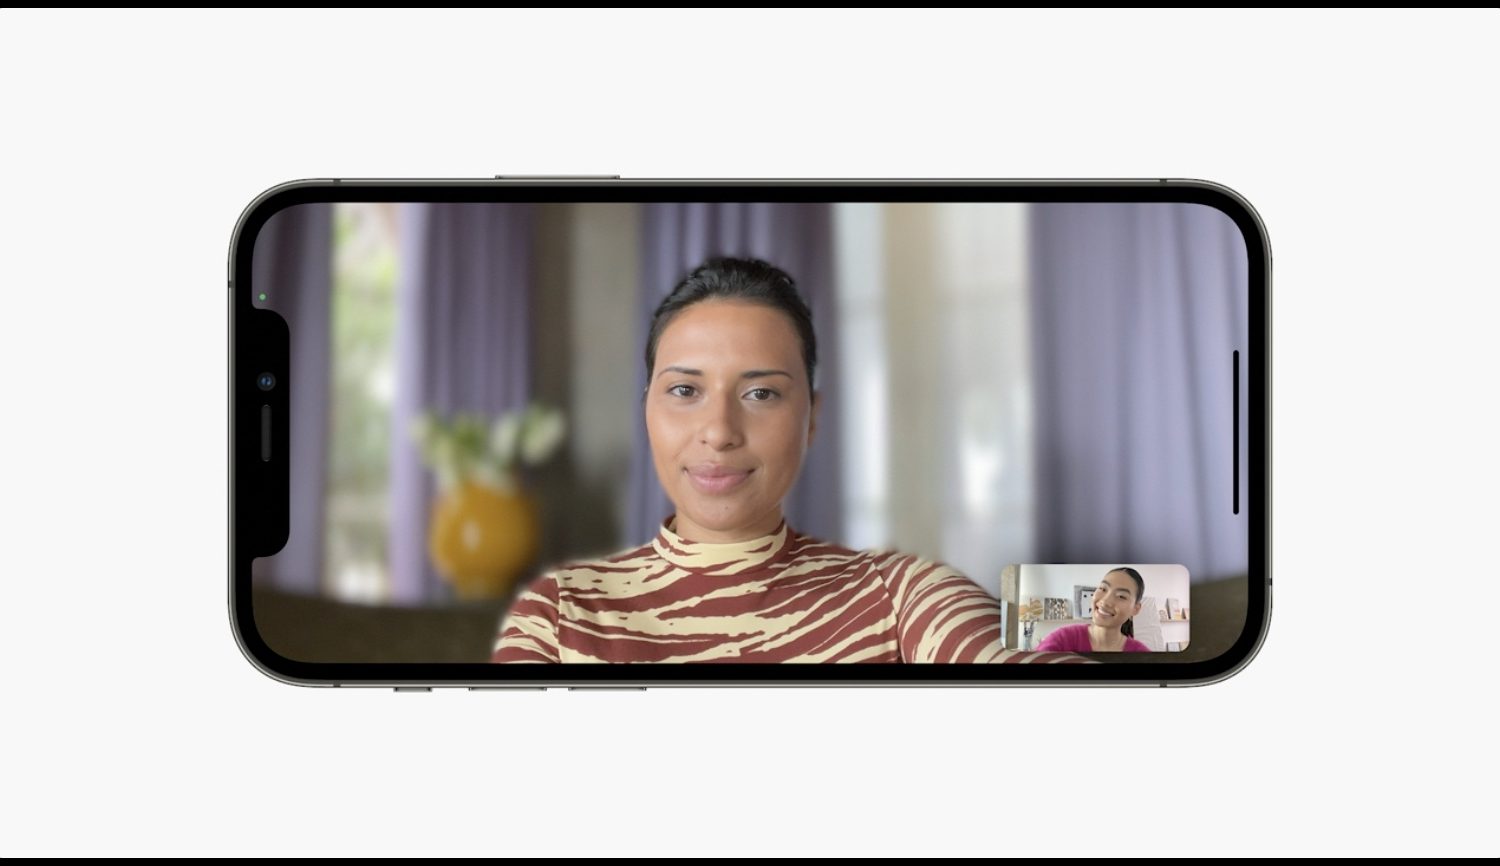
Learn how to enable Portrait Mode to blur your background in video calls on FaceTime and other video-calling apps on your iPhone or iPad.
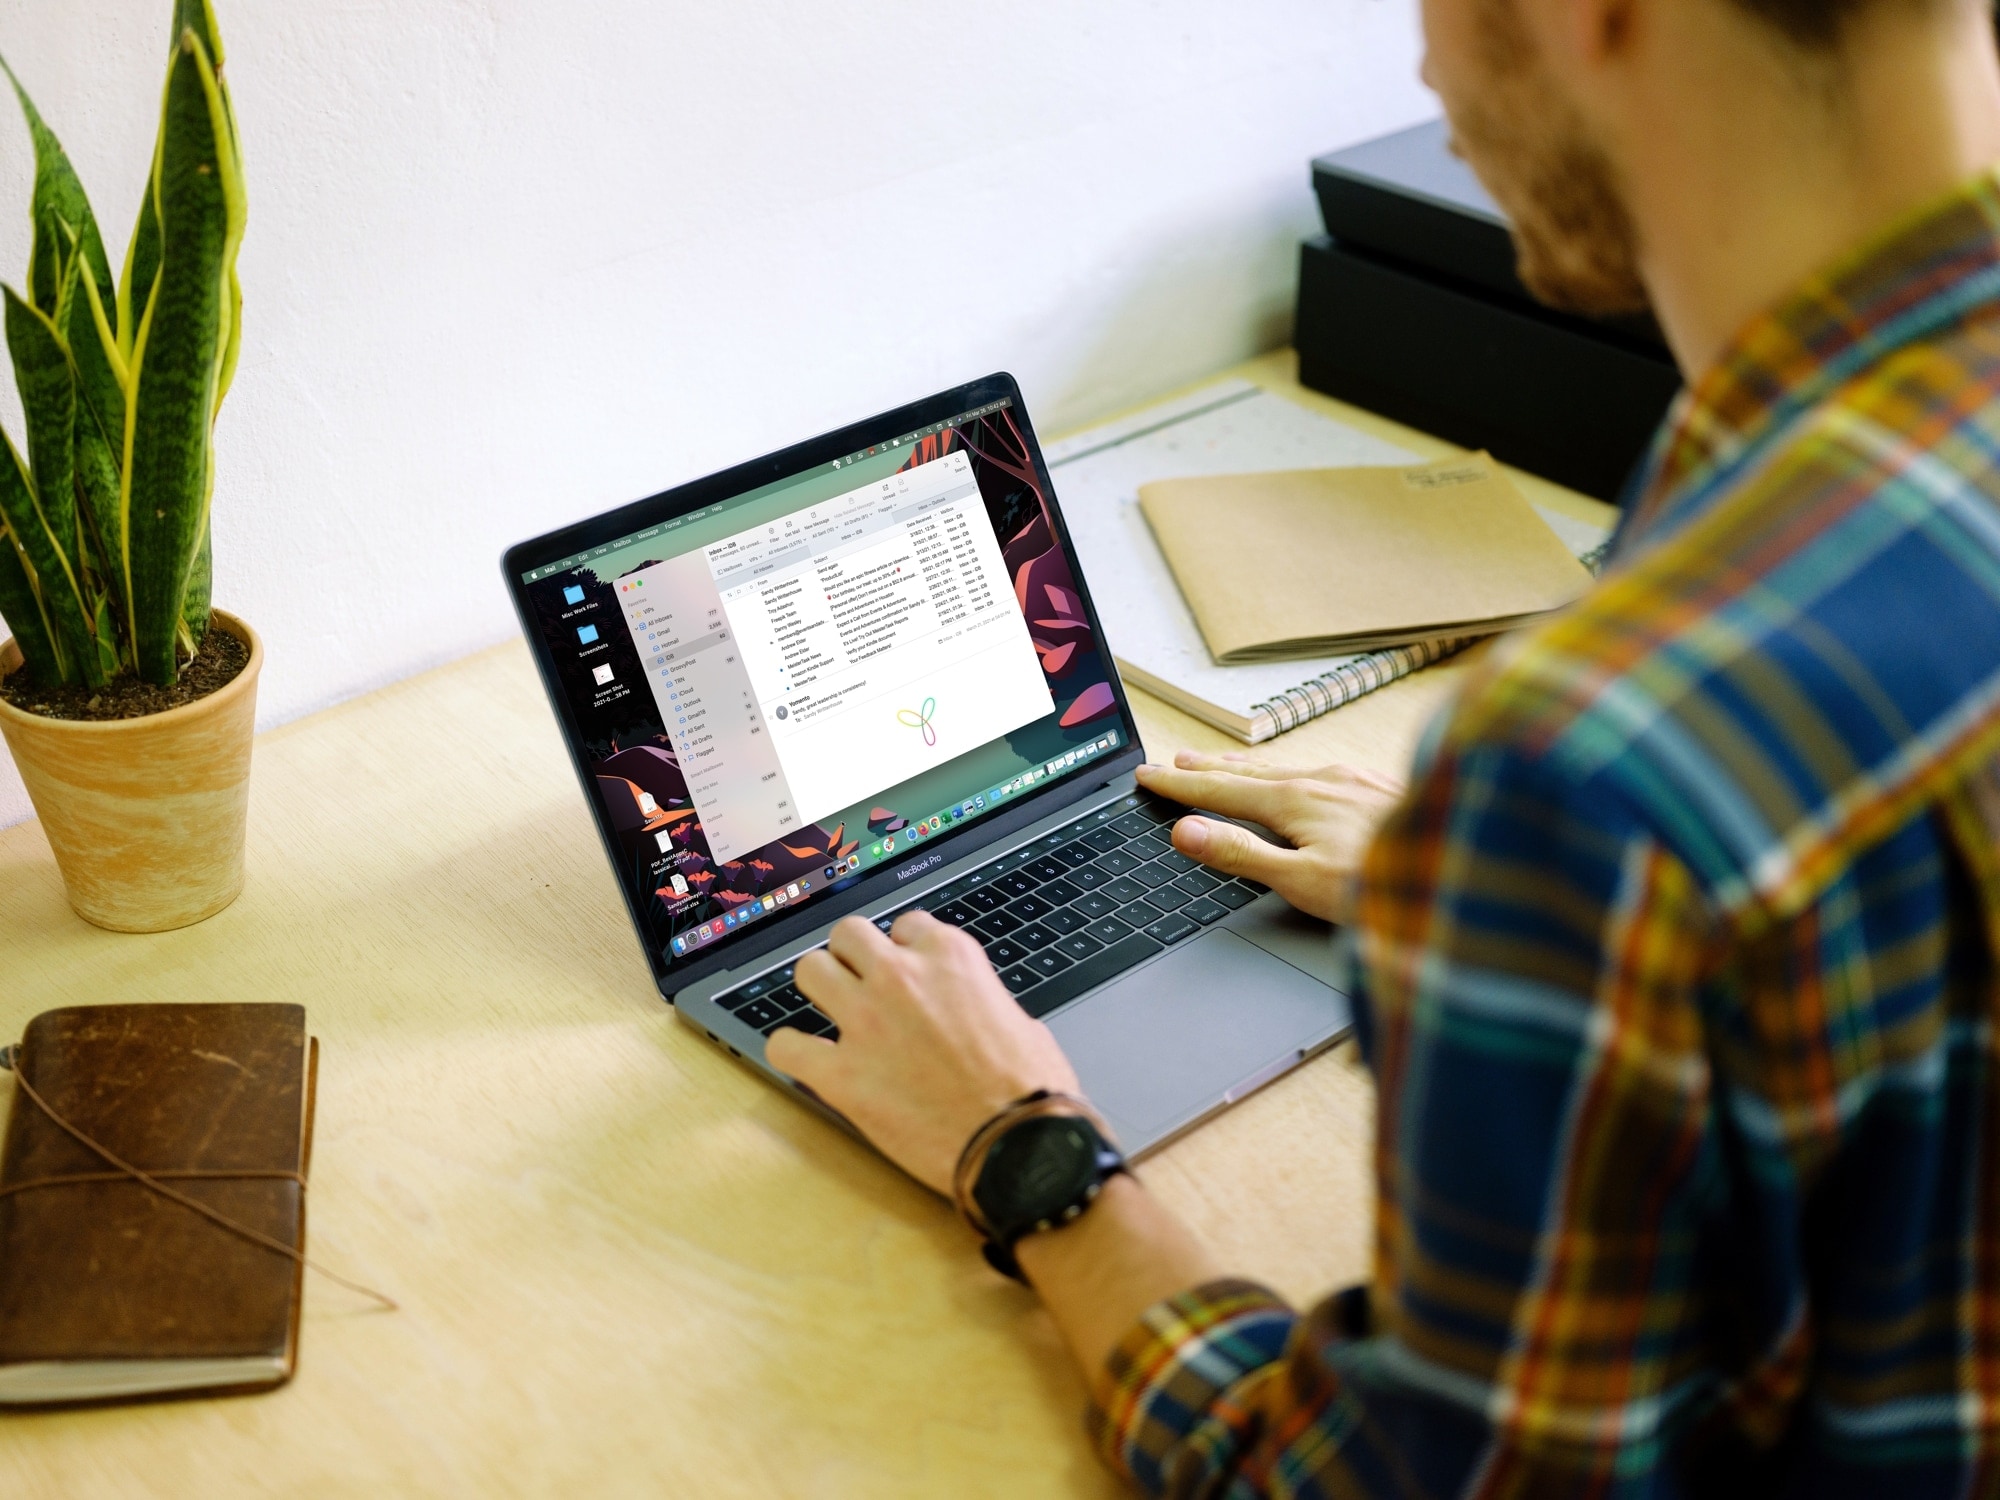
Learn how to sort mailboxes in alphabetical order in the iPhone, iPad, and Mac Mail app to keep them better organized.

We recently published a guide on how to install the all new macOS 12 developer beta on your Mac. Now, if you aren't happy with the upgrade and have come across problems, you probably want to downgrade. As a beta, you may face issues with third-party apps, stability issues, and so on. The new macOS 12 brings several new features and improvements, but isn't a major leap in terms of user interface.
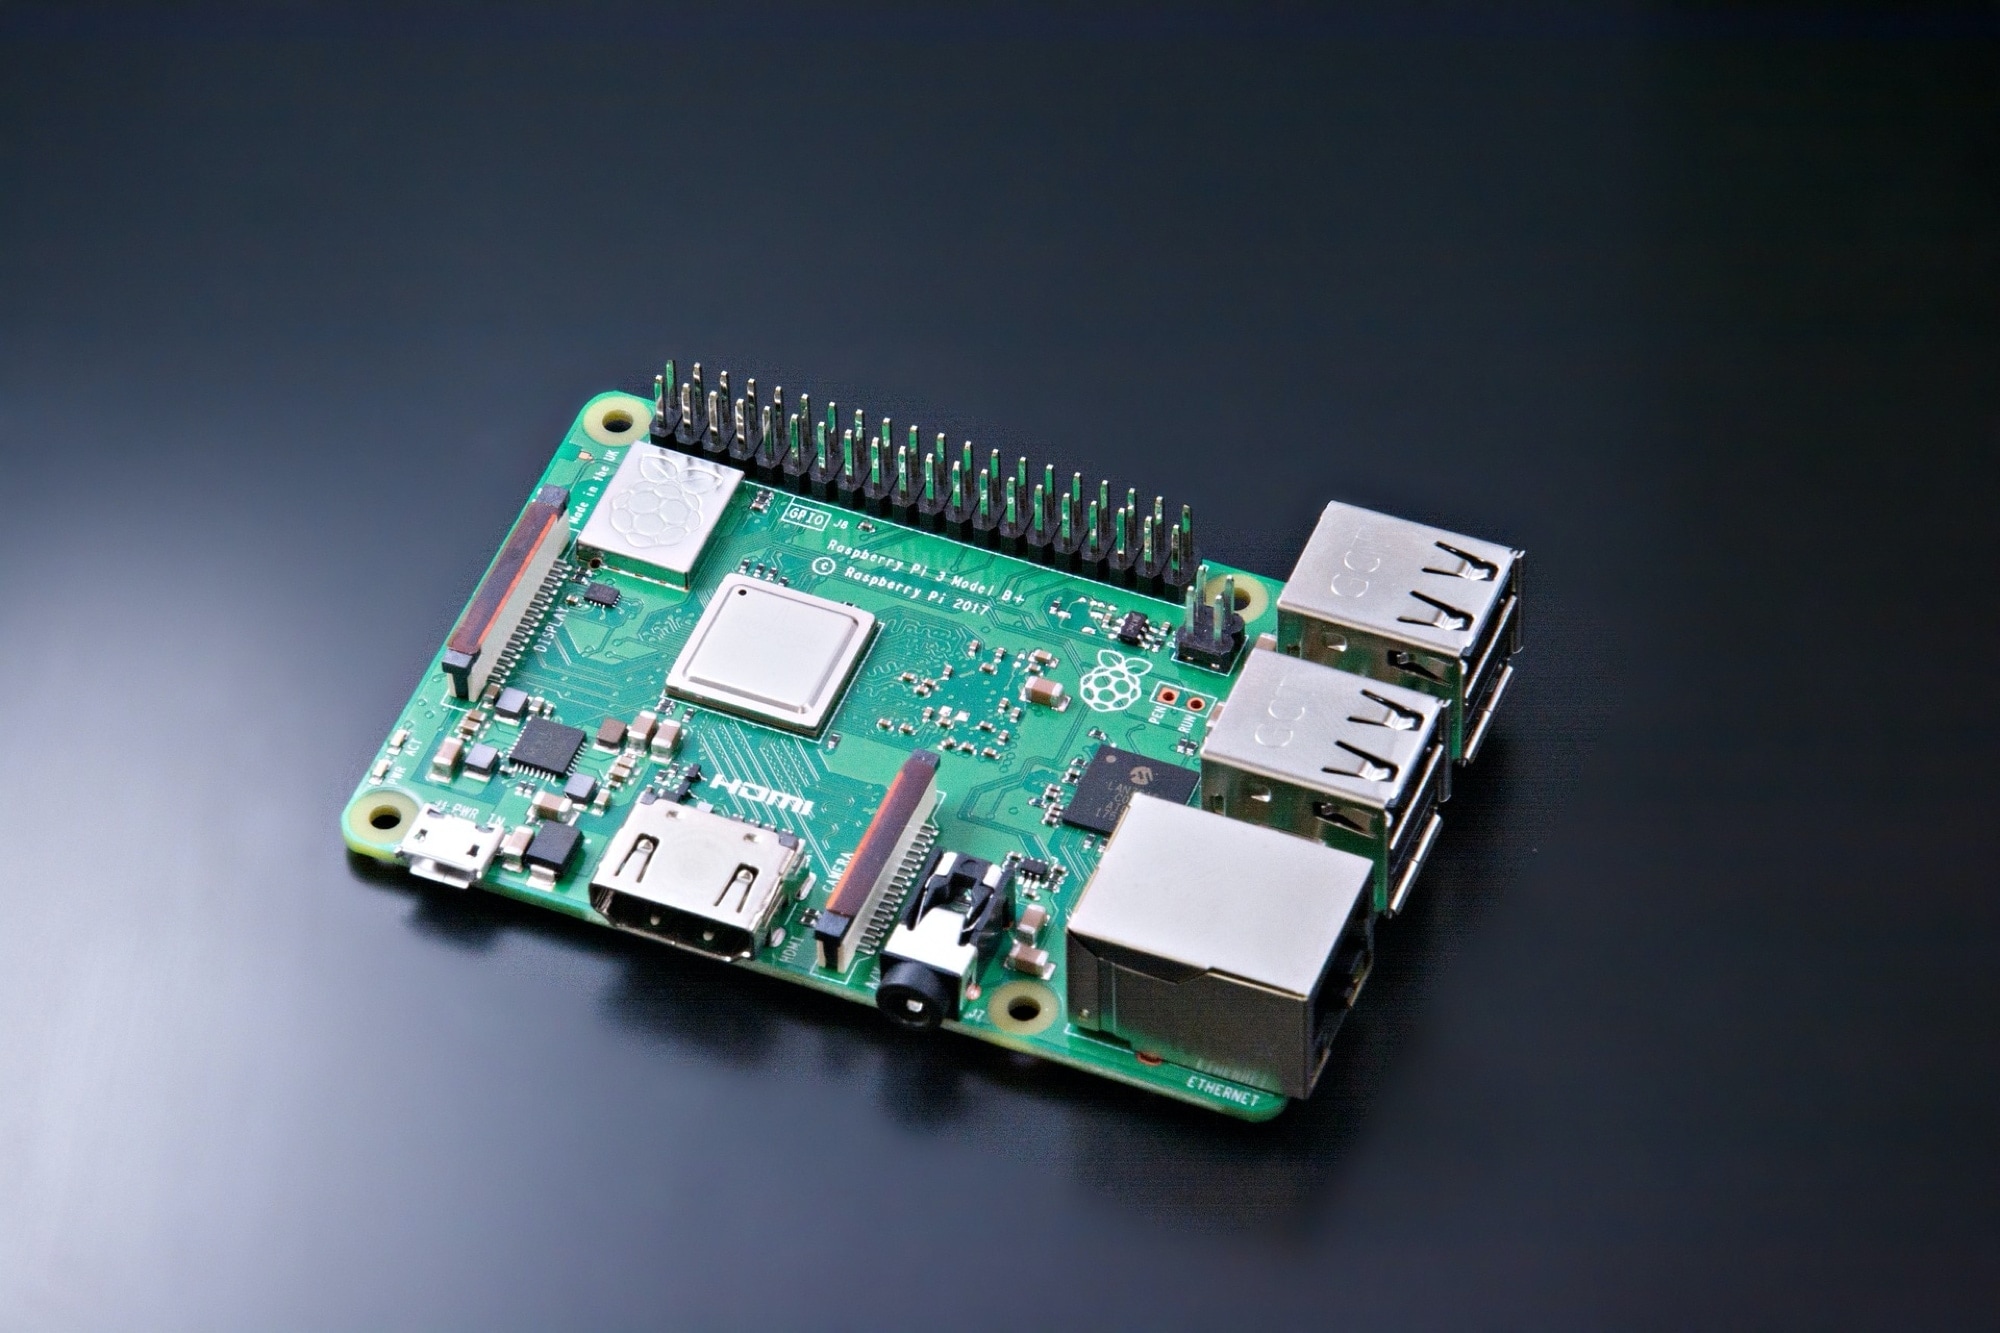
If you set up a Raspberry Pi and want to add another user to it, it’s easier than you might think. You’ll use a simple Terminal command and optionally include a password for the new user.
Here, we’ll show you how to add a user as well as delete one on Raspberry Pi.