Learn how to personalize your Mac’s Finder sidebar with handy shortcuts to drives, folders, and network shares, remove stuff you never use, and reorder items to your liking.
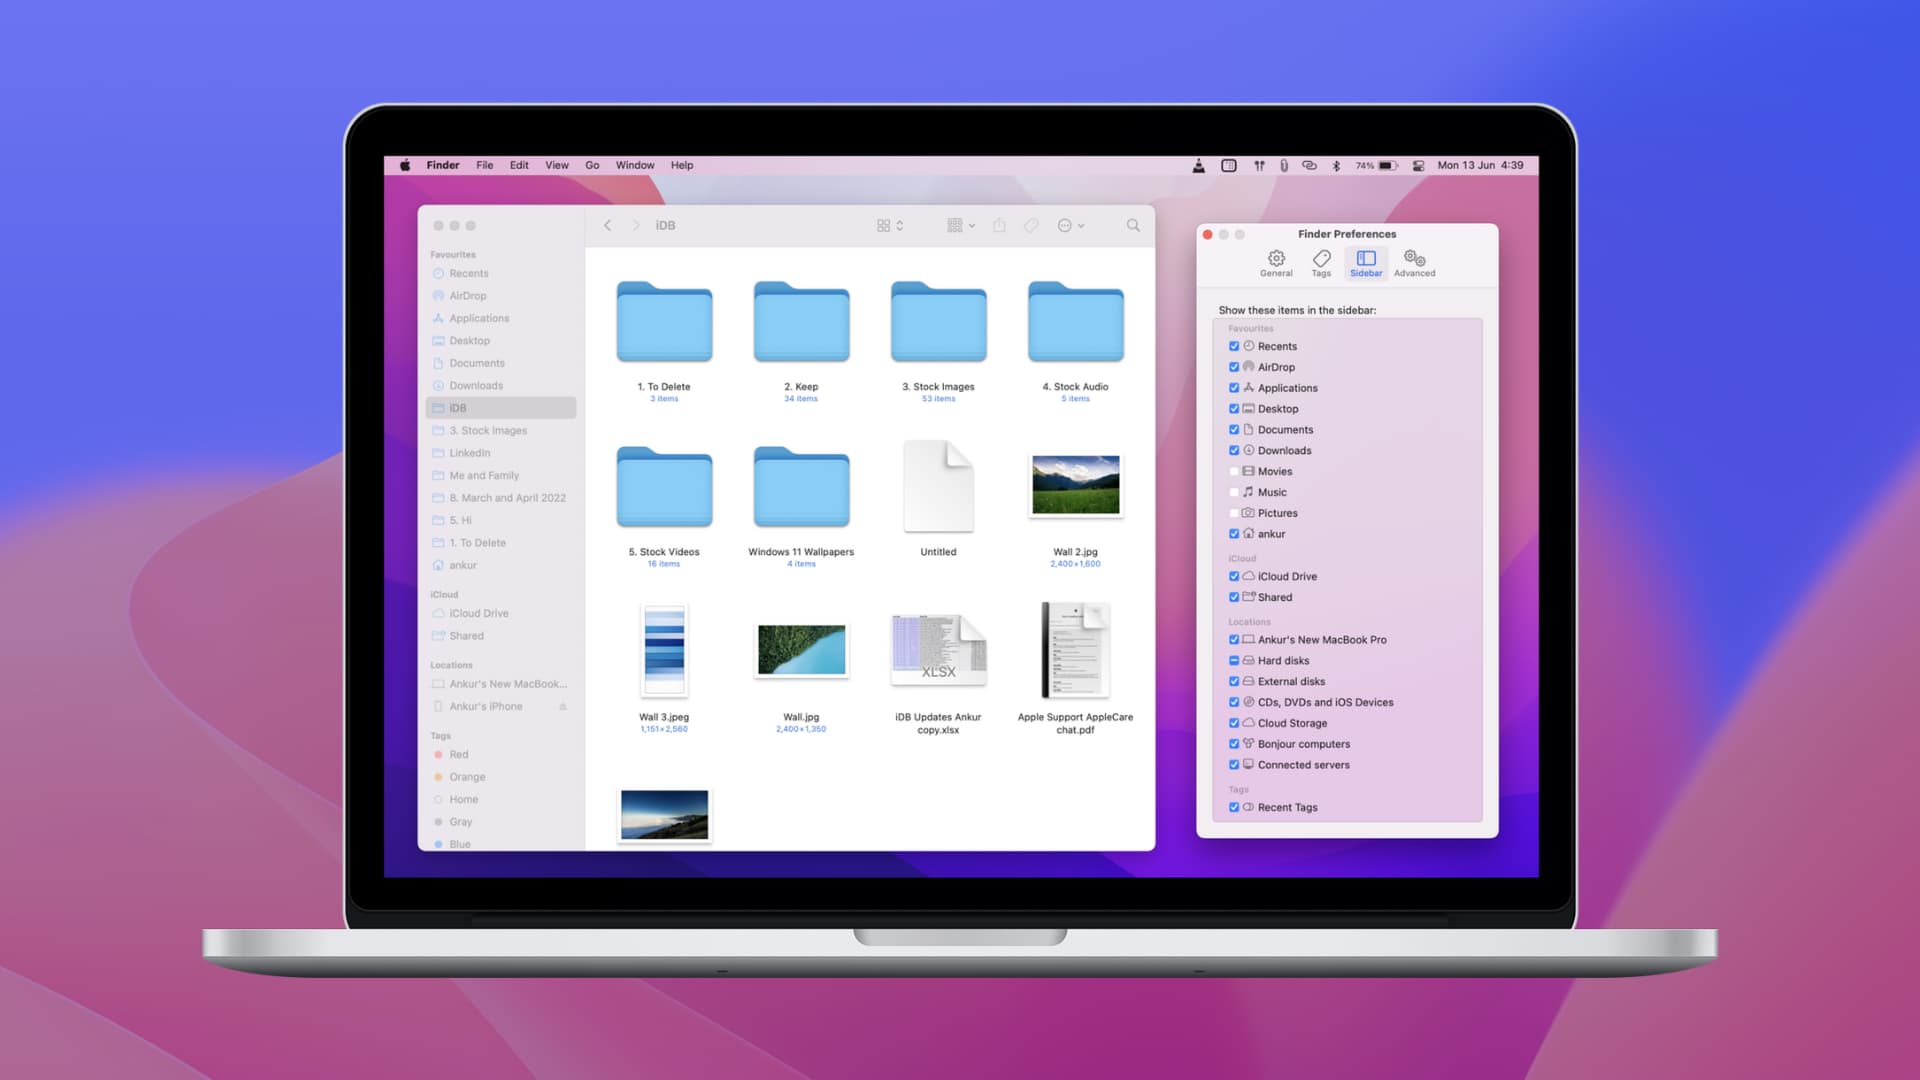
Finder is the native file manager for macOS.
It’s what you see when you log in to your Mac: the desktop, along with the icons on it and windows.
Finder lets you access all your stuff, and its sidebar provides one-click access to special folders and other items.
But you can navigate your Mac even faster by customizing the sidebar.
- Click the Finder icon in the Dock to open a new Finder window.
- Click Finder > Settings in the top menu bar.
- Go to the Sidebar tab.
- Tick boxes next to items you need in the sidebar, such as Favorites, iCloud, Locations, or Tags, and untick those you’d like removed. Close out the settings window and the sidebar will update with your changes.

If you’ve enabled tags, you can change the order in which they appear in the sidebar. Open Finder settings, switch to the Tags tab, tick the tags you’d like to see in the sidebar, then rearrange them by dragging.

You can rearrange items in the Finder sidebar directly from a Finder window. Just click and hold an item in the sidebar, drag it to a new position in the list, and release.
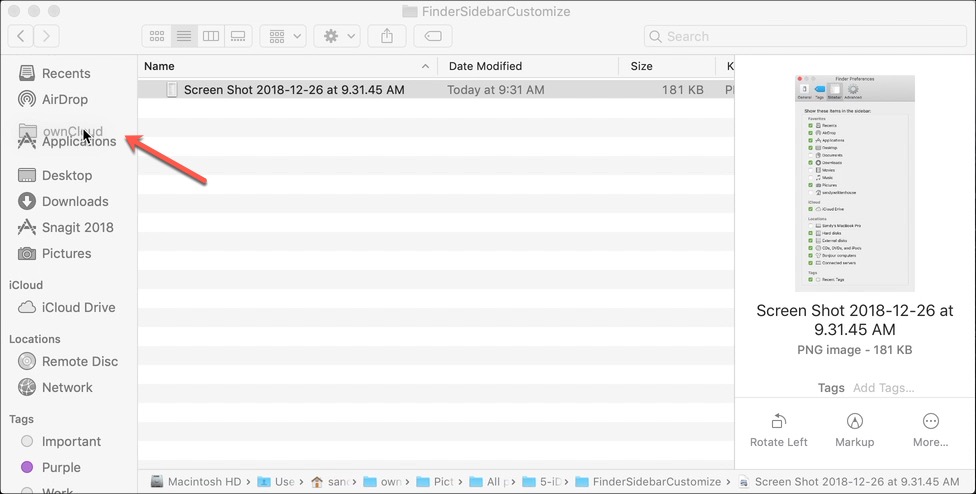
You can also add more items to the Finder sidebar directly from a Finder window. Click and hold an item you access frequently, like a specific file or folder, drag it to a spot in the sidebar, and let go.
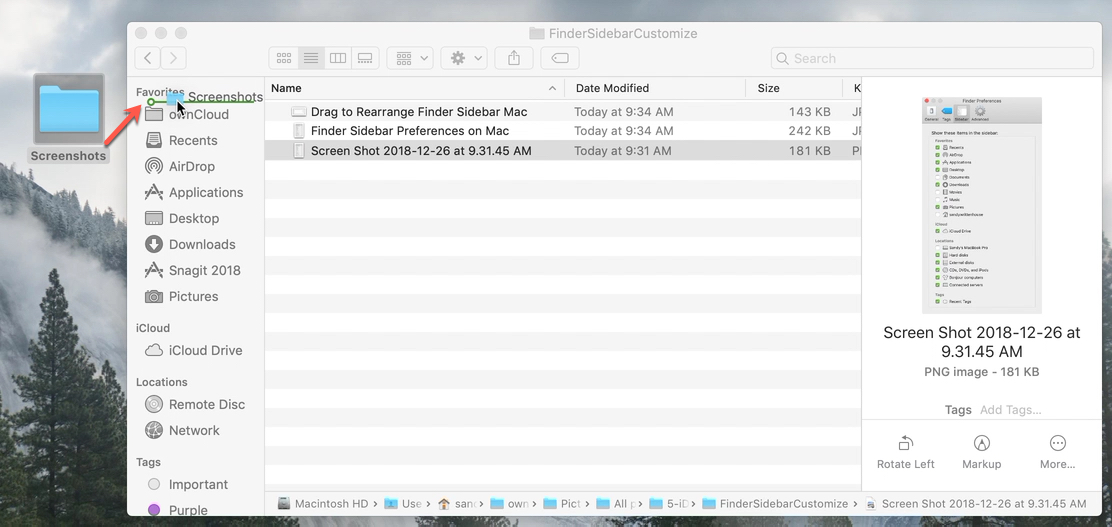
With a few minutes spent customizing the Finder’s sidebar, the stuff you use the most will be a click away, whether it be a special file tag, a backup folder on an external drive, a network share, or something else.
Other Finder tips: