If you’re looking to use the DelayOTA update method on one of your jailbroken devices to move to a newer firmware, then you can make things easy on yourself by taking advantage of an add-on called Dahlia by iOS developer Dhinakg.
Since the process to perform a DelayOTA update can be somewhat complex and step-intensive, we’ve went ahead and created a step-by-step tutorial showing you how you can use Dahlia to upgrade your jailbroken device to a newer firmware that isn’t being signed anymore, but is still within the DelayOTA upgrade eligibility period.
What is DelayOTA?
DelayOTA is a delayed over-the-air iOS & iPadOS firmware upgrade method that allows users to upgrade to firmware that has been unsigned within a 90-day window. In other words, if a firmware was signed within the past 90 days, but isn’t being signed anymore, then you can probably still use DelayOTA to upgrade to it.
DelayOTA is only for upgrading firmware, and it works using Apple’s official Software Update mechanism in iOS and iPadOS. DelayOTA cannot he used for firmware downgrades; it can only be used for firmware upgrades.
DelayOTA upgrades are available for both jailbroken and non-jailbroken devices, but using Dahlia to perform a DelayOTA upgrade, as outlined in this tutorial, only works on rootful jailbreaks and not rootless jailbreaks.
DelayOTA can sometimes be used to upgrade to the latest jailbreakable firmware if you’re on an outdated version. But because of the limited 90-day upgrade window past signing periods, users must act fast if they want to take advantage of it, sometimes without any notice of pending jailbreak launches.
As a general rule of thumb, prospective jailbreakers should always stay on the lowest possible firmware and avoid software updates unless they know for m certain that a newer firmware does or will have a jailbreak. DelayOTA doesn’t change this rule.
In my case, my checkra1n jailbreak on an iPhone X running iOS 14.8 was looking a bit dusty as more developers begin making jailbreak tweaks for rootless on iOS & iPadOS 15.x-16.x, so I updated it to iOS 16.3 to jailbreak with palera1n. Your situation may vary.
So without further ado, if you’re ready to perform a DelayOTA upgrade, you can follow the steps outlined in the next section of this tutorial.
Using Dahlia to DelayOTA upgrade
If you’re ready to perform a DelayOTA upgrade with Dahlia, follow the steps outlined below. We’ll separate each major task into sections for ease of reading.
Installing Dahlia
On the rootful jailbroken device that you’d like to install Dahlia on, follow the steps below:
1) Launch your package manager app from the Home Screen:
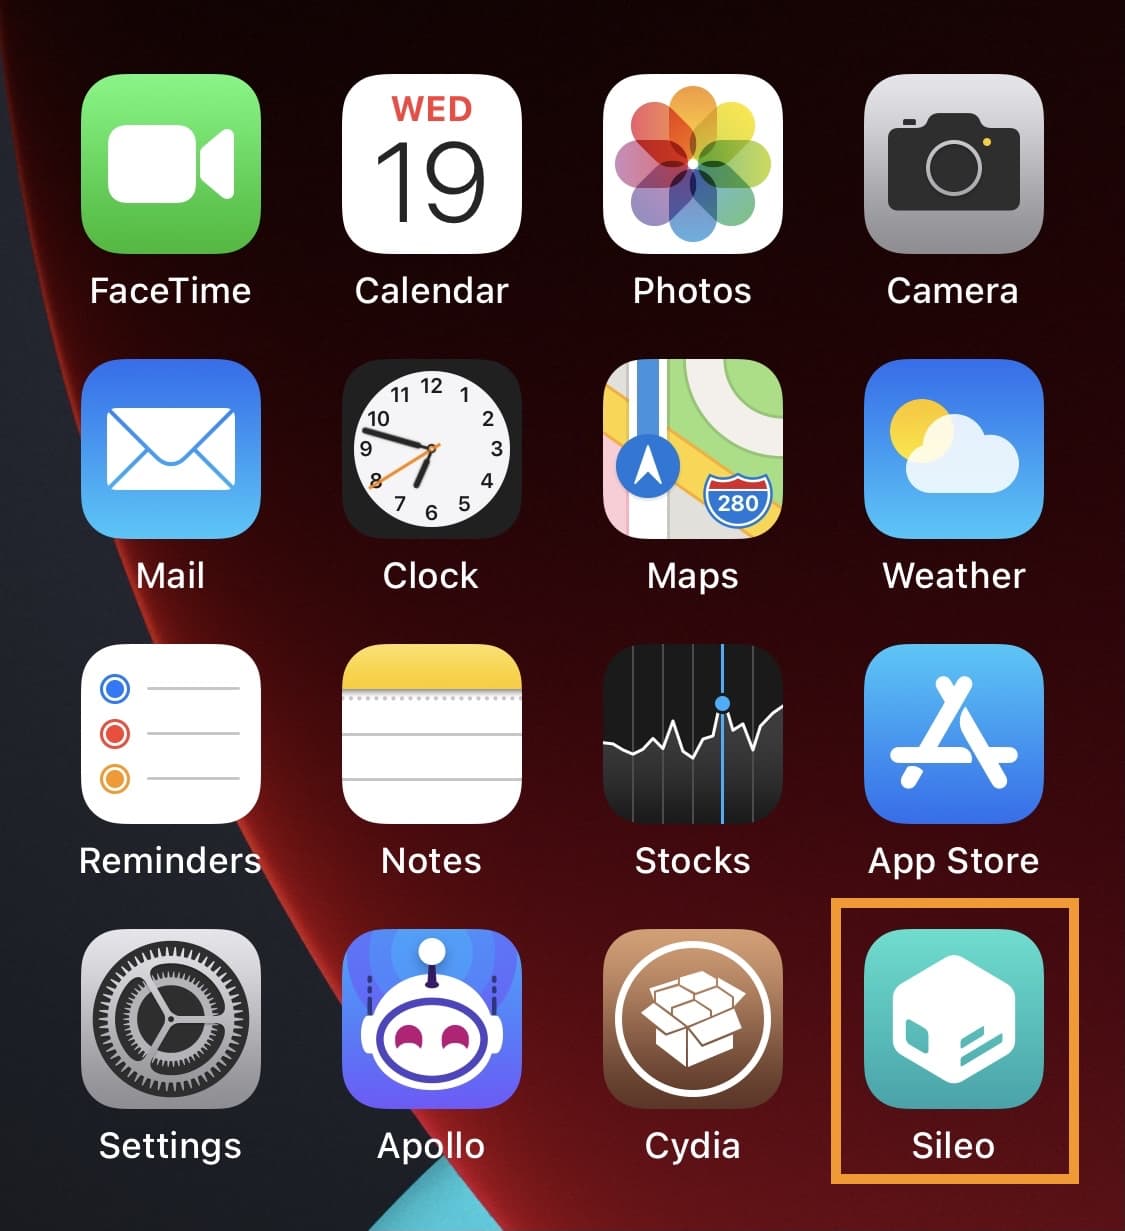
Note: We’ll be using Sileo for this demonstration, but steps will be similar in other package manager apps.
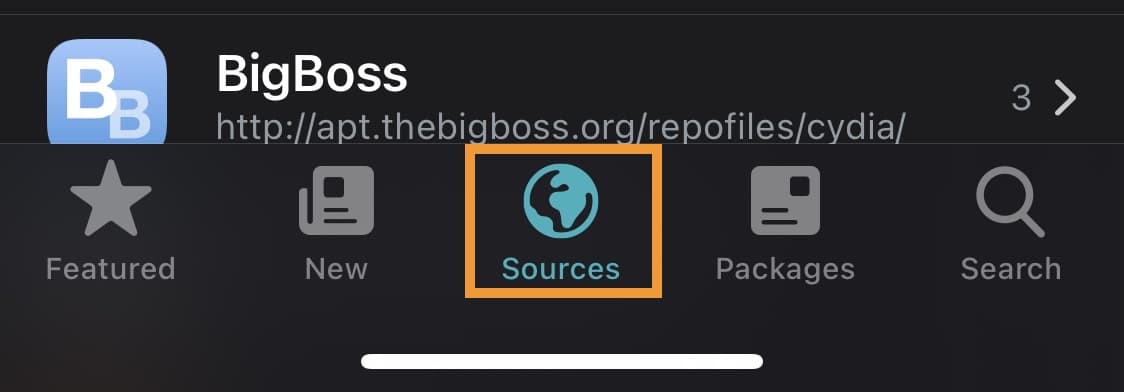
2) Tap on the Sources tab:
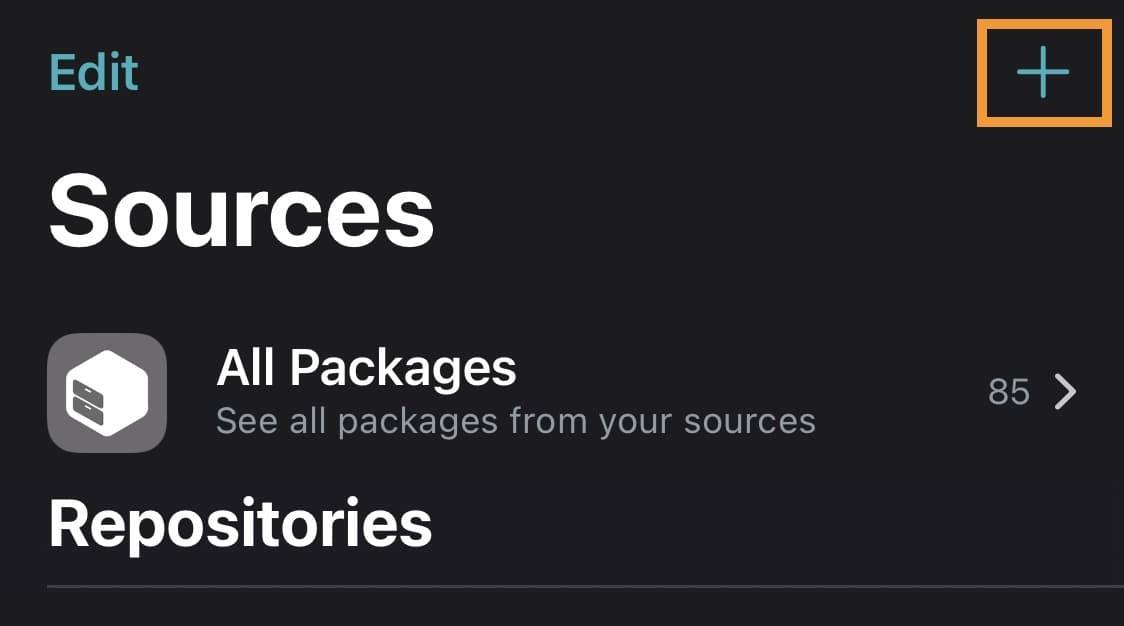
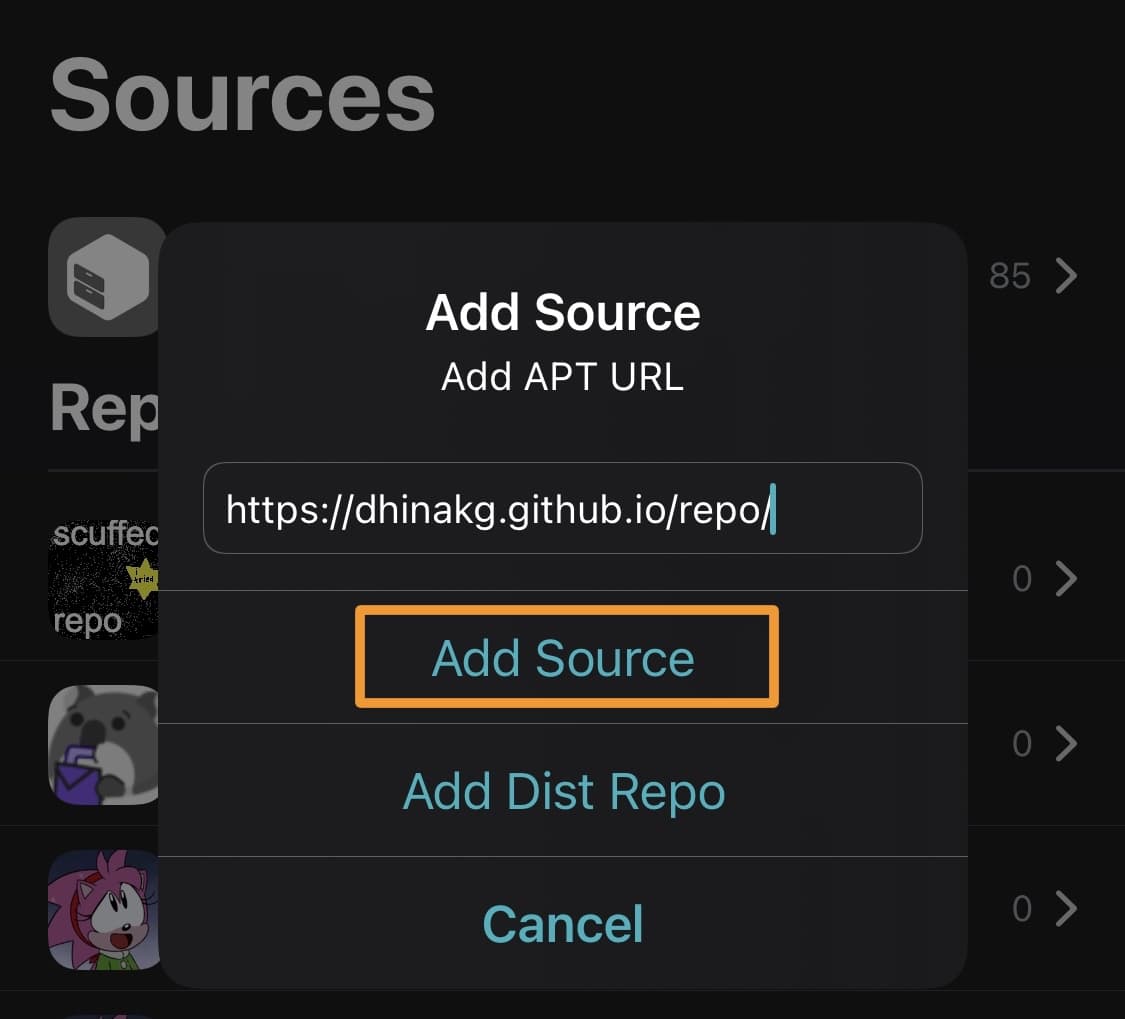
3) Tap on the + button at the top-right of the app:
4) Enter the following repository URLs and tap Add Source for each one:
https://dhinakg.github.io/repo/
https://repo.cadoth.net/
5) Once both of the repositories above are added, tap on the Search tab:
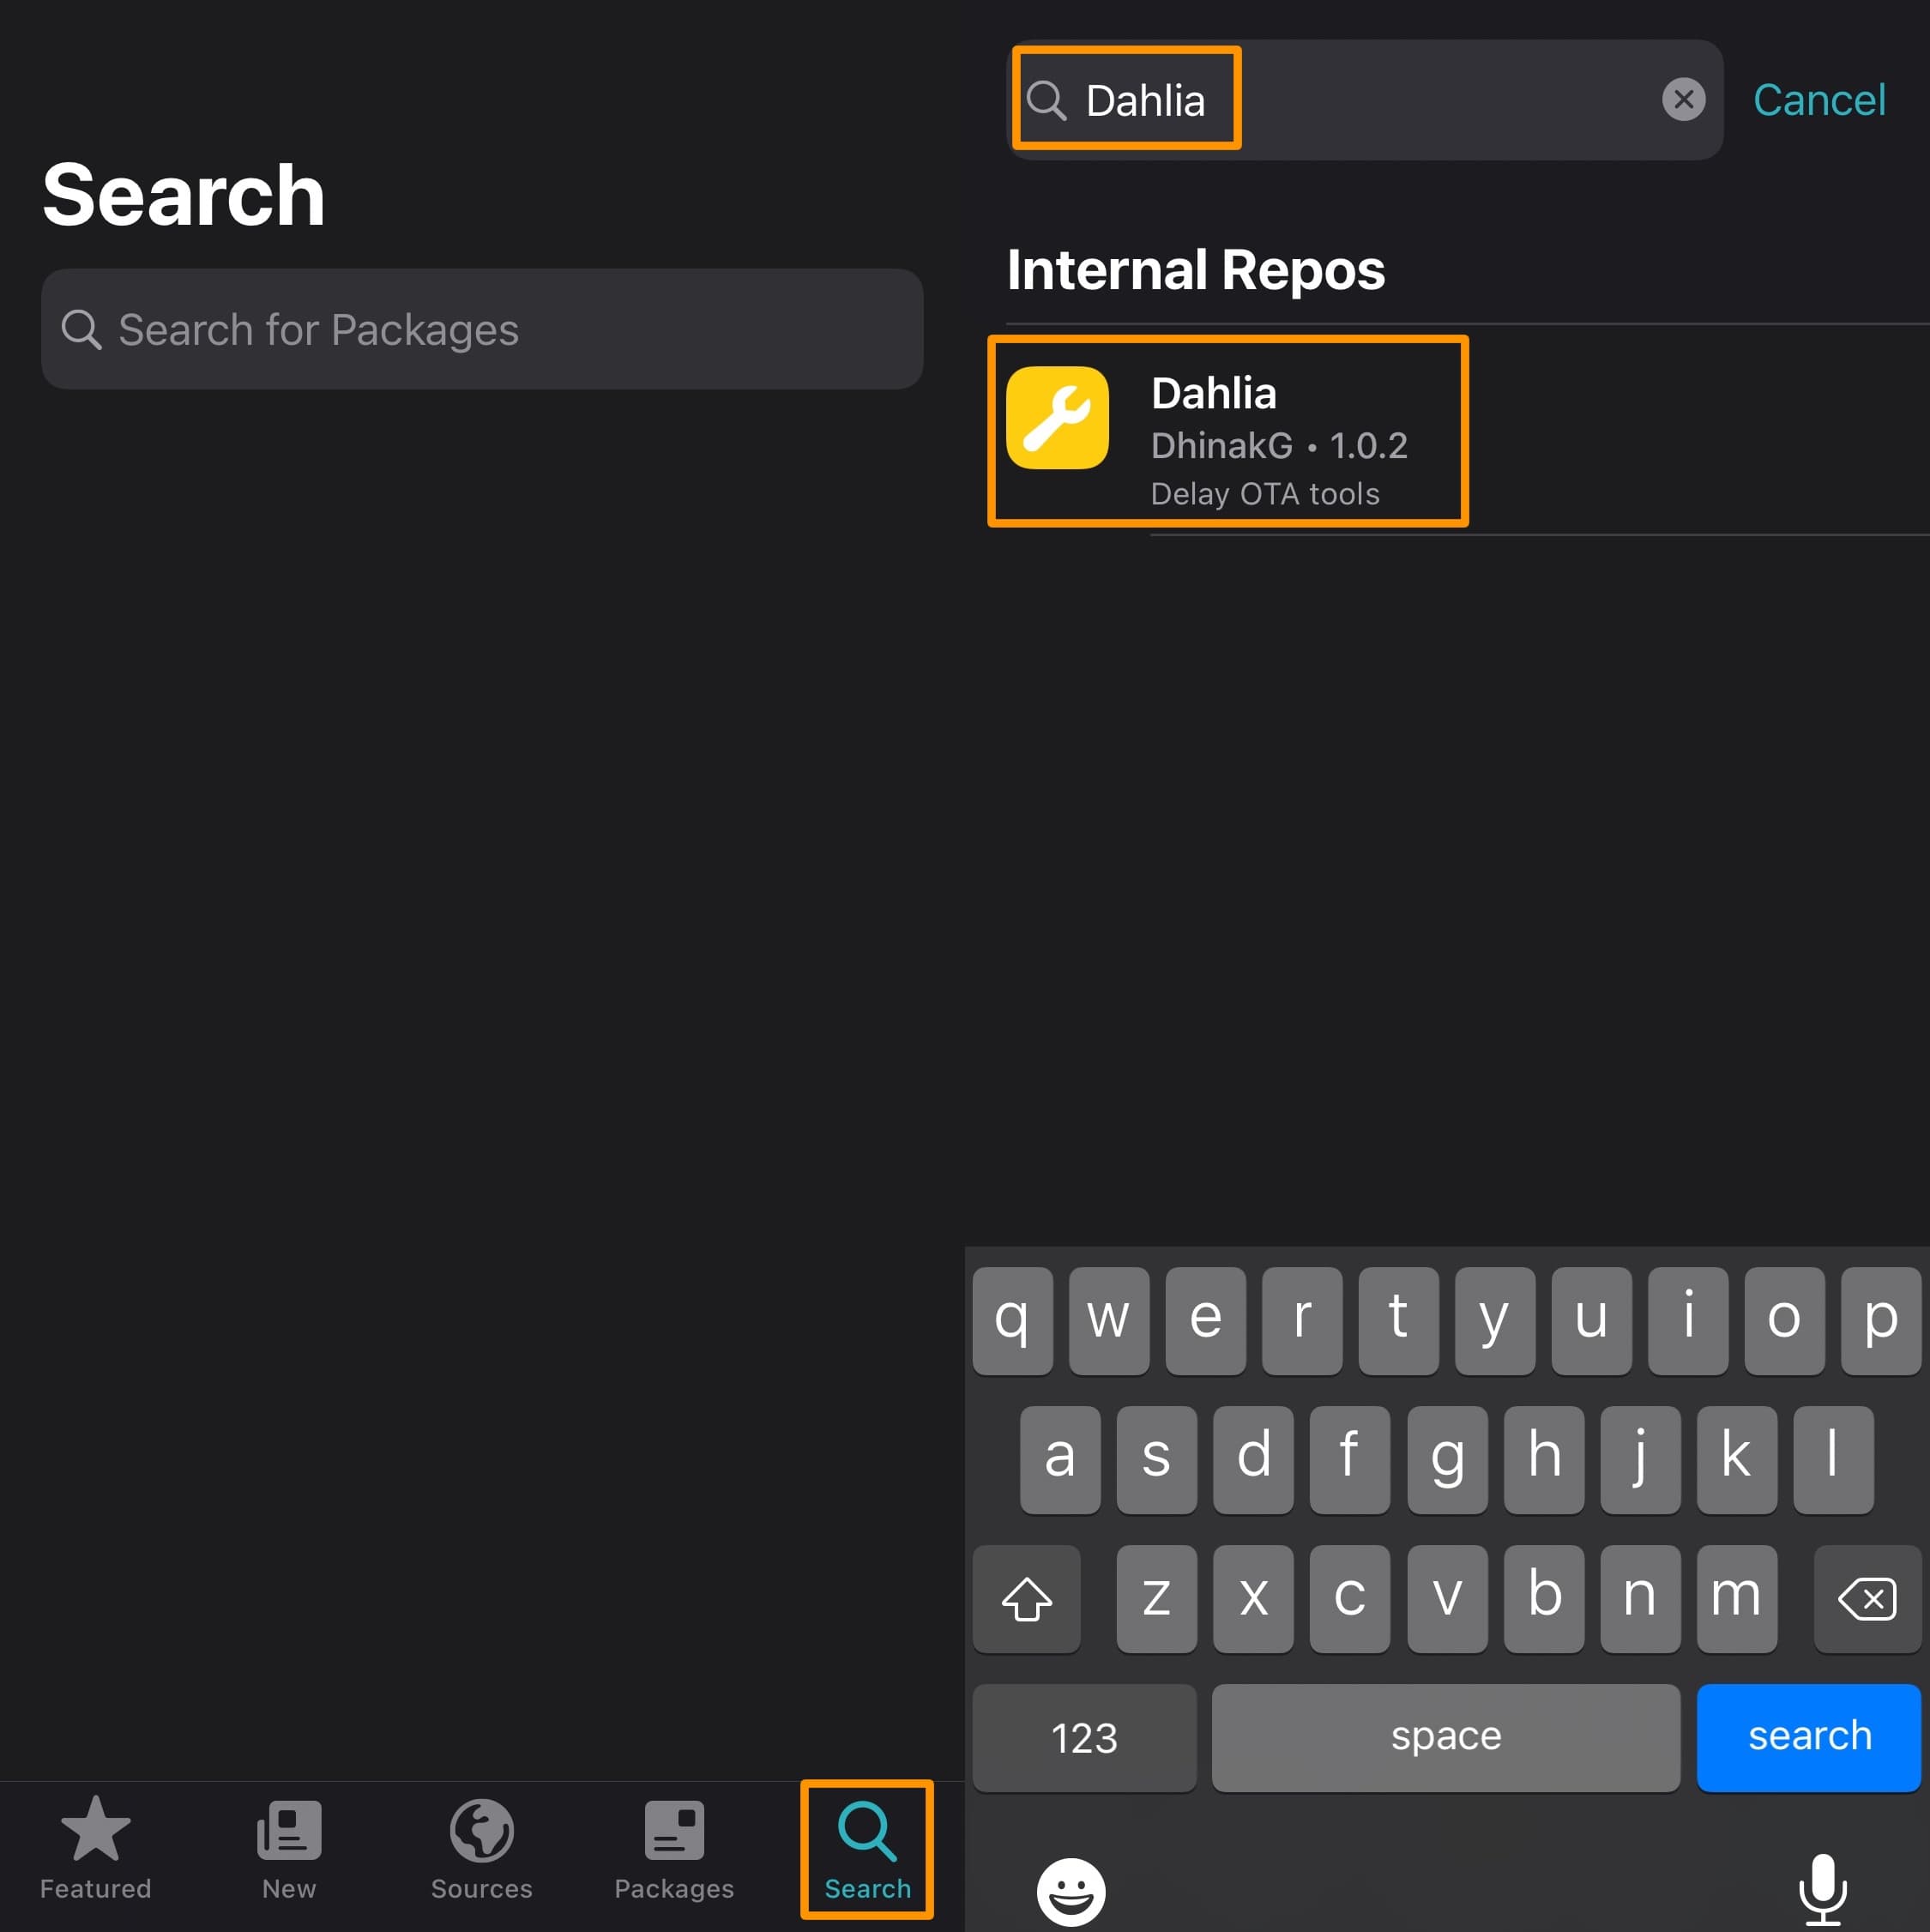
6) Search for Dahlia.
7) Tap on the Dahlia search result.
8) Tap on the Get button:

9) Tap on the Queue button.
10) Tap on the Confirm button.
Note: Dahlia and all of its dependencies will now be installed.
11) Tap on the Reboot Device button.
12) Re-jailbreak your device after rebooting if your jailbreak is semi-tethered or semi-untethered.
Note: You have now successfully installed Dahlia and can move on to the next section.
Setting your device up for DelayOTA
To set up your device for a DelayOTA update after installing Dahlia, follow these steps:
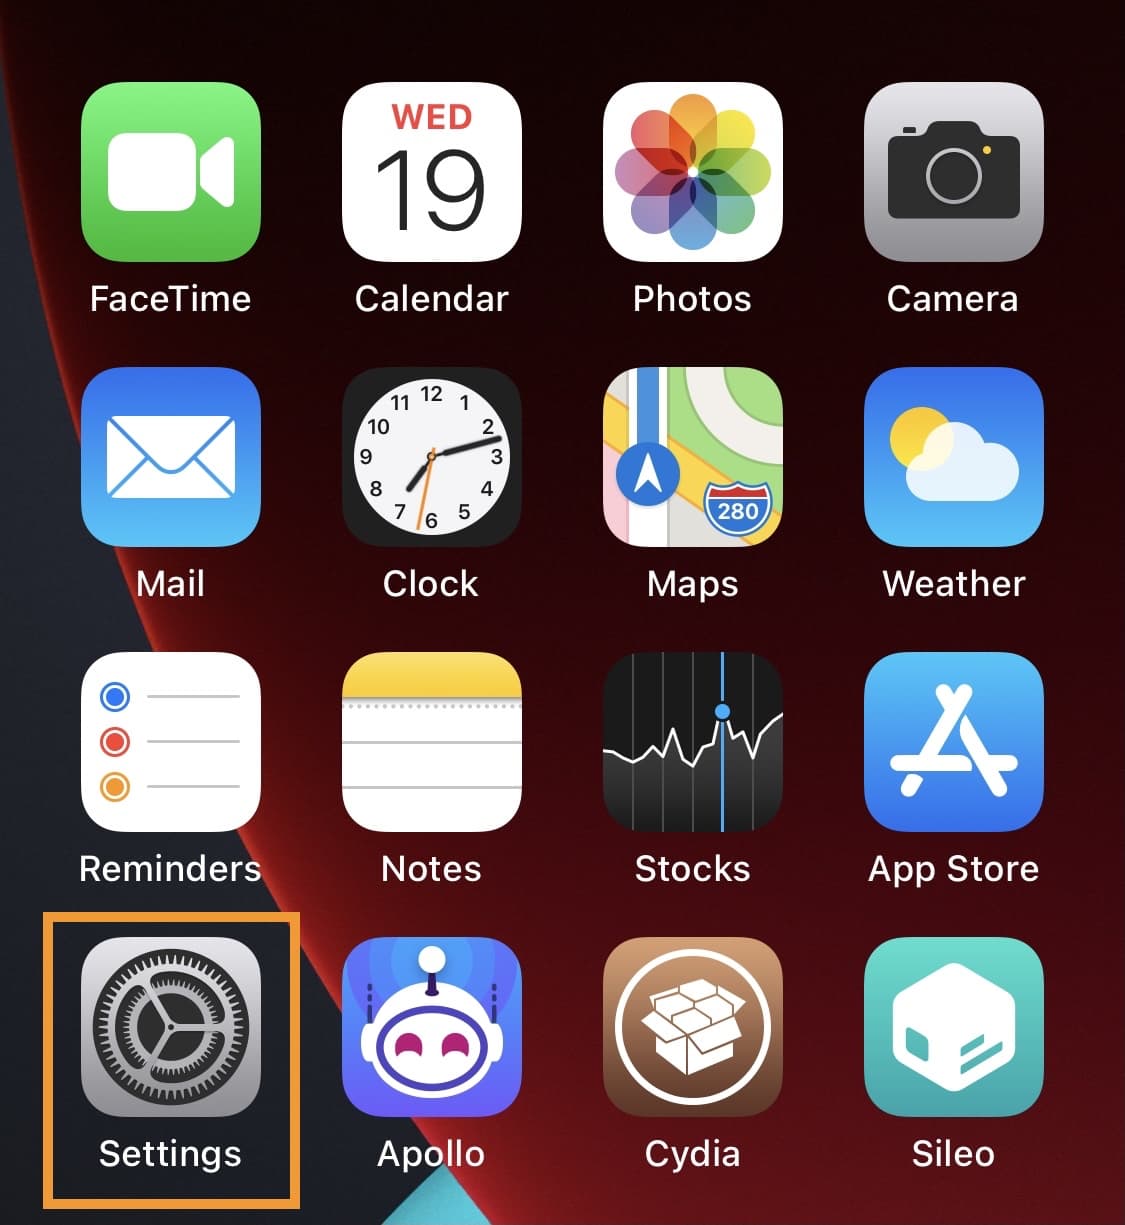
1) Launch the Settings app from your Home Screen:
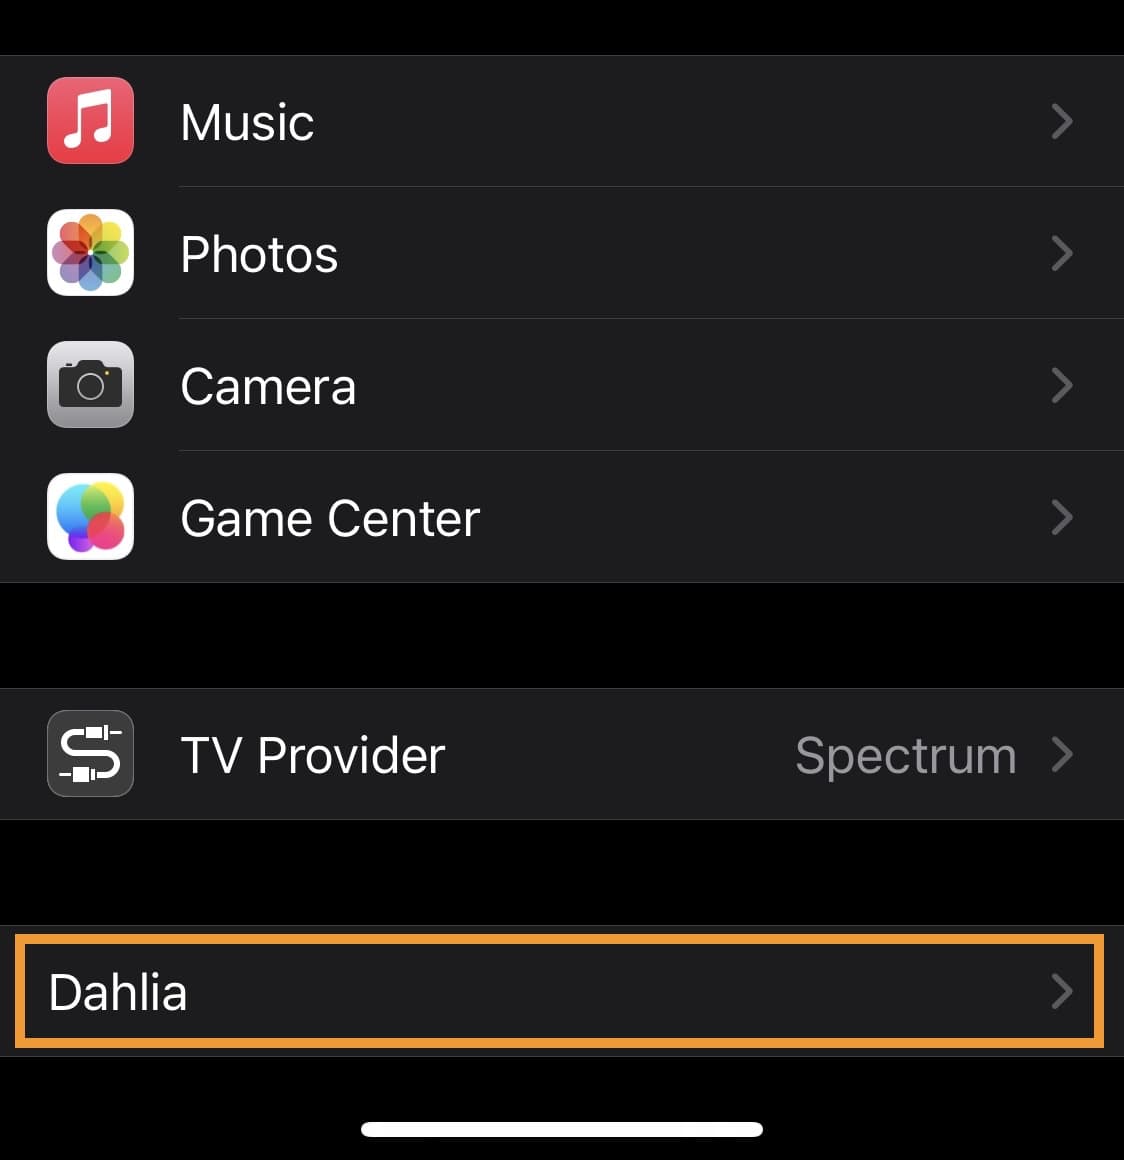
2) Scroll down to the Dahlia preference pane and tap on it:
3) Tap on the Download Profiles button:

4) Tap on the Dallas option in the pop-up prompt:
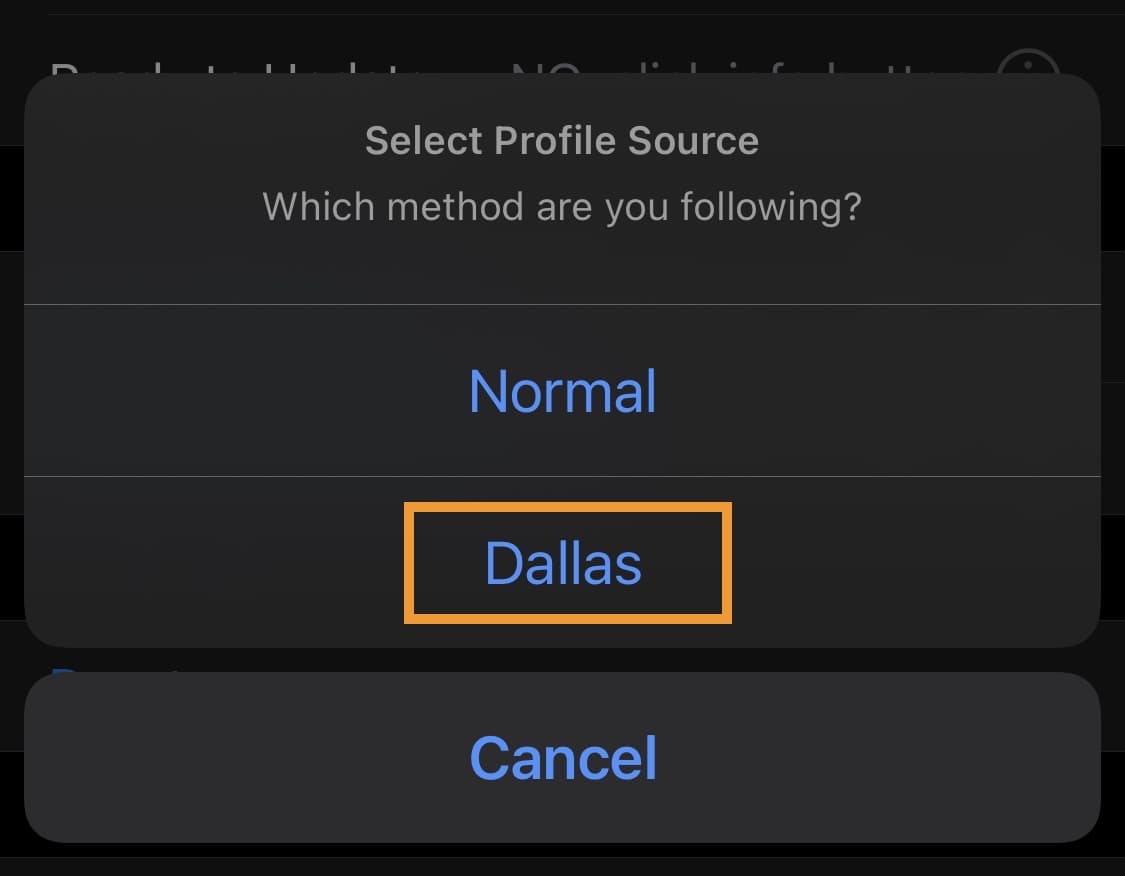
5) Tap on the Install Dallas Enabler (required) button:
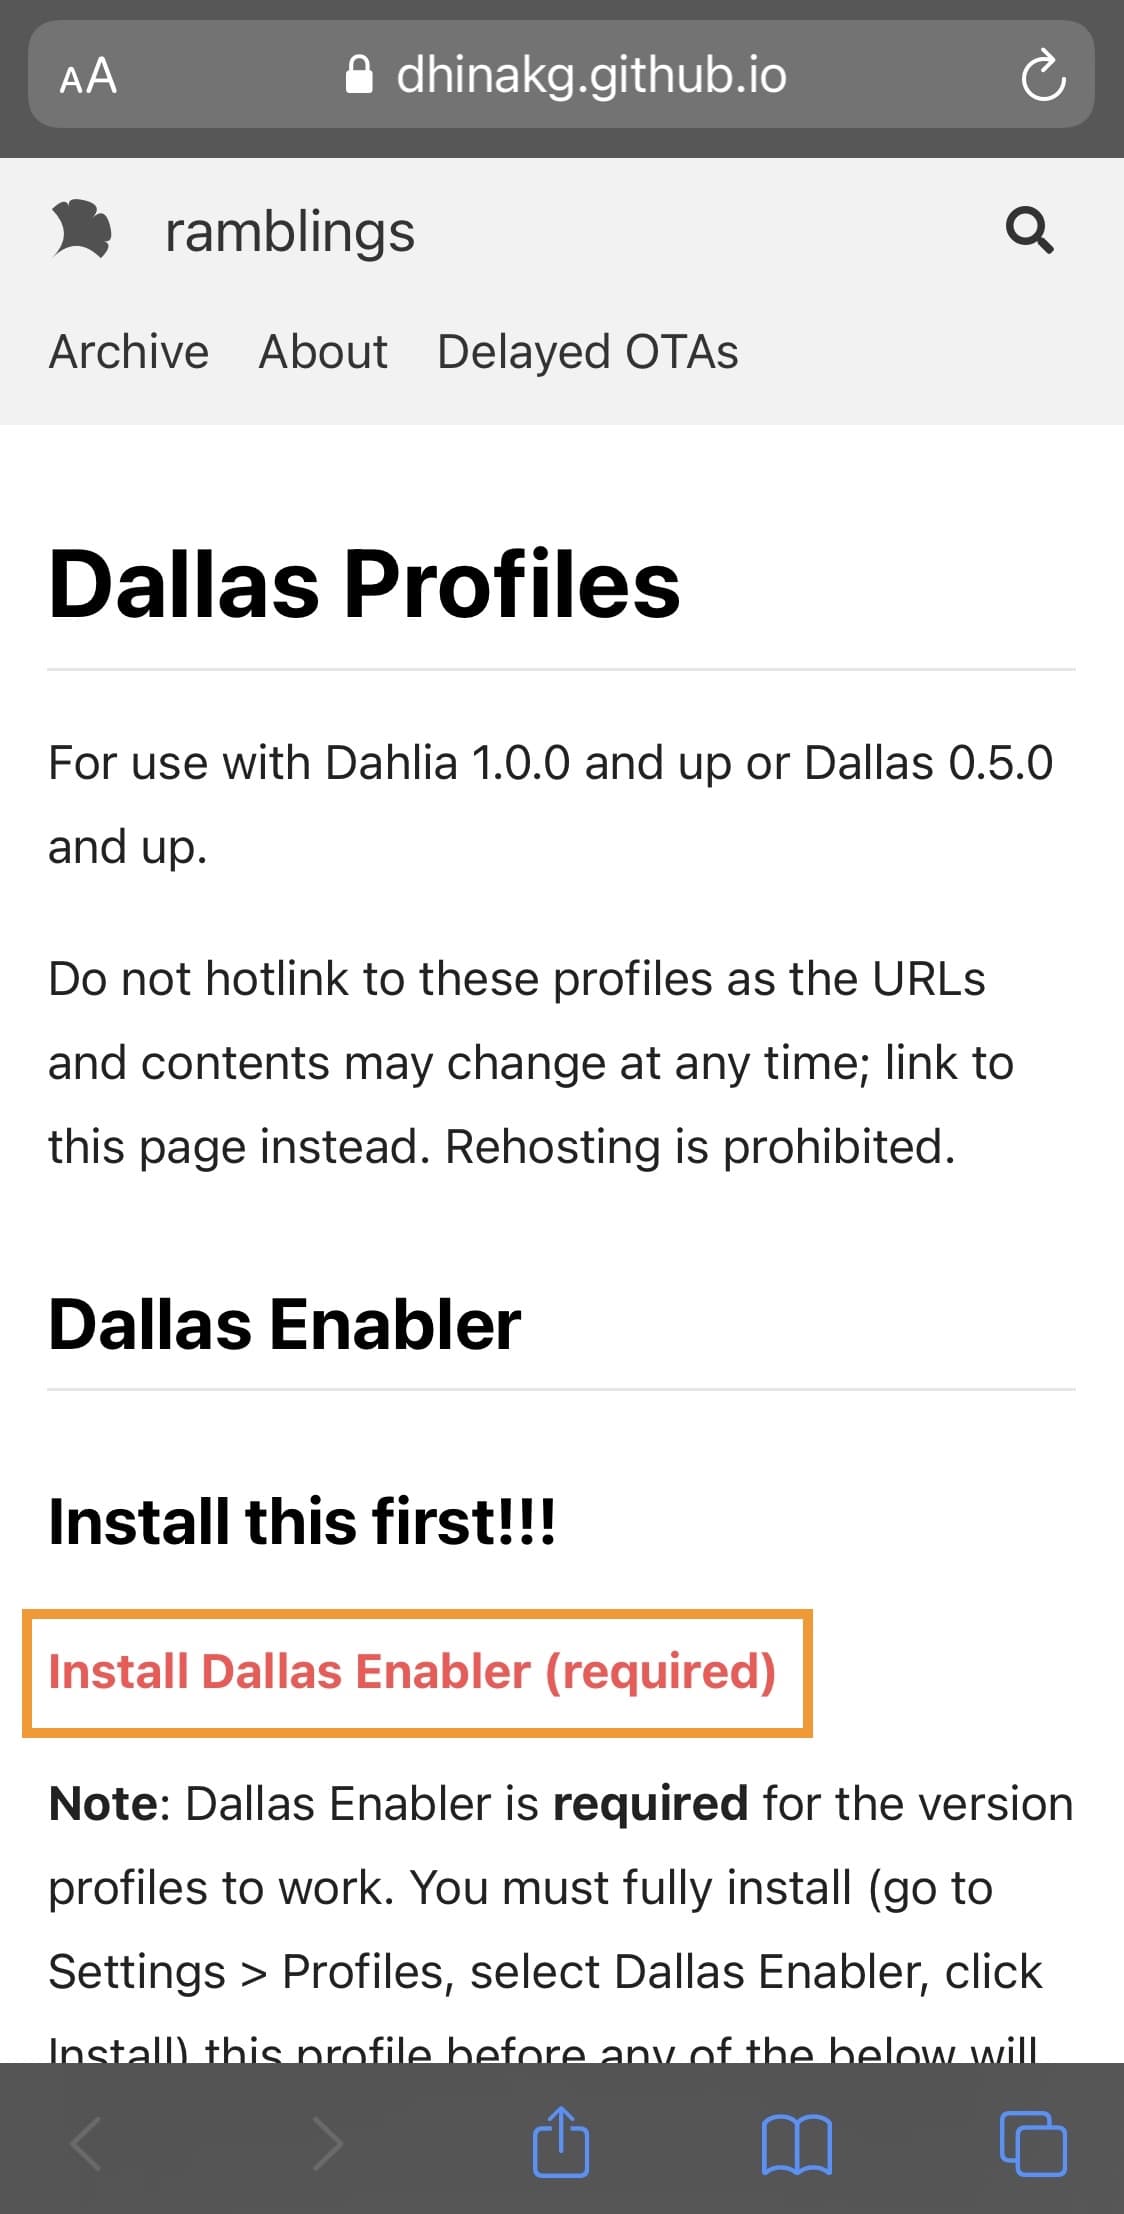
6) Tap on the Allow button in the prompt:
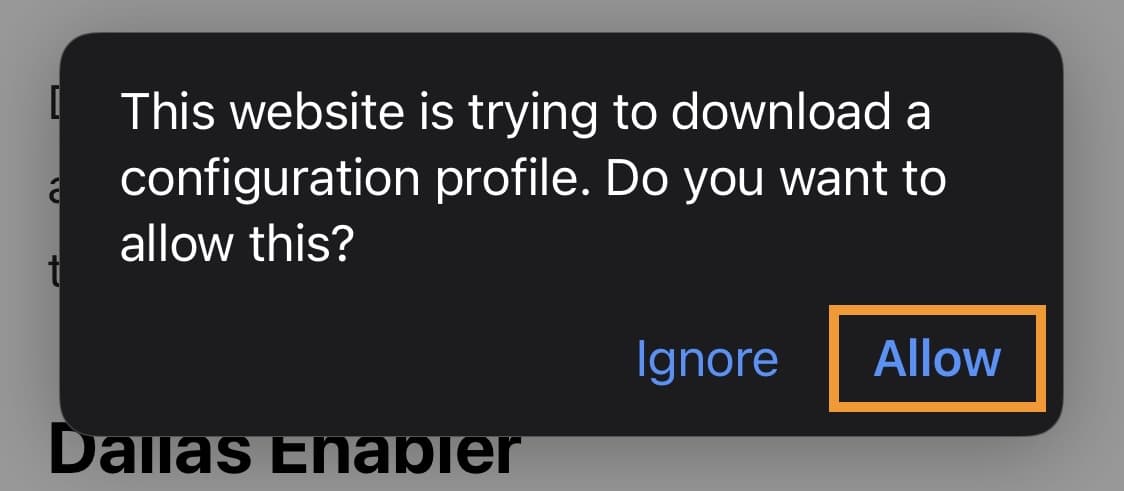
7) Tap on the Close button in the next prompt:
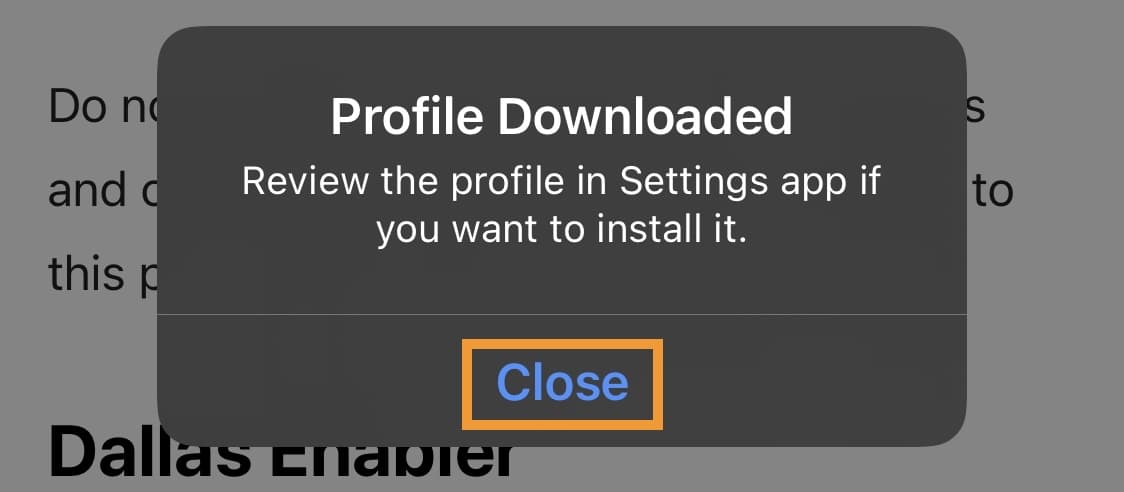
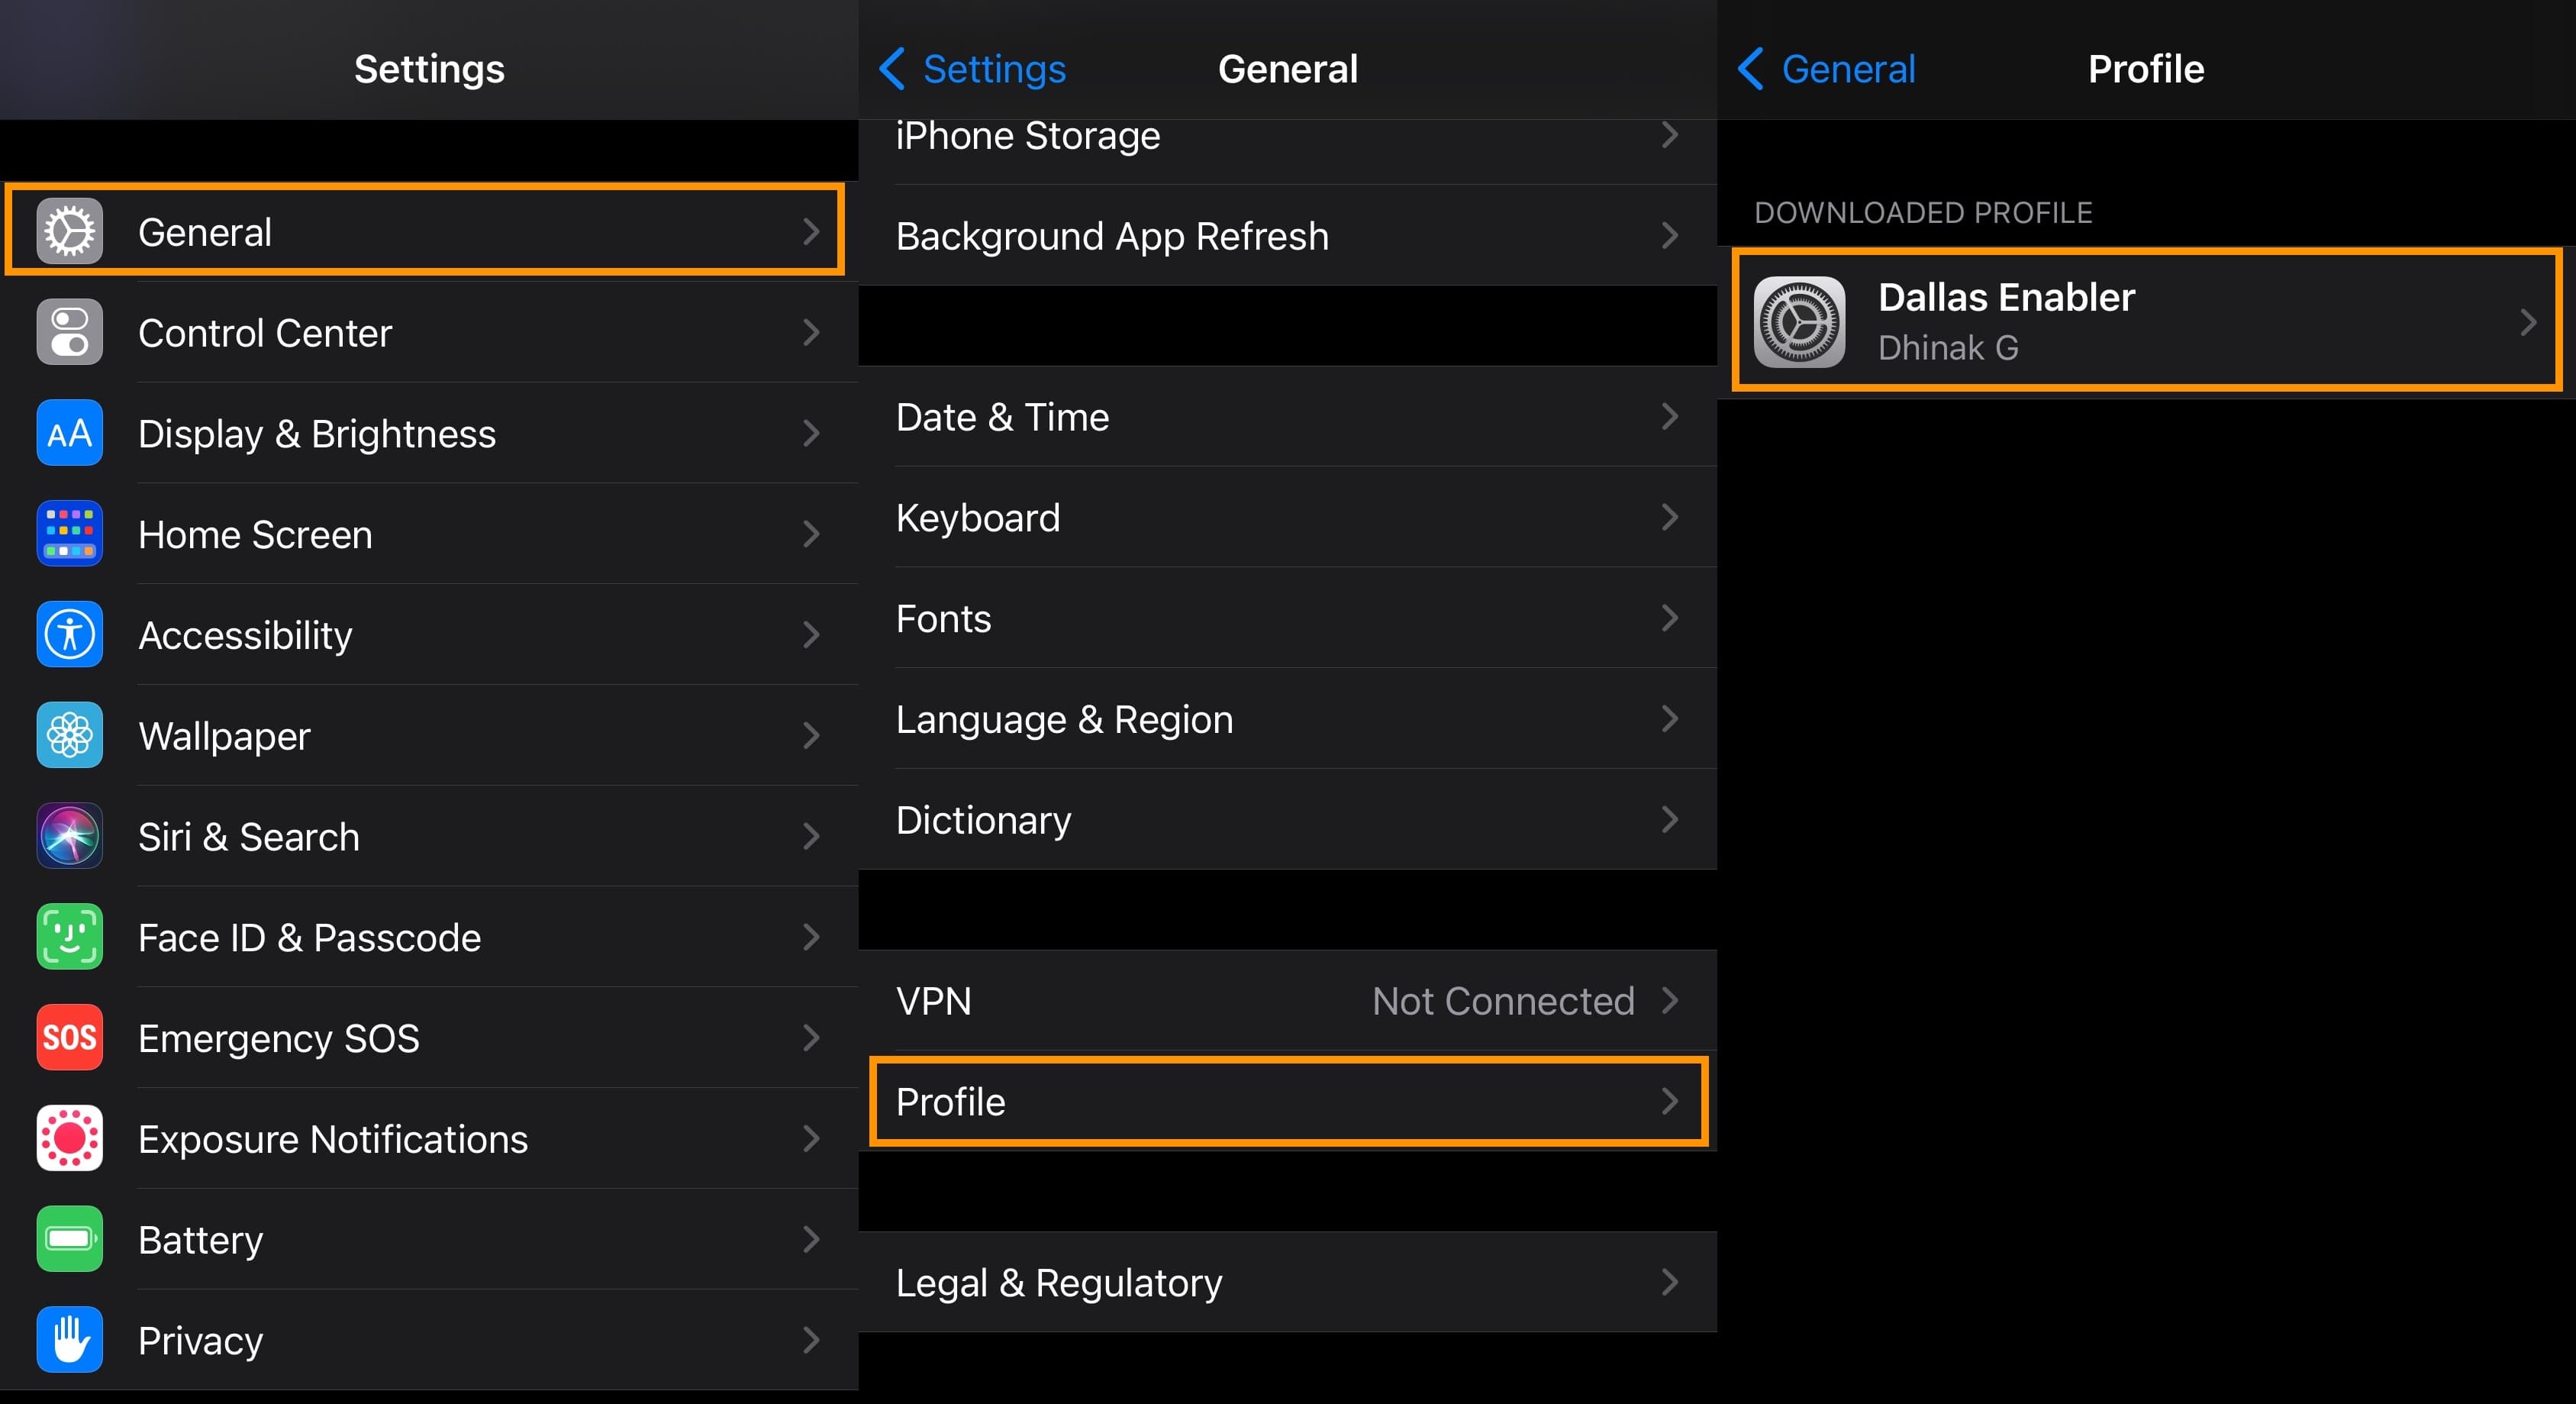
8) Launch to the Settings app and navigate to General → Profile & Device Management → Dallas Enabler:
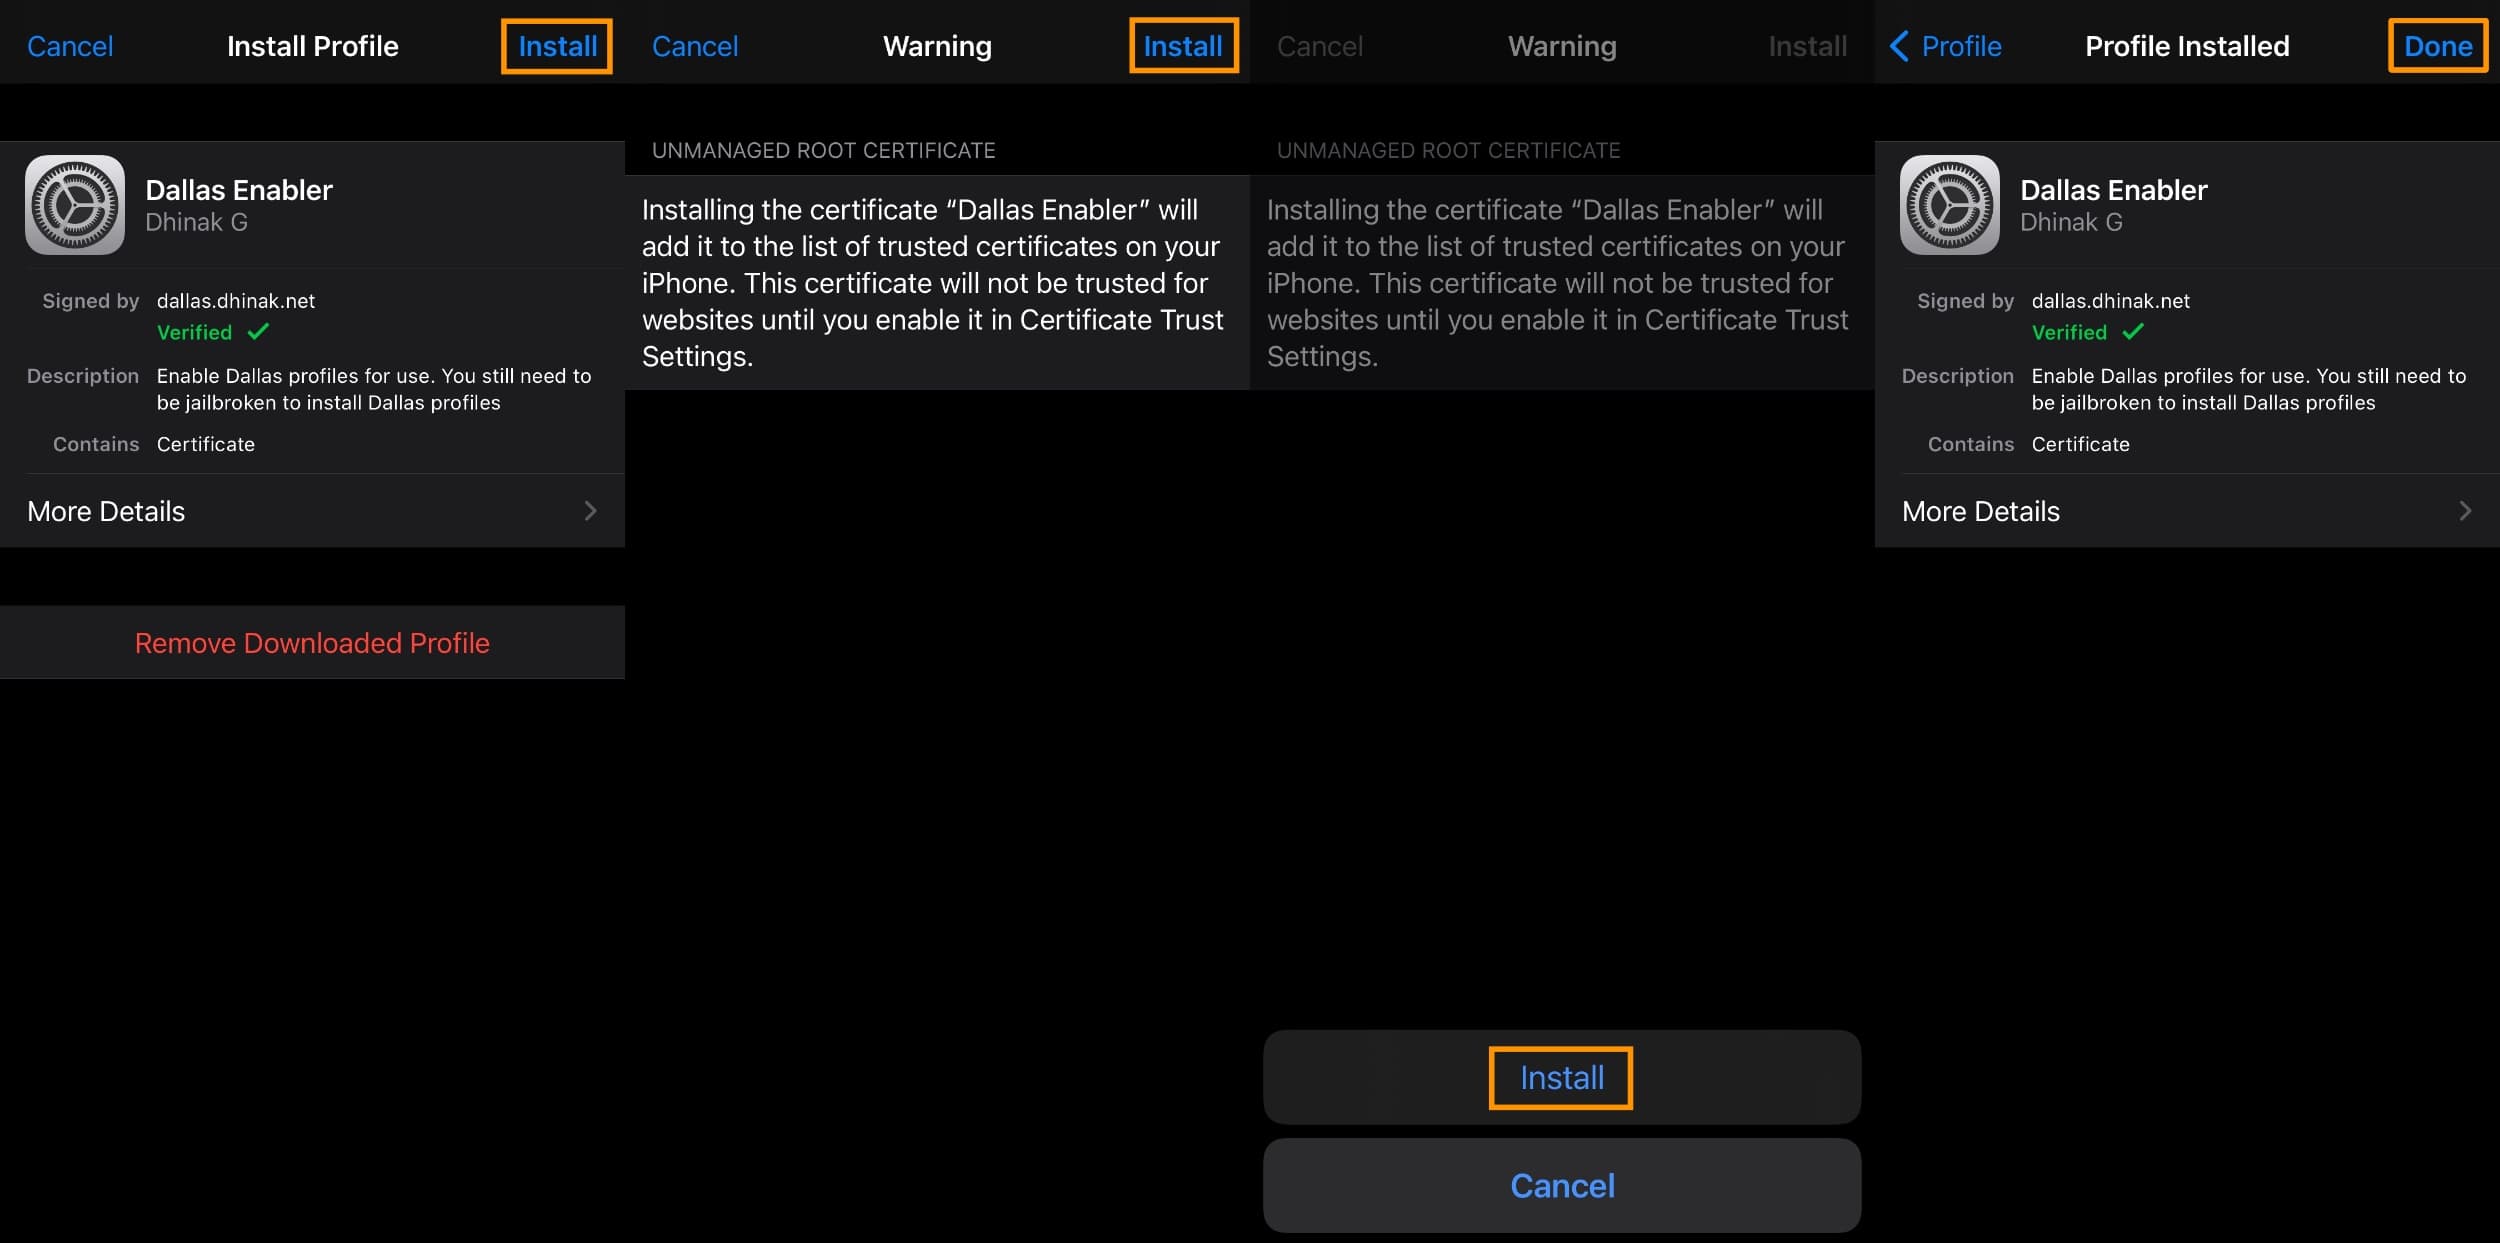
9) Tap on the Install button:
10) Enter your passcode if prompted.
11) Tap on the Install button again:
12) Tap on the Install button a final time:
13) Tap on the Done button:
14) Navigate back to the Dahlia preference pane:
15) Tap on the Download Profiles button:
16) Tap on the Dallas option in the pop-up prompt:
17) Scroll until you see Version Profiles and download the profile for the version of iOS you plan to install:
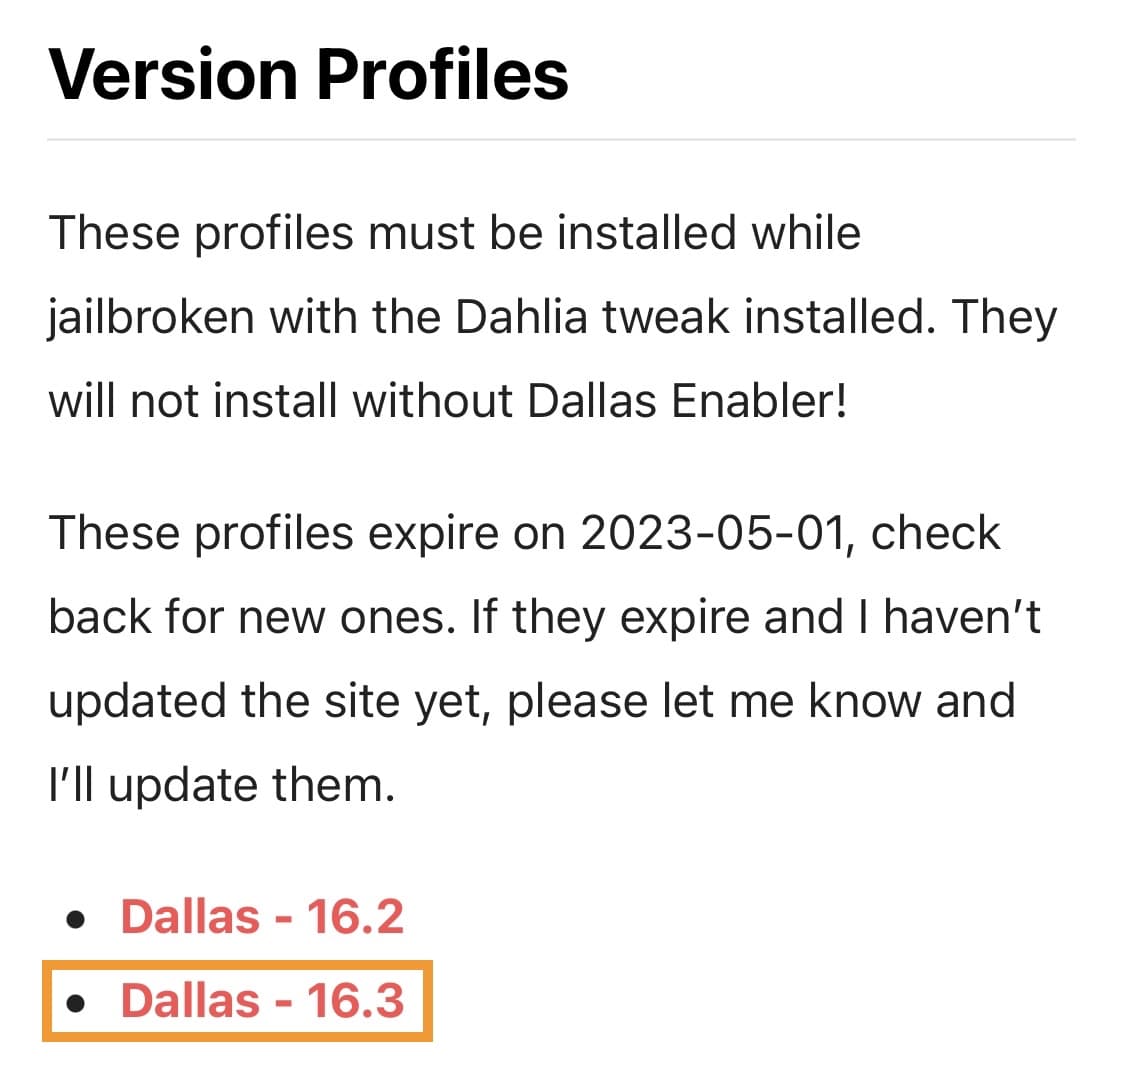
Note: In our case, we will be installing iOS 16.3, but you might install something different.
18) Tap on the Allow button:
19) Tap on the Close button:
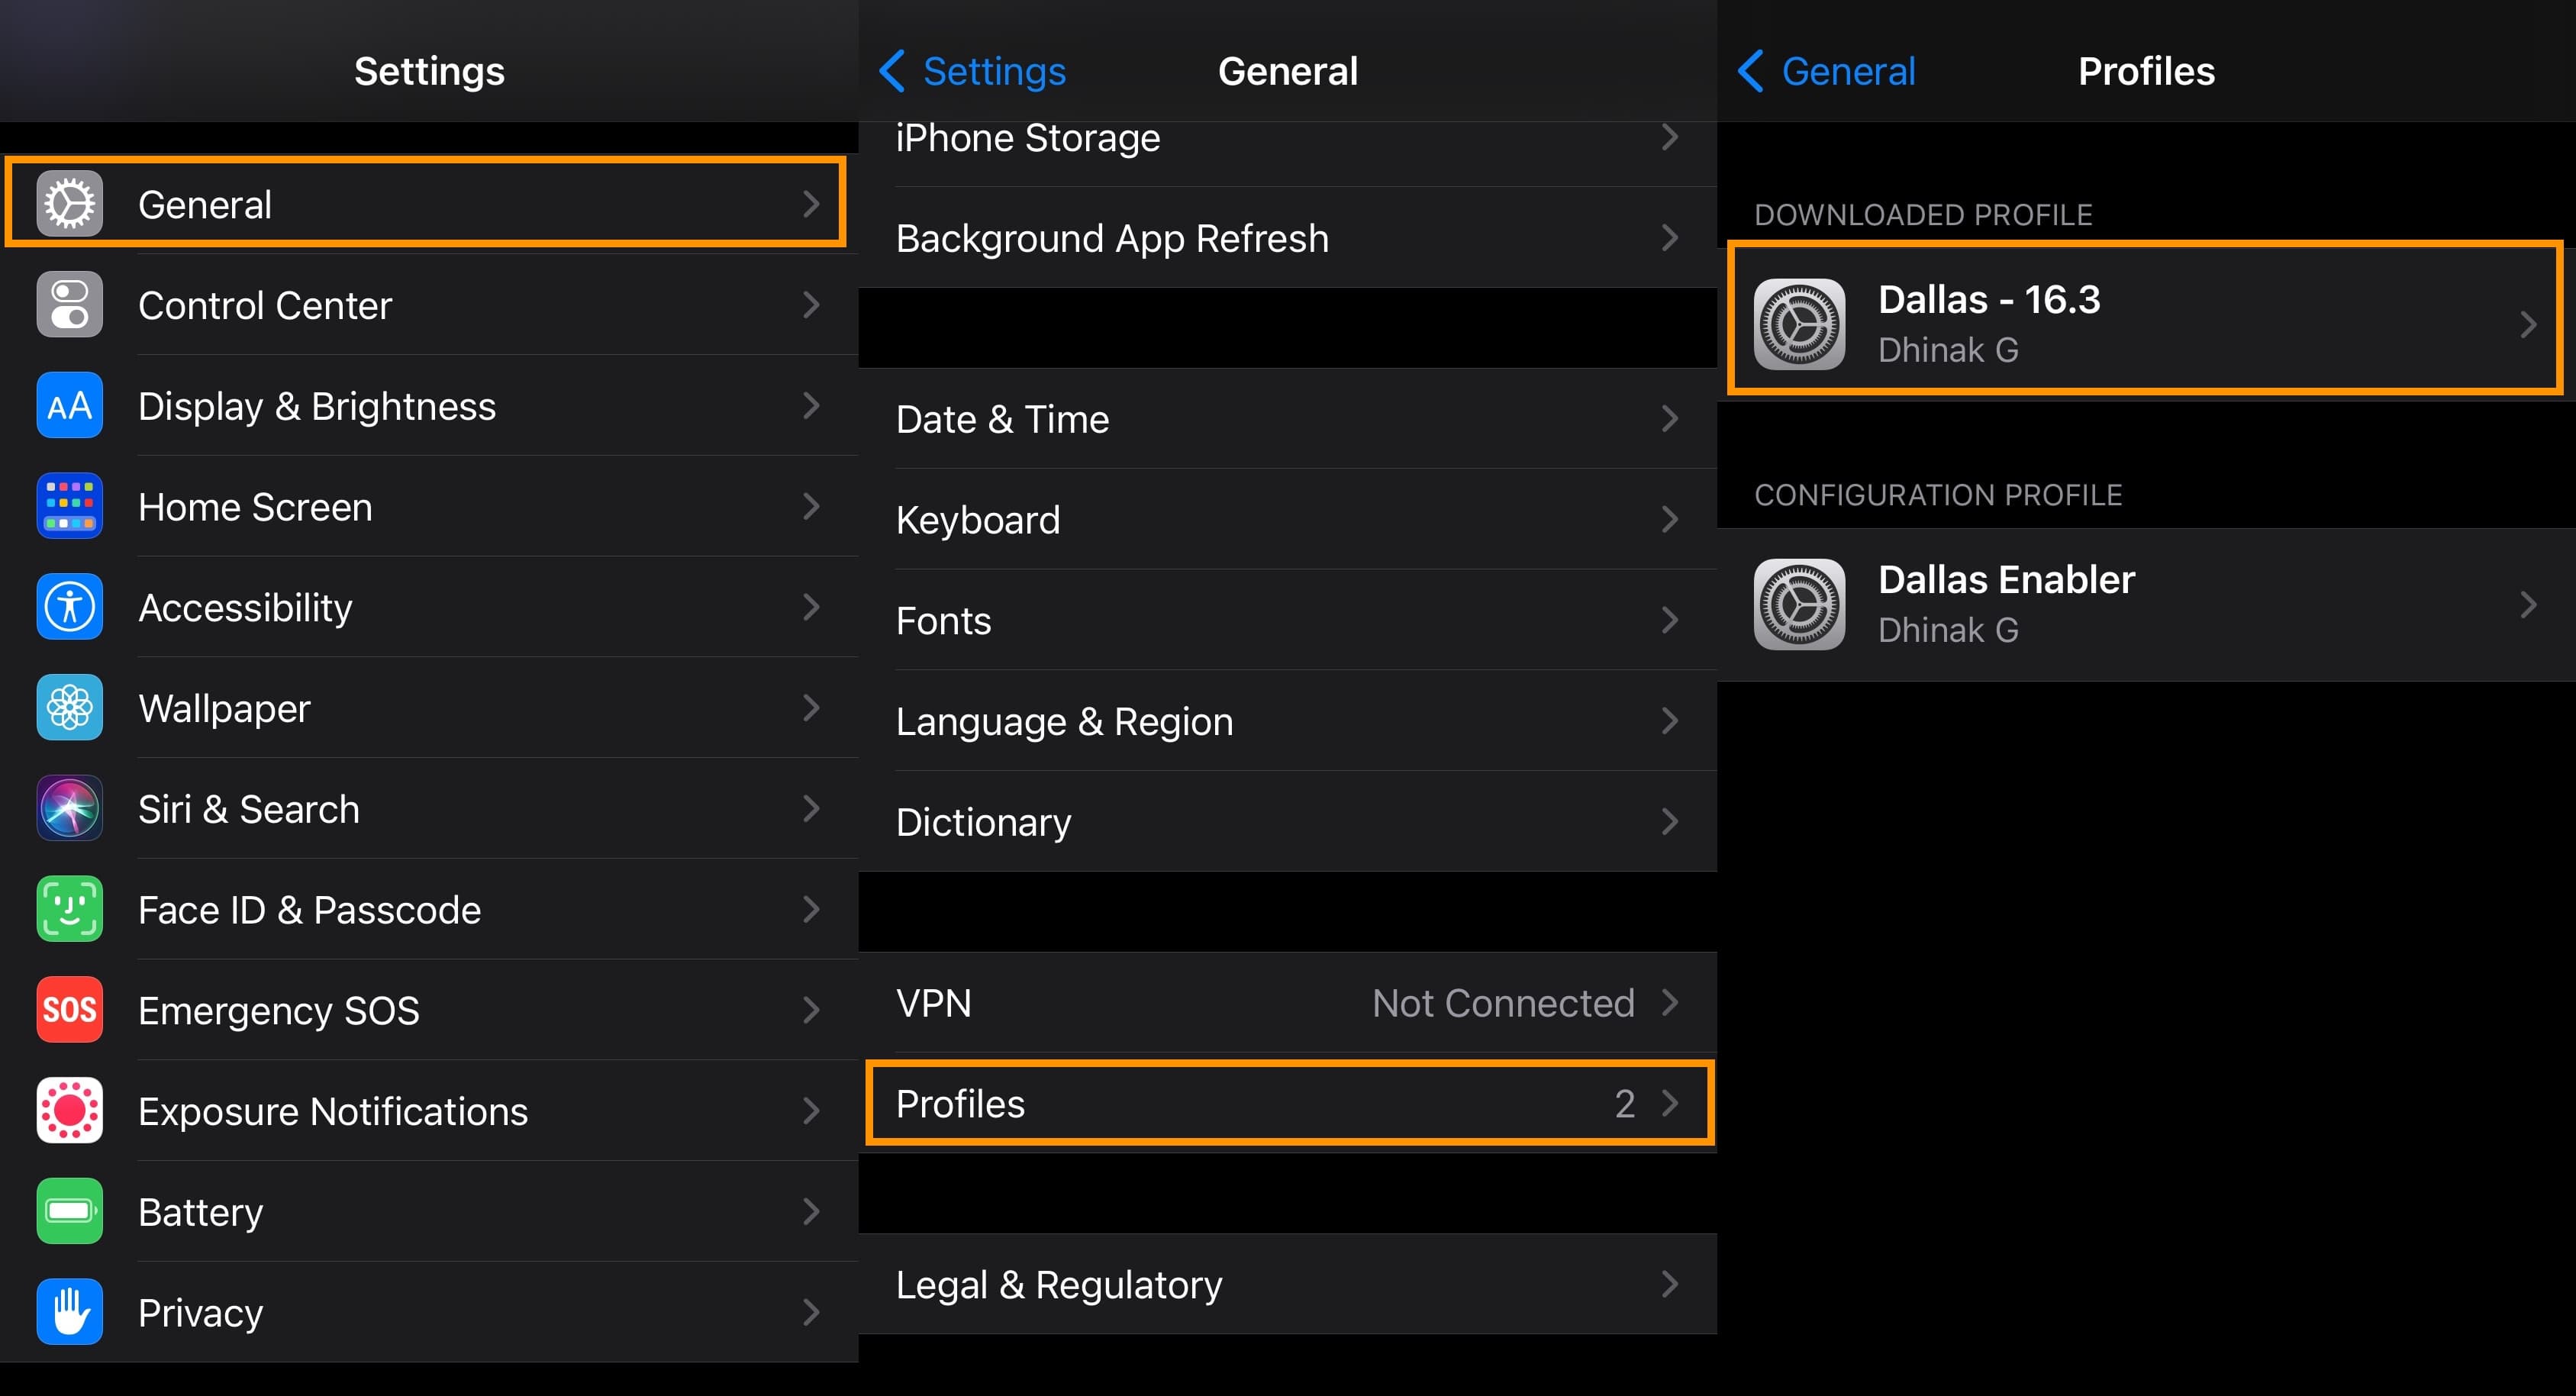
20) Launch the Settings app and navigate to General → Profiles & Device Management → Dallas – [insert version number here]:
21) Tap on the Install button:
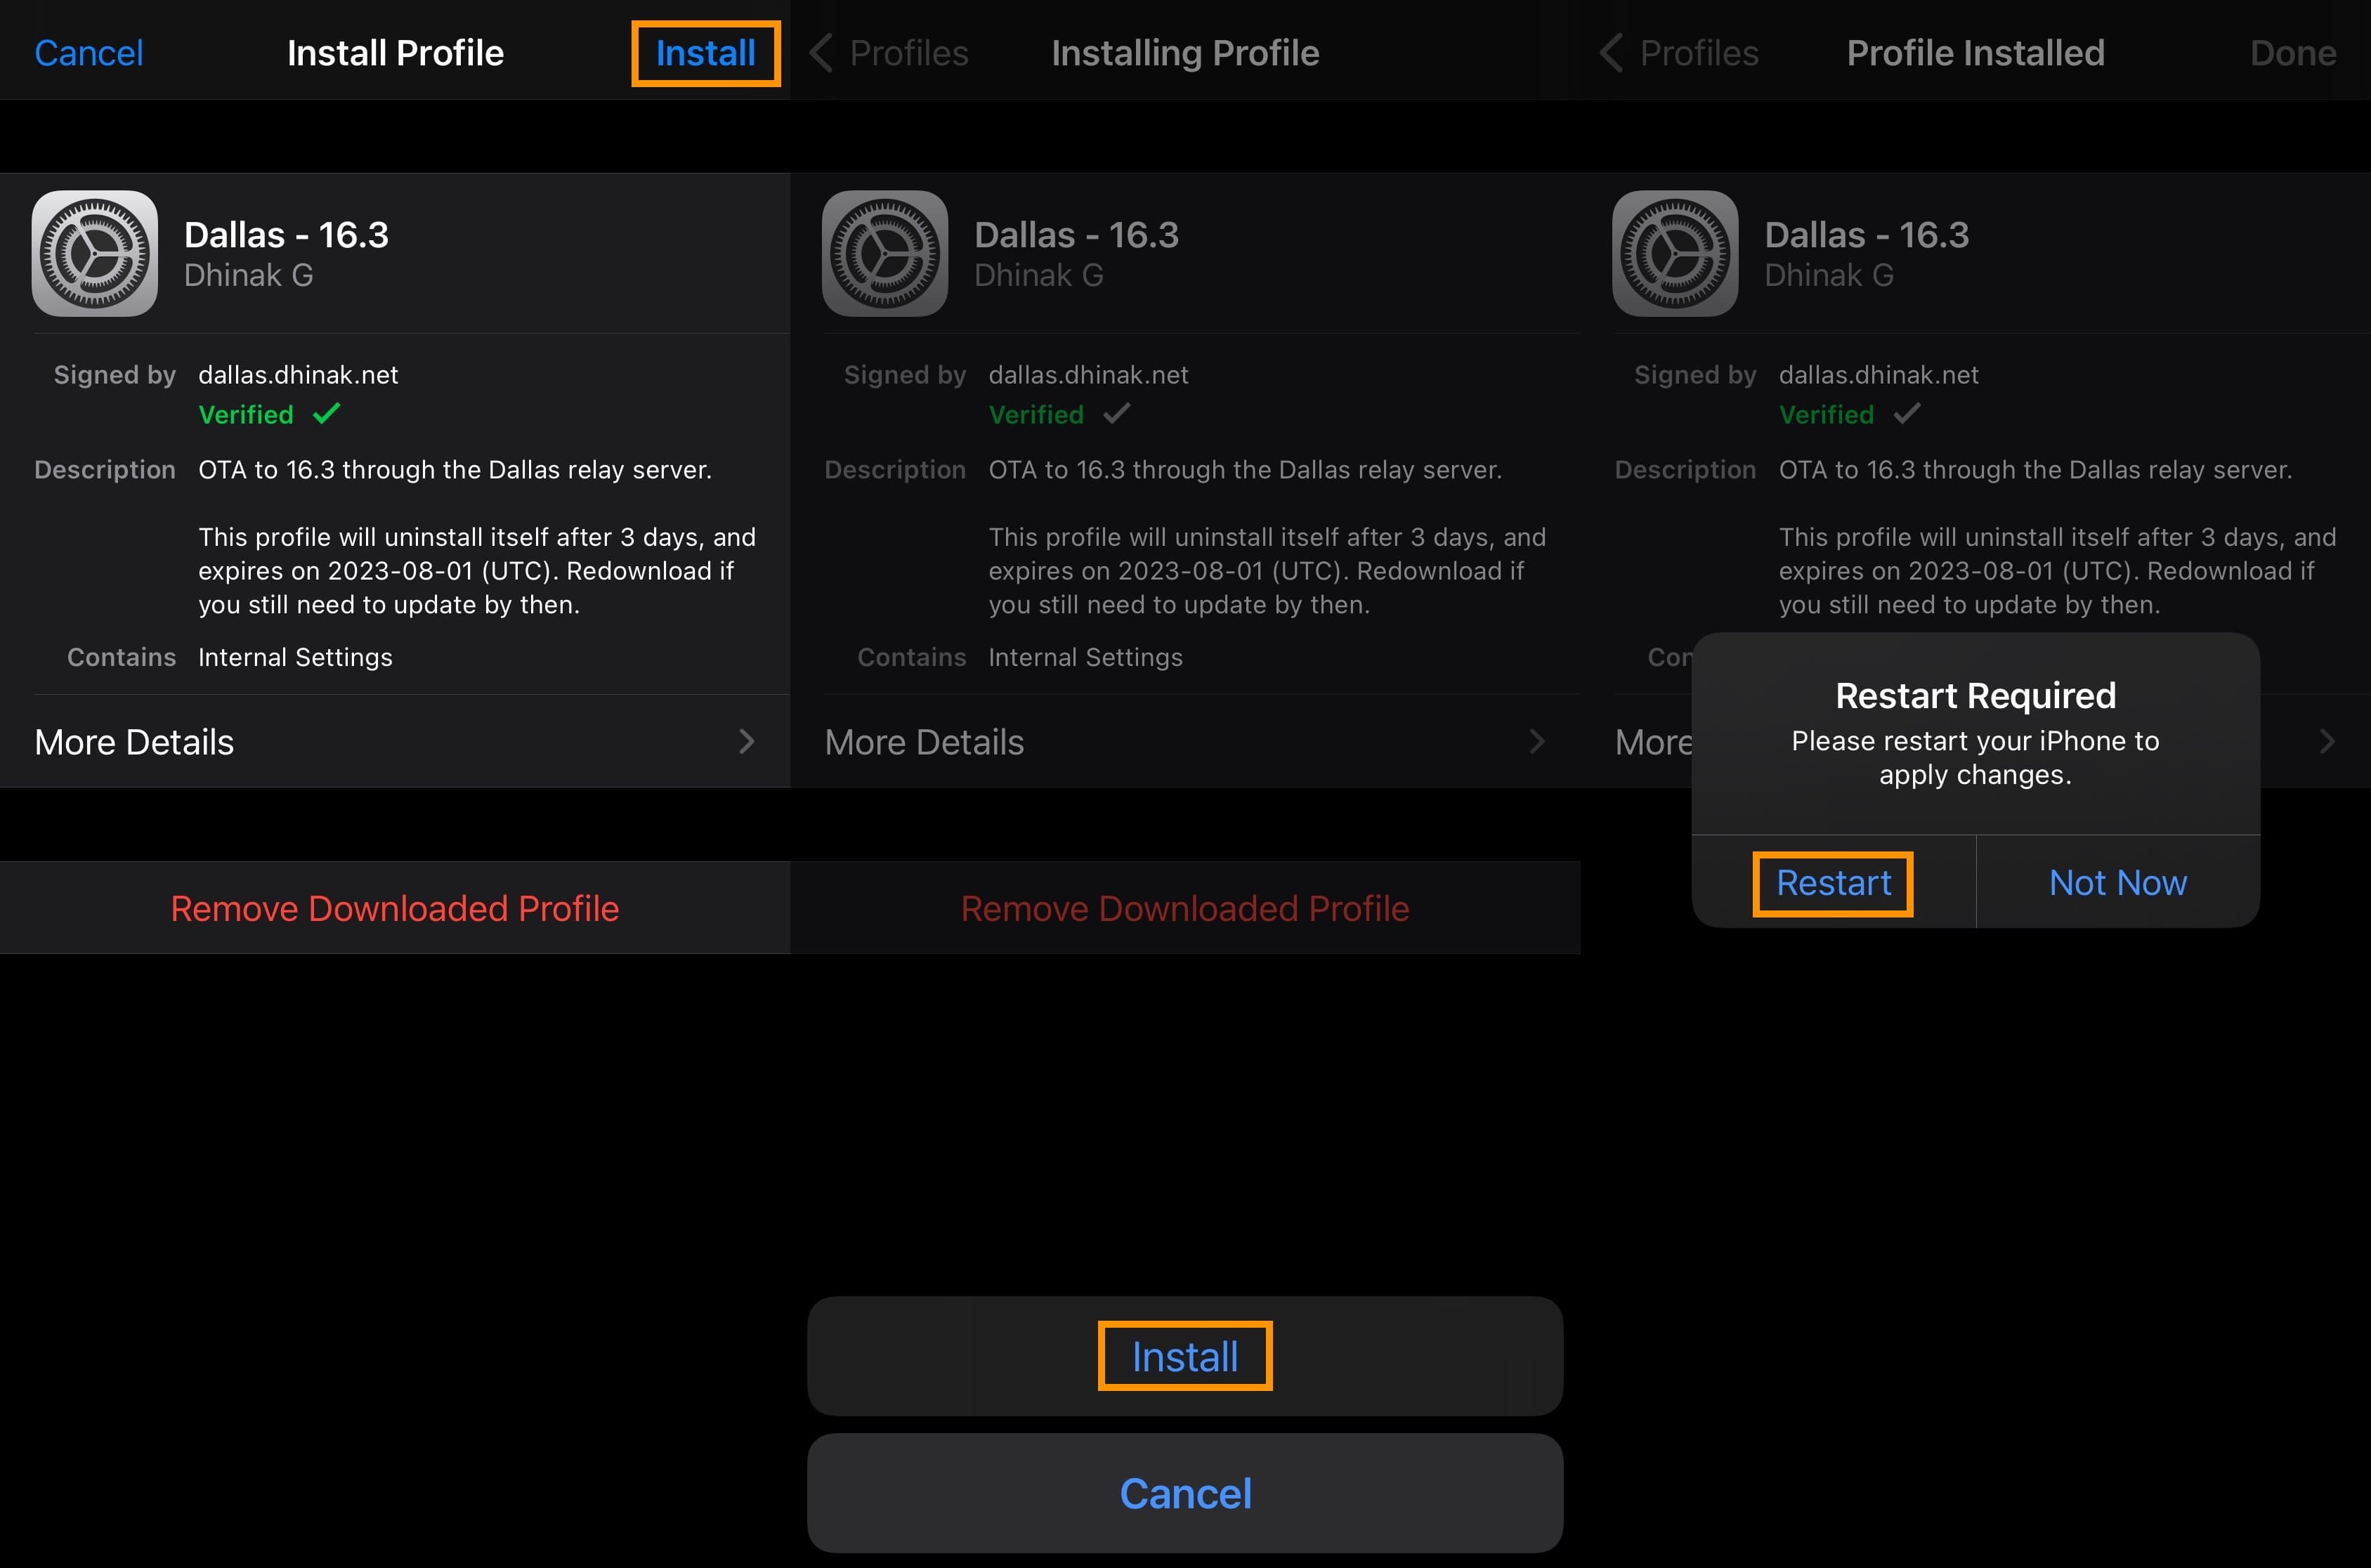
22) Enter your passcode if prompted.
23) Tap on the Install button again.
34) Tap on the Restart button.
Note: Your device will now reboot. Wait for it and then move on to the next step.
35) Re-jailbreak your device after rebooting if your jailbreak is semi-tethered or semi-untethered.
36) Launch the Settings app and navigate to the Dahlia preference pane:
37) Toggle the Enable Supervision-less Mode option on if it isn’t already enabled:
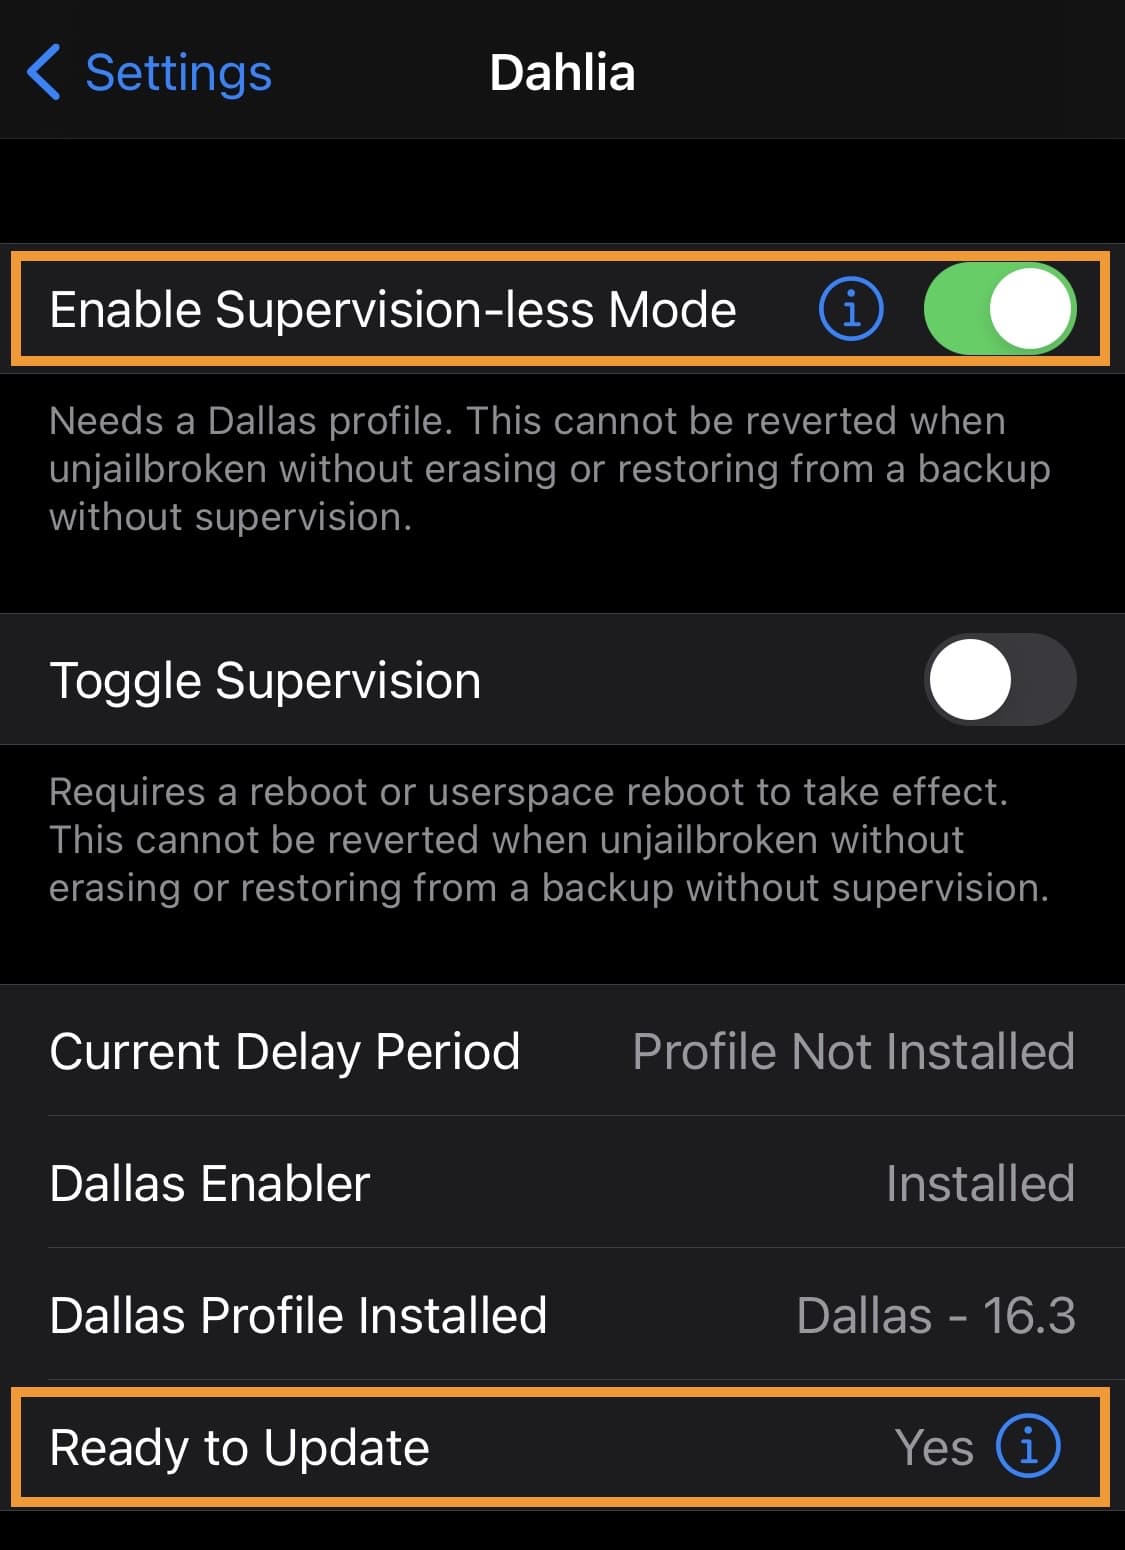
38) Ensure that the Ready to Update cell says “Yes.”
Note: If the Ready to Update cell says “No,” then you are not ready to Update and must re-follow all the steps in this tutorial closely.
Restoring rootFS
The next step in preparing your device for the DelayOTA update is to restore the root filesystem. We’ll show you how in this section via the steps below:
1) Launch the Settings app and navigate to General → Software Update:
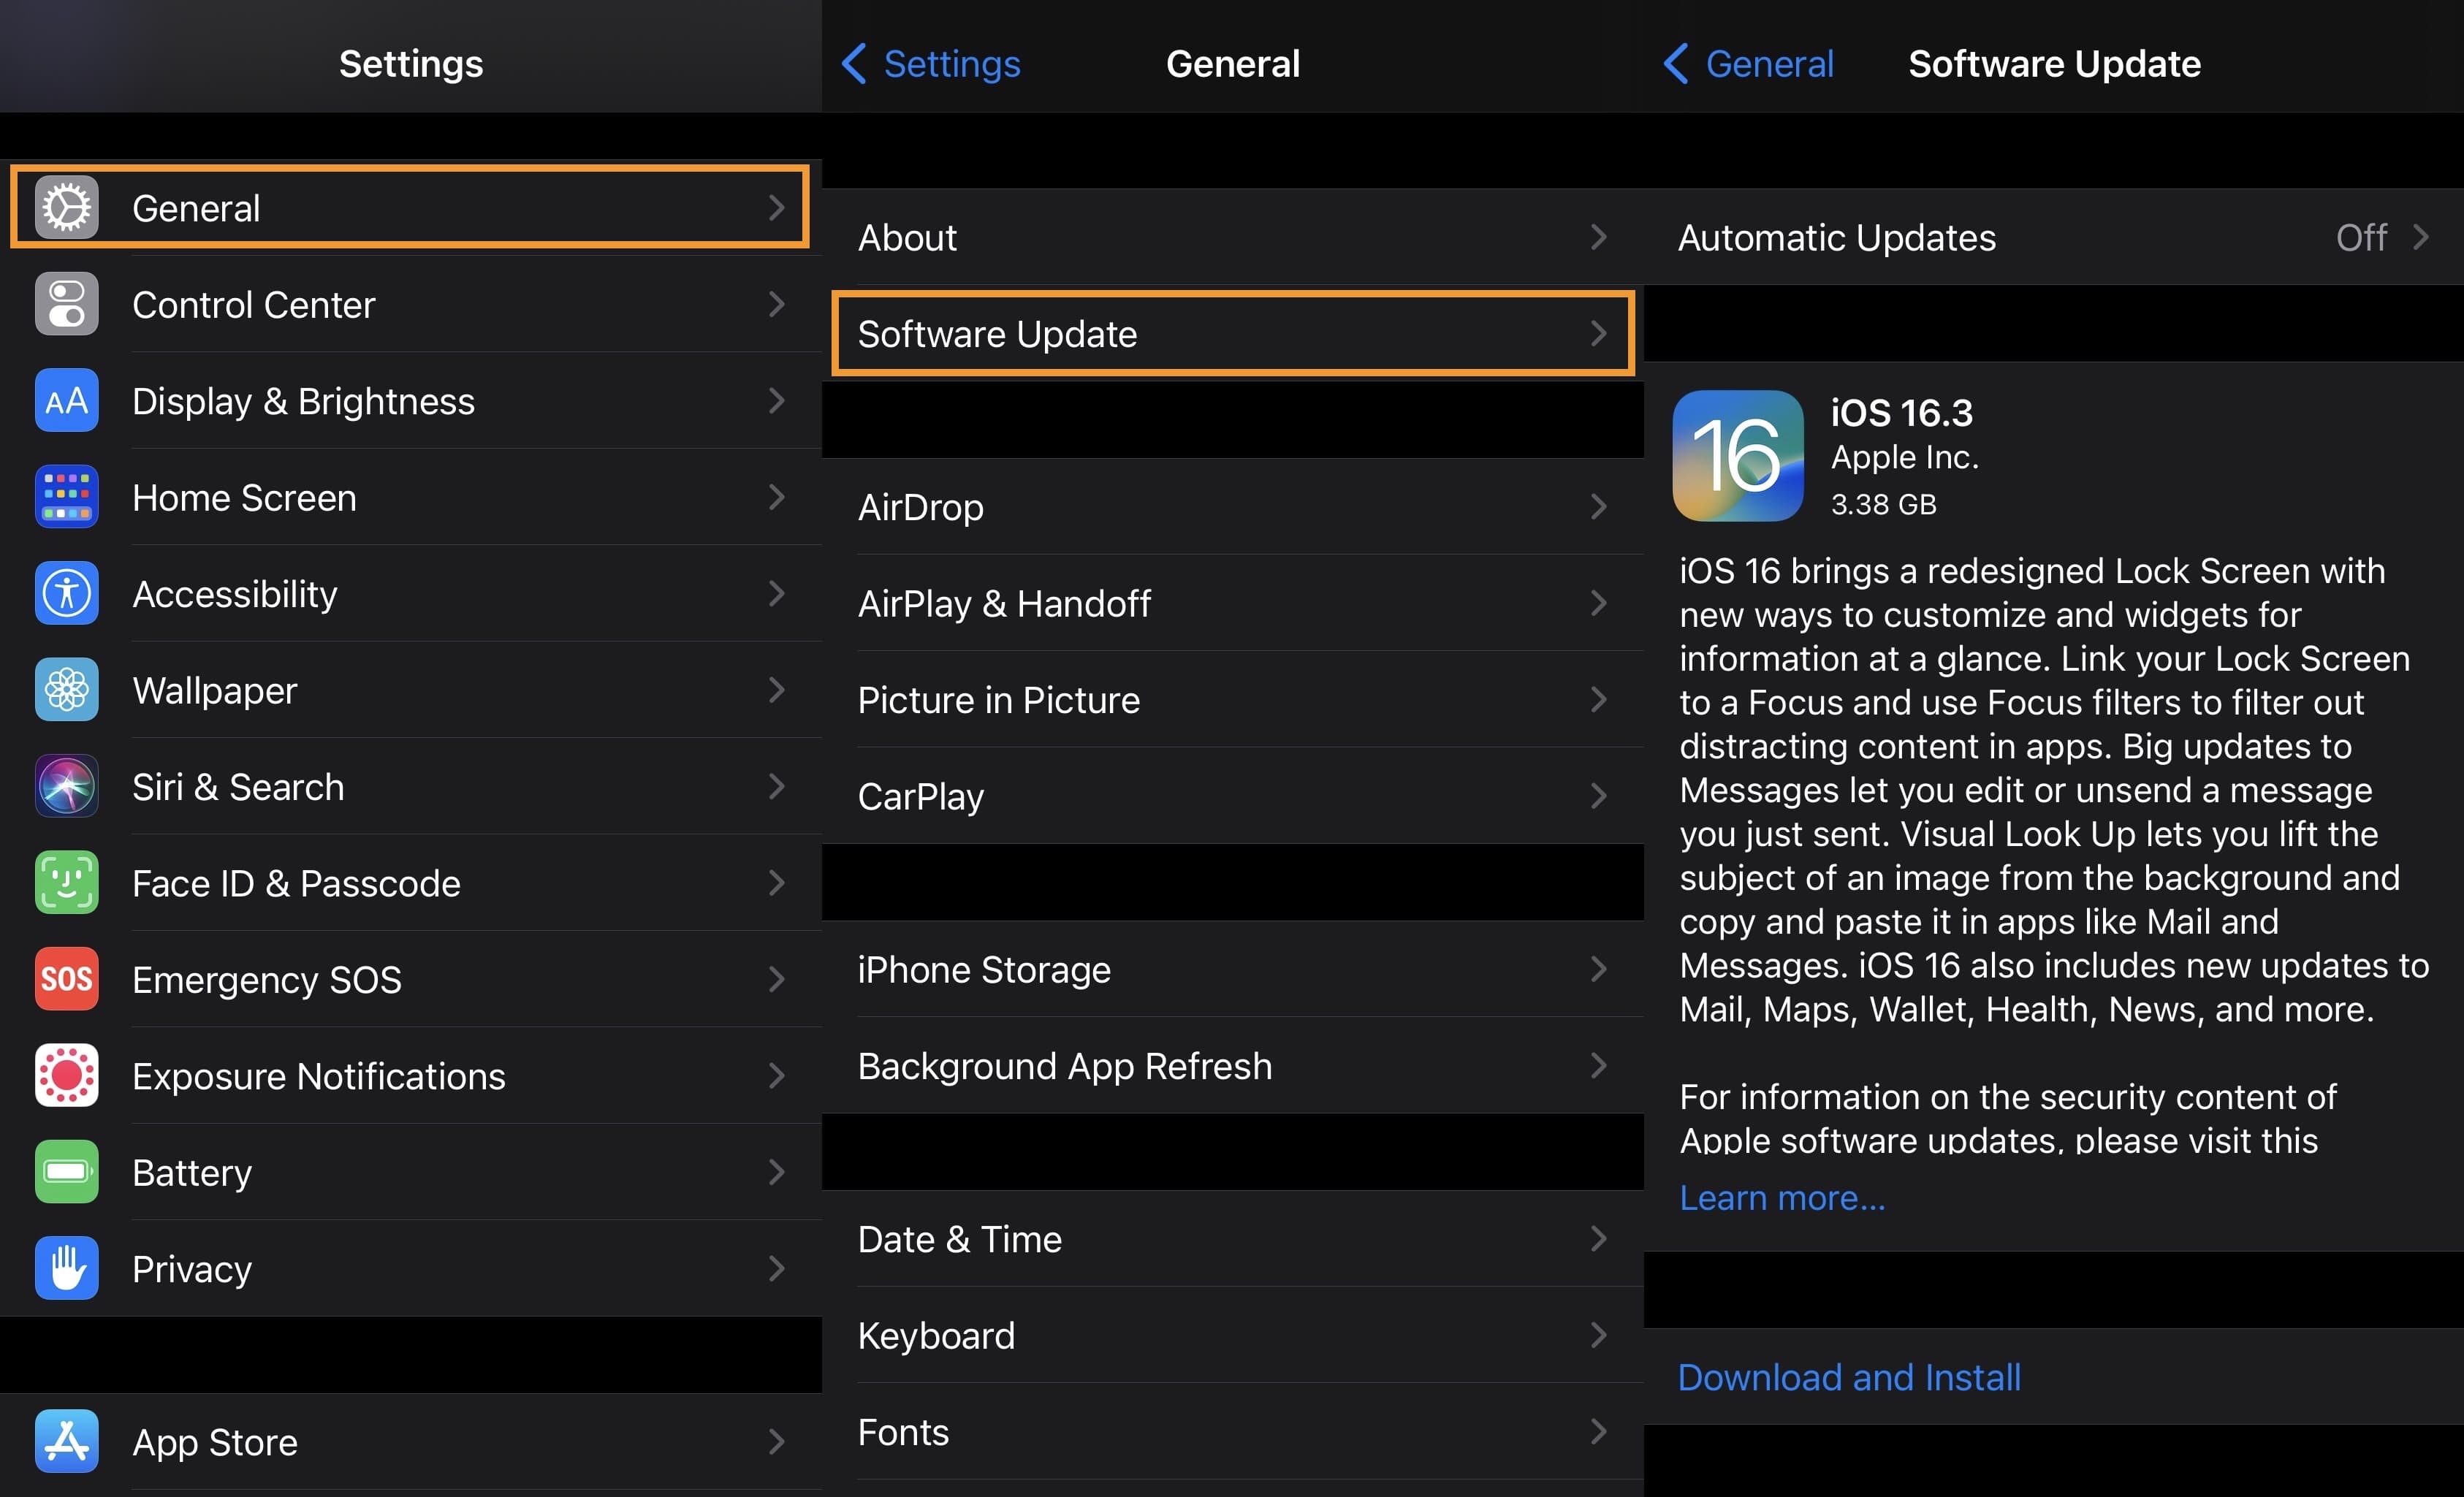
Note: Do not update yet. Verify that the version you intend to DelayOTA upgrade to is displayed. If it is, move on to the next step. If it isn’t, check to make sure it’s still eligible for DelayOTA.
2) Immediately begin the rootFS restore process for your jailbreak.
Note: Below are links some different tutorials that may help with your rootFS restore depending on what jailbreak you’re using:
- How to remove the Odyssey jailbreak
- How to remove the unc0ver jailbreak
- How to remove the Taurine jailbreak
- How to remove the checkra1n jailbreak
- How to remove the palera1n jailbreak
- How to remove the palera1n-c jailbreak
3) Reboot your device if it didn’t already reboot after the rootFS restore.
Note: After the device boots back up, move on the next section to begin the firmware upgrade.
Beginning the DelayOTA update
Now that you’ve removed your jailbreak, prepared your device for a DelayOTA upgrade, and verified that the version you wish to upgrade to is eligible for install, follow the steps below to move forward:
1) Launch the Settings app and navigate to General → Software Update:
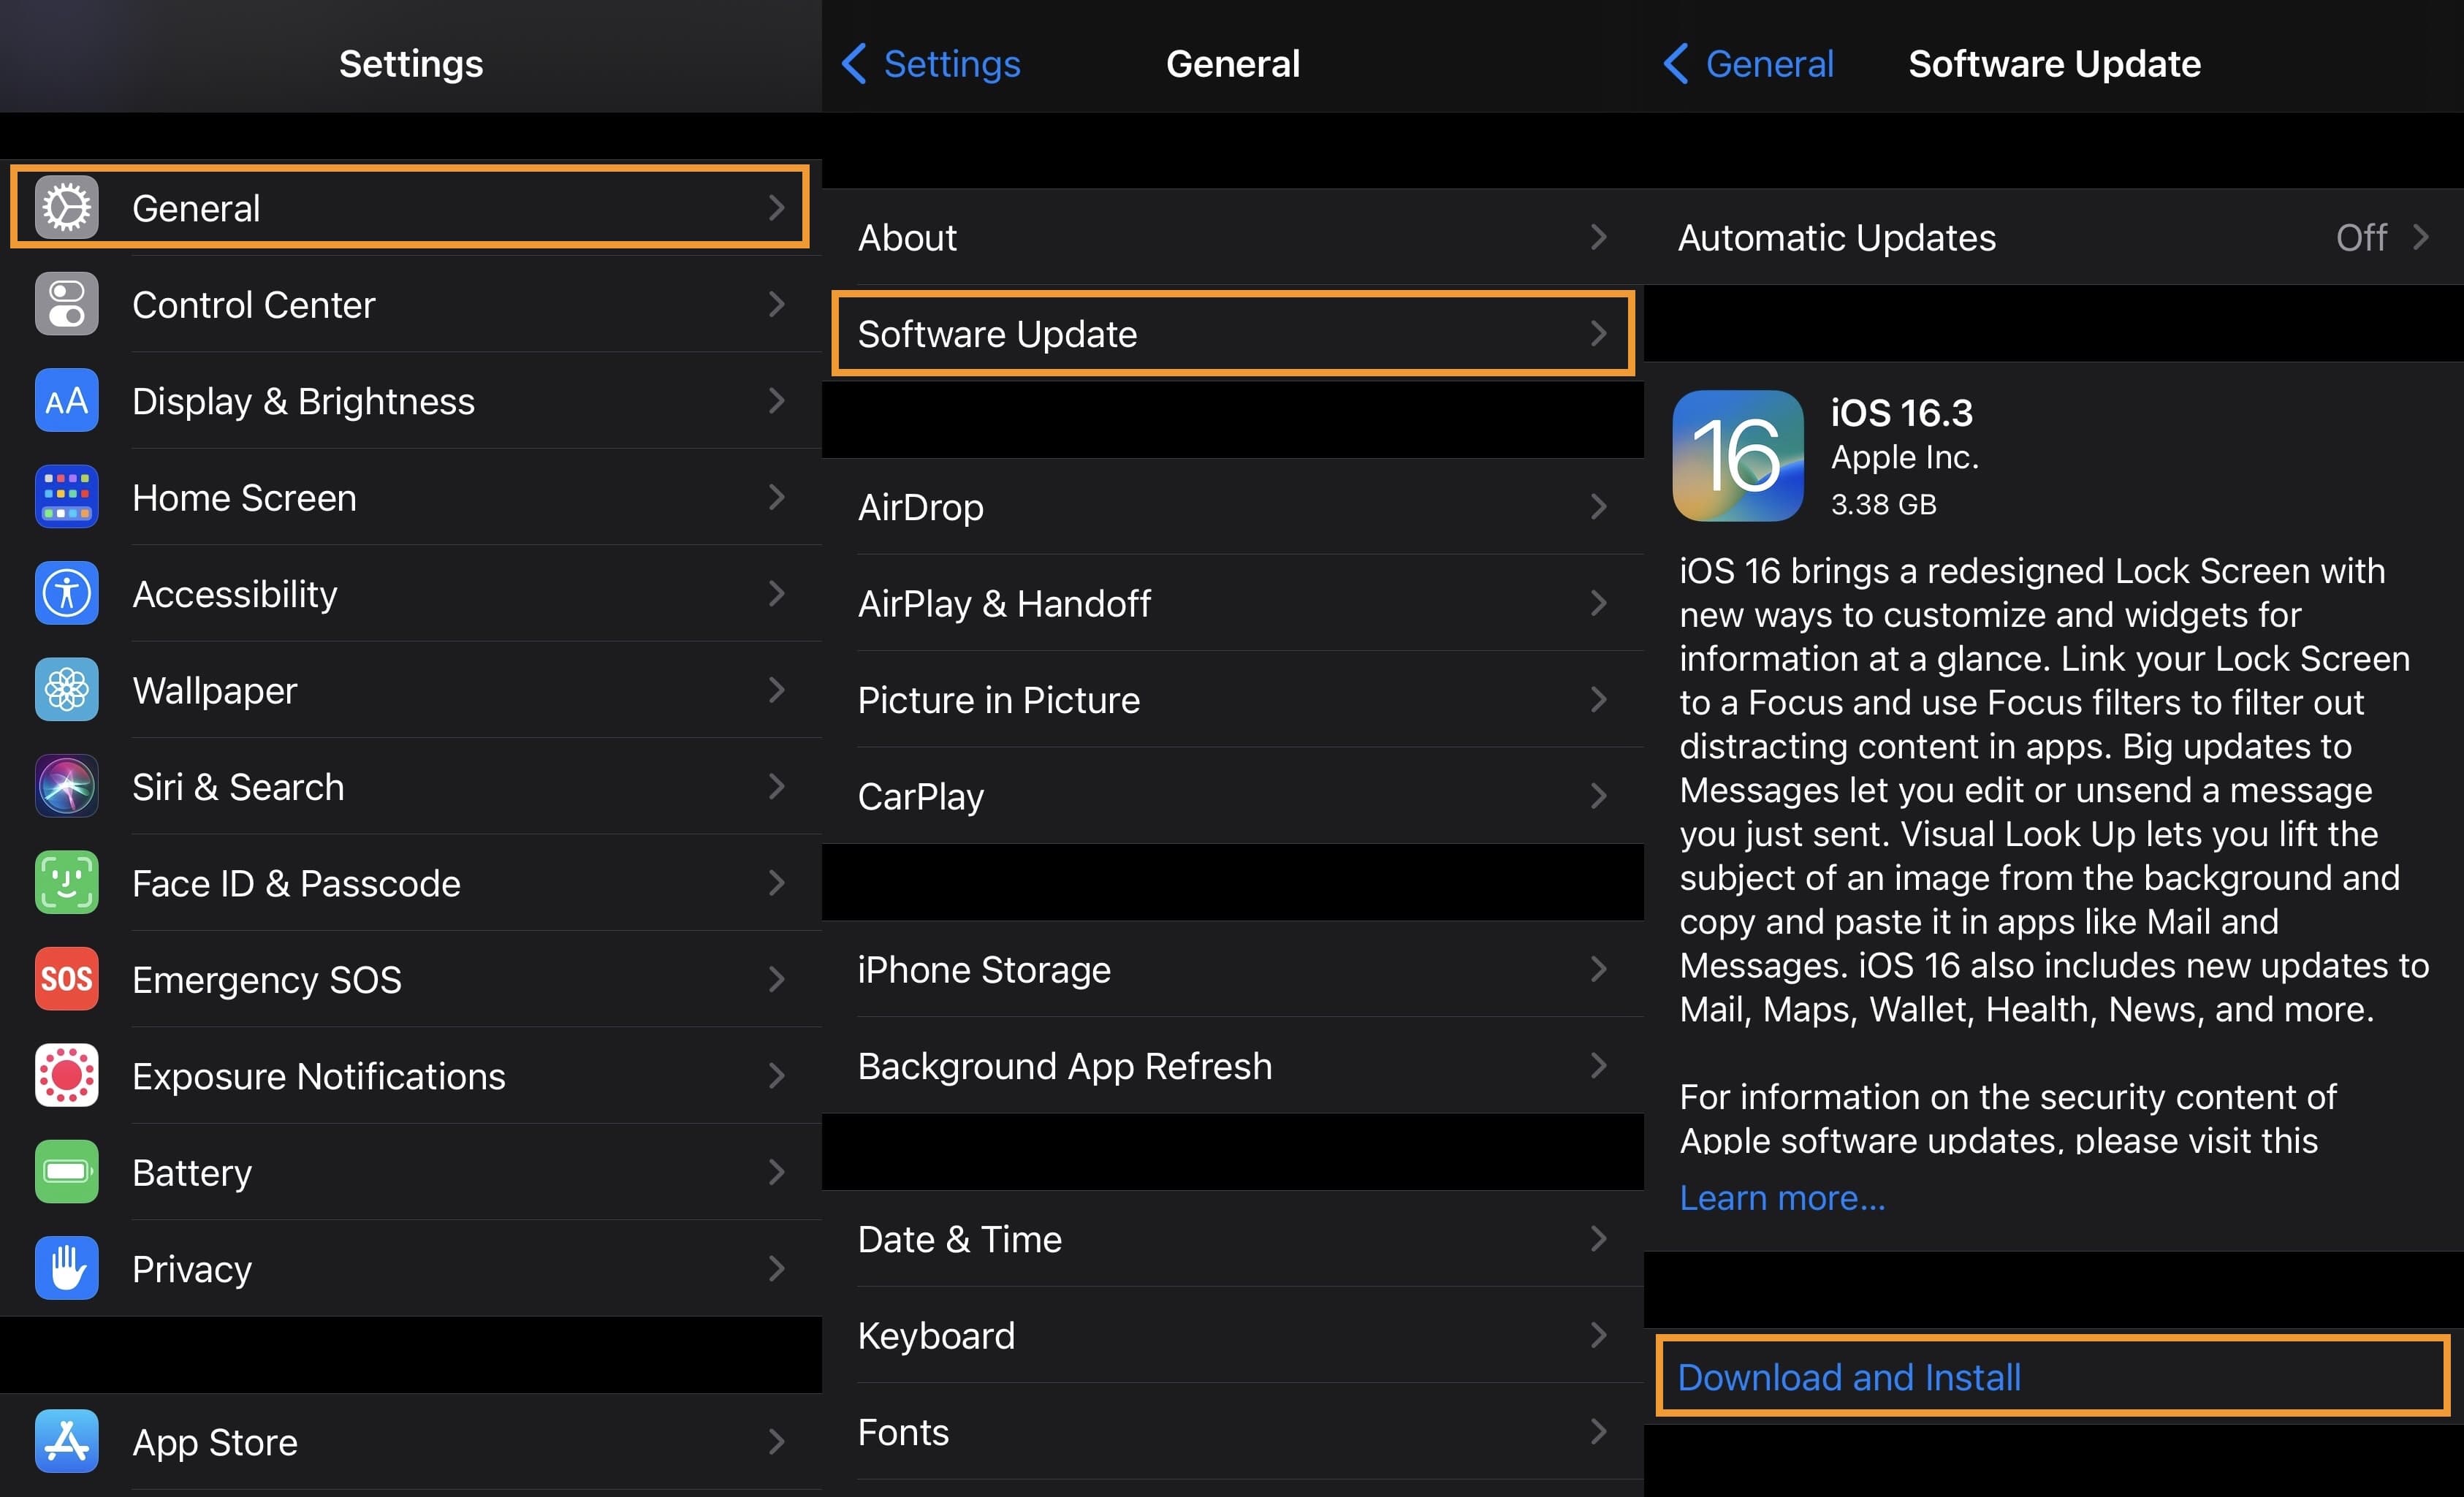
2) Check again that the version available for install matches the version you wish to install.
3) If everything looks good, tap on the Download and Install button to begin the upgrade:
Note: Your device will begin downloading and installing the specified version of iOS or iPadOS. When it reboots, it will be running that version.
Cleanup
When your device boots back up and you set it up, you can then follow the steps below to remove the profiles you installed earlier:
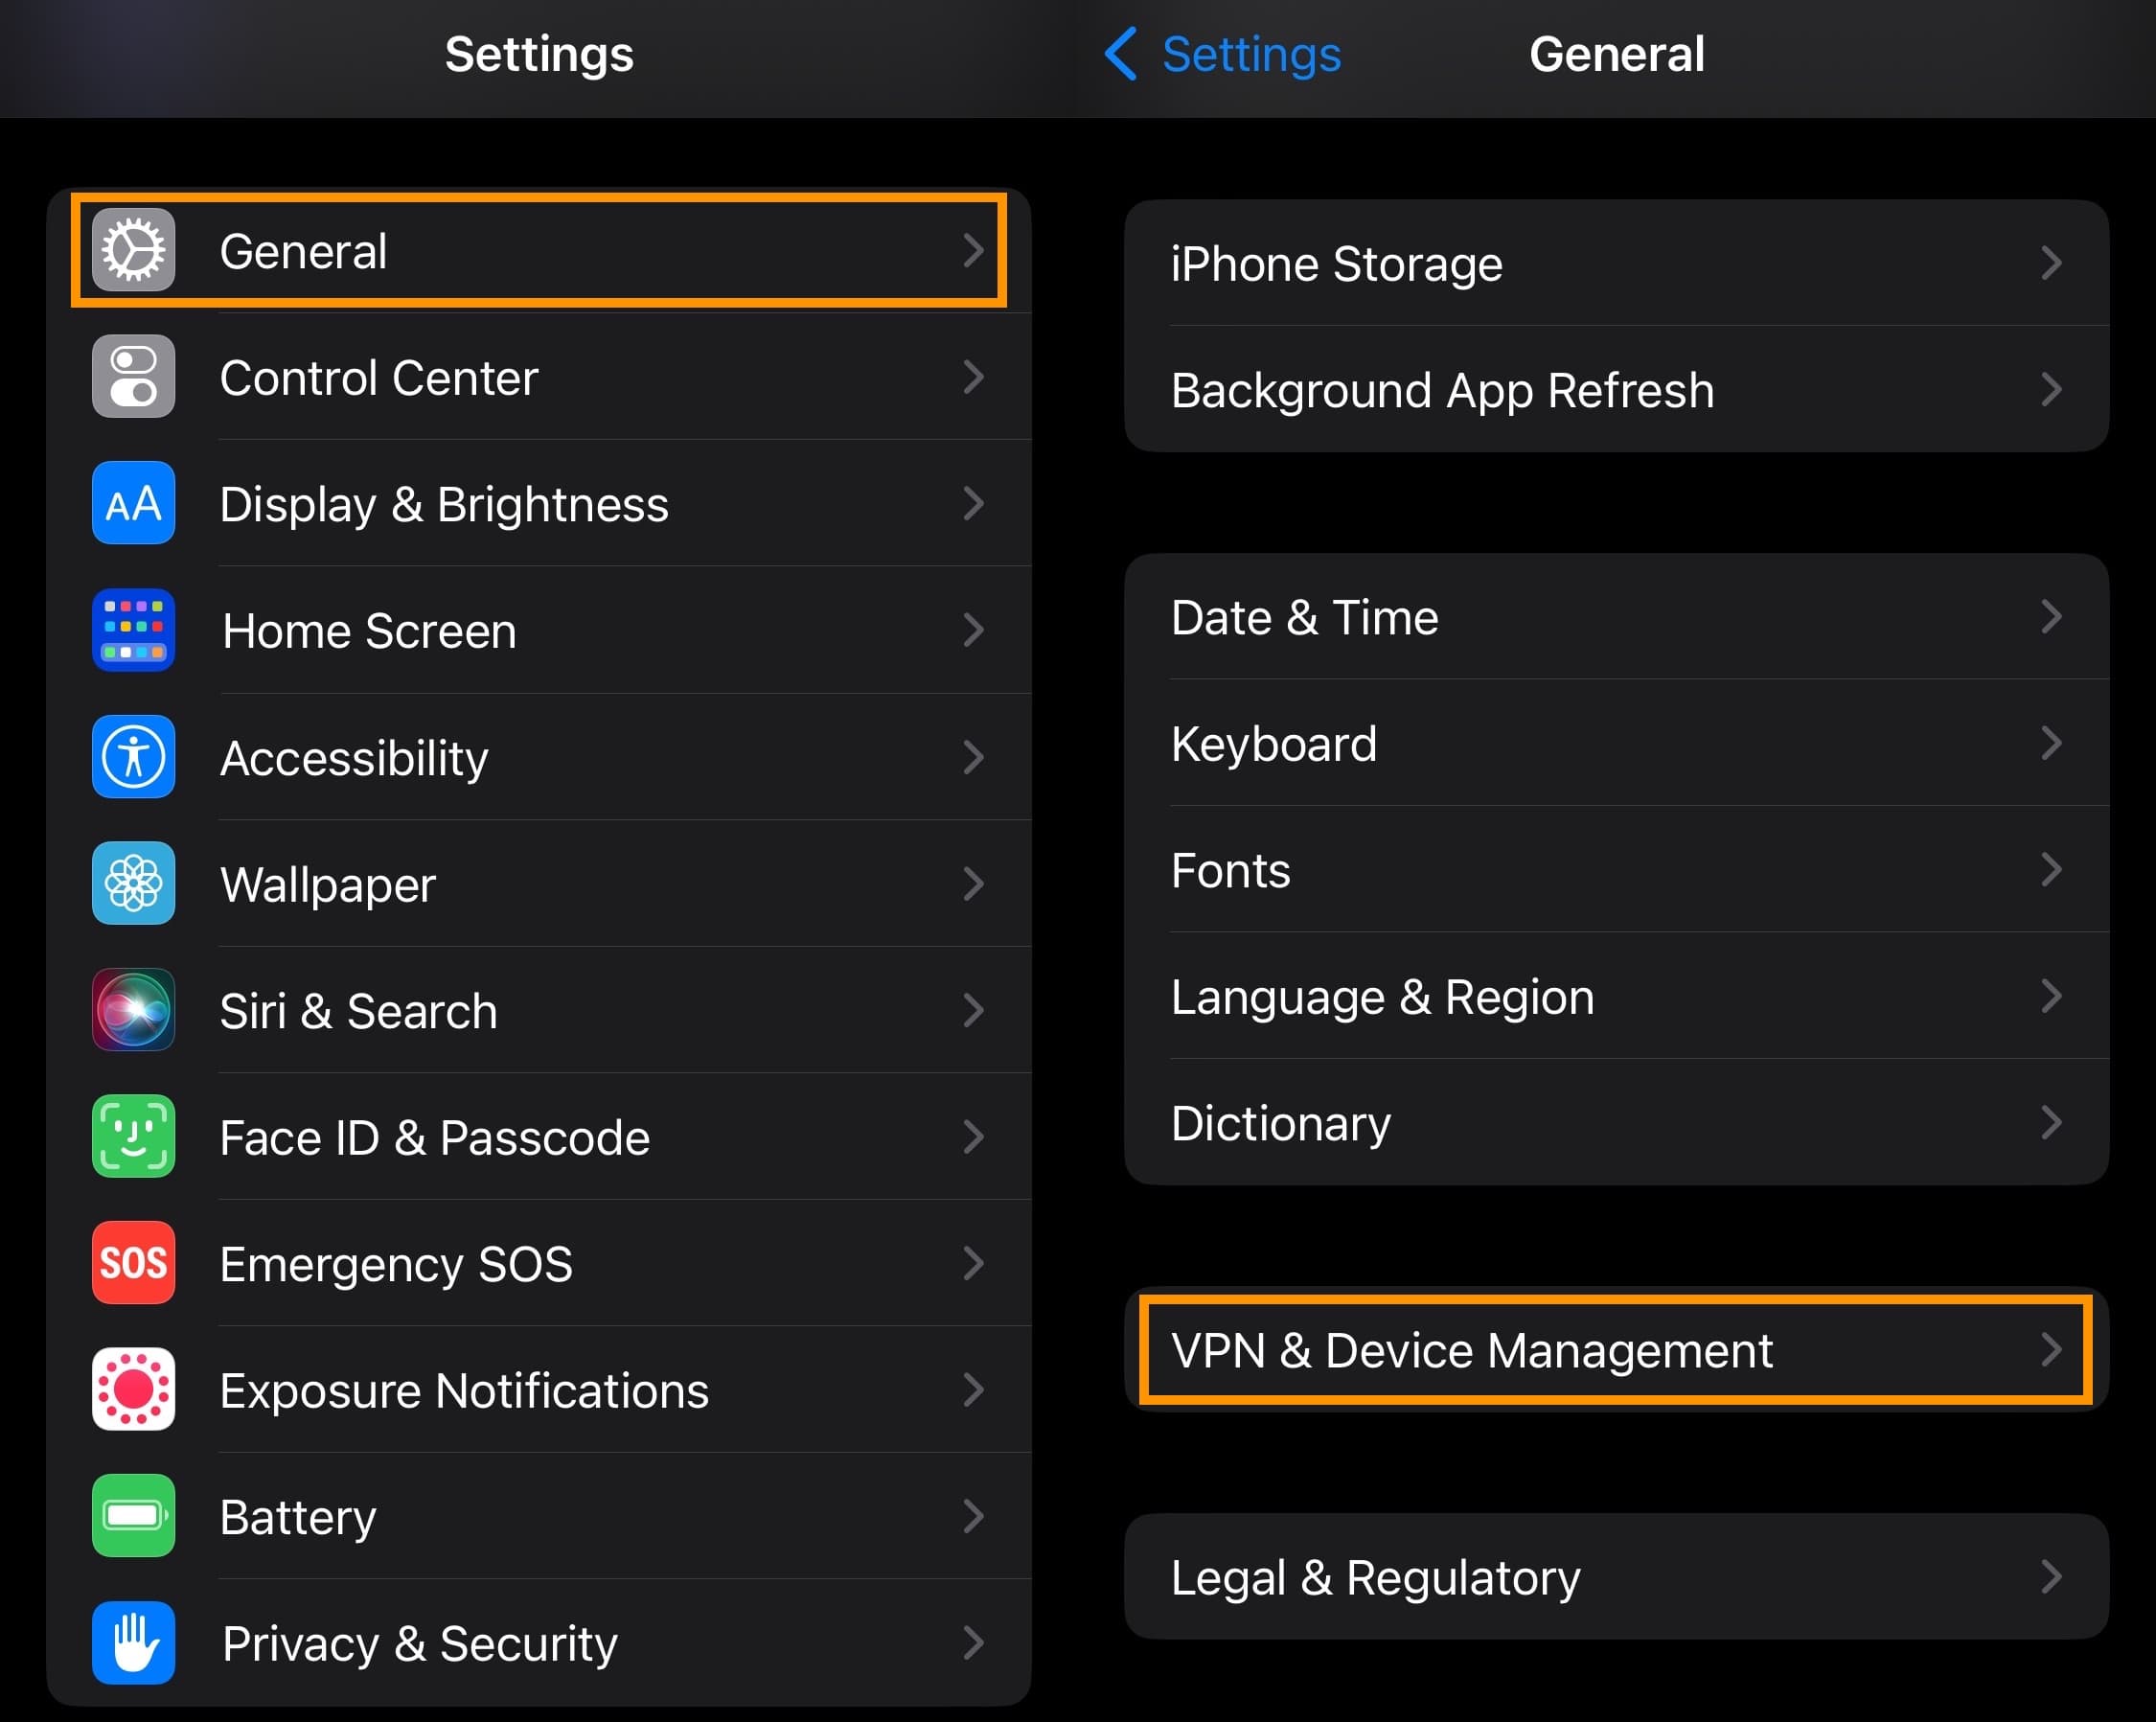
1) Launch the Settings app and navigate to General → Profile & Device Management:
2) Tap on the Dallas Enabler profile:
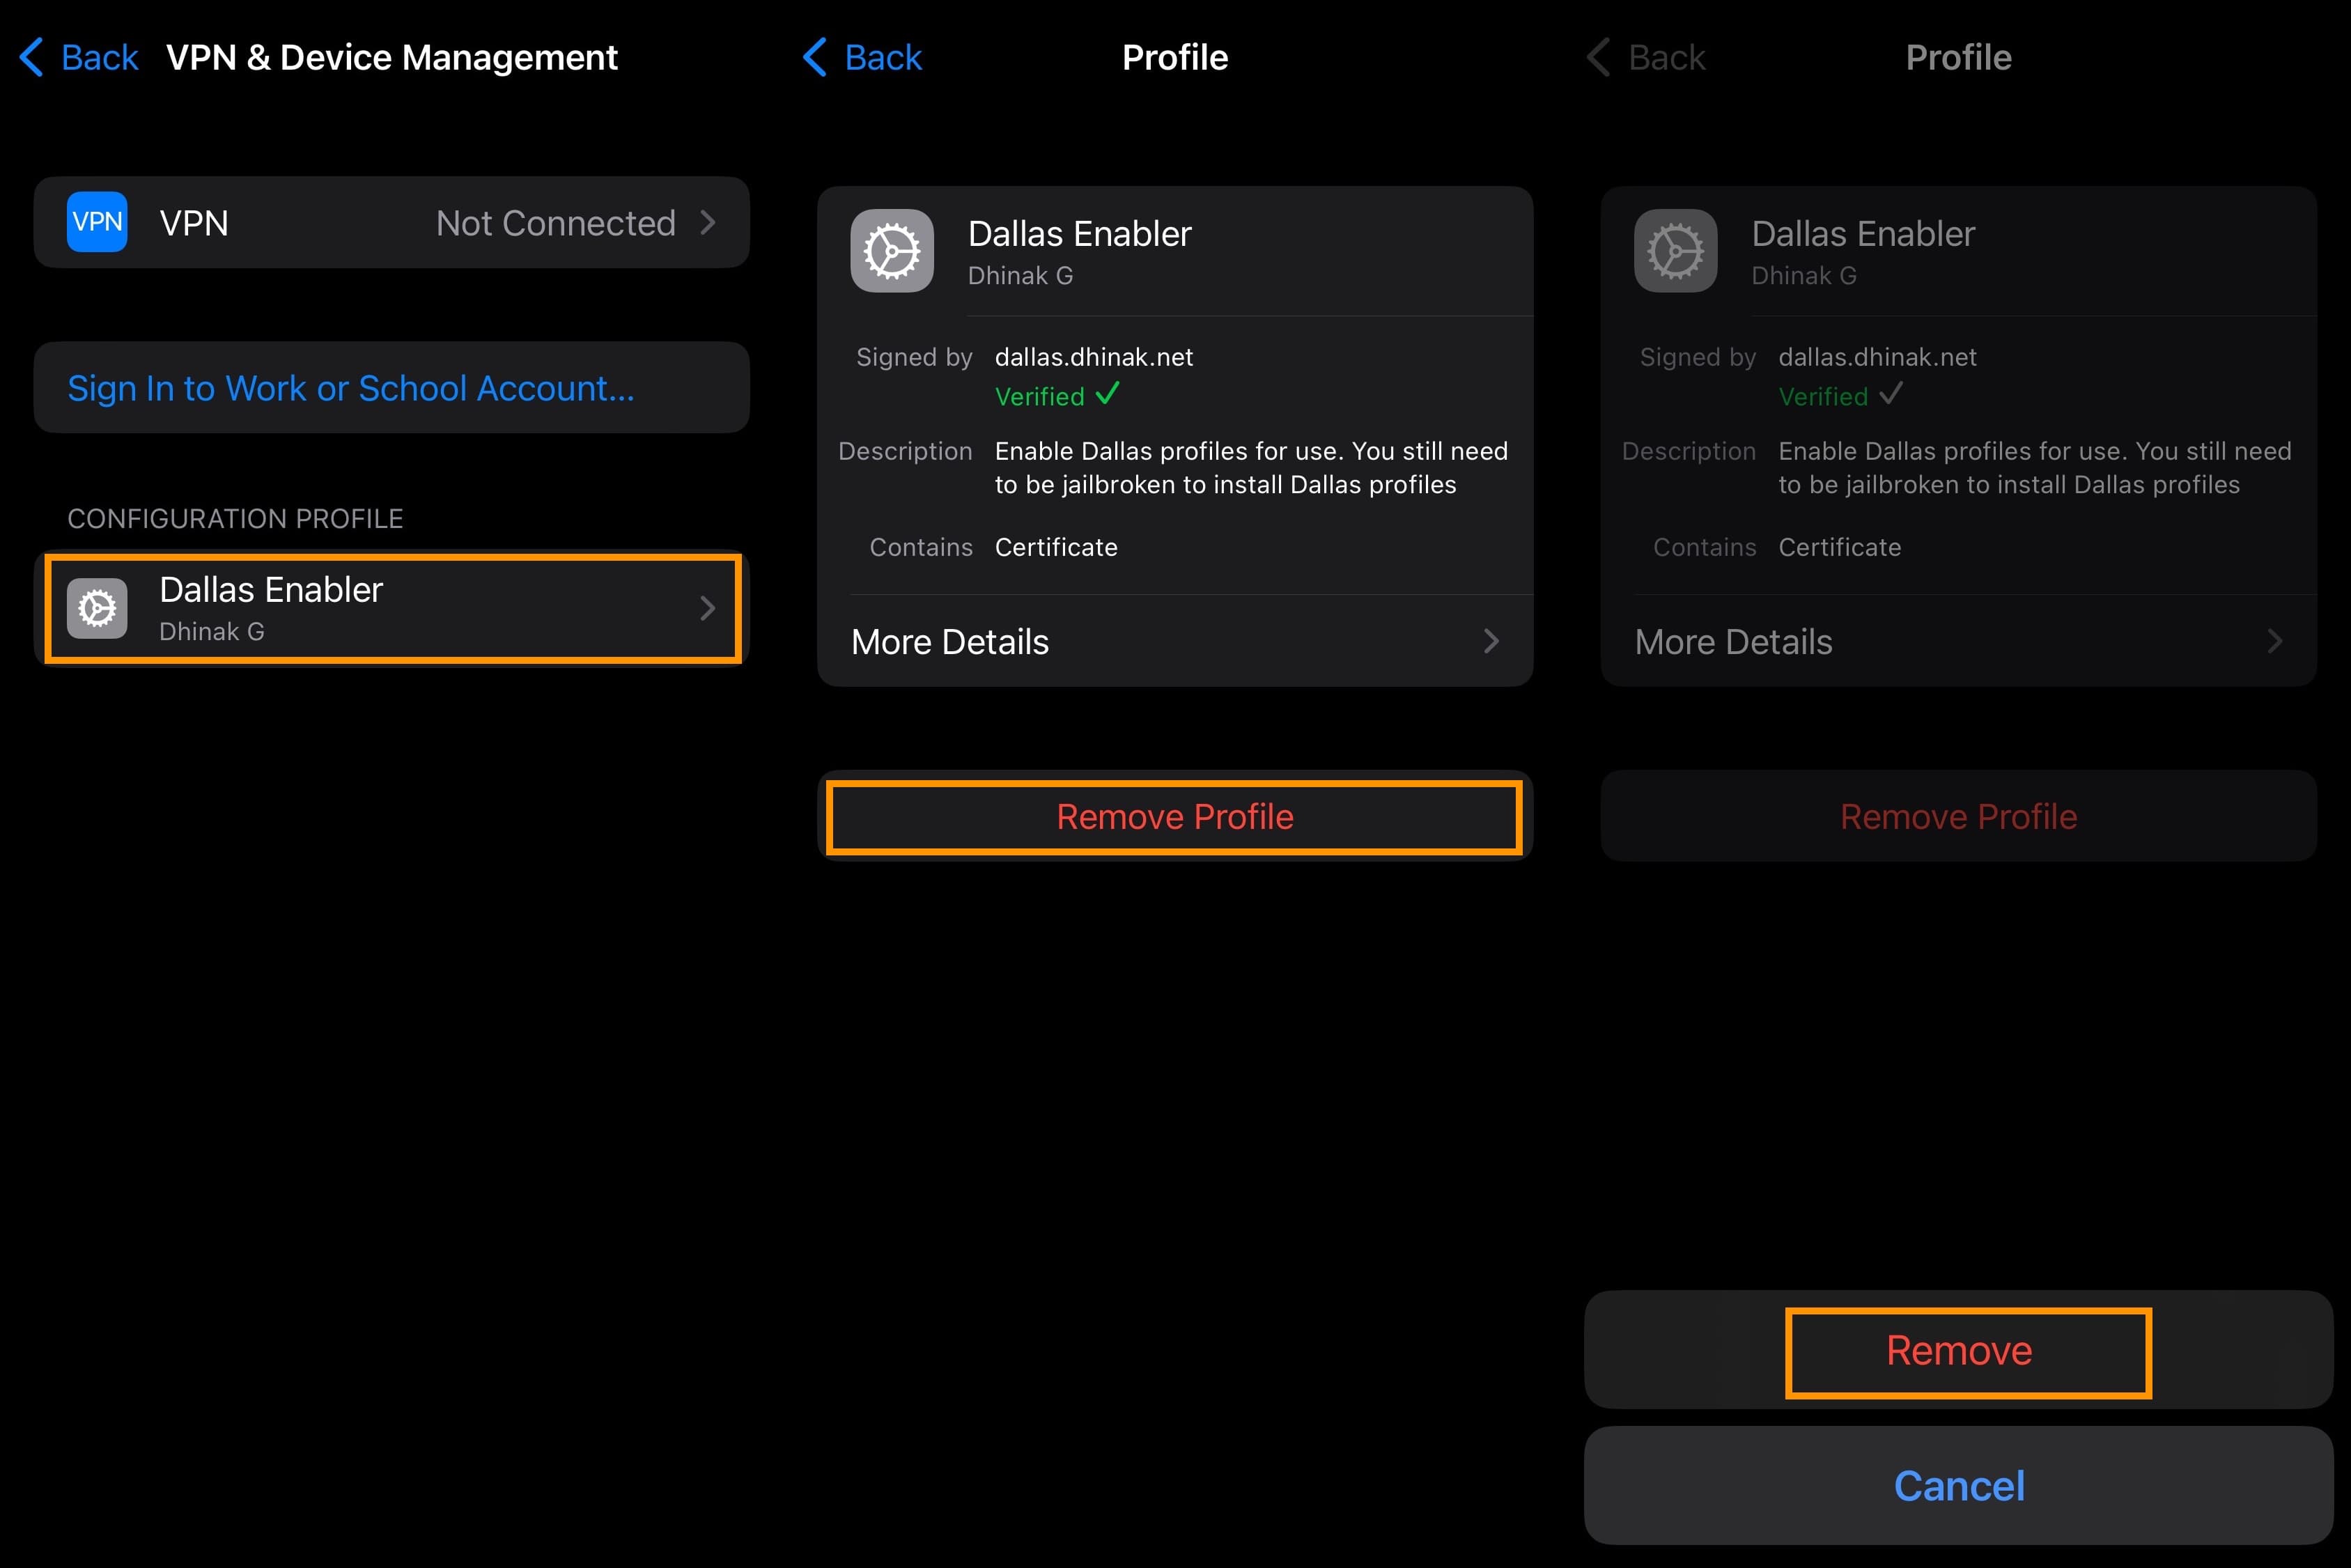
3) Tap on the Remove Profile button.
5) Tap on the Remove button.
6) Repeat the above process for the Dallas – [insert version number here] profile.
Note: All traces of Dahlia and Dallas are now removed from your handset.
Wrapping up
If you’ve made it this far, then you’ve successfully managed to use DelayOTA to upgrade to a desired iPhone or iPad firmware that isn’t being signed by Apple anymore. Congratulations!
Also see:
Enjoy whatever jailbreak you plan to use on your new firmware.