It’s not uncommon for people to lose their jailbreaks, and as we always say, those who aren’t jailbroken should always stay on the lowest possible firmware to ensure jailbreak eligibility. This is good in practice, but sometimes jailbreaks drop for newer versions of iOS or iPadOS than what you’re currently running, and when Apple stops signing that newer firmware, you might not be able to update to it before jailbreaking.

At least not usually, but a tried-and-true method of upgrading iPhones and iPads to unsigned versions of iOS and iPadOS is growing ever more popular among members of the jailbreak community, and it’s known as the DelayOTA method.
We previously showed you how you can upgrade jailbroken devices to unsigned versions of iOS or iPadOS with DelayOTA, but did you know that you can upgrade non-jailbroken devices to unsigned versions of iOS or iPadOS with DelayOTA as well?
While the process is a little different for non-jailbroken handsets, the result is the same: you can update to newer versions of iOS or iPadOS that aren’t currently signed if it hasn’t been 90 days since Apple closed the signing window. The process utilizes device supervision, which is deployed by the end user on a Mac via Apple Configurator 2.
But before we show you how it’s done, a little background first…
What is a supervised iPhone or iPad?
As we discussed in our previous tutorial for DelayOTA-ing jailbroken devices, supervised devices are most often deployed when they’re being issued by companies to employees and by school systems to students.
Supervision allows the issuing entity to exercise more control over said device, whether it’s blocking certain device features to boost security or preventing questionable websites from being loaded. Examples include blocking AirDrop or the App Store to limit file transfers and software downloads or blocking adult-rated or anti-productive websites.
But supervision does more than allow the issuing entity to control what users do on those devices, it also affords the device administrator more flexibility in terms of software updates, which means it’s possible to update supervised devices to unsigned versions of iOS or iPadOS if those versions have been unsigned for fewer than 90 days.
Apple seems to have provided this leeway so that device administrators have additional time to verify critical app compatibility with software updates, as unexpected updates have the potential to break a company or school’s proprietary system.
What does this have to do with jailbreaking?
Of course, installing unsigned software updates via supervision poses obvious implications for prospective jailbreakers, especially when a new jailbreak drops that supports a newer version of iOS or iPadOS than you’re currently running.
With Apple issuing as many software updates as they have lately, it’s important to find a balance between new features and security patches and jailbreak eligibility. So if you expect a jailbreak to be released for a certain firmware that’s newer than what you currently have, then the DelayOTA method might be your best bet to reach that happy medium.
How to use DelayOTA on a non-jailbroken handset
Unlike on a jailbroken handset where you can just install a jailbreak tweak and go about your merry way, performing a DelayOTA update on a non-jailbroken handset is a little bit more complicated. Still, if you follow the steps below, you’ll find that it isn’t so hard:
Preparing your device & what you’ll need
IMPORTANT: Supervising your non-jailbroken device will erase all content from it, so make sure to BACK UP your data before proceeding.
The process we’re about to show you will utilize Apple Configurator 2, an app for macOS that can be downloaded for free from the Mac App Store. This means you’ll need a Mac to follow along in this tutorial.
If you’re all backed up and you’ve downloaded Apple Configurator 2, then you can get started by following the steps outlined below:
Getting Supervised
The first thing you’ll need to do is supervise your device. We’ll show you how below:
1) Plug the device you intend to DelayOTA into your Mac using the USB to Lighting cable, and Trust the device on both your Mac and the device itself if prompted.
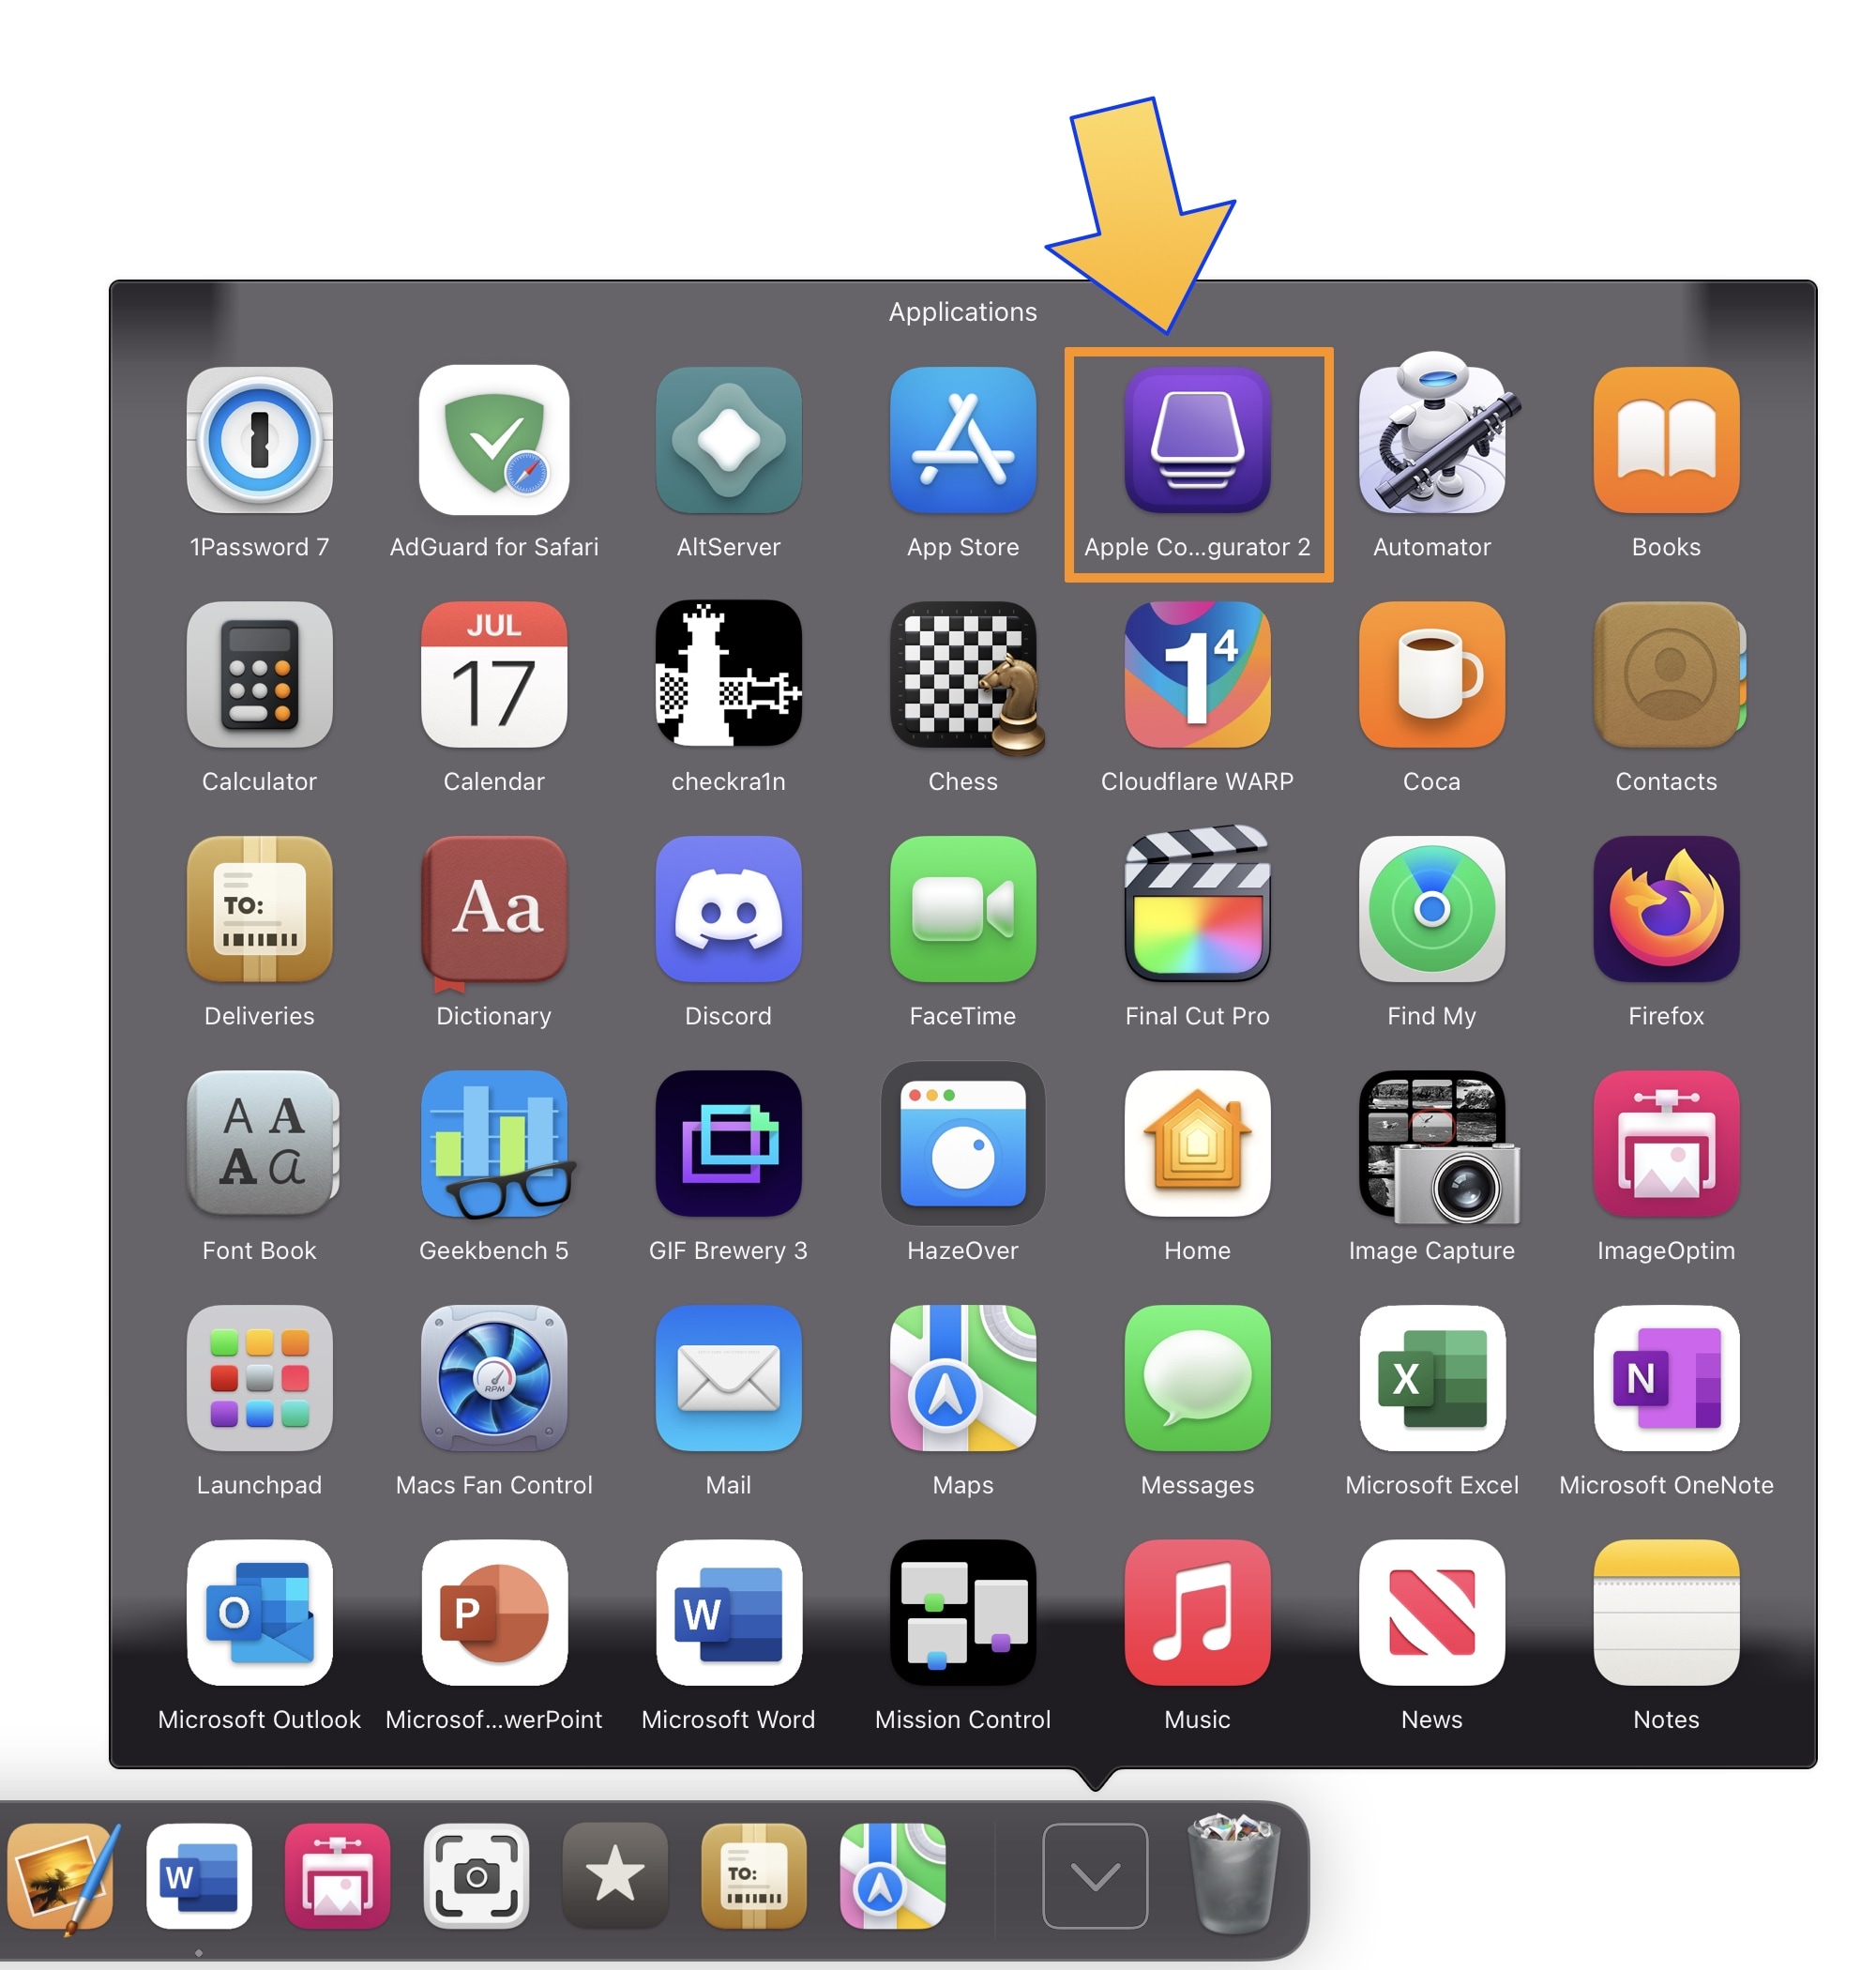
2) Launch Apple Configurator 2 from your Mac’s Applications folder:
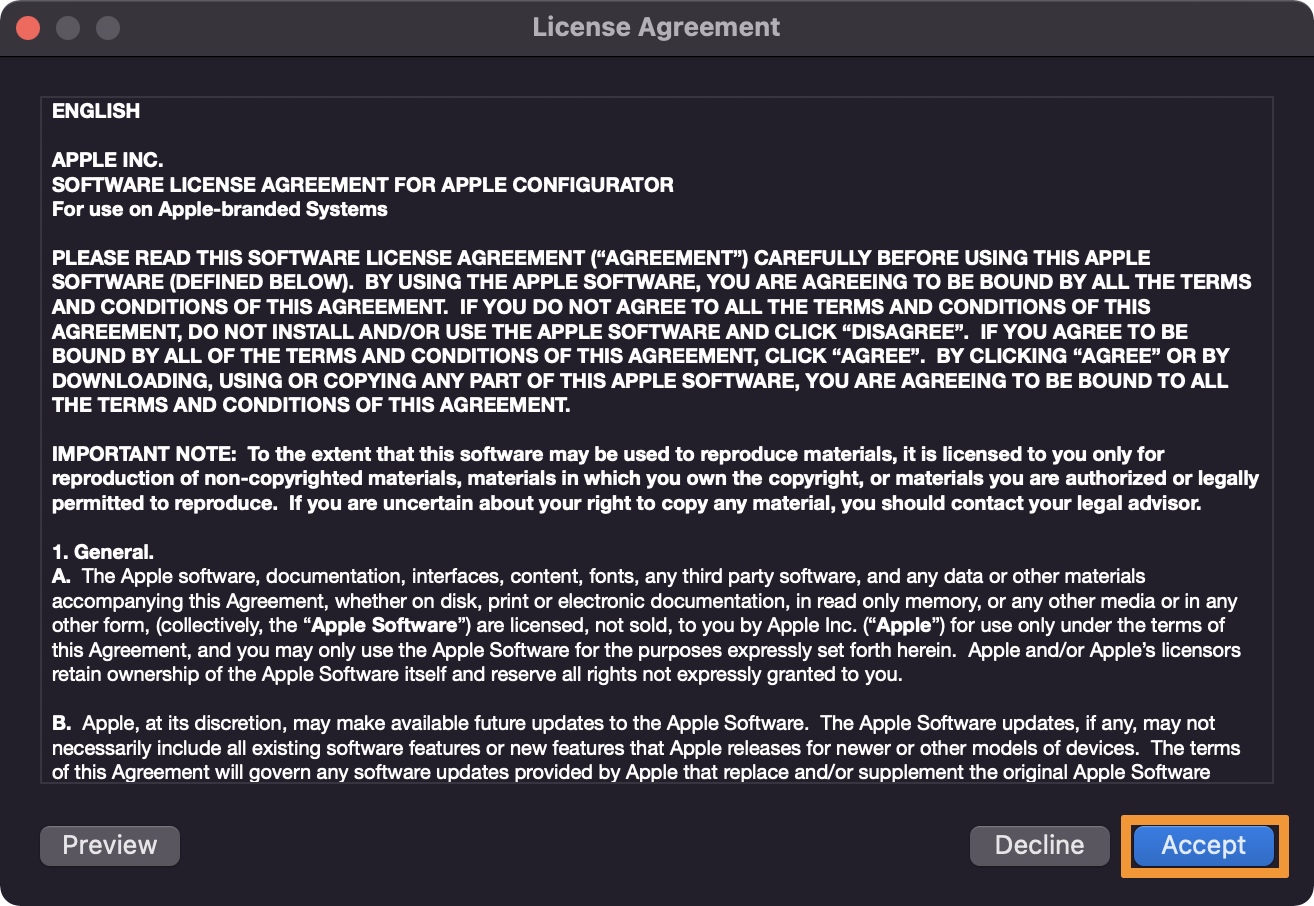
3) If you’re downloading Apple Configurator 2 for the first time, be sure to click Accept in the prompt shown below:
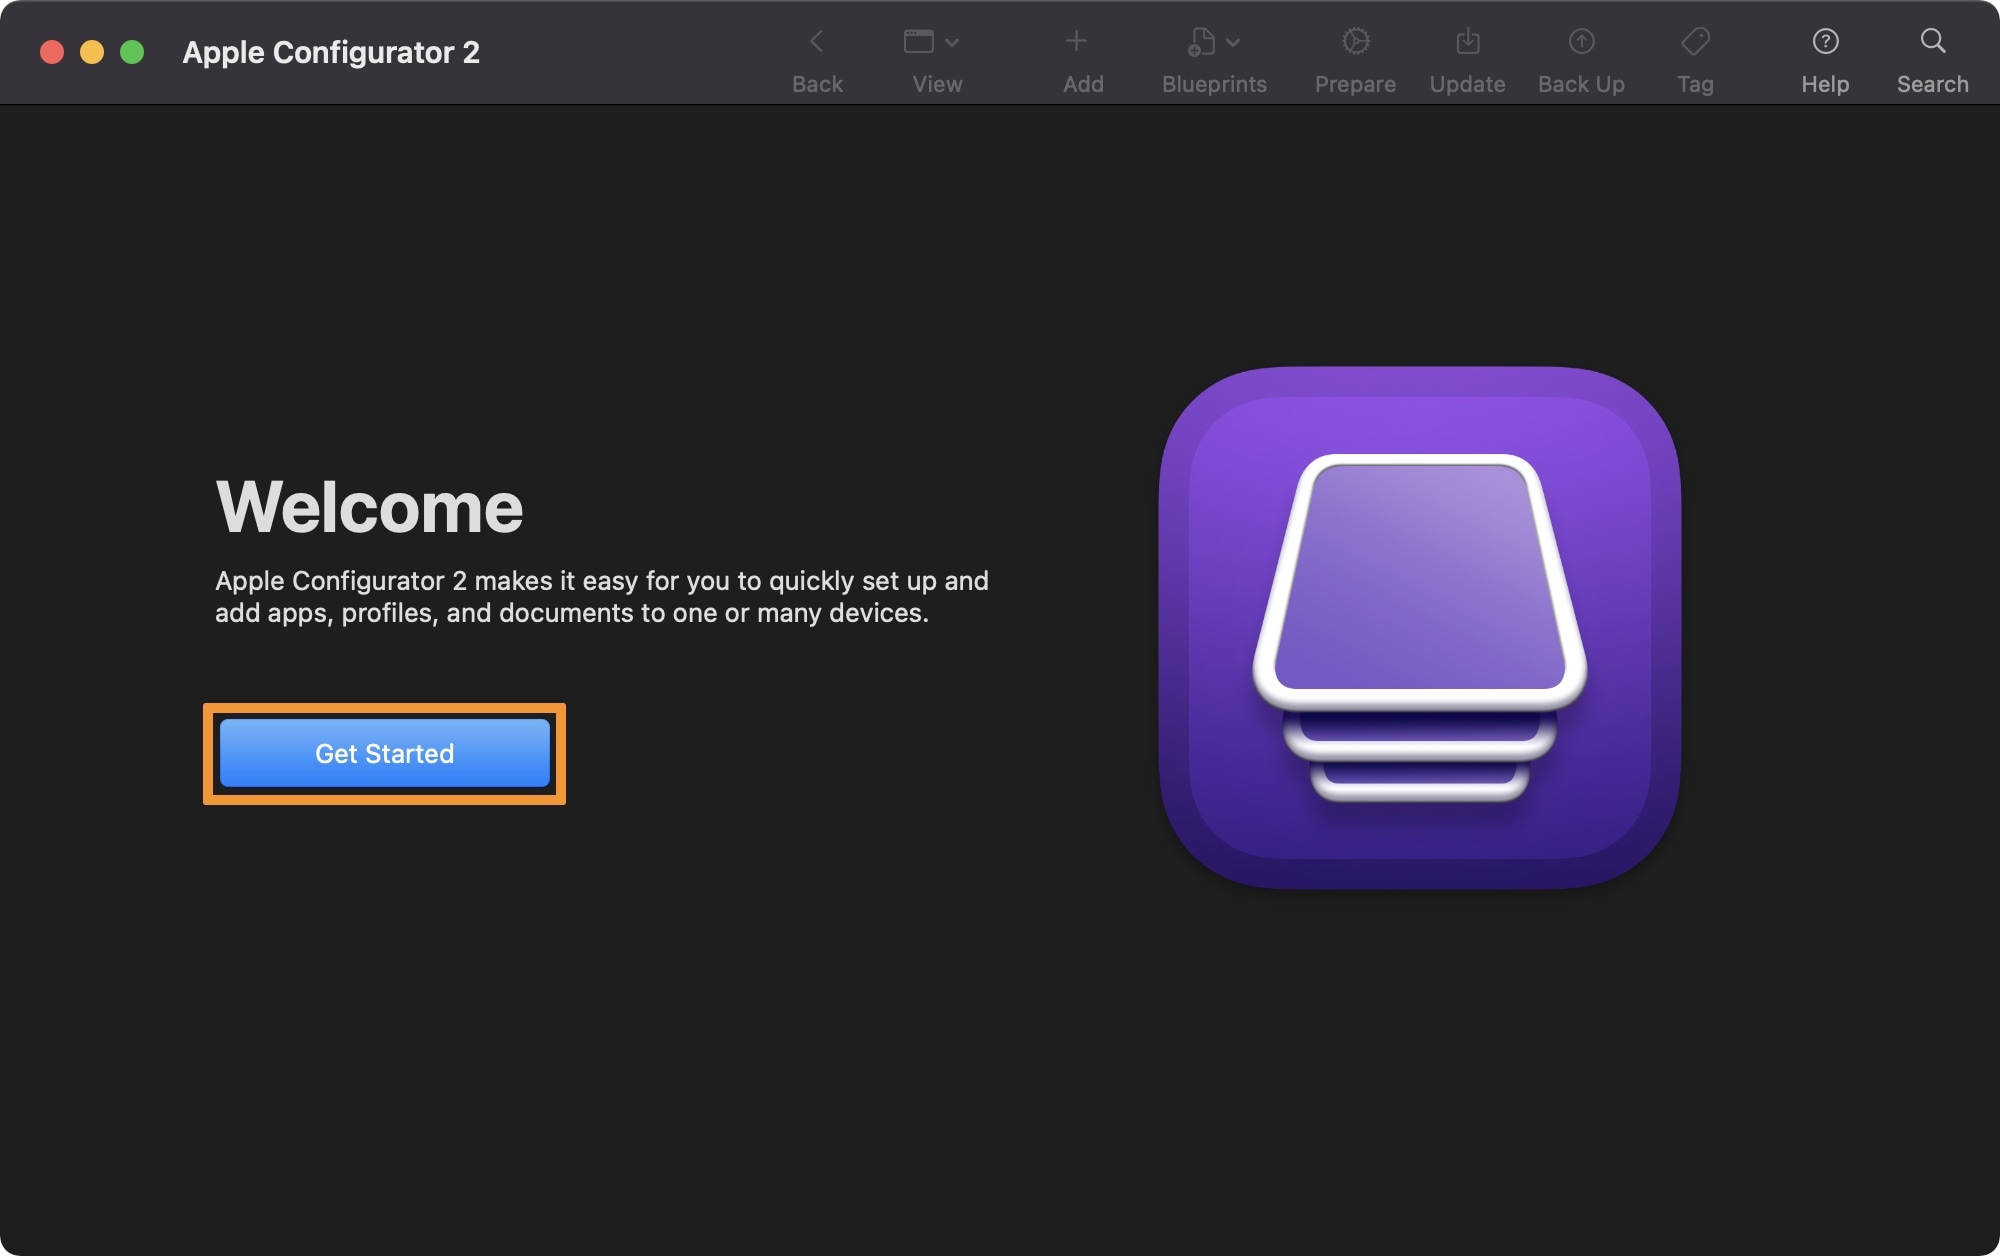
4) In the next window, click on the blue Get Started button:
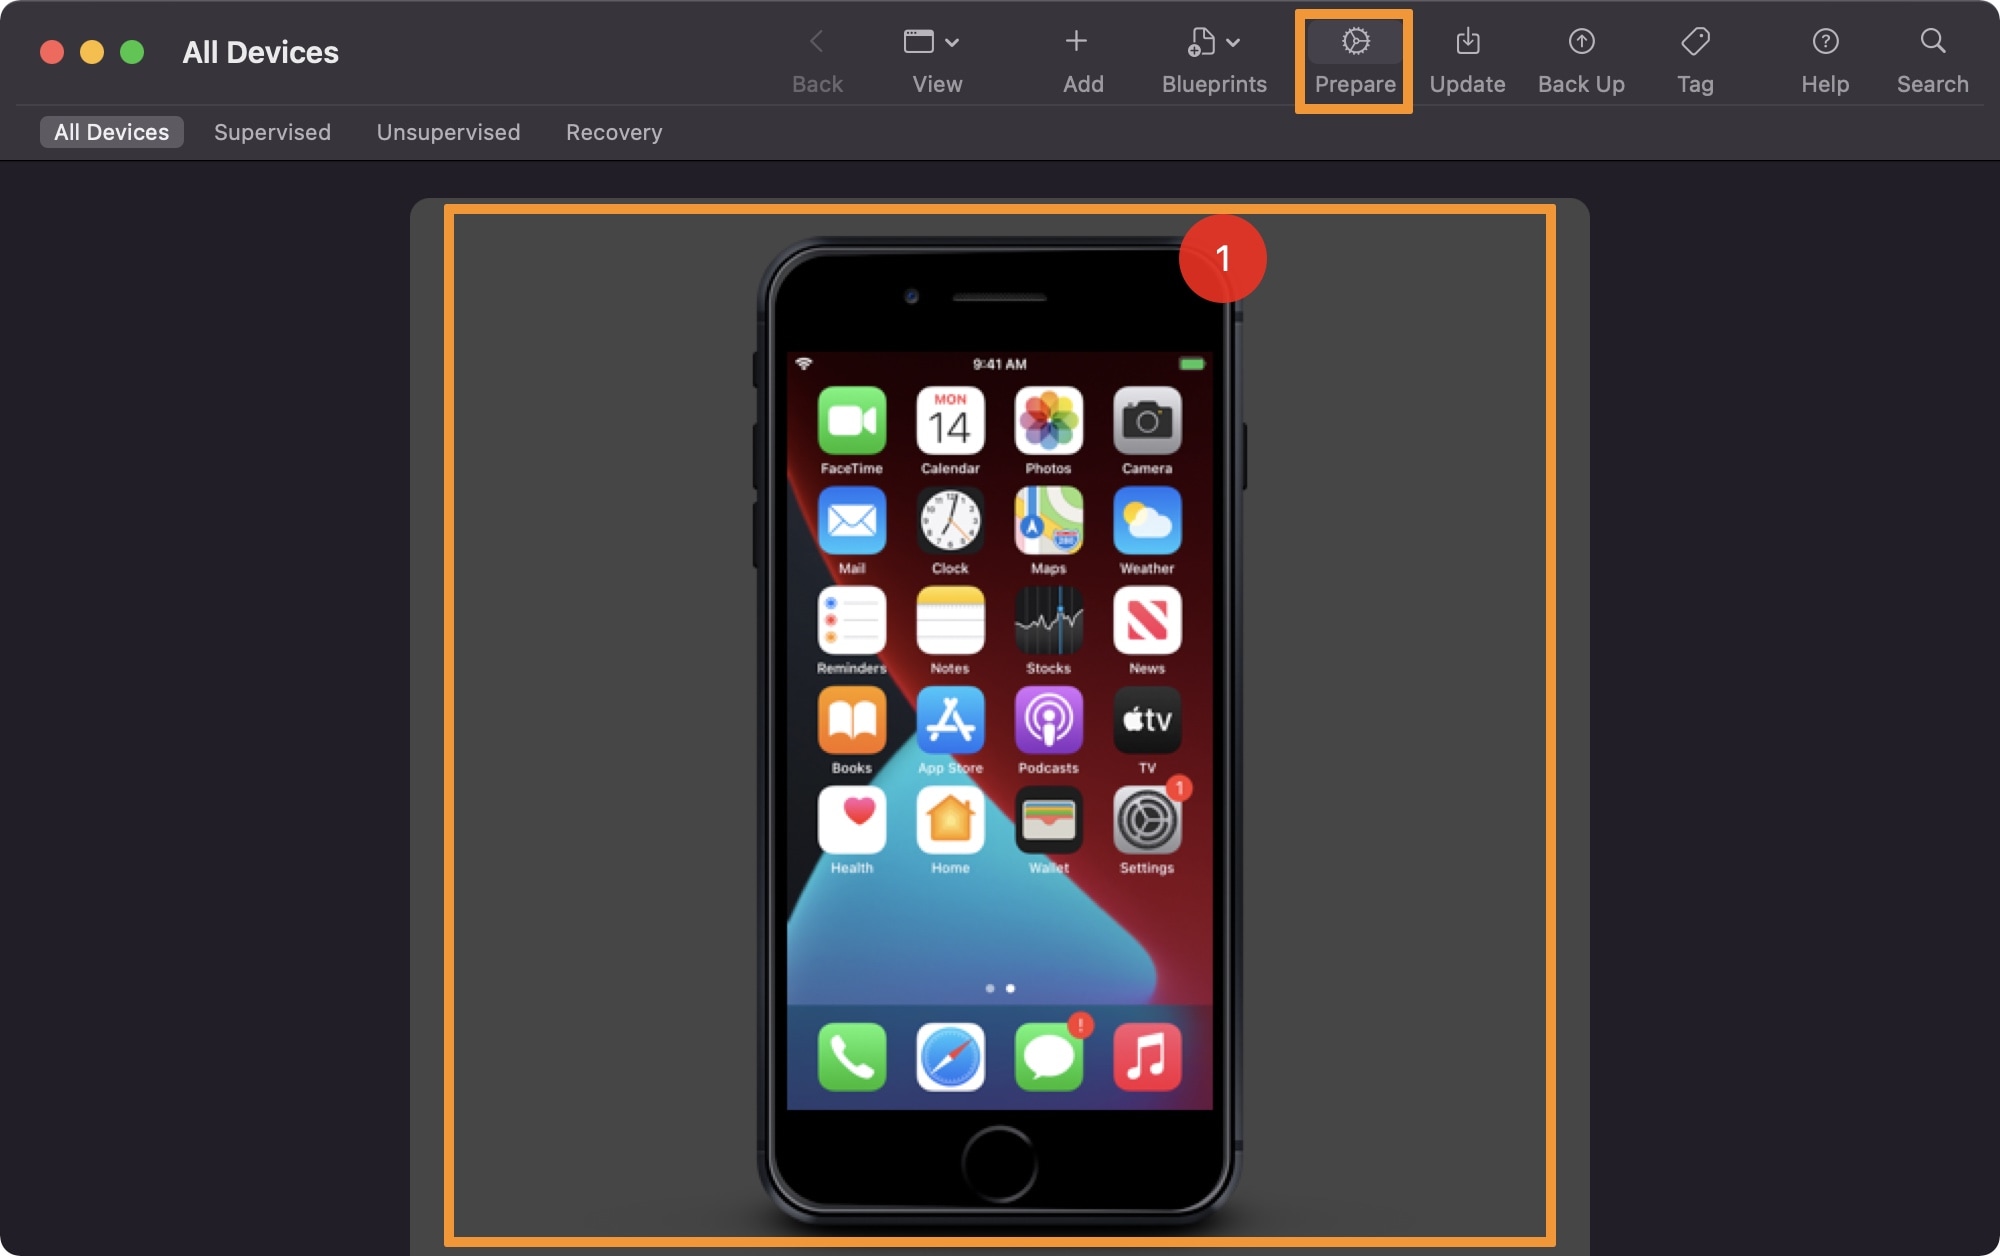
5) Select on your Device and then click on the Prepare button at the top of the window:
6) Next, ensure that Manual Configuration is selected in the combo box and put a check mark in the Supervise devices box:
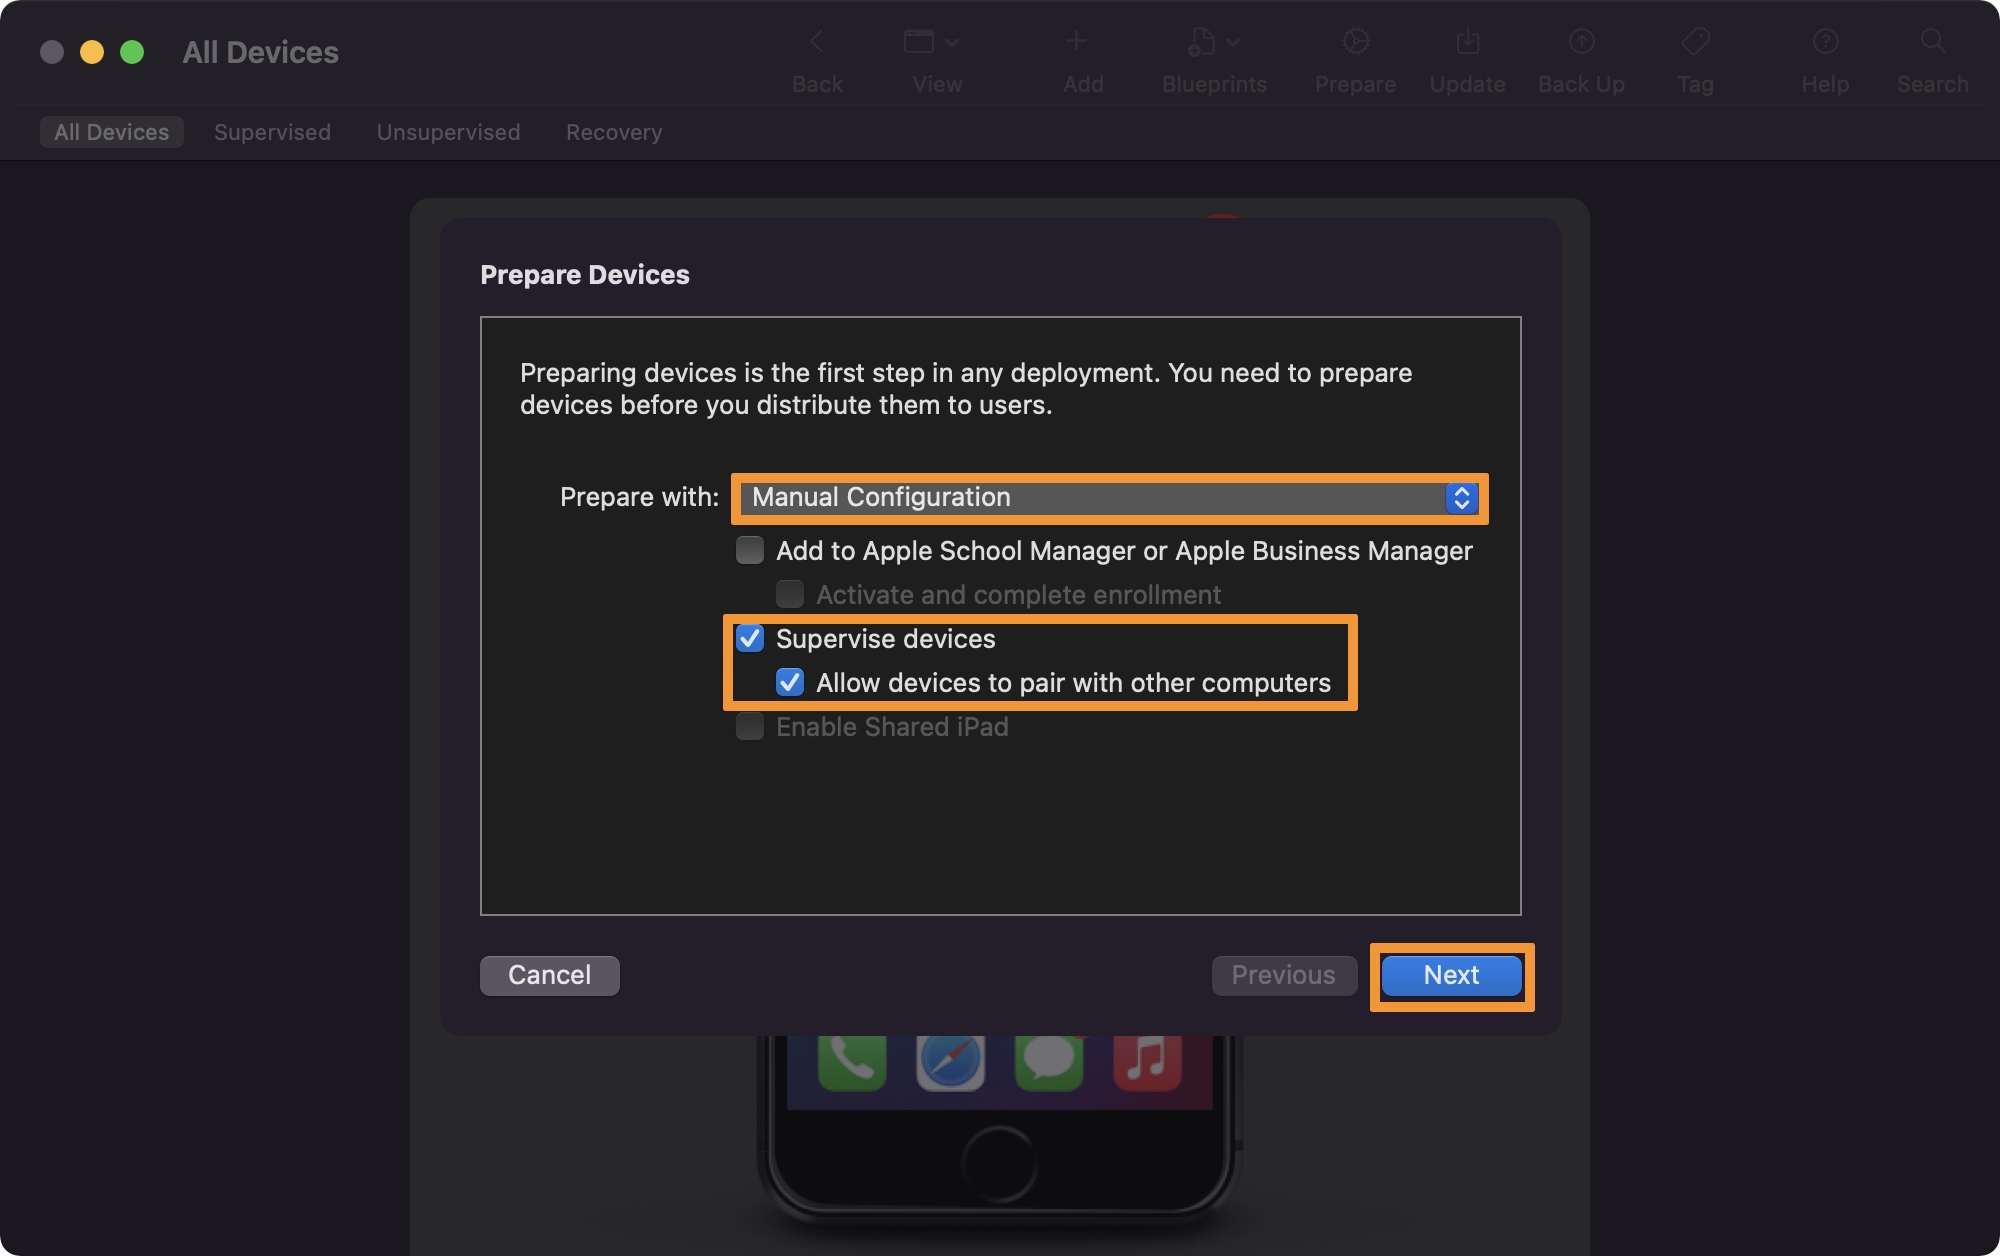
7) Click the Next button to continue.
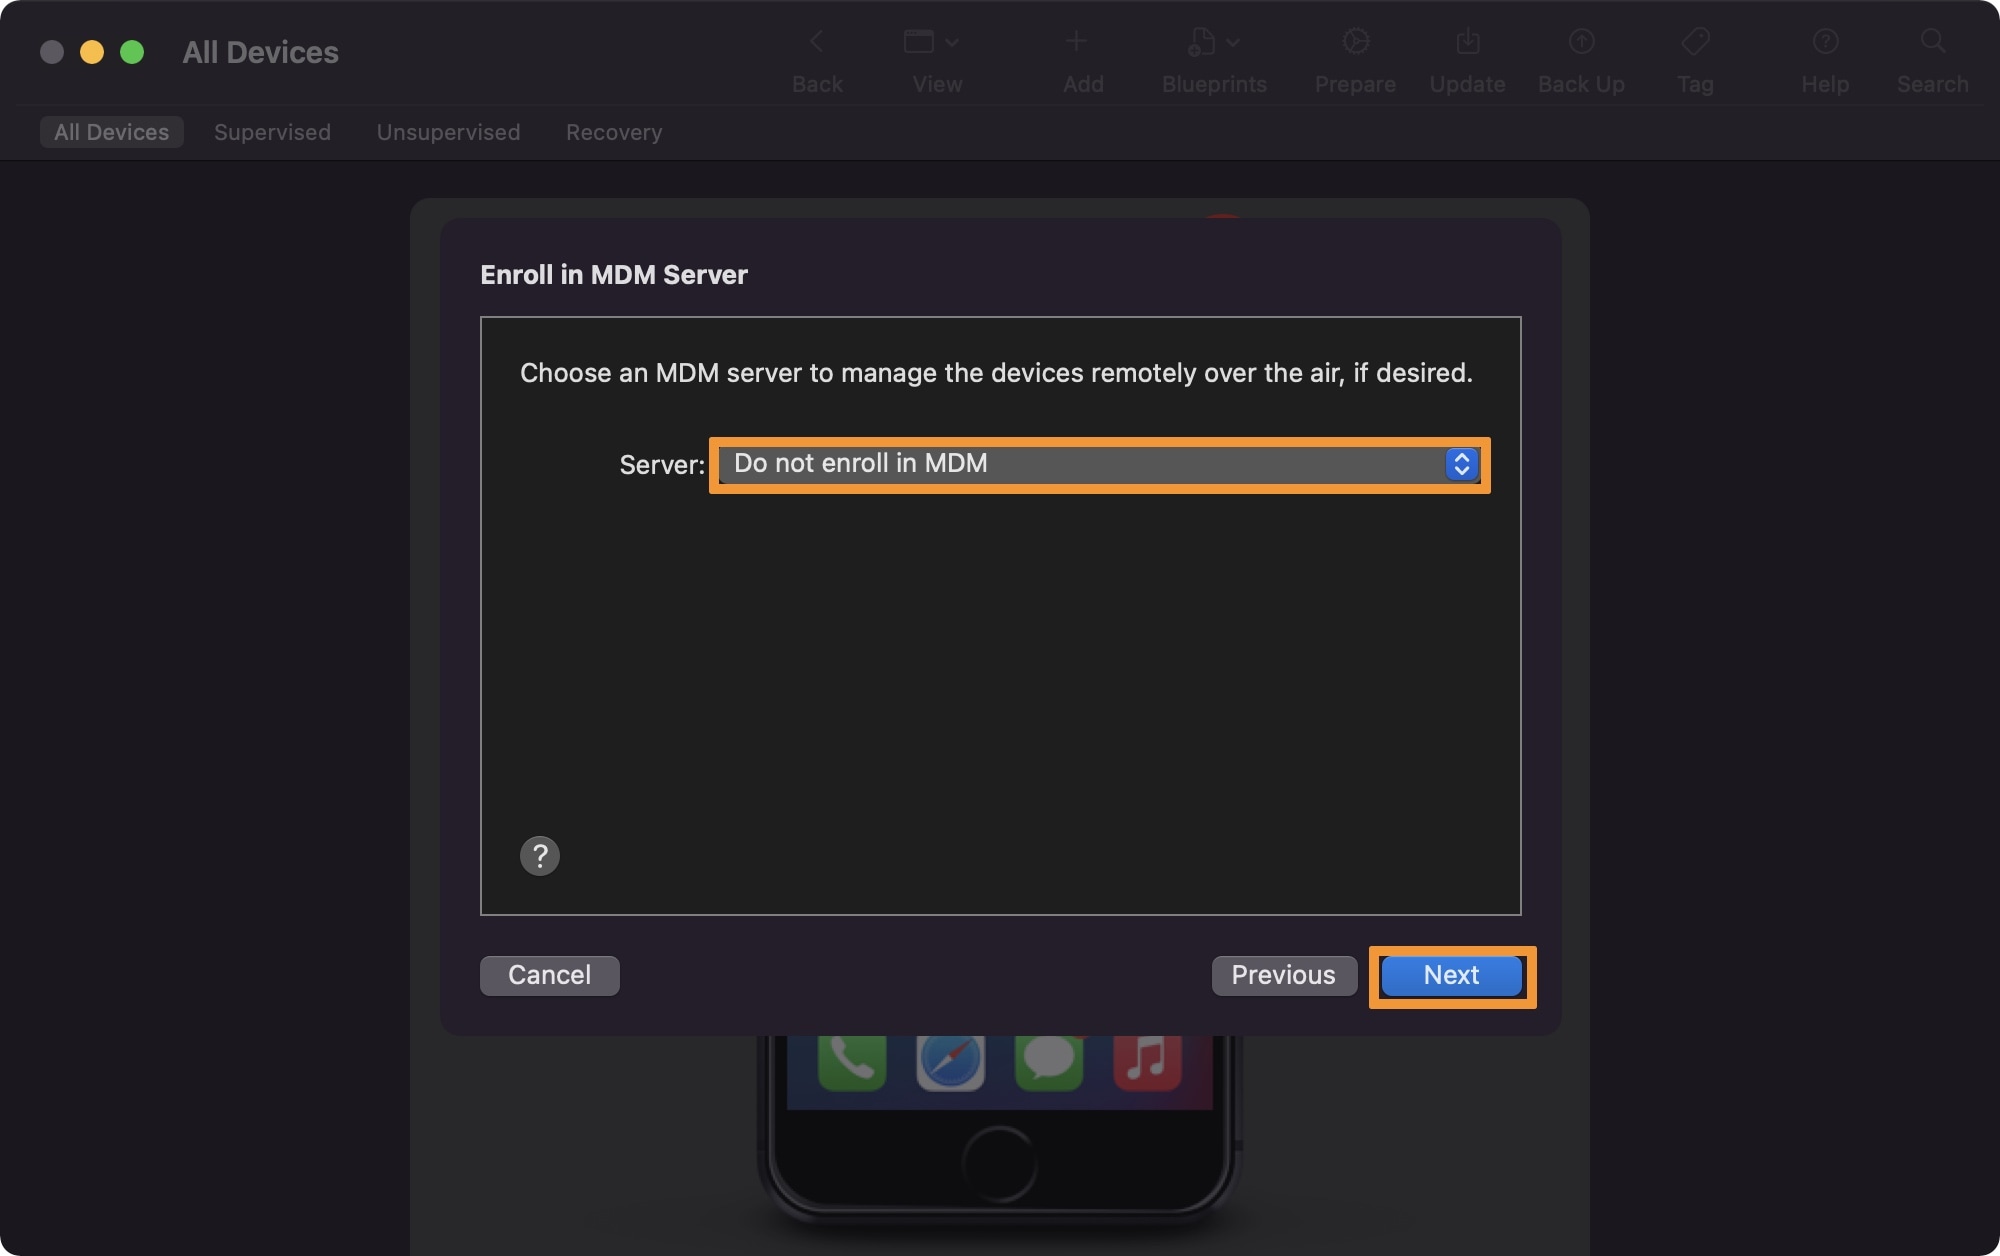
8) Now, ensure that Do Not Enroll in MDM is selected in the combo box and then click the Next button:
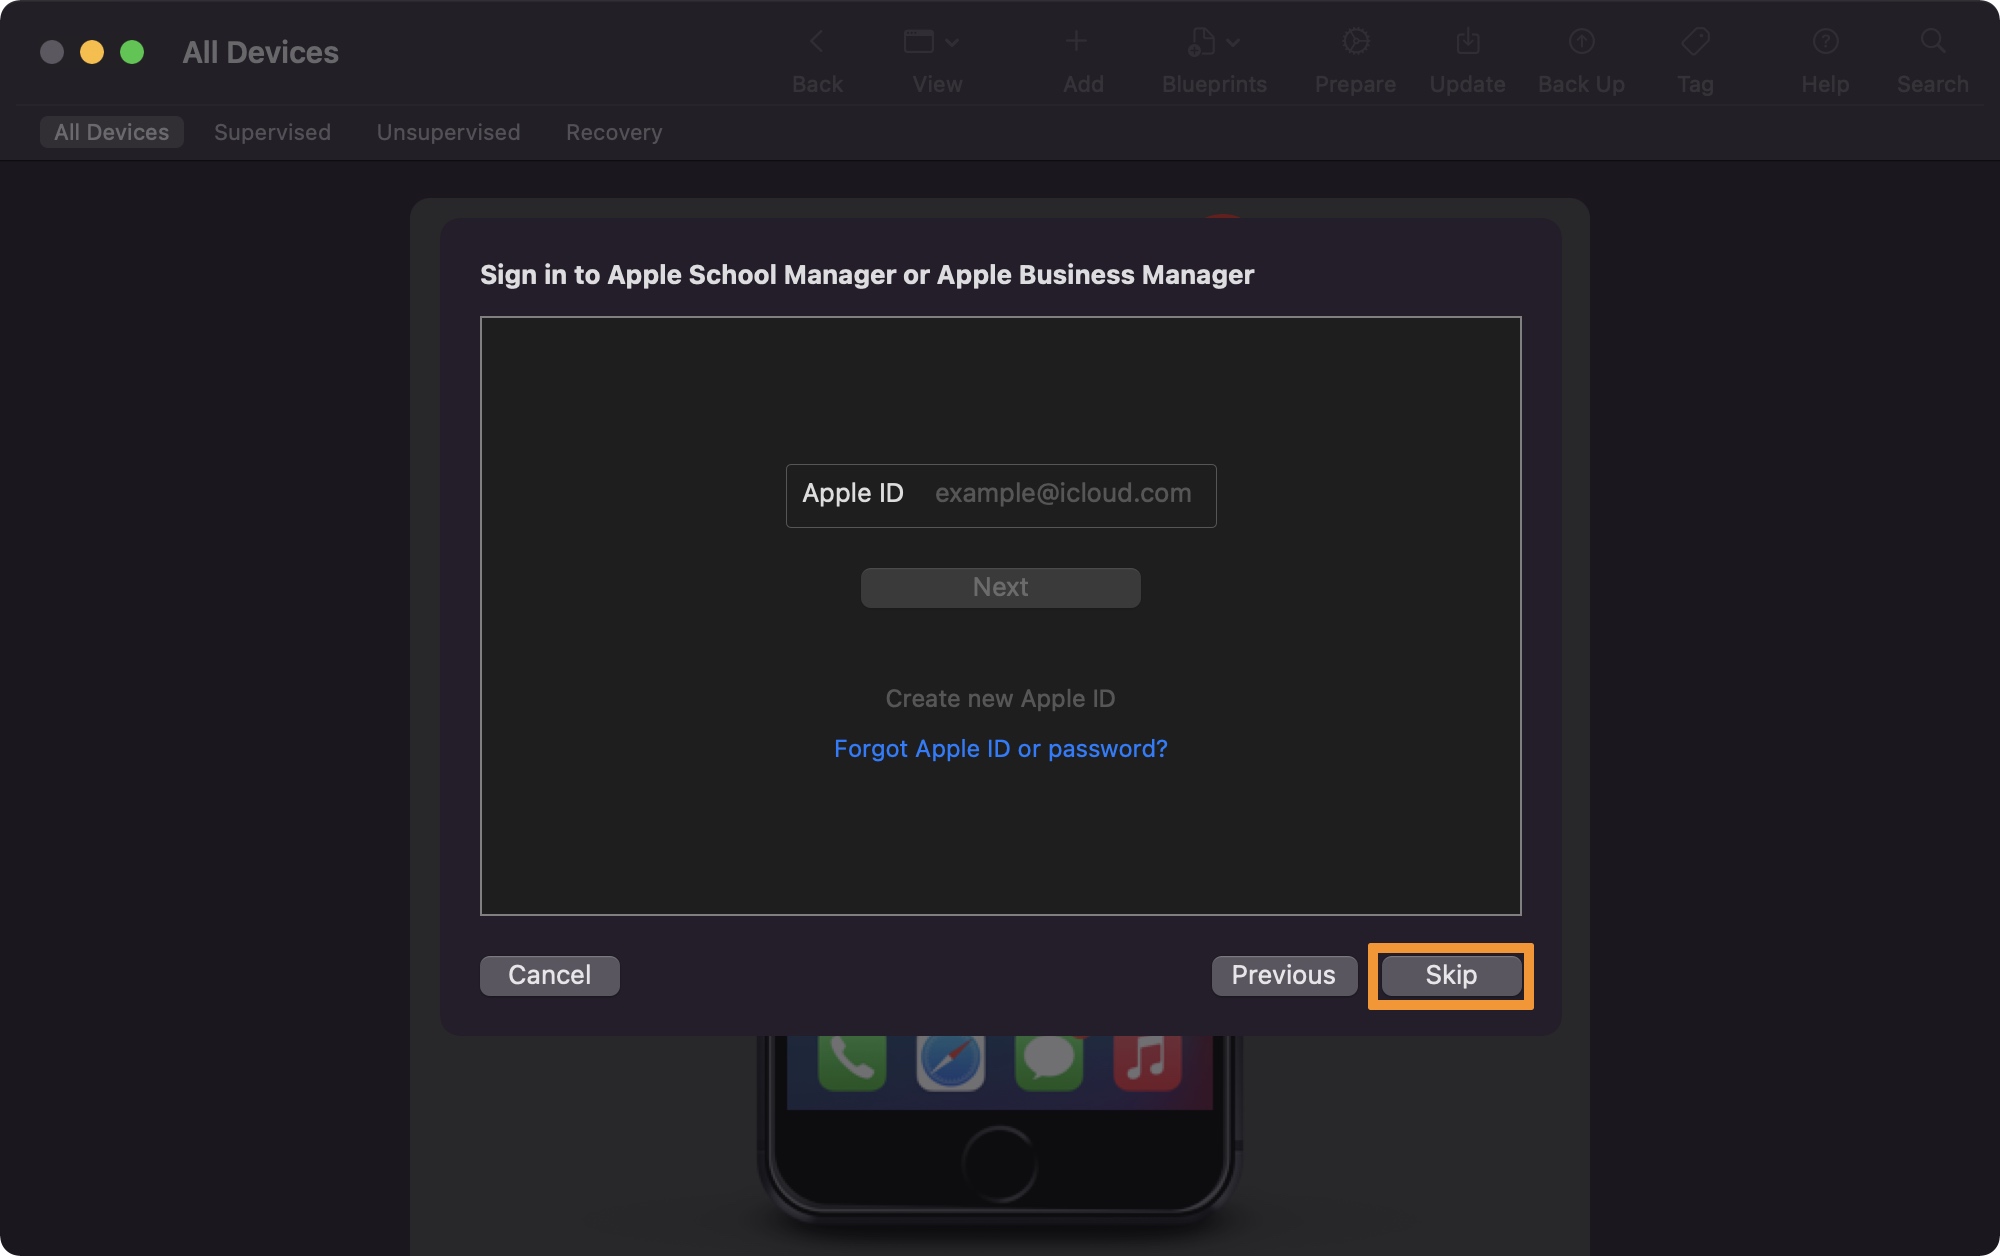
9) When asked to enter your Apple ID, click on the Skip button:
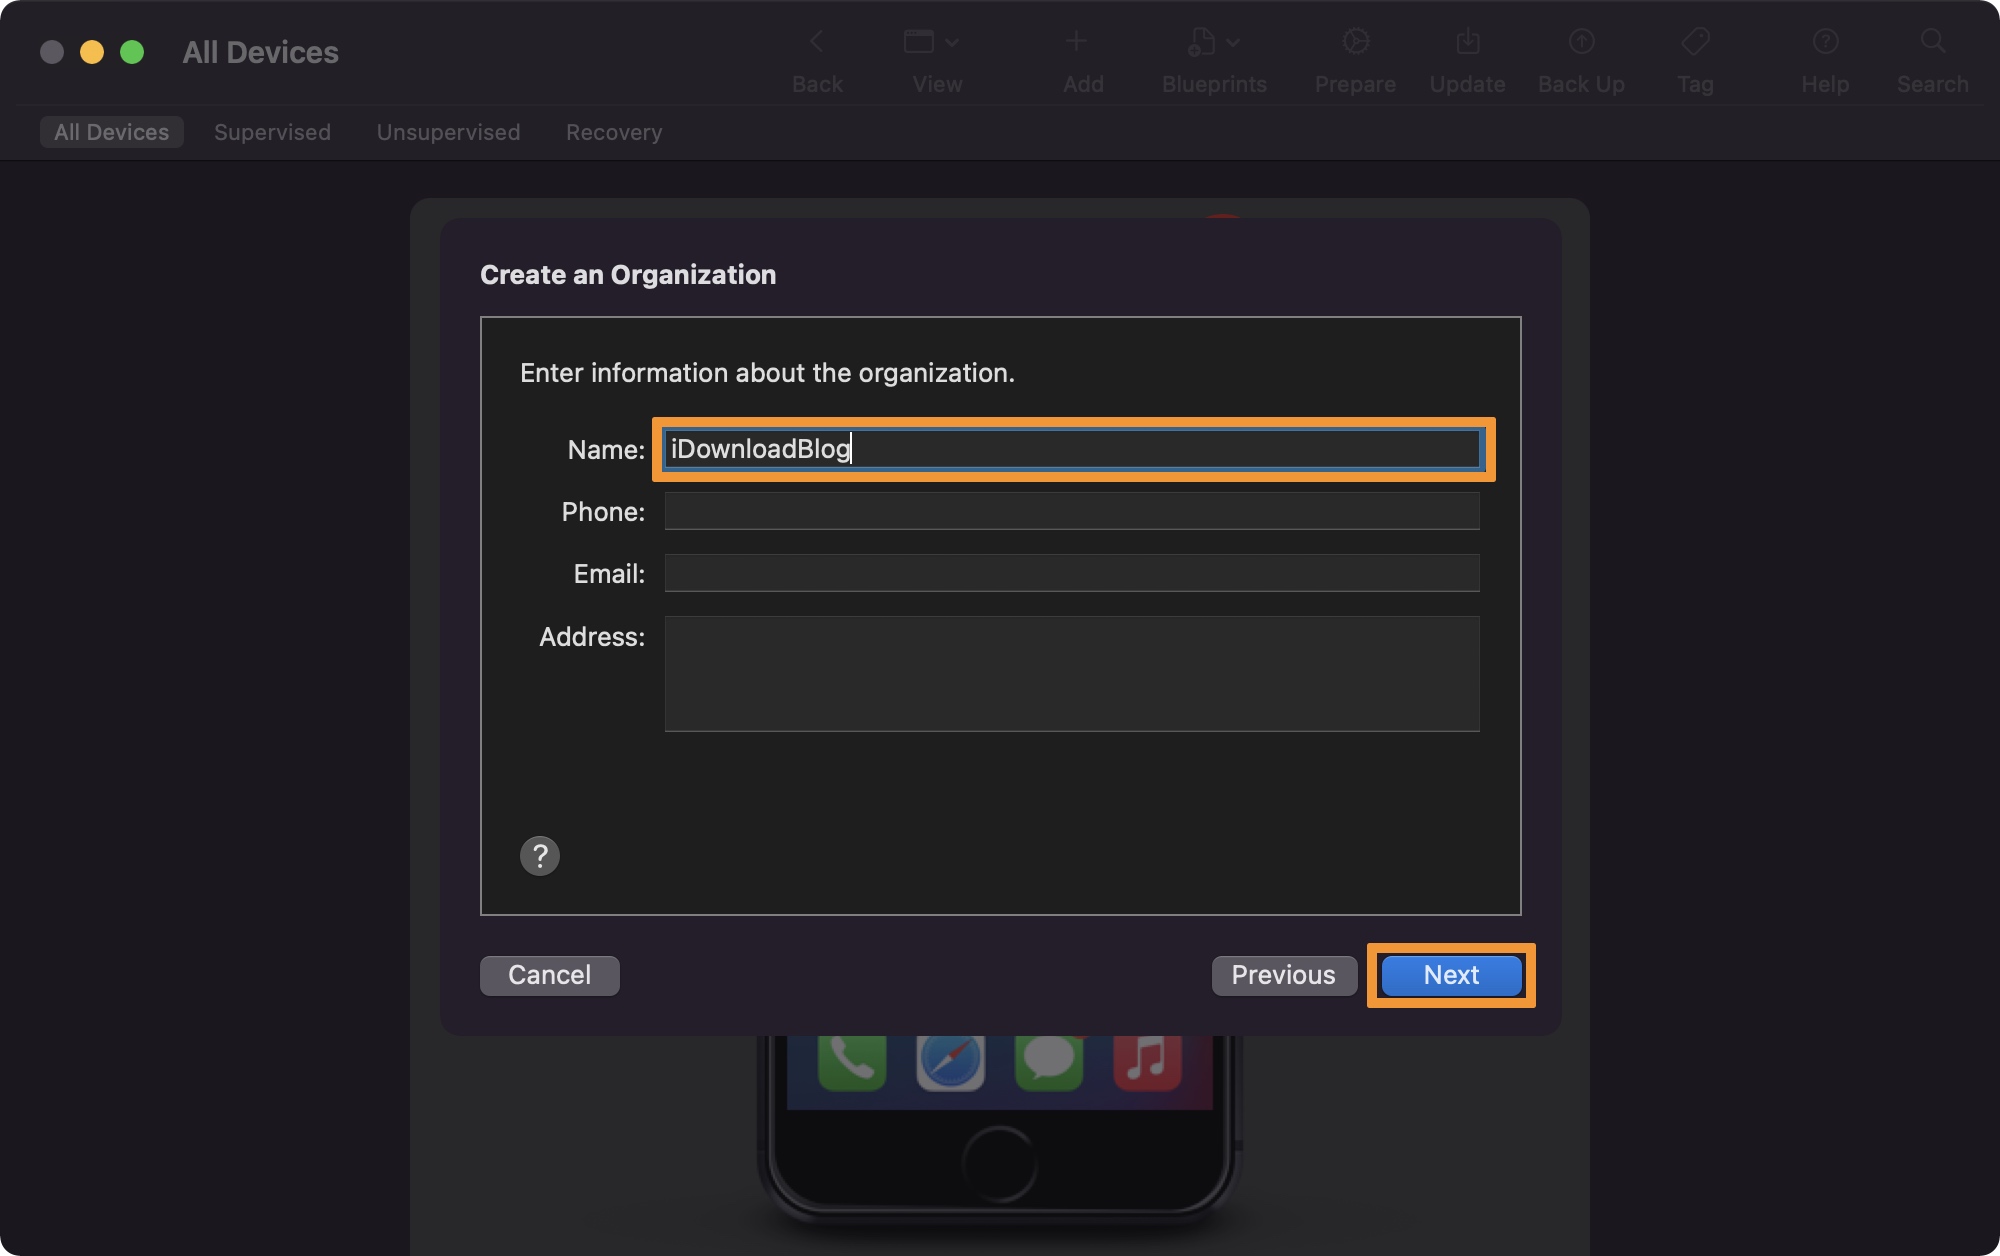
10) In the next interface, you may enter a custom name for your supervision entity. We chose iDownloadBlog. When finished, click Next:
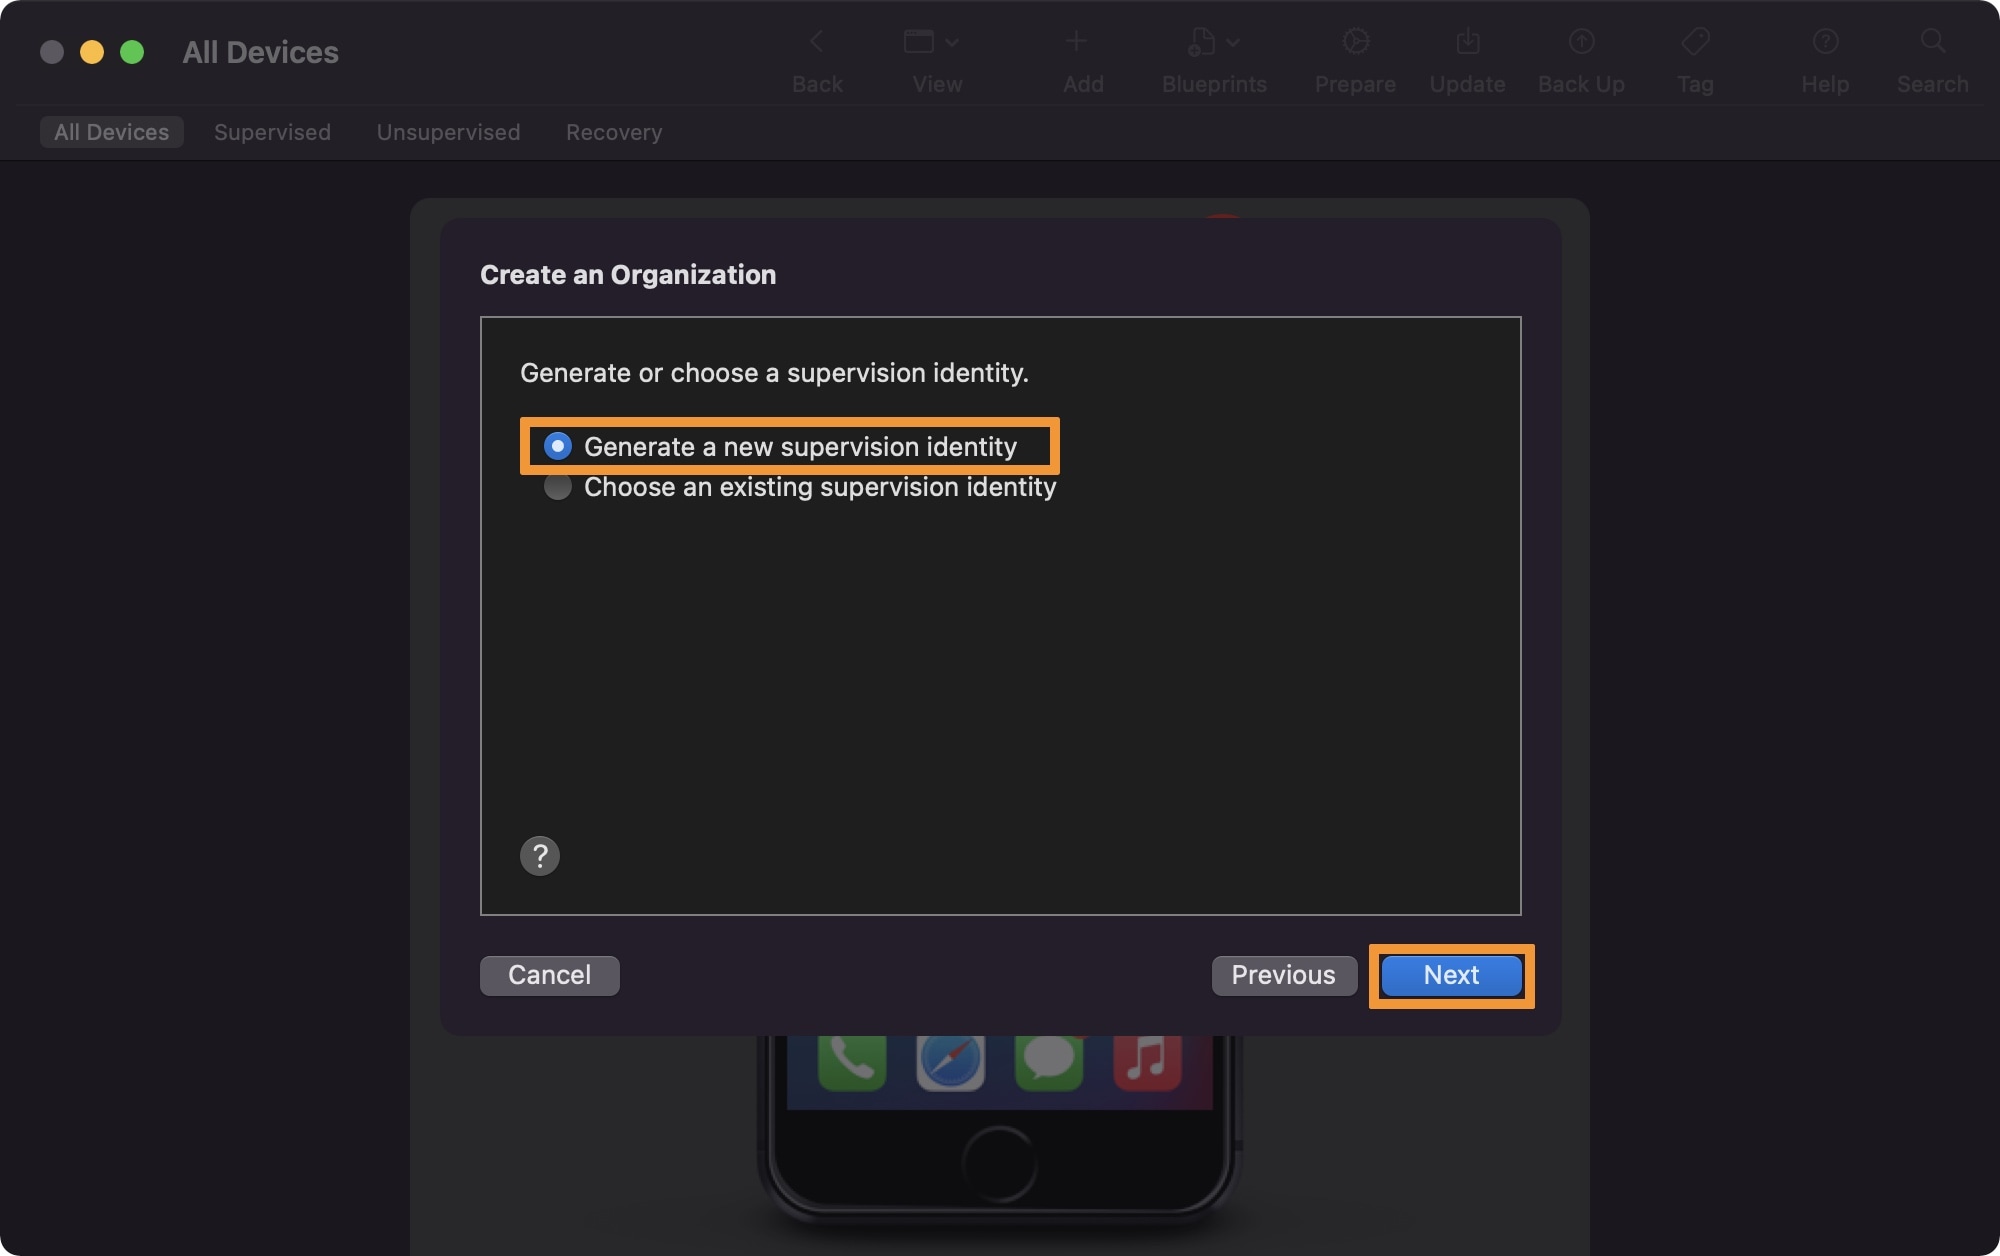
11) Ensure that Generate a new supervision identity is selected, then click Next:
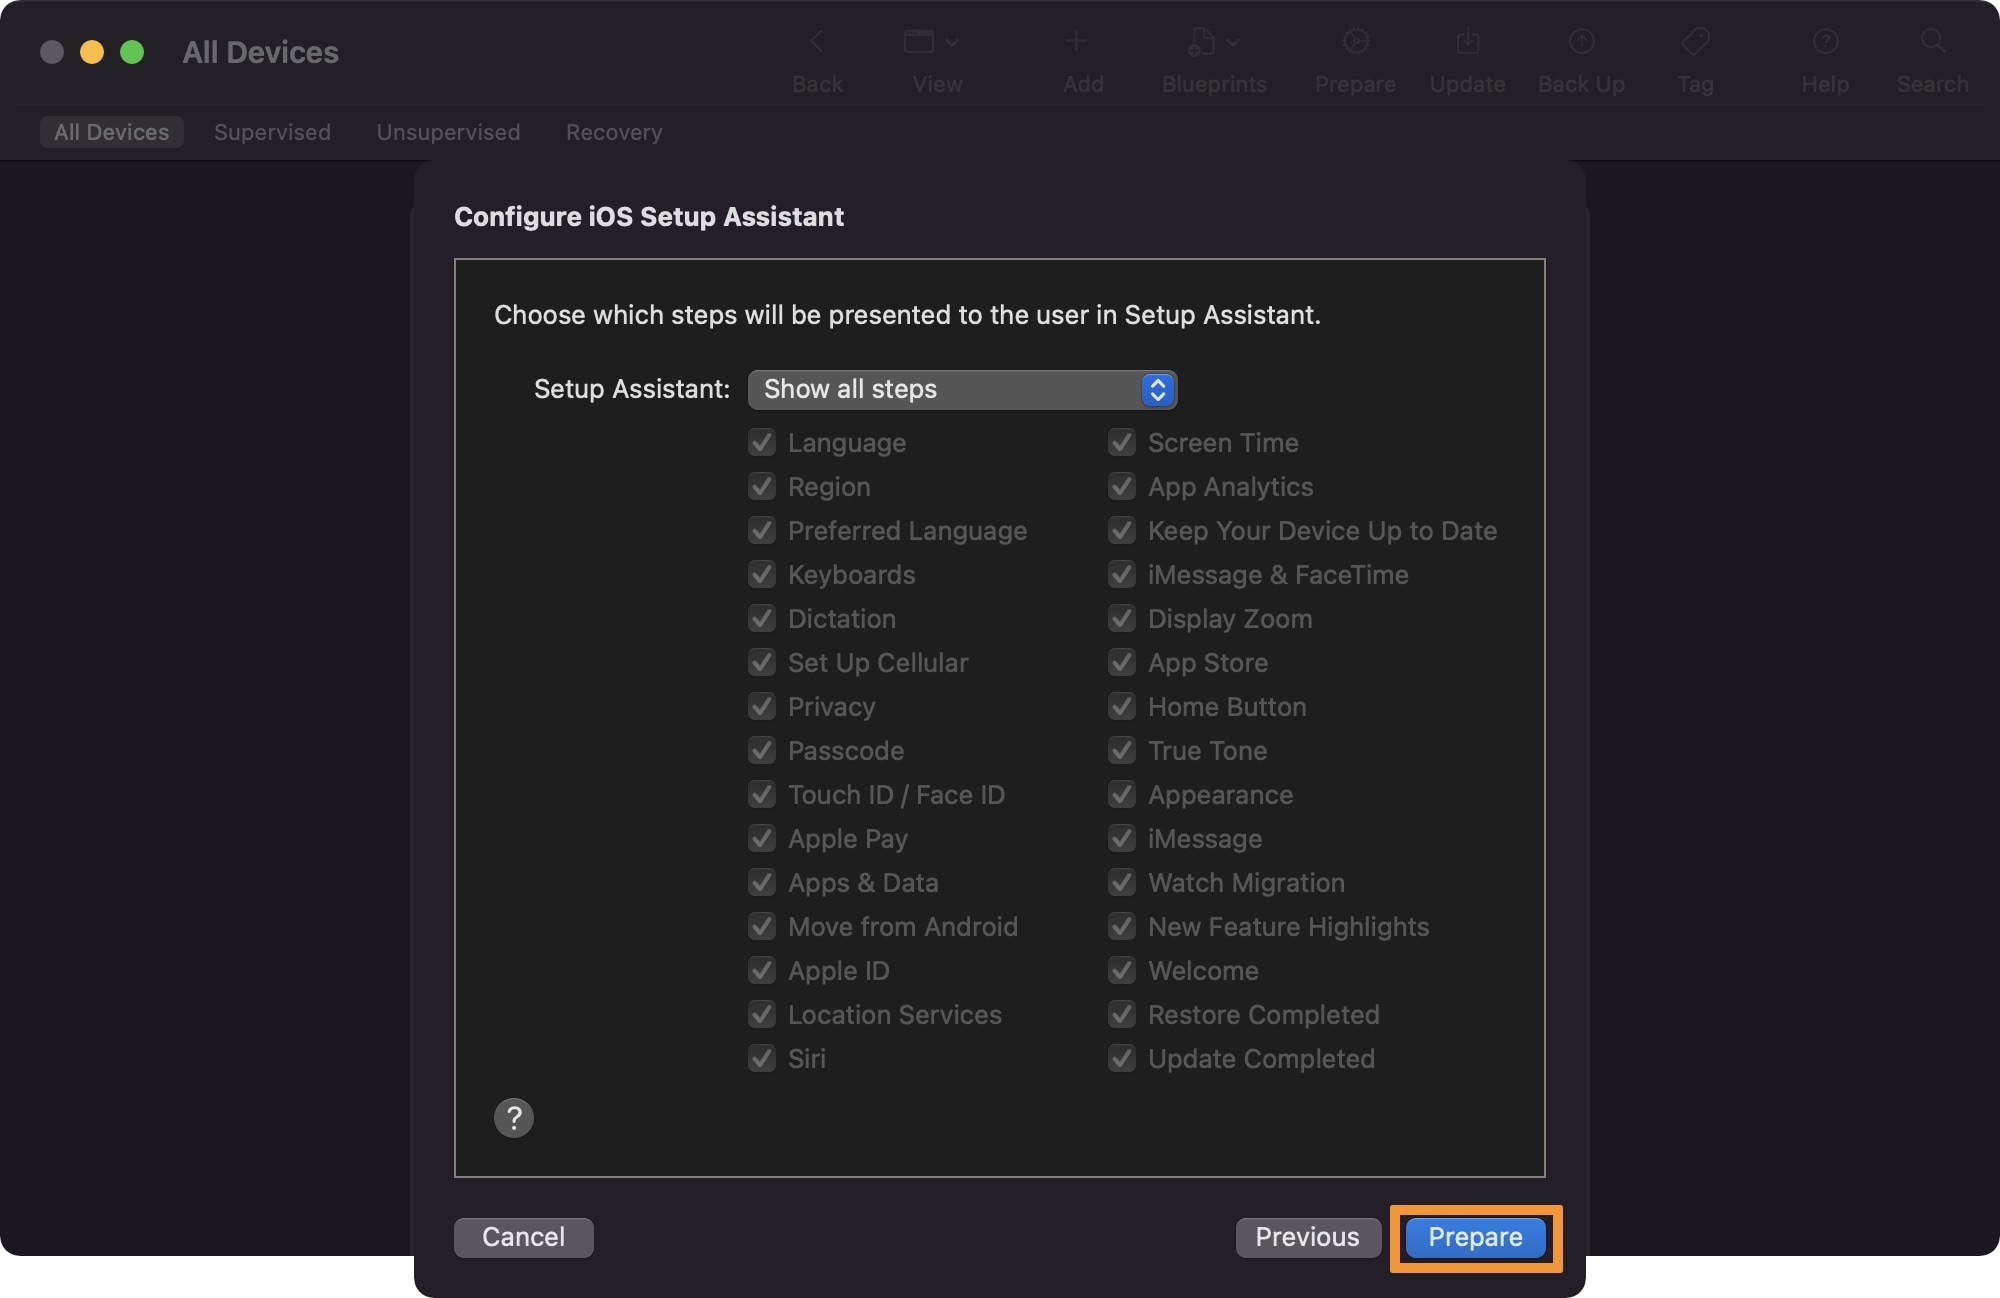
12) Now you will click on the Prepare button:
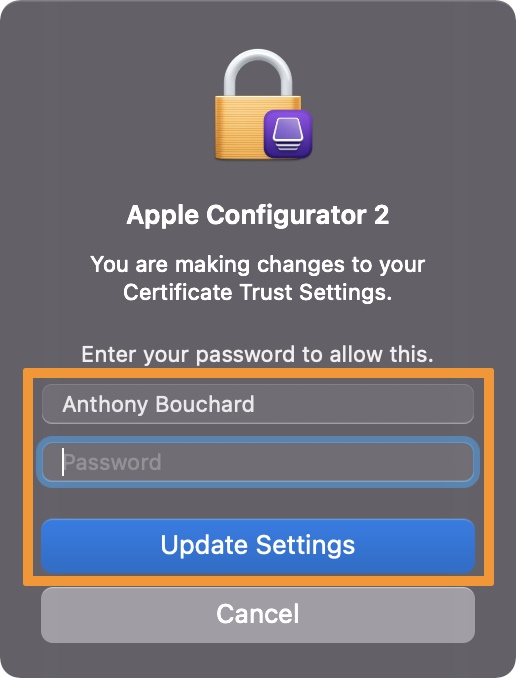
13) Enter your Mac’s username and password to generate a certificate, then click Update Settings:
NOTE: If you haven’t already backed up your device, make sure you do it before the next step. The next step will erase your iPhone or iPad.
14) You will now be prompted to Erase your device so it can be prepared for supervision. Click on the Erase button:

15) Apple Configurator 2 will now begin the three-step process of preparing your iPhone or iPad for supervision:
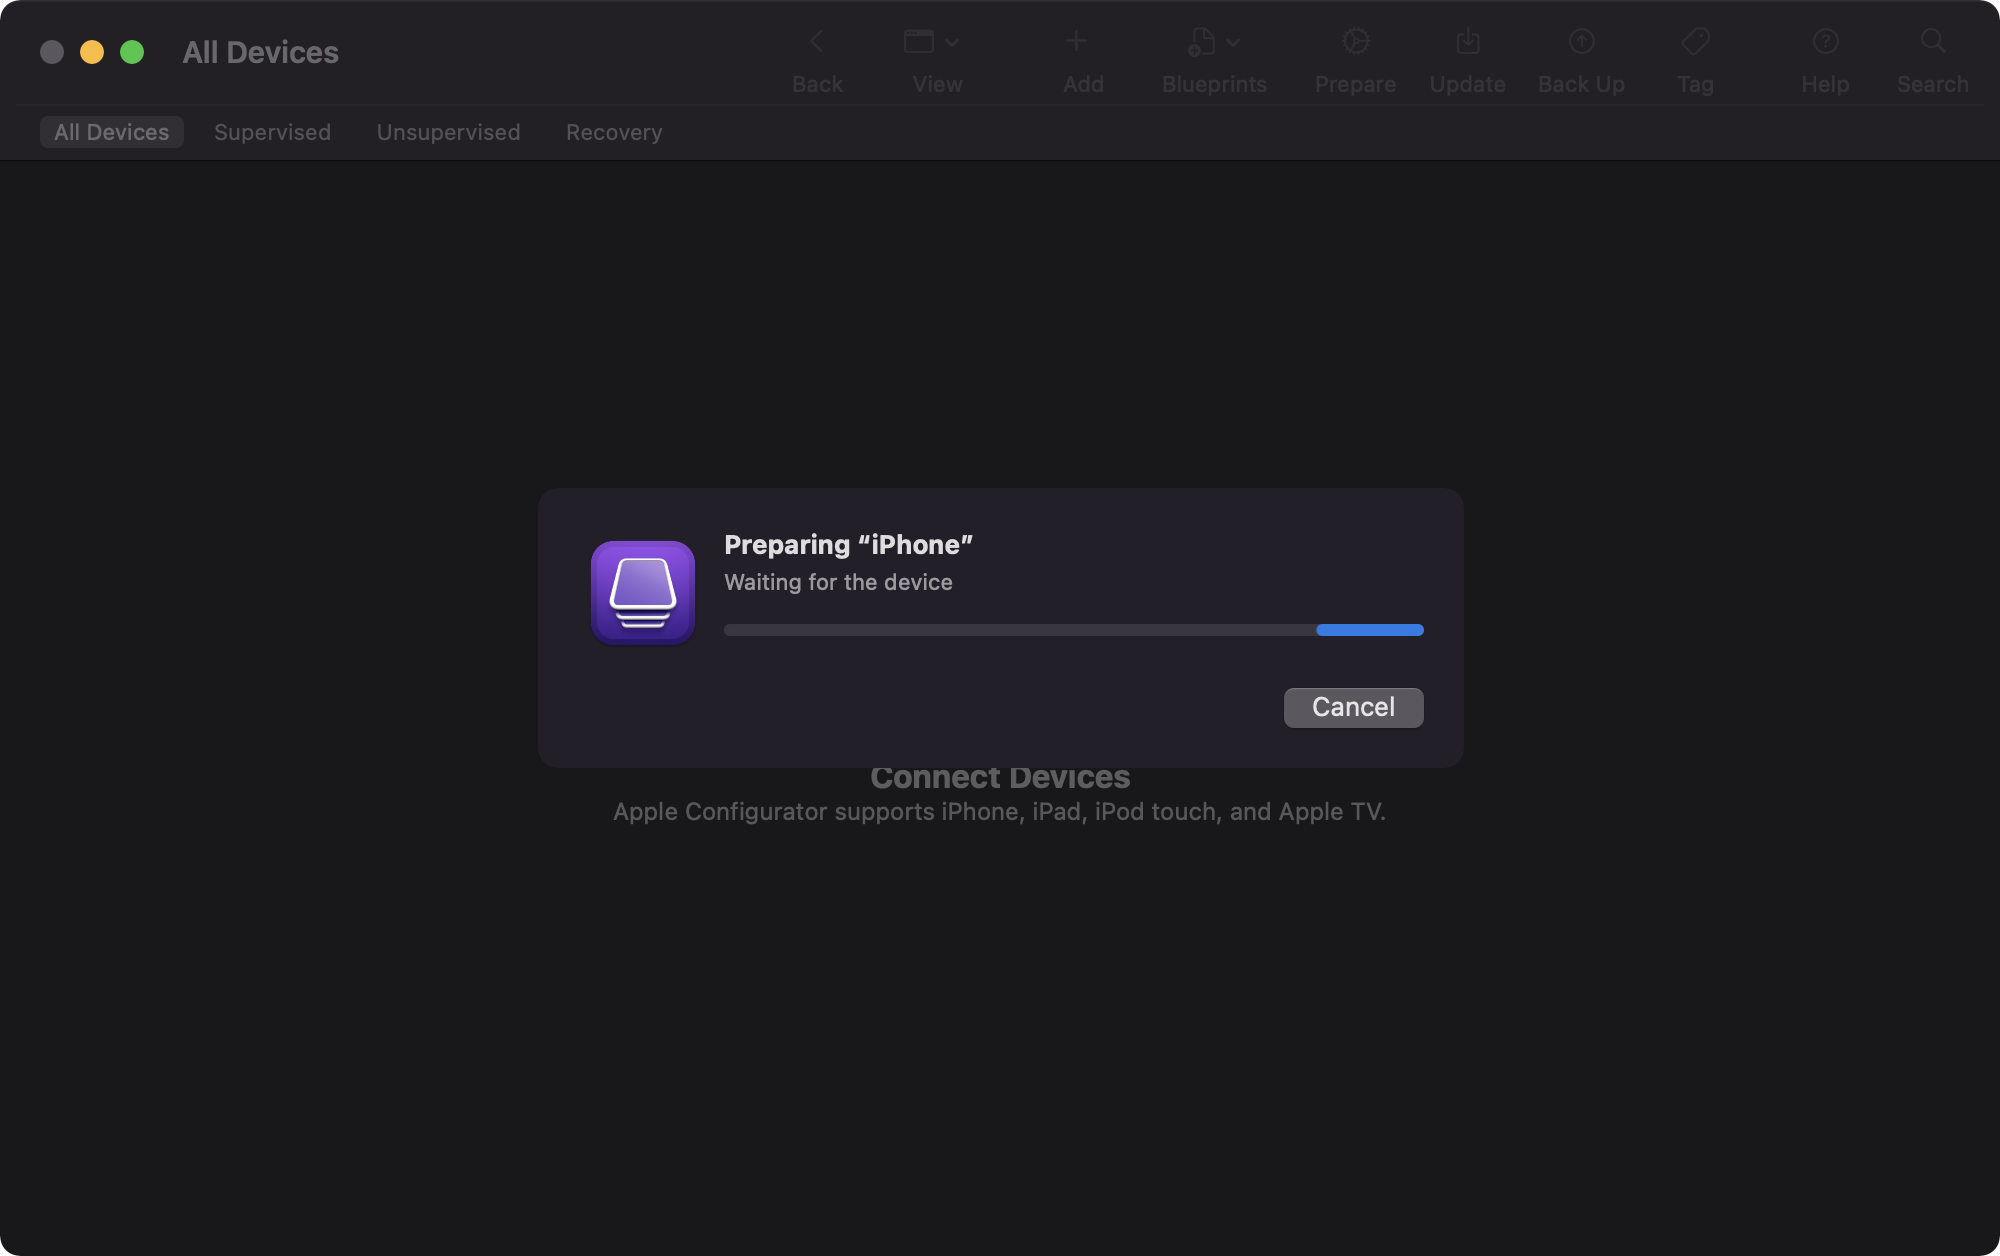
This process takes a few minutes and will erase your device. When finished, your iPhone or iPad will display the same screen it had as the day you bought it, prompting you to set it up again. Follow the prompts, and this is where you can restore from your previously-made backup to get your data back.
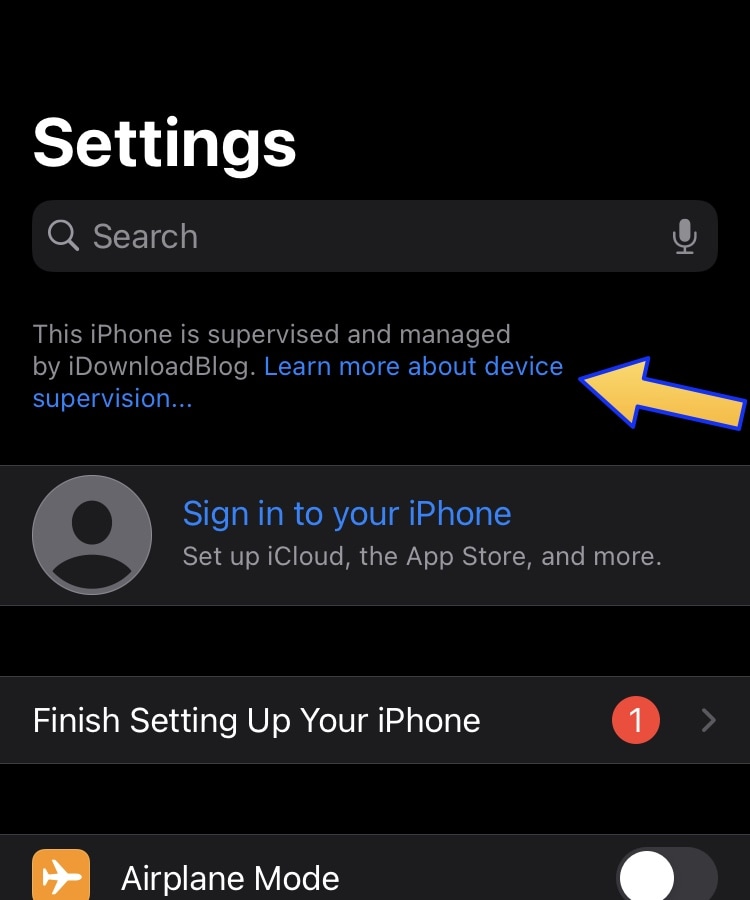
Once you’re rebooted and fully restored from your backup, you should be able to verify that your device is supervised by visiting the Settings app. It should display a message that reads: “This [enter device type here] is supervised and managed by [enter your custom name here]. Learn more about device supervision…” like so:
Congratulations! The hard part is done. In the next section, we’ll install the DelayOTA configuration profile:
Installing the DelayOTA profile
The next step involves installing the DelayOTA profile for the firmware you want to install. At the time of this writing, iOS & iPadOS 15.1 can be installed via DelayOTA, so that’s the firmware we will use for this tutorial.
The steps to install the DelayOTA profile are as follows:
1) Open the Safari app on your iPhone or iPad and visit the following URL:
https://dhinakg.github.io/delayed-otas.html
2) Scroll down to the desired firmware you want for the device you’re using DelayOTA on and tap on the Download Profile button:
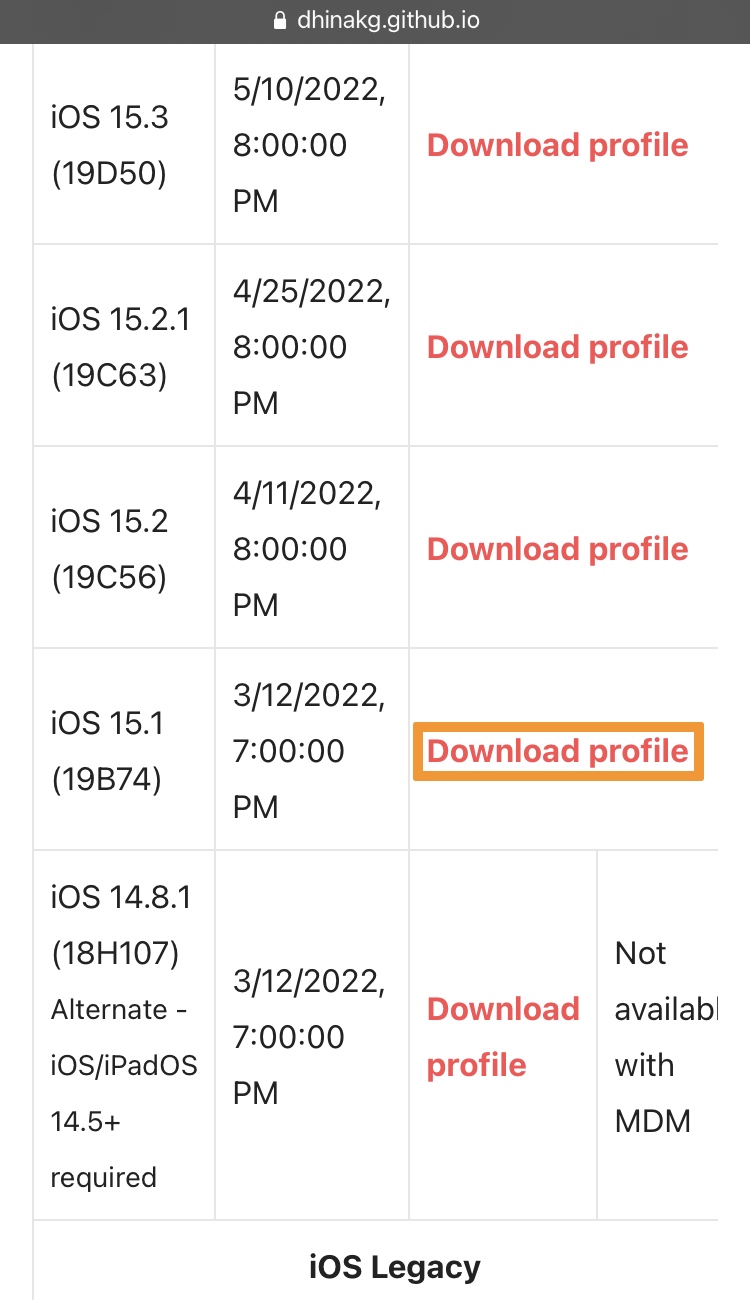
Pro Tip: If you’re using an iPhone 12 or 13 lineup device, your profile will be at the top of the page. Older non-legacy handsets such as the iPhone XS and older will be found further down the page. For the purposes of this tutorial, we’re using the iOS 15.1 DelayOTA profile for an older device since it’s still available for our device at the time of this writing.
3) Tap on the Allow button in the pop-up that asks about downloading a configuration profile:

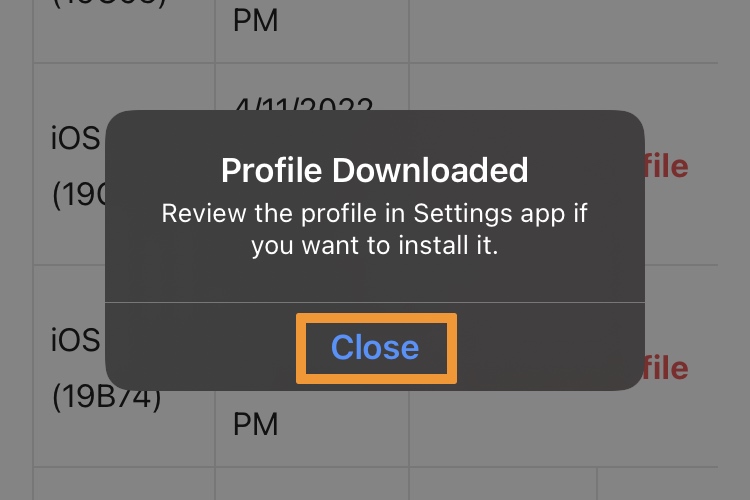
4) Tap on the Close button in the ensuing pop-up:
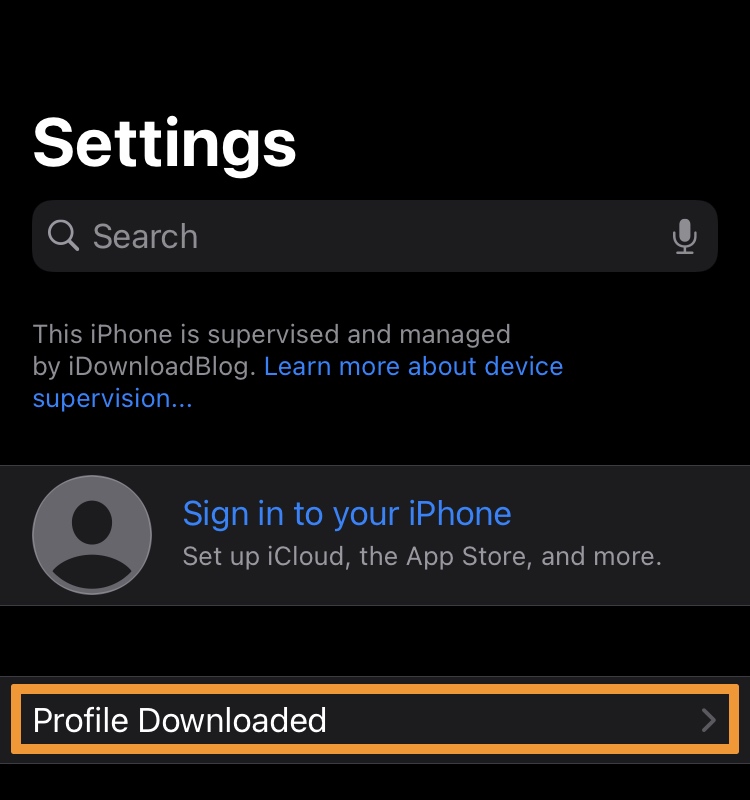
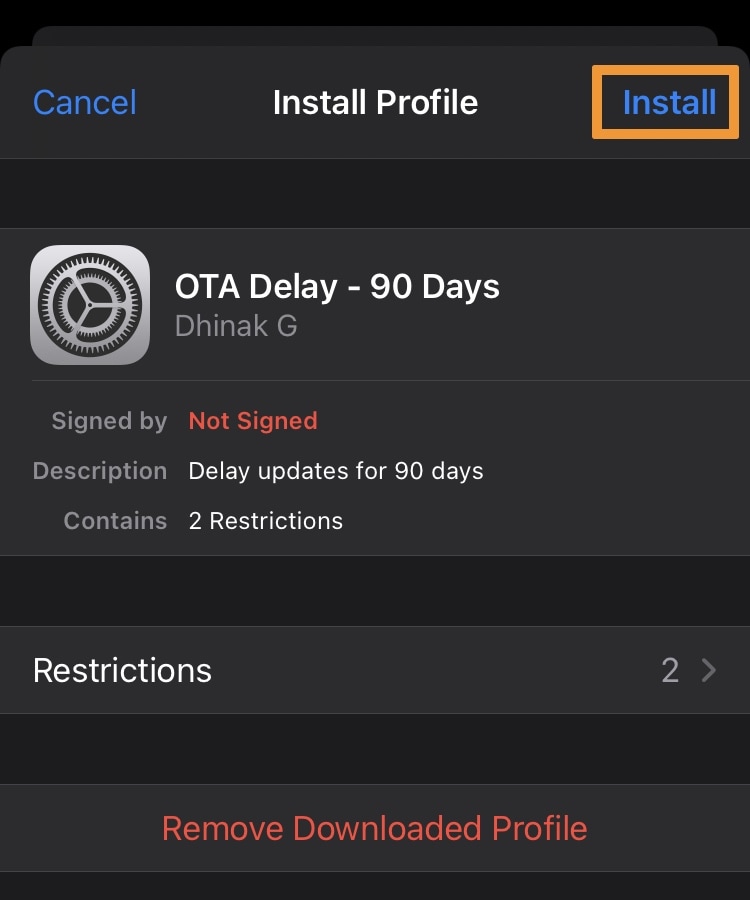
5) Open the Settings app and tap on the Profile Downloaded cell:
6) Tap on the Install button:
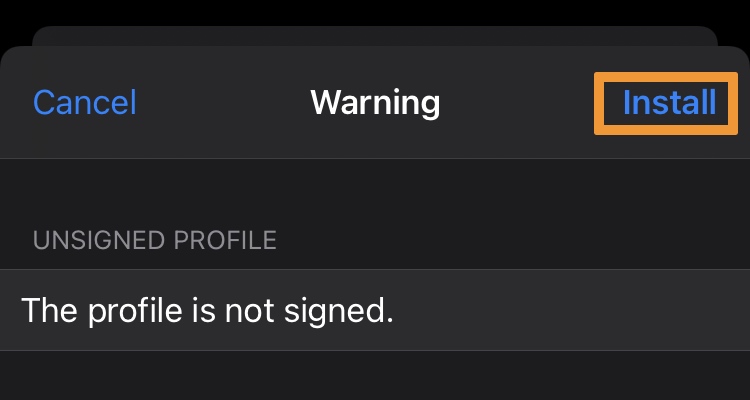
7) Tap on the Install button again:
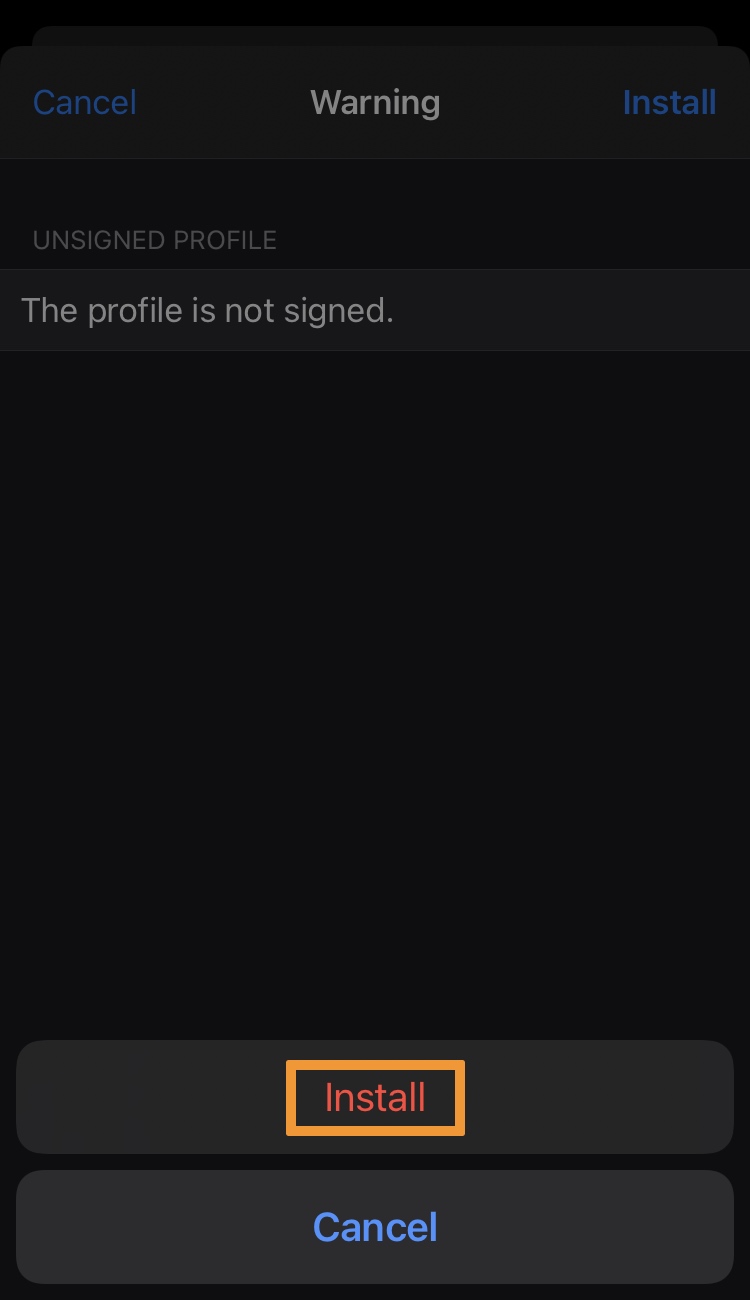
8) Tap on the Install button a third time:
9) Tap on the Done button to finish:
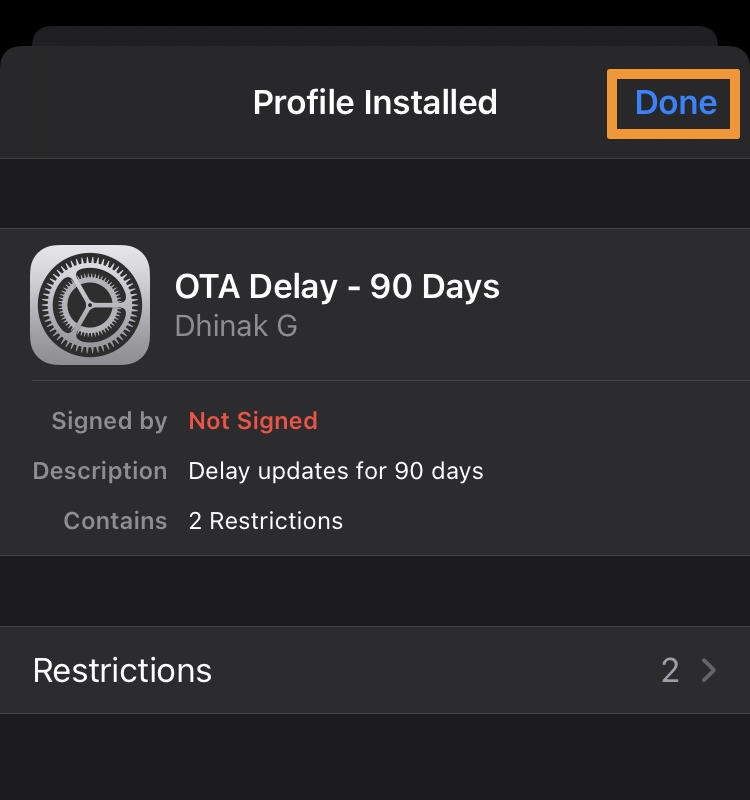
10) Now that the DelayOTA profile has been installed, Reboot iPhone or iPad.
After the device boots back up, we’ll install the software update we planned to install in the final section below:
Installing the DelayOTA software update
1) After the profile is installed, navigate to Settings → General → Software Update:
Note: If you see a prompt to install a newer version of iOS or iPadOS 14 instead, simply scroll down to find the version of iOS or iPadOS 15 you’re looking for.
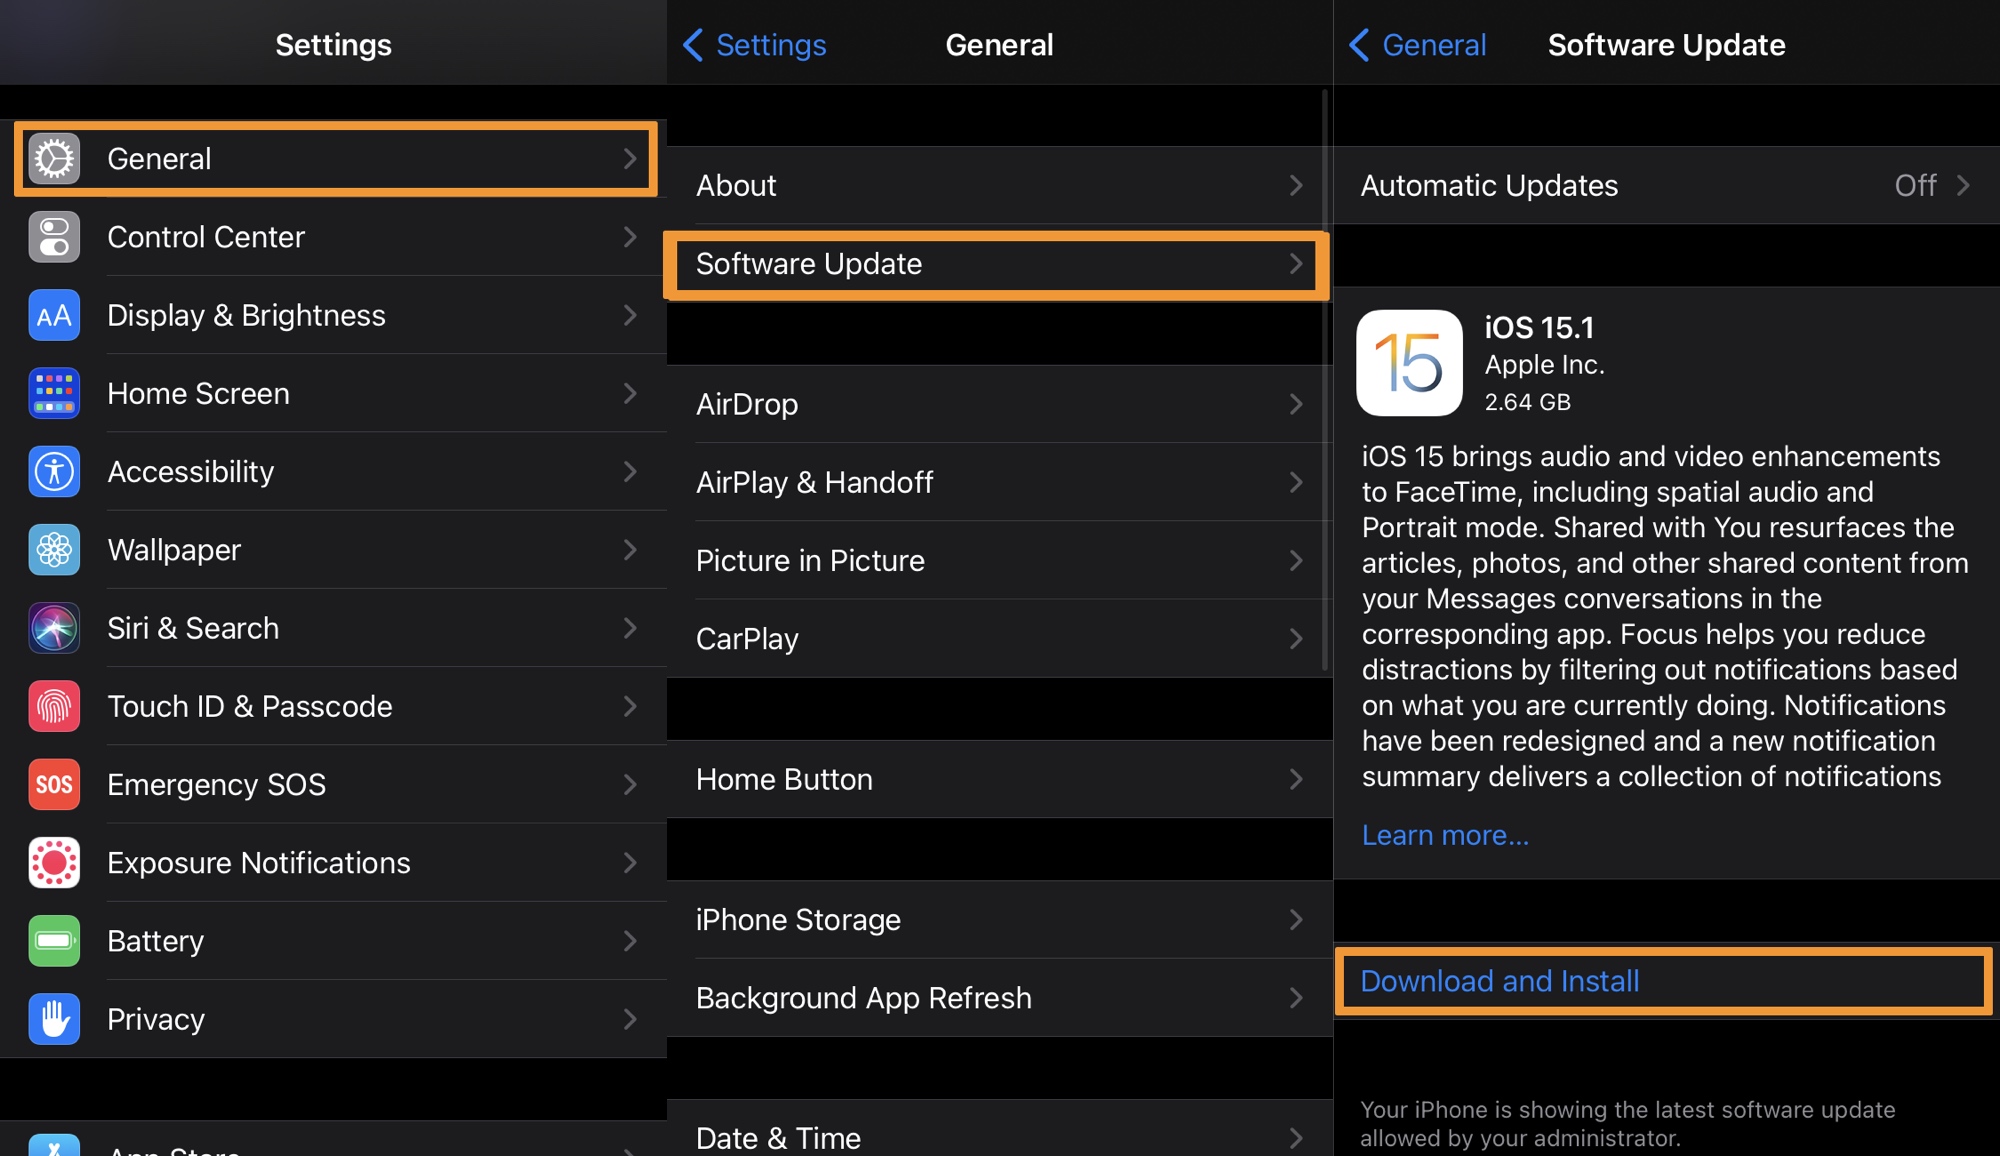
You will now be prompted to install the version of iOS or iPadOS that you downloaded the DelayOTA profile for. As shown above, our iPhone is asking us to install iOS 15.1 despite the fact that this firmware isn’t being signed anymore.
2) Proceed with the DelayOTA software update by tapping on Download and Install.
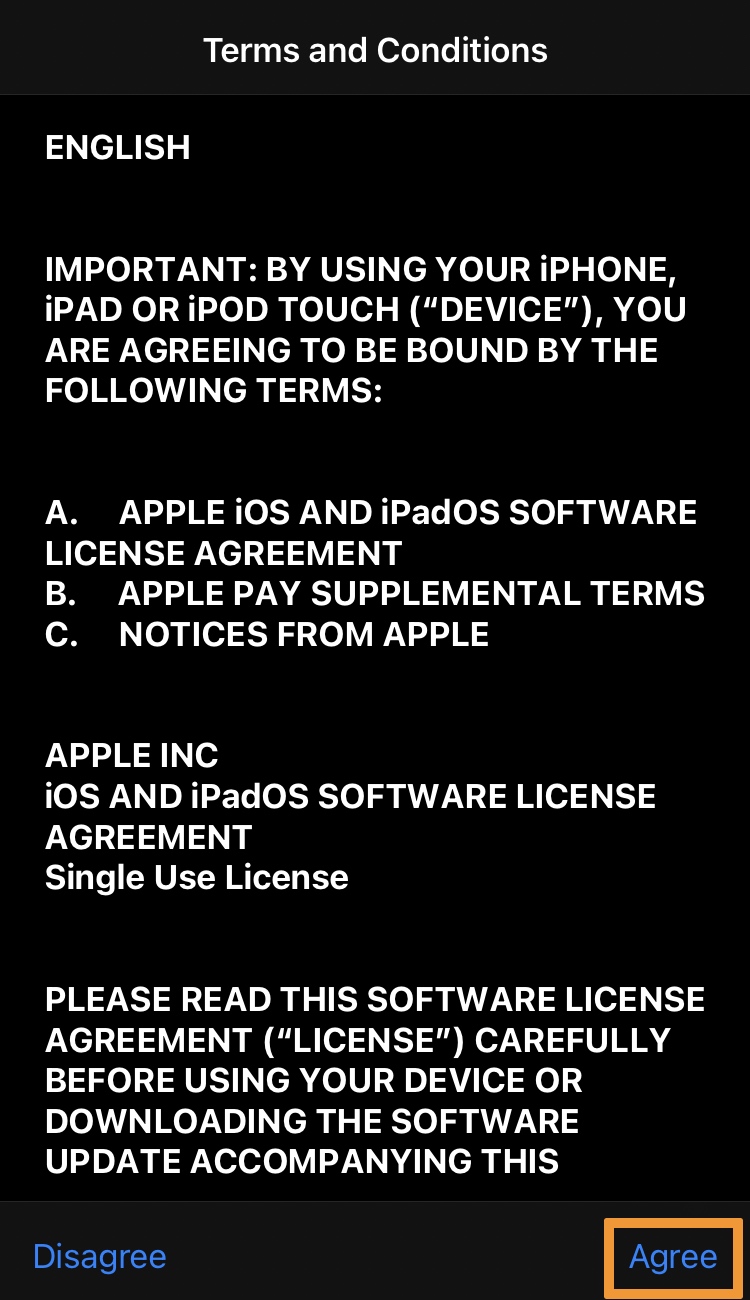
3) Enter your Passcode if prompted and Agree to the terms and conditions:
Your iPhone or iPad will now install the desired firmware. It will reboot during the install process. When it boots back up, you should be able to verify the newly installed firmware via Settings → General → About:
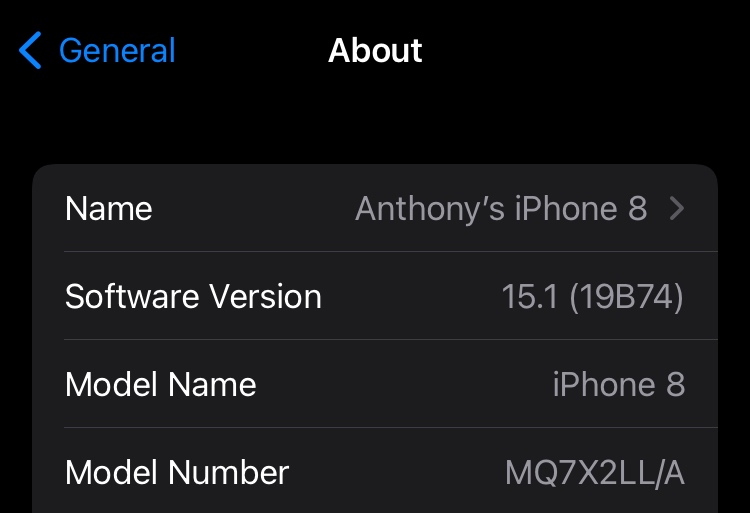
And that’s all there is to it!
Conclusion
Now that you’ve successfully circumvented Apple’s signing window with the DelayOTA method, you can sit tight on the firmware you’ve installed until a jailbreak gets released. Alternatively, if a jailbreak is already available, then you can proceed with using it immediately.
Also read: How to update your jailbroken iPhone or iPad to unsigned firmware with DelayOTA
Did everything work properly for you? Be sure to drop a comment below letting us know!