Check out these important tips to keep your Apple Account secure and prevent scams and unauthorized access to your personal data.
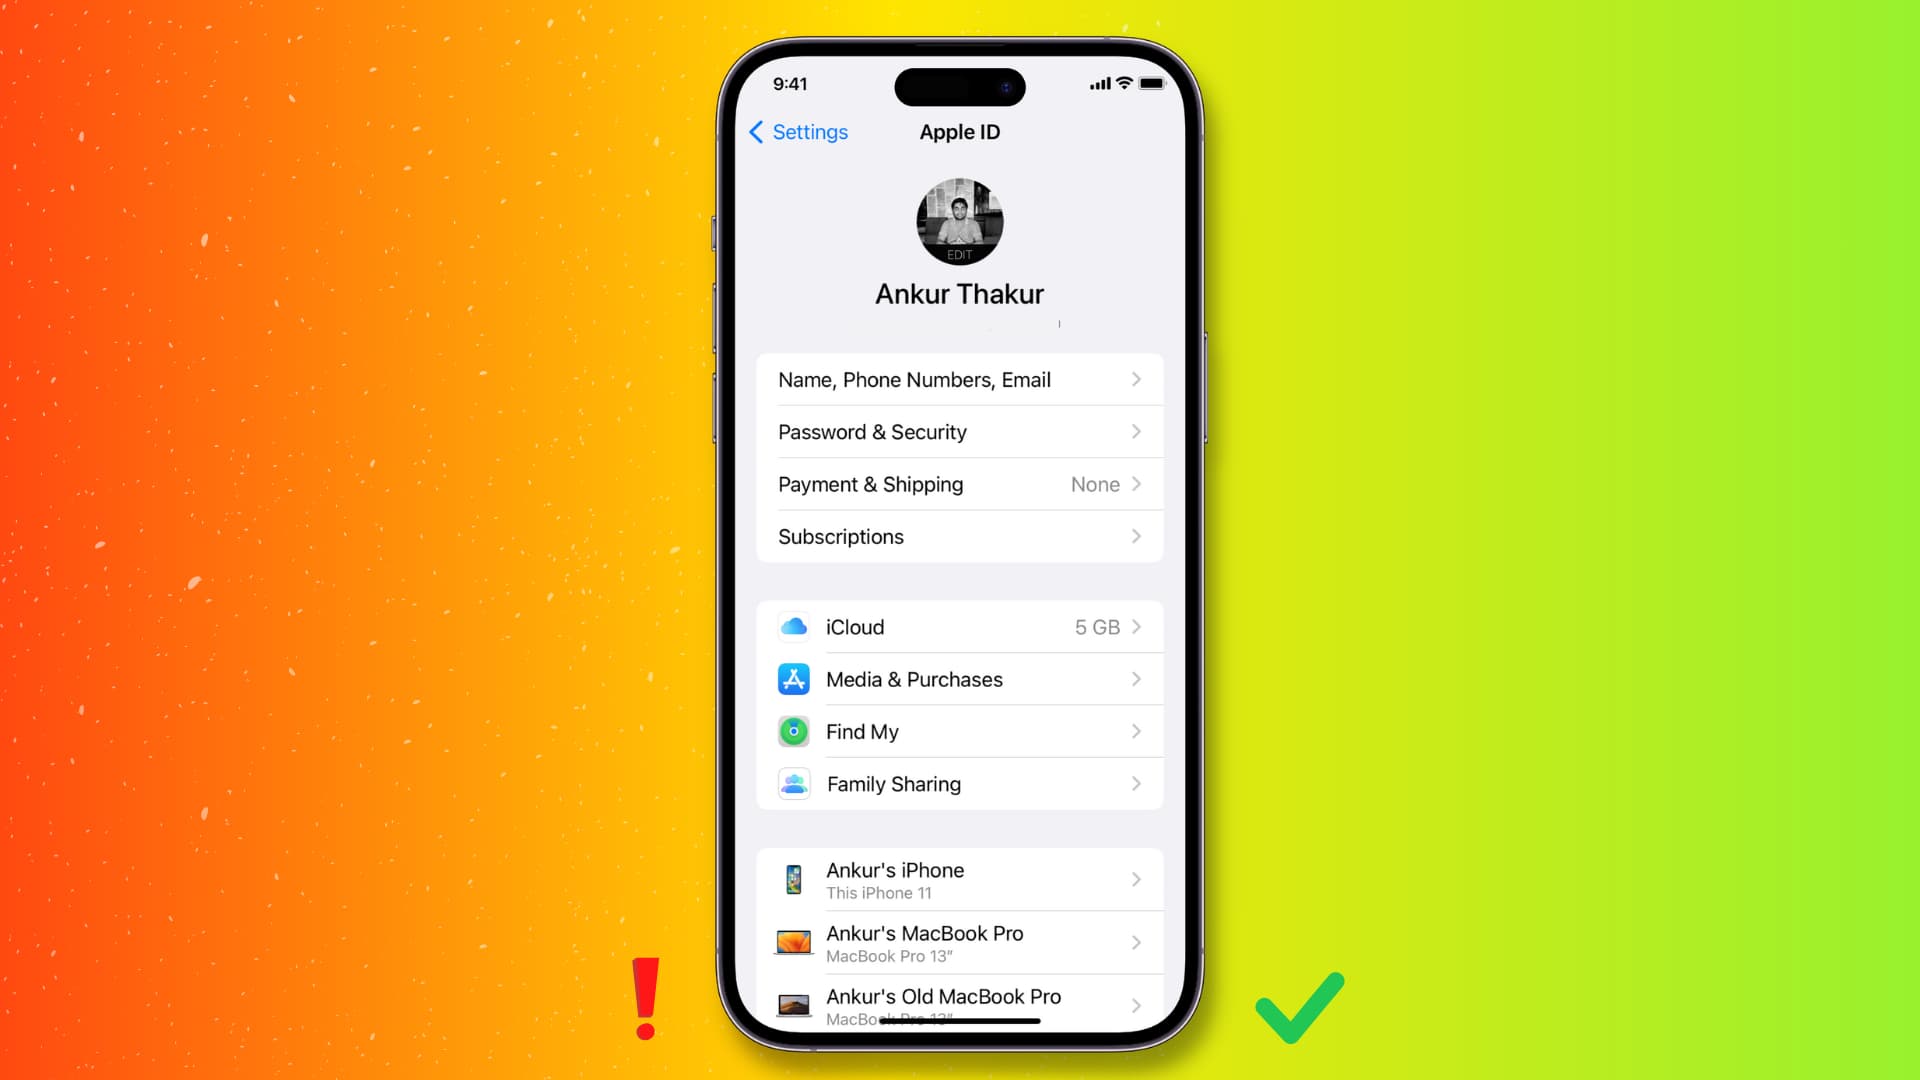
Your Apple Account (previously called Apple ID) stores valuable personal data, including your messages, photos, videos, contacts, calendars, reminders, uploaded files, app data, device backups, and much more. Therefore, keeping it secure is paramount.
Enable two-factor authentication
Imagine someone has your Apple Account email address and password. Without two-factor authentication (2FA) or the older two-step verification, they can log in using another iPhone, iPad, Mac, or the iCloud website to download your personal data. With 2FA for your Apple Account turned on, however, bad actors must also type a one-time code pushed securely to your trusted devices to complete the login.
Recent Apple devices use the more secure two-factor authentication by default. Long-time unused Apple accounts on very old iPhones, iPads, and Macs use the less secure, SMS-based two-step verification. Make sure to turn on two-factor authentication on all your devices, and don’t forget to add trusted devices that will receive authentication codes.
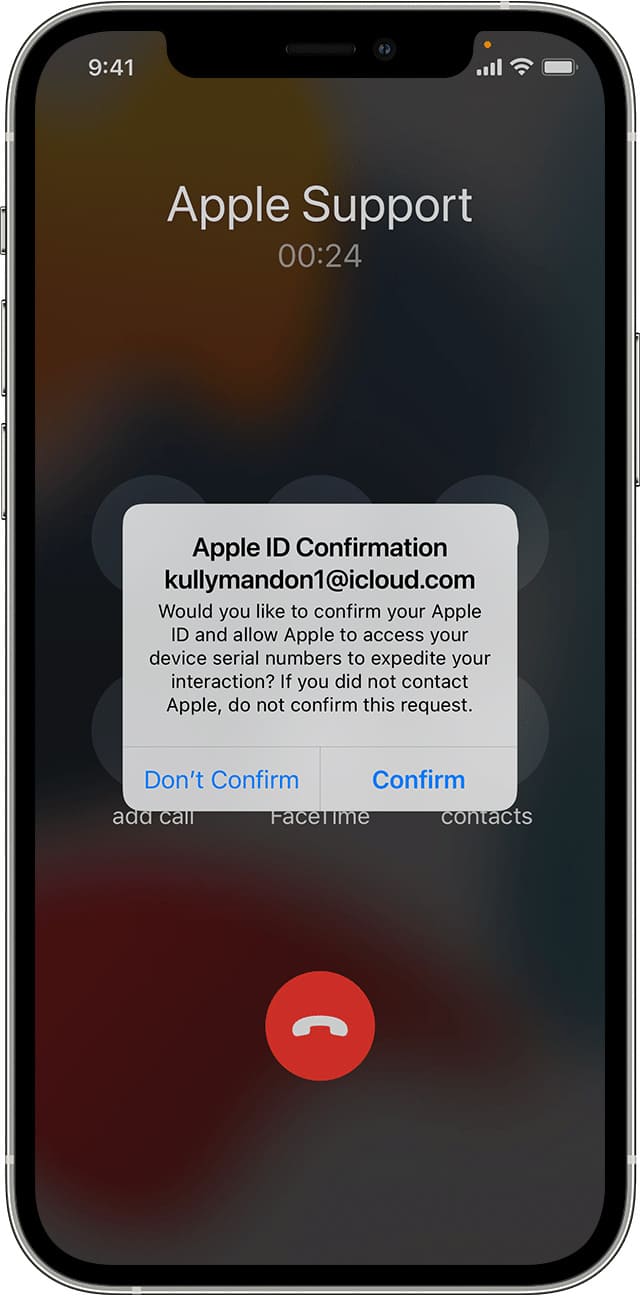
You should never share your Apple Account password with anyone, whether it be your best friends or someone claiming to be Apple Support. Apple never asks for your Apple Account password via chat, call, or email. A support representative might only go as far as to ask you to confirm your Apple Account through a notification sent to your device.
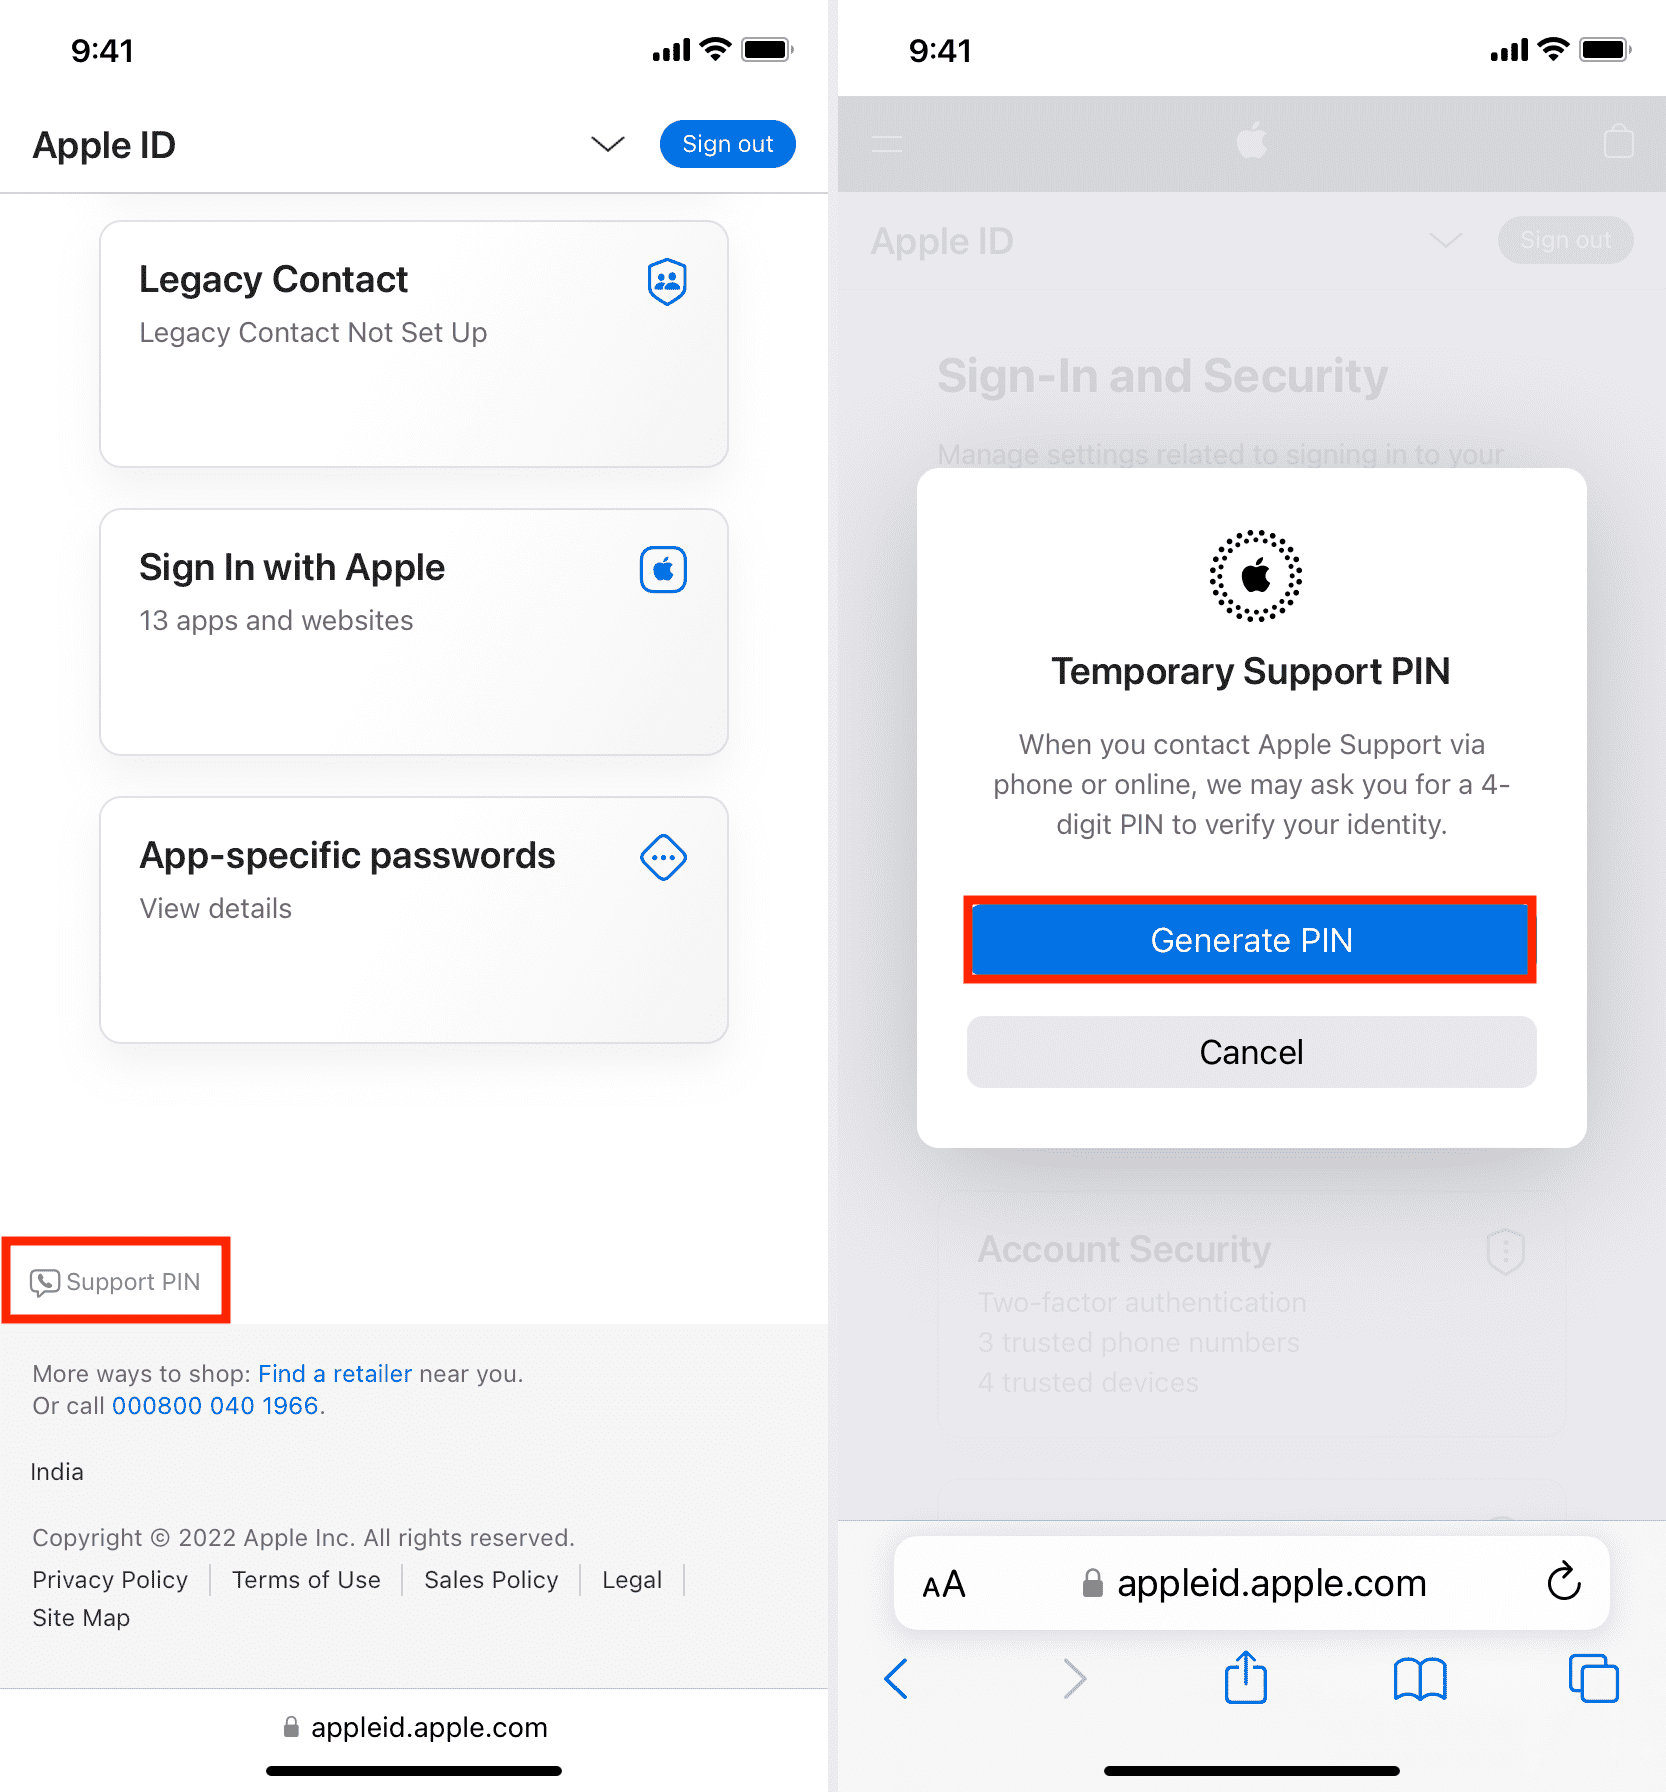
In addition, you can generate a four-digit support PIN to verify your identity when contacting Apple Support:
- Go to account.apple.com and sign in using your Apple Account or saved passkey.
- Scroll to the bottom and tap Support PIN > Generate PIN. A unique code appears after a few seconds that you can share with Apple Support when asked. The code can only be used once, and automatically expires after 30 minutes.
While sharing your support PIN with Apple Support is fine, you should never disclose any other verification code received on your Apple device with anyone, even if they purport to be an Apple employee. This is especially true for one-time passwords (OTP) received on the phone number and email address associated with your Apple Account.
Turn on Stolen Device Protection
iPhone has a handy theft-deterring feature called Stolen Device Protection that prevents bad actors from changing your Apple Account password even if they’re in possession of your device and know the passcode. You can read more about Stolen Device Protection in our dedicated tutorial, and learn how to activate the feature on your devices. Stolen Device Protection is currently an iPhone-only feature.
Be aware of scams!
Did you know that 59.4 million Americans lost $29.8 billion to phone scams in a single year? Most of these scammers are from India, Nigeria, Pakistan, Indonesia, and the Philippines.
If you get a call asking you to make a refundable payment to process some cancellation, buy gift cards, or share the verification code you received on your iPhone, this is almost certainly a scam. Hang up the call!
Apple clearly says, “If it sounds like a scam, assume that it is.”
YouTube channels like Scammer Payback, Trilogy Media, Jim Browning, and Pleasant Green are dedicated to phone and email scams. Share their videos with older people in your family who are primarily targeted because of their tech illiteracy. Folks who have been scammed usually don’t discuss their ordeal with family members because of shame! Educating your extended family about such scams is the first step toward avoiding them.
Here’s a video from Jon Rettinger about Apple ID scams:
Learn to distinguish between legitimate and phishing popups
iOS can randomly ask for your Apple Account password. Some websites and apps may try to scam you by displaying an alert that closely resembles the legitimate Apple password box.
If you see a suspicious popup, swipe up or press the Home button to exit to the Home Screen. Has the popup disappeared? If so, that’s a tell-tale sign of an attempt to phish your Apple Account credentials. But if the alert persists, then it’s an actual popup by the system, meaning you can safely type your Apple Account password to authenticate.
In addition, you can open the Settings app to check for a banner at the top asking for your Apple Account password.
📝 One of these is Apple asking you for your password and the other one is a phishing popup that steals your password https://t.co/PdOJcthqL7 pic.twitter.com/6N3lawTVGo
— Felix Krause (@KrauseFx) October 10, 2017
Report to Apple
Be vigilant if you receive a message, email, phone call, or other communication pretending to be Apple, asking for personal details or encouraging you to click a link. If it feels suspicious, you can always take a screenshot and email it to Apple at reportphishing@apple.com.
Read this helpful Apple Support page, which covers recognizing and avoiding phishing messages, phony support calls, and other scams.
Set a passcode on all your Apple devices
Your iPhone is always with you. If you leave it unattended, your passcode safeguards your data. You can also switch to a stronger alphanumeric passcode instead of the default 6-digit one to strengthen the security of your Apple Account.
- iPhone and iPad: Go to Settings > Face ID & Passcode or Touch ID & Passcode.
- Mac: System Settings > Touch ID & Password.
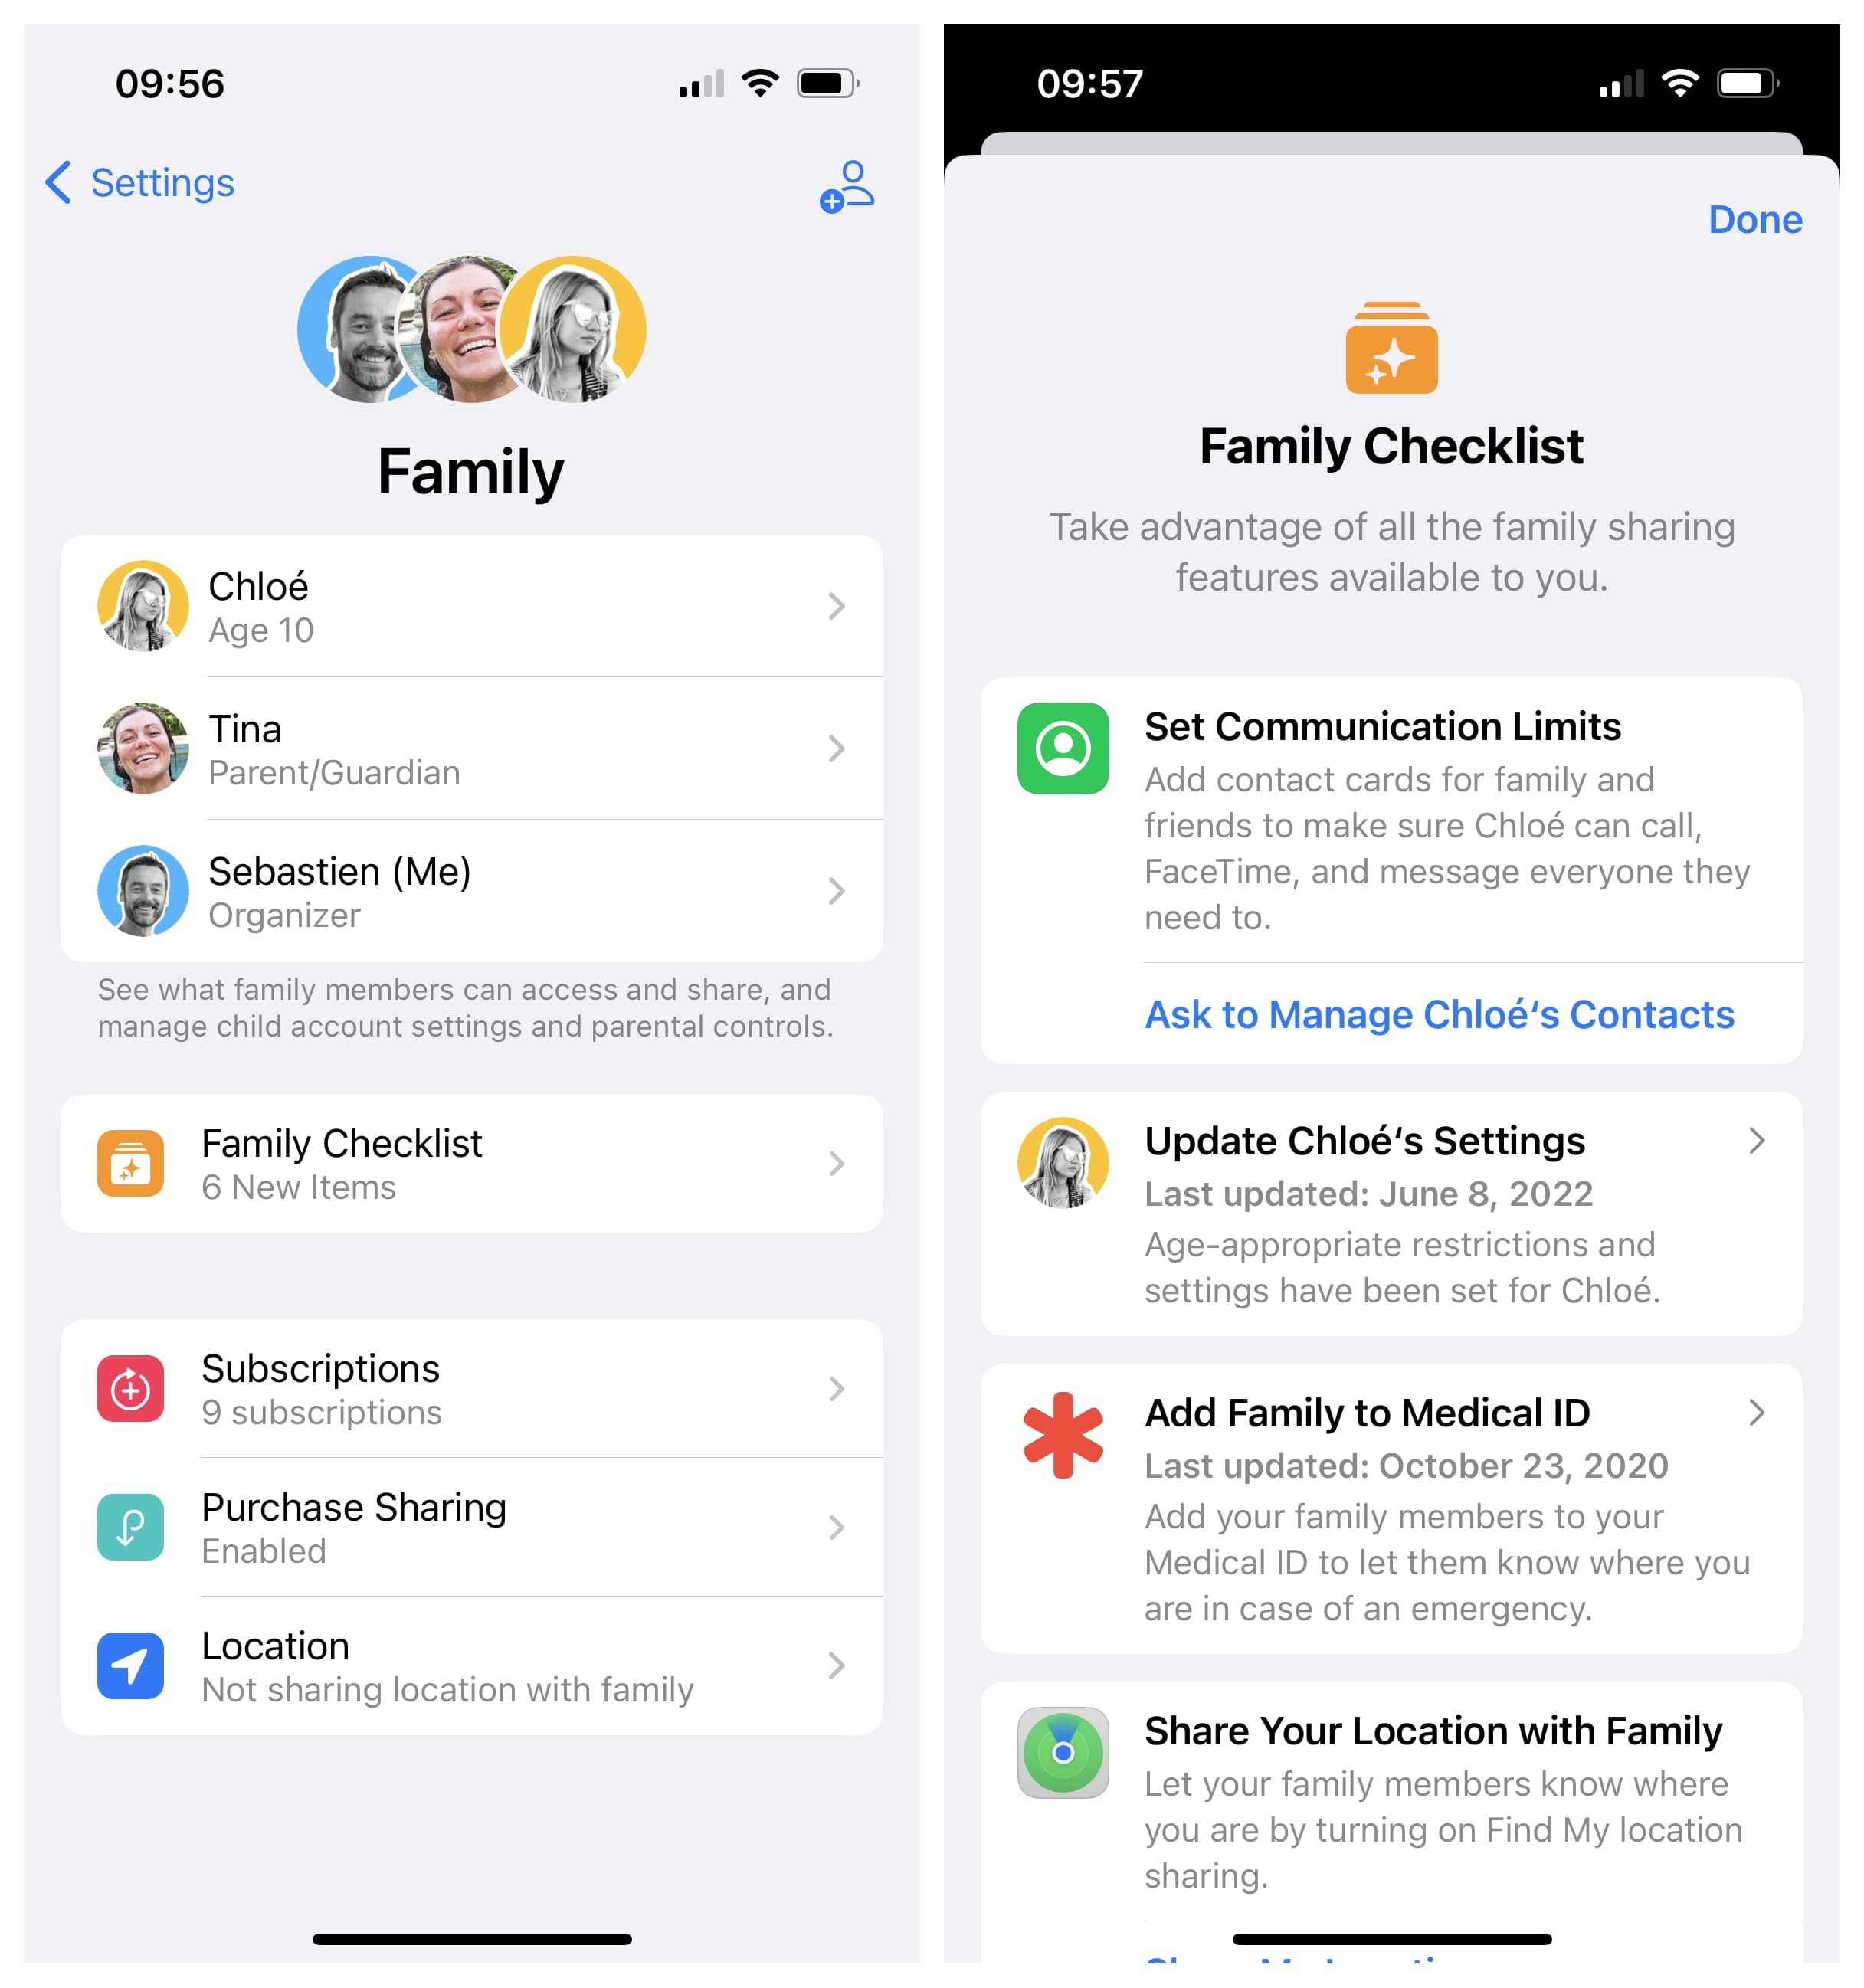
Some folks log in with their Apple Account on a friend’s iPhone to re-download a paid app for free. Doing so can easily compromise account security. The right way to share your purchased apps or media with others is through the Family Sharing feature.
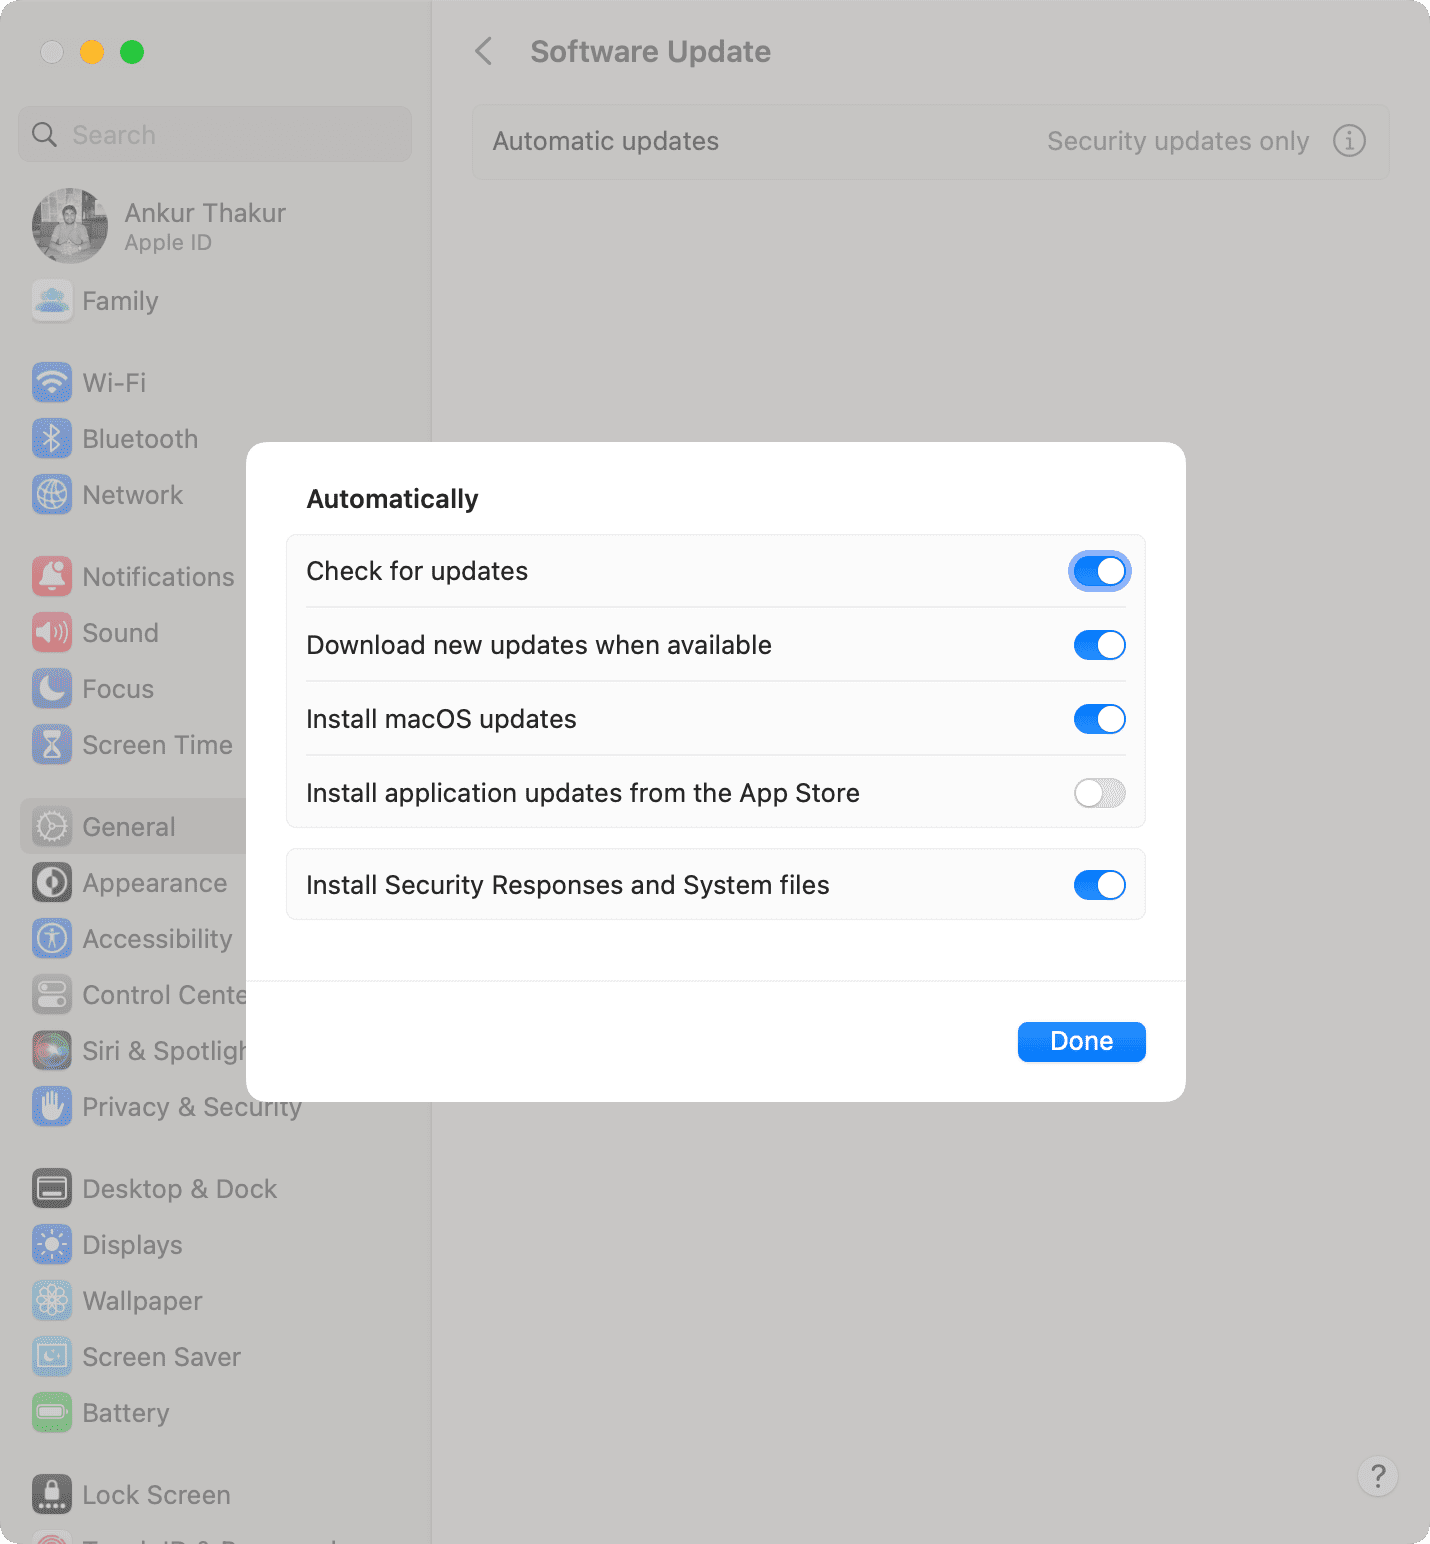
Update your Apple devices regularly
Apple periodically pushes operating system updates to its devices. You can also manually check for updates using the familiar Software Update mechanism or enable automatic updates.
Update your Apple Account password
If you have been using the same Apple Account password for a long time, consider changing it:
- iPhone and iPad: Settings > your name from the top > Sign-In & Security > Change Password.
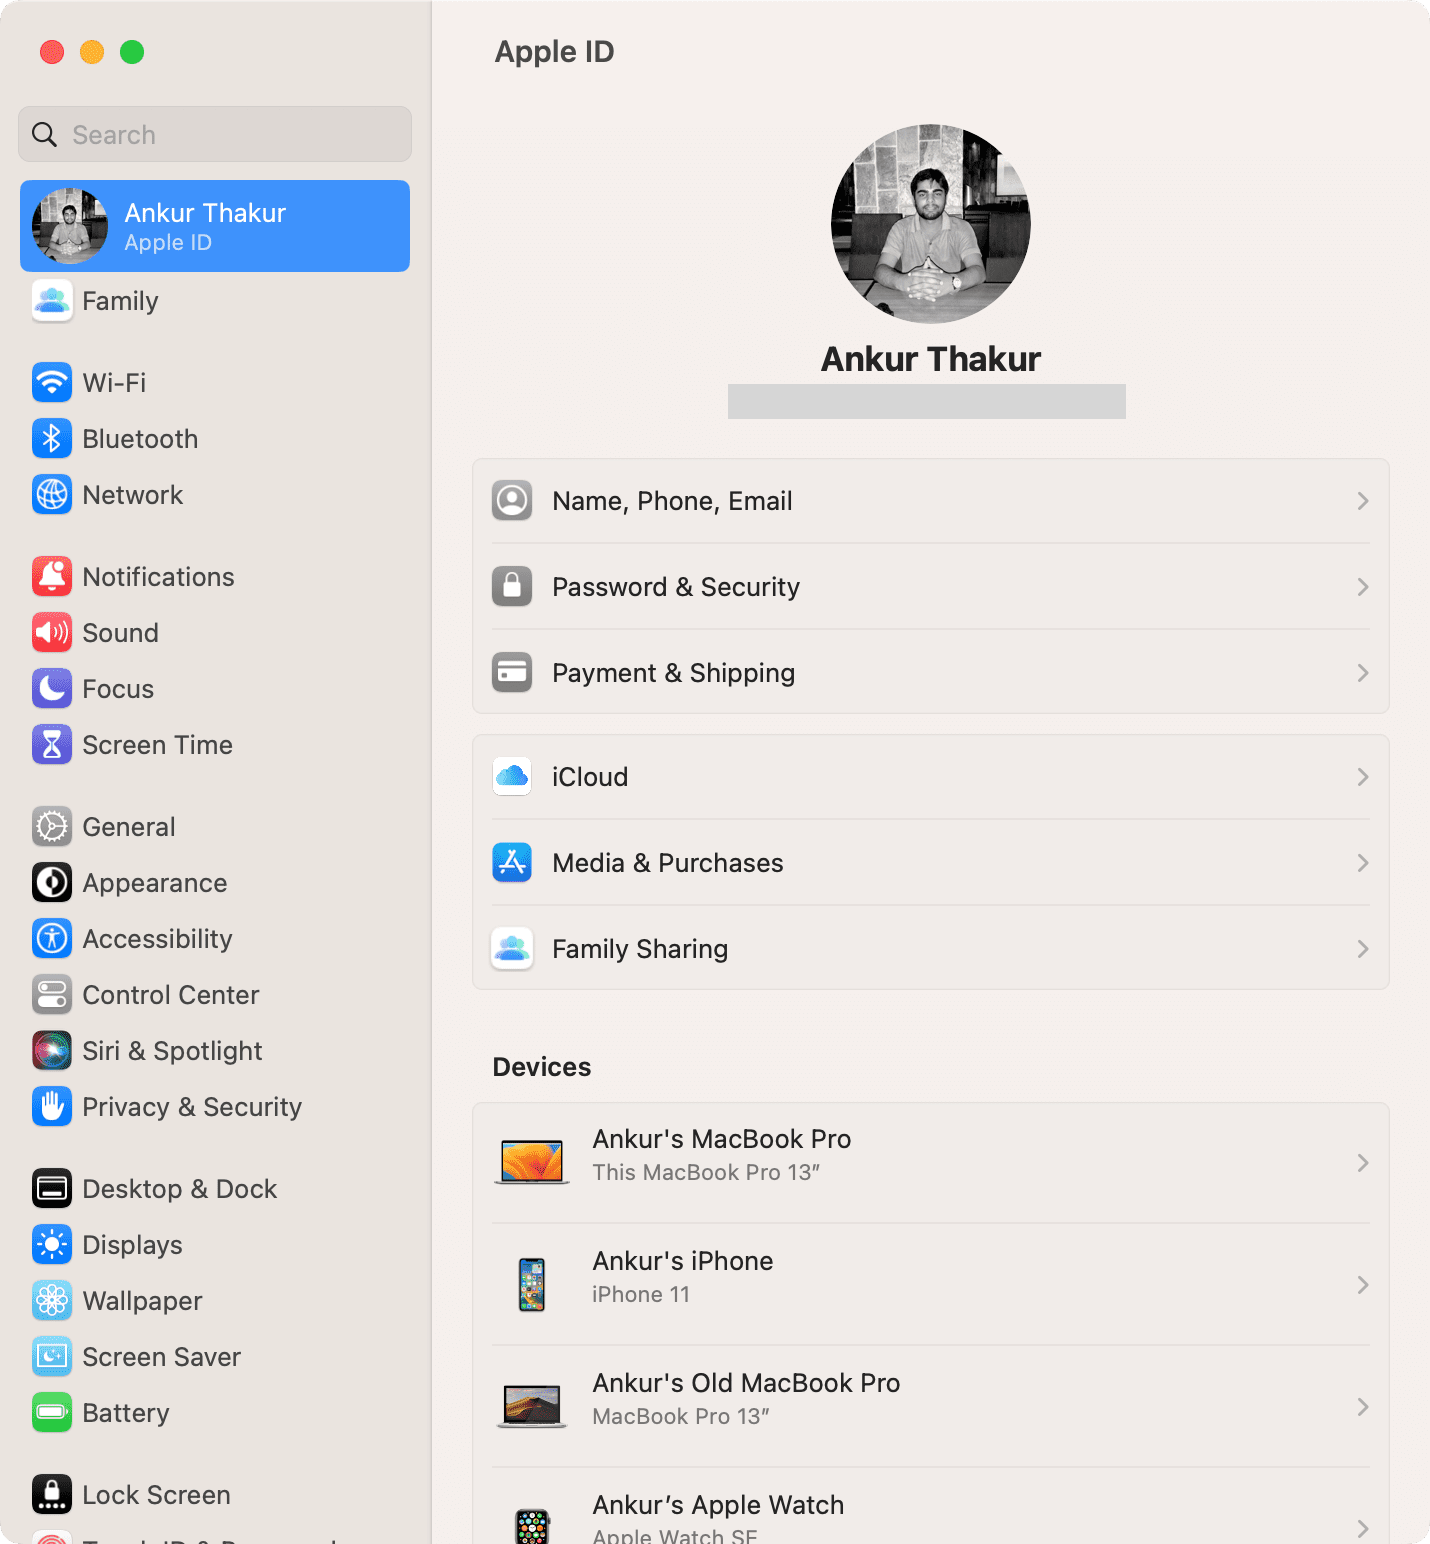
- Mac: System Settings > your Apple Account > Sign-In & Security or Password & Security > Change Password.
Keep your Apple Account details up to date
Your Apple Account has information on file like your phone numbers, emails, shipping & billing addresses, and more. Always keep this information up to date. For example, if you move to another city, make sure to update the home address in your Apple Account using the Settings app on your iPhone and iPad or the System Settings app on a Mac.
Triage apps using your Apple Account
The Sign in with Apple feature hides your email address and instead shares a random, uniquely generated one with an app or a website. If you no longer use some of these apps and services, consider removing your Apple Account from dormant apps.
Sign out of your Apple Account before selling or giving away your device
Before selling, gifting, or giving away your old iPhone or iPad, be sure to sign out of your Apple Account. Doing so will ensure that all iCloud content downloaded to the device, including your contacts, photos, messages, and files, gets cleared from your old device so that the new owner cannot access your private stuff.
Must see: 15 things you must do (and not do) before selling, giving away, or trading your iPhone or iPad
The tips in this article should help you secure your Apple Account and protect your stuff from the prying eyes and hacking attempts. Speaking of security, you’re advised to also secure accounts for the online services and apps you use by turning on two-factor authentication for them.
Finally, periodically review the permissions you gave to apps on your iPhone and use the built-in Safety Check tool to check what you share with others.
You’ll also love: 17 tips to secure your iPhone