Back in 2013, a Strategy Analytics report came out that showed iCloud as the top cloud media service in the US. People use it to store things like music and videos, but they also use it to store more personal stuff like contacts, photos and other data.
So you can see why users were relieved to hear that Apple beefed up its account security by adding a two-step verification option. And for those having trouble getting it setup, we’ve put together this easy-to-follow tutorial.
Enabling two-step verification for Apple products and services
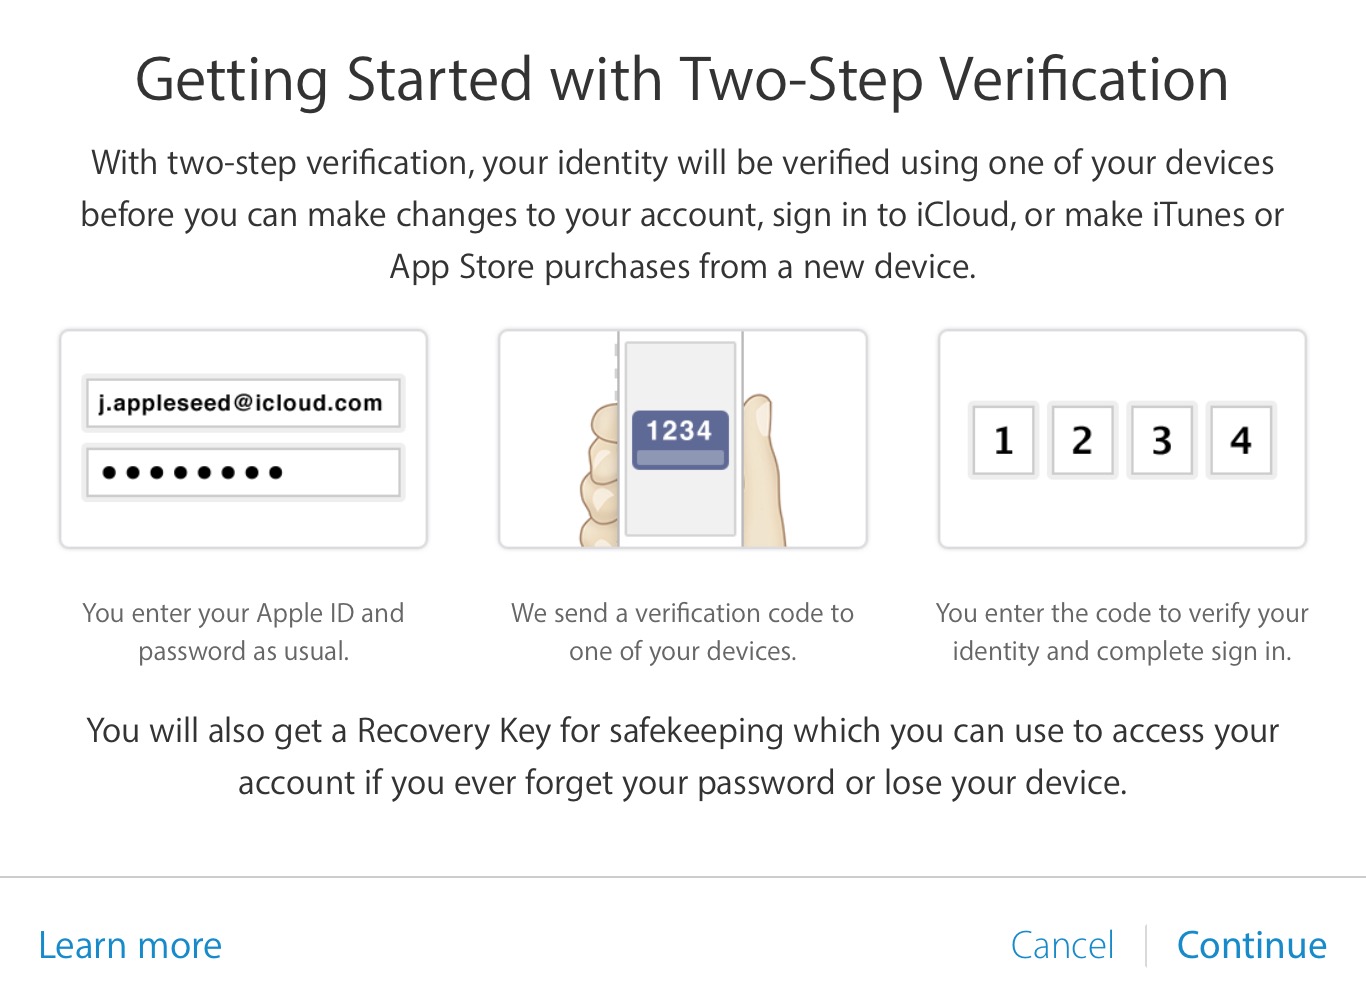
First you might be wondering why you would want to setup two-step verification. And the answer is pretty simple: to make your Apple ID more secure. As it stands now, if someone got ahold of your account password, they could do a lot of damage.
But with the two-step process, anytime your account is accessed from a new computer or device, you’ll be required to verify your identity by either entering in a pin code sent to one of your devices, or via a 14-digit Key before any changes can be made.
So now that we’re clear on what the two-step verification process is, let’s get started:
Step 1: Open up Apple’s My Apple ID landing page (appleid.apple.com) in any compatible web browser and login using your standard Apple credentials.
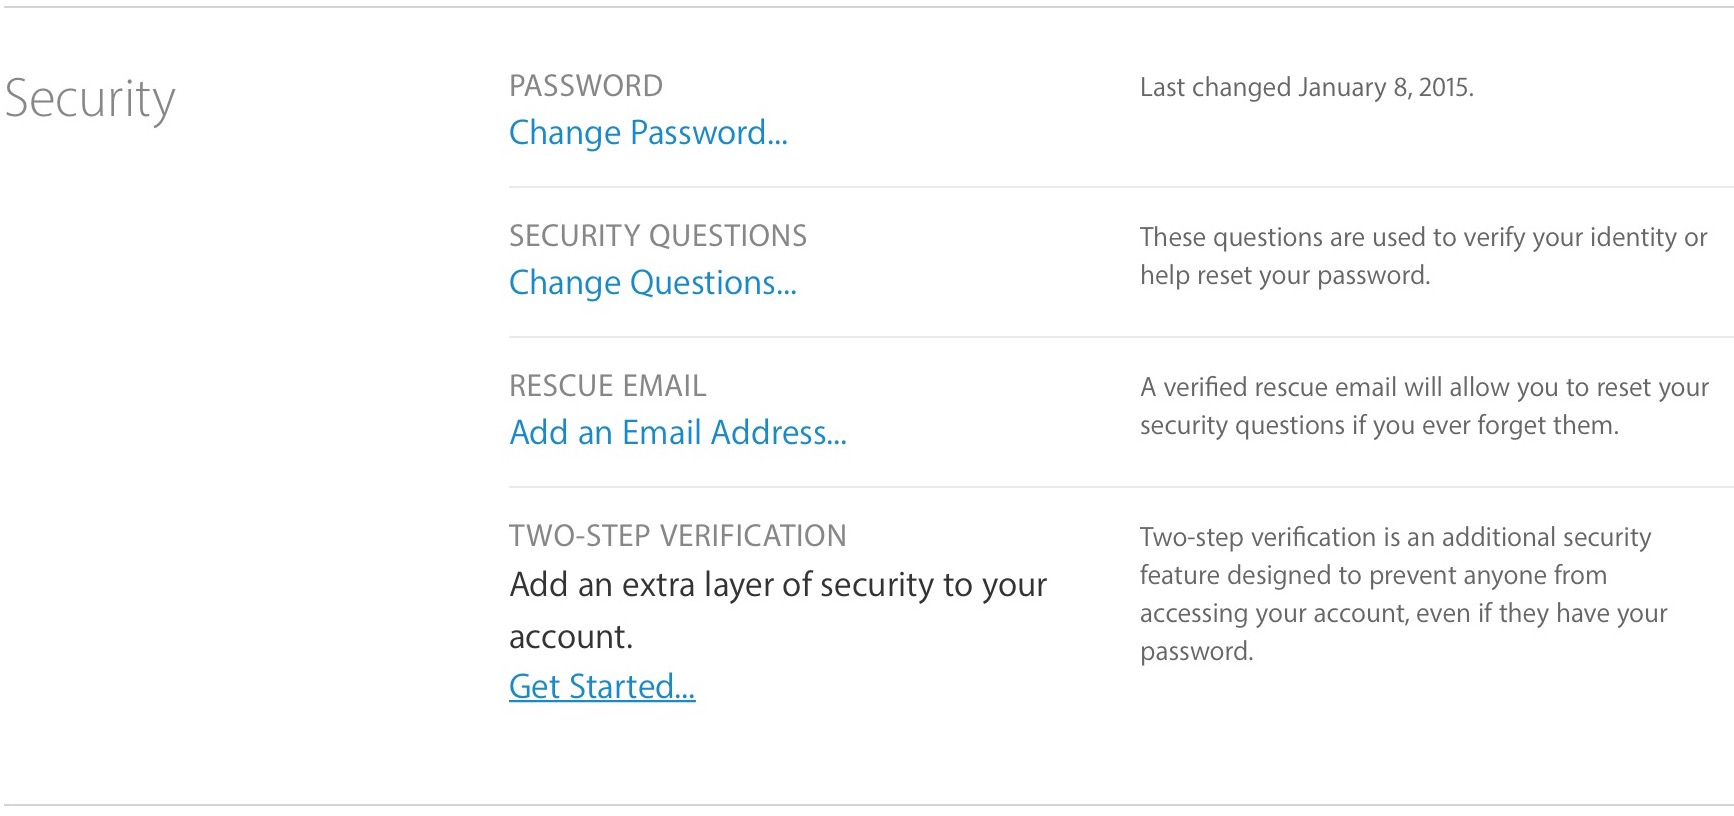
Step 2: Once you’re in, you’ll want to look for the TWO-STEP VERIFICATION option under Security, and click on Get Started…
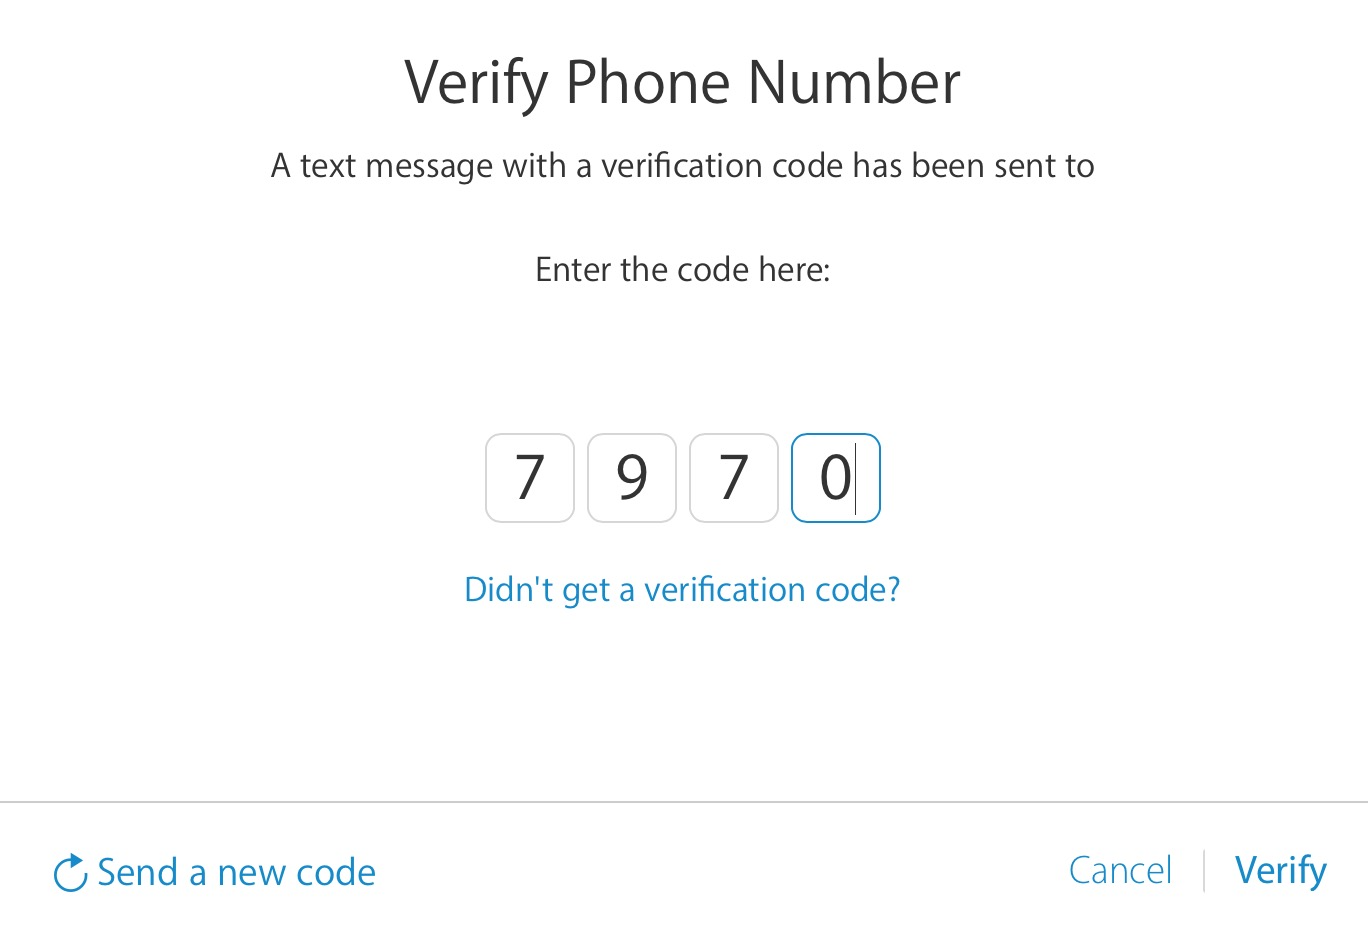
Step 3: You will now be asked to enter a trusted phone number. Typically, you’d want to use your iPhone phone number here. Once you have entered your phone number, Apple will send you a security code via text message to verify your phone number. Enter that 4 digit security code and click on Verify.
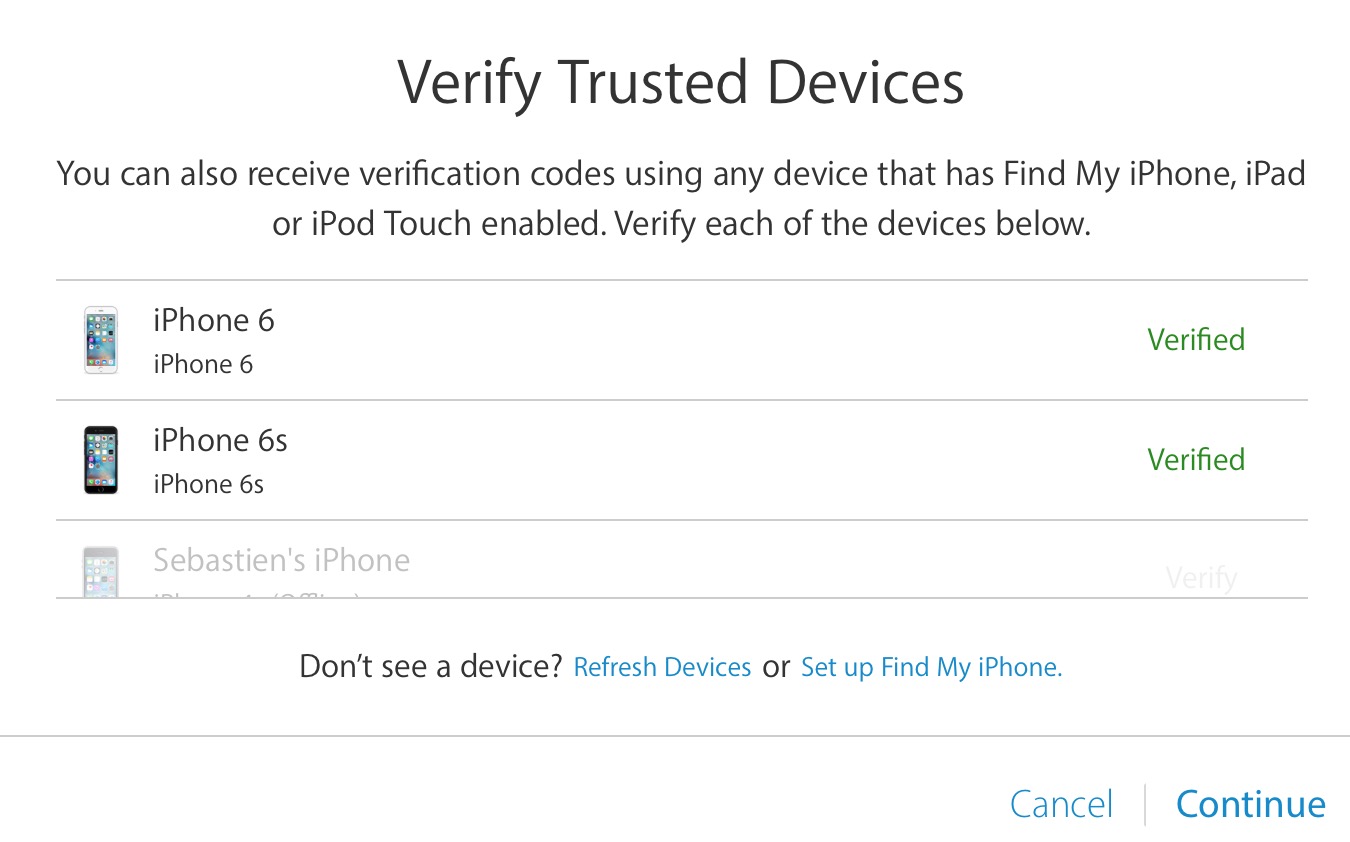
Step 4: The next page should list all of your devices that have access to your iCloud account. Here you can add trusted devices, meaning devices that you own and have access to. These devices could be sent verification codes in the future in order to verify your identity. Tapping the ‘Verify’ option next to a device will push out a 4-digit pin to it via an SMS or push notification. Just like you did in Step 3 above, you’ll then enter the code on the website, and repeat this process for all devices you wish to verify.
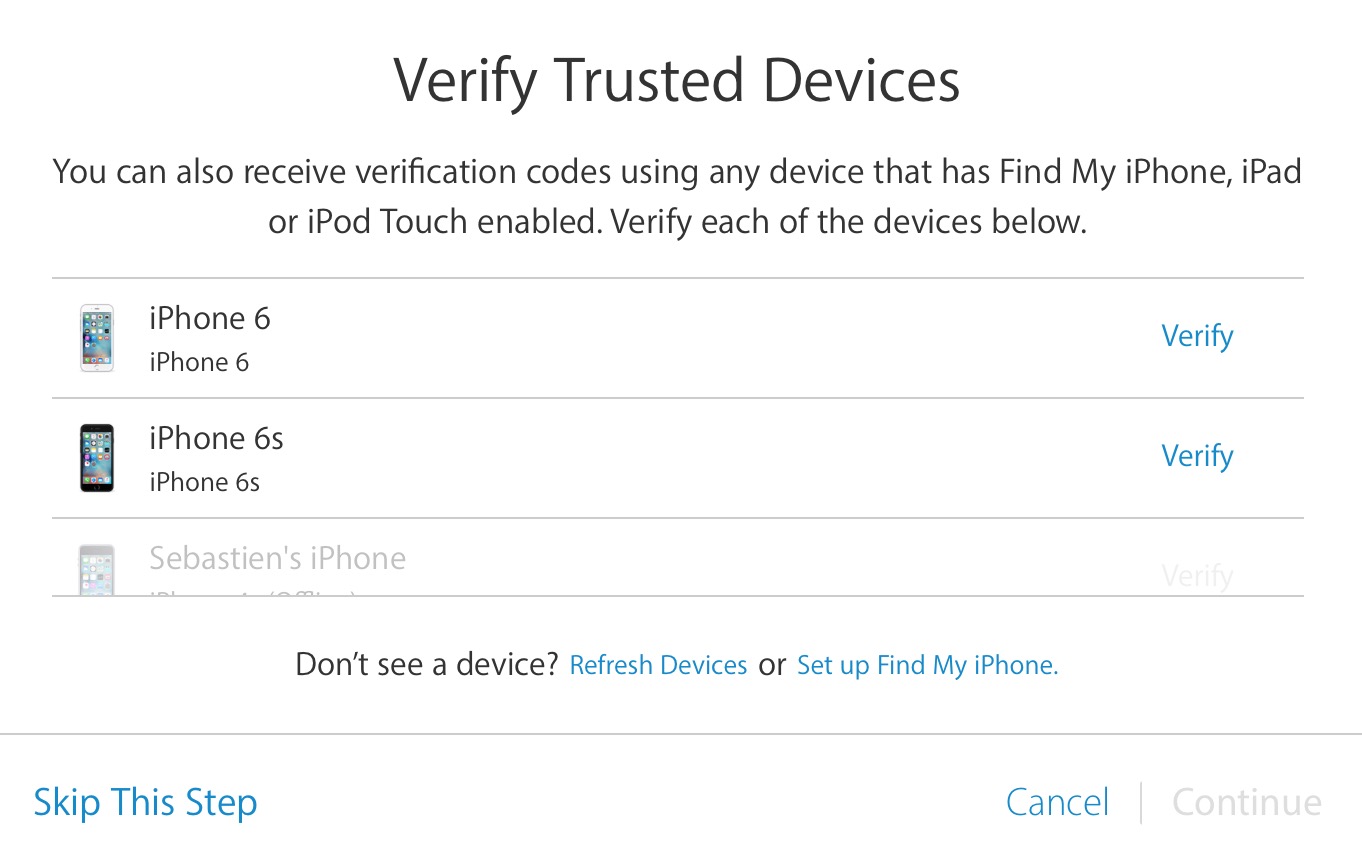
Once you’re done verifying your devices, they should show with a green Verified label, as seen below. Click continue to move forward.
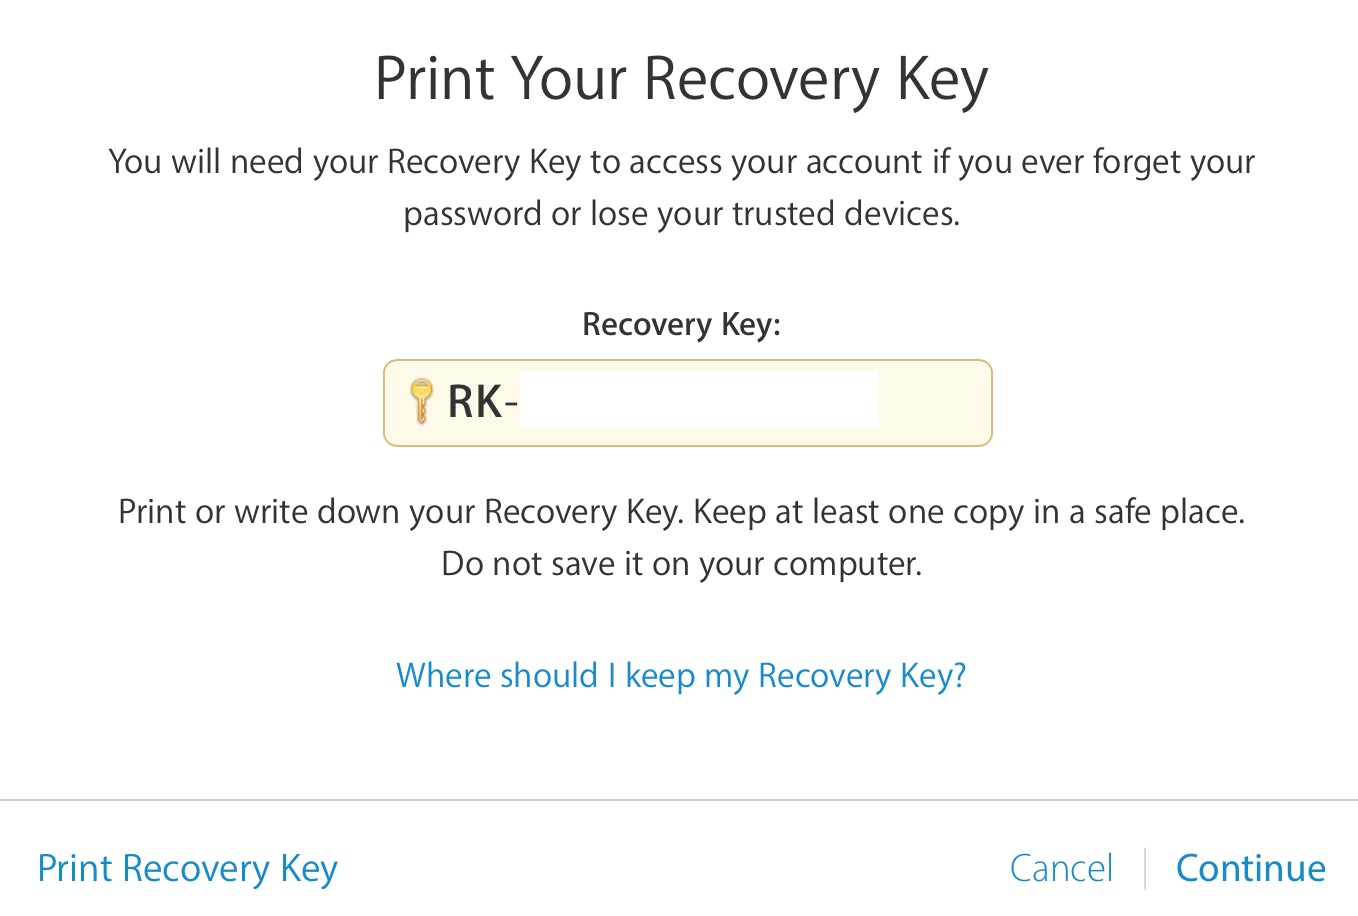
Step 5: Now you’ll be given a 14-digit Recovery Key, which you must be sure to save somewhere. Apple suggests you print or write it down.
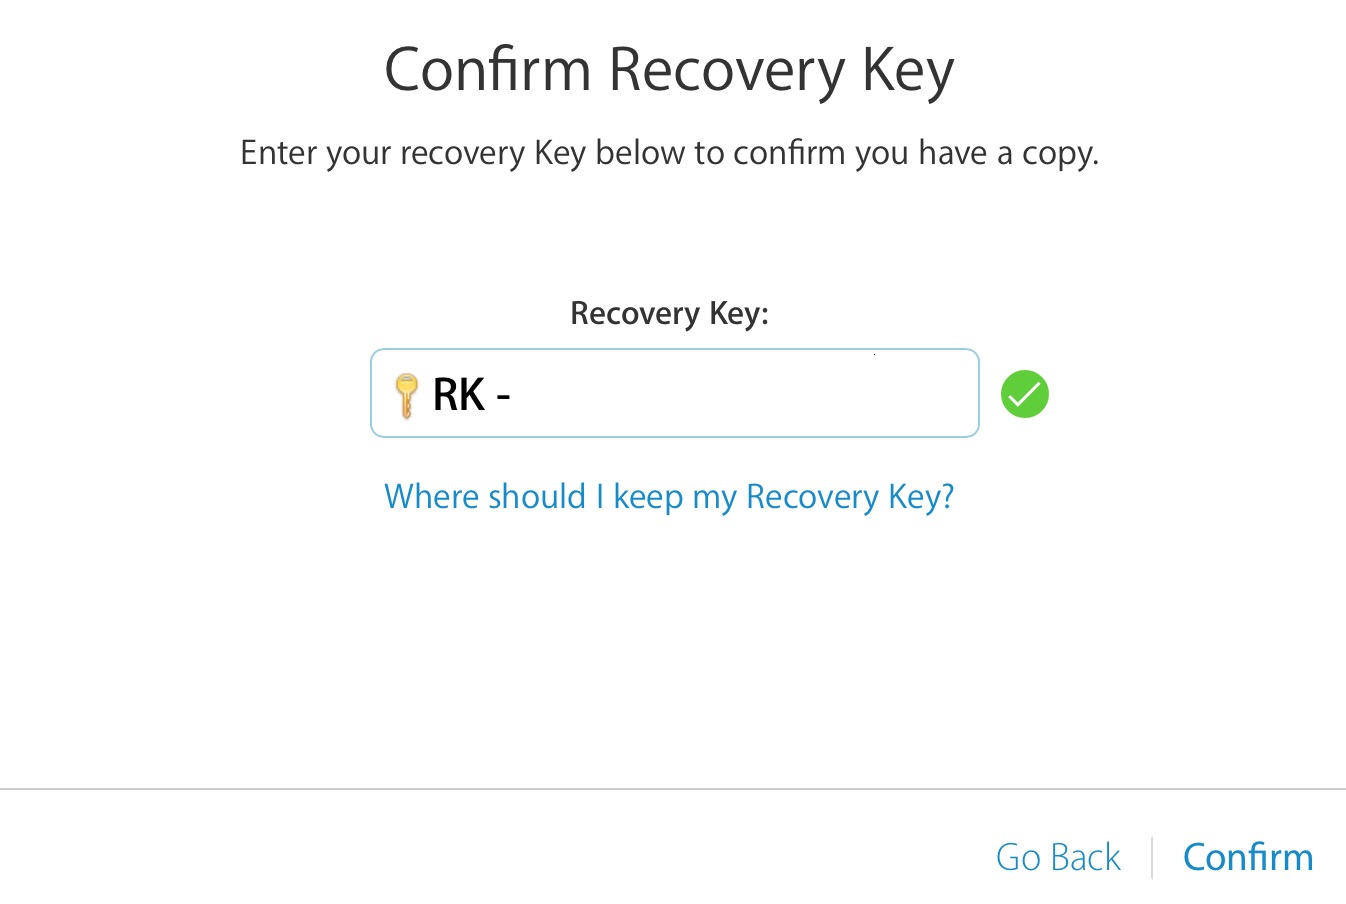
Step 6: You’ll be asked to confirm your Recovery Key, just to make sure you indeed have a copy of it. Remember that if you ever lose this key, and can’t remember your password, it’s very possible that you could be locked out of your account forever.
Step 7: Finally, you’ll be asked to confirm that you’ve read and understood the conditions—and risks— of the two-step process.
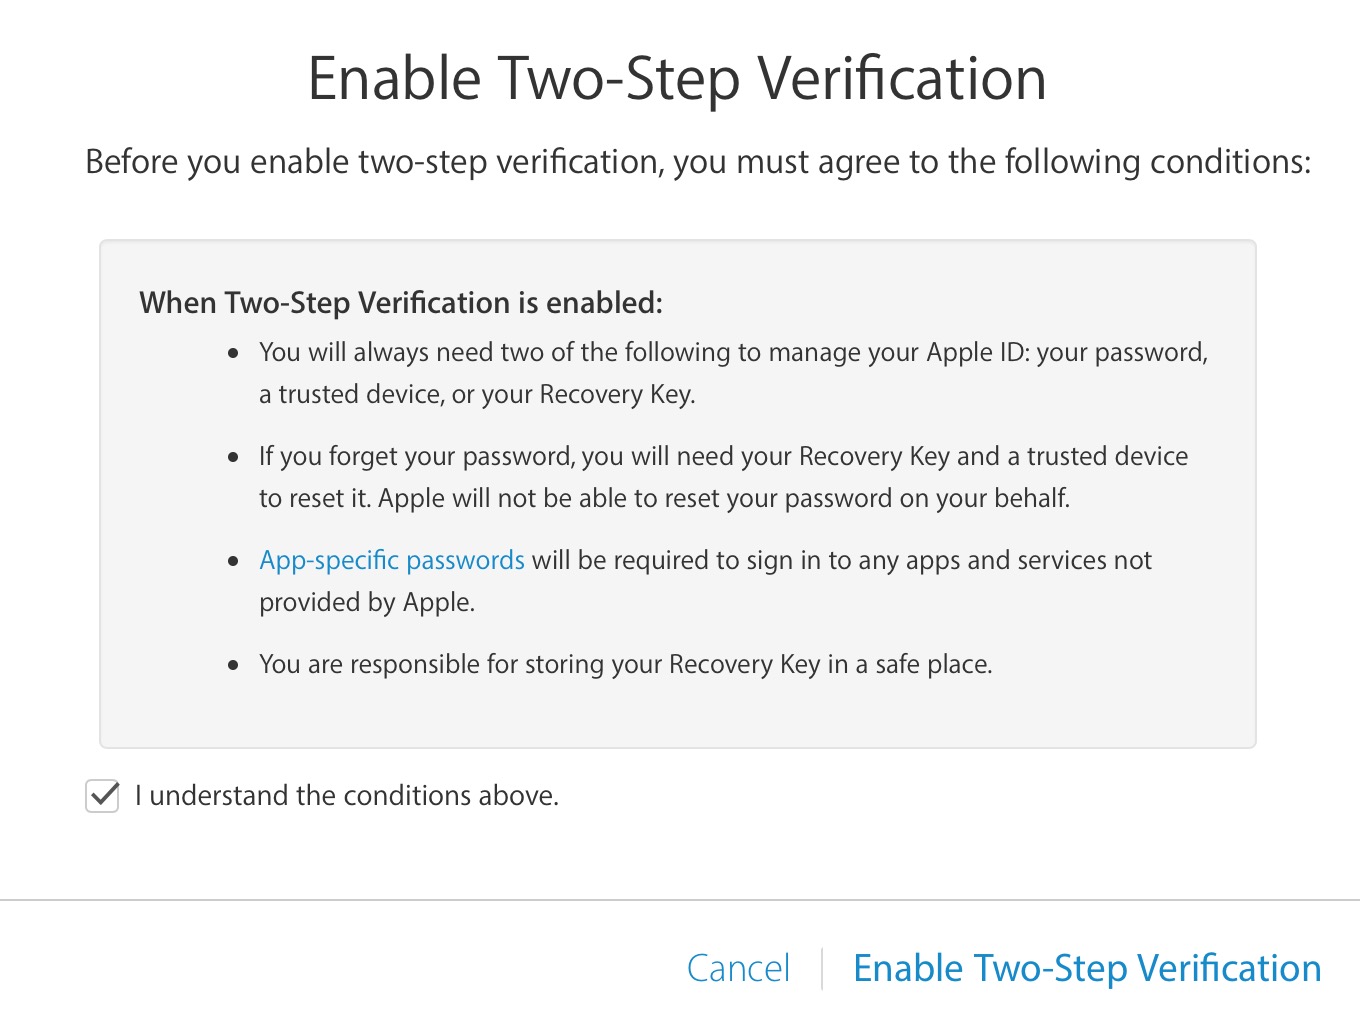
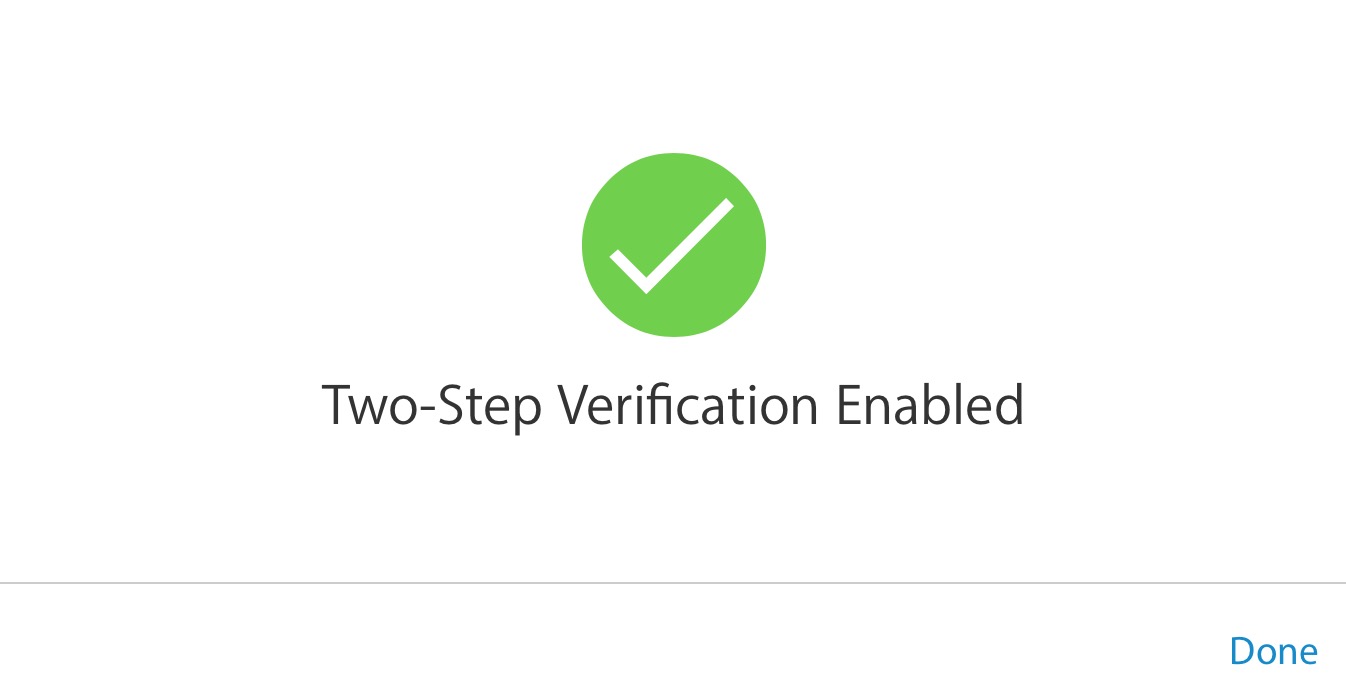
Once you’ve checked the ‘I understand’ box, you can click on ‘Enable Two-Step Verification.’ You’ll then get a confirmation screen saying that it’s been enabled, and the setup process is complete!
Now, I know all of this sounds like a pain. But honestly, it’s not too bad. And with the recent uptick in hacking, we probably need as much security as we can get.
Any questions?