This troubleshooting guide explains the reasons your Mac might feel slow, and explores potential solutions to help restore its speed and performance.
There are many reasons your Mac might slow down over time. Below, we’ll outline some common causes and potential fixes.
Are apps using too much memory?
All new Macs come with at least 16 GB of memory (RAM) as standard. There was a time when 4 GB or 8 GB would be enough, but as apps grow larger and more feature-rich, their system resource demands also increase. If you’re running several memory-intensive apps at once, your Mac has to juggle more tasks simultaneously, which can slow it down.
In some cases, apps may crash if they can’t read data from memory, but more often, excess memory data is temporarily stored in your storage. Since storage has a slower read/write speed than memory, this can lead to slower access times and a noticeable drop in speed.
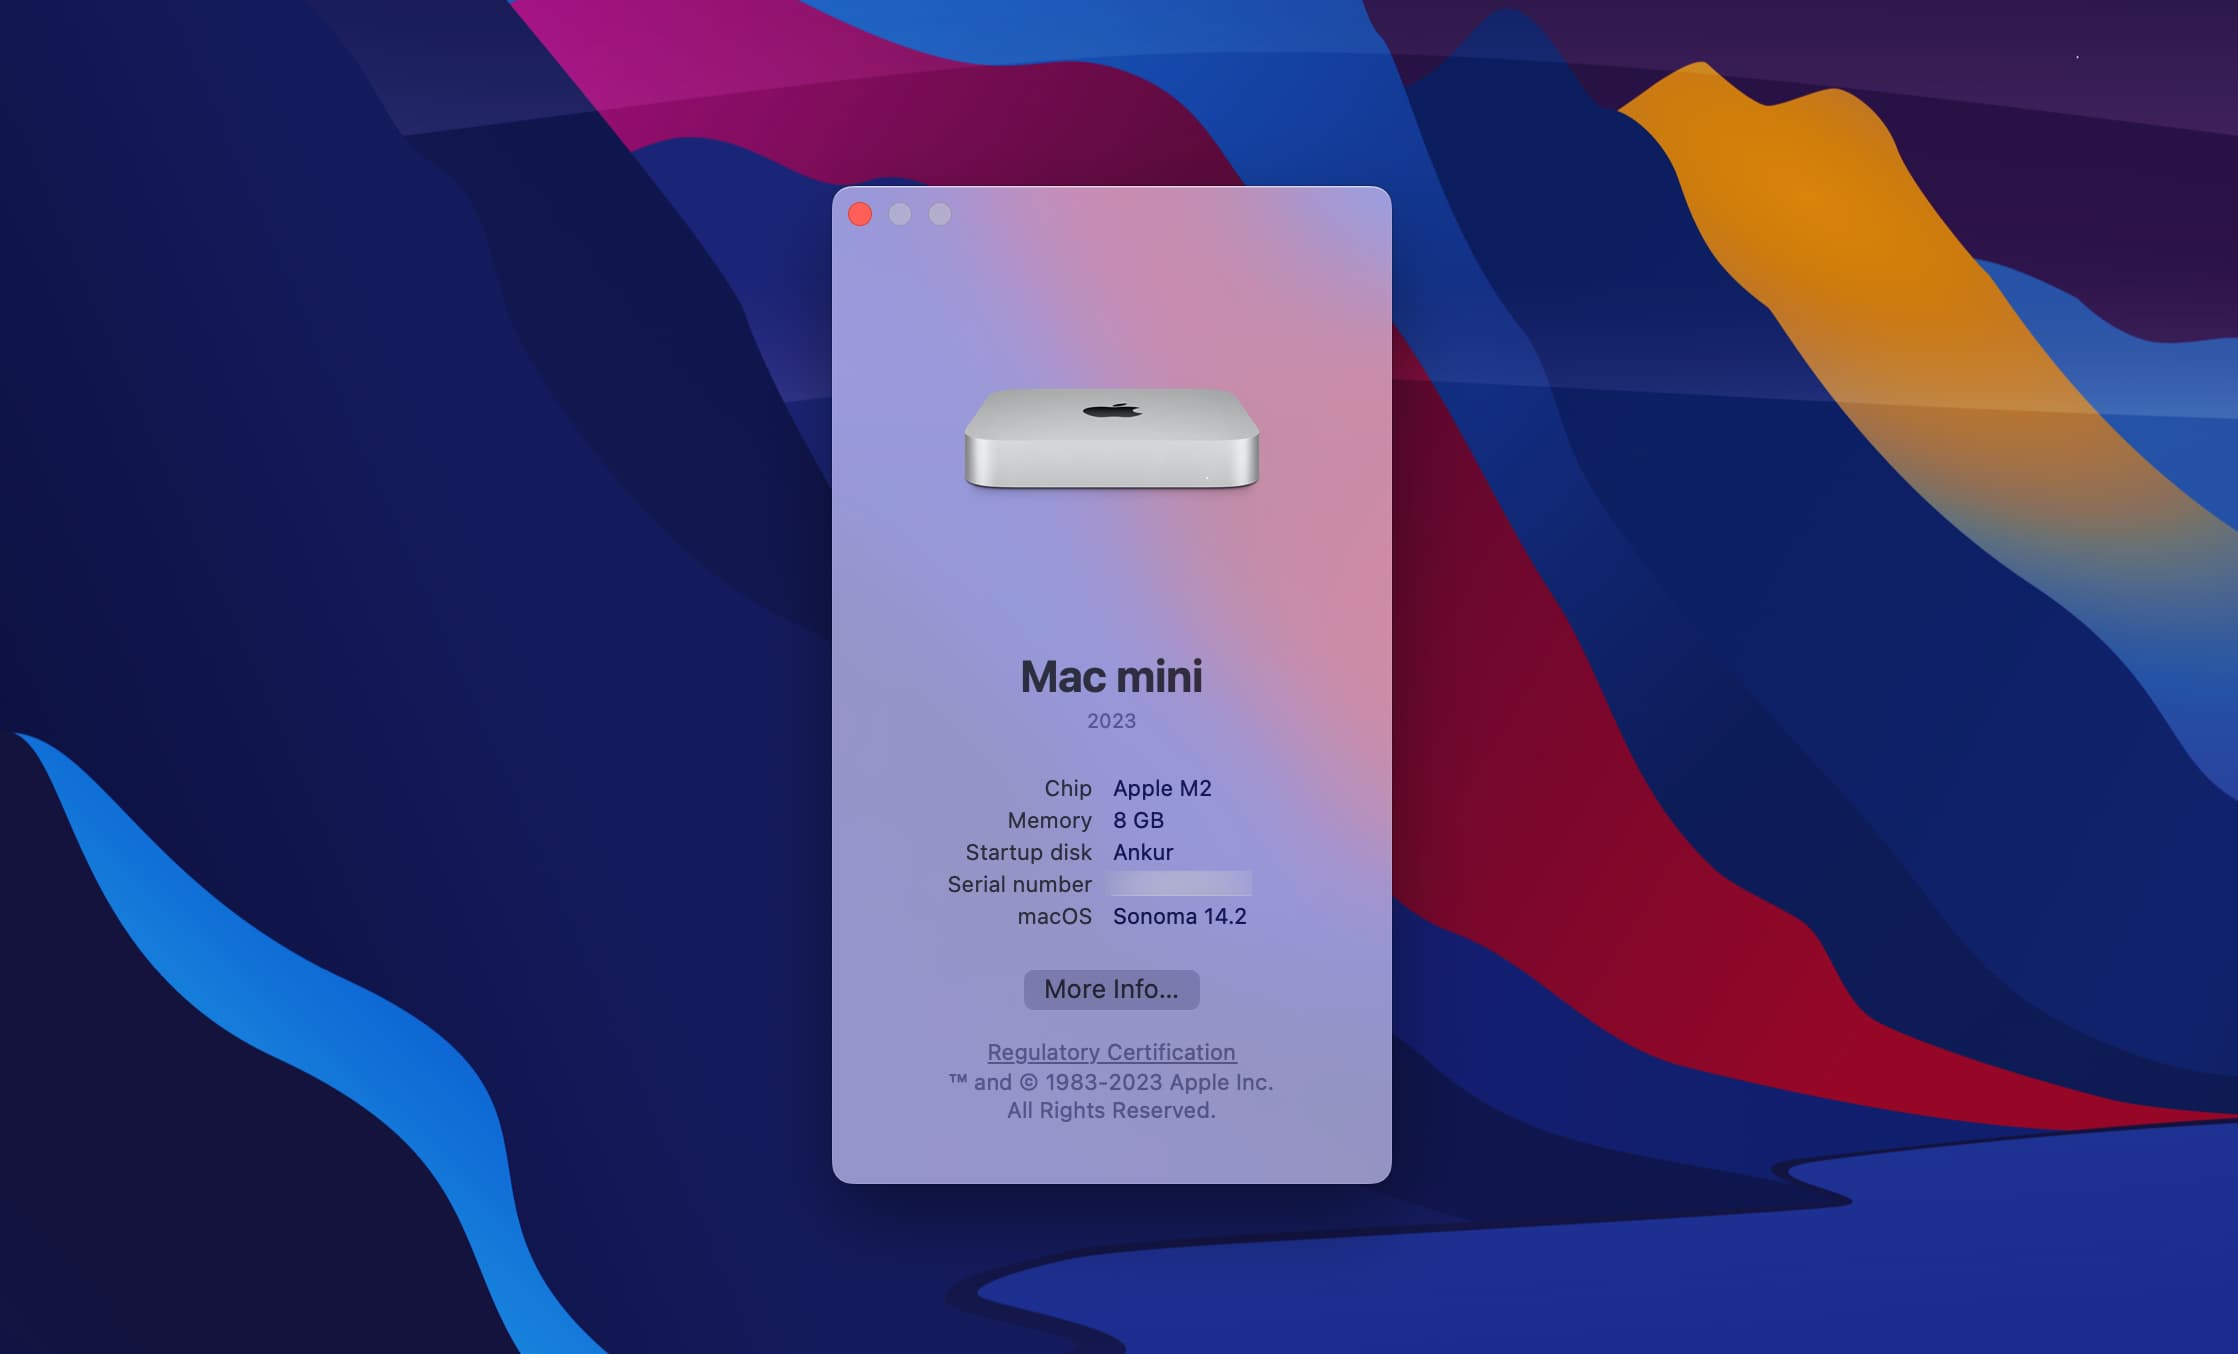
Solution: To solve this problem, you’ll either need to upgrade your RAM or find a lightweight alternative software. To check how much RAM you have on your Mac, click the Apple icon , then select About this Mac. The window that opens will show you how much memory your system has.
Old Macs used to have upgradeable RAM, but current Apple notebooks don’t. So, if your RAM is soldered into your machine, your best option is to find lightweight software alternatives. For example, try using Pixelmator instead of Photoshop or iMovie instead of Premiere Pro. Software with less of a demand on system resources will give your Mac more room to breathe and, therefore, give it more speed.
Similarly, if you have numerous browser tabs and windows open, close the ones you don’t need. This will free up system resources, making your computer snappier.
Is there enough free space on your startup disk?
Your startup disk might be the culprit behind your slow Mac woes. As files accumulate—including cache files, personal files, apps, and games—your Mac has less and less space to write to. It’ll have to spend time repeatedly replacing temporary files with new ones.
As you can imagine, constantly overwriting cache files means there’s no cache to load from, so apps always have to load in their entirety. This leads to slower performance. However, when you have a cache to load from, app and website data is already stored, making it much faster to open and use apps or websites.
Solution: If you suspect your startup disk is getting full, you can verify the amount of free space you have by clicking the Apple icon > About This Mac > More Info > Storage and looking at the available free space on the drive you boot up from.
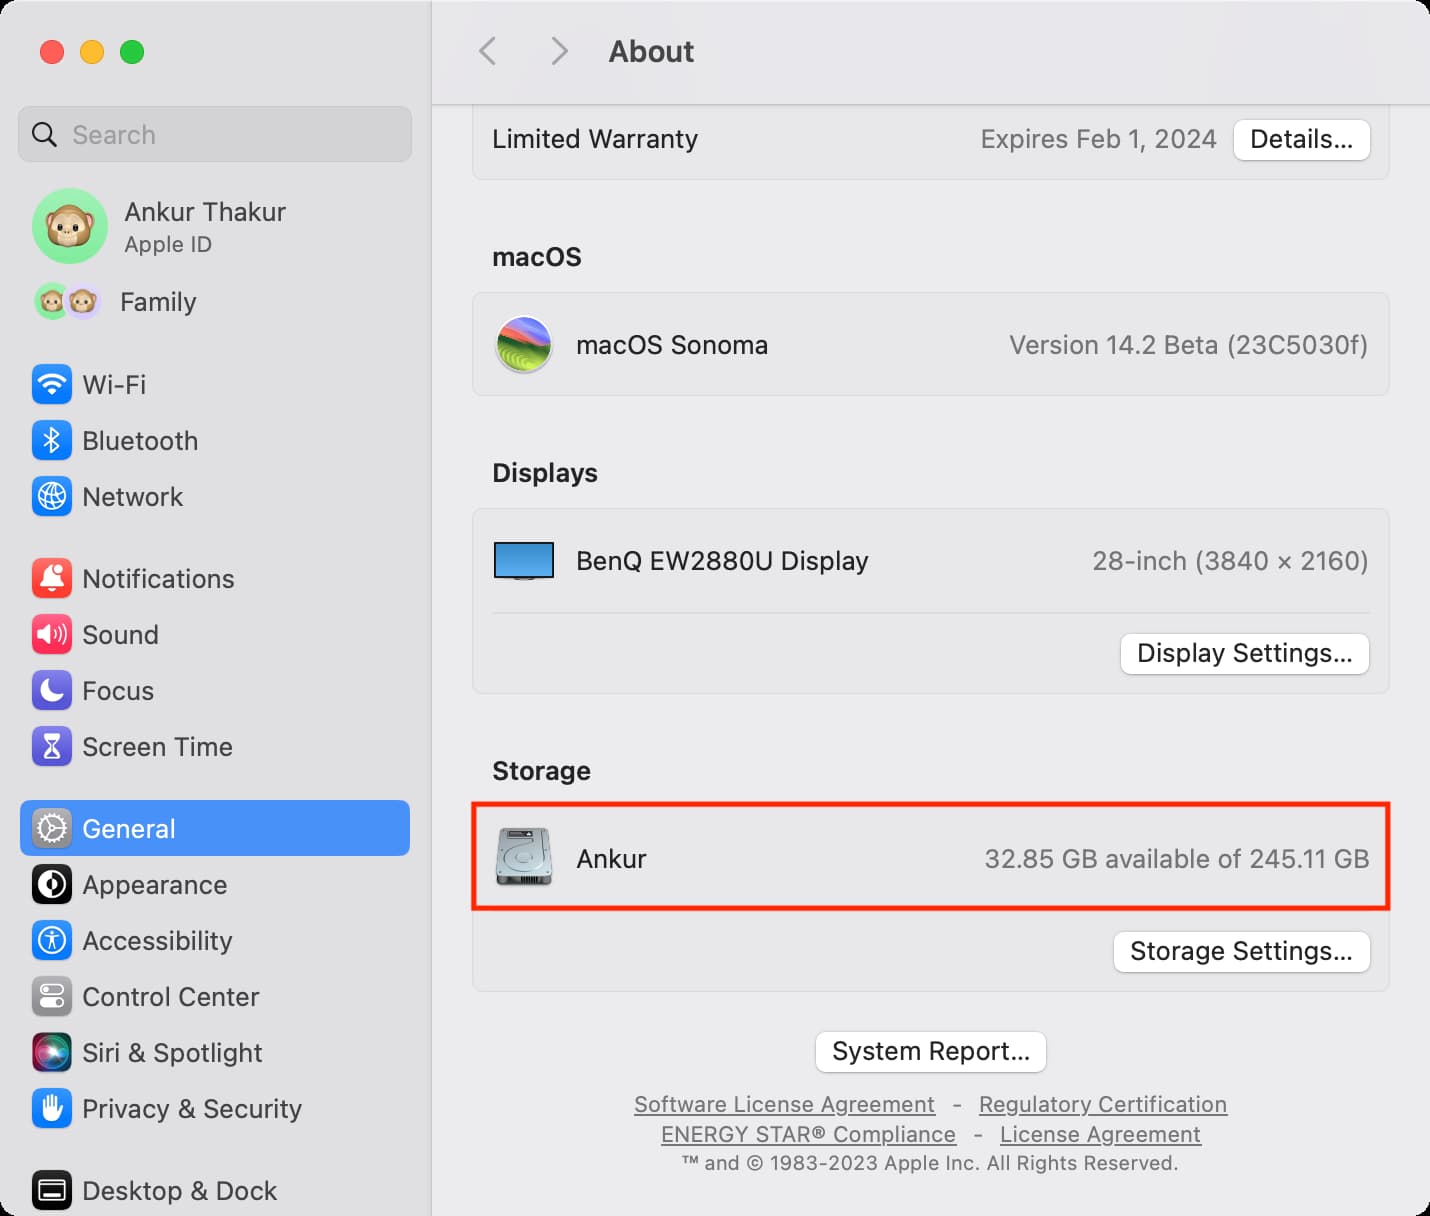
If you have more than 20 GB of free disk space, you’re probably good for a while. Anything less than that, and you might want to take steps to free space on your Mac. Empty the trash when you have a lot of stuff in it, remove unwanted cache files, and cleanly uninstall unwanted apps to make more space for yourself. Your computer will thank you!
Is your disk experiencing issues?
In some cases, the problem might not be related to storage on your main drive, but rather the drive’s health. Sometimes, things can get scattered throughout the drive, causing longer waiting times for the computer to access and interpret information. This is more common with hard disk drives than solid-state drives.
Solution: macOS comes with a handy utility called Disk Utility, which has the useful First Aid option that allows you to troubleshoot errors and problems with any disk on your machine.
To use it, launch the Disk Utility app on your Mac, click the “First Aid“button at the top, and run the tool to fix any disk problems. Give it a while as it does its thing, then restart your Mac and hope for the best!

Are all your apps made for your Mac?
In some cases, apps that haven’t been optimized for your Mac’s hardware or operating system version can cause speed issues. This can include apps made for Intel Macs that don’t have an Apple silicon version. Other times, software may require hardware that your Mac just doesn’t have, whether that’s more RAM, a stronger graphics card, or a faster processor.
Solution: Check the website of an app that you suspect is slowing down your computer. Oftentimes, reputable software makers like Adobe or Microsoft will show system requirements for their apps.
If your Mac doesn’t meet those requirements, the installer typically won’t allow you to proceed with the installation. However, sometimes it skips that check and installs anyway. In that case, the app will look for certain hardware and won’t find it, so it will try to improvise, which isn’t always ideal.
If your Mac doesn’t have the necessary hardware, that could very well be the reason you’re seeing slowed performance. You’ll need to either upgrade the hardware if possible, get a newer Mac, or consider alternative software.
Other things to try
In addition to the bigger problems above, there are some smaller things you can look into to find out why your Mac is running slower. We’ll quickly outline those for you below.
Quit apps you don’t need
Apps that run in the background that you don’t need running are going to waste system resources. Quit apps you don’t need (don’t just close the window). It will free up some of your Mac’s system resources, giving other running apps more room to breathe and making them run faster.
Restart your Mac regularly
Turning off your computer at least every few days can help keep it free of temporary files and improve the overall performance.
Force Mac’s RAM and cache-cleaning processes
In some cases, a reboot may fail to clear the RAM and disk caches, but that’s what Terminal is for. Execute the purge command by typing the following command into the Terminal window, then hit Enter to run it:
sudo purge
You may be asked to enter the password for your Mac account.
Clearing the RAM and disk cache contents should take no longer than a few seconds unless your Mac is running really low on memory and storage space. You won’t see a confirmation message when the operation is complete.
The command line method is especially convenient if you don’t want to interrupt important work by restarting the machine. Just open the Terminal app and execute the command to give your Mac a boost without restarting.
Check for app updates
Sometimes, developers release updates for their apps that fix memory leaks and other bugs. These bugs are often directly related to speed and performance, so keeping apps up to date is a great way to prevent unwanted performance issues on your Mac.
Reduce login items
Many apps can sort of trick you into launching automatically at startup. Head to System Settings > General > Login Items & Extensions and stop unneeded apps from auto-launching on every boot.
Troubleshoot common software issues
Software isn’t perfect. There’s a reason developers have to release updates every so often. You can follow our extensive guide on troubleshooting software on your Mac to see if it helps you to solve a problem with a specific app being slow or not working correctly.
Check Activity Monitor
If your Mac is suddenly running really slowly, check Activity Monitor to see what apps are using most of your CPU and memory. Any apps that are using too much need to be killed, or in some cases, you may need to Force Quit apps that aren’t responding.
Clean your Mac of malware
Malware happens, even on Macs. If you download rogue software and give it your administrator password, you could open a door for third-party software to run in the background and hog your system resources. Consider running some kind of malware protection software on your Mac if you’re not already.
Reset stuff
Two parts of your Mac that are directly and indirectly related to both hardware and software are your SMC and NVRAM. You can try resetting them on your Mac to see if they help with performance. Chances are, this option probably won’t do anything, but then again, you never really know why your Mac is performing badly until you troubleshoot.
Restore your Mac
Try formatting your Mac to factory settings and starting over from scratch. Sure, this option may take a little longer, but it’ll feel like you have a brand-new Mac that you just bought from the store again when you’re all finished! Alternatively, you can also do a fresh macOS install without losing data.
Upgrade to an SSD
If your Mac is running on a slow 5400 RPM hard disk drive, you’ll experience slower performance compared to many modern Macs that use solid-state flash storage, Fusion drives, or 7200 RPM hard drives. You might want to consider upgrading to complete solid-state storage as prices continue to drop.
A slowed-down Mac is never fun to use. Hopefully, at least one of the steps above has helped speed up your Mac just a little bit.
Related tips: