Learn how to remove the depth-of-field and background blur effects from portrait mode photos or adjust their intensity on iPhone or iPad.
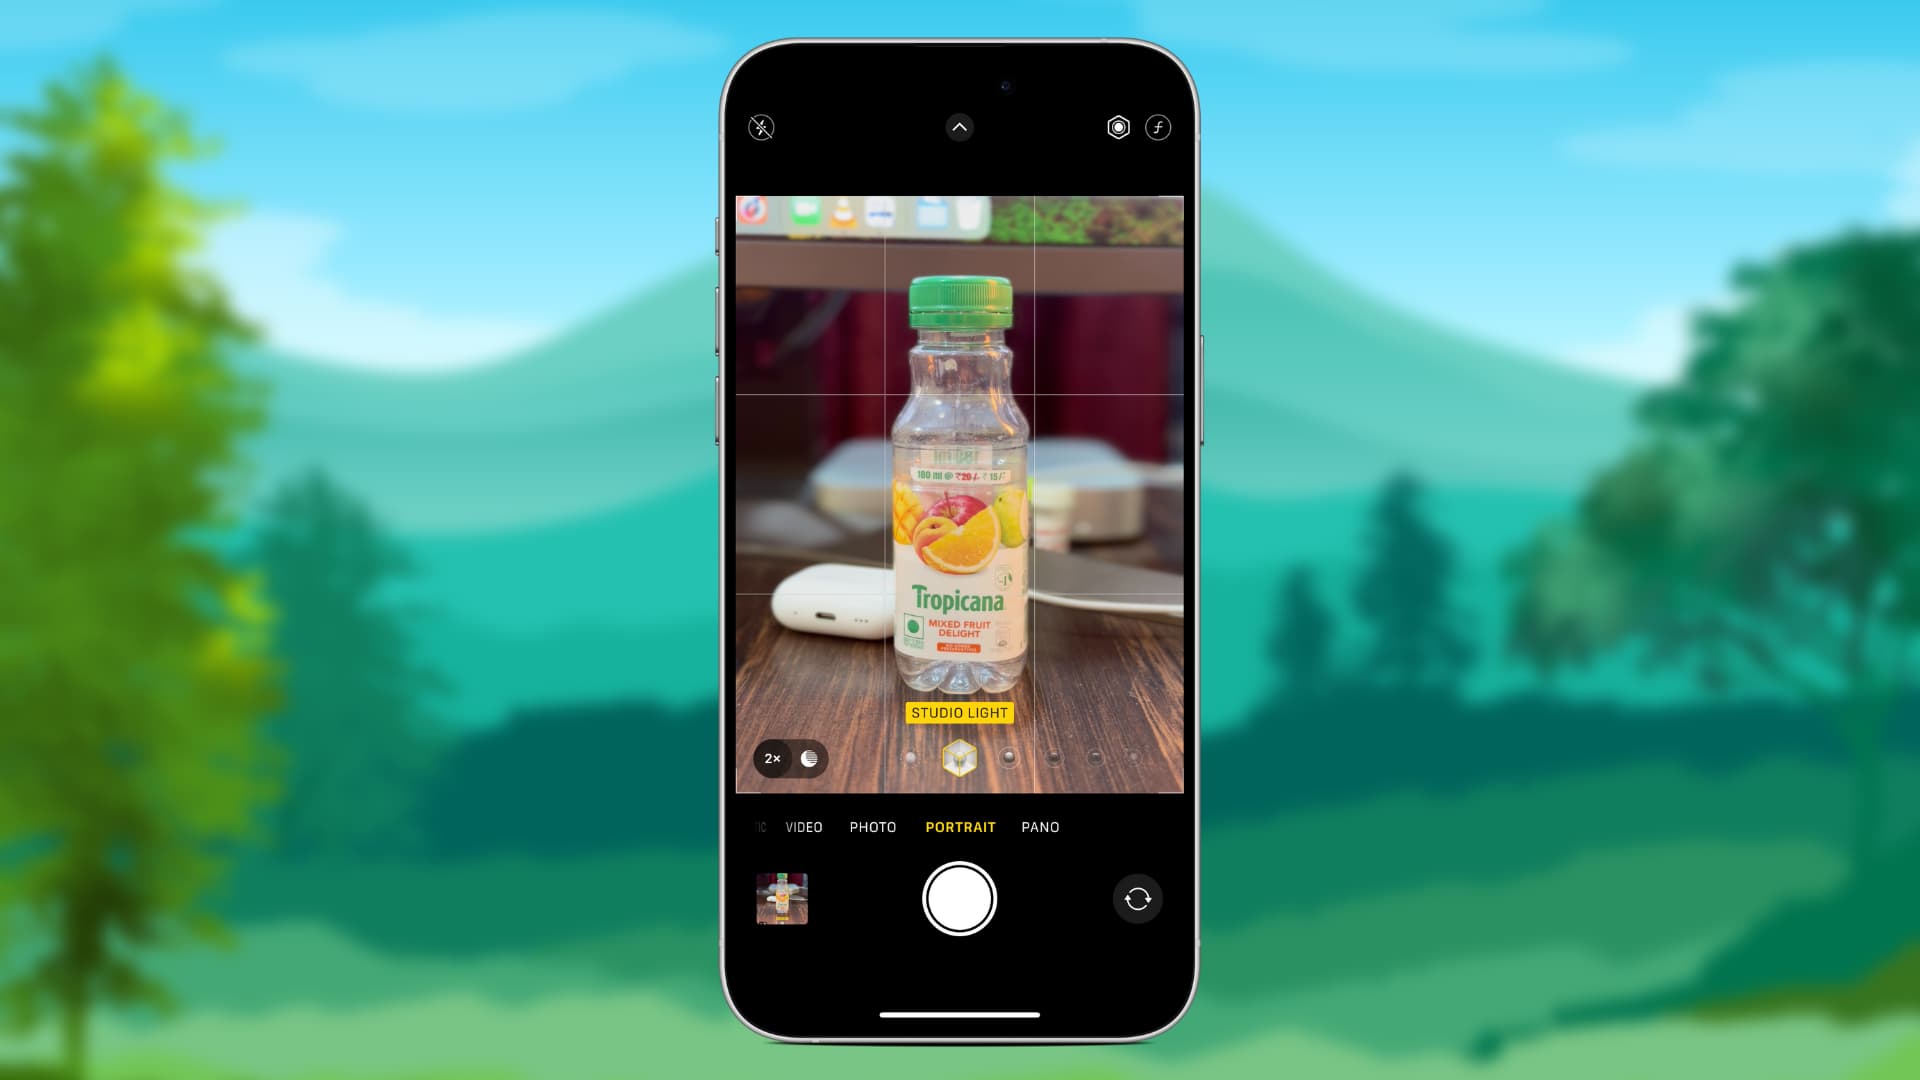
Portrait photography, which debuted on iPhone 7 Plus, looks pretty cool when the subject, background, and ambient lighting are right. To take these photos, all you need to do is go to the iPhone or iPad Camera app, swipe to PORTRAIT mode, adjust your shot, and capture it. The feature automatically creates the depth of field effect that keeps your subject sharp whilst blurring the background.
However, there can be ample situations where the final picture you take in portrait mode does not look good. In these situations, you can remove the depth-of-field effect from the picture and go back to it being a standard photo.
Related: 5 pro tips to change the background blur of photos on iPhone
Remove background blur from your iPhone photos
- Open the Photos app on your iPhone or iPad.
- Find the picture with the portrait effect and tap it. You can go to the Collections tab of the Photos app and select Portrait under the Media Types heading to see all your DSLR-style pictures in one spot.
- Tap the PORTRAIT button from the top left and select Portrait Off to remove the background blur effect.

In addition to the above steps, you can also follow these steps to remove or adjust the background blur:
- Open the photo on your iPhone or iPad and tap the edit icon.
- Tap the yellow PORTRAIT button from the top to remove the background blur altogether. Or use the depth effect slider in the Portrait section to adjust it accordingly.

Check out next: