Learn why one AirPod battery is dying faster than the other and how to fix uneven battery drain between the left and right earbuds to get equal listening time.
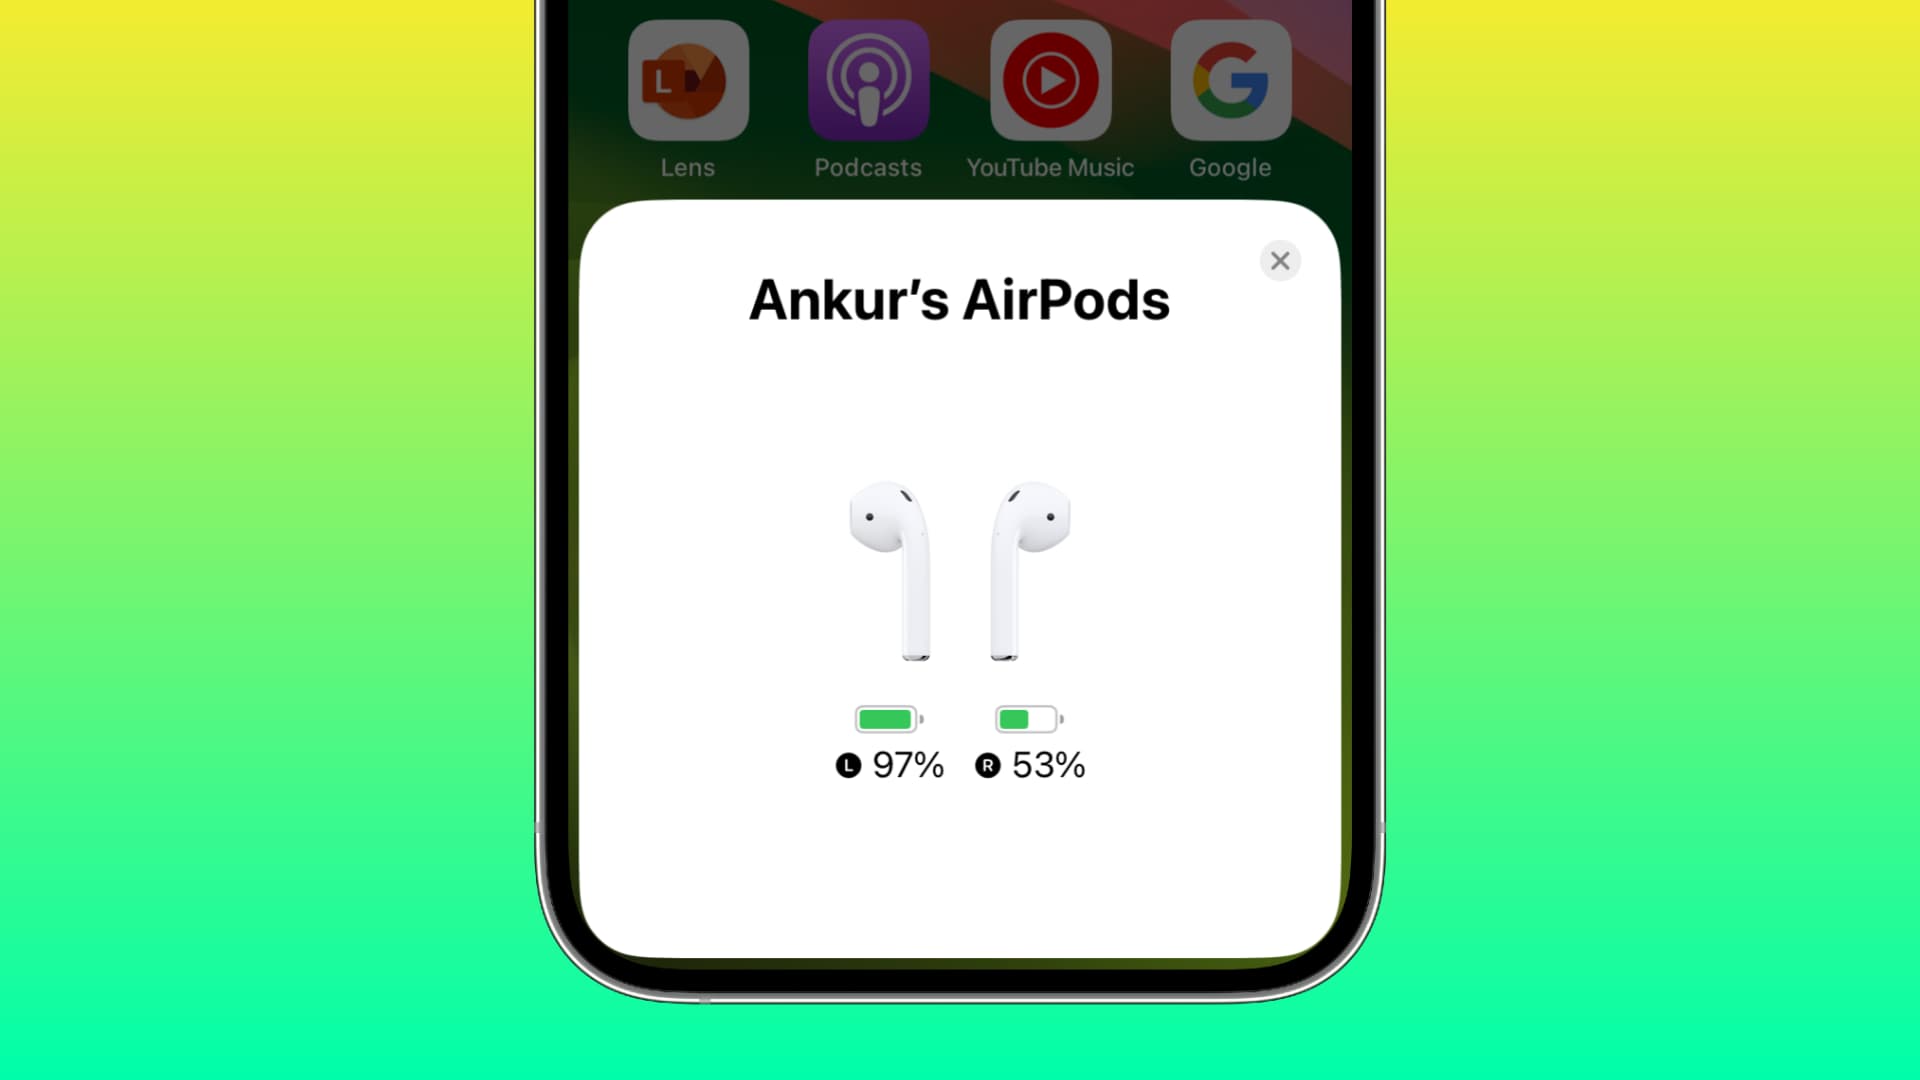
Do you use one AirPod at a time?
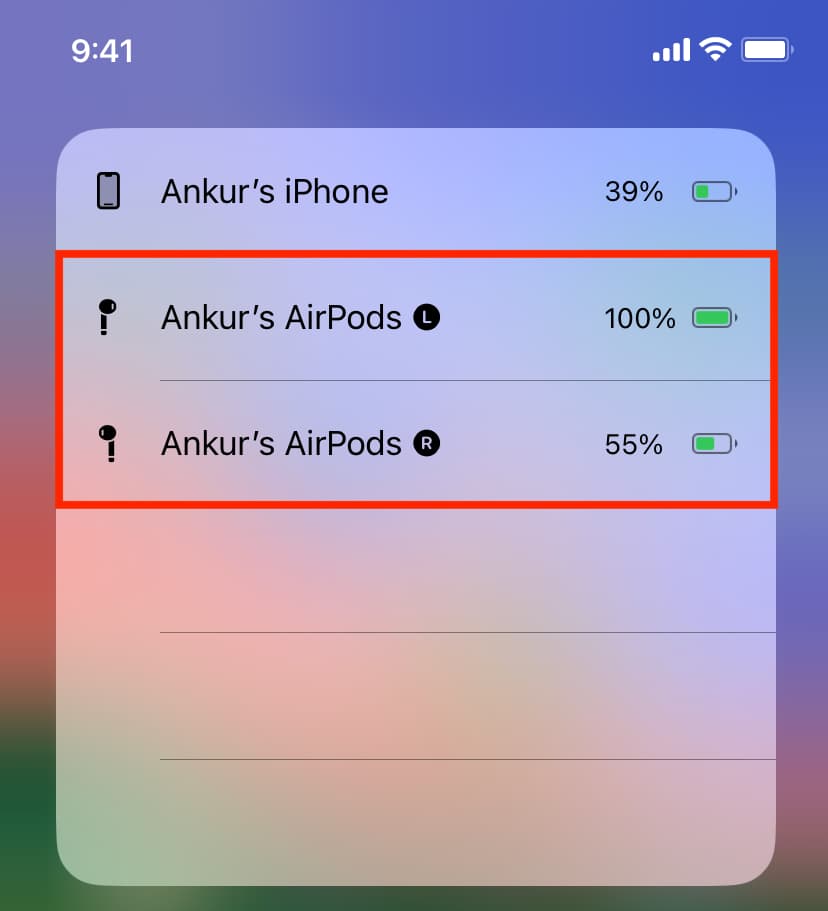
Using one AirPod at a time will cause its battery to discharge faster than the inactive AirPod’s. Do this long enough, and the battery will lose its ability to hold 100% charge. After a few months, you’ll notice one AirPod discharges much faster than the other when used as a pair.
If that’s your case, we recommend rotating buds. For instance, if you use a left AirPod for an hour or until it discharges, do the same with the other one. Doing so will balance your AirPods usage, and your ears won’t suffer from uneven air pressure.
If you take a lot of calls
AirPods have built-in microphones, but only one AirPod is used to record your voice (your device automatically decides which AirPod’s microphone to use). If you frequently make or receive calls, that AirPod will, over time, start discharging faster than the other.
Check that automatic microphone switching is on
You can turn off automatic microphone switching so your iPhone uses only the microphone in one of the AirPods. In that case, the AirPod whose microphones are used more often will discharge faster. To avoid this, check that automatic microphone switching is enabled in the AirPods settings (it’s the default option).
- With AirPods connected to your iPhone, open the Settings app and select the AirPods below your Apple account at the top.
- Tap Audio & Routing.
- Tap Microphone and select Automatically Switch AirPods instead of Always Left AirPod or Always Right AirPod.

Remember these tips when putting AirPods in their case
The following tips are extremely important.
Make sure the charging light blinks
When you place an AirPod inside its charging case, the tiny status light on the case should blink, which signifies charging has started.
If you place an AirPod in the case and see no light blink, it could mean the AirPod has not started charging. The reason for this could be dirt that has accumulated at the bottom of the case or sweat/oil on the AirPods’ stems. Clean the stems using a soft cloth like a handkerchief or cotton T-shirt, then try charging again.
Use the Batteries widget
I started noticing uneven battery discharge on my AirPods Pro 2 after about 13 months. I would wake up to one bud fully charged and the other one dead, even though the status light was blinking every time I put both AirPods in the charging case.
A few frustrating days later, I discovered that one of the AirPods would stop charging with the lid closed. I added the Batteries widget to my Home Screen to confirm that both AirPods are charging. After identifying the misbehaving AirPod, I took it out of the charging case and put it back in, repeating this a few times until both buds finally started charging simultaneously again. I lived like this for more than two months until Apple’s firmware update patched this bug.

Clean your AirPods
If an AirPod charges slower or stops charging completely, check for body oils or dirt on the connectors. Wipe the metallic parts on the stems that connect with the pins in the case using a soft, dry linen cloth.
Clean the charging case
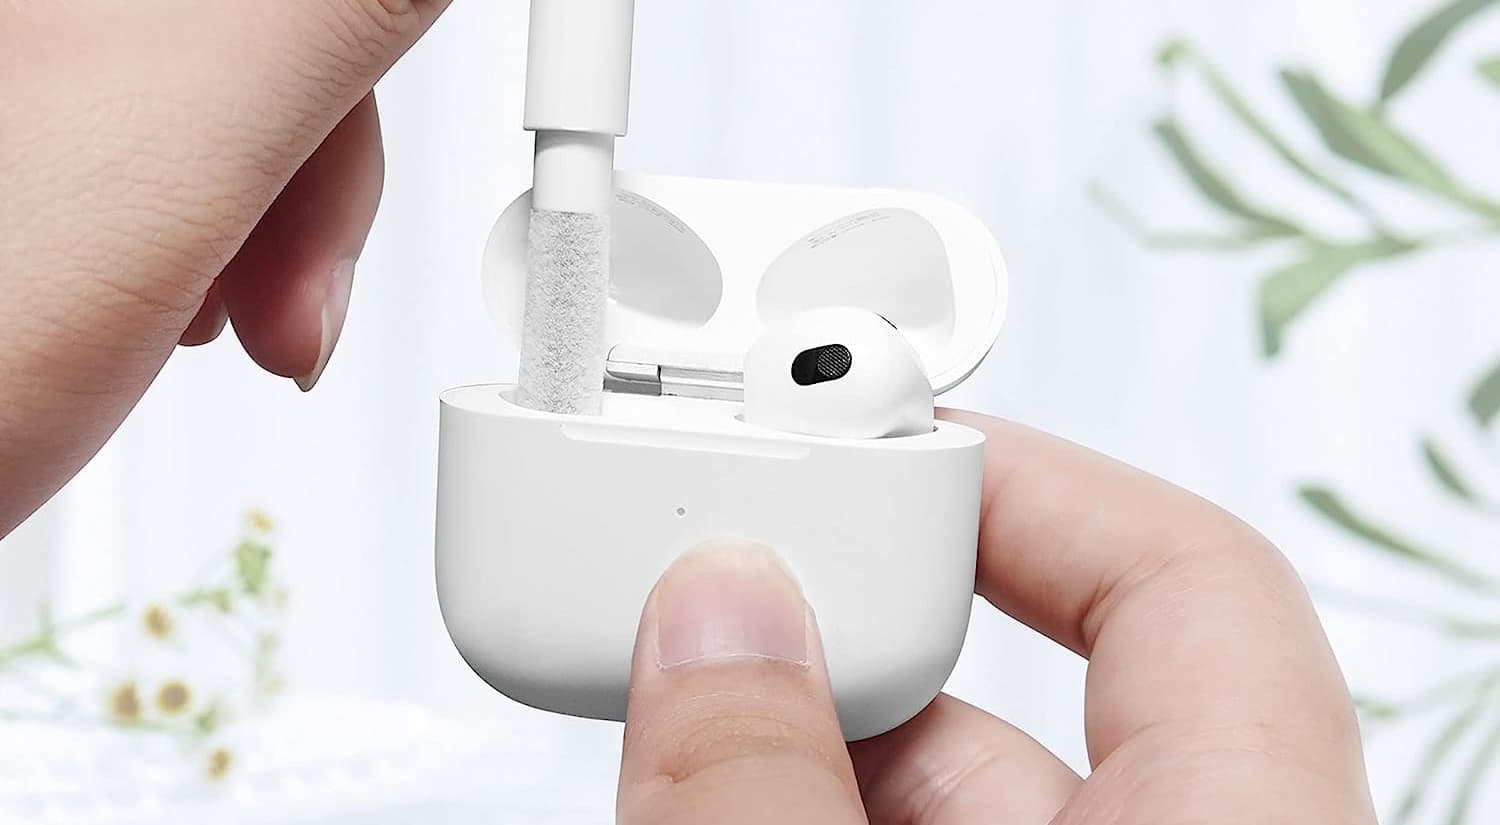
If dirt has accumulated at the bottom of the charging case, open the lid and turn the case upside down, then carefully blow air. You can also use a thin AirPods cleaning brush or something similar, but be extremely careful and don’t slant the brush inside the case to avoid bending the pins and damaging the case.
Update the AirPods firmware
Your AirPods are updated automatically when left in their charging case, which must be plugged into power via the cable, for at least 30 minutes. Also, the paired iPhone must be nearby and connected to the internet.
Factory reset your AirPods
Resetting your AirPods unpairs them from all your devices and loads factory settings, which may fix one AirPod discharging faster than the other.
Check for damage or manufacturing defects
Accidentally dropping AirPods in the water is a recipe for disaster. So exposure to water will damage the battery and other components even if they look fine from the outside.
Don’t rule out a manufacturing defect either, especially with uneven battery drain occurring on brand-new AirPods. Consider contacting Apple Support to get your buds inspected at an Apple Store or authorized service center.
Are your AirPods older than 2 years?
I’ve used several AirPods throughout the years. Based on my own experience and online reports, AirPods batteries start to give in after about two years. Run time will drop to just one or two hours, and one bud may discharge far sooner than the other.
Here’s what you can do about this:
- Learn to live with these particular inconveniences
- Have the problematic AirPod replaced for a fee by Apple
- Explore the AirPods battery repair options
- Buy a new pair (check the best AirPods deals here)
Get a new pair
AirPods batteries will eventually degrade to the point that the earbuds become unusable. When that happens, you’ll need a new pair. And if you’re coming from an older AirPods model, upgrading will ensure you get the latest features like Transparency Mode, Noise Cancellation, Spatial Audio, Find My AirPods, and more.