This tutorial shows you how to create a separate volume (partition) on your Mac’s internal drive to install macOS Ventura on it.
Using this method, you will have two macOS versions on the same Mac. The first volume will have the macOS you’re currently running (likely macOS Monterey), and the second volume will have macOS Ventura. You will be able to start up your Mac into either one.
Why create a separate volume for macOS Ventura
Let me start with my situation. Currently, I have a MacBook Pro running macOS Monterey that I use for writing iDB articles and doing other important work. Since macOS Ventura is still in the developer beta phase, it has bugs, and apps may not work reliably. Plus, to verify some things for Mac-related posts, I need the stable macOS Monterey, which is officially available for everyone.
So, instead of installing macOS Ventura on my MacBook’s main volume and saying goodbye to macOS Monterey, I have created a second volume: a partition of my Mac’s internal drive. On the main volume, I have macOS Monterey with all my old files and everything. And on the second volume, I have a fresh install of the new macOS Ventura.
Let me show how you can create a macOS Ventura partition on your Mac and boot into it.
Note: Most people are familiar with and use the term partition. Thus, while I have used the words “volume” and “partition” interchangeably in this article, in reality, both are different. As per Apple, “partitioning a disk divides it into individual sections known as containers.” However, with APFS (default file system format for recent Mac computers), you shouldn’t partition your disk in most cases. Instead, create multiple APFS volumes within a single partition (as it offers flexible space management).
Breakdown of steps
- Create a second volume where you will install macOS Ventura
- Install macOS Ventura on this second volume.
We will also look at how to boot into macOS Ventura or your current macOS whenever you want.
How to create a macOS Ventura volume on Mac
Follow these steps to add a new volume to run macOS Ventura on your Mac:
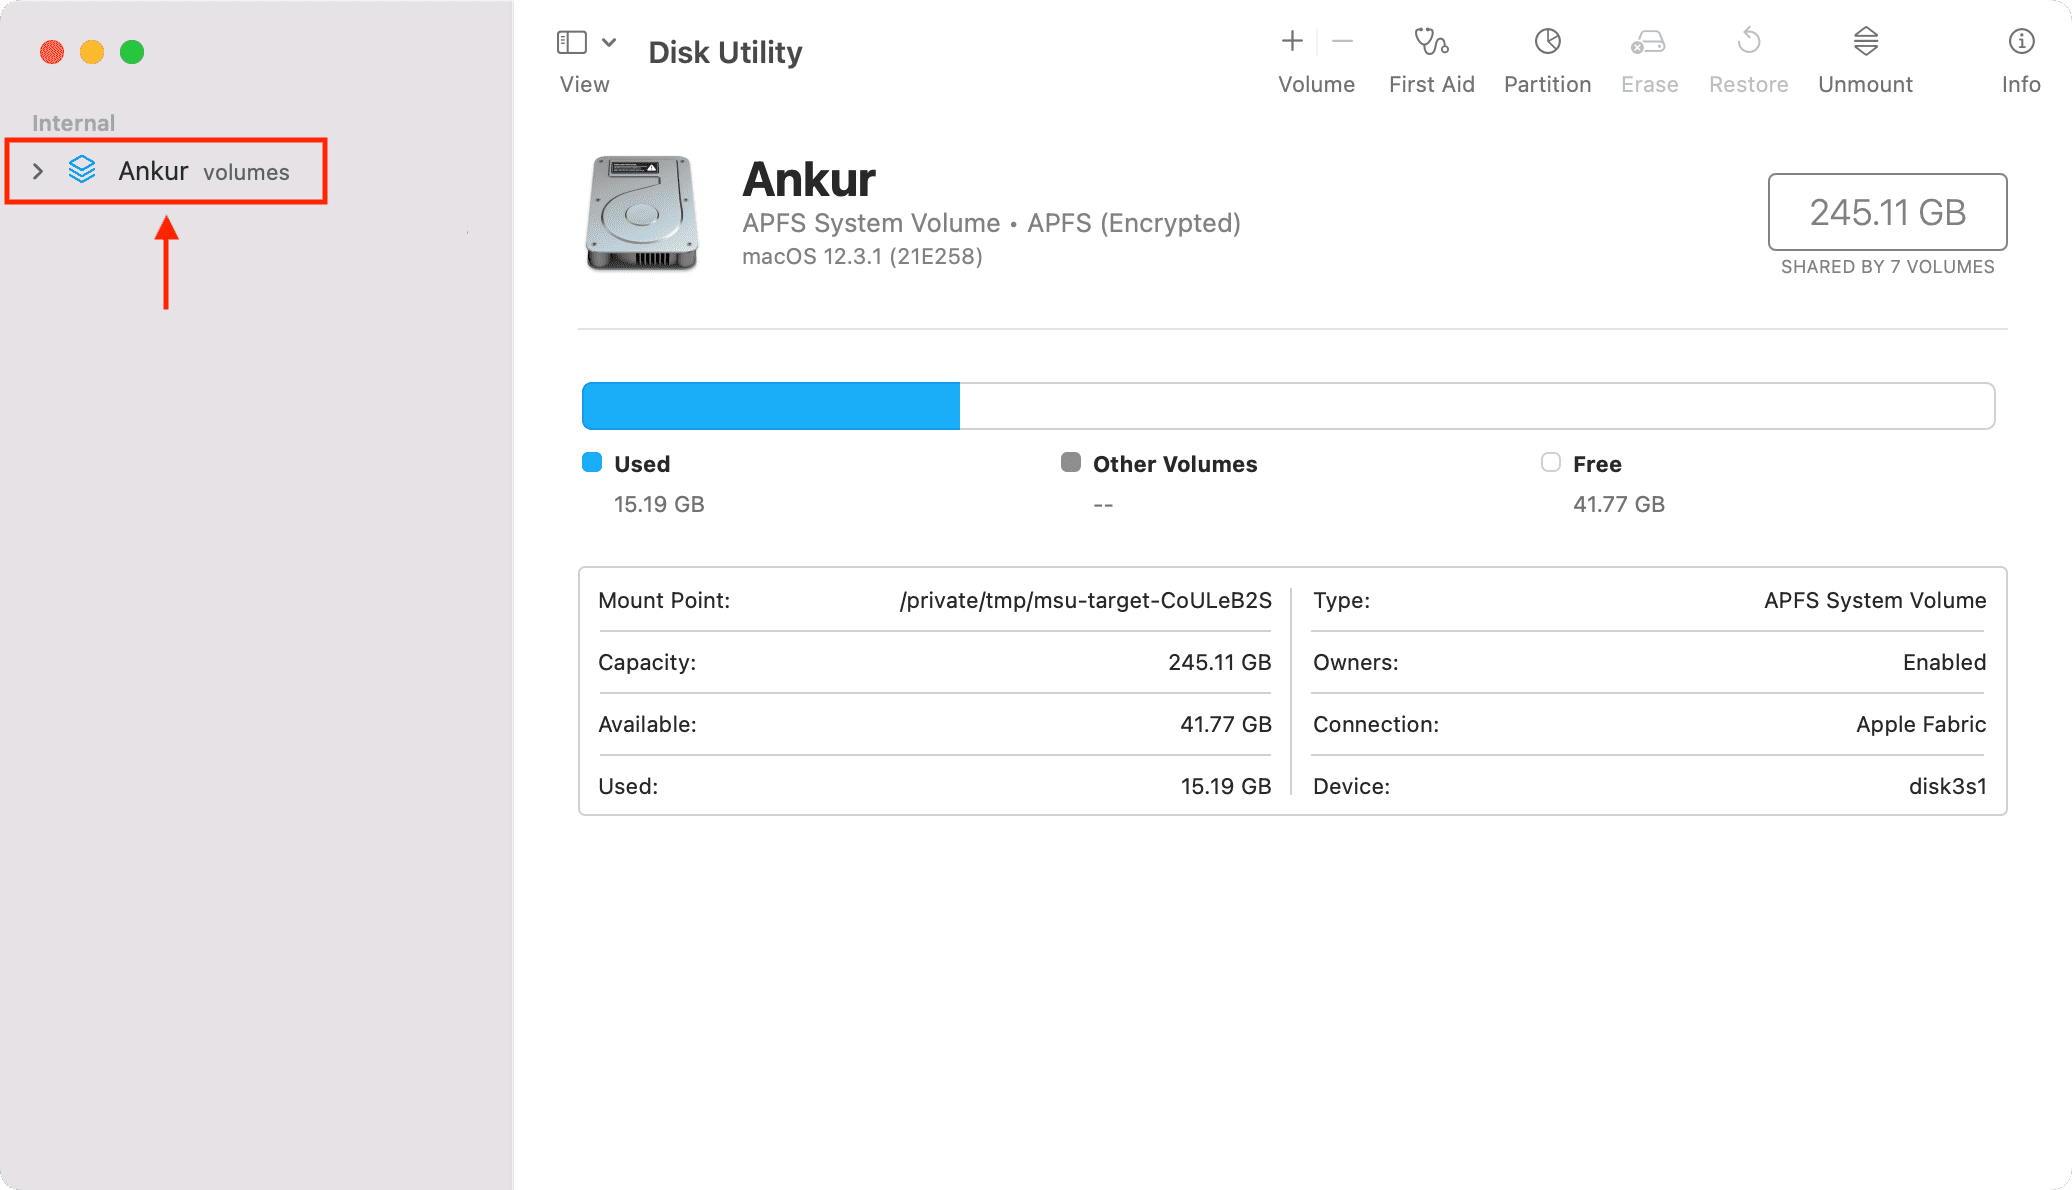
1) Open Disk Utility on your Mac running macOS High Sierra or later.
2) From the left sidebar of Disk Utility, select your main APFS volume; in other words, your internal drive. It should say Macintosh HD or your name.
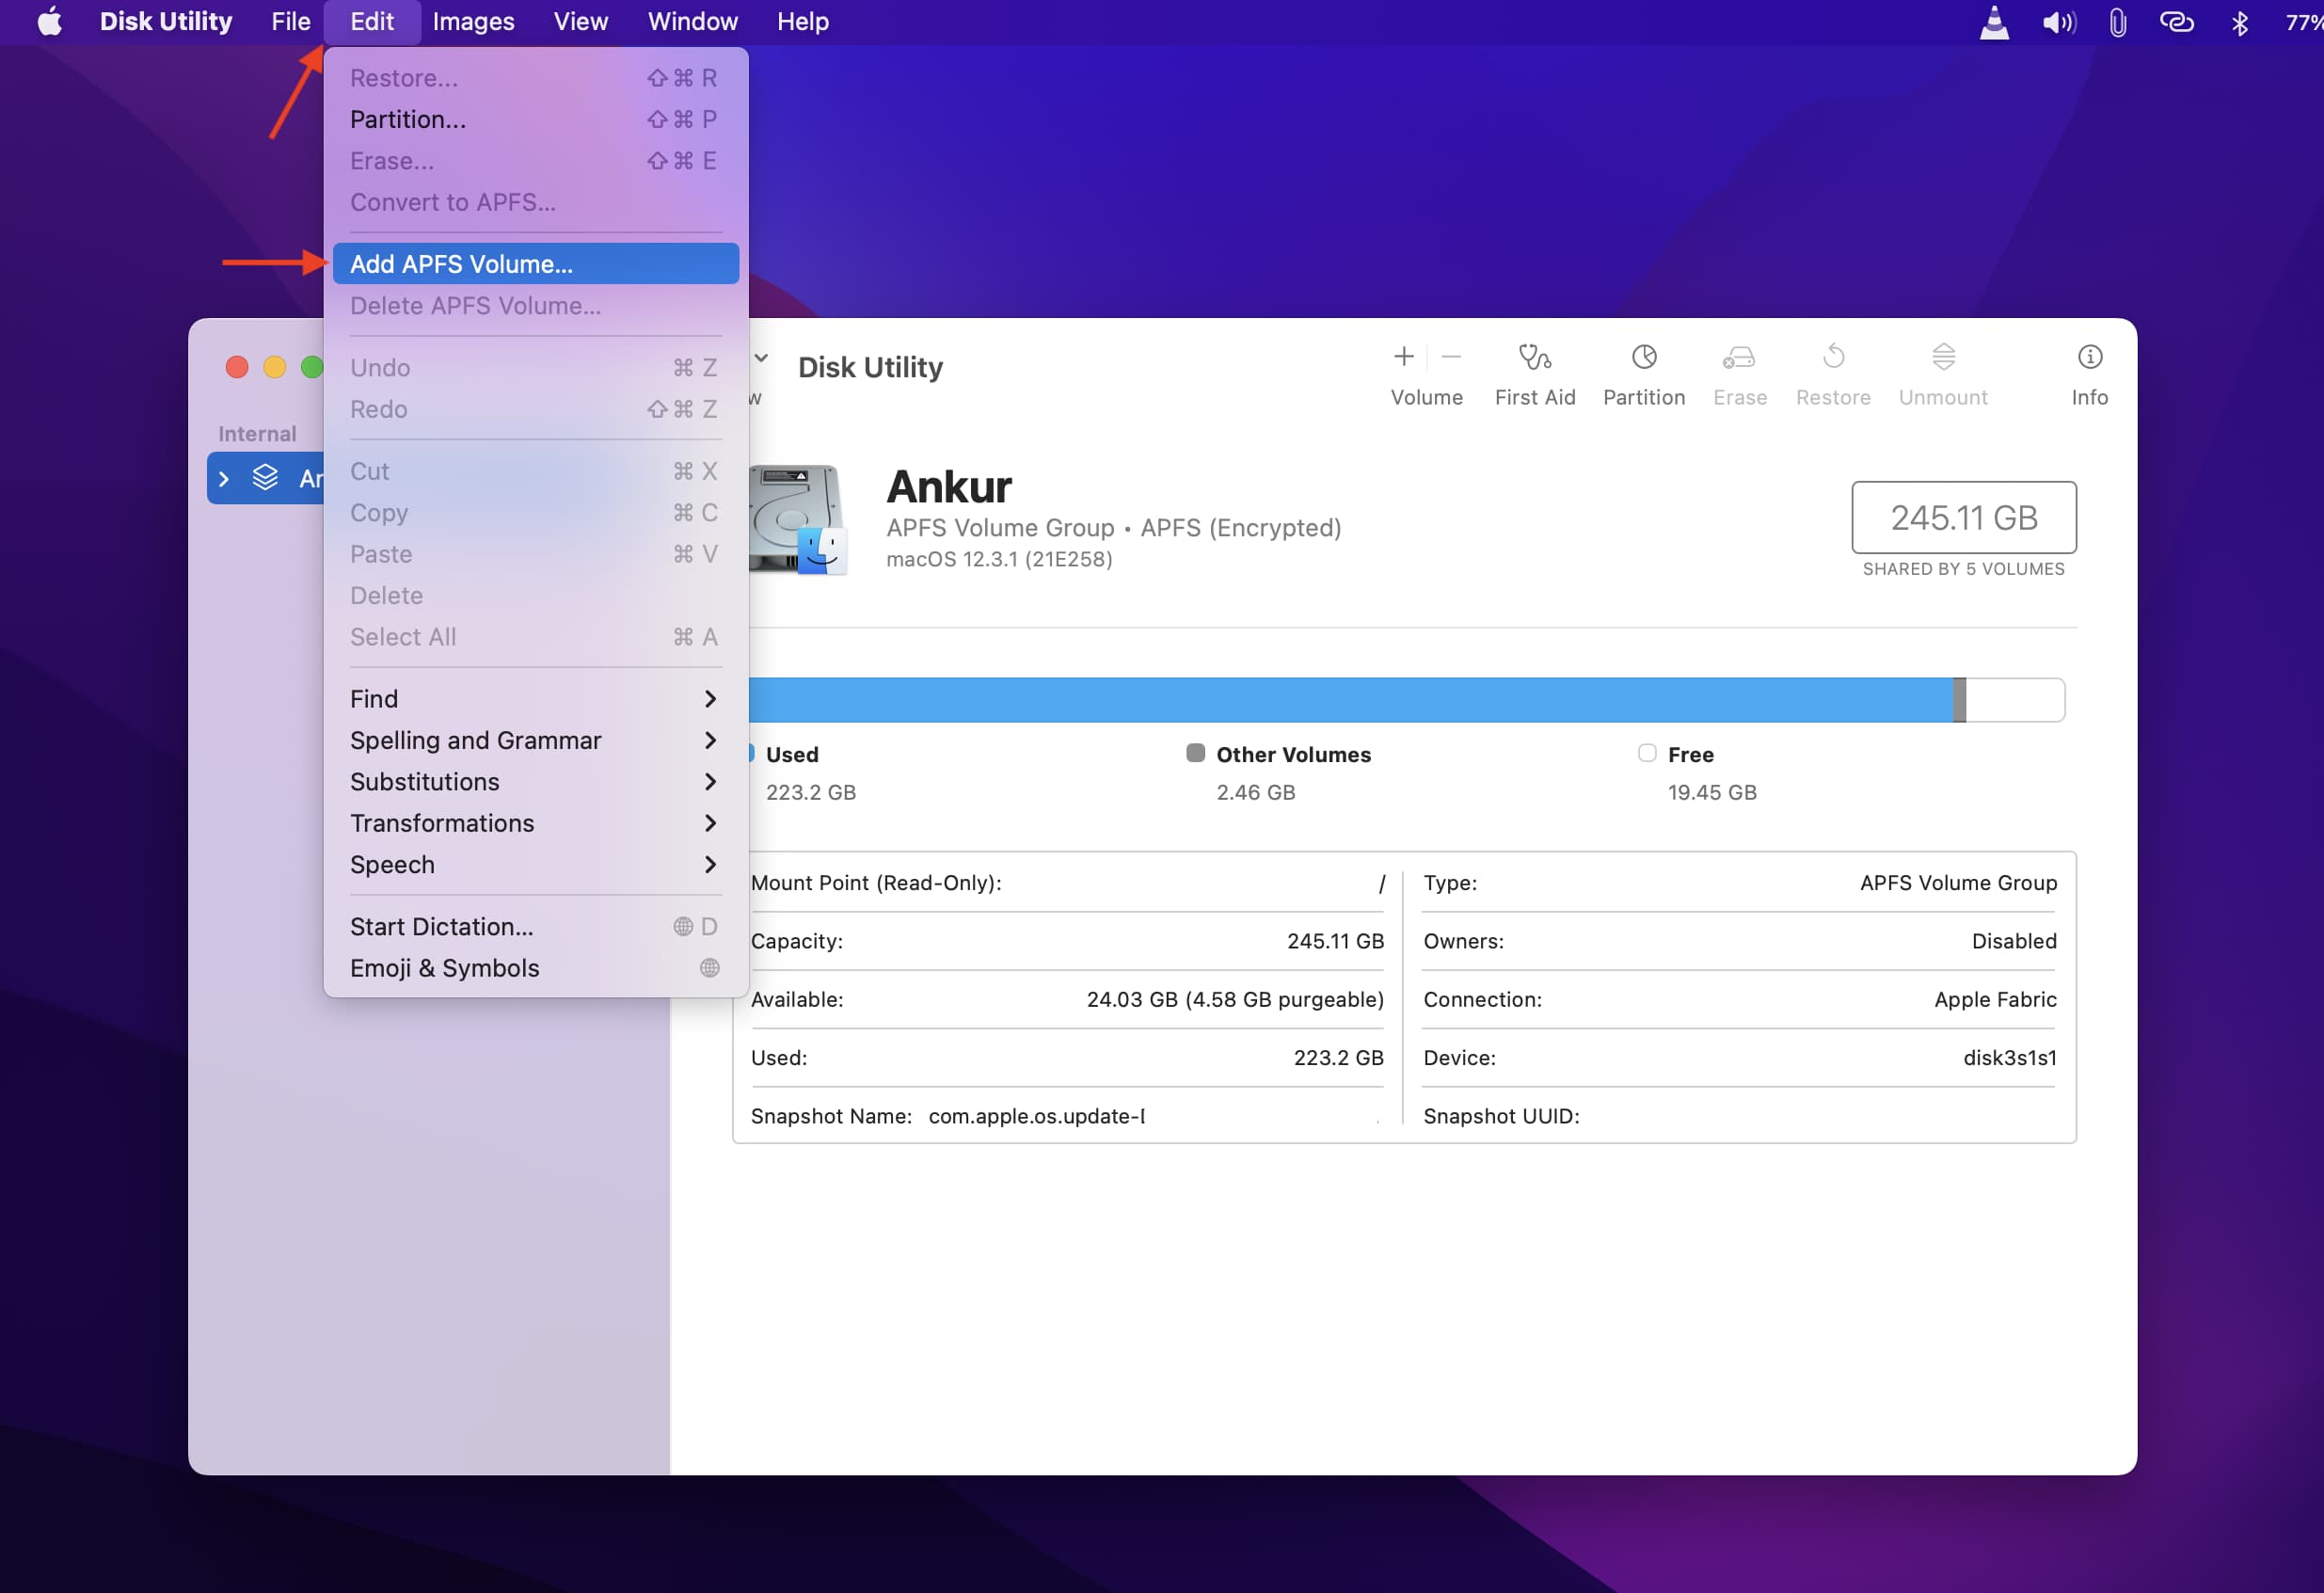
3) Click Edit and choose Add APFS Volume.
4) Give it any name you want. I’m using macOS Ventura beta.
5) For Format, you can select APFS instead of other options.
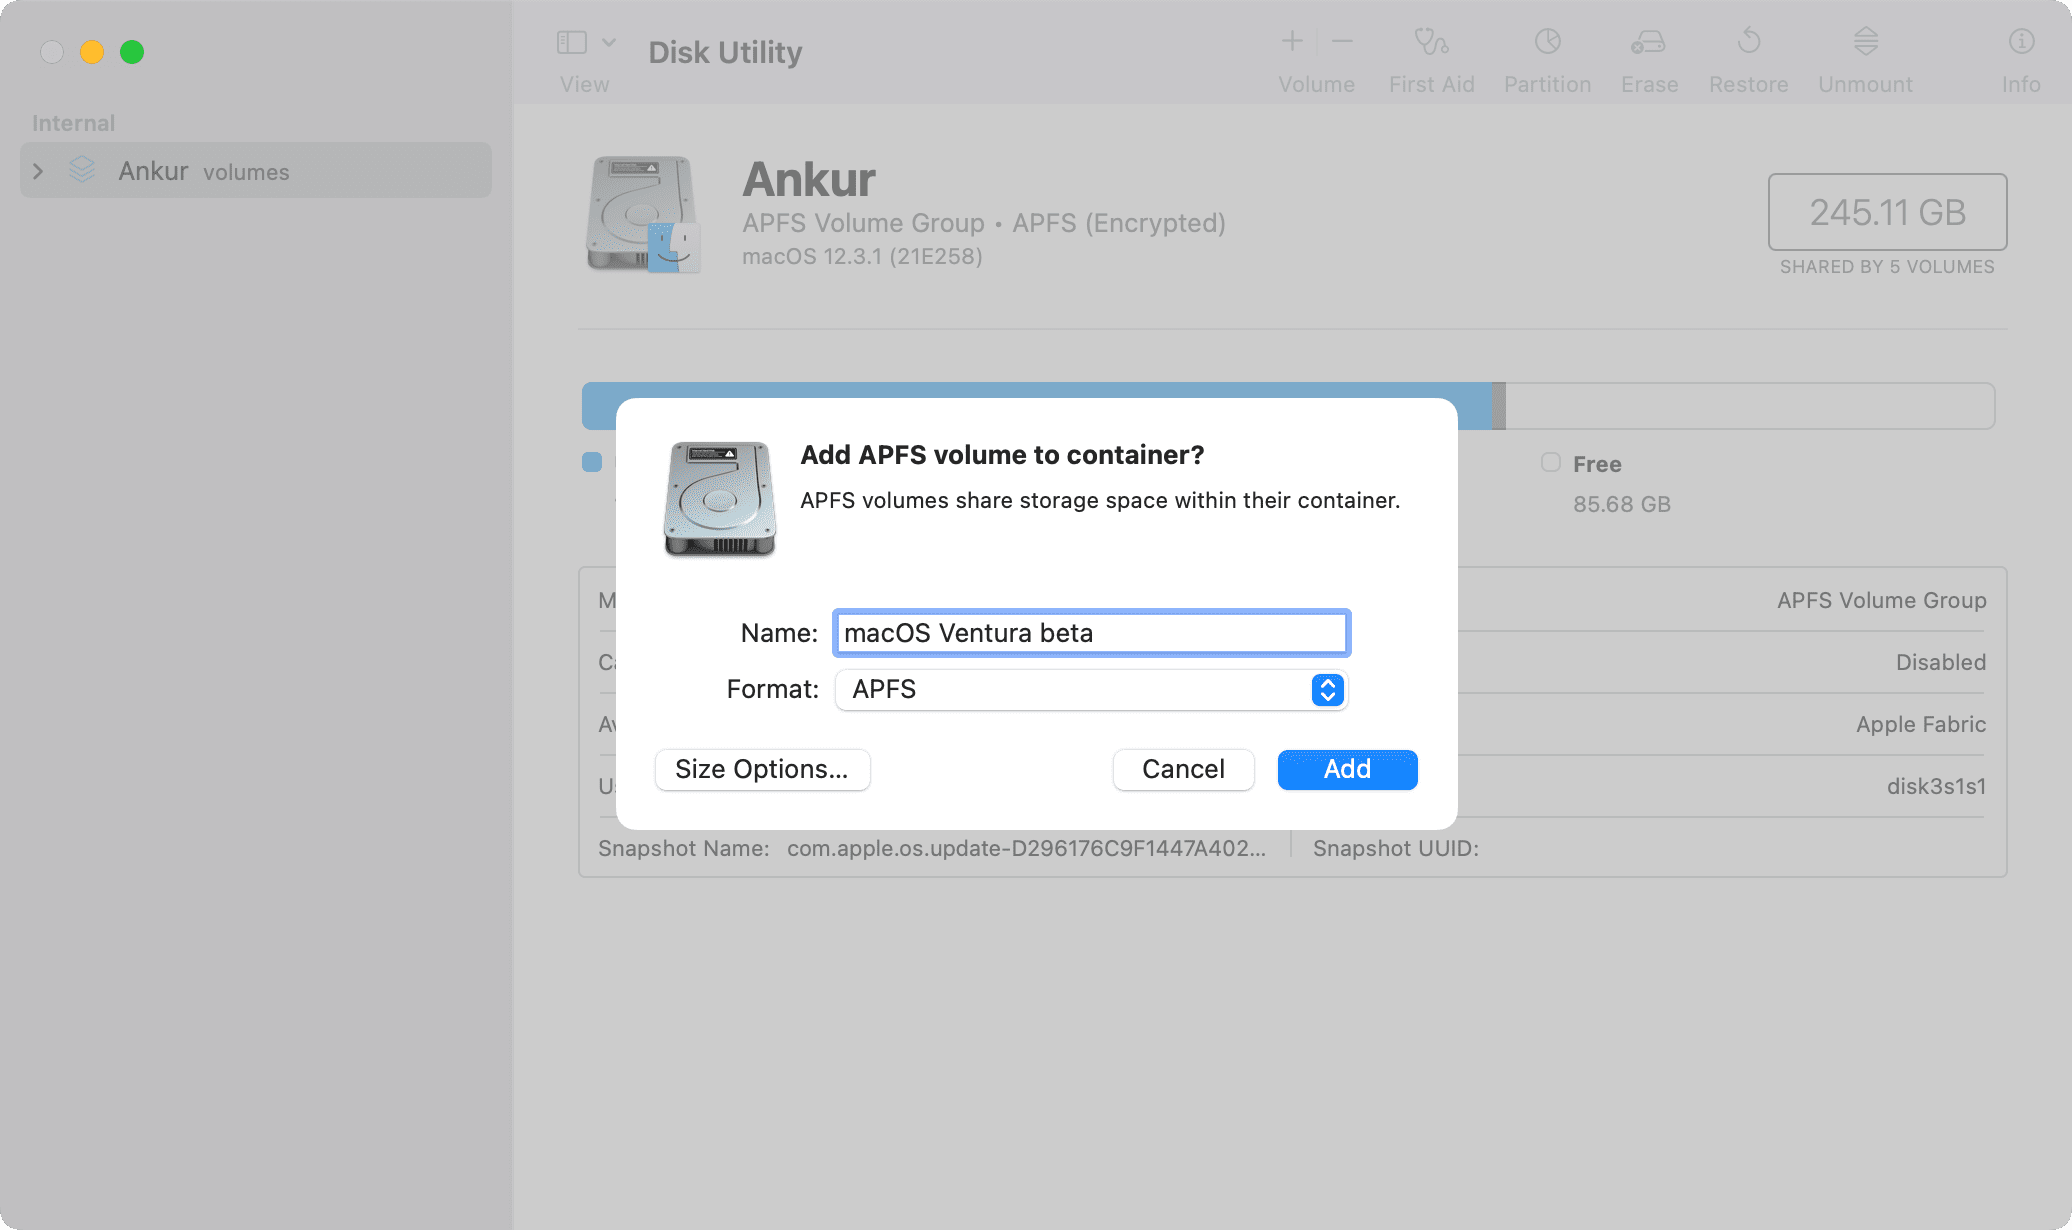
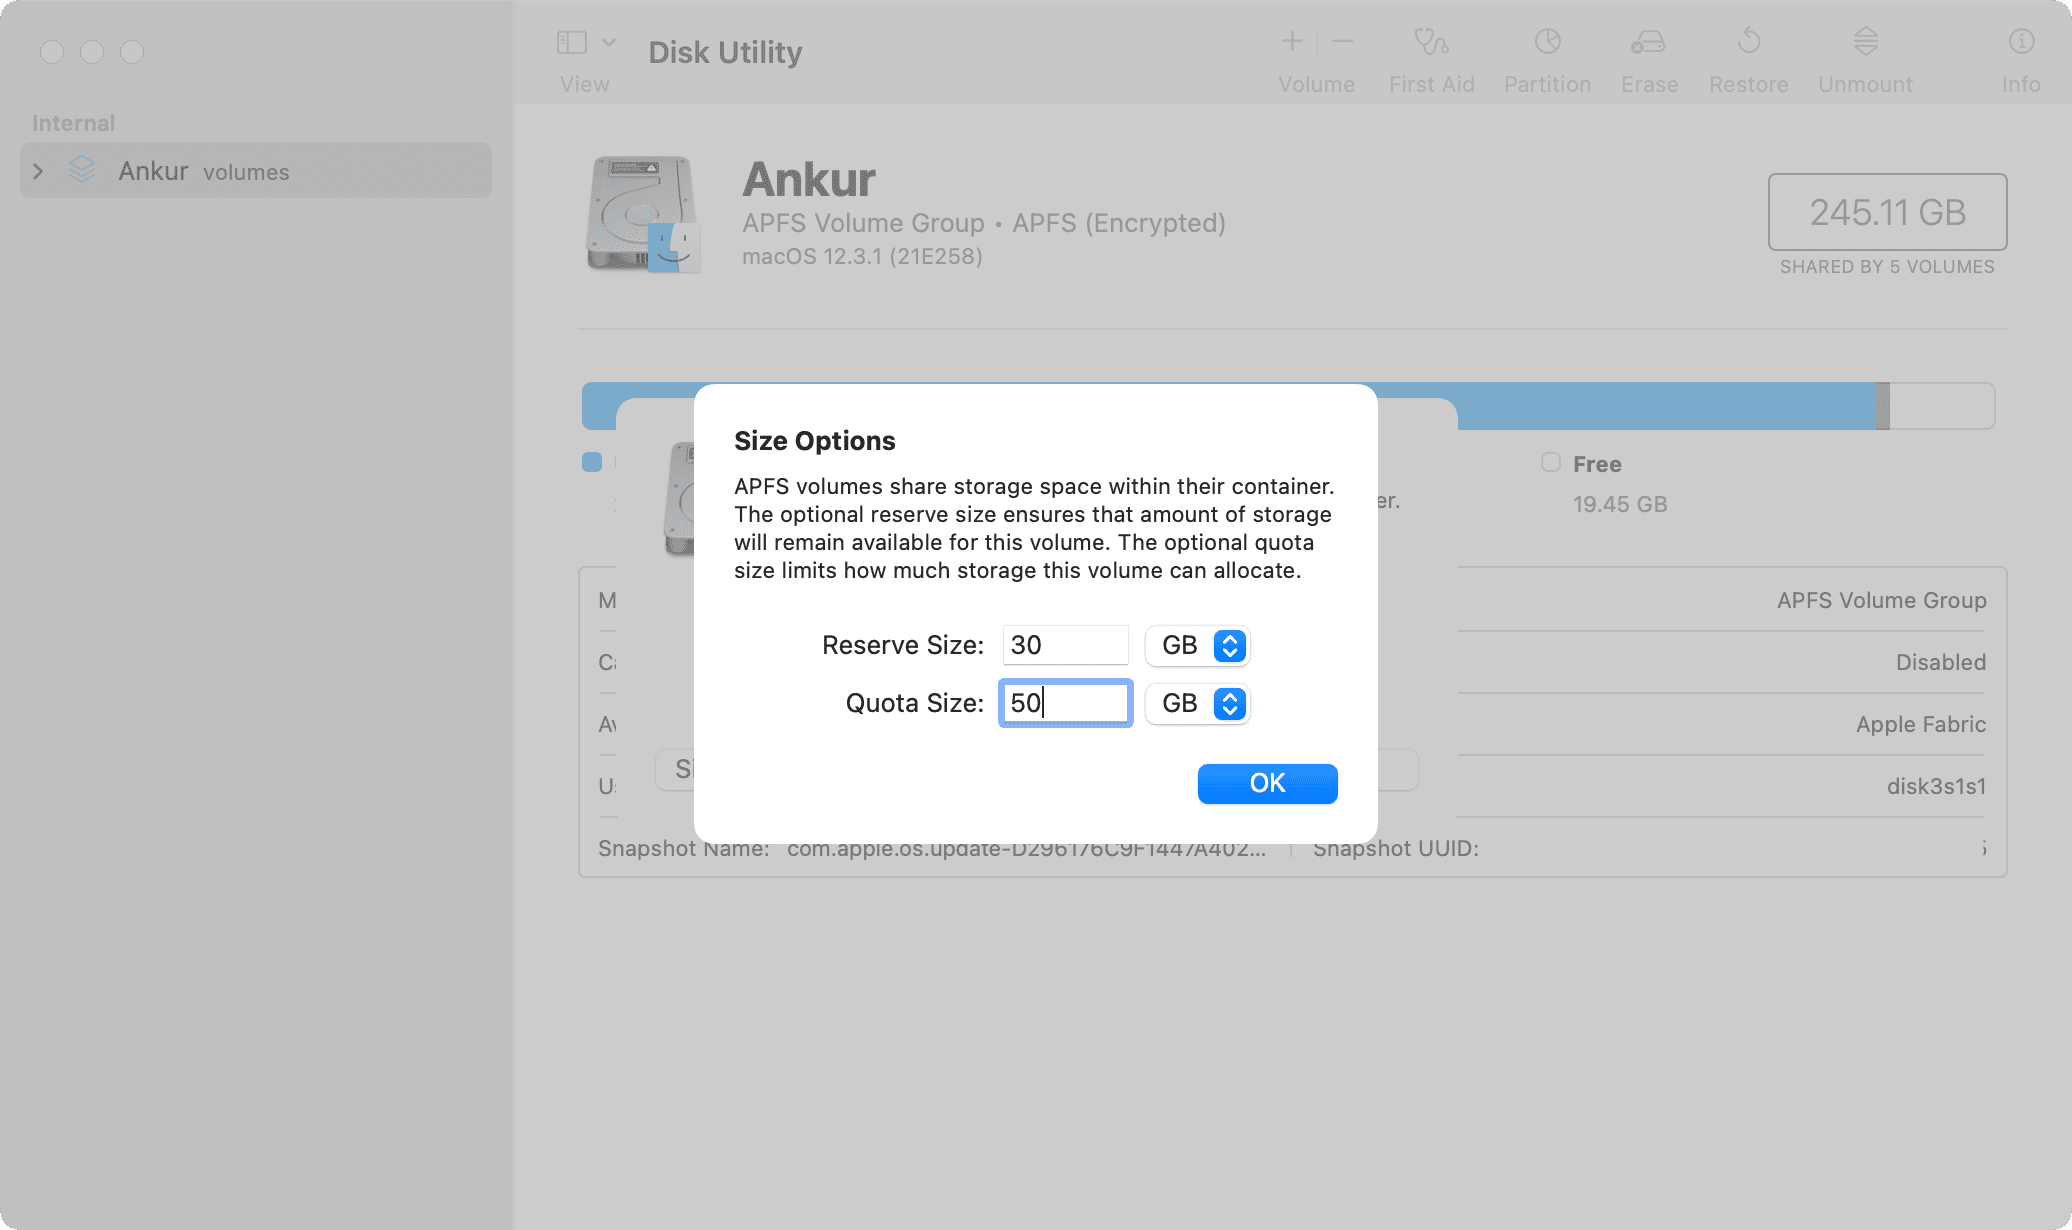
6) Tip: APFS volume can manage space, but it’s good to click Size Options, give a minimum Reserve Size and Quota Size, and click OK. I have gone with a 30 GB reserve size, which ensures that 30 GB will always remain available for this macOS Ventura volume. And for quota size, I have entered 50 GB.
7) Finally, click Add.
Once the volume is created, click Done.

Next, get macOS Ventura on this newly created volume.
How to install macOS Ventura on your Mac’s second volume
First, make sure your Mac meets the requirements to run macOS Ventura.
At the time of writing, macOS Ventura is still in developer beta. If it weren’t in developer beta, you could have downloaded it from the Mac App Store like you can download macOS Monterey, macOS Big Sur, macOS Catalina, macOS Mojave, or macOS High Sierra (on a compatible Mac).
But currently, macOS Ventura is only available for developers, so log in to developer.apple.com, sign in with your developer account, and download the developer beta profile for macOS Ventura. If you don’t have a developer account, you may be able to find beta profiles on third-party websites. However we do not condone these sites.
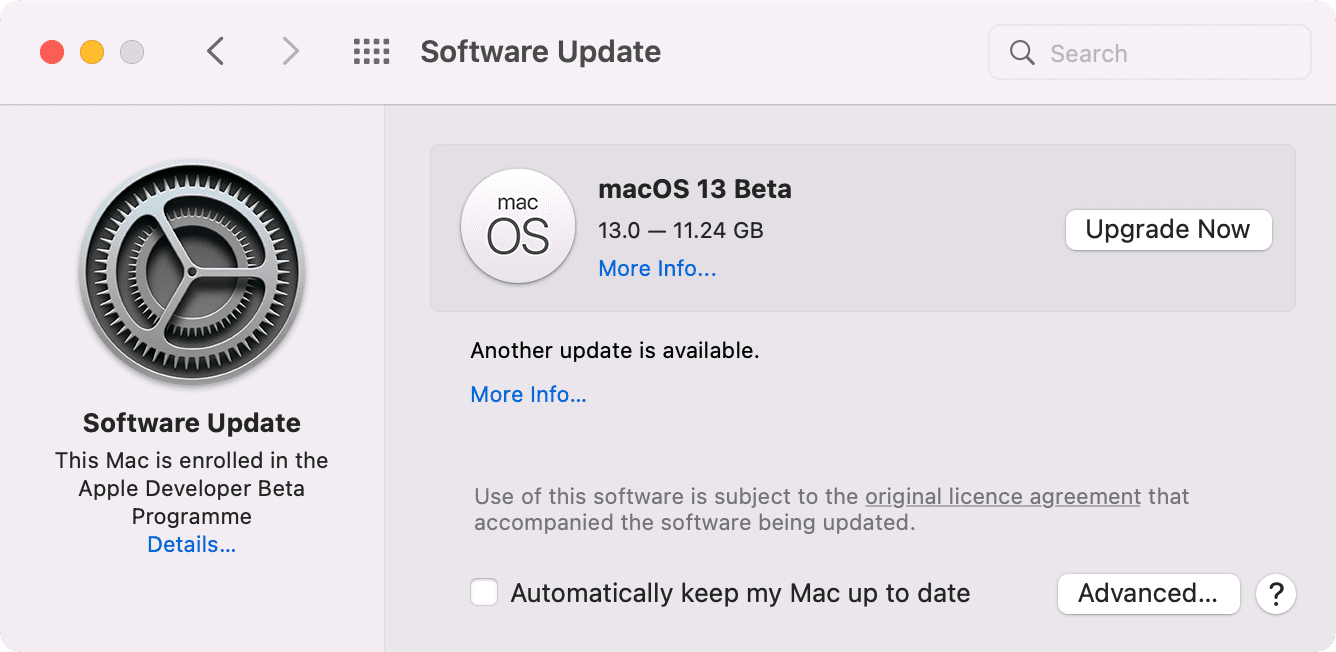
Once the beta profile is installed, it will automatically open the Software Update screen inside System Preferences. Click Upgrade Now and wait for the huge macOS file to finish downloading.
Once that’s done, it will automatically open the macOS installer.
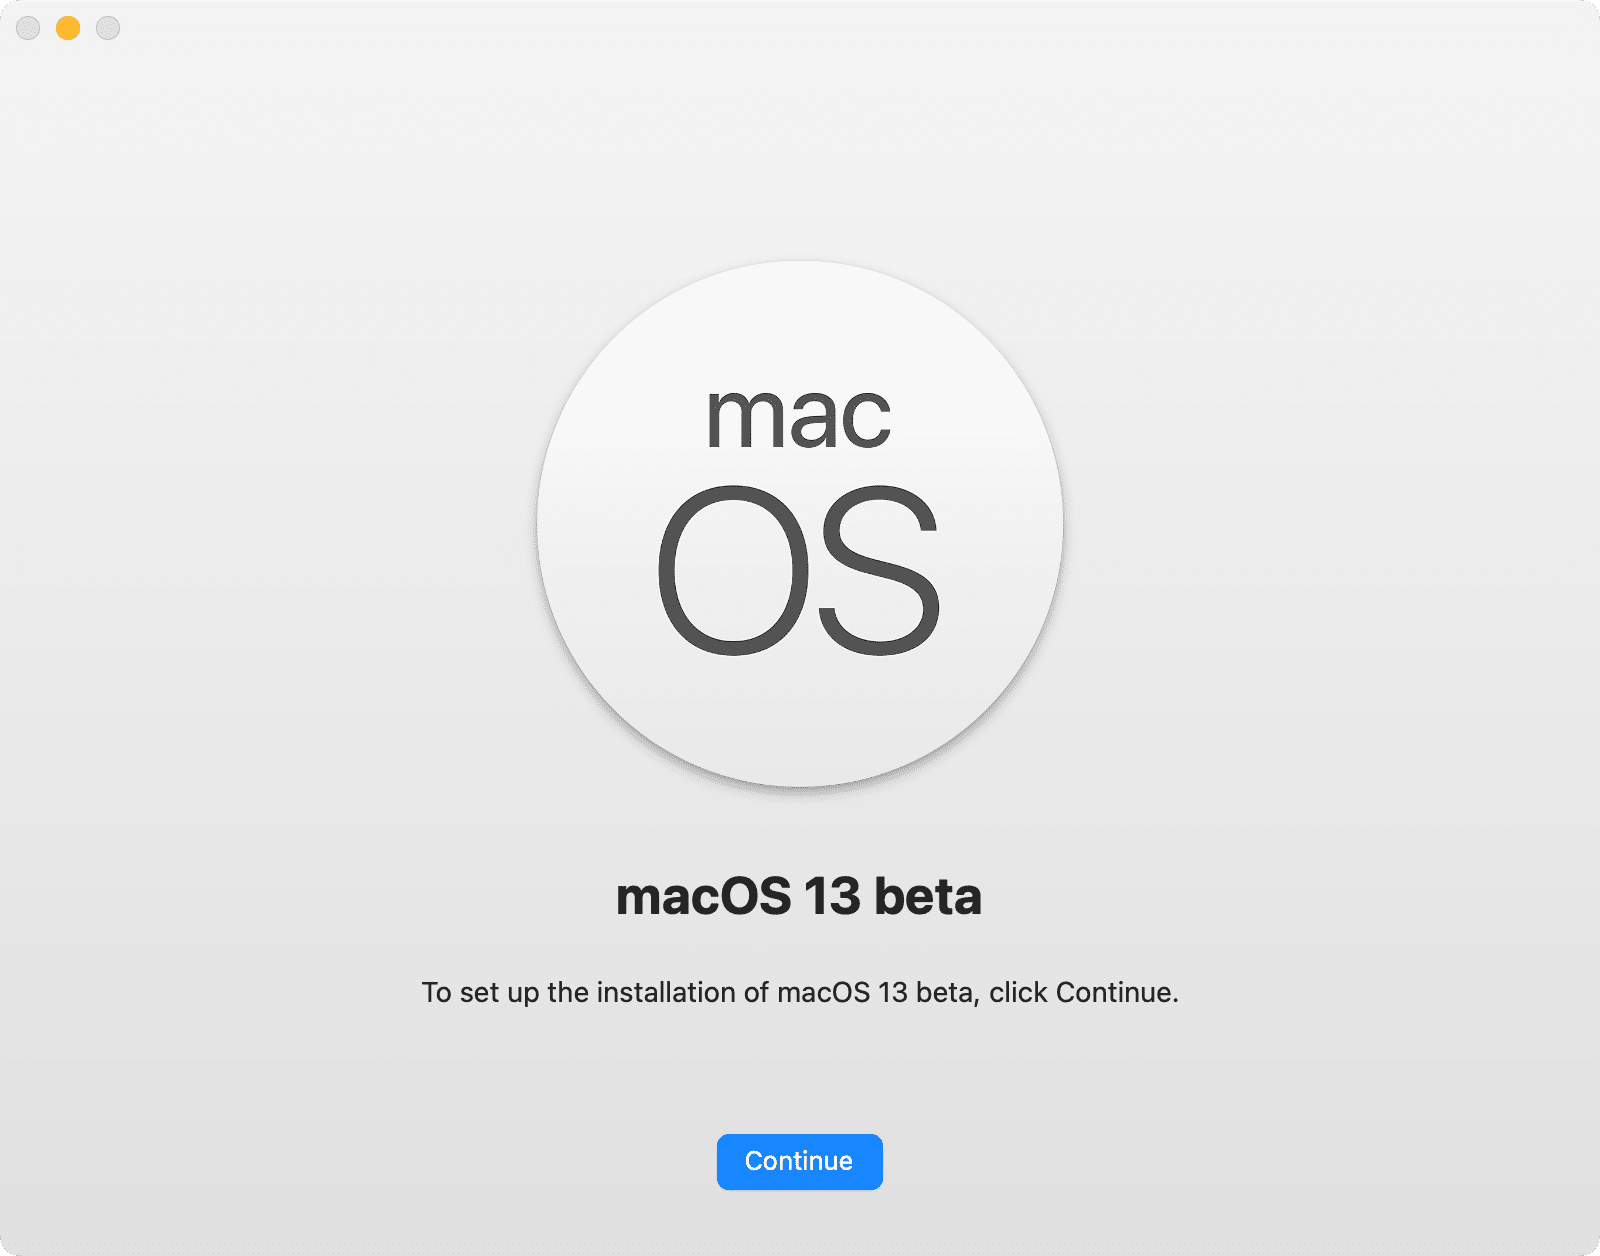
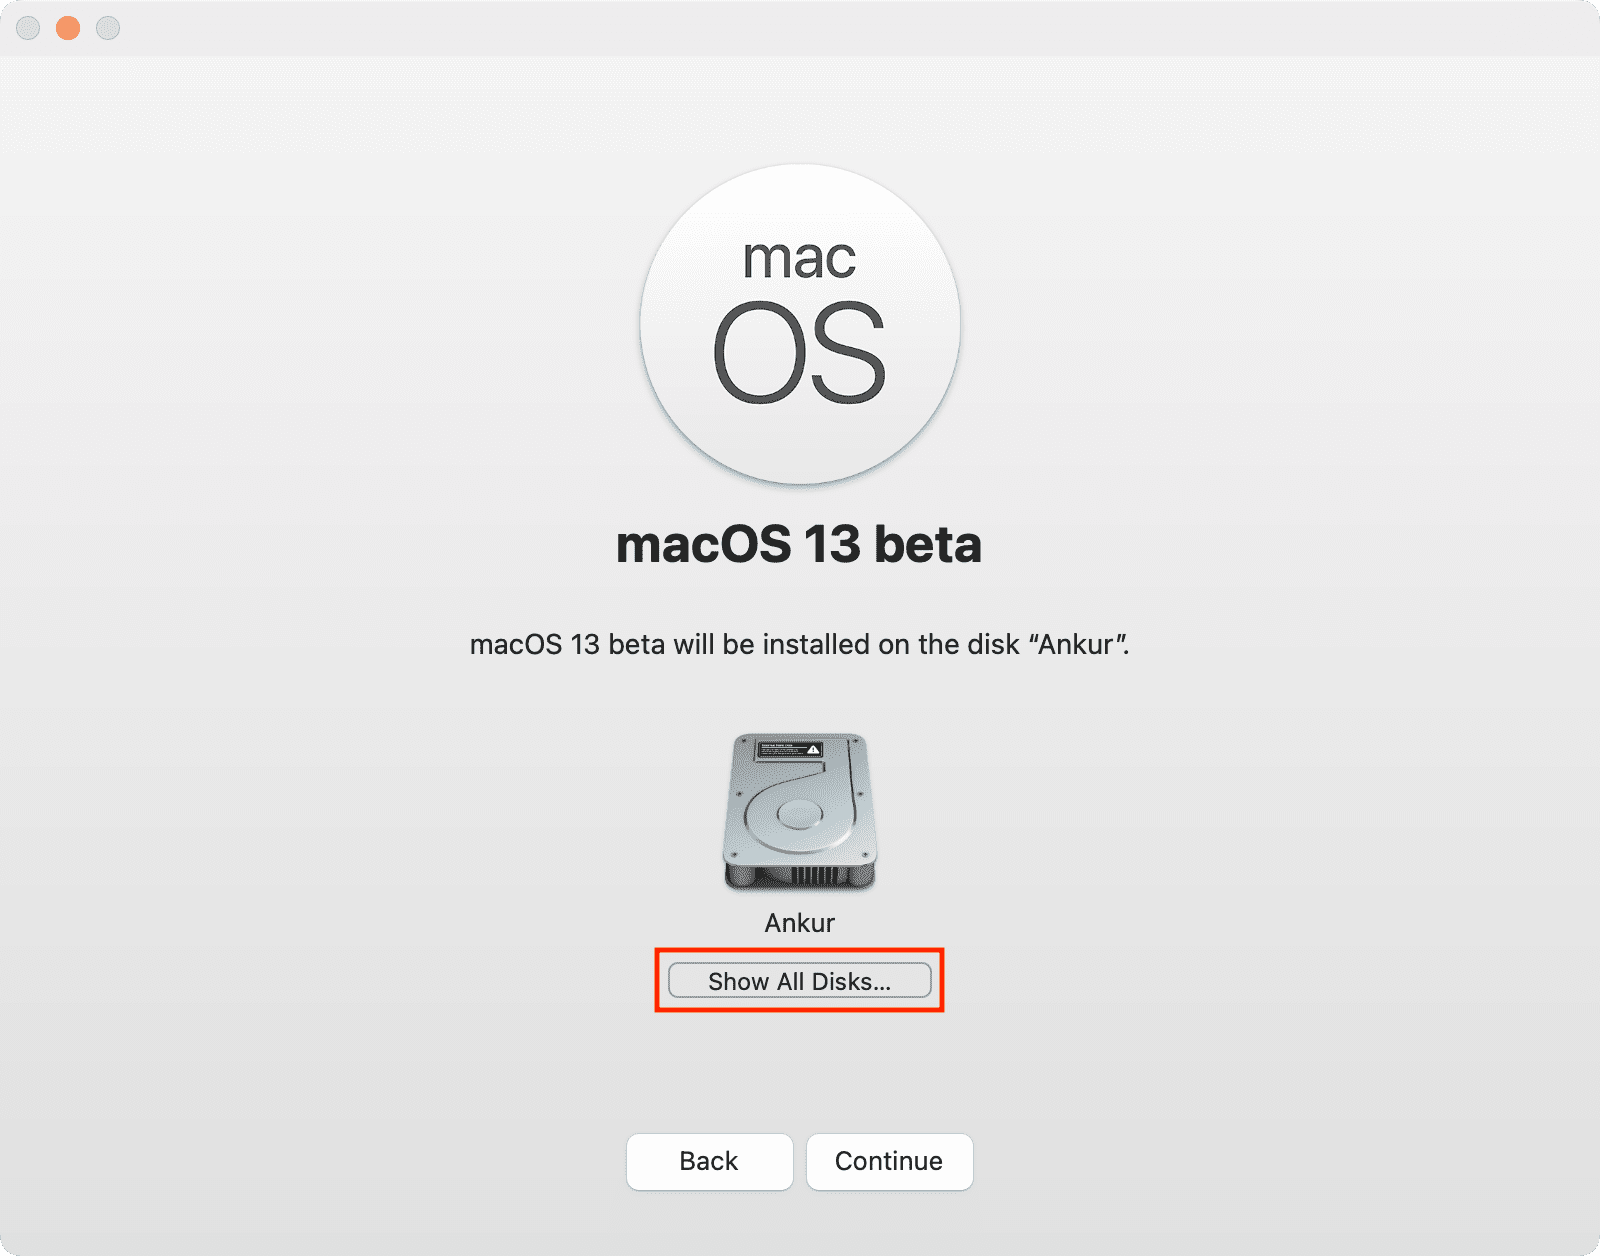
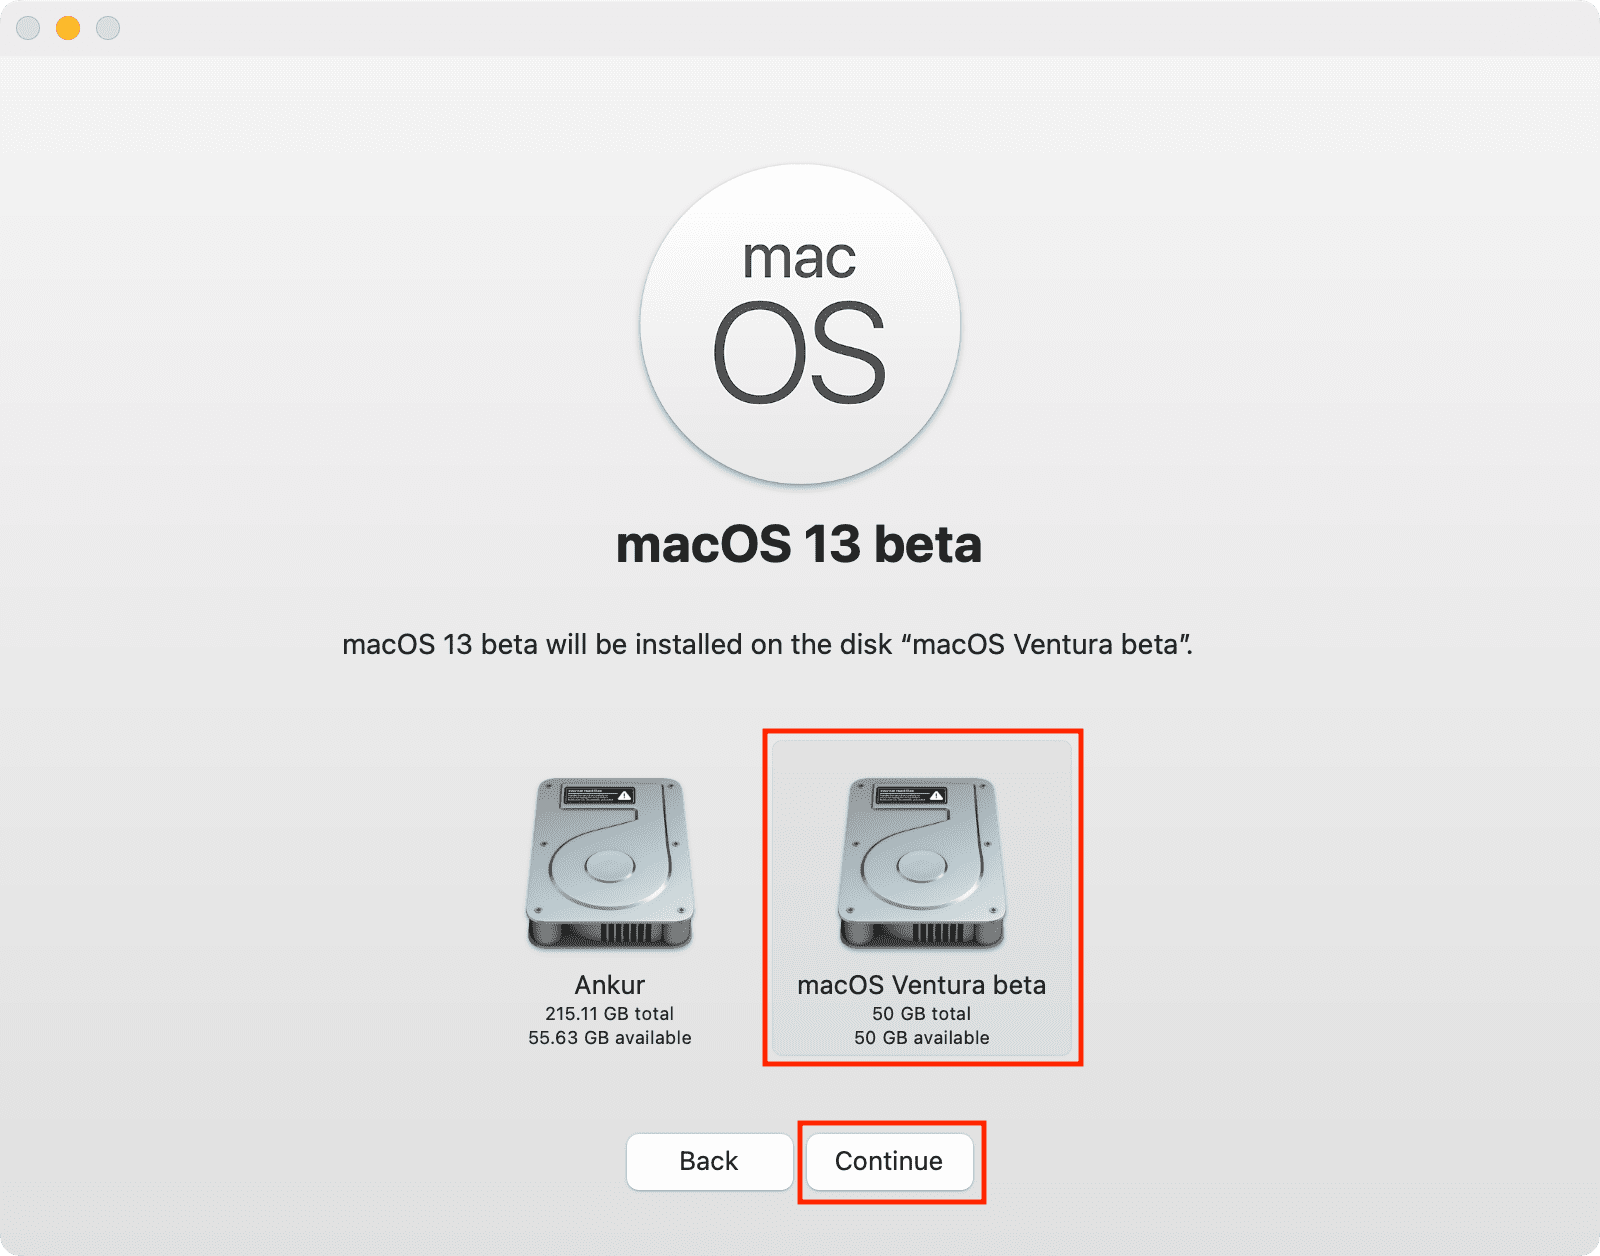
Continue with the installation, and on the screen that says “macOS 13 beta will be installed on the disk,” select the second volume (that you created earlier). In case you don’t see it, click Show All Disks.
After selecting the second volume, continue with the installation.
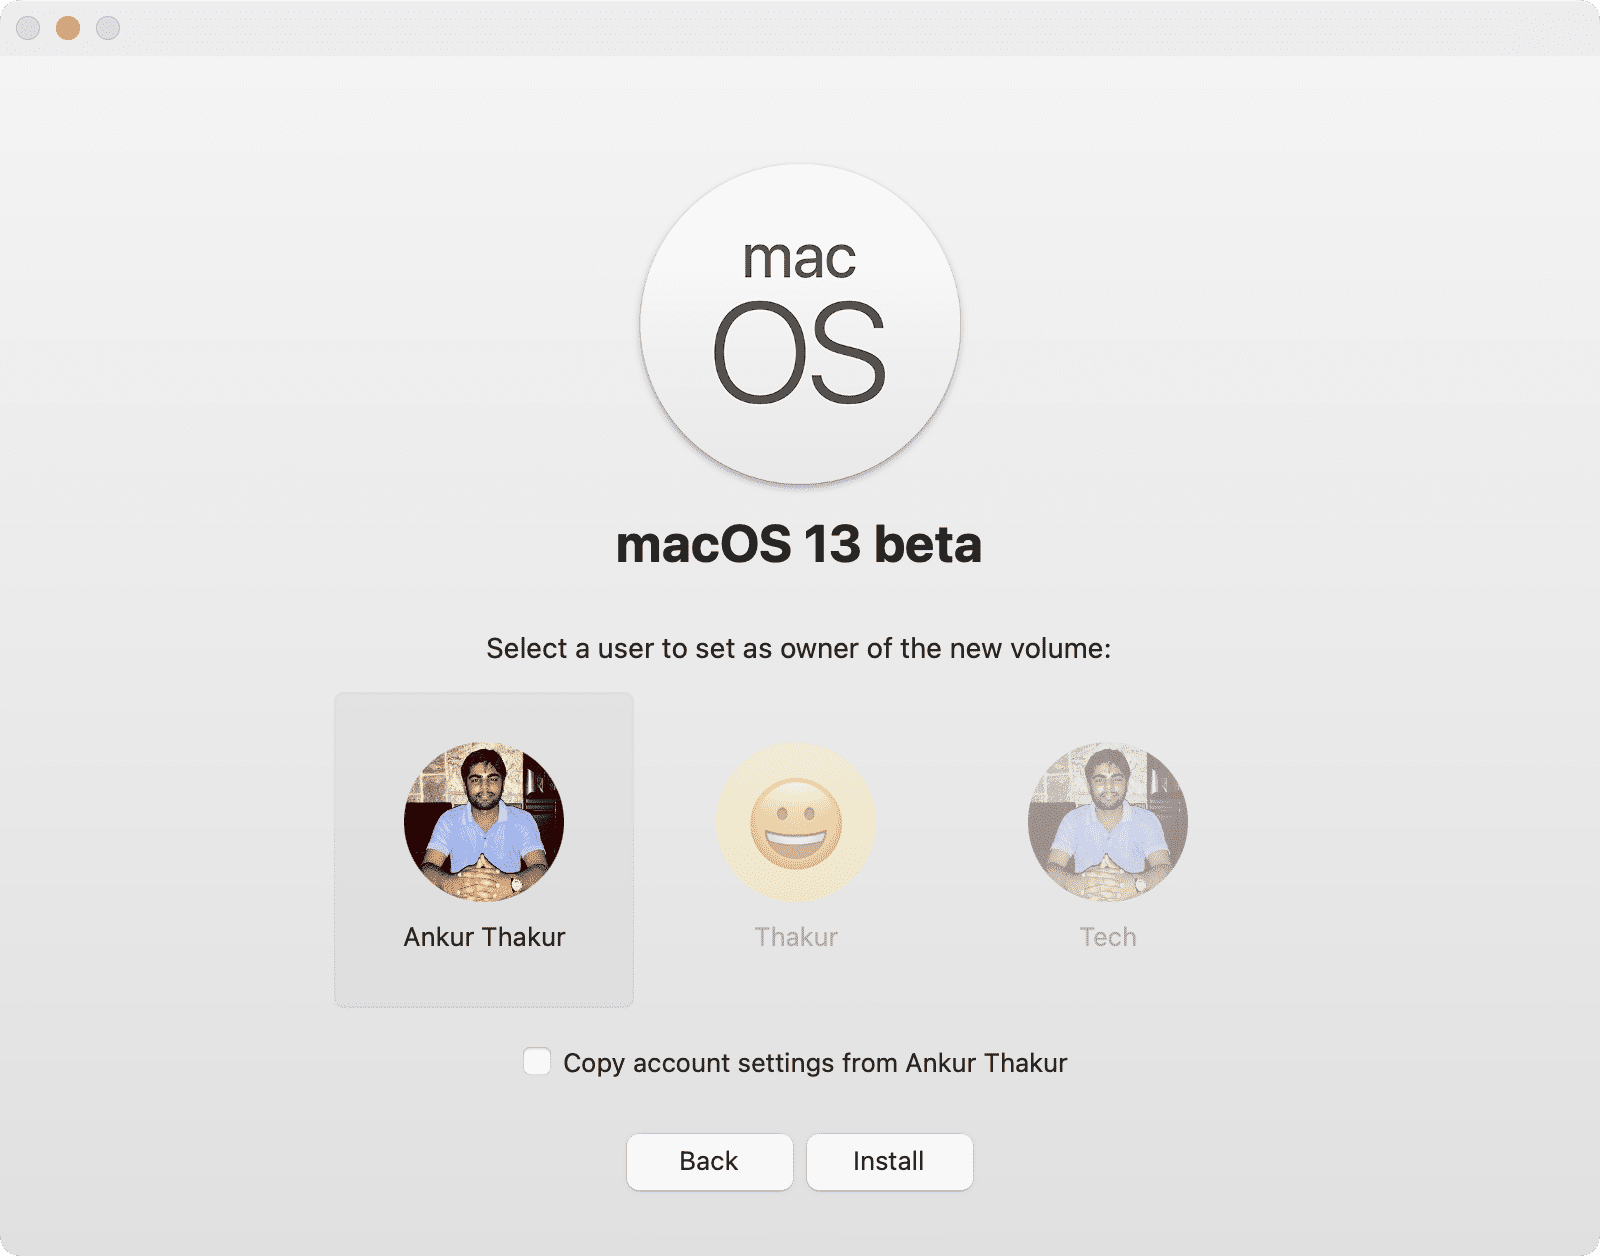
That’s all there is to it. The installer will install macOS Ventura on your Mac’s new volume. You will have to restart your Mac when prompted.
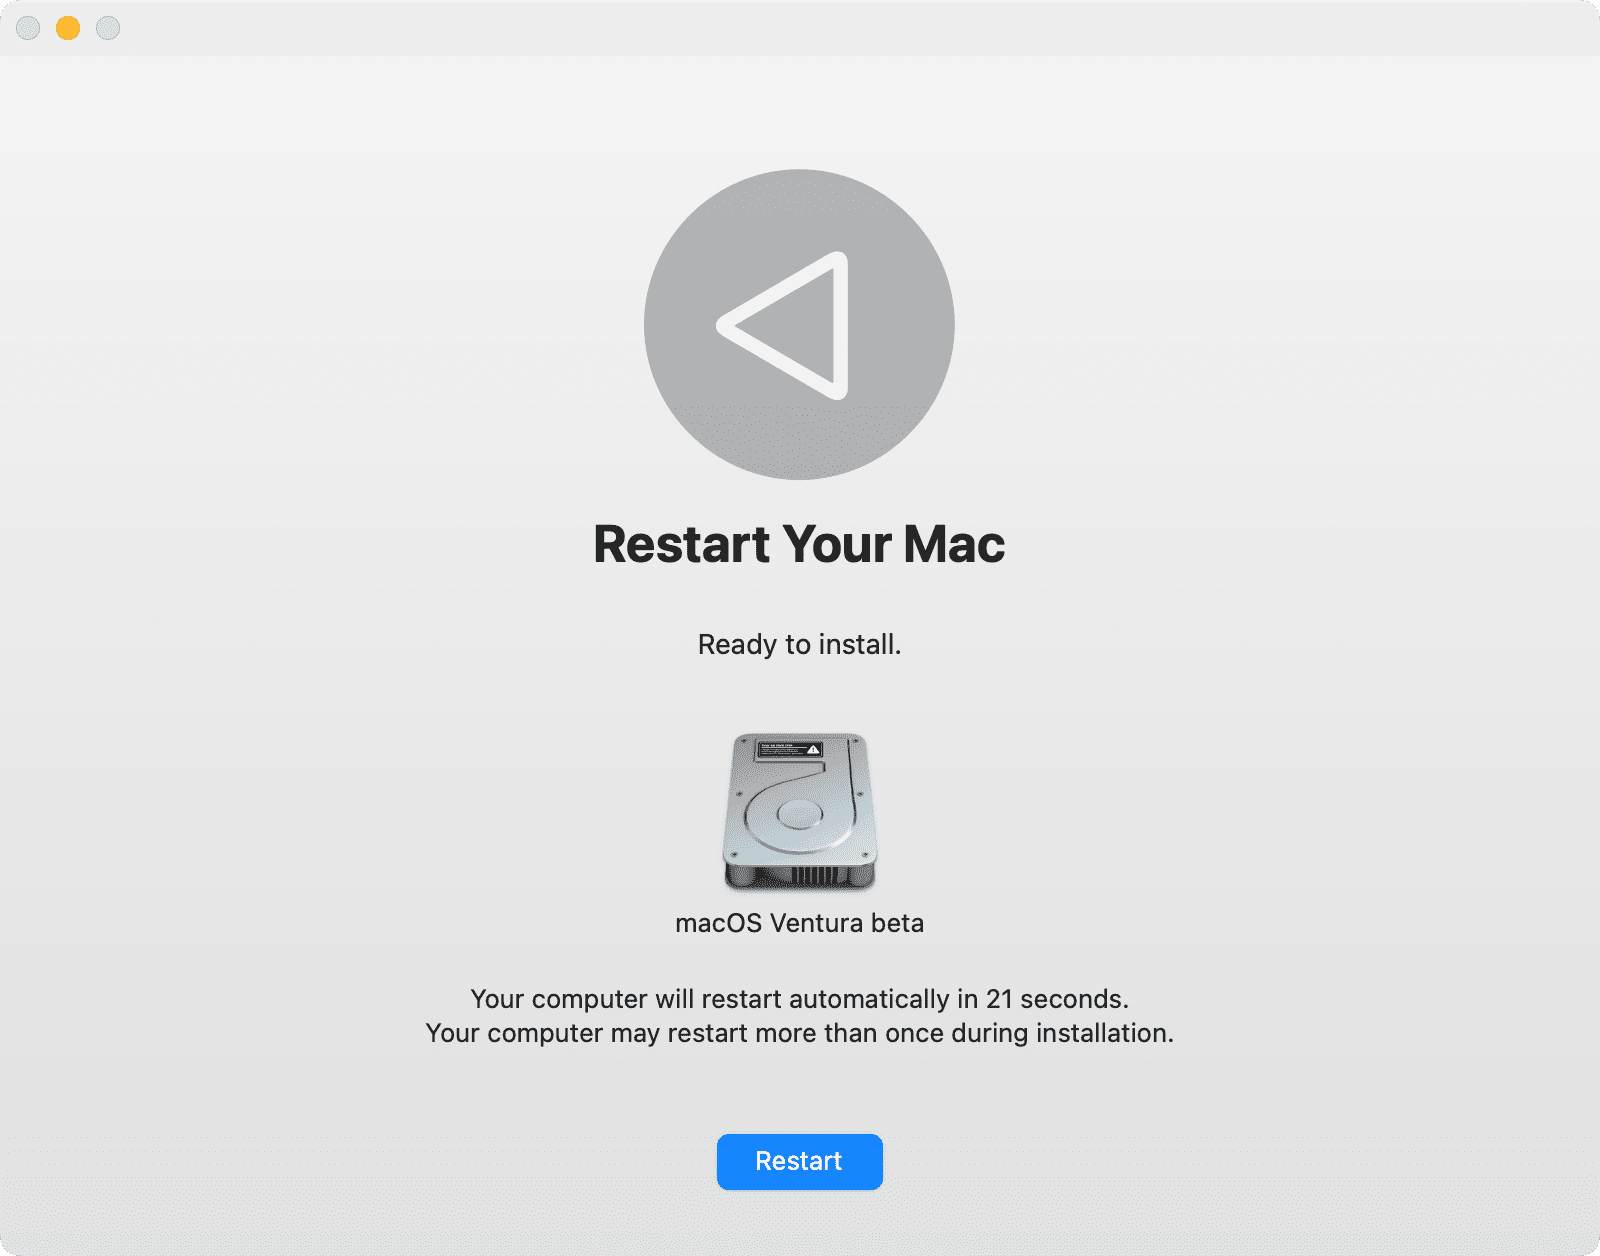
After that, you will see the black screen with the Apple logo and a progress bar a few times.
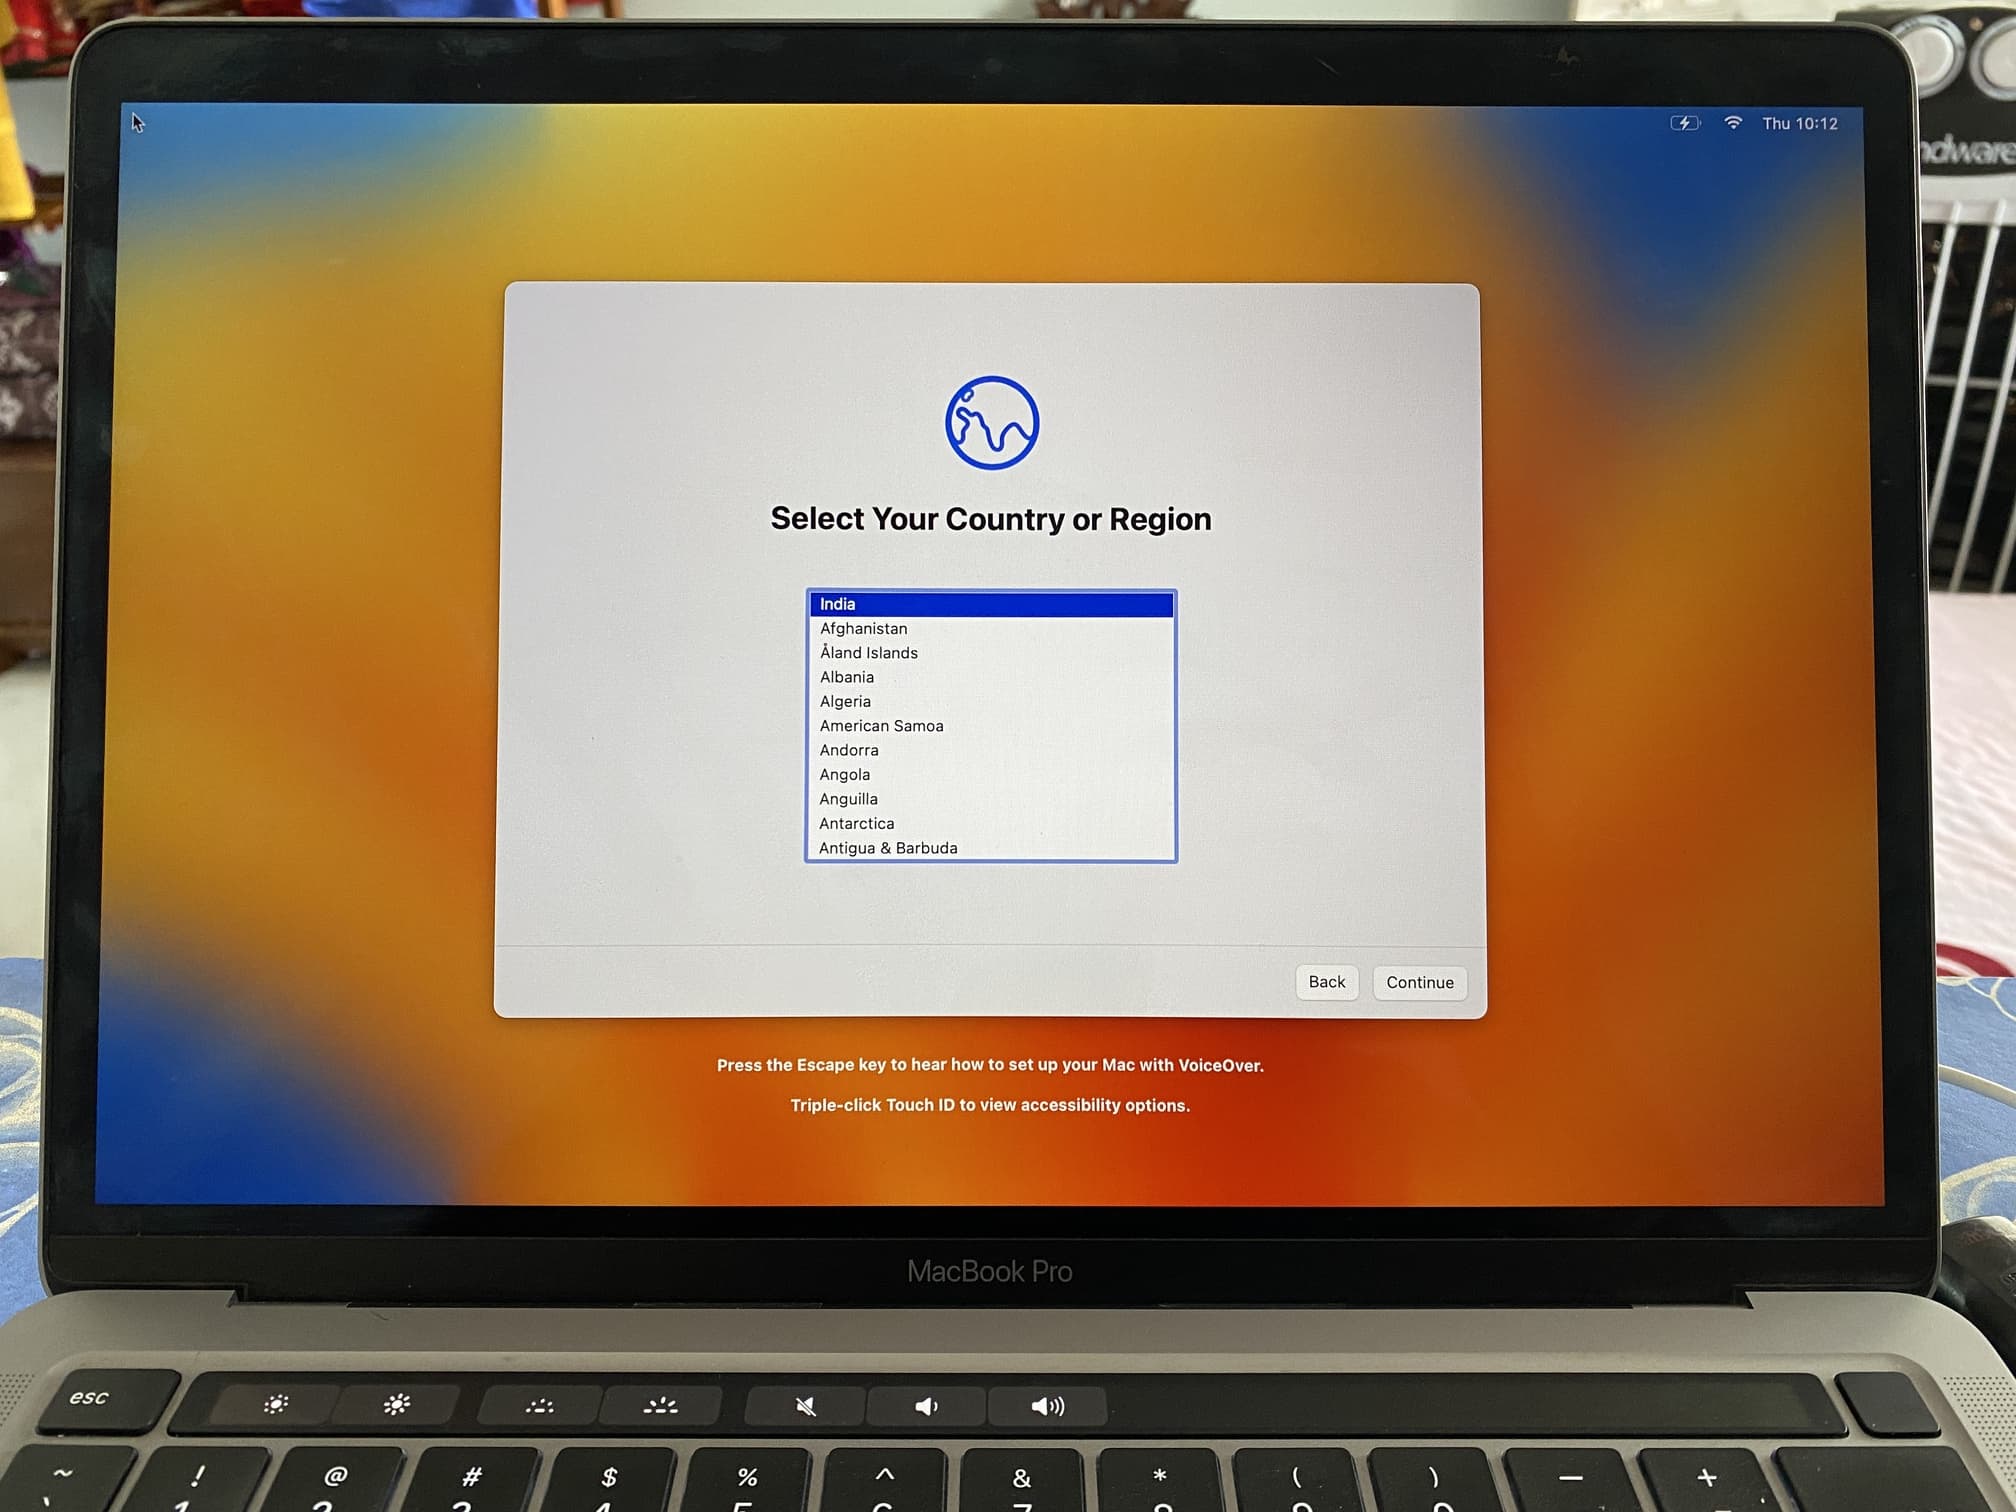
Once that’s done, you get the beautiful macOS Ventura setup screen. Complete this and enjoy the new macOS Ventura on the same Mac in a different volume.
Related: 33 things to do after setting up a new Mac
Alternatively, you can also learn how to create a macOS Ventura USB installer. After that, you can install it on the second volume you created above.
Troubleshooting
- In case the macOS 13 beta installer doesn’t open automatically, make sure you follow the above steps (excluding recreating the volume) again.
- If you don’t see the second volume after clicking Show All Disks, go to Disk Utility, select the second volume from the sidebar, and click Mount. After this, go to the macOS 13 installer and move back one screen (to the Terms & Conditions screen). Now, move forward and click Show All Disks to see the volume.
How to boot your Mac in macOS Ventura or old macOS
You can start up your Mac into any one of the macOS versions installed on it.
First, shut down your Mac and follow the steps below:
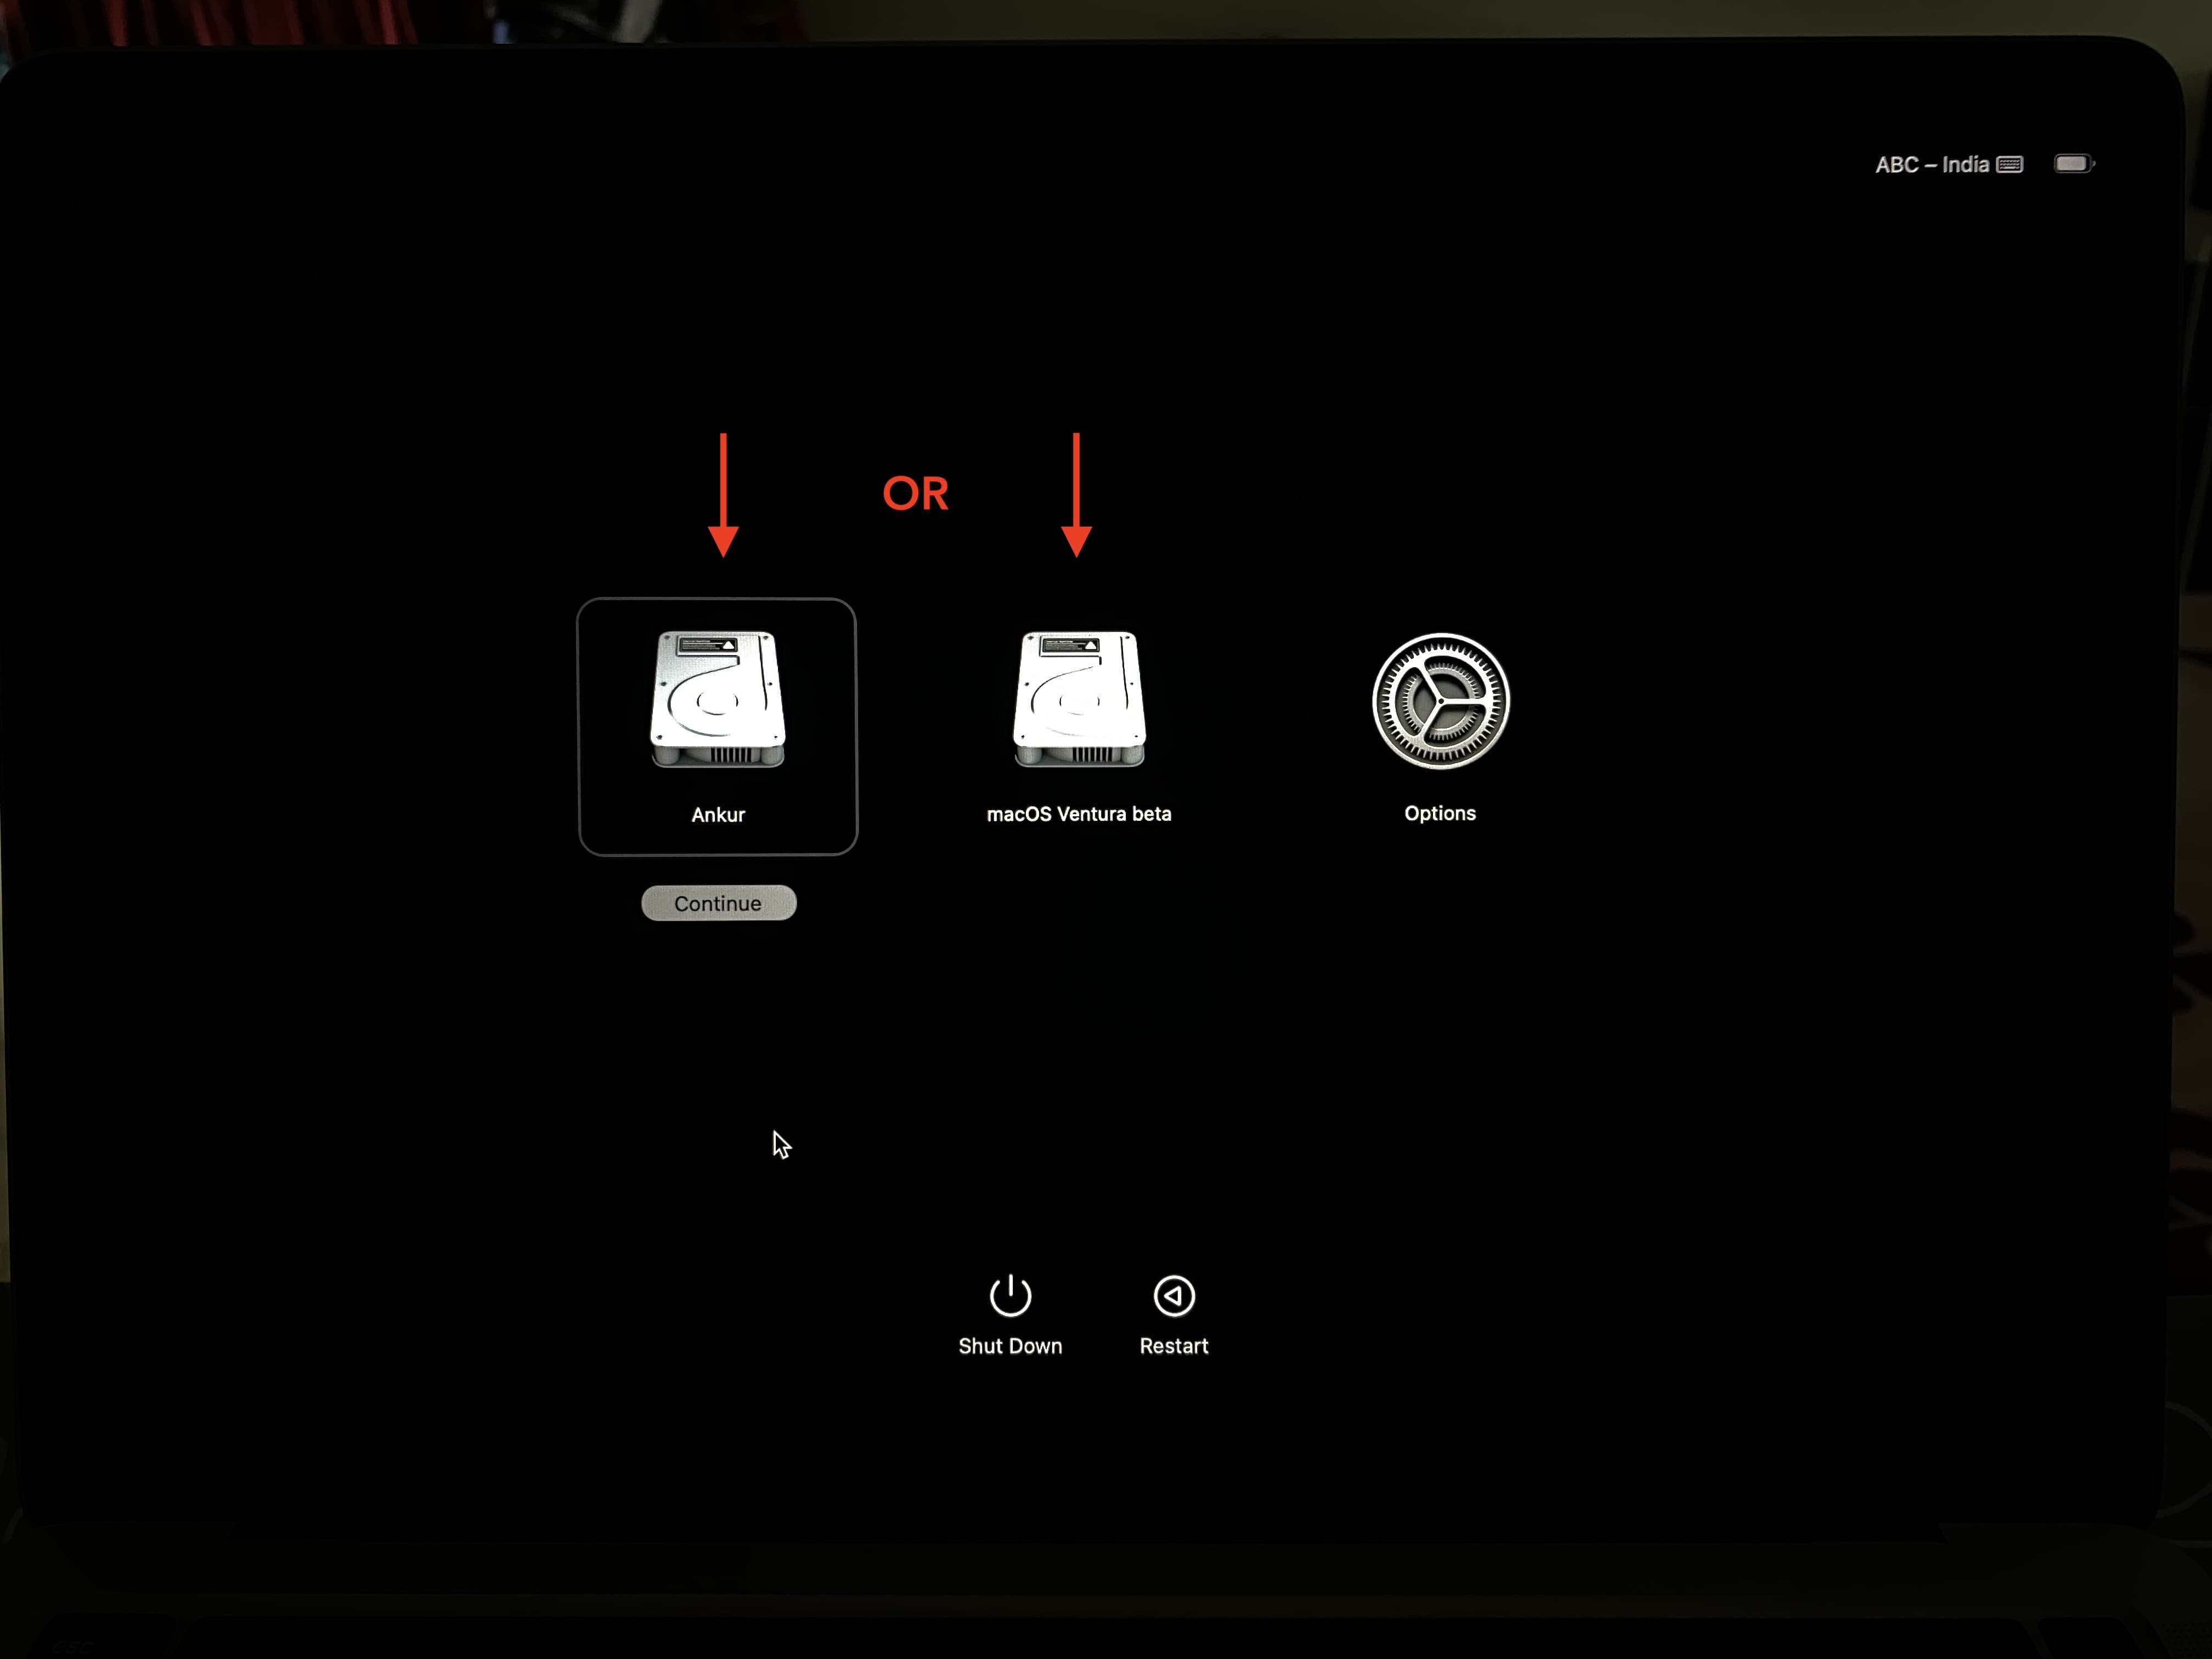
If your Mac has Apple silicon, press the power button once and then immediately press and hold it until you see Loading startup options on the screen. Now, select the volume with your old macOS or macOS Ventura and click Continue.
If your Mac has an Intel processor, follow these steps to pick a startup disk for your Mac at boot time. It’s simple and involves pressing and holding the Option key immediately after pressing the power button. After that, select the desired volume and click the up arrow or press the enter/return key.
Check out next: