Learn how to use the built-in Quick Look feature in macOS to instantly preview one or more selected files, rotate an image, or trim a video file on your Mac.
Quick Look is one of those Mac tools that you need to know about to use; it doesn’t jump out at you. So, if you’re new to Mac or have simply never used Quick Look before, this how-to is for you.
With Quick Look, you can check out a preview of an item on your Mac, like a file, image, PDF, or video. And with this preview, you can perform some basic actions. It’s super handy for, well, a quick look at the item without the need to open it in an app.
Open Quick Look on Mac
There couldn’t be a faster way to open Quick Look than with the press of a key on your keyboard.
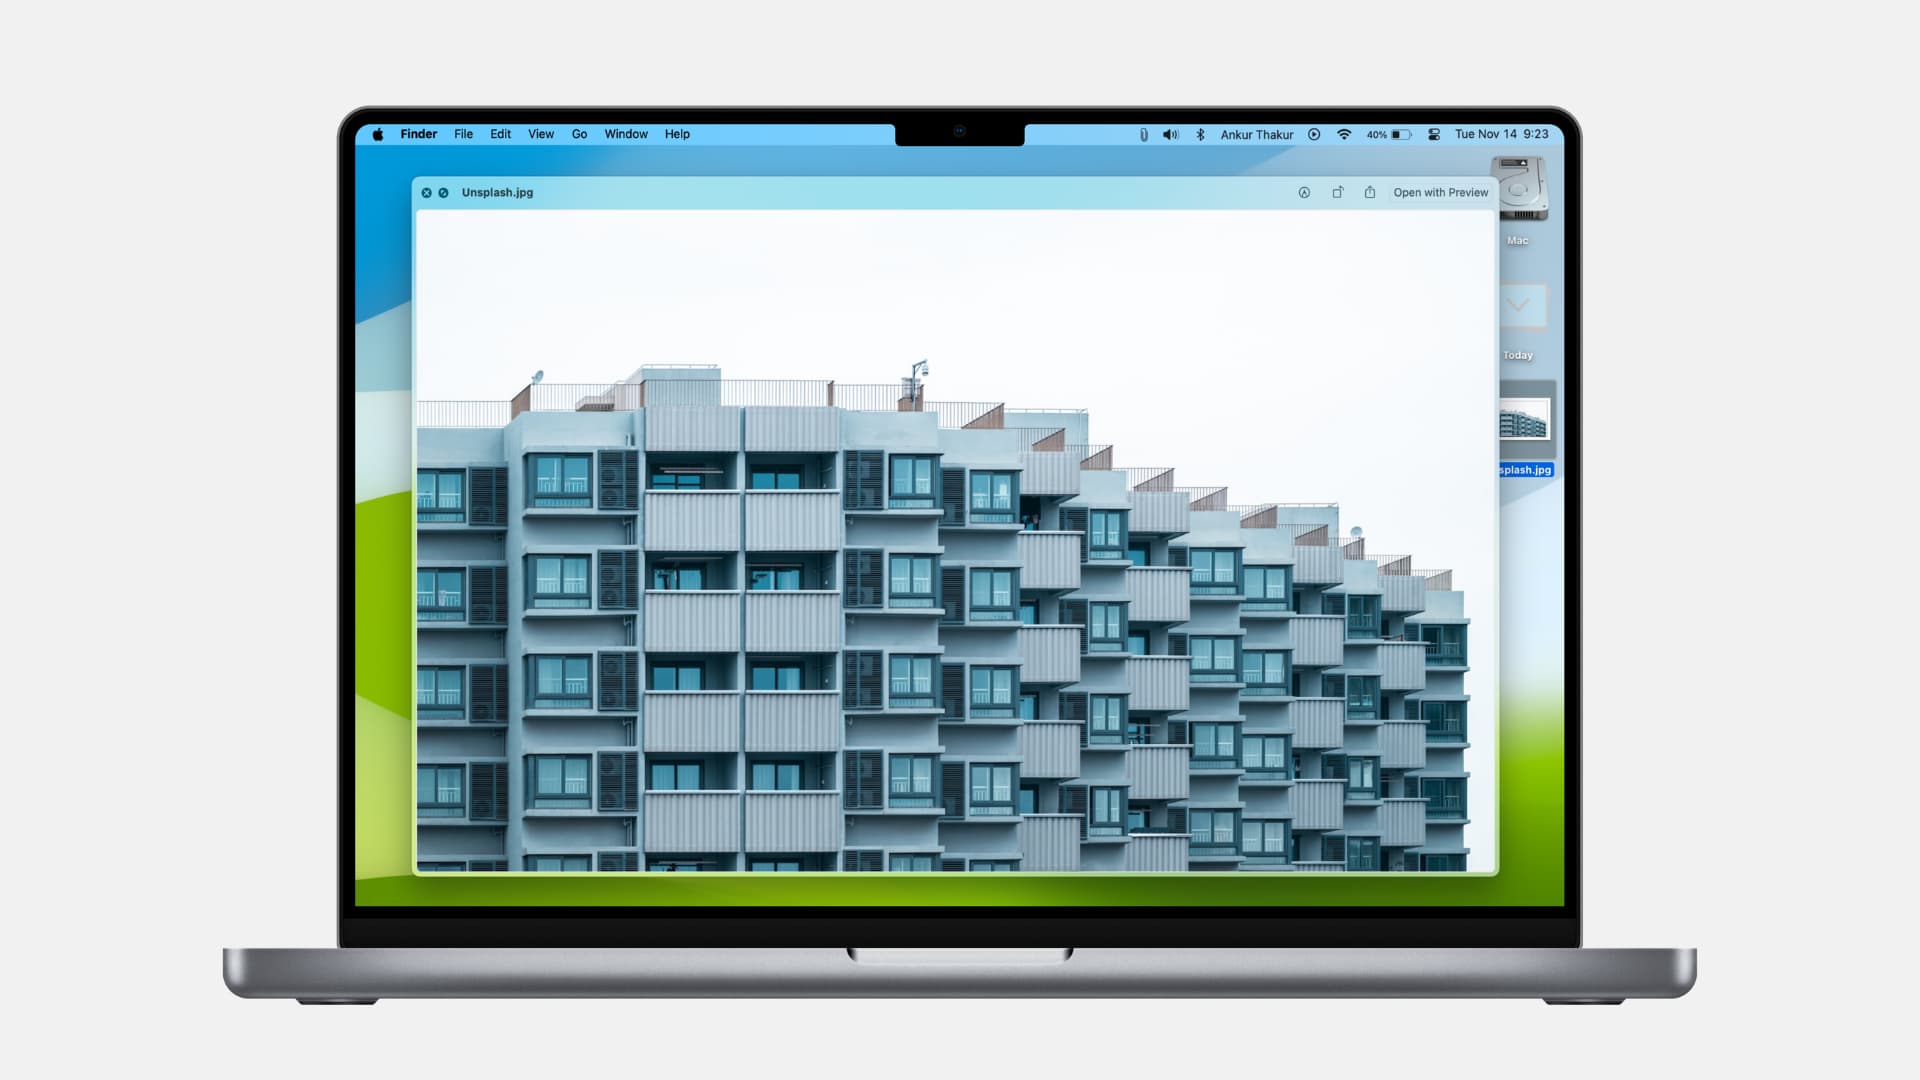
To open Quick Look, select an item and press the Space Bar. The file will preview in a pop-up window. You can Quick Look at an item on your desktop, a file in Finder, an image in Messages, or an email in the Mail app.
You can also open a group of items with Quick Look. Just select them all and hit the Space Bar key.
View multiple items in Quick Look
If you do choose to open multiple items with Quick Look, here’s how to work with them.

- The first item in the group you select is the first one that displays.
- Any actions you take when viewing multiple items, like rotating or Markup, only apply to a single selected item, not all items.
- Use the arrows in the toolbar or your Right and Left arrow keys to move through each individual item.
- Click the Grid icon to see all items in that view.
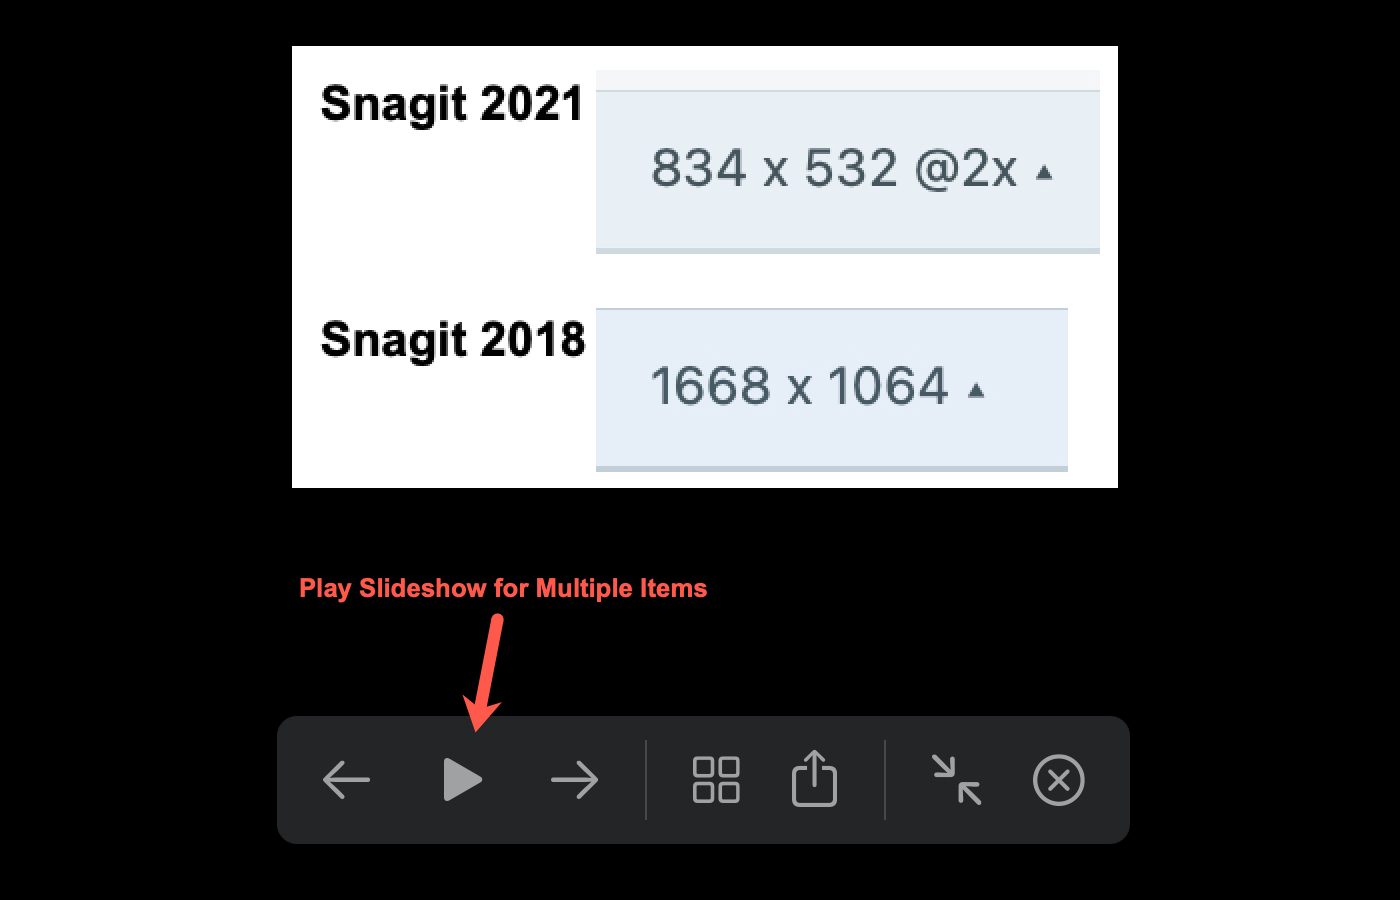
- Put Quick Look in full screen using the tiny green button in the top left corner and press the Play button to view the items as a slideshow.
Use the Quick Look toolbar
When you open Quick Look, you have an intuitive toolbar at the top that lets you perform a few actions easily. As mentioned above, for multiple items, you can use arrows to move between items or see them in a grid view.
In addition, you can take action on a single item with the buttons on the right of the toolbar. Click to rotate the item, trim it, open it in Markup, or share it.

What you can do in Quick Look
- Close Quick Look: Click the X in the top left of the window to close it. Or, press the Space Bar again.
- Enter full screen (arrows inward): Once you’re in full screen, click the button on the bottom right (arrows outward) to exit.
- Arrows: Click to move left and right between multiple items.
- Grid view: Click to view multiple items all at once in a grid.
- Use Markup: Click the Markup button to open the image in the Markup tool for annotations. When you finish with the tool, click Done, and you’ll be back on the Quick Look window.

- Trim a video or audio file: When you use Quick Look for a video or audio file, you’ll see a Trim button replace Markup in the toolbar. If you use the trim tool, you’ll be asked if you want to replace the file or save it as a new clip. When you finish, click Done, and you’ll return to Quick Look.
- Rotate: Click the Rotate button to turn the item to the left. Hold your option key and click the Rotate button to turn the item to the right.
- Share: Send or share the item to Mail, Message, Notes, or another option you have set up in your Mac Share Menu.
- Open with app: This button displays on the far right of the toolbar and changes depending on the item type. So, you can open an image in Preview, a video in QuickTime Player, or a Pages document in Pages.
You can also perform these actions when Quick Look is open:
- Resize the window: Drag an edge or corner of the Quick Look window to resize it.
- Zoom in or out: Press the command + plus sign (+) to zoom in and the command + minus sign (-) to zoom out.
- Copy text: Click the Live Text icon (if visible) in the bottom right corner of the Quick Look window to select and copy text in an image or paused video frame.