Learn how to customize the trackpad and mouse gestures on your Mac to enhance efficiency and boost productivity.
You younger folks probably don’t remember the days before the trackpad (touchpad) existed. Introduced for laptops in the 90s, these handy little input devices have become popular on and off keyboards. Trackpads make doing all sorts of things on your computer easier with gestures.
Now you can purchase a standalone trackpad if your computer doesn’t have one. Plus, you can take advantage of gestures with your mouse on Mac with accessories like Apple’s Magic Mouse.
However, like macOS keyboard shortcuts, there can be almost too many gestures to remember. Sometimes, you might even accidentally trigger an action you didn’t intend.
Your Mac offers options to customize trackpad and mouse gestures, allowing you to tailor the experience to your preferences. You can enable the gestures you find useful, adjust them to suit your needs, and disable others to prevent accidental actions.
Previewing and changing the gestures
For both trackpad and mouse gestures, you can enable or disable them using the checkboxes. Some settings also let you choose specific gestures, such as the number of fingers to use. Simply click the arrow next to the setting to view the available options.
If you’re unsure what a setting does or how to perform a gesture, a helpful preview will appear for guidance.
Keep these points in mind as we explore the available options.
Customize trackpad gestures on Mac
To view and adjust the gestures you can use with your Mac trackpad, open the System Settings using the icon in your Dock or Apple icon > System Settings in the menu bar. Next, pick Trackpad and then check out these options. If your Mac is on an older version of macOS, head to System Preferences instead.
Point & Click
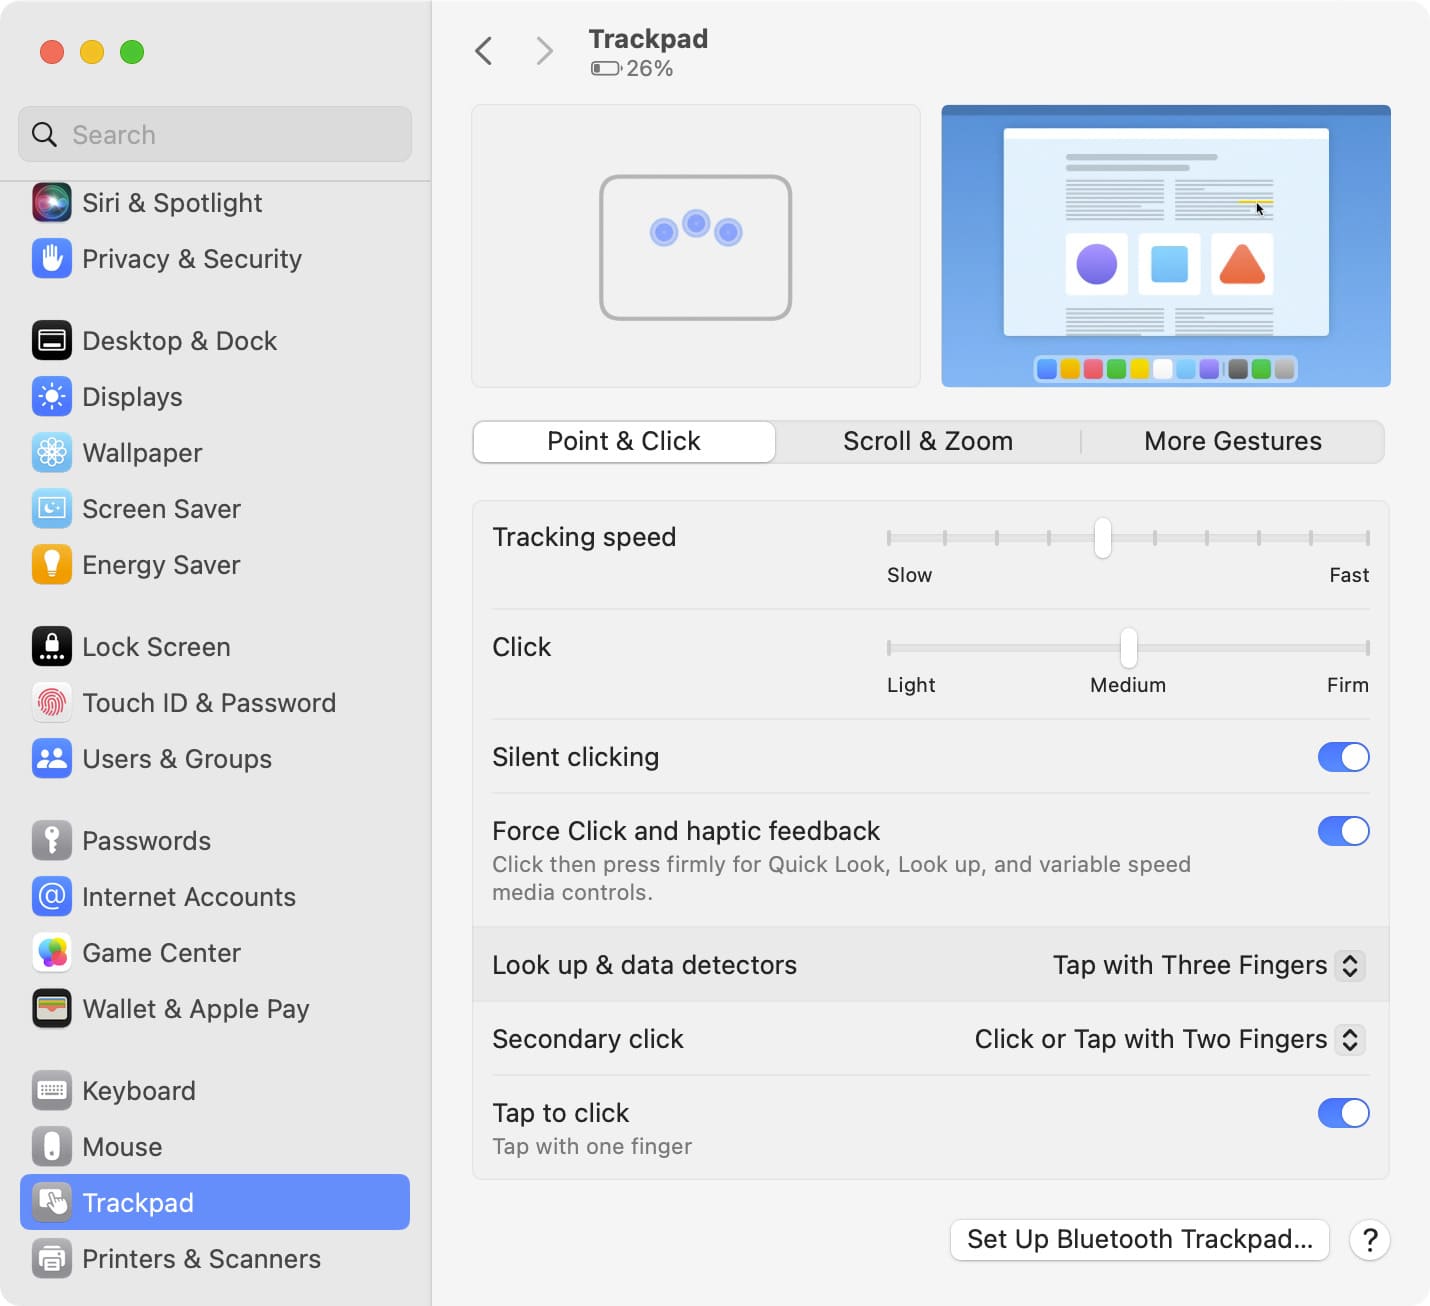
You’ll likely use these point-and-click gestures often, so take your time setting them for maximum efficiency.
- Look up and data detectors: Use Force Click with one finger or Tap with three fingers. This applies to using the Look Up feature on your Mac and certain types of actions for data like dates.
- Secondary click: Click or tap with two fingers or tap one of the trackpad corners (right or left). A secondary click is like using Control + Click or a “right-click.”
- Tap to click: This is simply on or off but is one of the gestures you’ll probably use the most as it’s a basic click.
- Click and Tracking speed: Adjust these sliders for the pressure and speed you want for the above options.
- Silent click: Turn it on or off to hear the clicking sound. You may not see this option on MacBooks, but see it if you’re using Apple’s Magic Trackpad.
- Force Click and haptic feedback: On or off for Force Touch trackpads. To Force Click, you click and then press until you feel a deeper click.
Scroll & Zoom
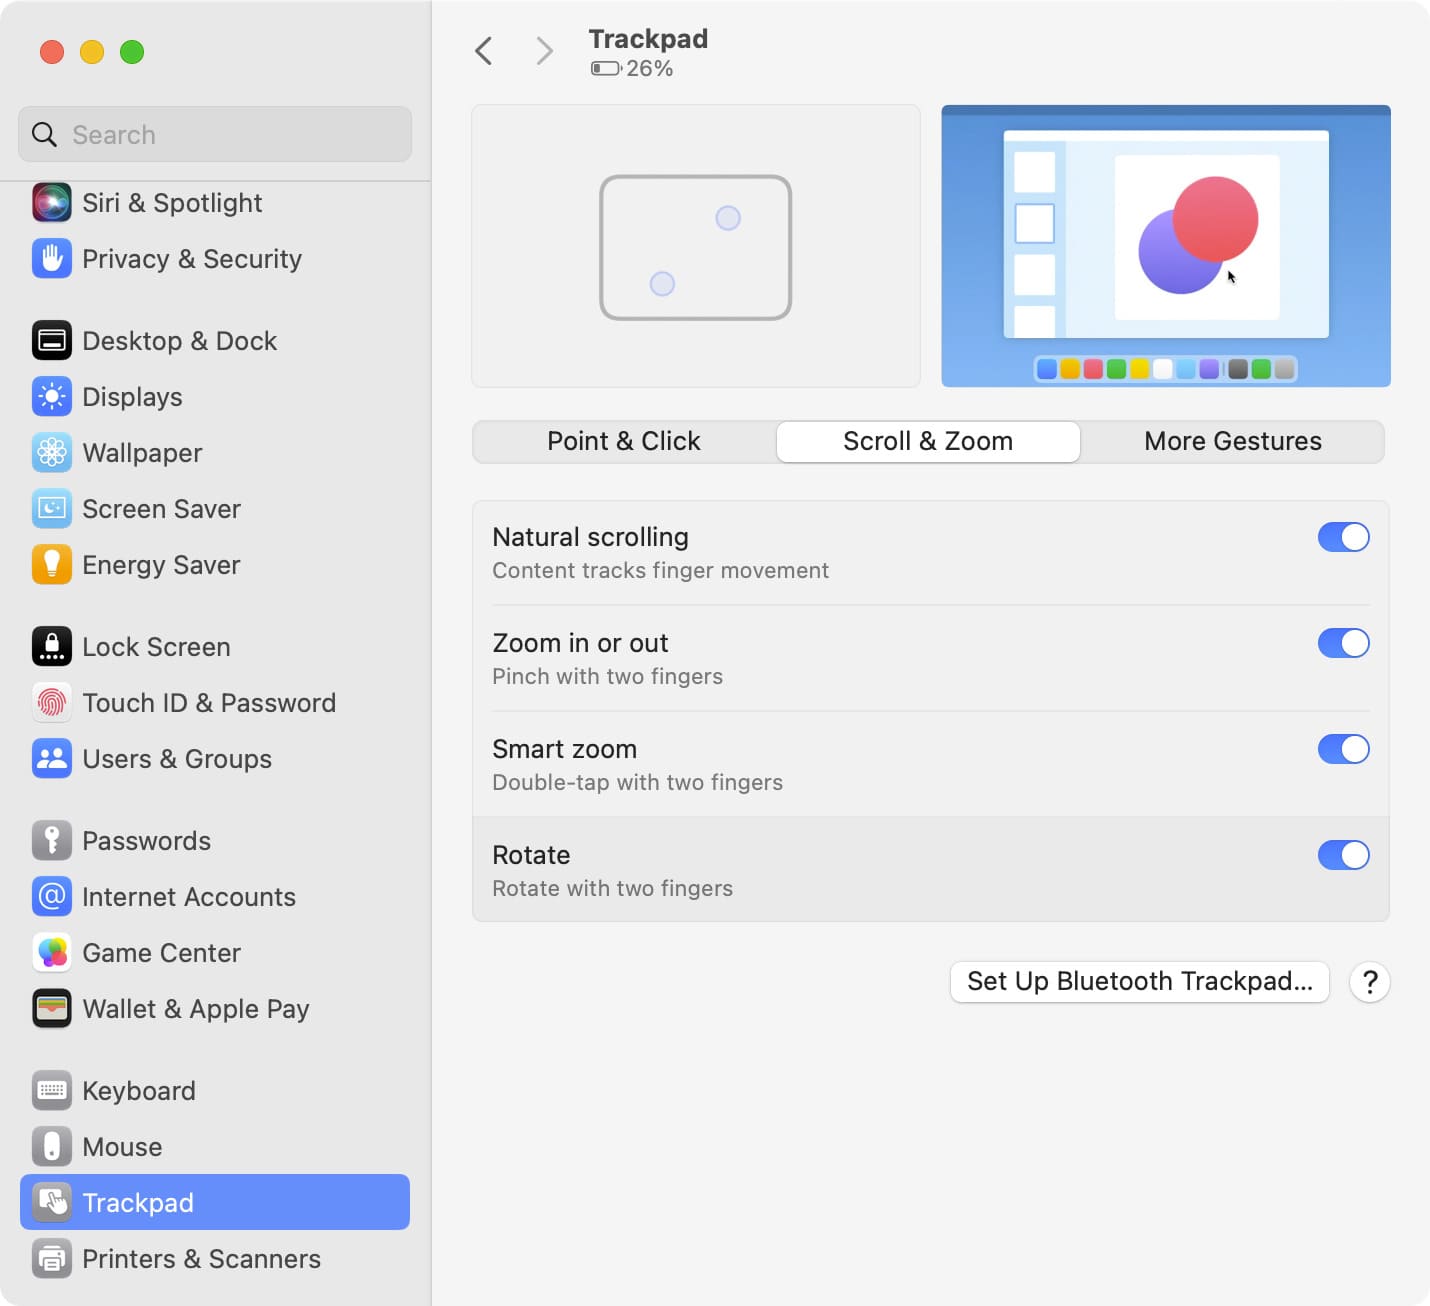
Each of the following gestures can be either enabled or disabled.
- Natural scrolling: Move the contents you’re viewing in the same direction as your fingers.
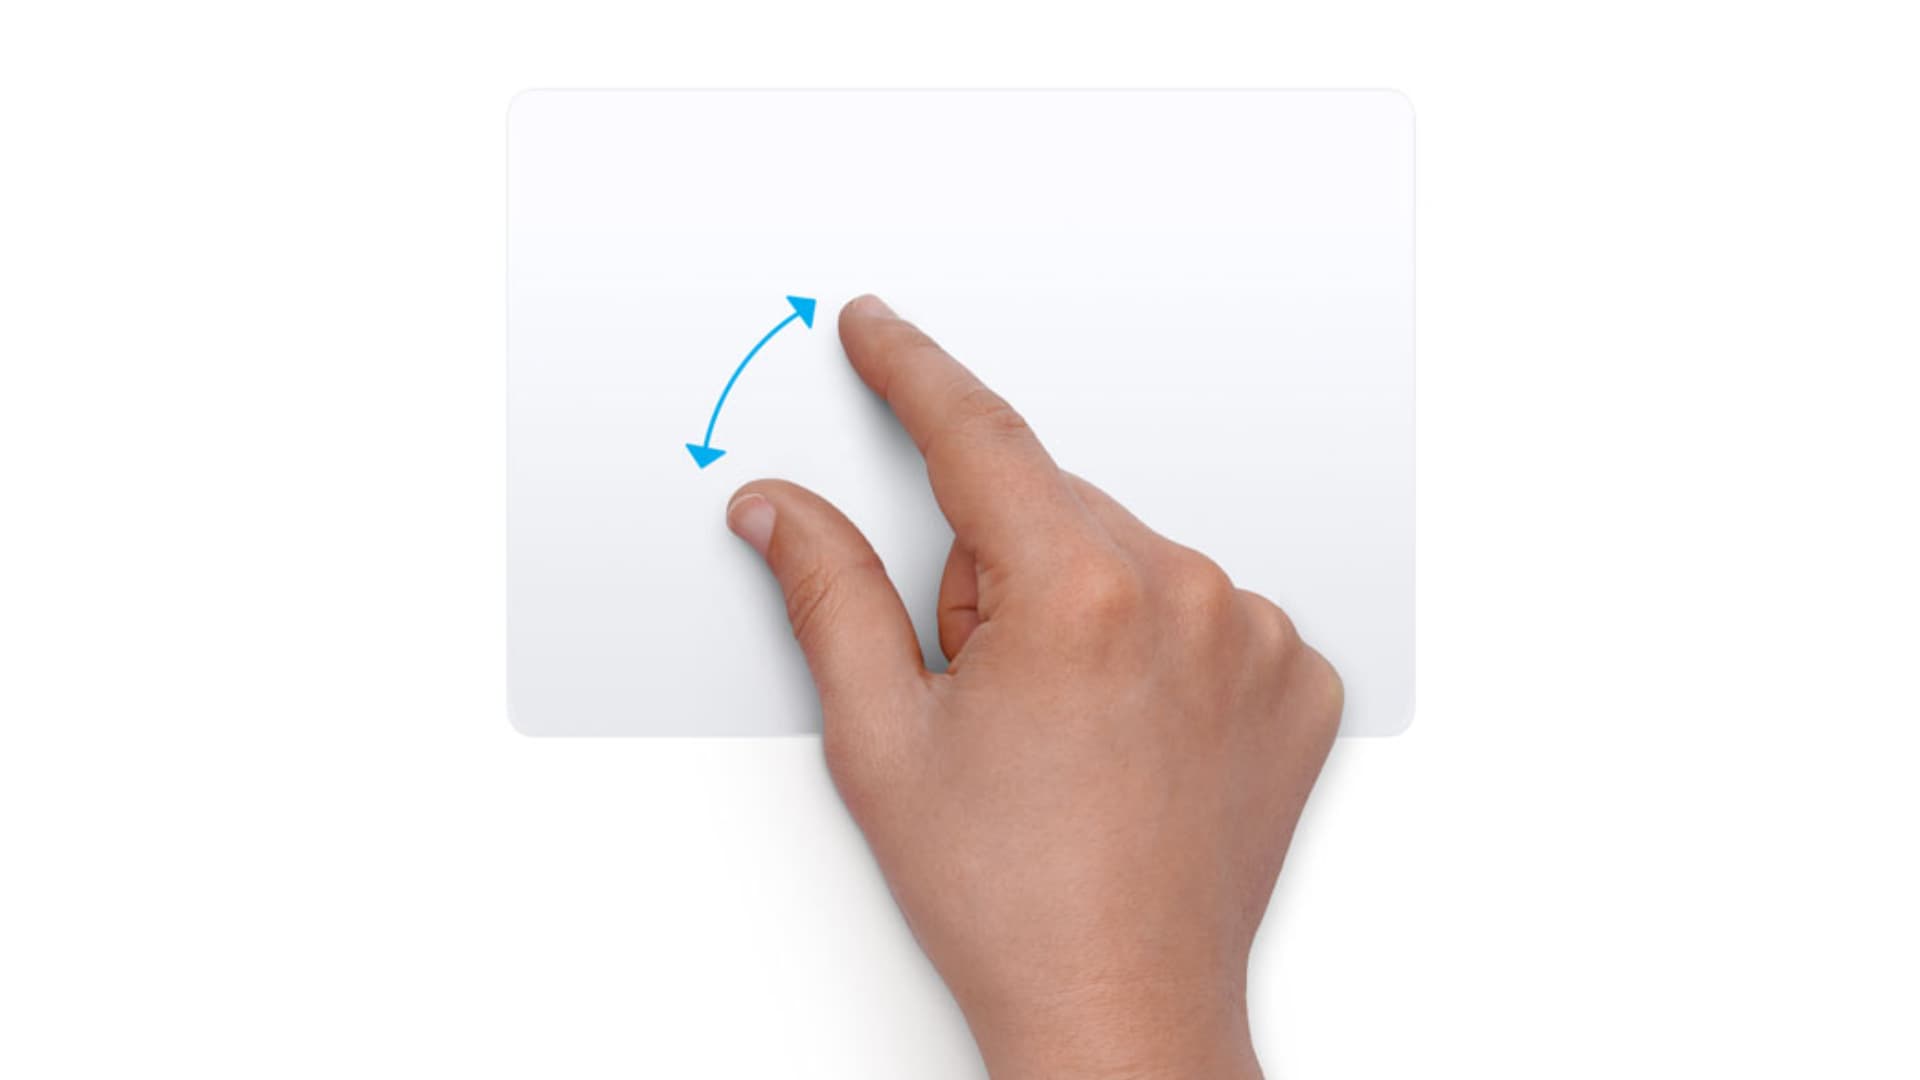
- Zoom in or out: Pinch with two fingers to zoom in and spread with two fingers to zoom out.
- Smart zoom: Double-tap with two fingers to zoom in and out.
- Rotate: Use two fingers to rotate, like you’re turning a dial.
More Gestures
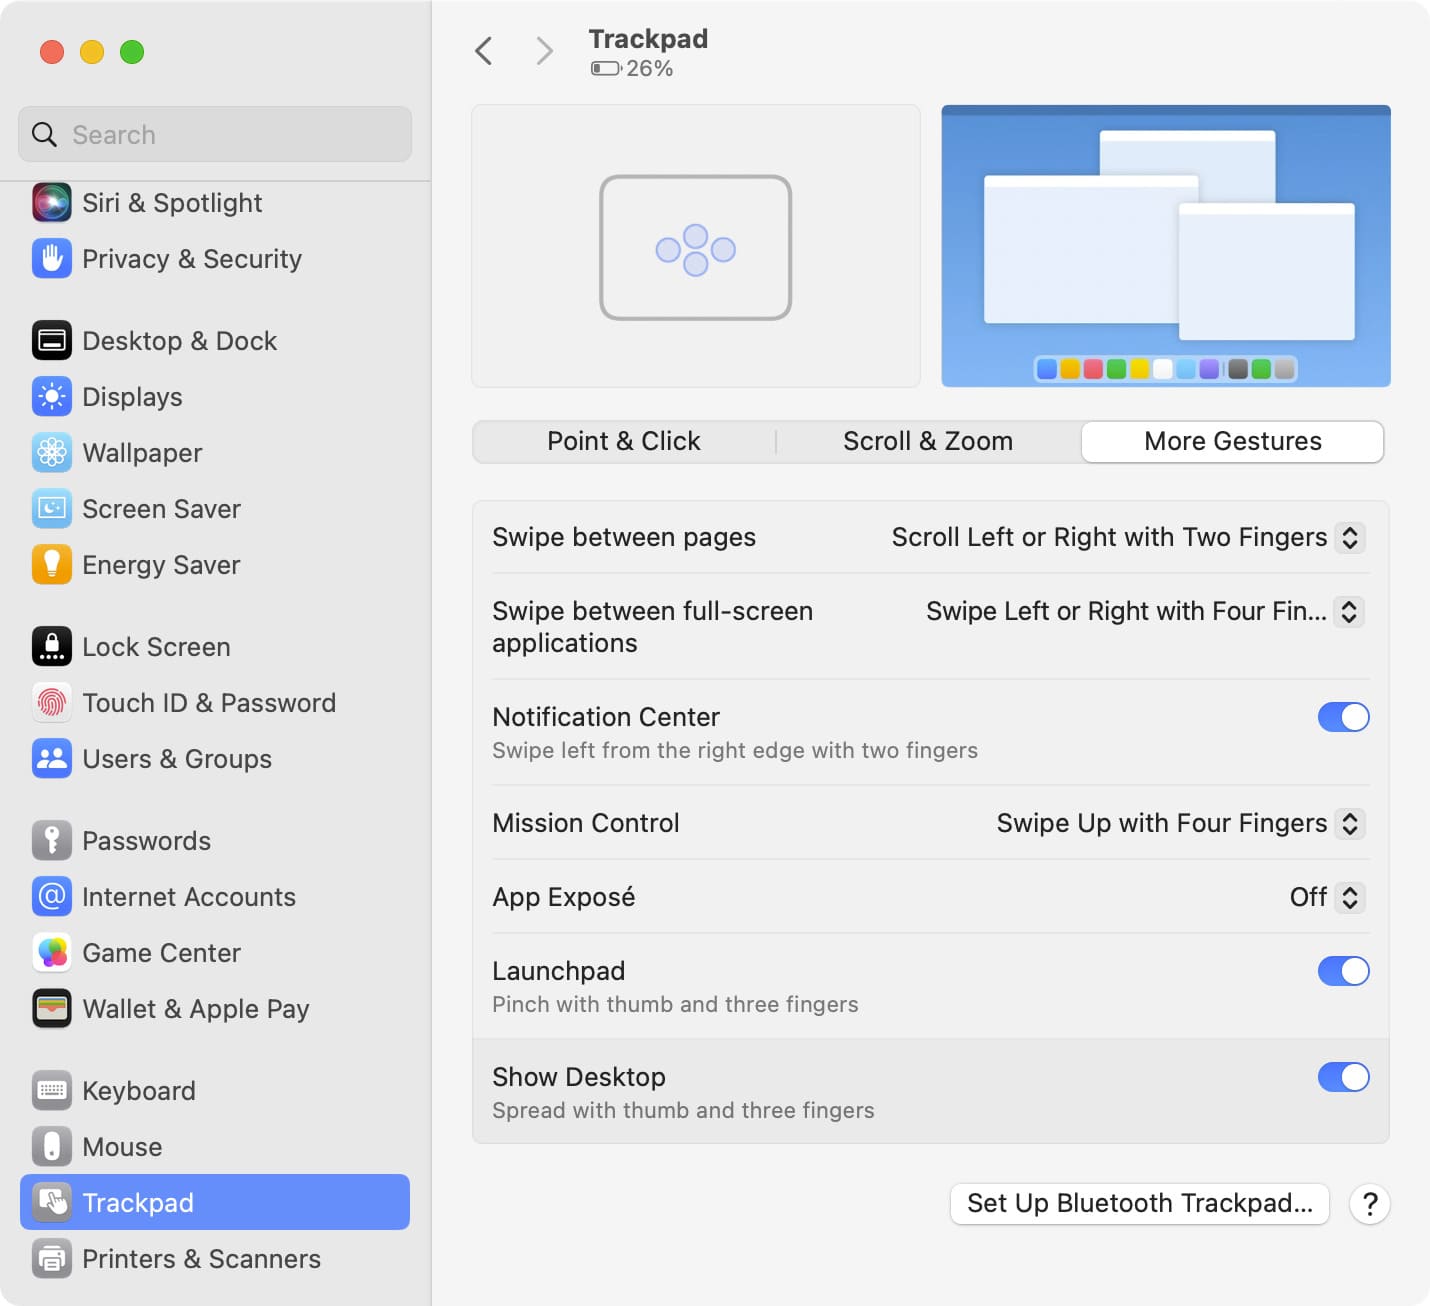
This next set of advanced gestures is quite useful but can also be harder to remember or ones you might trigger accidentally.
- Swipe between pages: Choose to scroll or swipe with two or three fingers or both when viewing webpages in Safari.
- Swipe between full-screen applications: Swipe left or right with three or four fingers to move between apps you have in full-screen mode or your virtual desktops.
- Notification Center: Swipe from the right edge with two fingers. This is convenient if you use your Notification Center regularly.
- Mission Control: Swipe up with three or four fingers to access Mission Control.
- App Exposé: Swipe down with three or four fingers to access App Exposé, which shows all open windows for the current app.
- Launchpad: Pinch with your thumb and three fingers to show the Launchpad that displays all your apps from the Applications folder in one spot.
- Show Desktop: Spread with your thumb and three fingers to show your Desktop.
Customize mouse gestures on Mac
To see and adjust the gestures you can use with your mouse, open the System Settings, pick Mouse, and then review the options. Remember, you must have a gesture-compatible mouse, like Apple’s Magic Mouse. However, you should be able to customize a few things even if you have a non-gesture mouse with normal left, right, and other buttons.
Point & Click
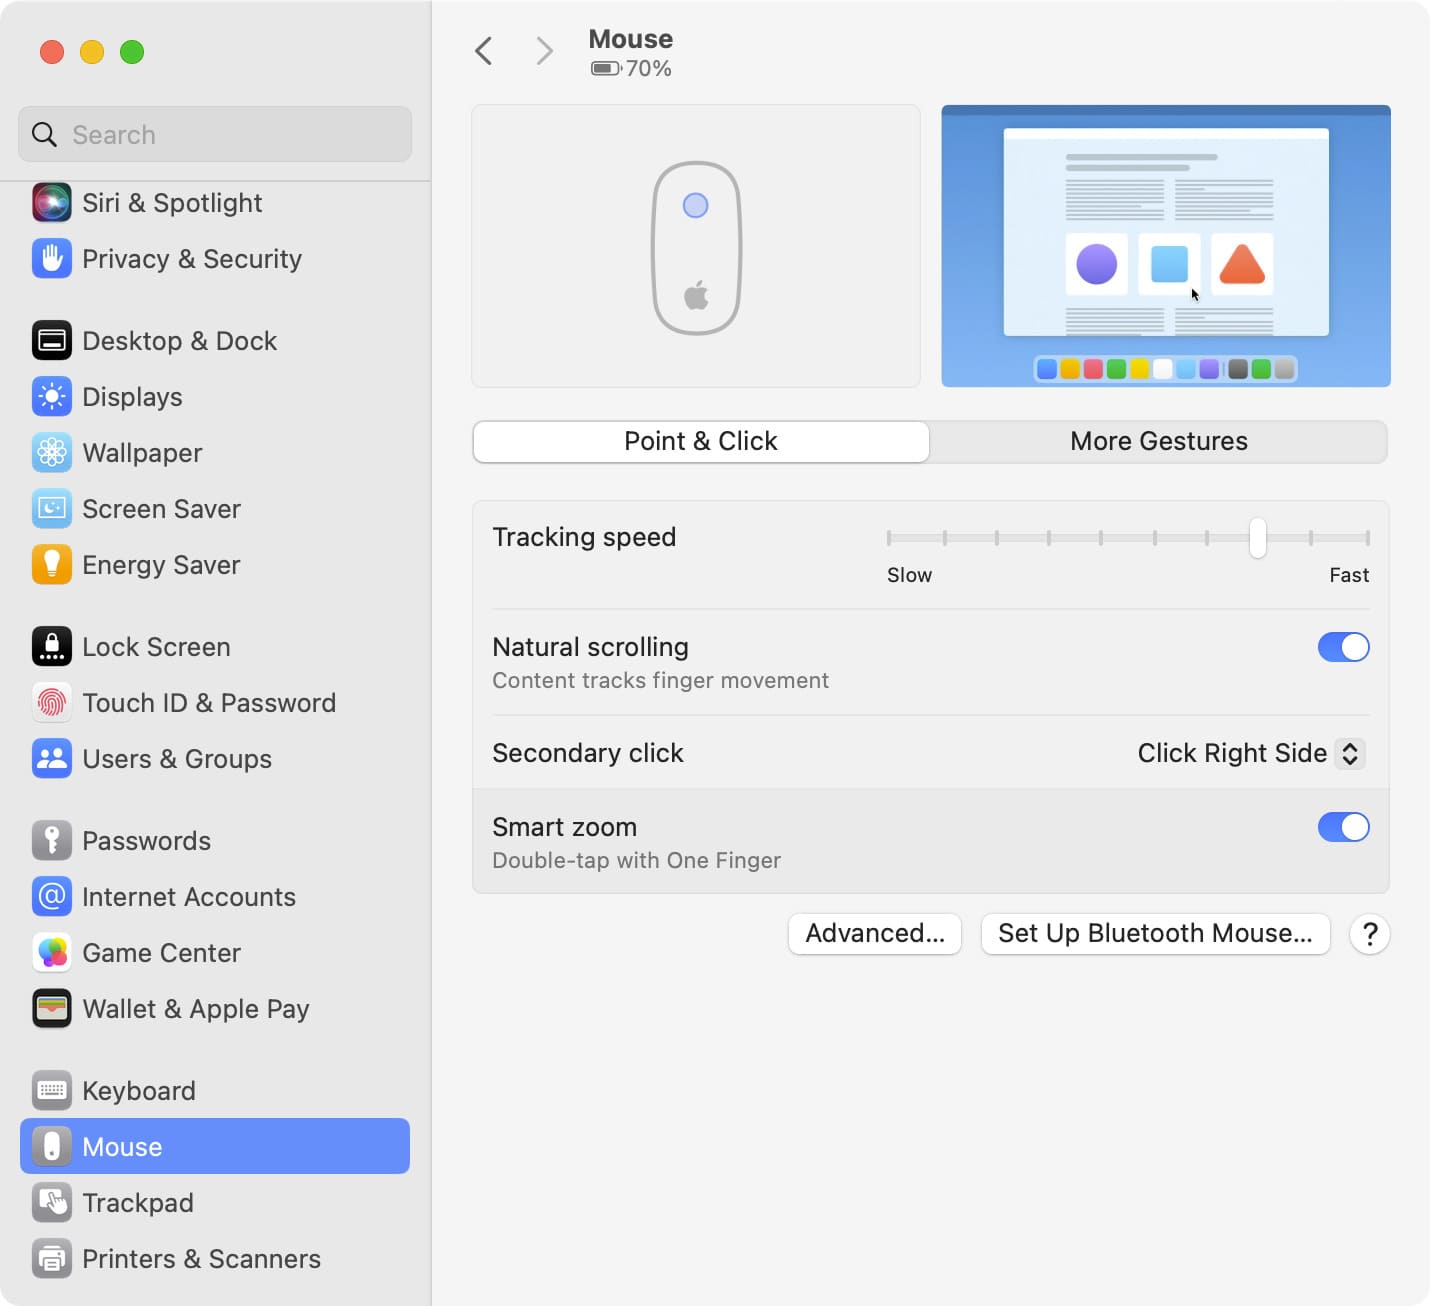
Like the trackpad, these point-and-click gestures are the basics you’ll use most.
- Natural scrolling: Move the contents you’re viewing in the same direction as your fingers
- Secondary click: Click on the right or left side. A secondary click is like using Control + Click or a “right-click.”
- Smart zoom: Double-tap with one finger to zoom in and out.
- Tracking speed: Move the slider to adjust the speed at which your cursor moves with your mouse.
More Gestures
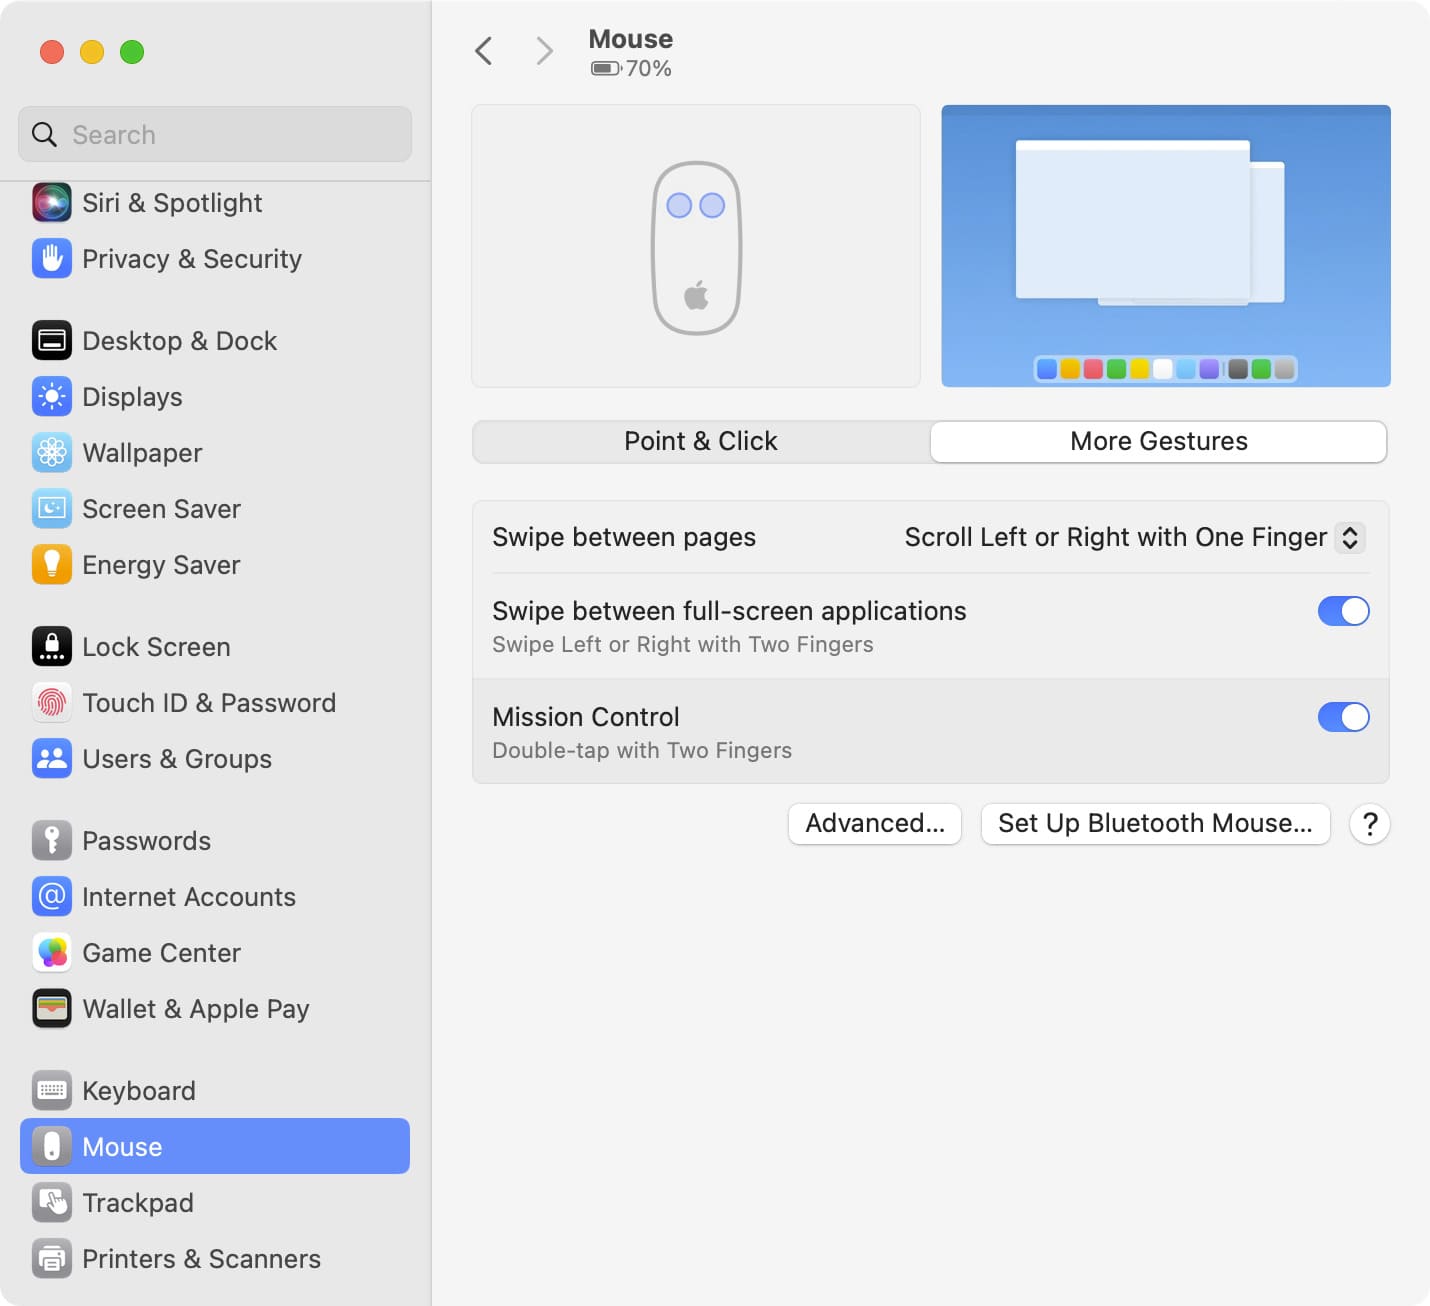
Here are a few extra gestures for your mouse, like those you can use with your trackpad.
- Swipe between pages: Choose to scroll or swipe with one or two fingers when viewing pages in Safari. Note that if you set it to a two-finger gesture, you won’t be able to use the next option (Swipe between full-screen apps).
- Swipe between full-screen apps: Swipe left or right with two fingers for smooth navigation between full-screen apps or your virtual desktops.
- Mission Control: Double-tap with two fingers to access Mission Control.
It’s important to ensure that you customize your Mac gestures in a way that’s most comfortable for you. And with the flexibility you have, you can work or play much more effectively.
Which gestures are you fondest of on your Mac? Do you keep them to a minimum, or use them all? Let us know!
More trackpad tips: