Whether you want to annotate an image for work, mark up a photo for fun, or add your signature to a PDF, it’s easy to do with the Markup tool inside your Mac’s Mail app.
In this article, we show you how to use Markup to add shapes, text, signatures, drawings, and more to your email attachments.

Attach your file and open Markup
1) Open the Mail app, compose a new email or reply to one, and insert your image or PDF file. You can do this by using the buttons in the compose mail toolbar, dragging and dropping the file from your computer, or clicking File from the main menu and selecting Attach Files.
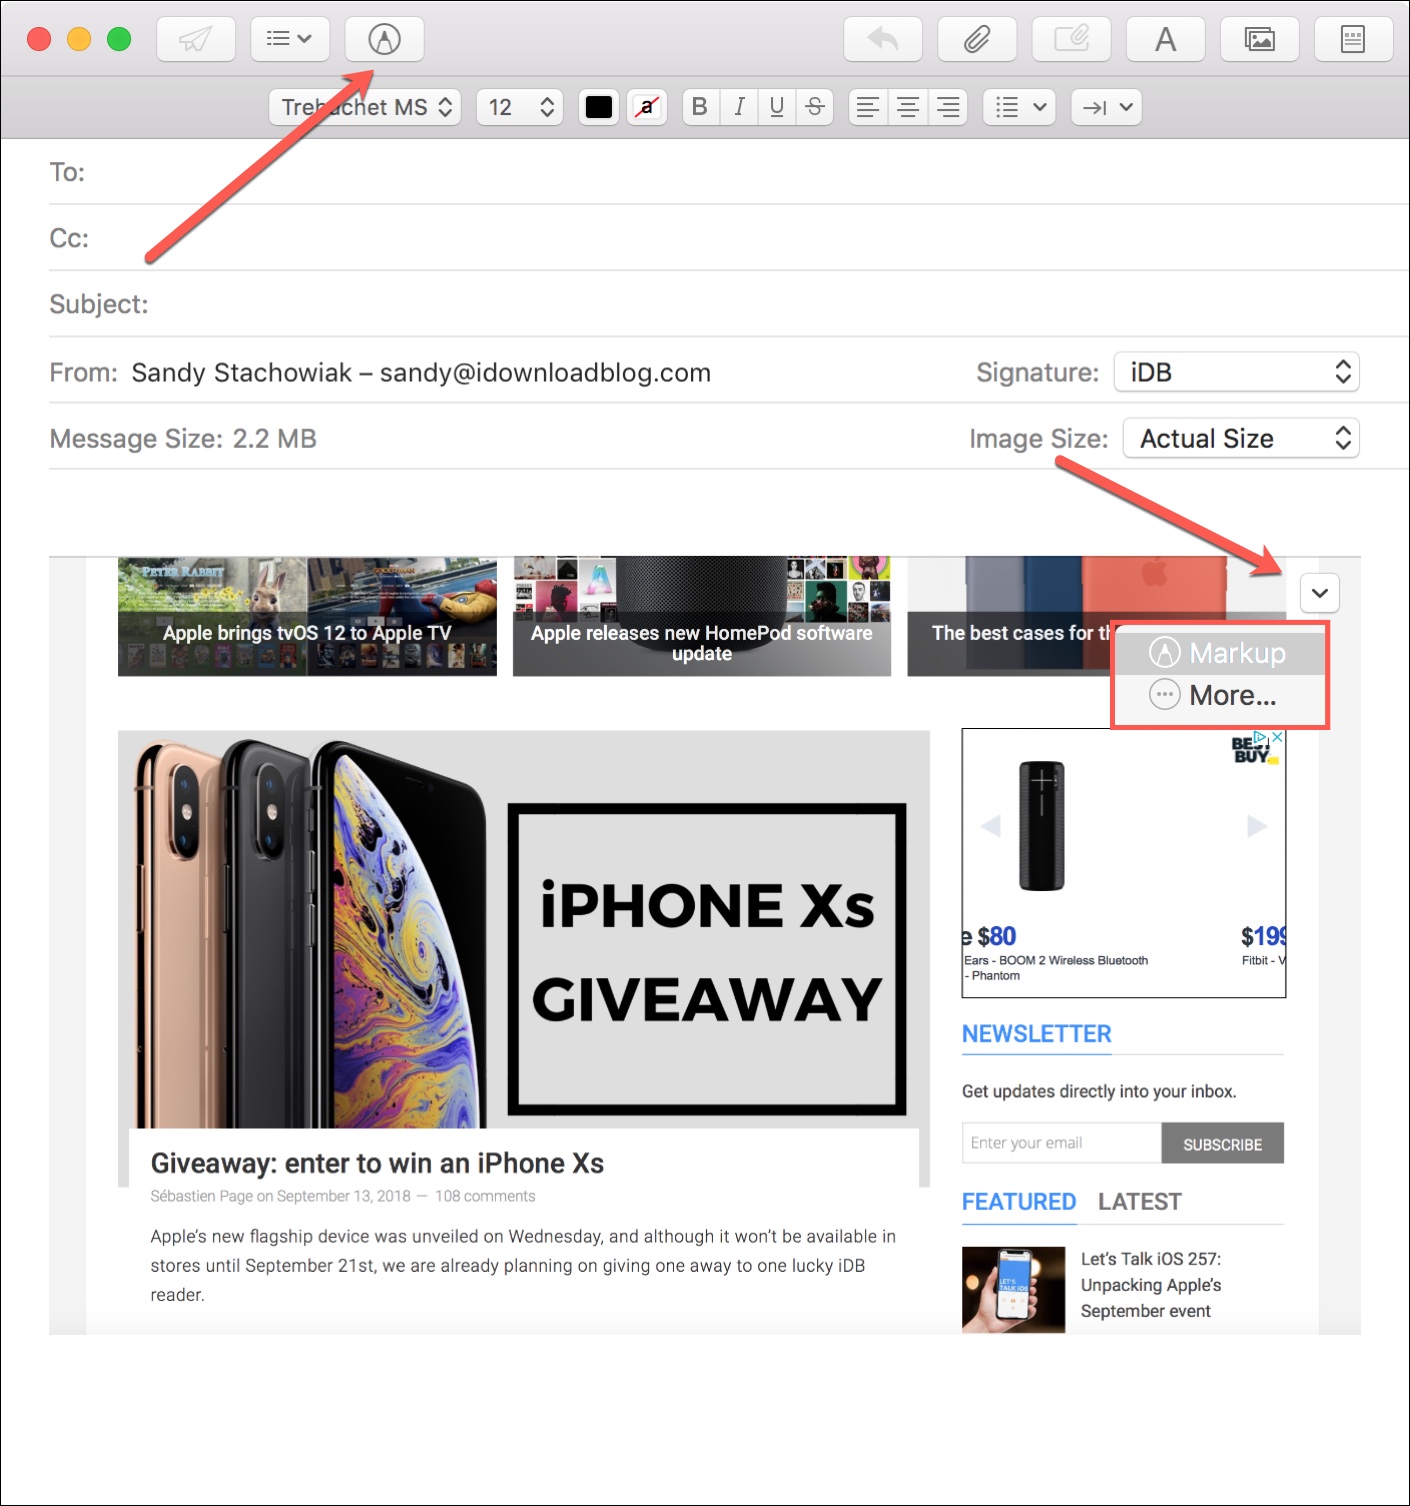
2) Click the attachment in your message and access the Markup tool. If you have the Markup button in your compose mail toolbar, click it. Otherwise, you can click the arrow on the top right of the file and select Markup.
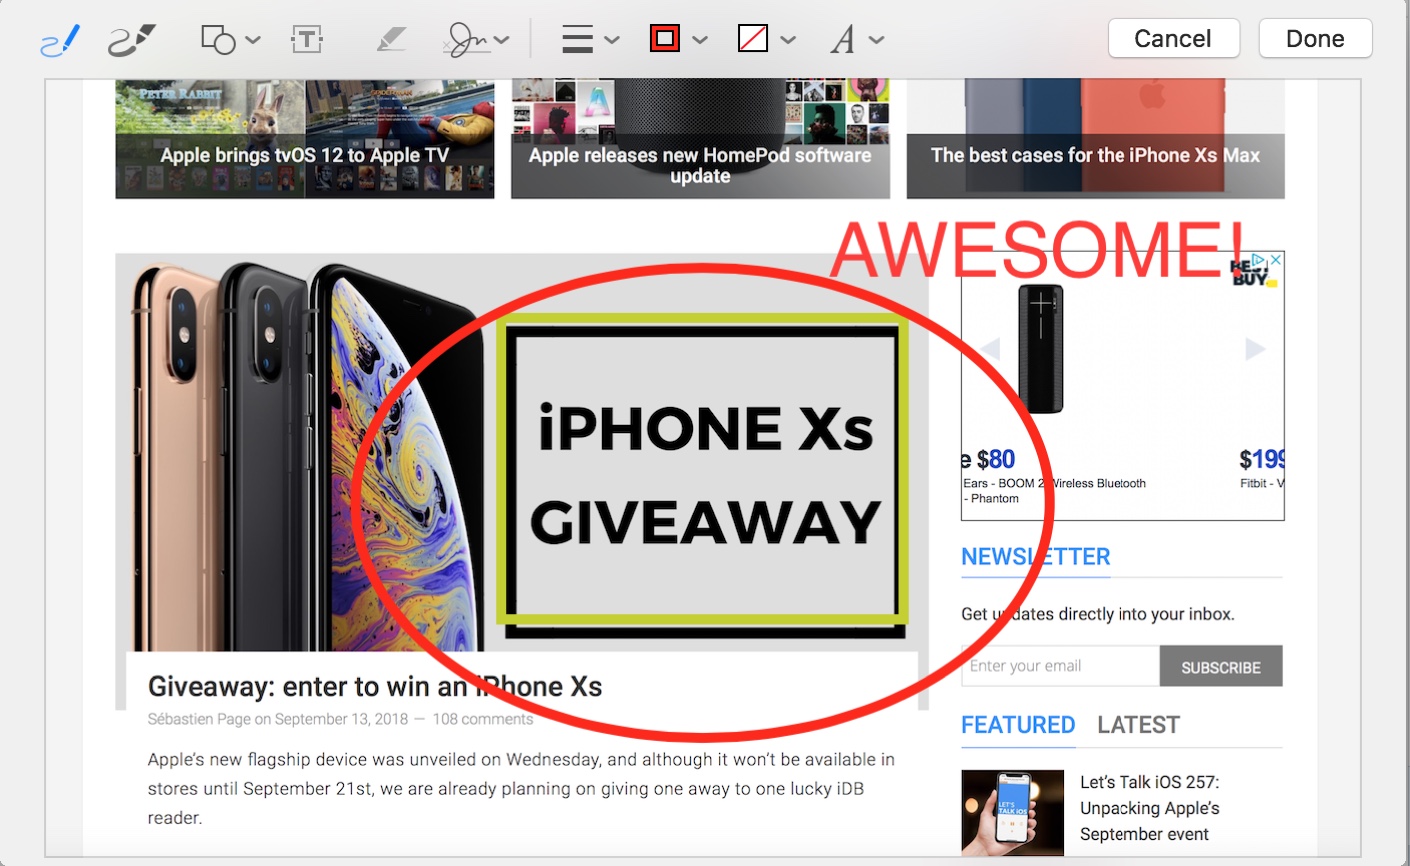
3) Your attachment will then display in the Markup window, where you can begin annotating it.
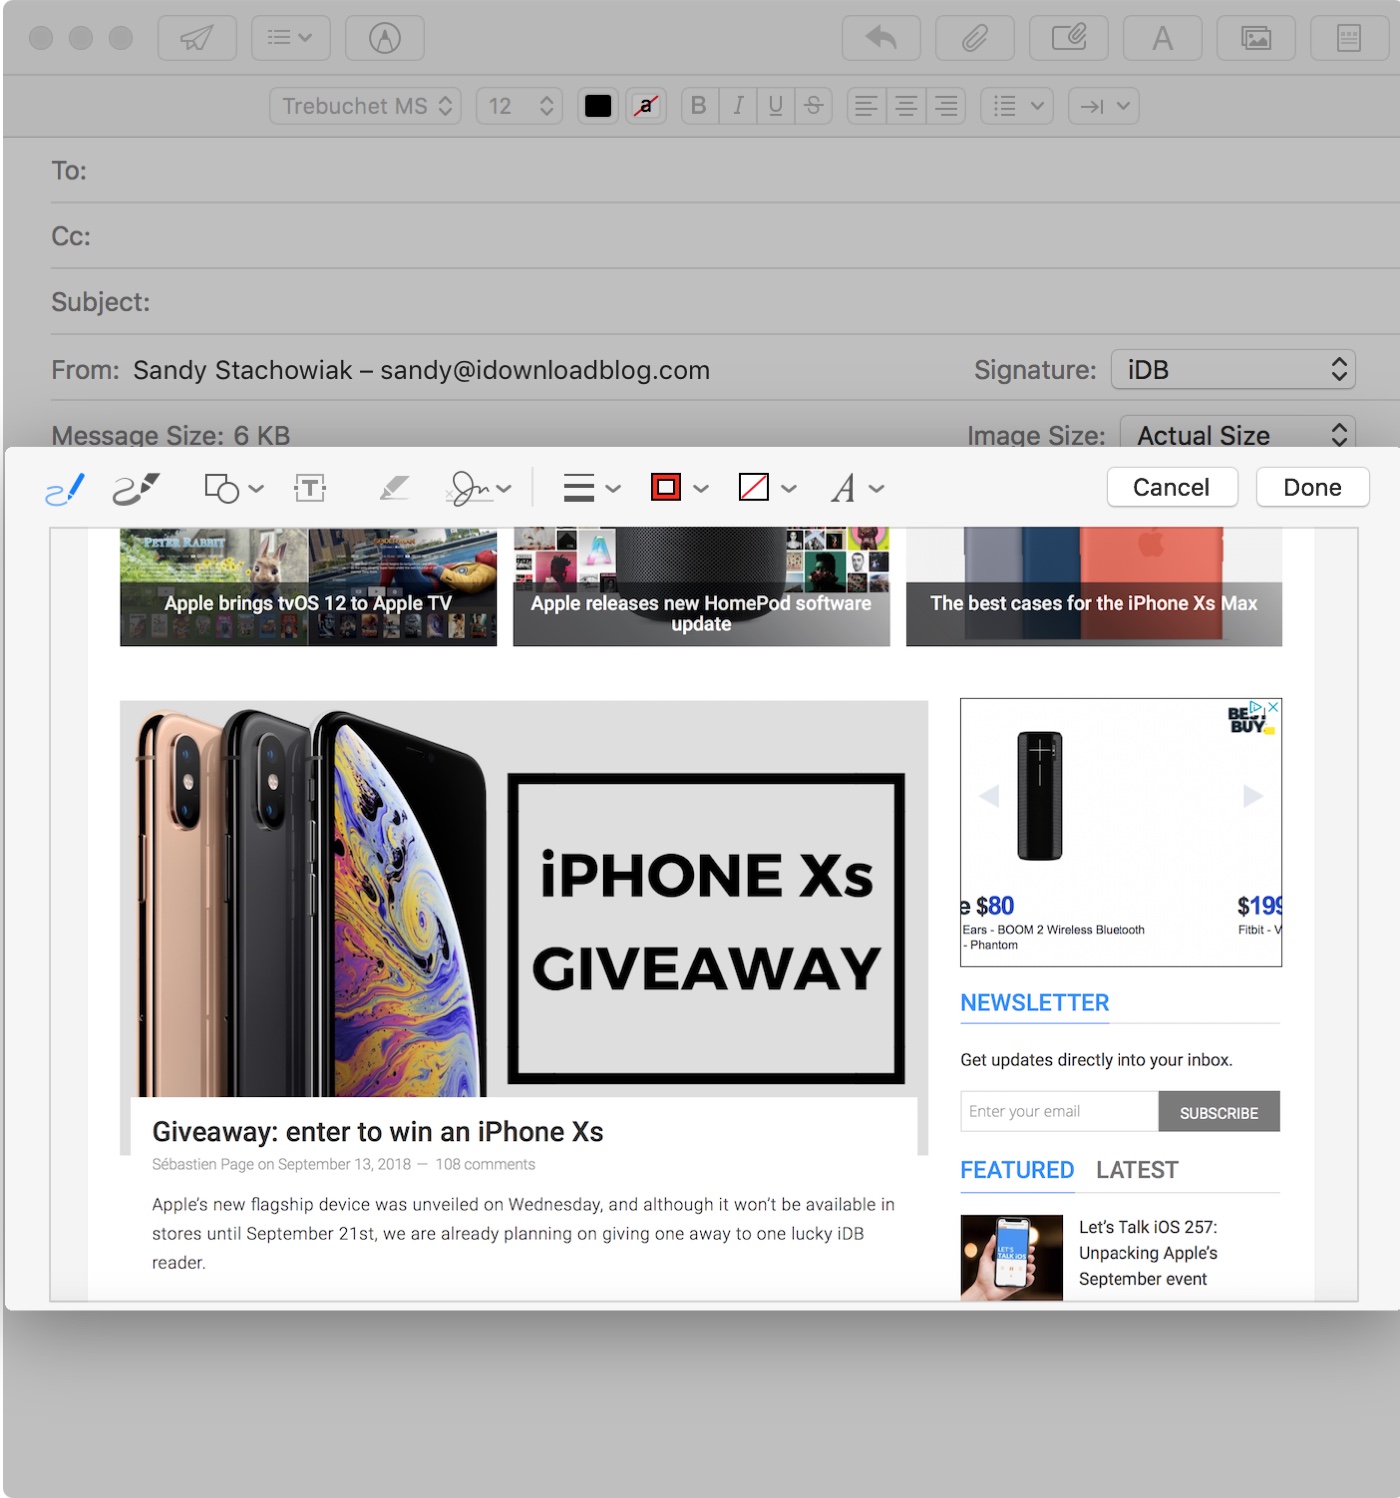
Markup tools: You have many options to annotate it. Starting from the left side of the toolbar, here are the tools:
- Sketch: Sketch your own shape or text onto the attachment.
- Draw: Basically the same as Sketch for those who have a Force Touch trackpad on Mac.
- Shapes: Select a shape, line, or arrow, drag it to where you want it, and resize it if needed.
- Text: Add any text that you like and move the text box anywhere on the attachment.
- Highlight Selection: It highlights selected text.
- Sign: If you have an existing signature set up, it will display here. Select it and then move it or resize it. If you do not have a signature set up yet, click Create Signature to make one and add it to the attachment.
- Shape Style: Change the thickness of shapes, lines, and arrows you add to the attachment.
- Border Color: Change the color of the shapes, lines, and arrows you insert.
- Fill Color: Change the color of the inside of a shape.
- Text Style: Change the font style, size, formatting, alignment, and color for the text you add.
- Rotate: Click it to turn the image.
- Crop: Use it to crop the image.
- Image Description: This lets you add a description for the image, which can be used by screen readers like VoiceOver for people who can’t see the image.
- Annotate: Click this and use your iPhone or iPad to sketch or draw. What you do on your iPhone or iPad will appear in real-time on your Mac.
4) When you finish marking up your image or PDF, click Done. The annotated file will pop back into your email with all of your changes.
You’ll notice that a marked-up file will increase the size of your email. If you would like to decrease that, click the Image Size drop-down box, and you can choose a smaller size.

Don’t see the image and PDF Markup option on Mac?
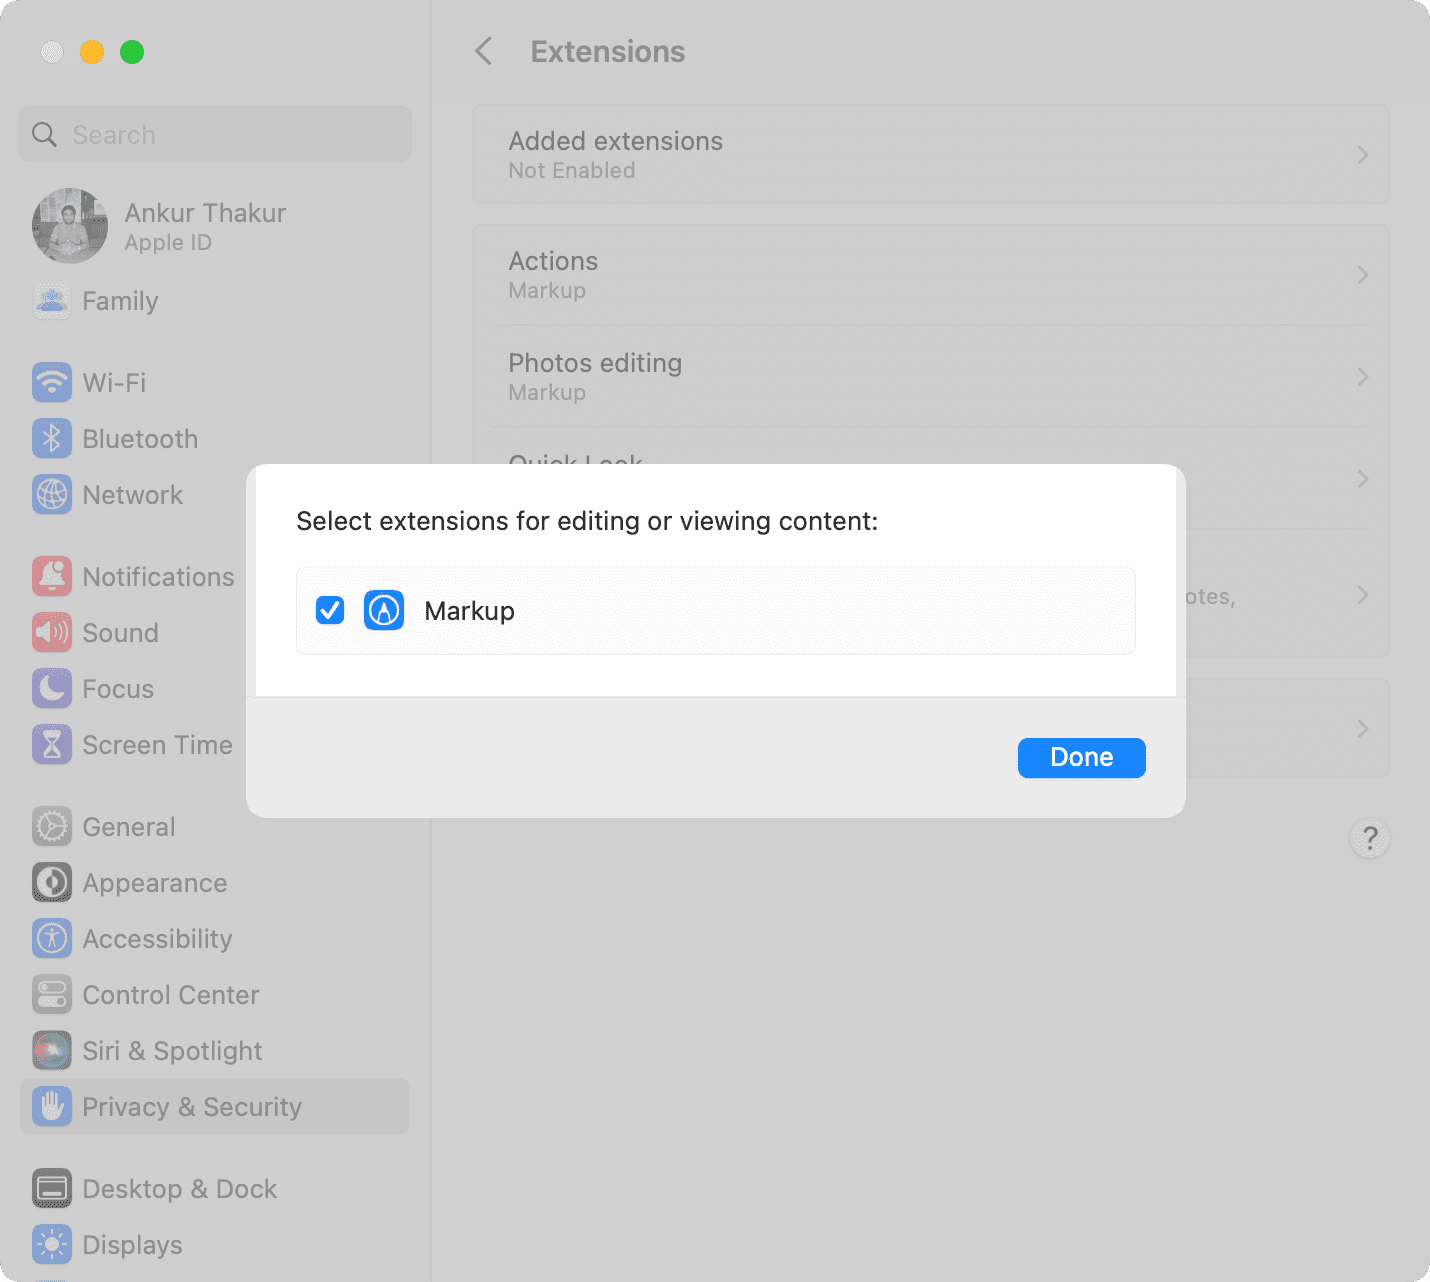
If you do not see Markup as an option, make sure that you have it enabled:
- macOS Ventura or later: Apple icon > System Settings > Privacy & Security > Extensions > Actions and make sure Markup is checked. Next, click Photo editing and ensure Markup is checked.
- macOS Monterey or earlier: Apple icon > System Preferences > Extensions. Click Actions and check the box next to Markup.
On the same note: