Learn how you can easily create a JPEG or PNG image of your signature using your finger or Apple Pencil on iPhone and iPad.
Signatures are useful for attesting to digital documents such as contracts, invoices, and rental agreements. Similarly, if you’re a photographer, you might want to add a signature on all your photos as a watermark.
1. Use a third-party app to save an image of your signature
Two free apps that let you create signature images are Digital Signature and Electronic Signature. Both these iOS applications open a drawing board and allow you to use your finger to sign and save the signature image to the Photos app. However, the images are JPEG; that is, they have a white background. But there’s an easy fix for that.
Here’s how to create a signature image (JPEG or PNG) on your iPhone and iPad:
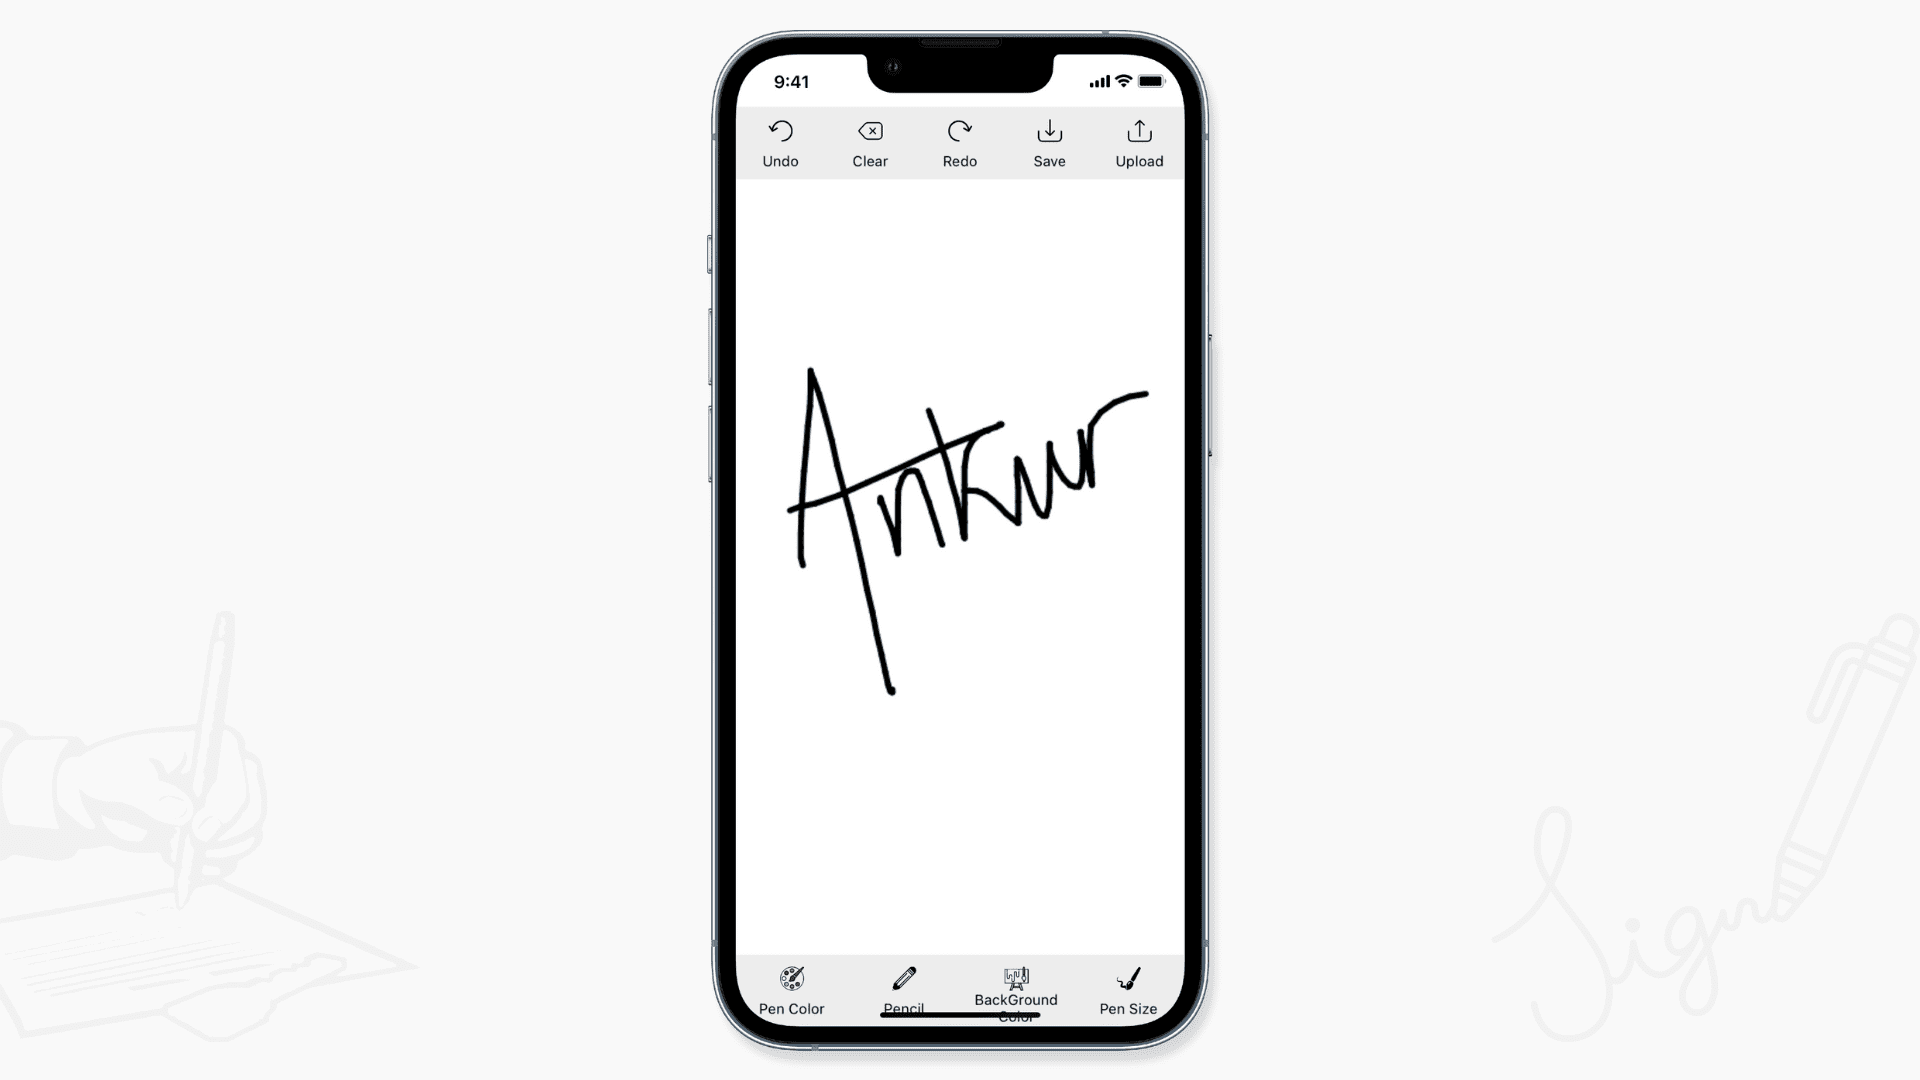
1) Open the Digital Signature app and sign using your finger.
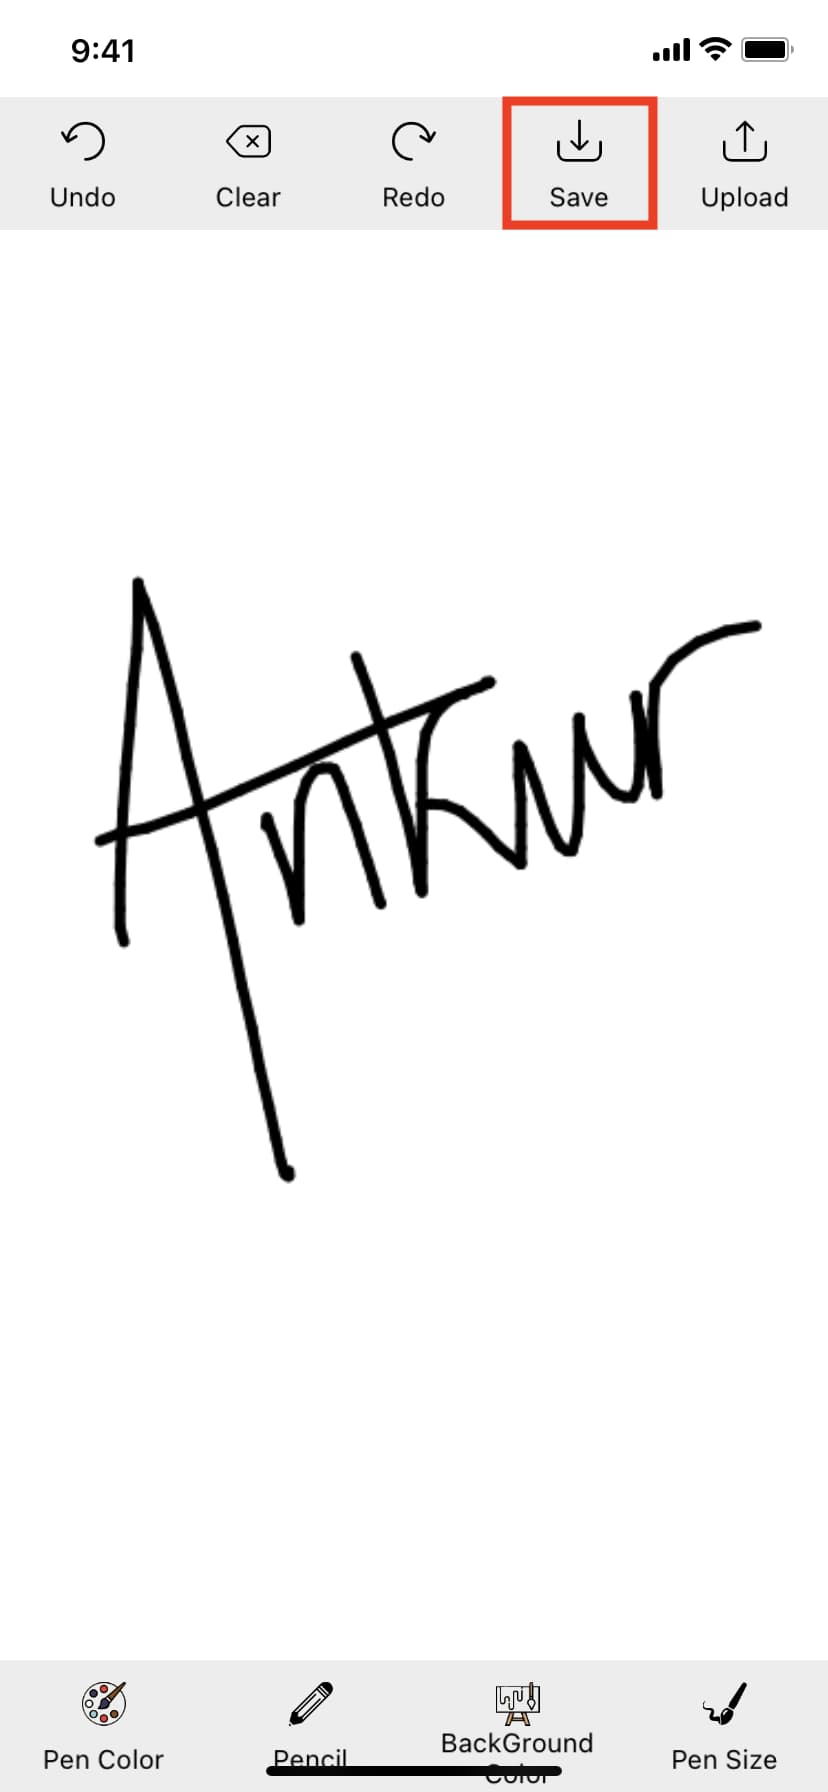
2) Tap Save to have this signature image in your iPhone or iPad Photos app. If you’re happy with a JPEG signature, you can skip the remaining steps and use this image in your work.
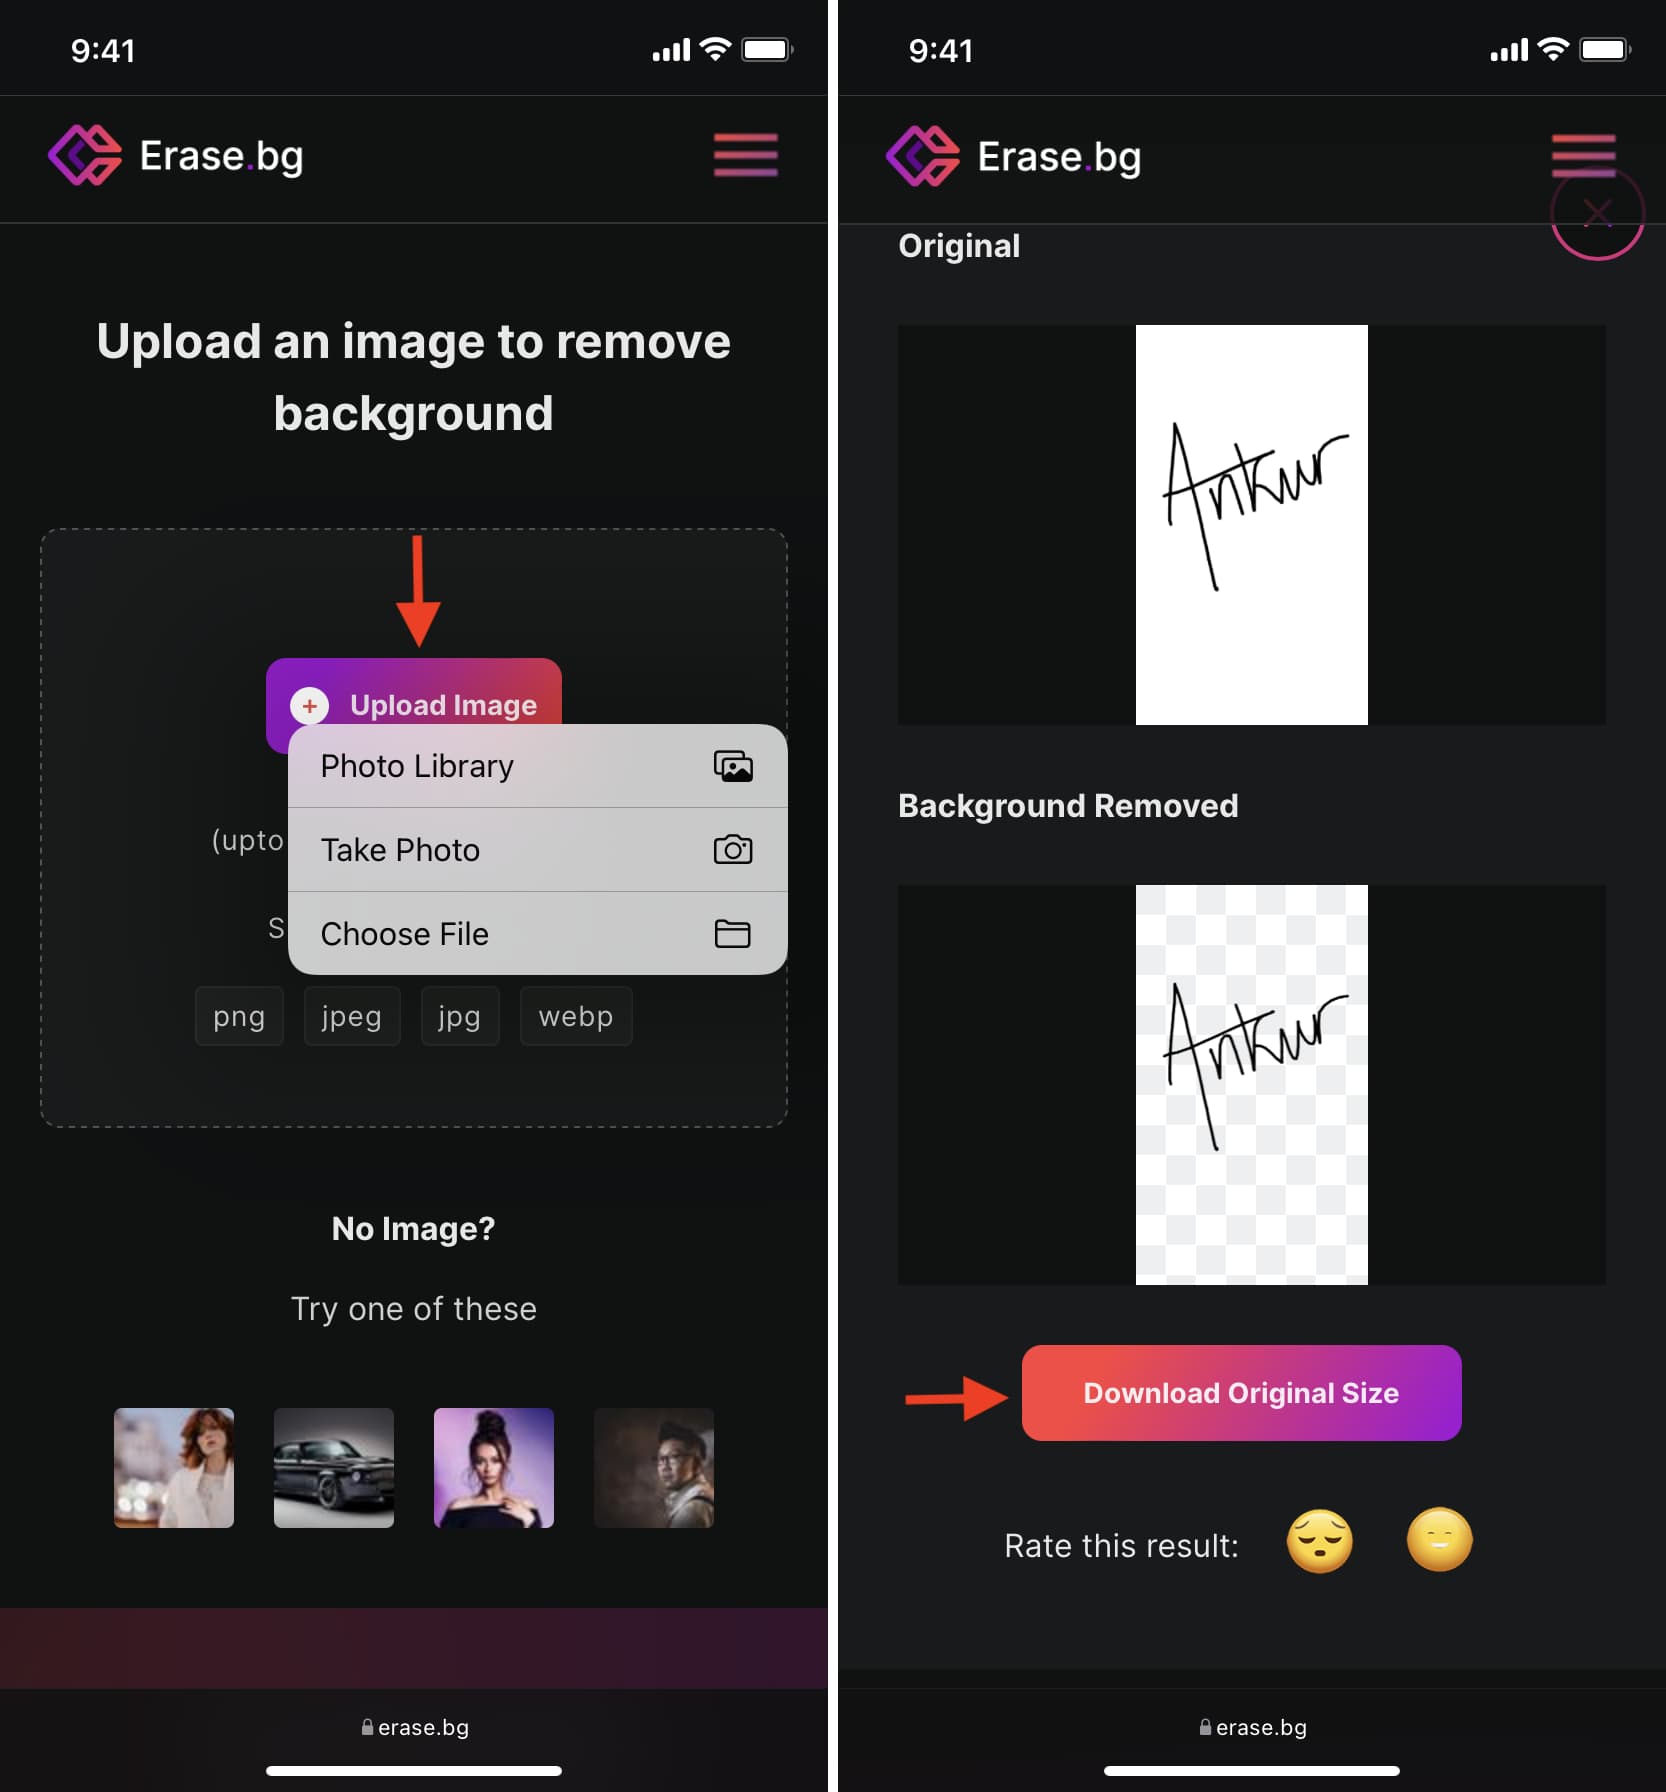
3) To convert this JPEG image into PNG and remove the white background, visit erase.bg in Safari. Tap Upload Image and choose your JPEG signature image from your photo library. Once the background is removed, tap the Download button, followed by View. Then, touch and hold the image and select Save to Photos. Now, you have a PNG image of your signature. You can use it in photo or PDF editing apps and elsewhere.
2. Use Markup to create and save your signature’s photo
If you don’t want to download a third-party app, follow this little tip to create your signature using built-in Apple tools.
1) Download a plain white image from the internet. You can also zoom in on a white web page in Safari, take a screenshot of the white part, and edit out the unnecessary battery icon, time, etc.
2) Open this white image inside the iPhone or iPad Photos app and tap the edit icon. If you’re on an older version of iOS, hit the Edit button from the top.
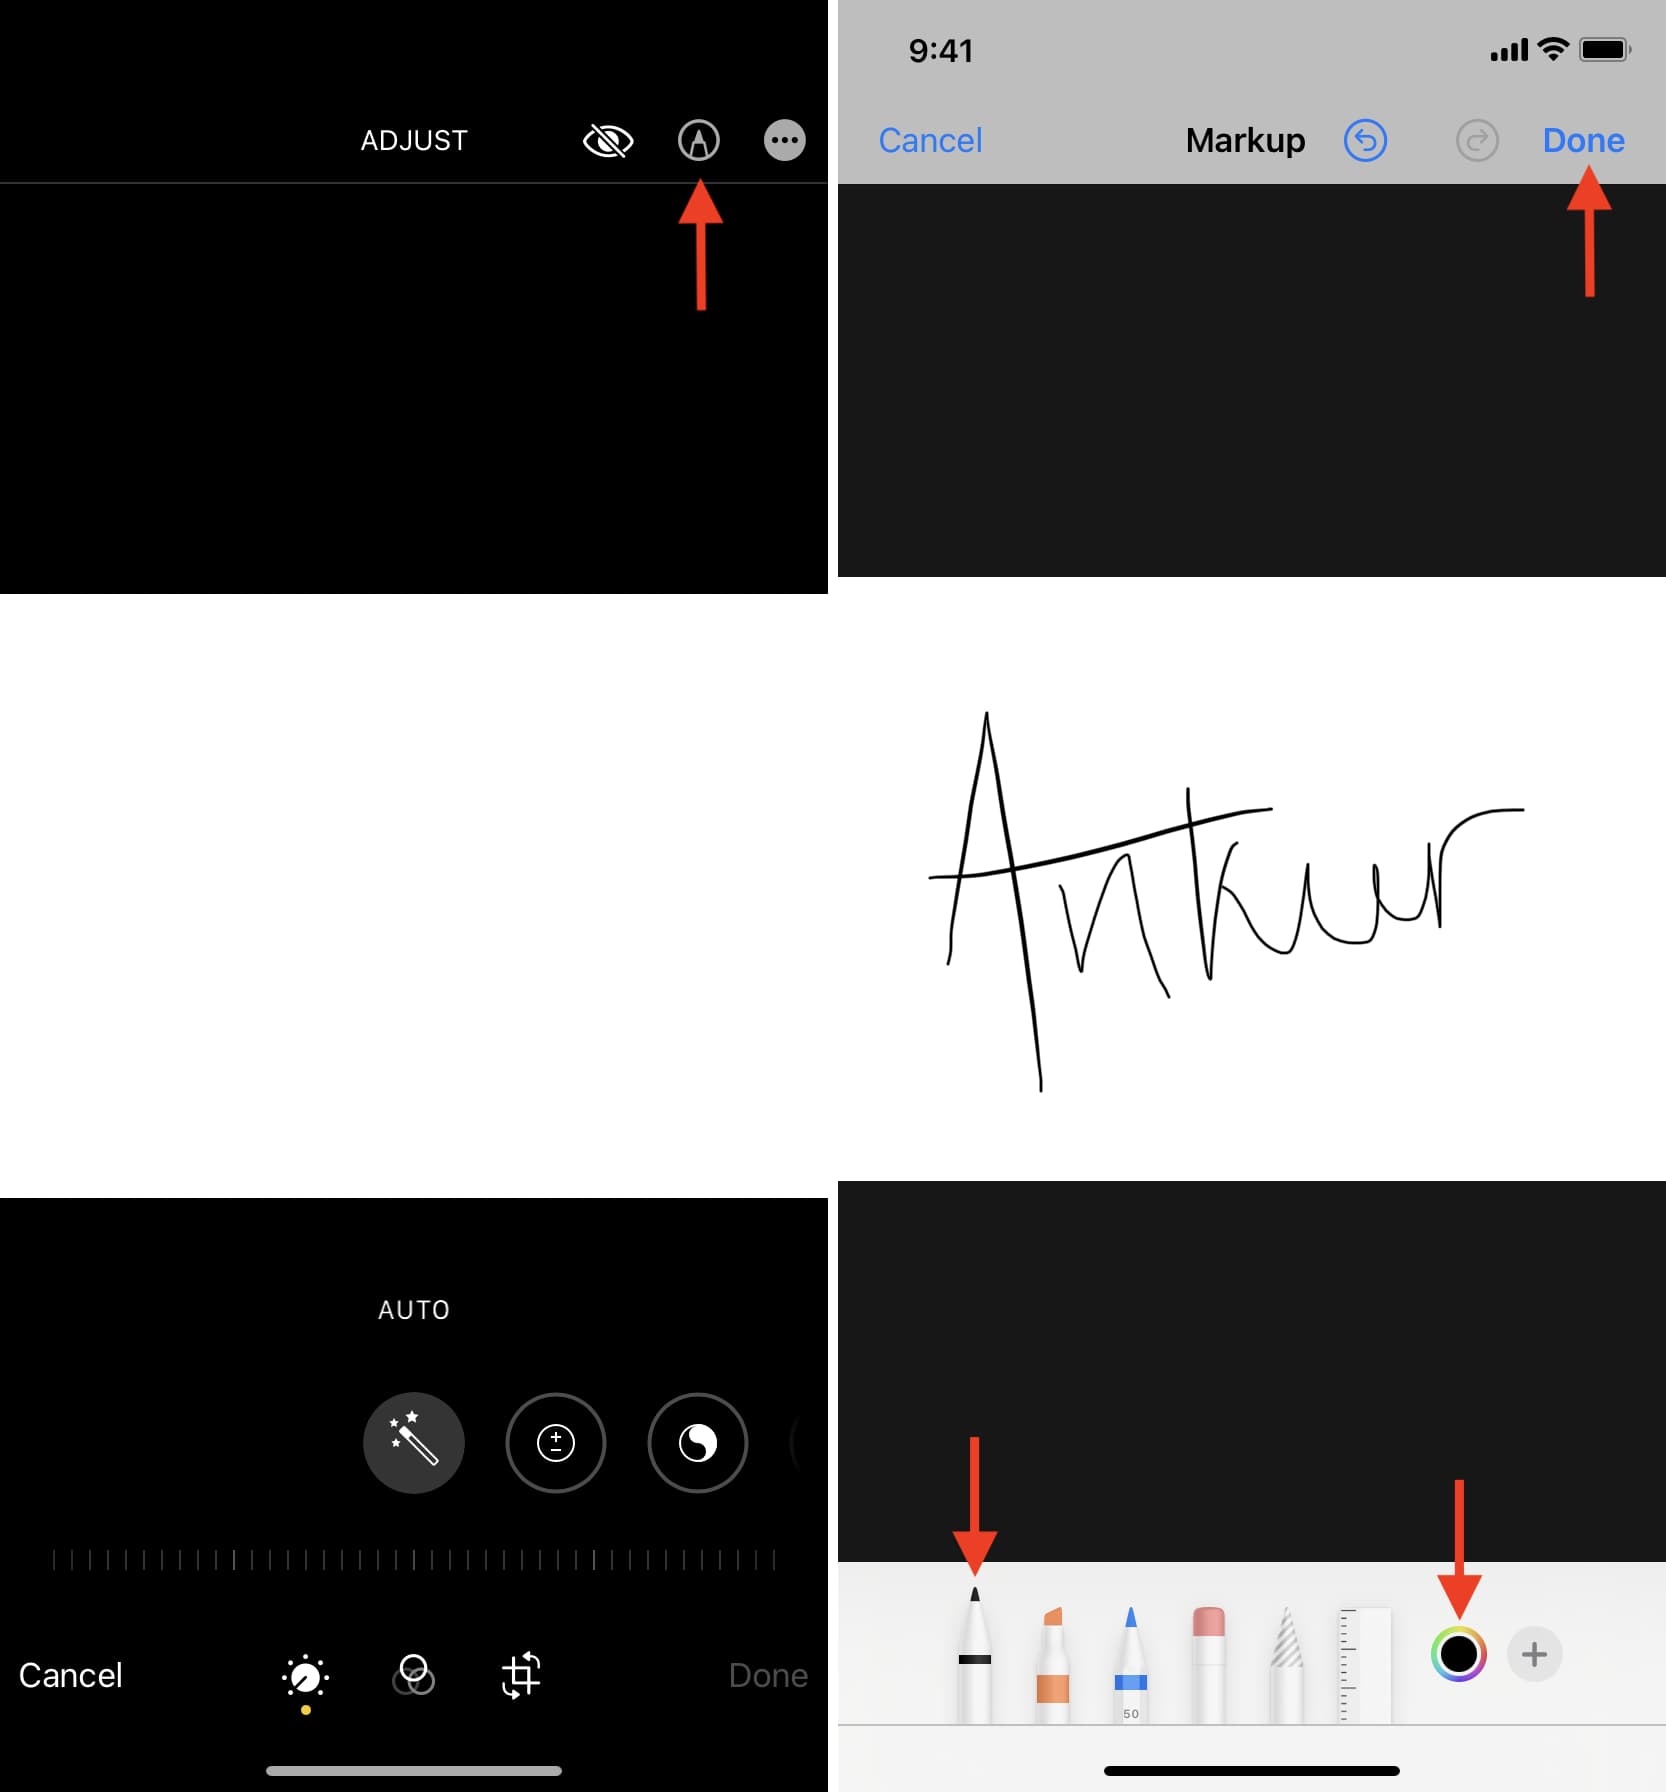
3) Tap the markup pencil icon from the top.
4) Tap the pen icon from the bottom left. Then, tap it again to choose an appropriate pen thickness. Next, tap the color palette icon to pick black ink.
5) Use your finger or Apple Pencil to create your signature.
6) Tap the checkmark icon and then tap Done to save the image.
7) If you like, you can remove the background using erase.bg (method explained in the previous heading).
Note: In case you find that the signature using the pen tool isn’t very nice, tap the plus icon next to the color picker and select Signature to create one. This will prevent uneven thickness in the signature compared to the pen tool.
3. Use the Notes app to create your signature
The Apple Notes app lets you draw with pen and other tools, and you can use it to create your signature.
1) Open the Notes app and create a new note.
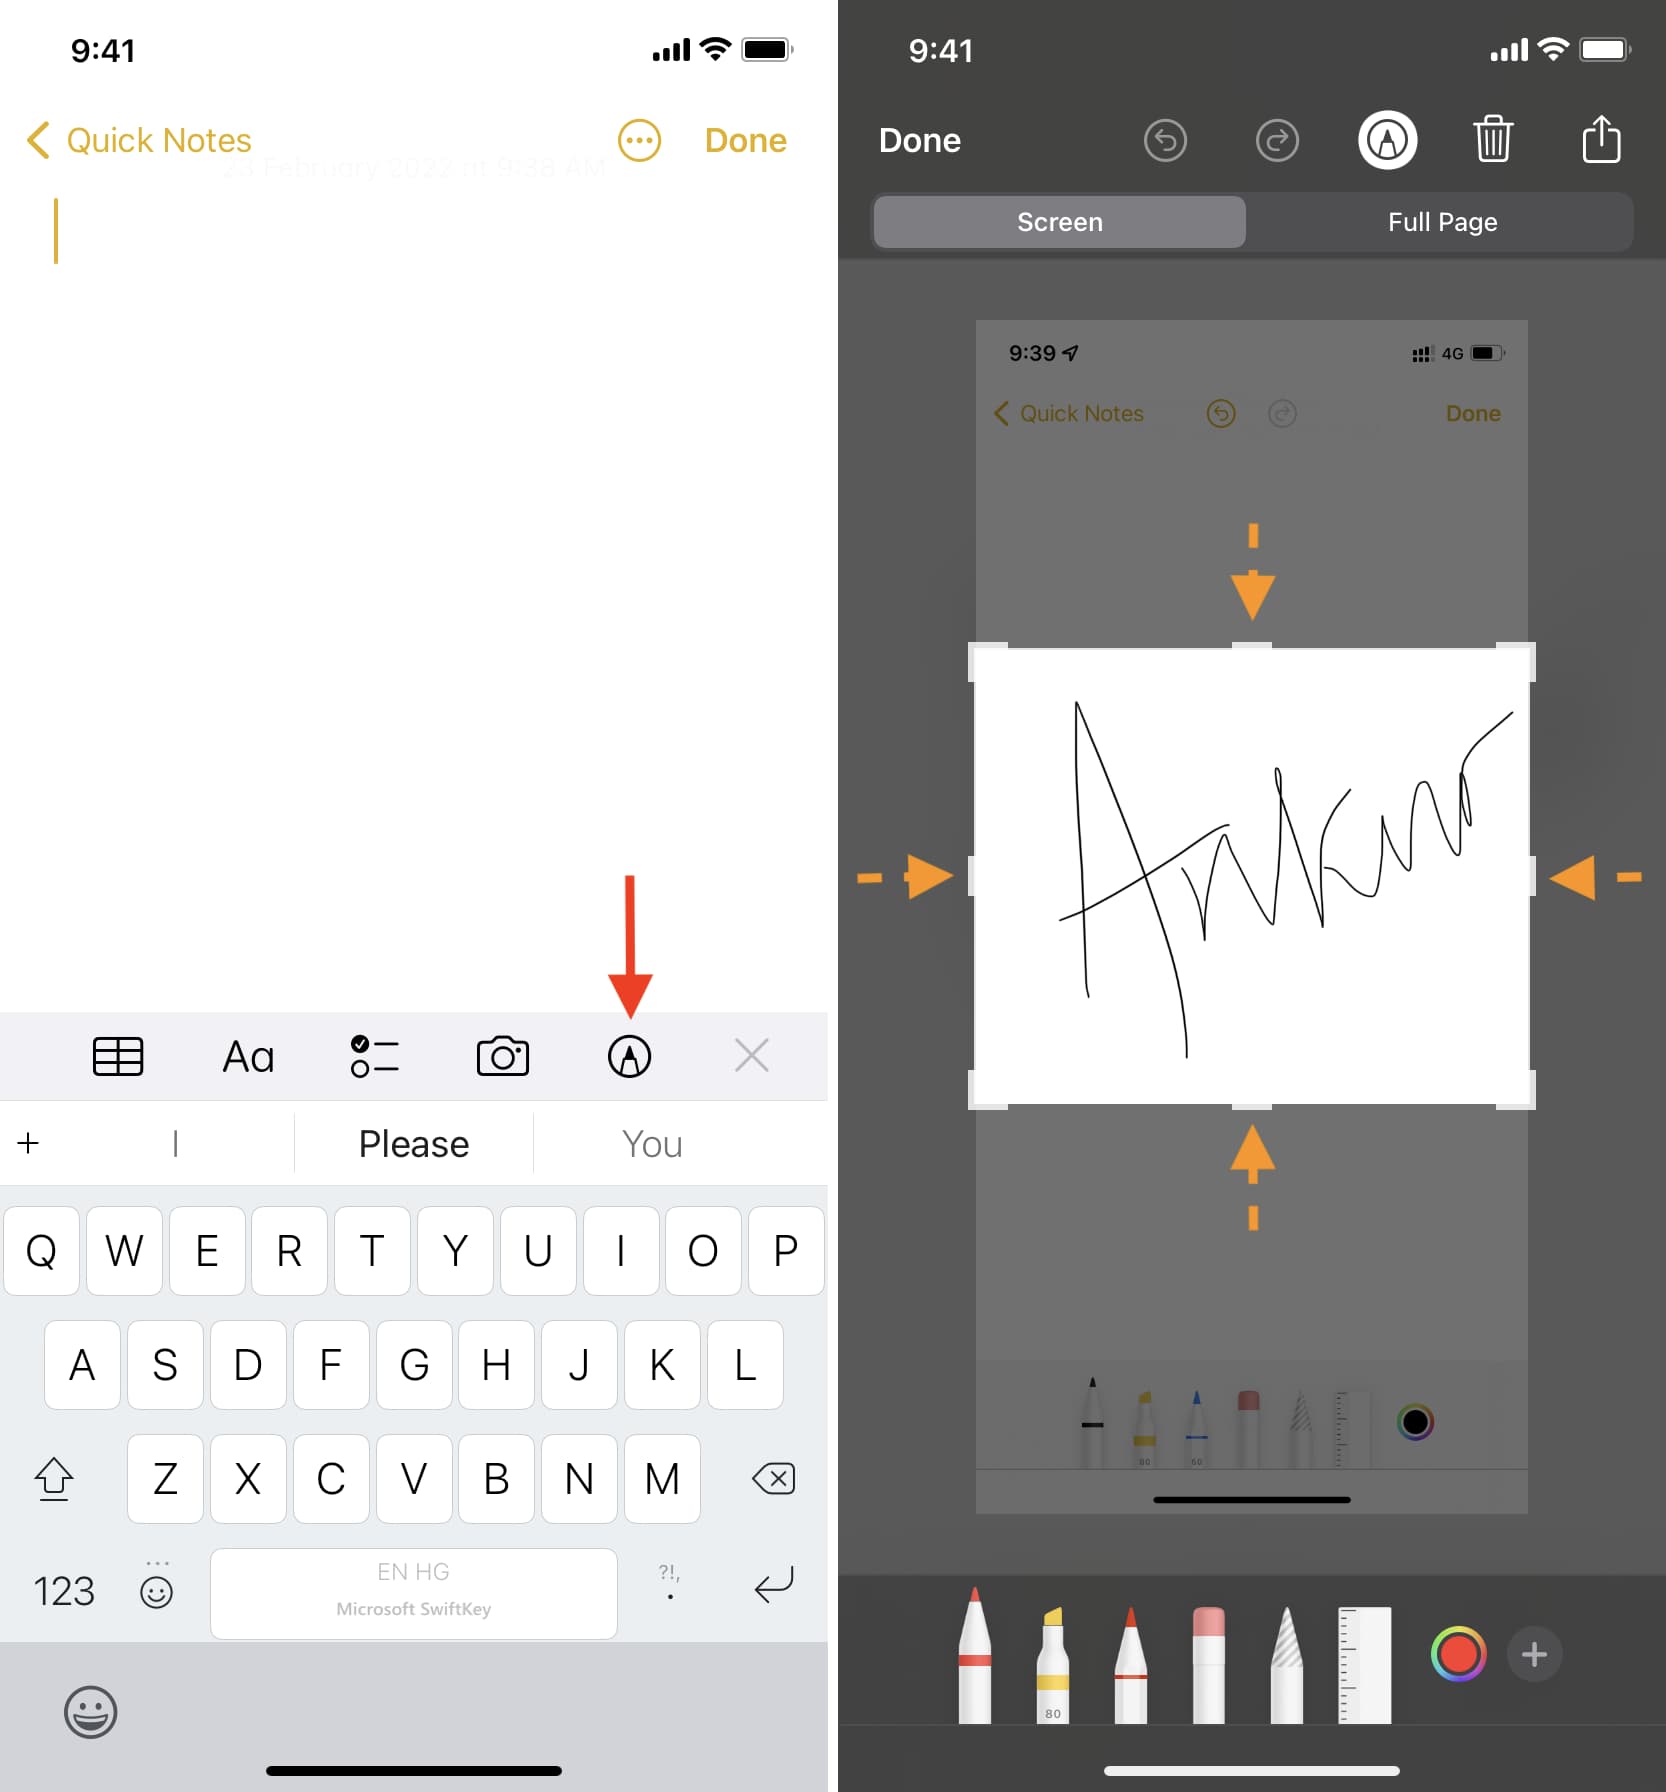
2) Tap the sketch icon at the top of the keyboard.
3) Select the pen tool in the appropriate thickness and use your finger or Apple Pencil to sign on the screen.
4) Once done, take a screenshot.
5) Tap the screenshot thumbnail from the bottom left and drag the four edges appropriately to crop out the unnecessary parts of the image.
6) Finally, tap Done to save the image in your Photos app.
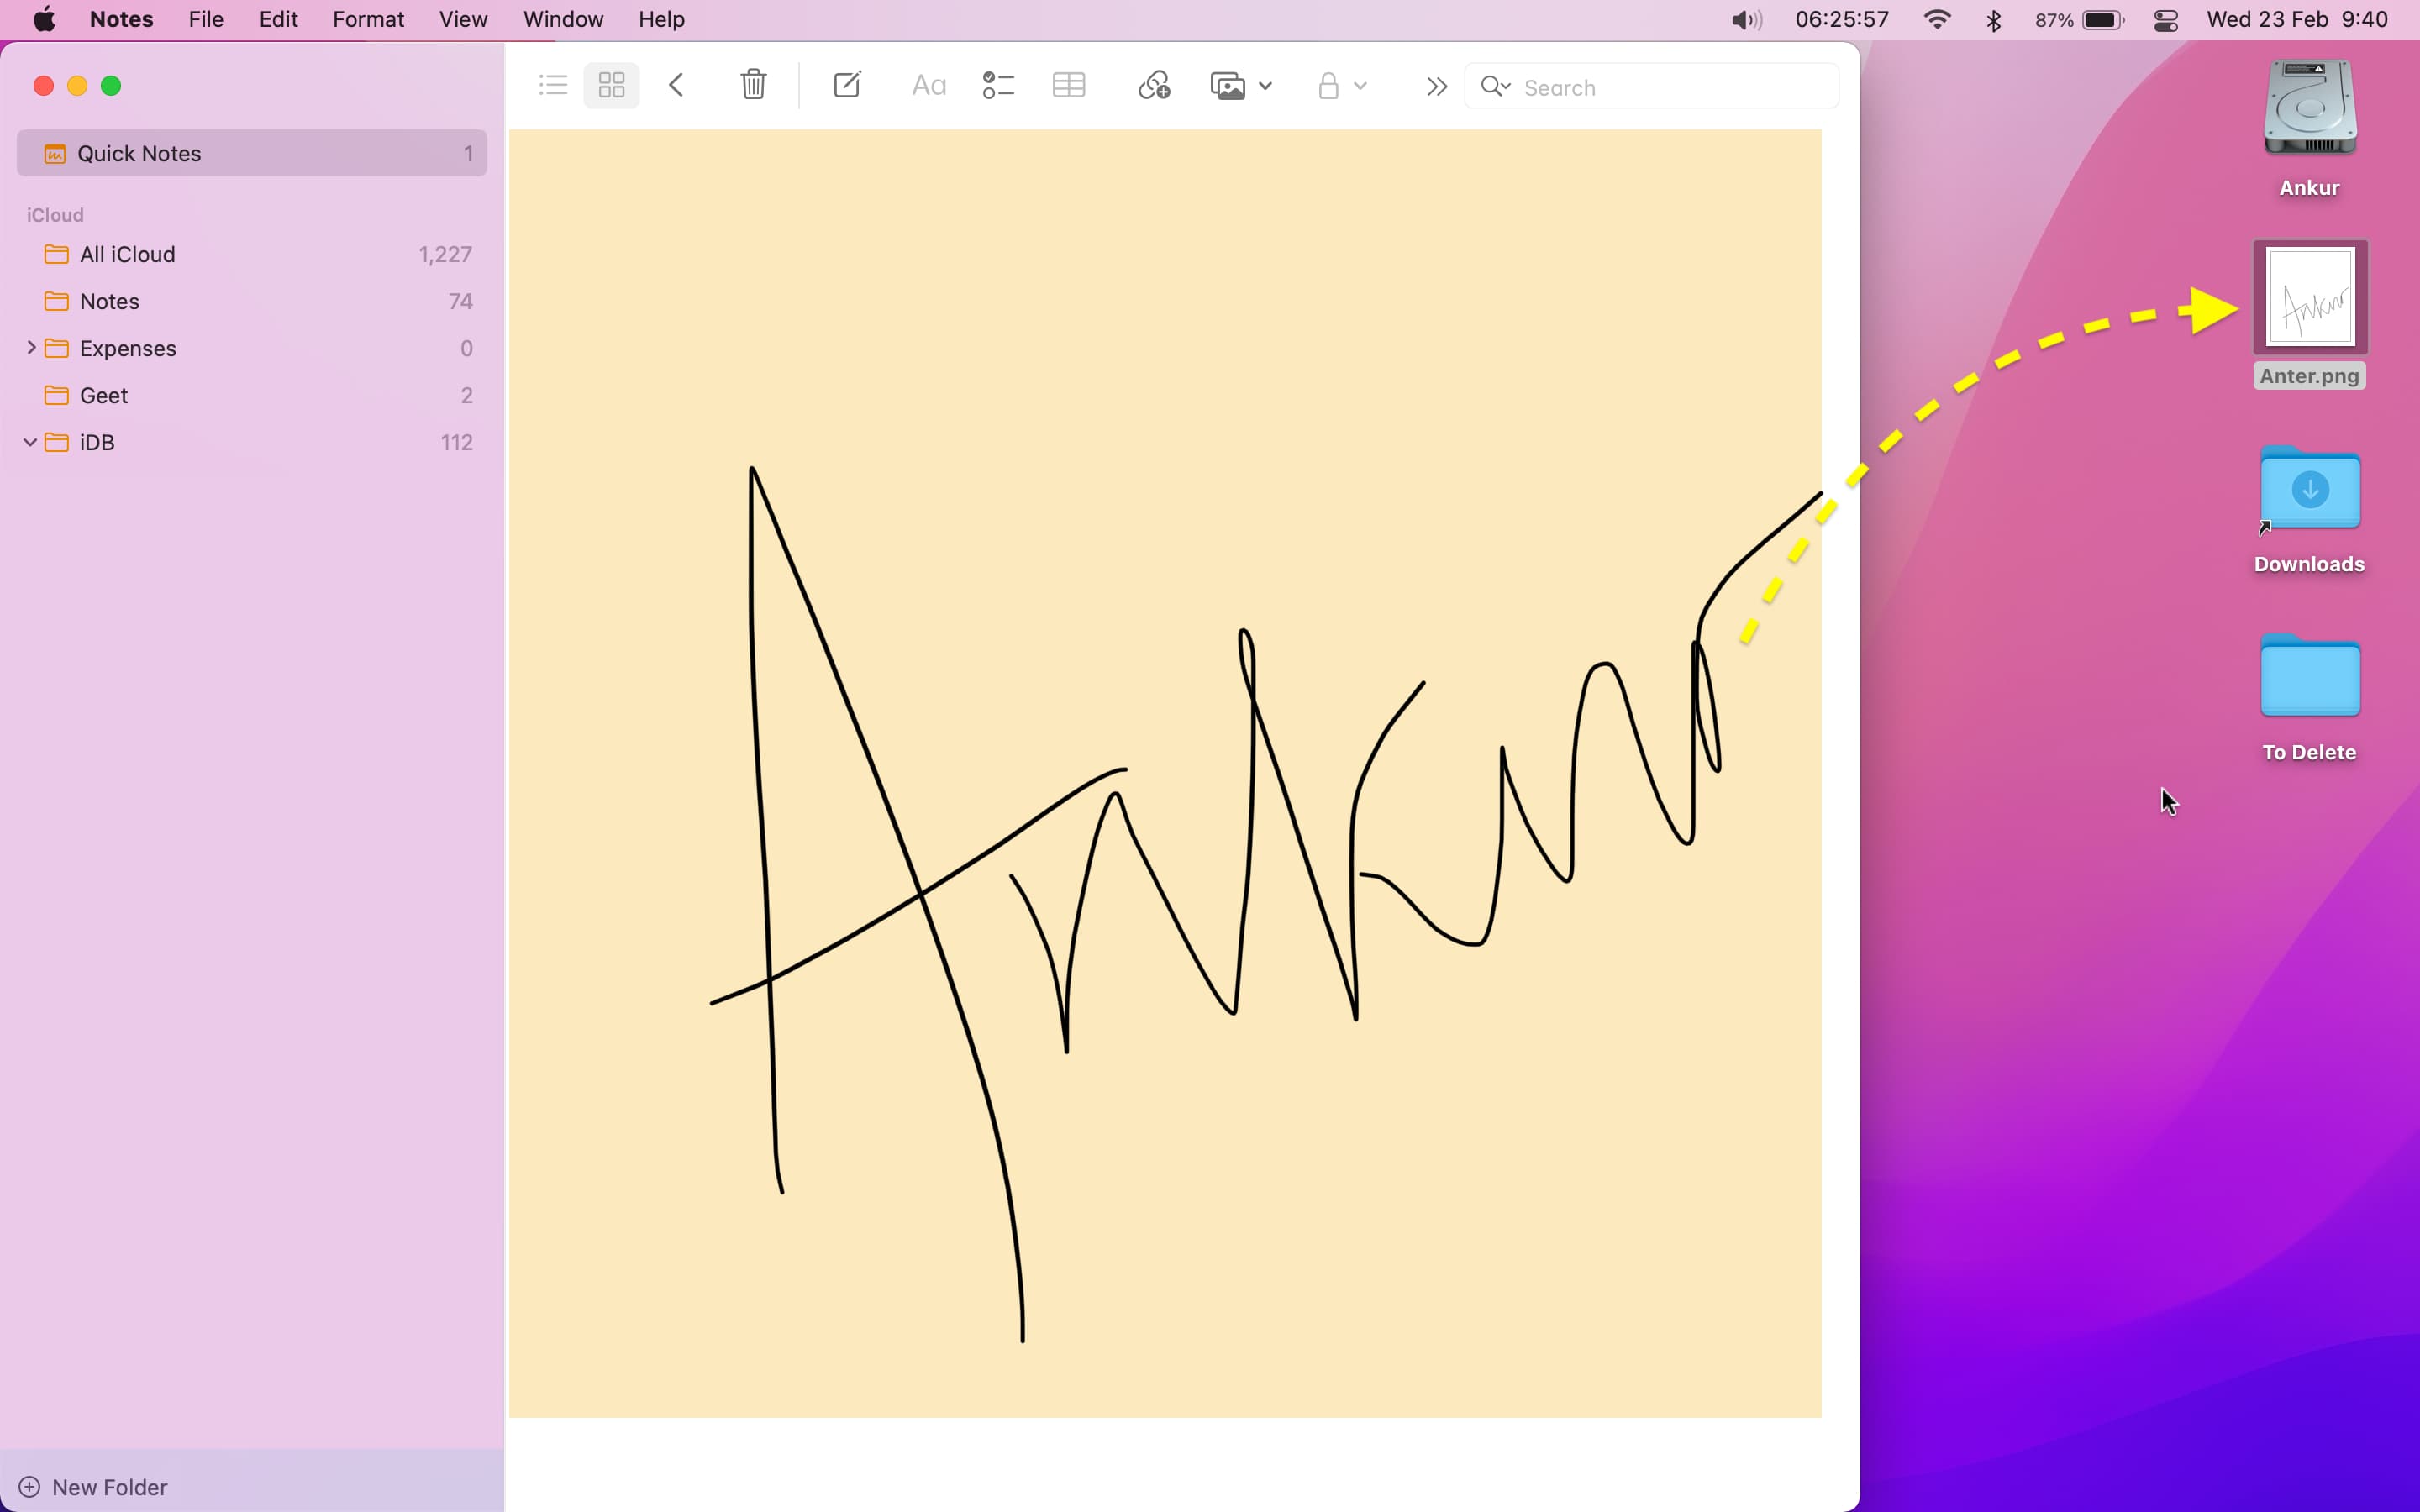
Pro Tip: If you have a Mac, this note with your signature will sync to it. From there, drag your signature sketch onto the desktop. It will be saved as a PNG image! Next, you can use it on your Mac or AirDrop it to your iPhone.
More on signatures: