Learn how to take spatial photos and videos on your Apple Vision Pro and your iPhone so you can revisit these joyous moments in glorious three dimensions (3D).
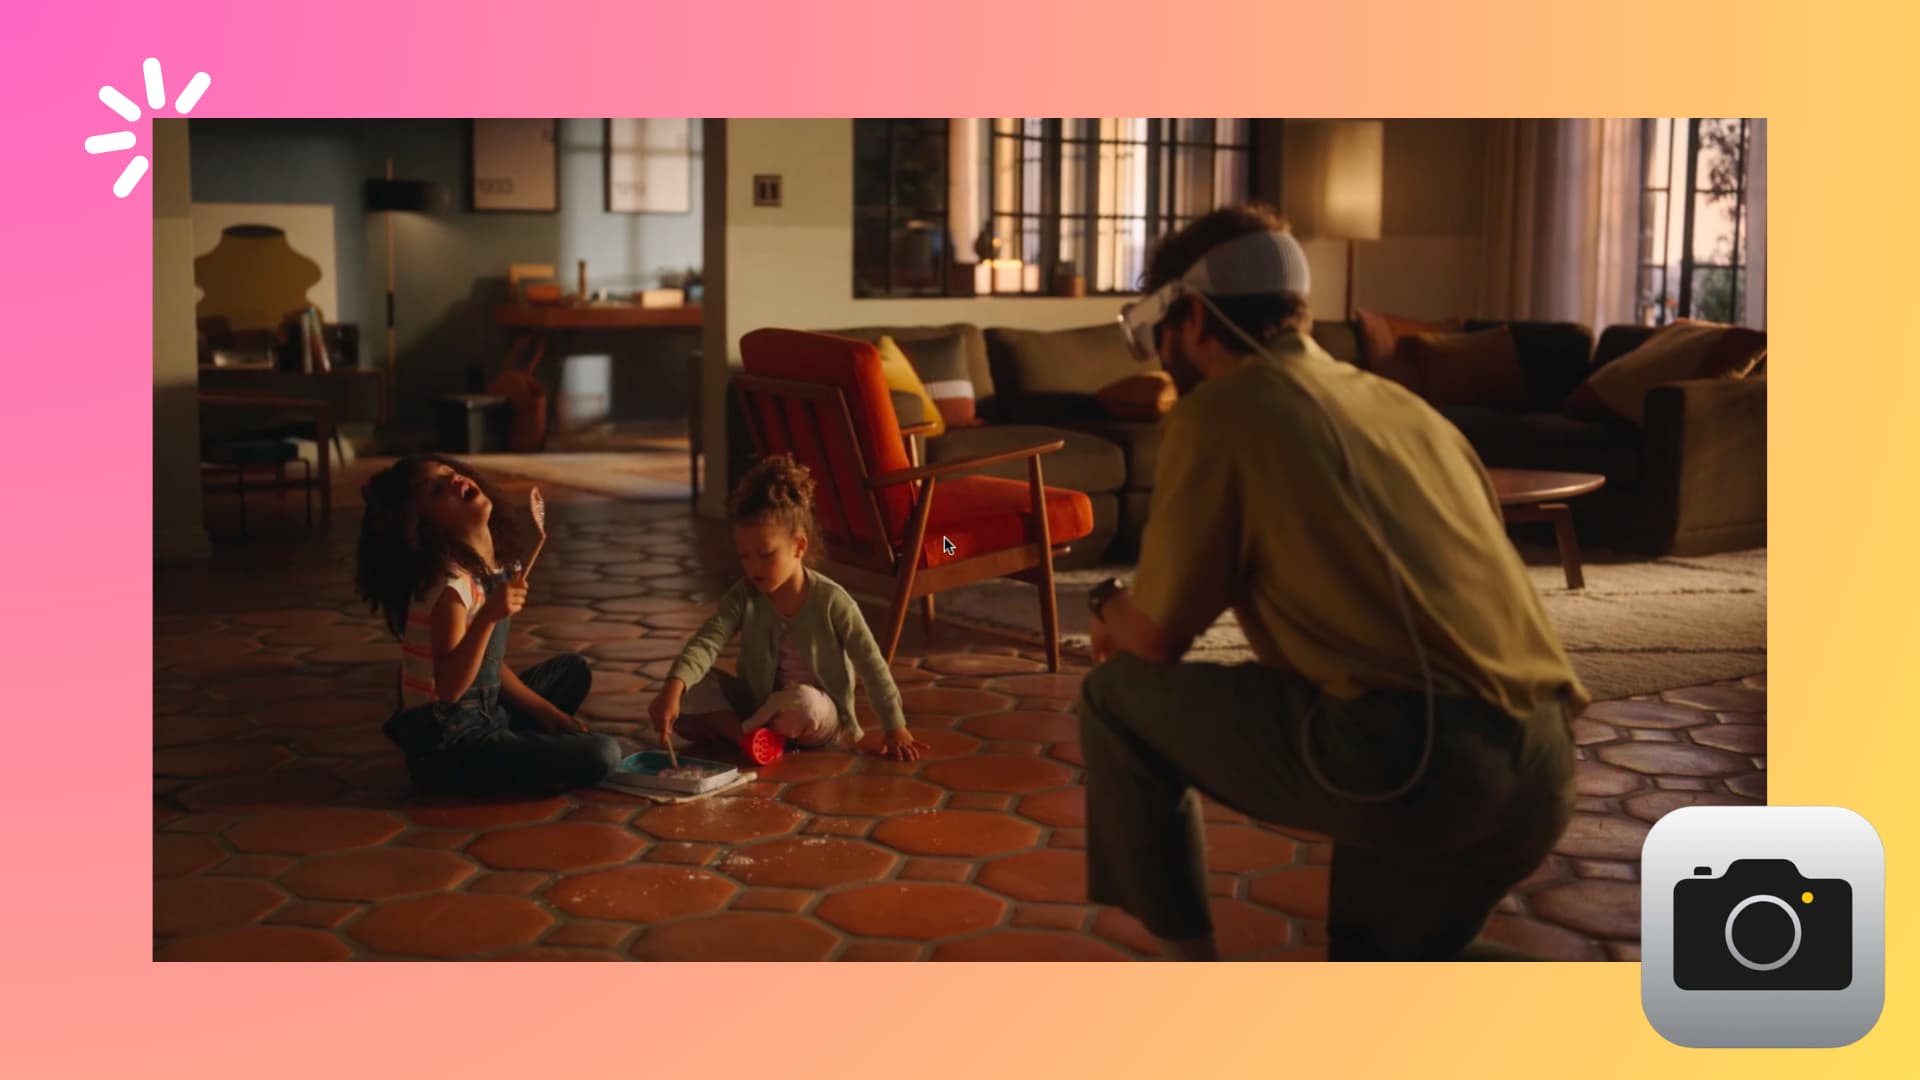
In addition to viewing, the onboard cameras on Apple Vision Pro can also capture spatial photos and videos so you can have past memories come to life.
And if recording with a headset on your face is not a thing for you yet, you can use your iPhone to record spatial videos.
You can view these iPhone photos and videos in 3D on Apple Vision Pro and in regular 2D on your iPhone, iPad, Mac, TV, or other devices.
Important tips before taking spatial photos and videos
If you’re capturing on Vision Pro
- Make sure the main subject (such as the kids cutting the birthday cake) is not too close to you. Also, ensure the area is well-lit.
- You’ll see the level before recording if you tilt your head. Keep the level information in mind when recording, and don’t tilt your head a lot.
- Keep your head still. Try to keep the center crosshair icon within the circle to reduce motion in the final video file.
If you’re recording on an iPhone
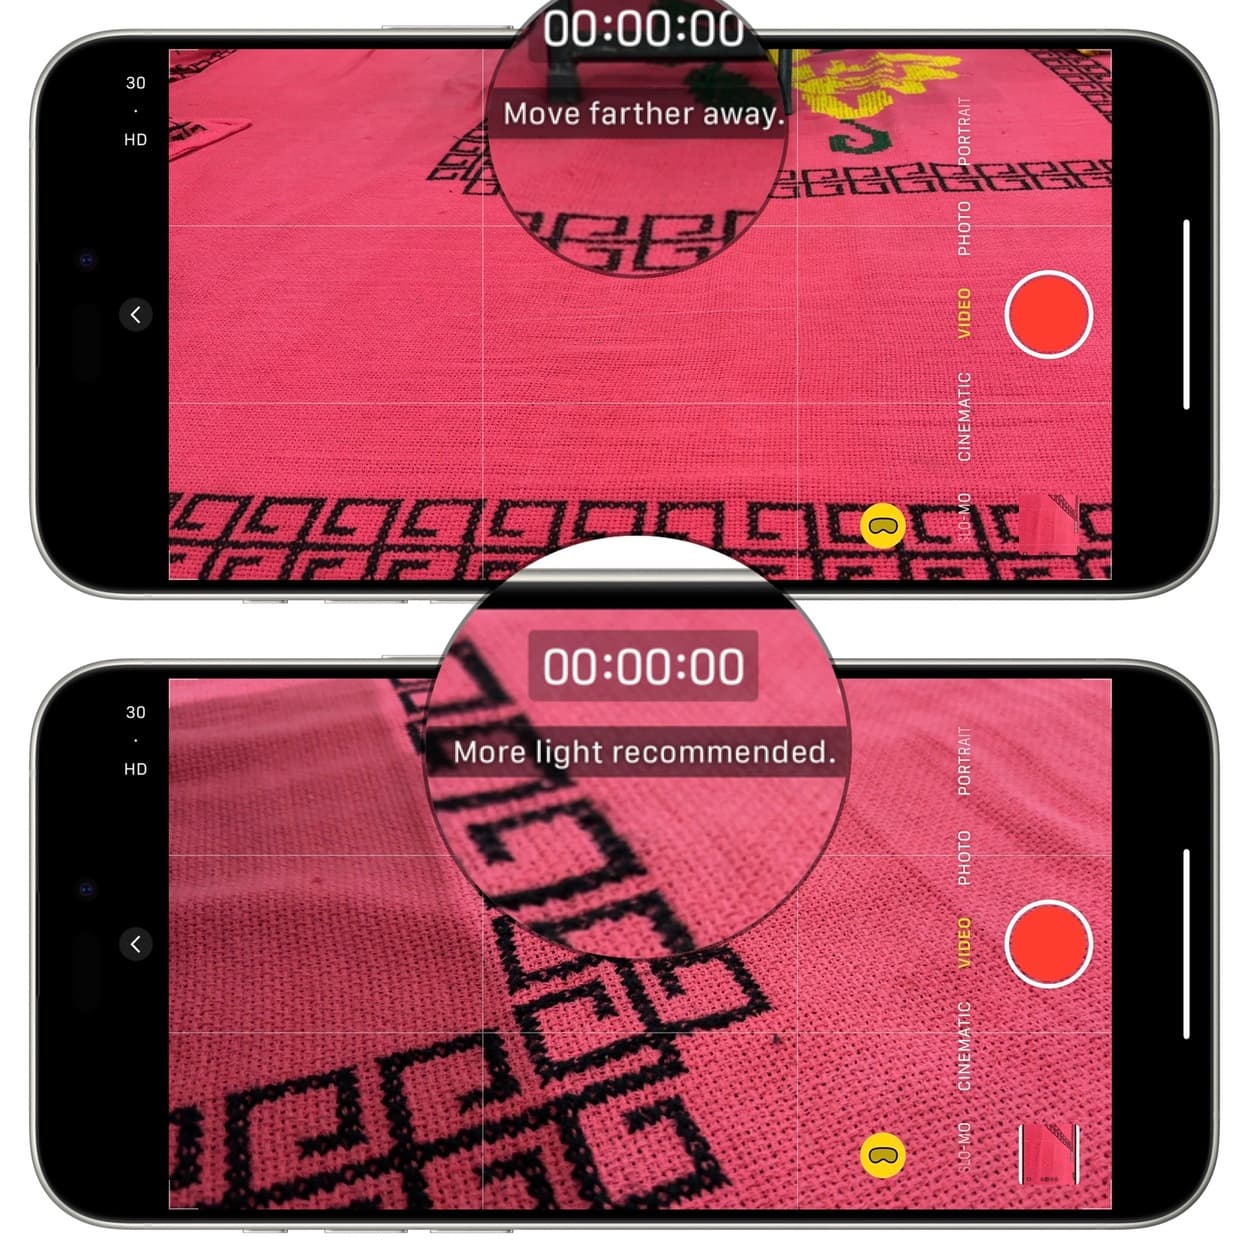
- Make sure you keep the iPhone steady and leveled. You can use the small horizontal line in the center of the screen to maintain the level while recording. This level line is shown during spatial recording even if you turn off this feature from Settings > Camera > Level.
- Record in such a way that the main subjects are not too close but at a distance of 3 to 8 feet from the iPhone.
- Ensure a bright and even light.
Take spatial photos and videos on Apple Vision Pro
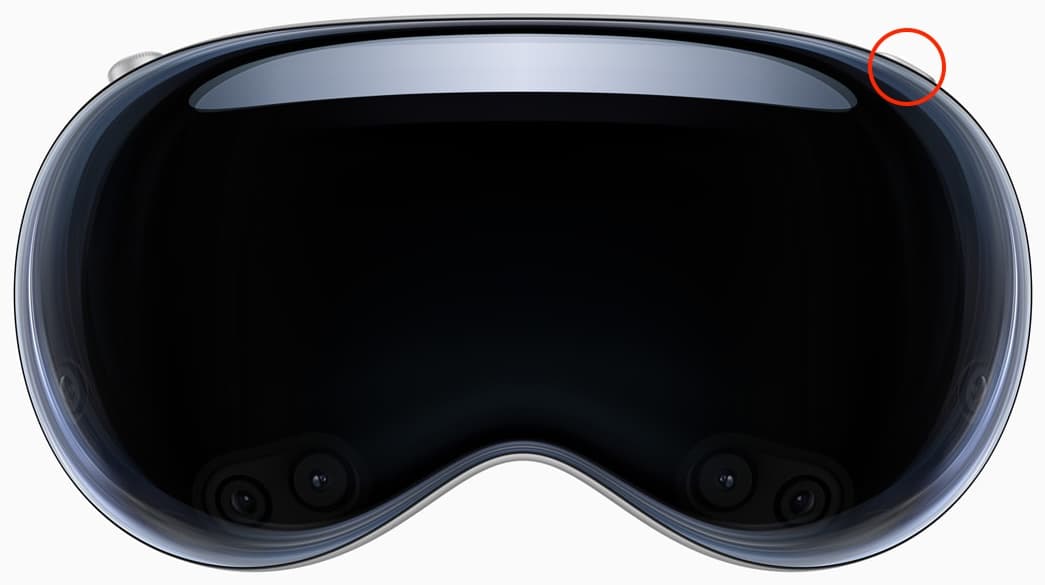
- Open Capture on your Vision Pro by pressing the top button.
- Select Photo or Video at the bottom, depending on what you want to capture.
- Press the top button to take a spatial photo or record a spatial video. After you finish recording, tap the red stop button or press the same top button again.
Tip: Learn how to tap, touch, pinch & hold, or do other gestures on your Vision Pro.
Take spatial photos and videos using your iPhone Camera
You need one of the following iPhone models to take spatial photos and videos:
- iPhone 17, 17 Pro, 17 Pro Max
- iPhone 16, 16 Plus, 16 Pro, 16 Pro Max
- iPhone 15 Pro, 15 Pro Max
Note: Non-Pro iPhone 15, older models like 14 Pro, cheaper iPhone 17e and 16e, and the thin iPhone Air cannot capture spatial photos and videos.
- Open the Camera app on your iPhone.
- Swipe to SPATIAL mode and rotate your iPhone to landscape orientation.
- Switch to spatial photo or spatial video mode by tapping the camera or video recorder icon as shown in the screenshots below.
- Hit the shutter button to take a photo or the red record button to start a recording.

This is how it looks on iOS 18:

View your spatial photos and videos
You can enjoy these captured moments on your Apple headset in 3D or on other devices in 2D. If you use iCloud Photos, the pictures and videos you took on your iPhone will sync automatically to your Vision Pro.
On Apple Vision Pro
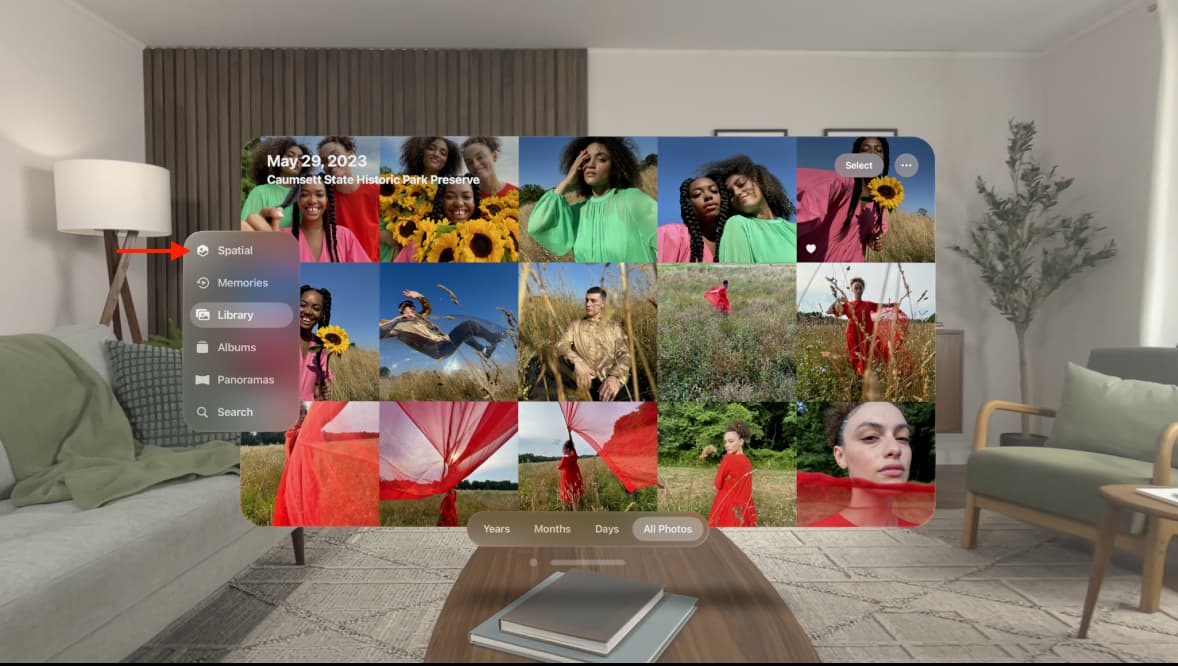
- Open the Photos app on Vision Pro.
- Select the Spatial category in the vertical tab bar that’s on the left side of the Photos app window.
- Tap a spatial photo or video to view it in 3D.
- You can also tap the panoramic icon to ‘immerse yourself in the photo.’
On iPhone, iPad, Mac, Apple TV, and other screens
You can view the spatial video and photo on your iOS, macOS, tvOS, and other devices like you normally view other regular photos and videos; no 3D experience here! Simply head over to the Photos app and tap the media to view it.
Your iPhone Photos app will make a Spatial category under the Media Types section that lists all your spatial videos and photos. Additionally, individual media of this kind will display a SPATIAL label at the top.

Transfer spatial photos and videos between your devices
There are two easy ways to get photos and videos on or off your Apple Vision Pro.
iCloud Photos
If you use iCloud Photos, all pictures and videos you take on your Apple Vision Pro, iPhone, and other devices are automatically synced via iCloud to all your Apple devices and the web. As a result, you don’t have to take extra steps, as what you record on your headset or your iPhone is already on both devices, provided they are connected to Wi-Fi or cellular data.
Use AirDrop
You can send spatial photos and videos off your iPhone to your Apple Vision Pro and vice versa using AirDrop. Make sure Wi-Fi and Bluetooth are enabled on both devices and then select the other device from the Share Sheet.
AirDrop can also be used to send photos and videos from your Apple Vision Pro to another person’s Vision Pro.
Resolution and file size of spatial videos
Spatial videos on your iPhone are recorded at 1080p at 30 fps in Standard Dynamic Range or SDR (sadly, no HDR yet). One minute of this video takes about 130 MB on your storage.
For comparison, a non-spatial one-minute video at 1080p at 30 fps is half the size at about 65 MB. If you plan on recording for longer, make sure you have sufficient free space on your iPhone.
Check out next: How to record ProRes video on iPhone or onto an external drive