Learn how to back up photos and videos on your Mac to Apple’s iCloud, Time Machine, Google, external drives, and more for safekeeping.
Your Mac’s fairly large internal drive may tempt you to store all your photos and videos locally. But keeping your meaningful memories in just one place is never a good idea, as you may lose them due to hardware failure, theft, or unforeseen circumstances. Instead, you’re wholeheartedly recommended to back up your most precious pictures and videos to at least two different places.
Must read: 7 simple ways to safely back up your iPhone photos and videos
Back up to cloud storage
Online cloud storage services let you access files from anywhere in the world as long as you have an internet connection. You can back up photos and videos on your Mac to Apple’s iCloud or third-party services like Google Photos.
Use iCloud Photos
You can synchronize your photos and videos across devices using the iCloud Photos feature, which stores full-resolution files in iCloud. However, Apple gives you just 5 GB of iCloud storage for free, and it’s shared across other services. You can upgrade to a paid iCloud+ service, with subscription plans offering up to 12 TB of storage.
Follow these steps to set up and back up images and videos on your Mac to iCloud.
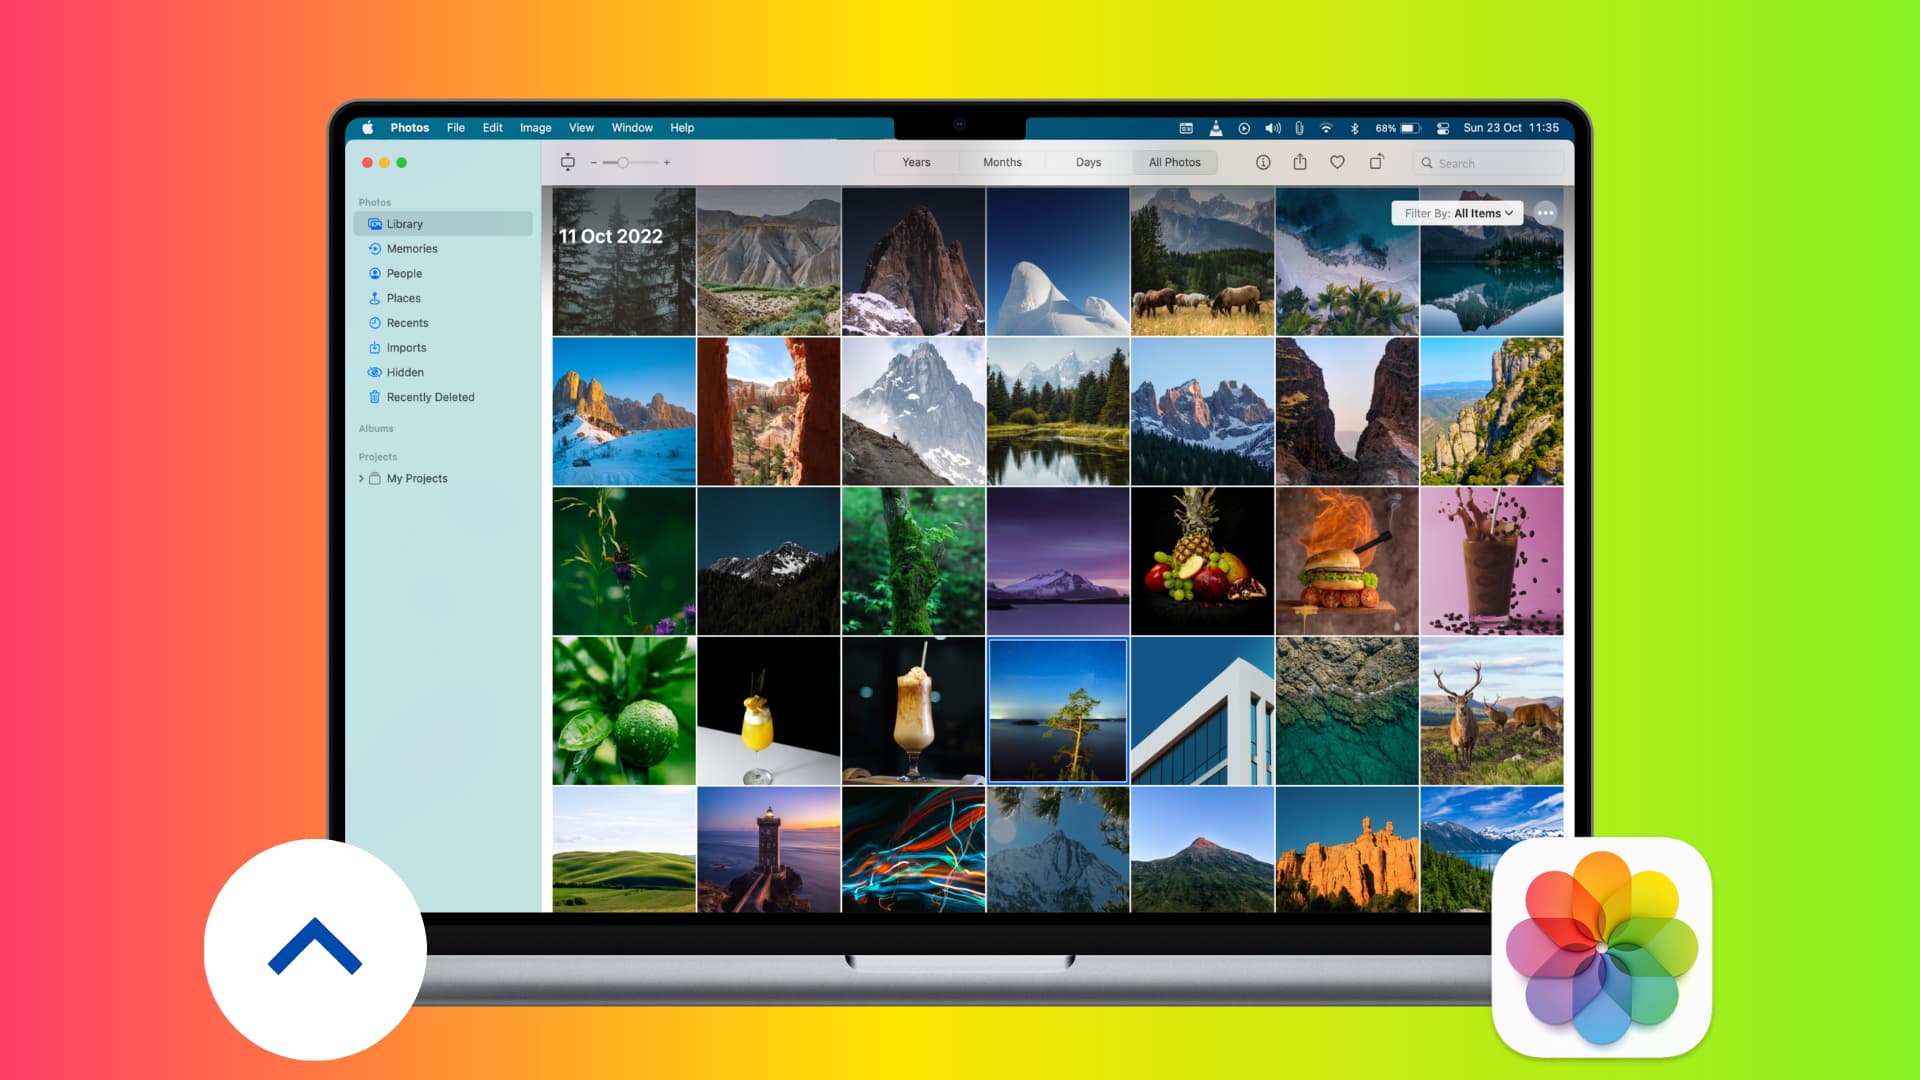
- Open the Photos app on your Mac and click Photos > Settings from the top menu bar.
- Go to the iCloud tab.
- Check the box for iCloud Photos.
- If your Mac has limited free space, tick the box next to Optimize Mac Storage to have full-resolution originals replaced with downsized versions that take up a fraction of storage. Otherwise, select Download Originals to this Mac to store original-quality Photos content on this Mac.
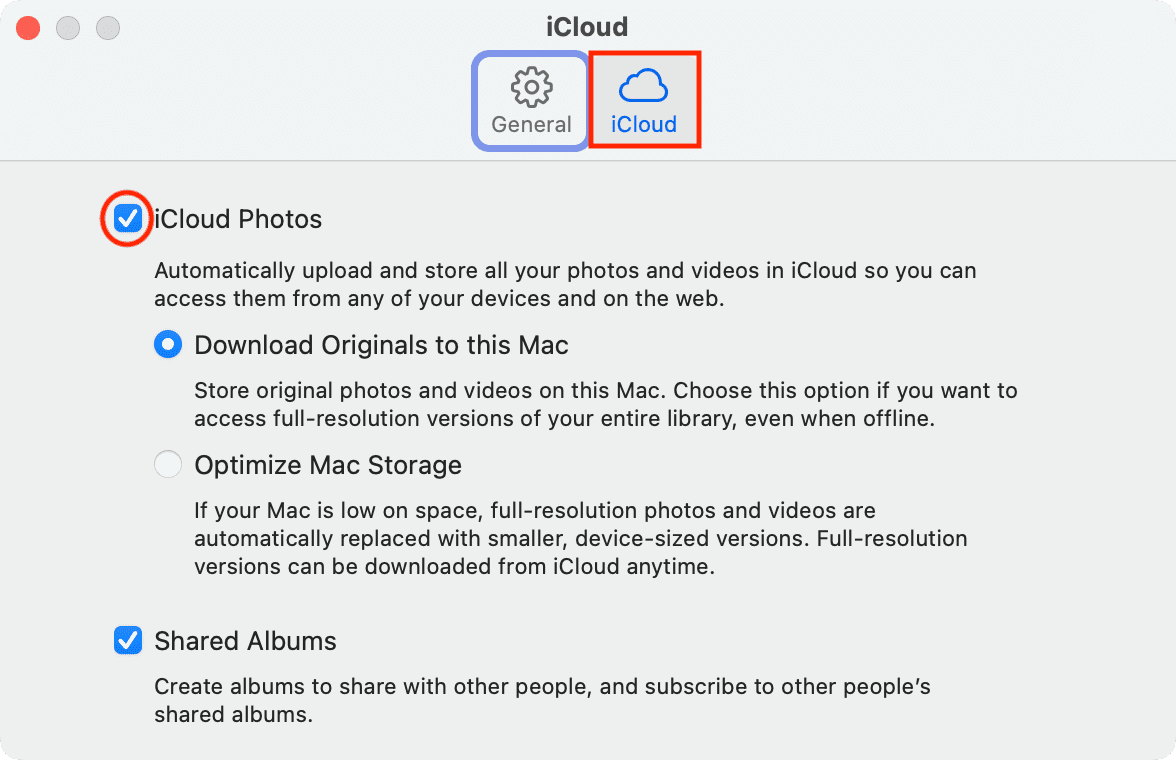
Regardless of your choice, the Photos app always keeps the full-quality versions of your photos and videos stored in iCloud.
With iCloud Photos configured, your Mac will automatically upload any changes made to your photos and videos to iCloud, as well as synchronize your media with the Photos app on your iPhone and iPad (and vice versa).
Keep in mind that you must use the same Apple Account on all your iPhones, iPads, Macs, and Windows PCs to upload and sync your pictures and videos.
Use iCloud on the web
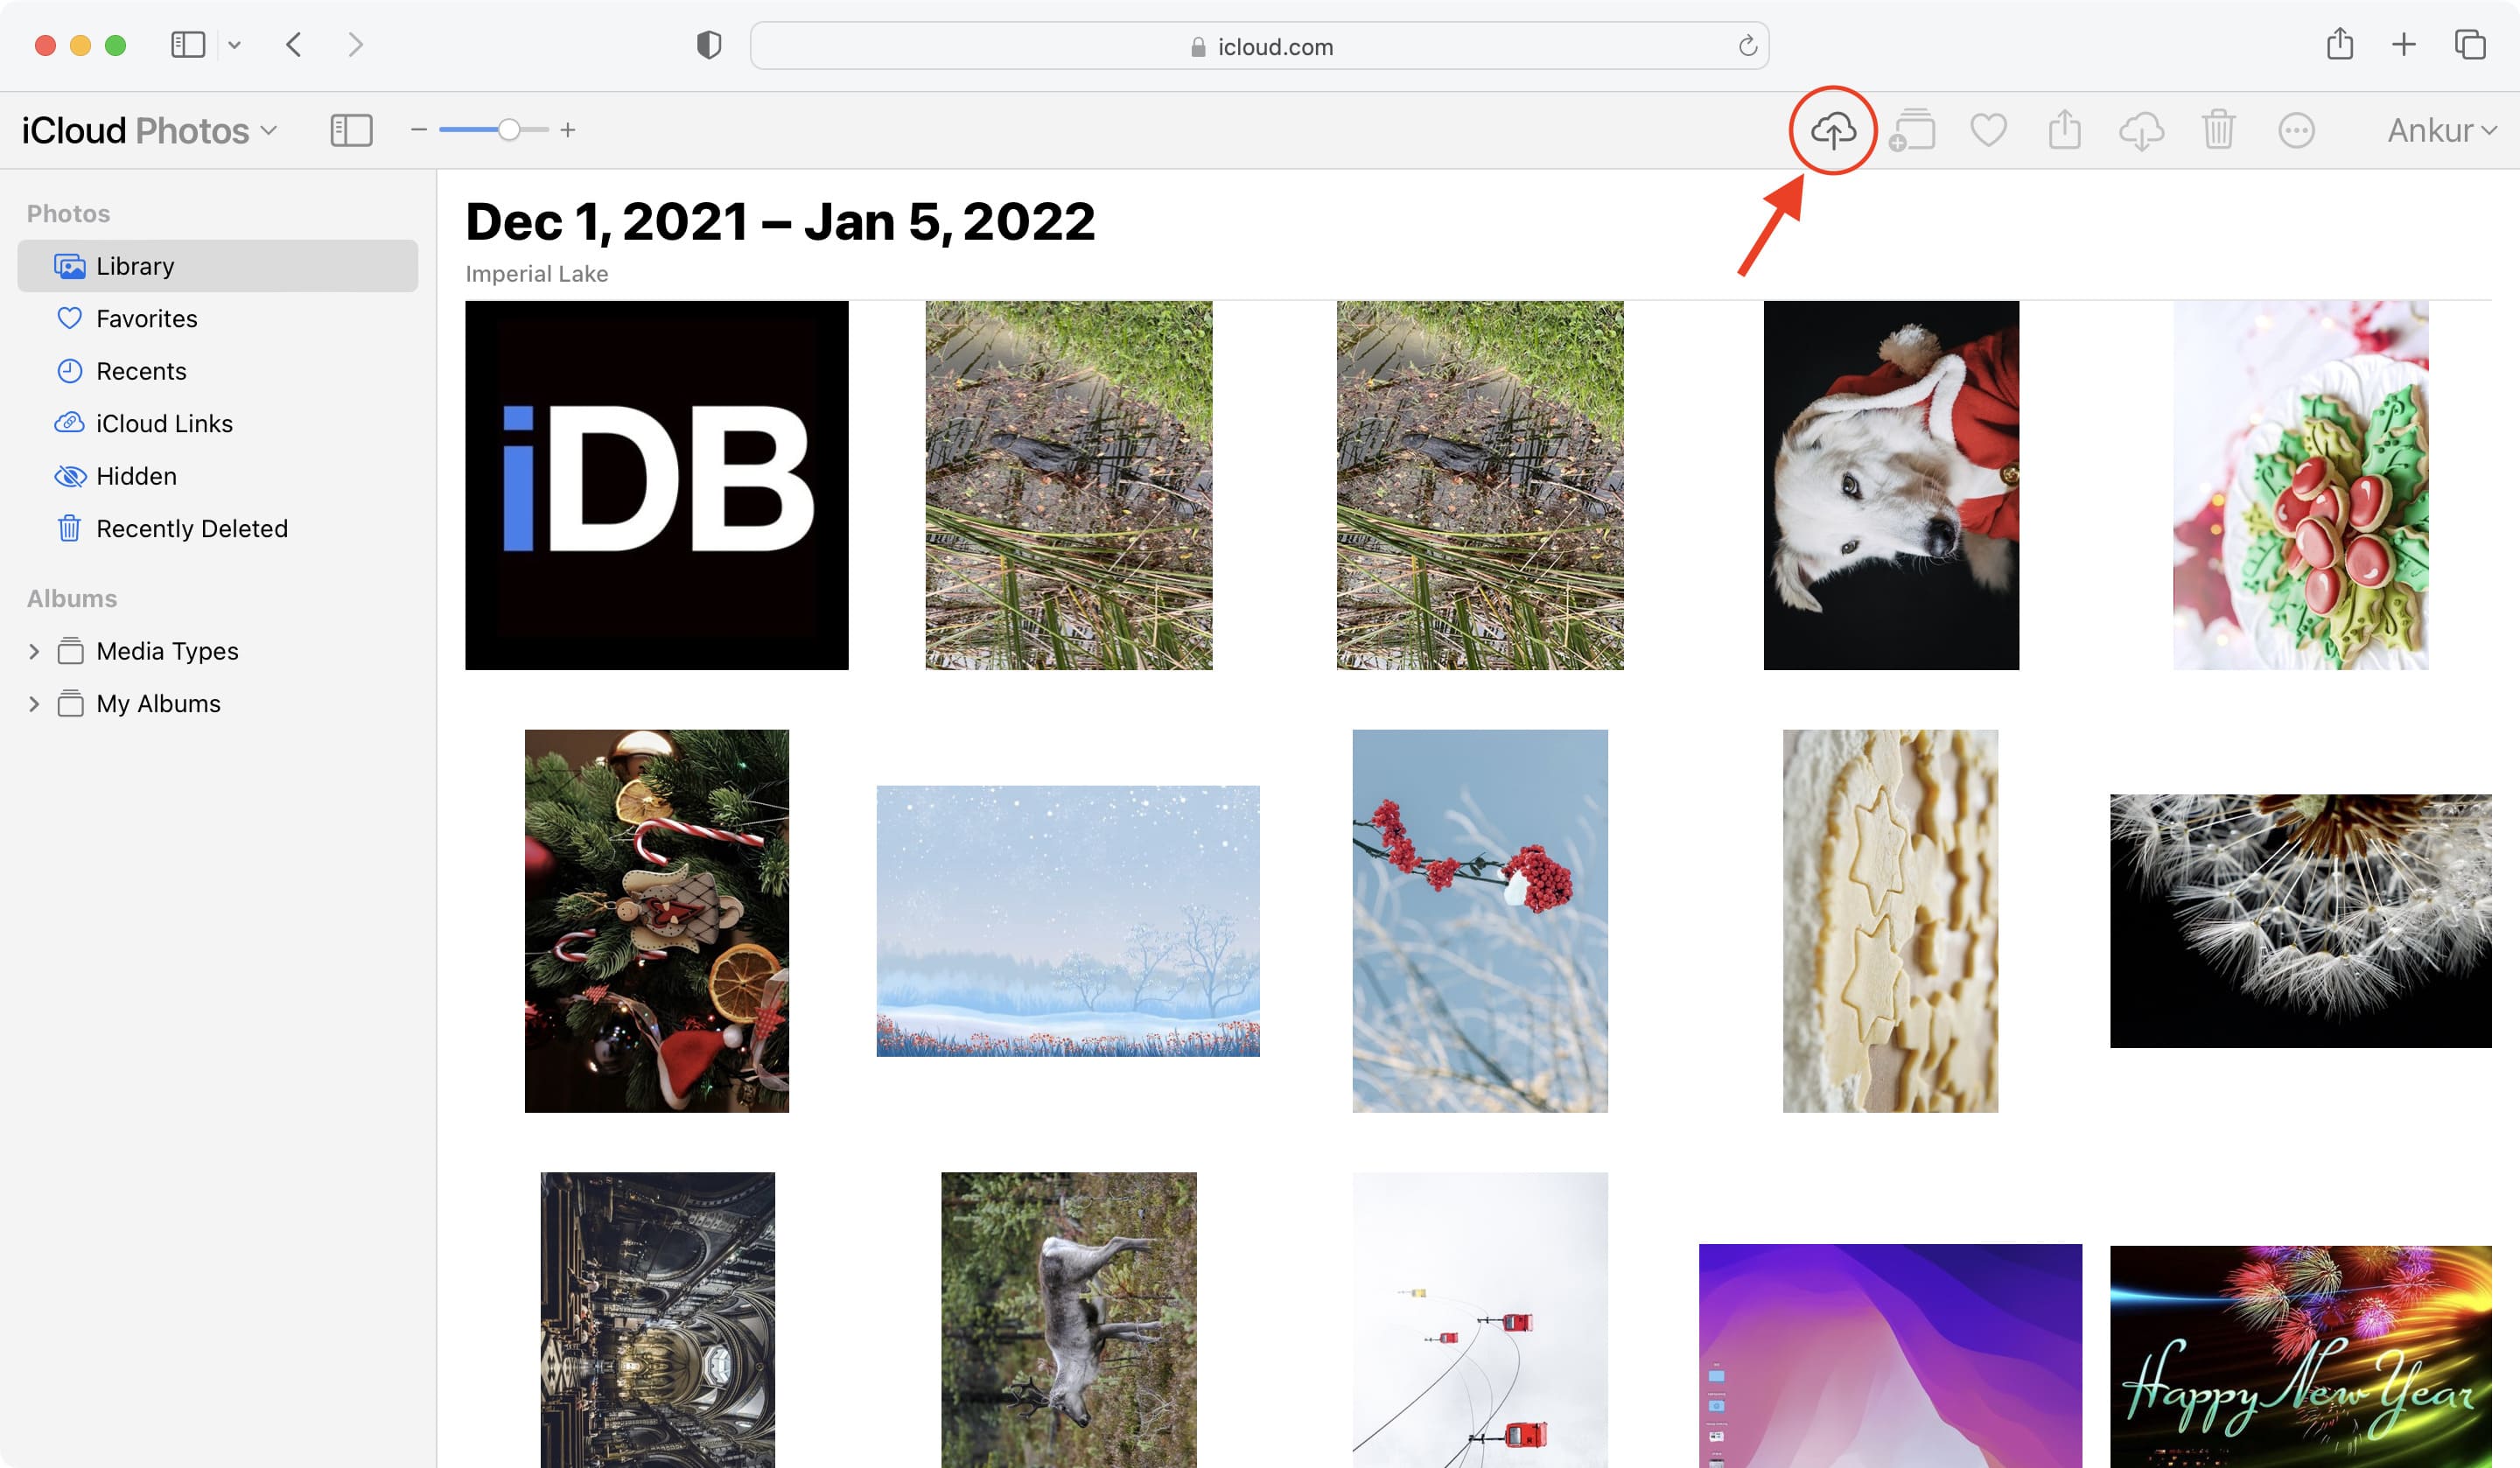
iCloud Photos only syncs and backs up photos and videos that are stored in the Photos app. You can also upload specific images from folders on your Mac to iCloud Photos, but you must use a browser.
- Visit iCloud.com and sign in with your Apple Account or saved passkey.
- Choose the Photos option on the main page.
- Drag and drop image and video files from your Mac to the iCloud Photos web app. Alternatively, click the upward arrow icon, select the pictures, and click Upload.
Third-party services
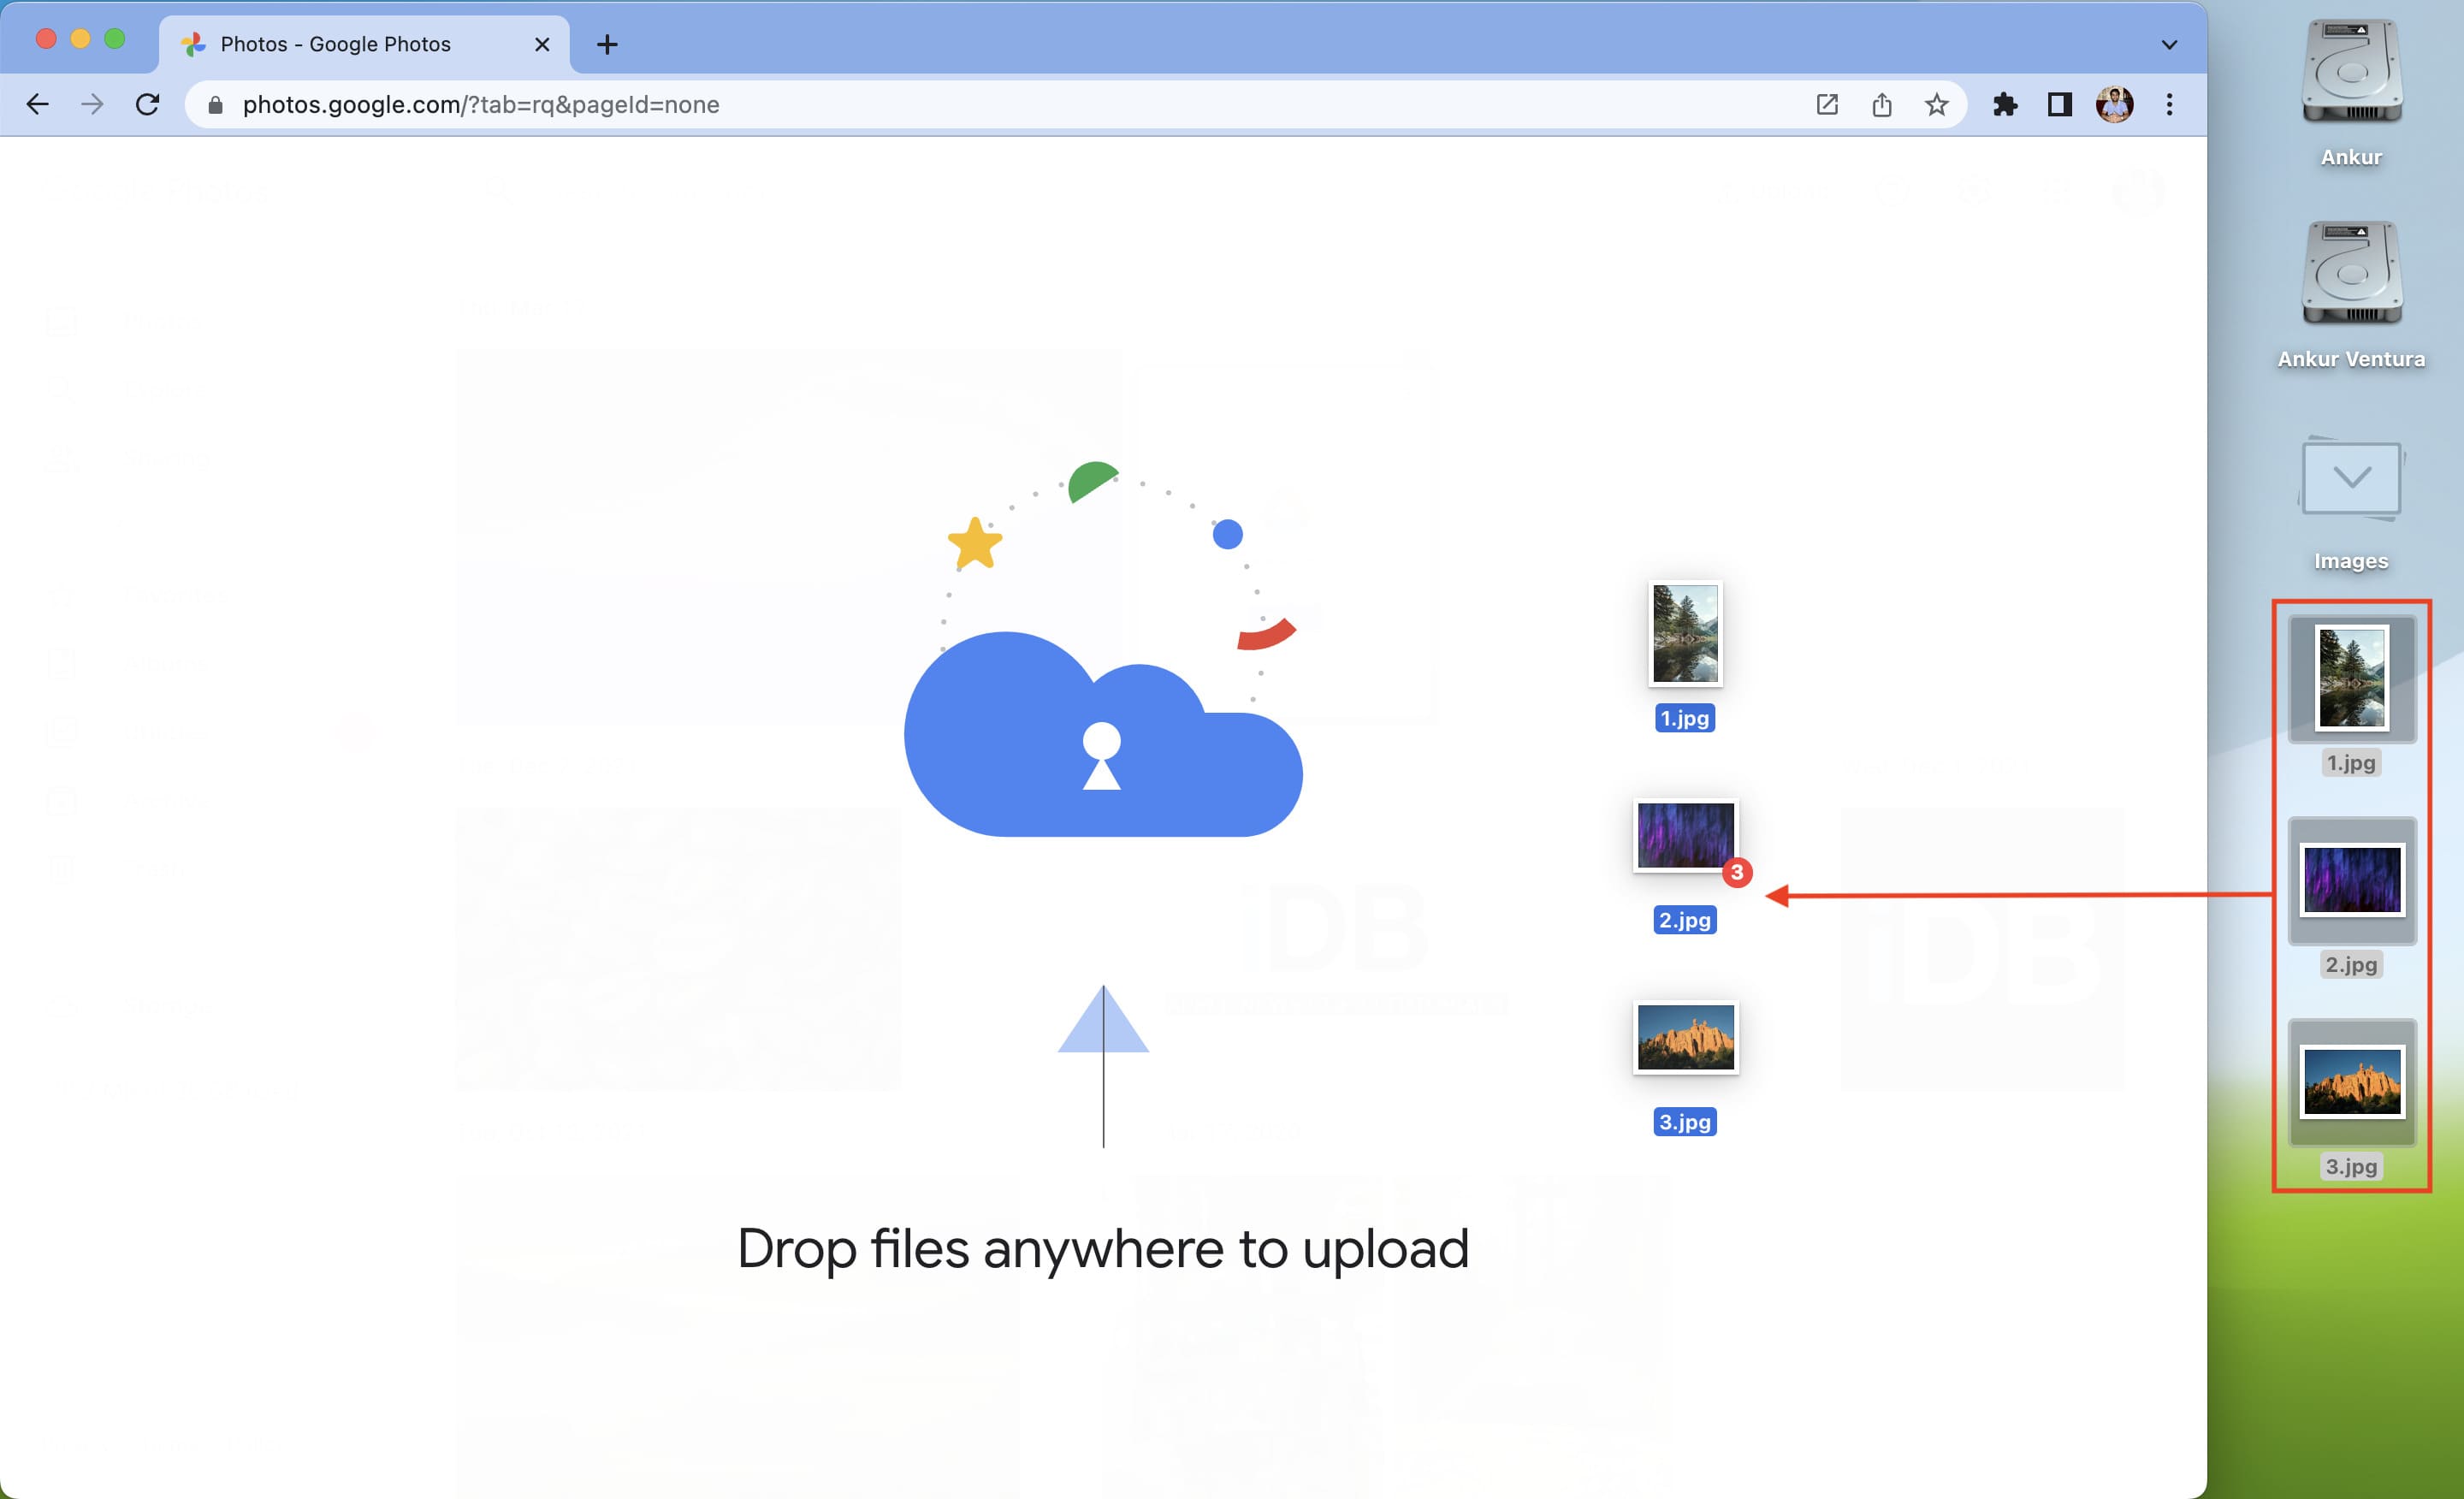
Aside from Apple’s offering, third-party options like Google Photos, Google Drive, Dropbox, OneDrive, Box, Mega, and Backblaze are all good for backing up your files. The basics of uploading files to any cloud storage service are more or less the same:
- Use a browser to visit the official website for your chosen cloud storage.
- Create a folder or album on the service for better organization.
- Drag and drop photos and videos from a folder on your Mac to the browser window or use the upload button.
Services like Dropbox and Google Drive offer native macOS clients for syncing. You can also configure your Mac to automatically upload photos and videos to services like Google Photos.
Back up to local storage
Local storage has some advantages over cloud services.
A local storage device, like an external hard drive or an SSD, works offline and doesn’t require an internet connection to use. You can simply plug it into another device like a Windows PC or your smart TV to view your memories there.
Additionally, a capacious hard drive or SSD can be cheaper in the long run than a cloud solution. You pay for your drive in full once and can use it as long as it lasts. In contrast, cloud services use a subscription model, and you pay a fee each month or year to keep using them (stop paying and you lose access to your files). These costs, especially on higher-tier subscriptions, can add up significantly over time.
We’ve rounded up recommended offline solutions for backing up your photos and videos.
Use the built-in Time Machine feature
You can easily back up your whole Mac to Time Machine, which is a simple-to-use tool built into macOS that ensures data on your computer is backed up automatically and can be restored whenever needed. We recommend getting at least a 2 TB hard drive to use for Time Machine backup.
Check out 8 TB hard drives on Amazon
Hard disk, SSD, flash drive, etc.
External media like hard disks, SSDs, thumb drives, DVDs, and CDs are timeless backup solutions. Connecting a drive every day to back up your media isn’t very convenient, but that’s a small price to pay for preserving your precious memories.
The photos and videos of my wedding are around 300 GB, and backing them up to iCloud or Google would mean paying a monthly subscription for cloud storage. Instead, I transferred the whole 300 GB of memories to an external hard disk.
If you have tons of photos taken on memorable events such as weddings, birthdays, Christmas, and more, consider transferring them to a local storage device like an external drive. You can even save them on two drives kept at separate physical locations, like your house and a bank safe. If one copy is accidentally destroyed due to some unforeseen circumstance, you’ll have another copy.
Check out external SSDs on Amazon
iPad, iPhone, or Android phone
Today’s smartphones and tablets offer as much storage space as a typical computer, although you’ll pay extra for models with 512 GB, 1 TB, or even 2 TB of internal storage. If your iPhone or iPad has plenty of free storage space, AirDrop photos and videos from your Mac, so you have two copies – one on your Mac and the other on your iOS device.
Android device owners can use these methods to move photos and videos between their Mac and Android phone or tablet.
Also, check out: