Learn how to insert and format tables in the Pages app on Mac, iPad, and iPhone to organize data and other items in your reports and documents.
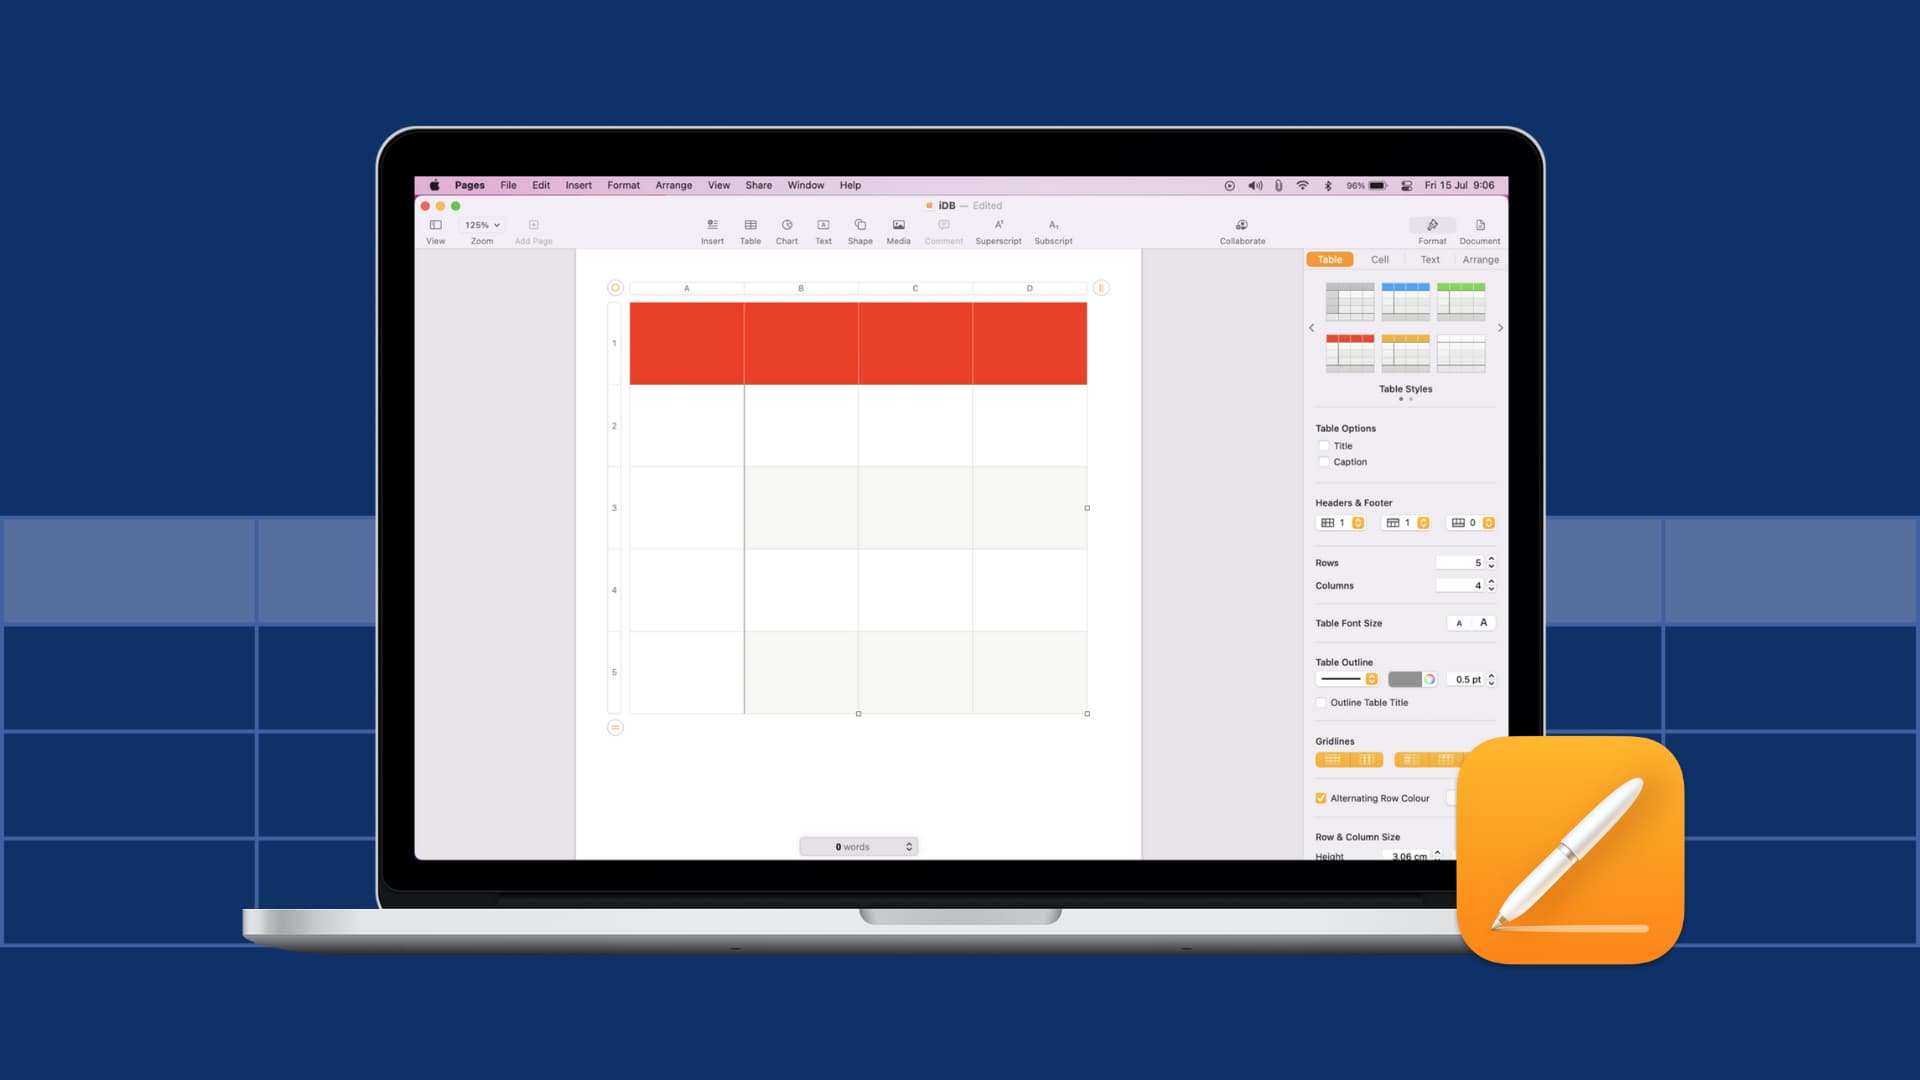
If you’re creating a report, proposal, or essay, you can take advantage of tables in Pages. These can format and present your data neatly.
And while you can certainly create a table in something like Numbers and copy it over, it’s not really necessary, especially if it’s a small amount of data. You can also use tables in Pages to structure other things in a nice grid format, like images, logos, or shapes.
Insert a table in Pages on Mac
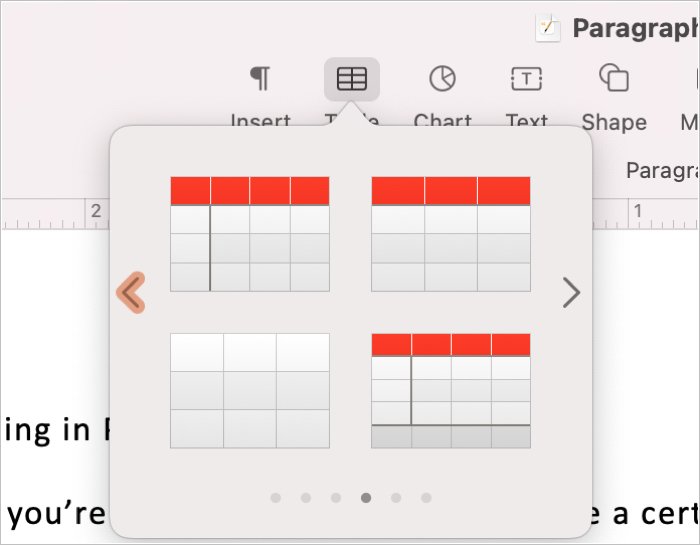
You can insert your table into Pages in two ways. The first and best option is to use the Table button in the toolbar. When you click the button, you have a handy drop-down box that lets you see and select the style and color.
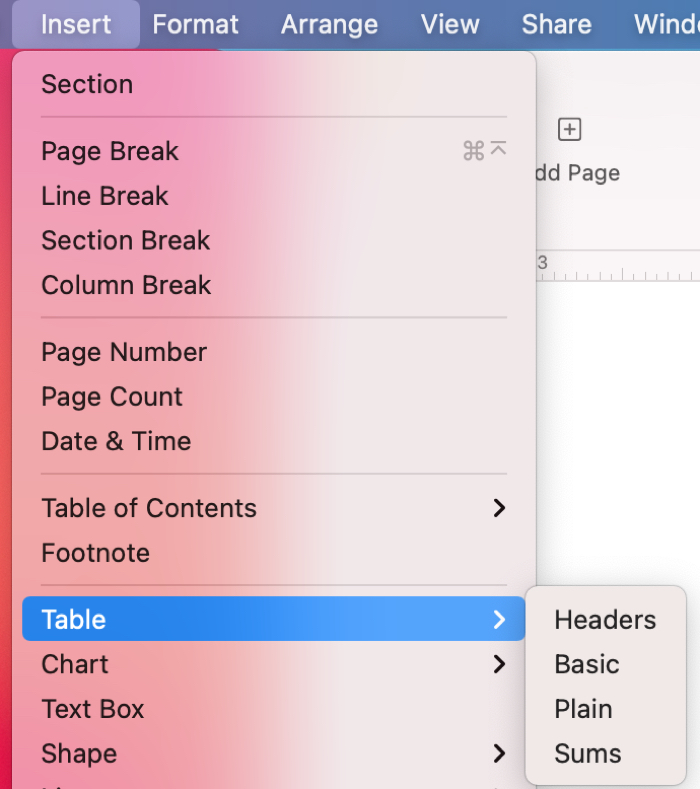
If you have removed the Table button from the toolbar, you can use the menu bar to insert a table. Click Insert > Table. You have the same options in the pop-out menu for the style of table you want, except they’re listed as text instead of visually, like with the toolbar button. So, select from Headers, Basic, Plain, or Sums.
No matter which way you choose to insert the table, you can format it afterward.
Format a table in Pages on Mac
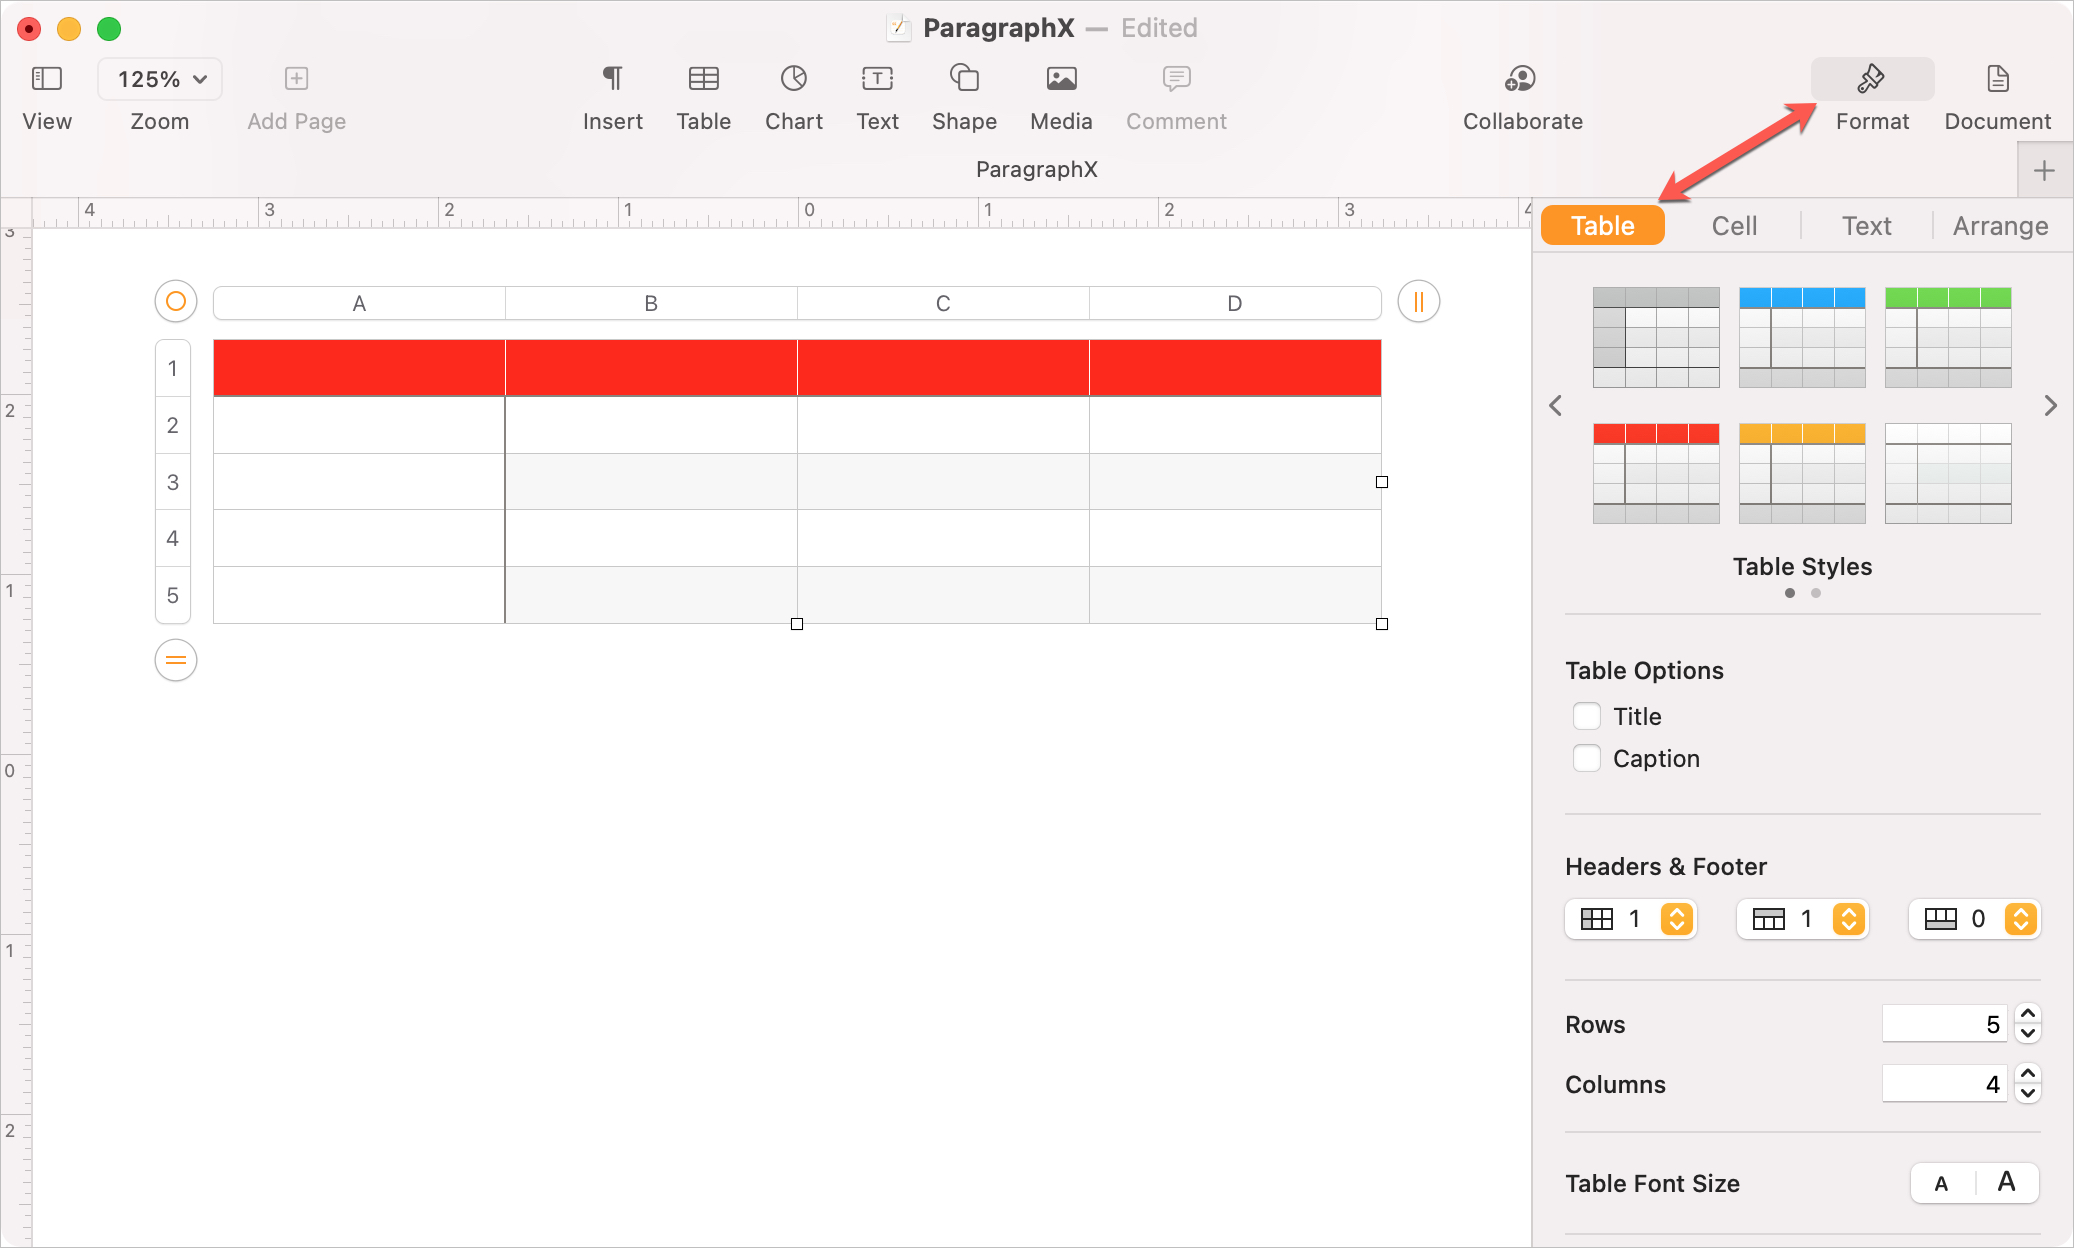
Select the table you added to your document, click the Format button on the top right, and choose the Table tab at the top of the sidebar. You’ll see plenty of formatting options for your table.
You can pick a different style at the top, include a title and caption, select shaded rows and columns for headers and footers, add or remove rows or columns, change the text, and more. With each adjustment you make, your table updates immediately.
If you’re used to working in Numbers, you’ll notice that a table in Pages looks almost identical. So you can click the row and column headers for actions and use the buttons on the right and bottom to adjust the number of rows and columns.
- To resize a table, just drag an edge or corner.
- To remove a table, right-click the circle on the top left and select Cut from the shortcut menu.
Insert a table in Pages on iPhone and iPad
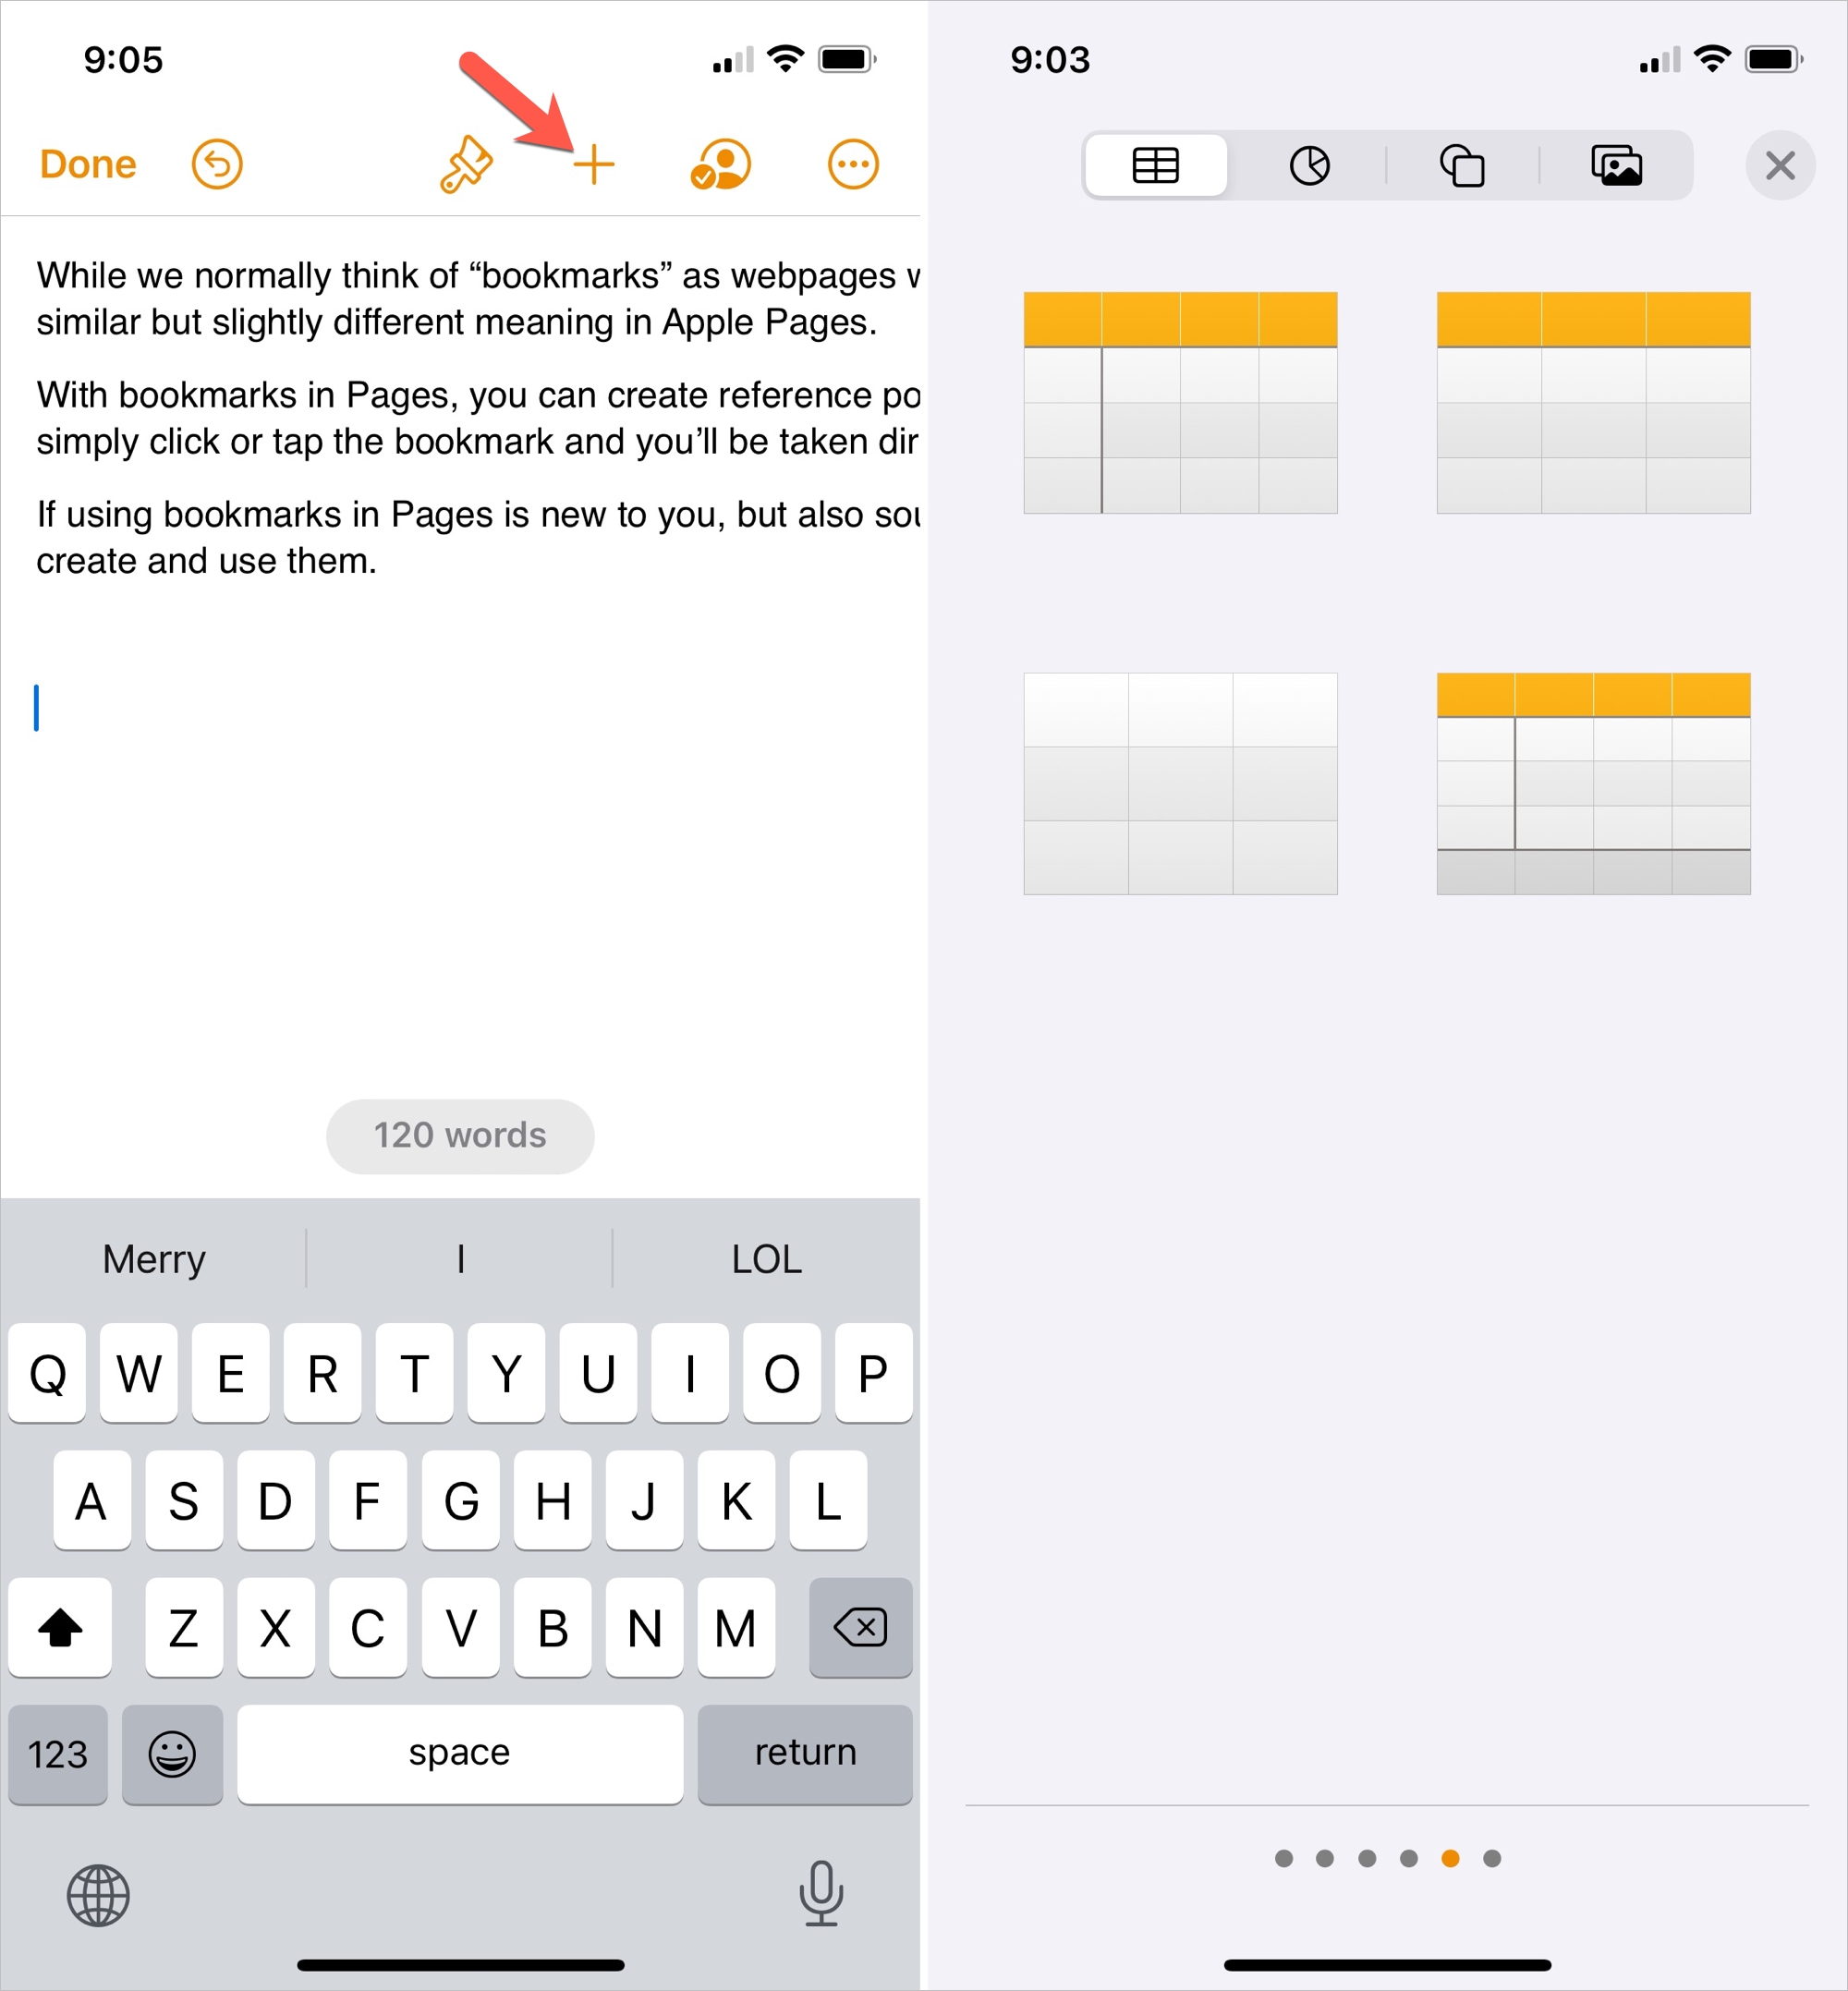
1) Open your document in the Pages app and place your cursor in the spot where you want the table.
2) Tap the purple square icon or the plus sign at the top.
3) Select the Table tab.
4) Swipe right to view all styles and colors. Choose the one you want to use.
Format a table in Pages on iPhone and iPad
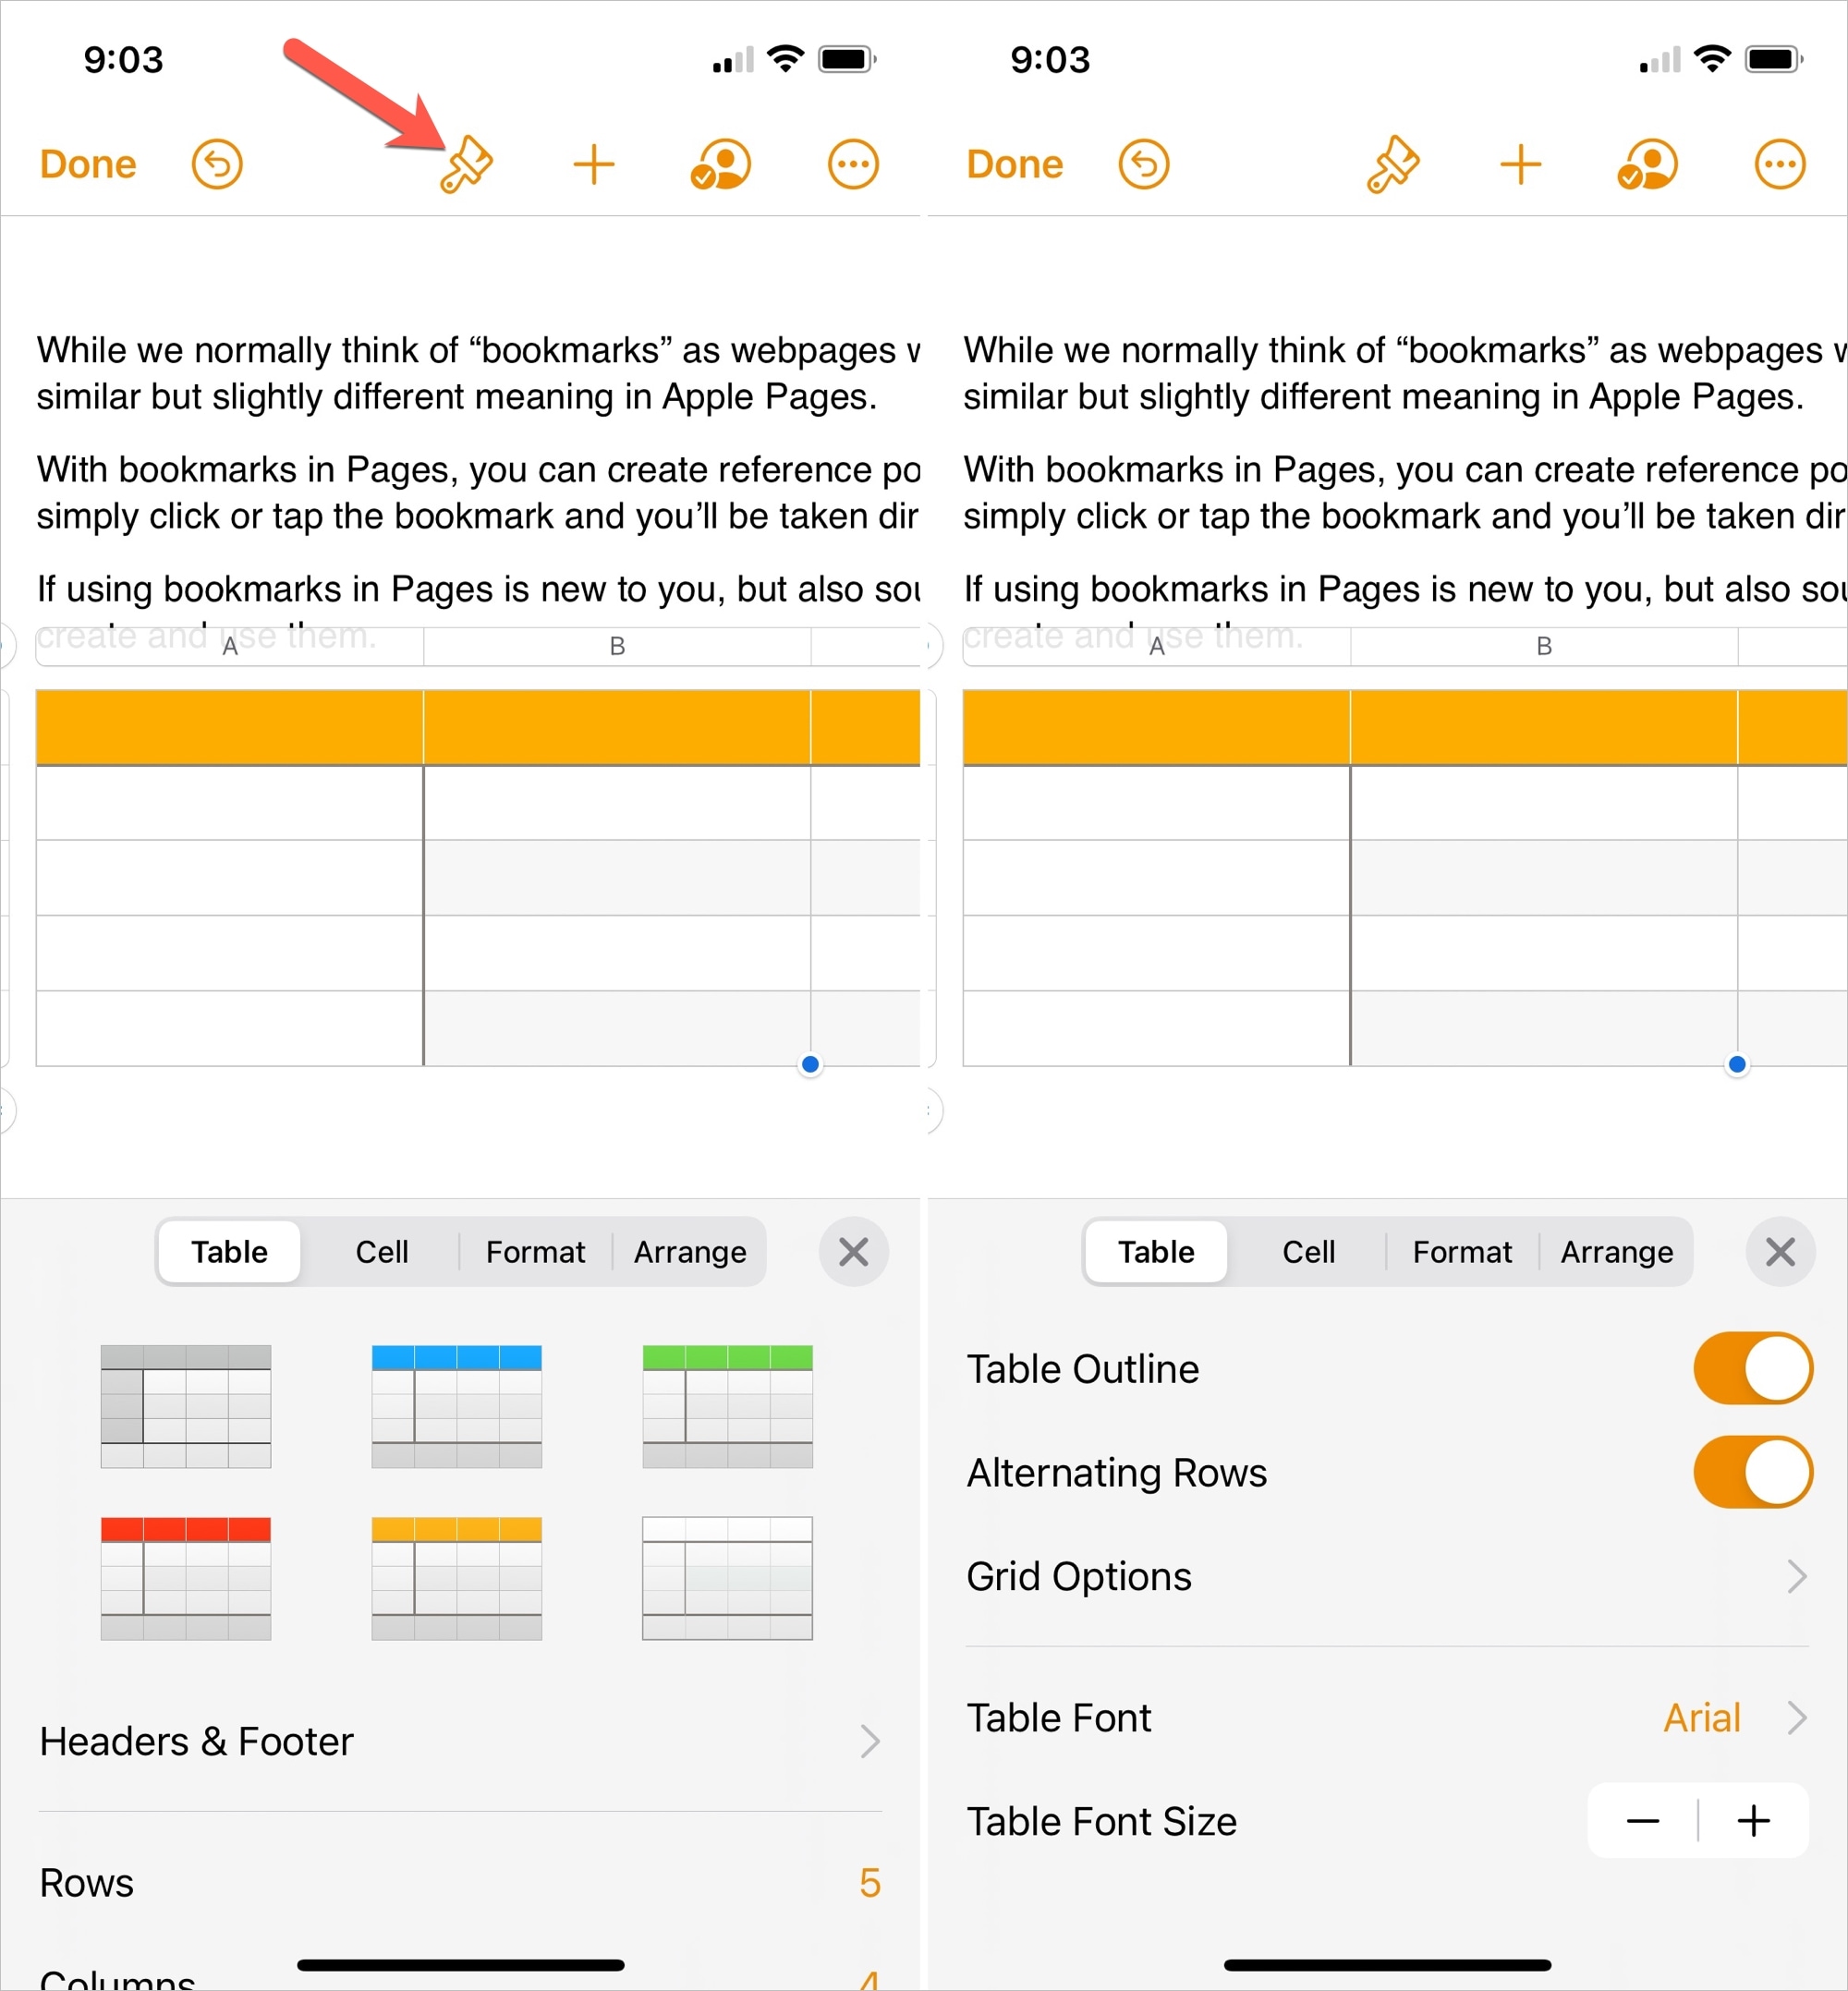
Tap the table to select it, then hit the Format icon (paintbrush) at the top, and choose the Table tab in the pop-up area. You can then adjust the same types of options for the table as on Mac.
Change the style, add or remove rows and columns, select a different font style or size, outline the table, color alternating rows, and more.
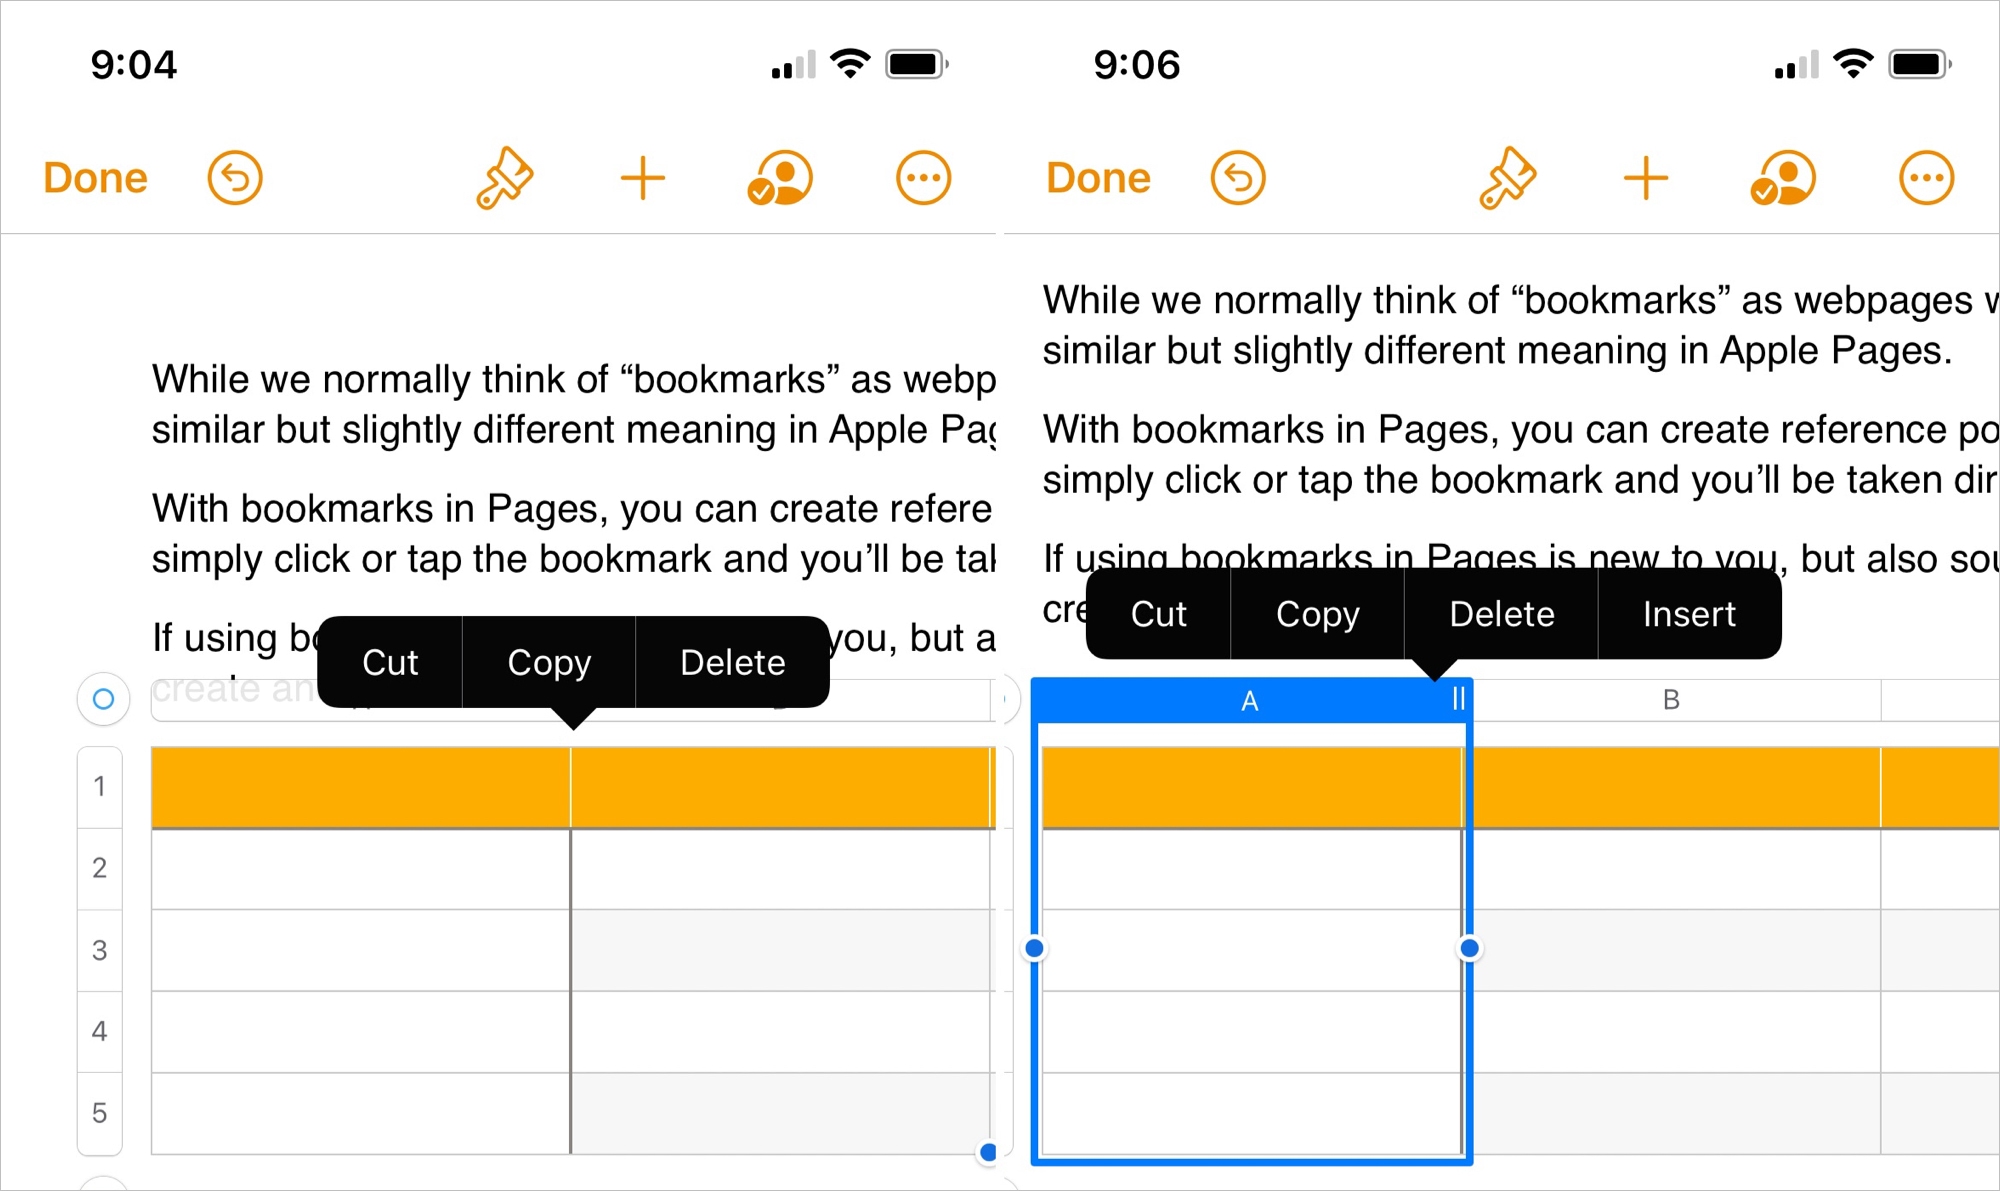
You can tap a row or column header for those actions, too, just like in Numbers. This makes it easy to insert or delete a row or column quickly.
- To resize a table, just drag an edge or the bottom right corner.
- To remove a table, tap the circle on the top left of the table and select Cut from the shortcut menu.
If a visual item, such as a table, would improve your Pages document, whether to include pertinent data or arrange items neatly, you can see how easy it is to insert and format one. Are you going to add a table to your next Pages document?
Check out next: