Whether you’re transferring to another mapping app or creating a backup, this guide shows you how to export and download your Google Maps data on both iPhone and the web.
If you want to save your Google Maps data to a file on your Mac or PC, it’s simpler to download it from the web on your computer than in the mobile app. And as long as you sign in with the same Google account, you’ll have everything you need.
Get your Google Maps data online
1) Head to google.com/maps/ in a web browser and sign in using your Google or Gmail account if not already. Click the hamburger menu icon at the top left and select “Your data in Maps.”
If you’re on iPhone, open the Google Maps app, tap your profile picture from the top, and select “Your data in Maps.”
We’re using a computer, but the remaining steps are the same for both iOS and web.

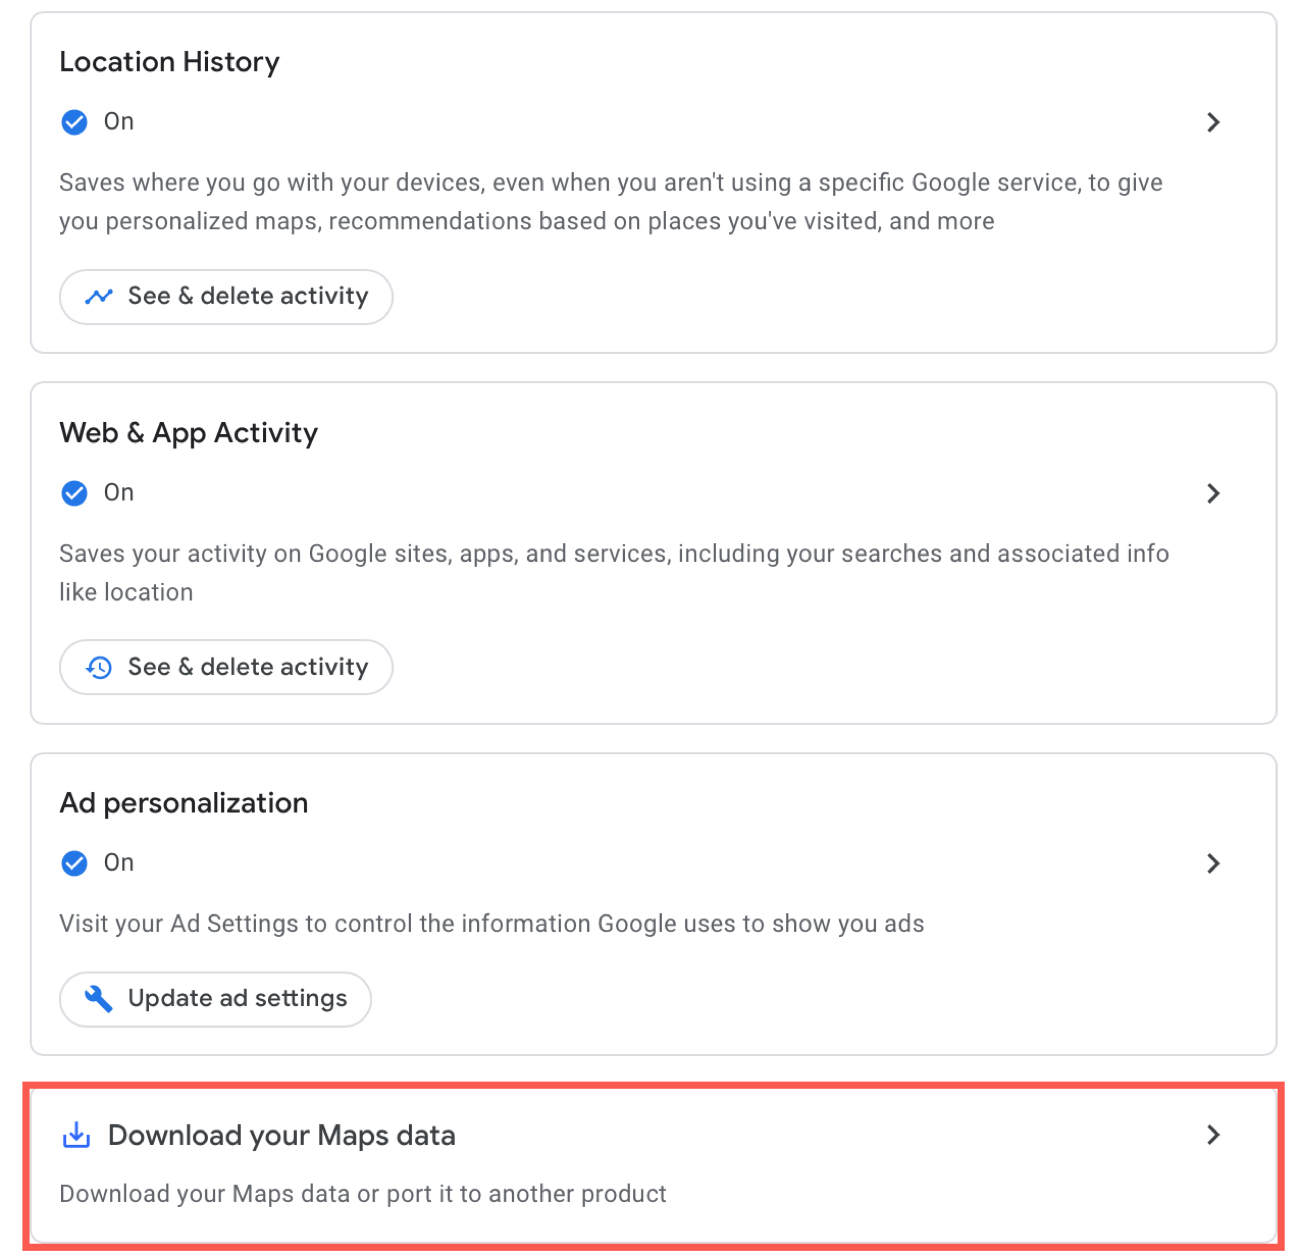
2) You may see some saved and recent data at the top. Scroll down and click “Download your Maps data.”
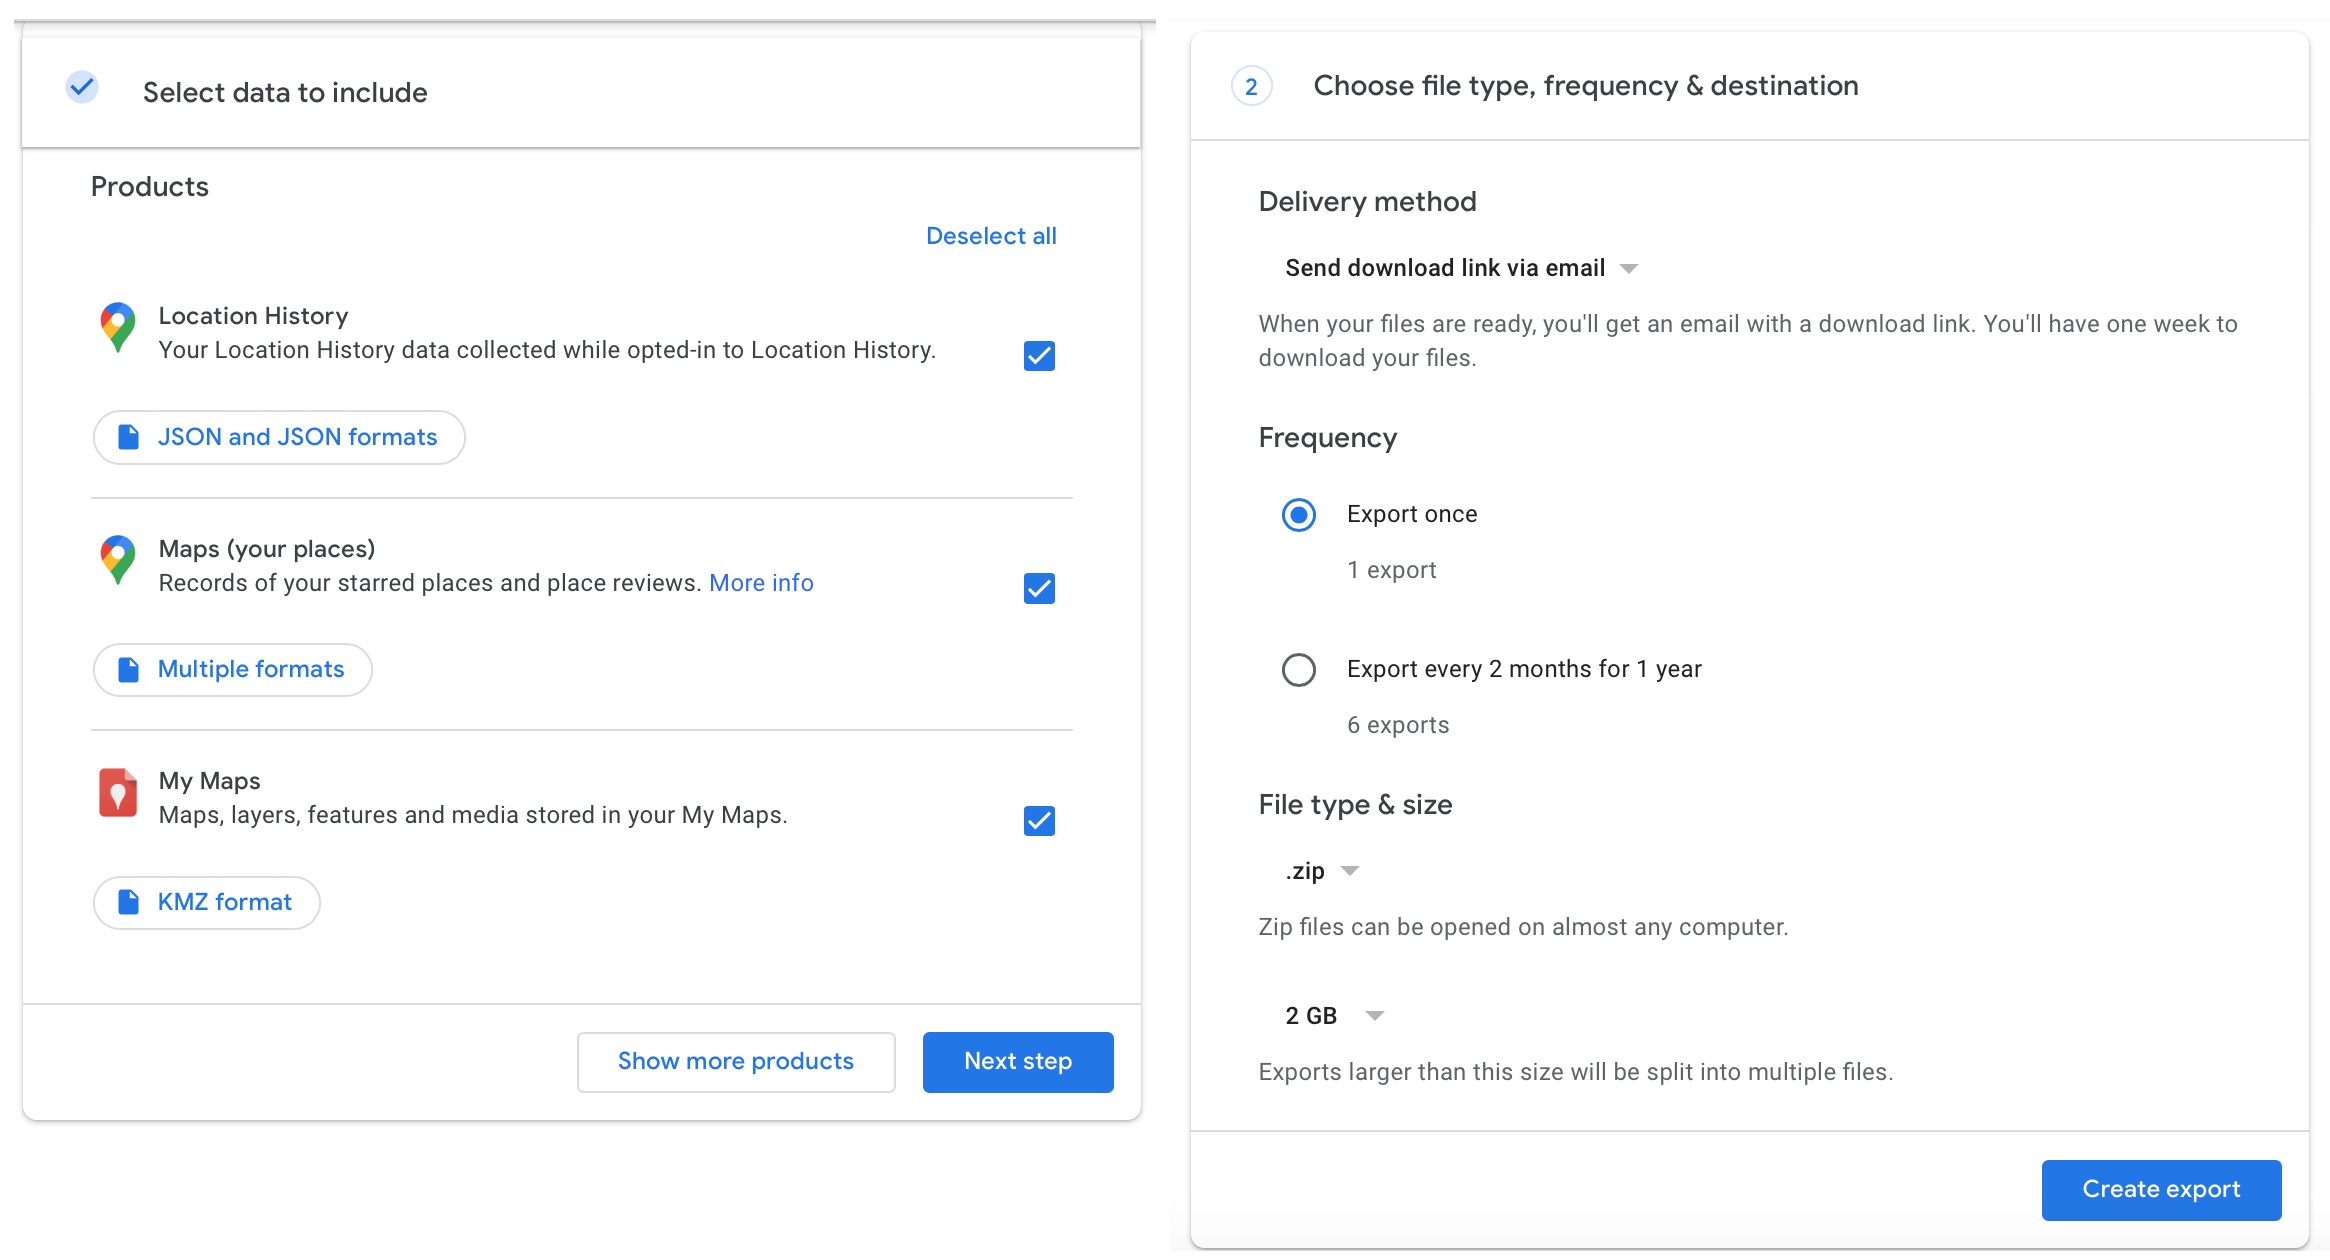
3) Select the data that you want to include in the download. You can check the boxes for Location History, Maps, Maps (your places), My Maps, and Timeline. Each item gives you a simple summary of what’s included and the file formats available.
4) Click Next Step.
5) Choose your Delivery method in the drop-down box at the top. You can receive the download link to your email or send the download to Google Drive, Dropbox, OneDrive, or Box.
6) Then, select the Frequency. You can do a one-time export or export your data every two months for a year.
7) Pick the File type & size. You can receive a ZIP (most common) or TGZ file. And for the size, choose from 2 GB to 50 GB. Note that larger exports will be split into separate files.
8) Now, click Create export.
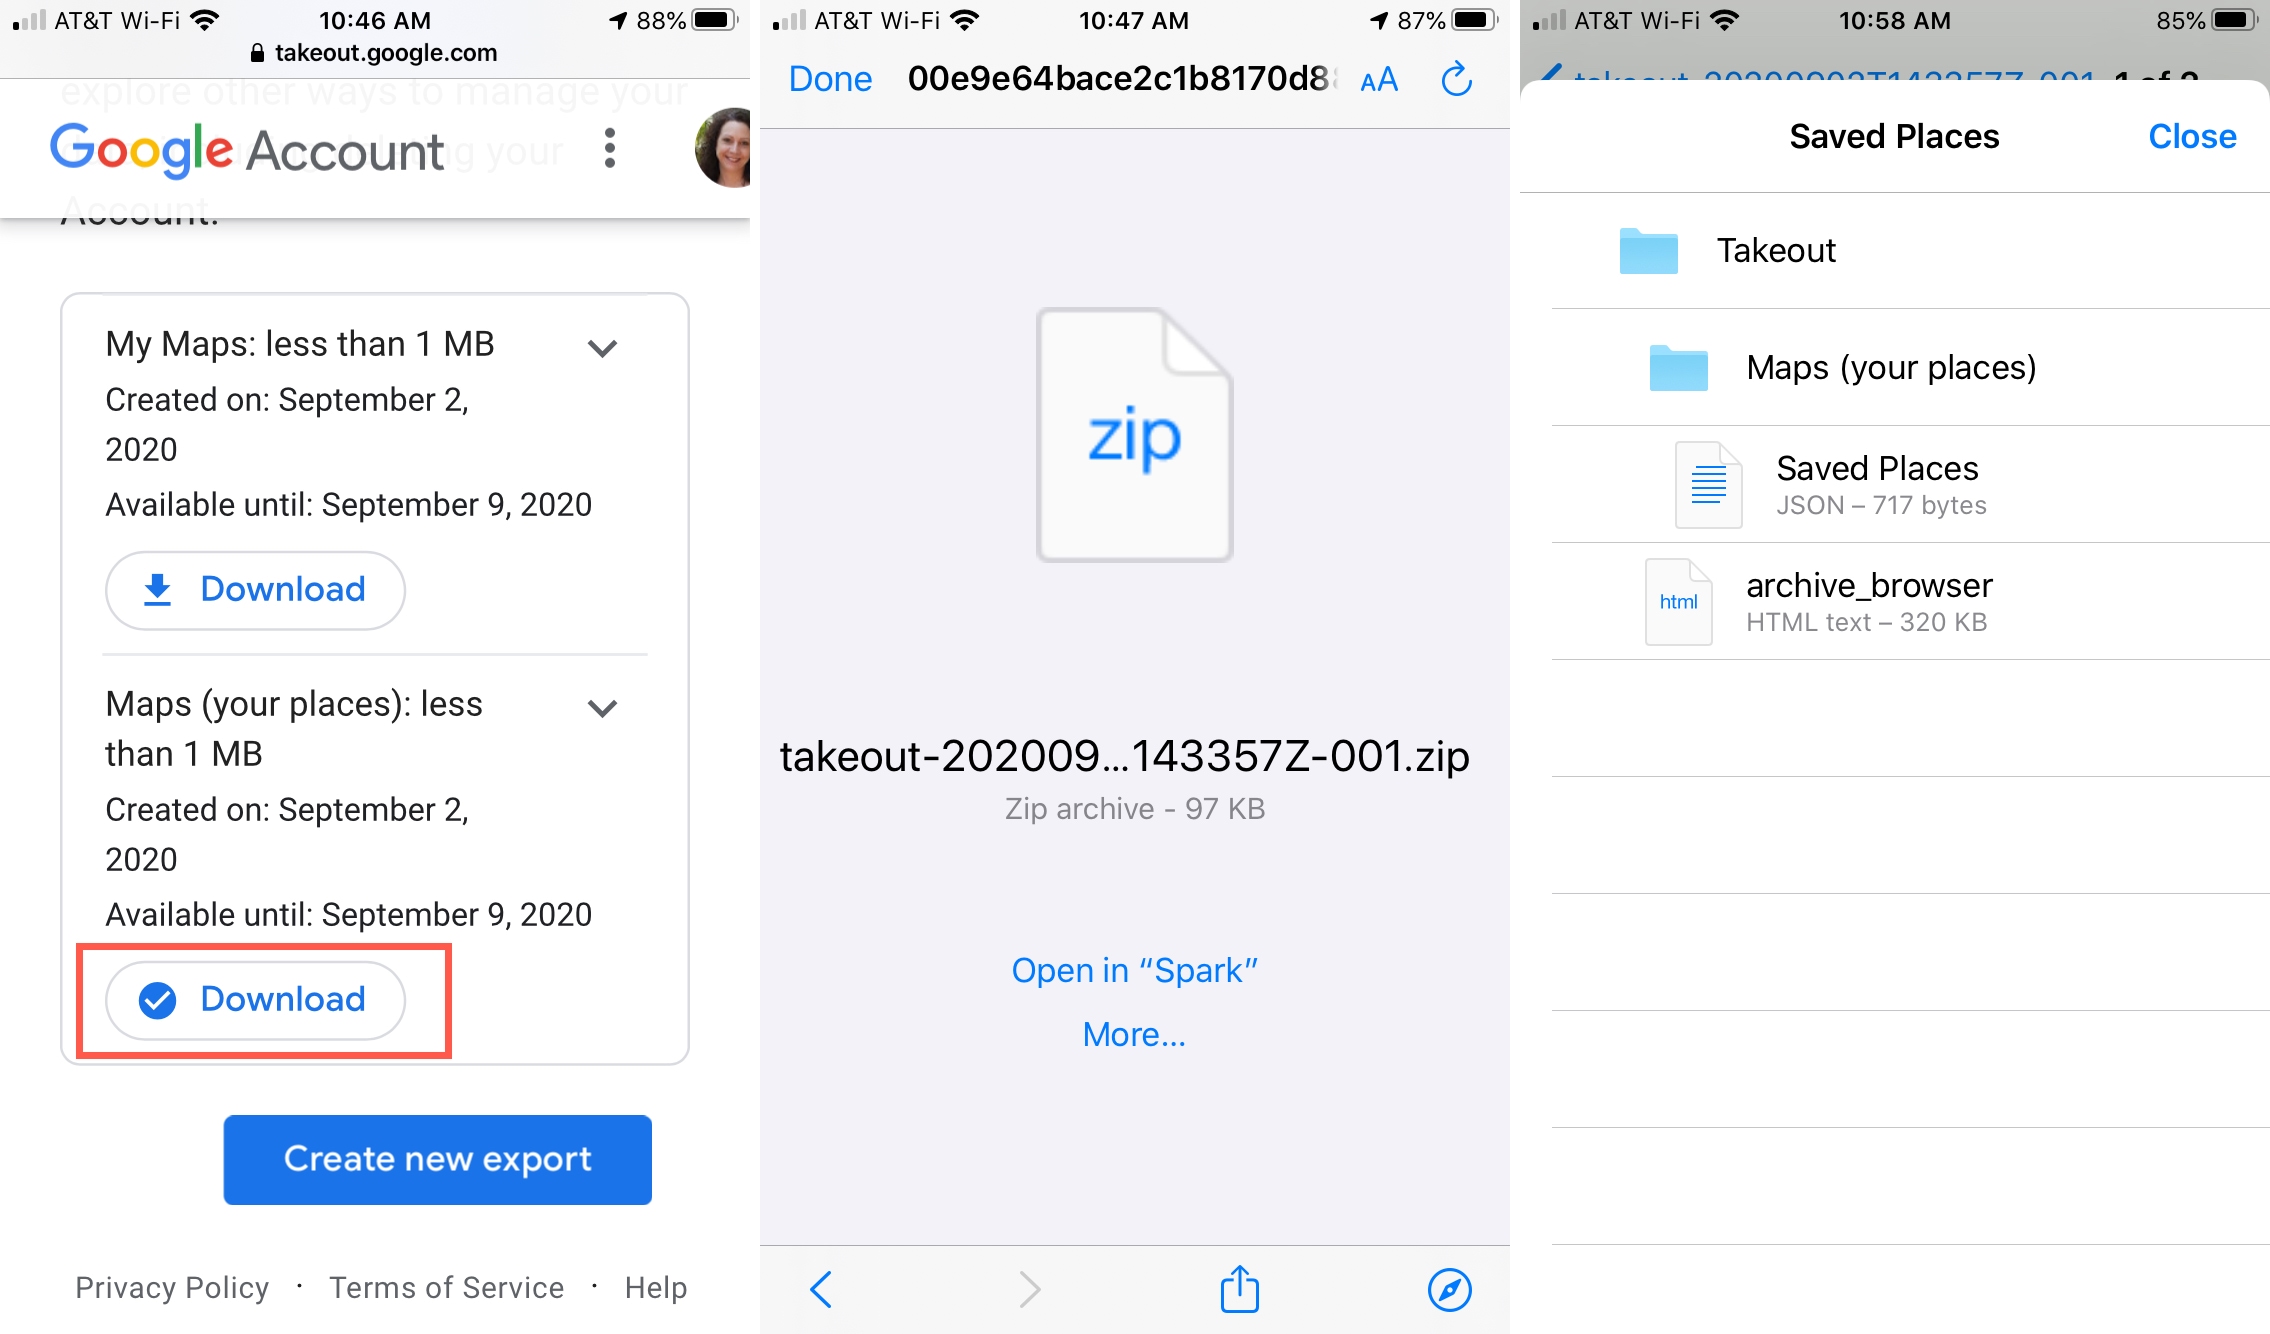
9) Depending on the size of the file, you may need to wait a few minutes. After that, open your email, and you should see an email saying, “Your Google data is ready to download.” Go inside this email and click Download your files. Now, enter your Gmail password, and the file will start to download.
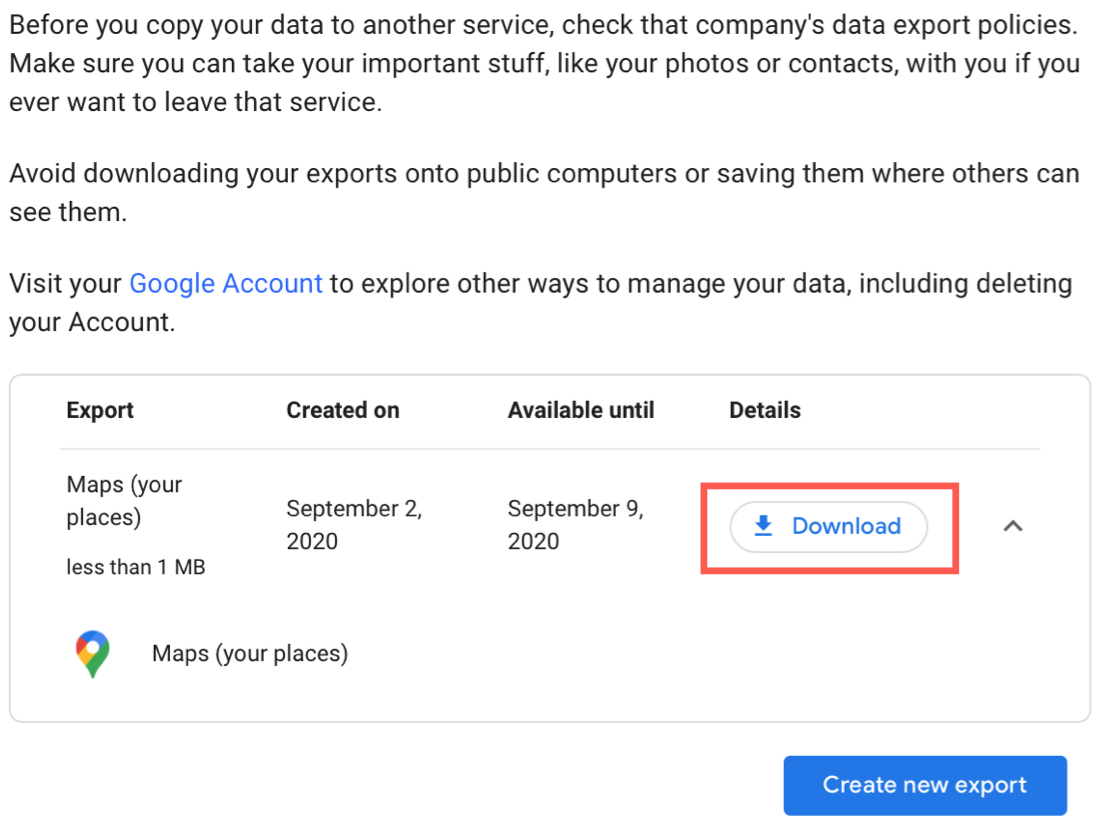
You’ll then see a few important nuggets of information regarding exporting your data for use in other apps that you should review. If necessary, based on these details, you can click “Create new export” to start again.
Note: If the file doesn’t download automatically, click Download and enter your password when prompted.
View your data
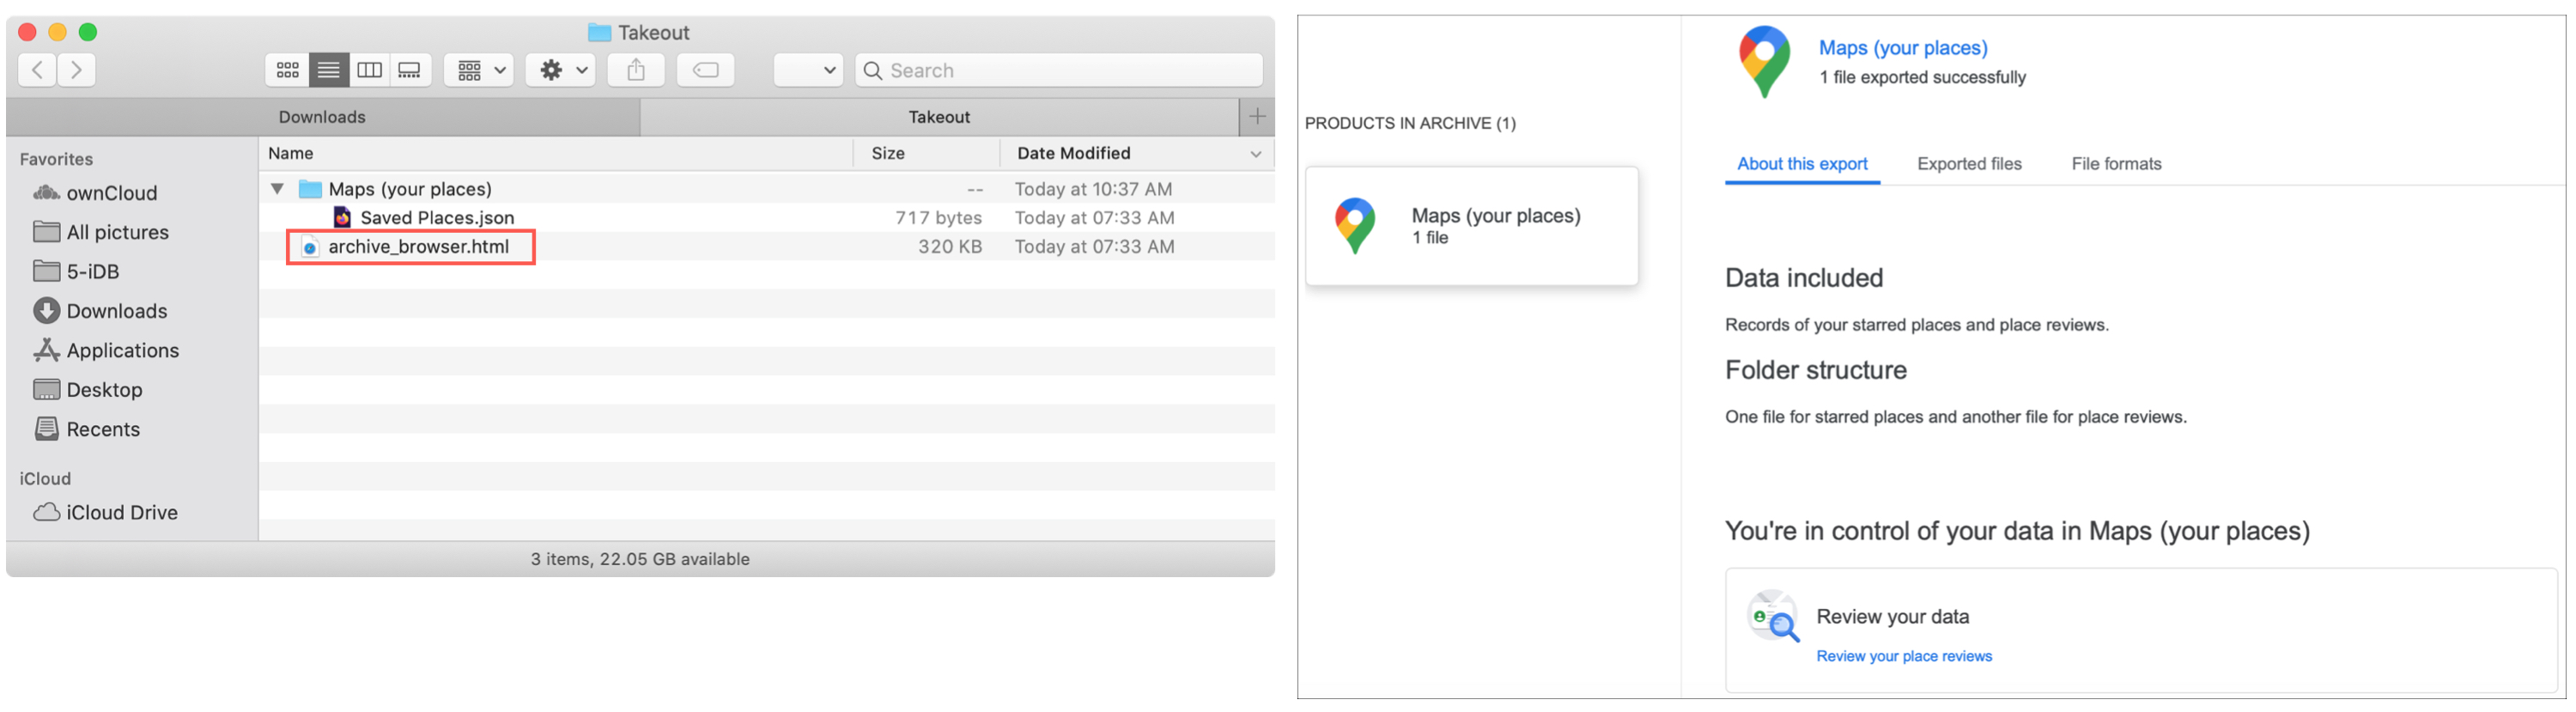
Once you receive the file, navigate to your Downloads folder (or the location where you typically save downloads) and open the Takeout folder. Depending on which data you selected during the above process, you’ll have different files.
If you click the linked HTML file labeled “archive_browser,” you’ll be taken to a webpage where you can review details about the export, exported files, file formats, and more.
Now that you have your Google Maps data, do with it what you will!
If you’re on an iPhone, you probably saved the file to the Apple Files app. You can easily unzip the file there to inspect it.
Whether you want to export your data one time to use it in another app or do it frequently to continually back up your data, Google Maps makes it extremely easy.
Are you going to get a copy of your Google Maps data now? If so, are you exporting it to use in another app or just as a backup for yourself? Let us know!
Also, check out: How to get your house, car, or face blurred out in Apple and Google Maps for increased privacy