Check out these three free and easy ways to crop photos on your Mac without downloading additional third-party applications or extensions.
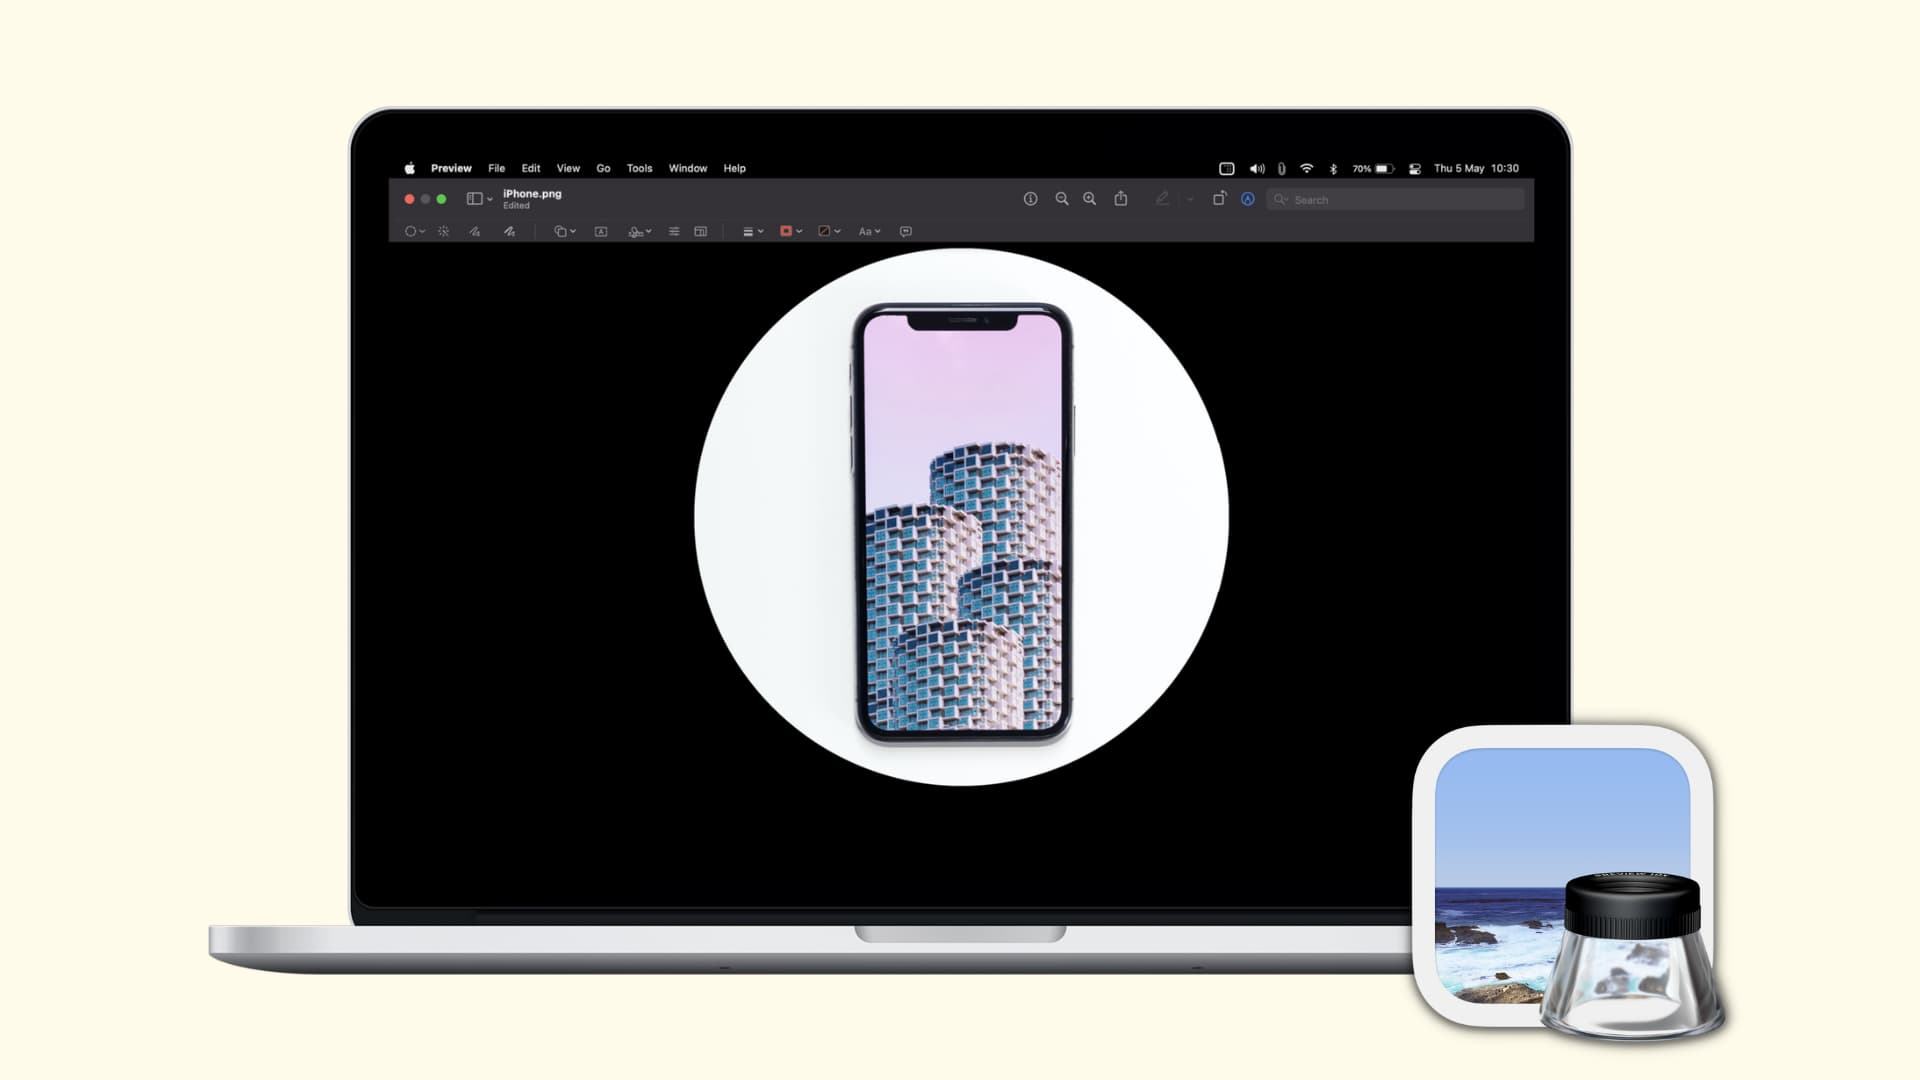
You can crop an image to remove something in the background, delete someone in the foreground, or just rid the photo of extra stuff you don’t want. And if you own a Mac, it can be much easier to edit images than on your iPhone’s smaller screen.
Luckily, you don’t need any fancy software or an app to do simple things to an image on your Mac. Preview, Photos, and Quick Look can easily help you crop the picture.
1. Using Preview
Preview is your Mac’s default image viewer. So, of course, you have a tool to crop a photo or other type of image with it. Remember, you can create a duplicate of the image by selecting and pressing Command + D before you crop it if you want to keep the original intact.
1) Double-click an image in Finder, and it should open in Preview.
2) Click the pen-like Markup button from the top.
Tip: You can also straightaway drag with your mouse or trackpad to select a portion of the image you want to keep and press Command + K to crop and keep only the selected portion. No need to click the Markup button. But Markup offers more options and shape cropping. So, read on.
3) On the far left, click the Selection Tool button and pick a shape for the tool.
4) Use the selection tool to capture the part of your image that you want to keep. Once you place the tool on your image, drag a border or corner to resize the selected area.
5) You’ll see the Crop button appear on the far right, so click it. Or, press Command + K on your keyboard to crop it.
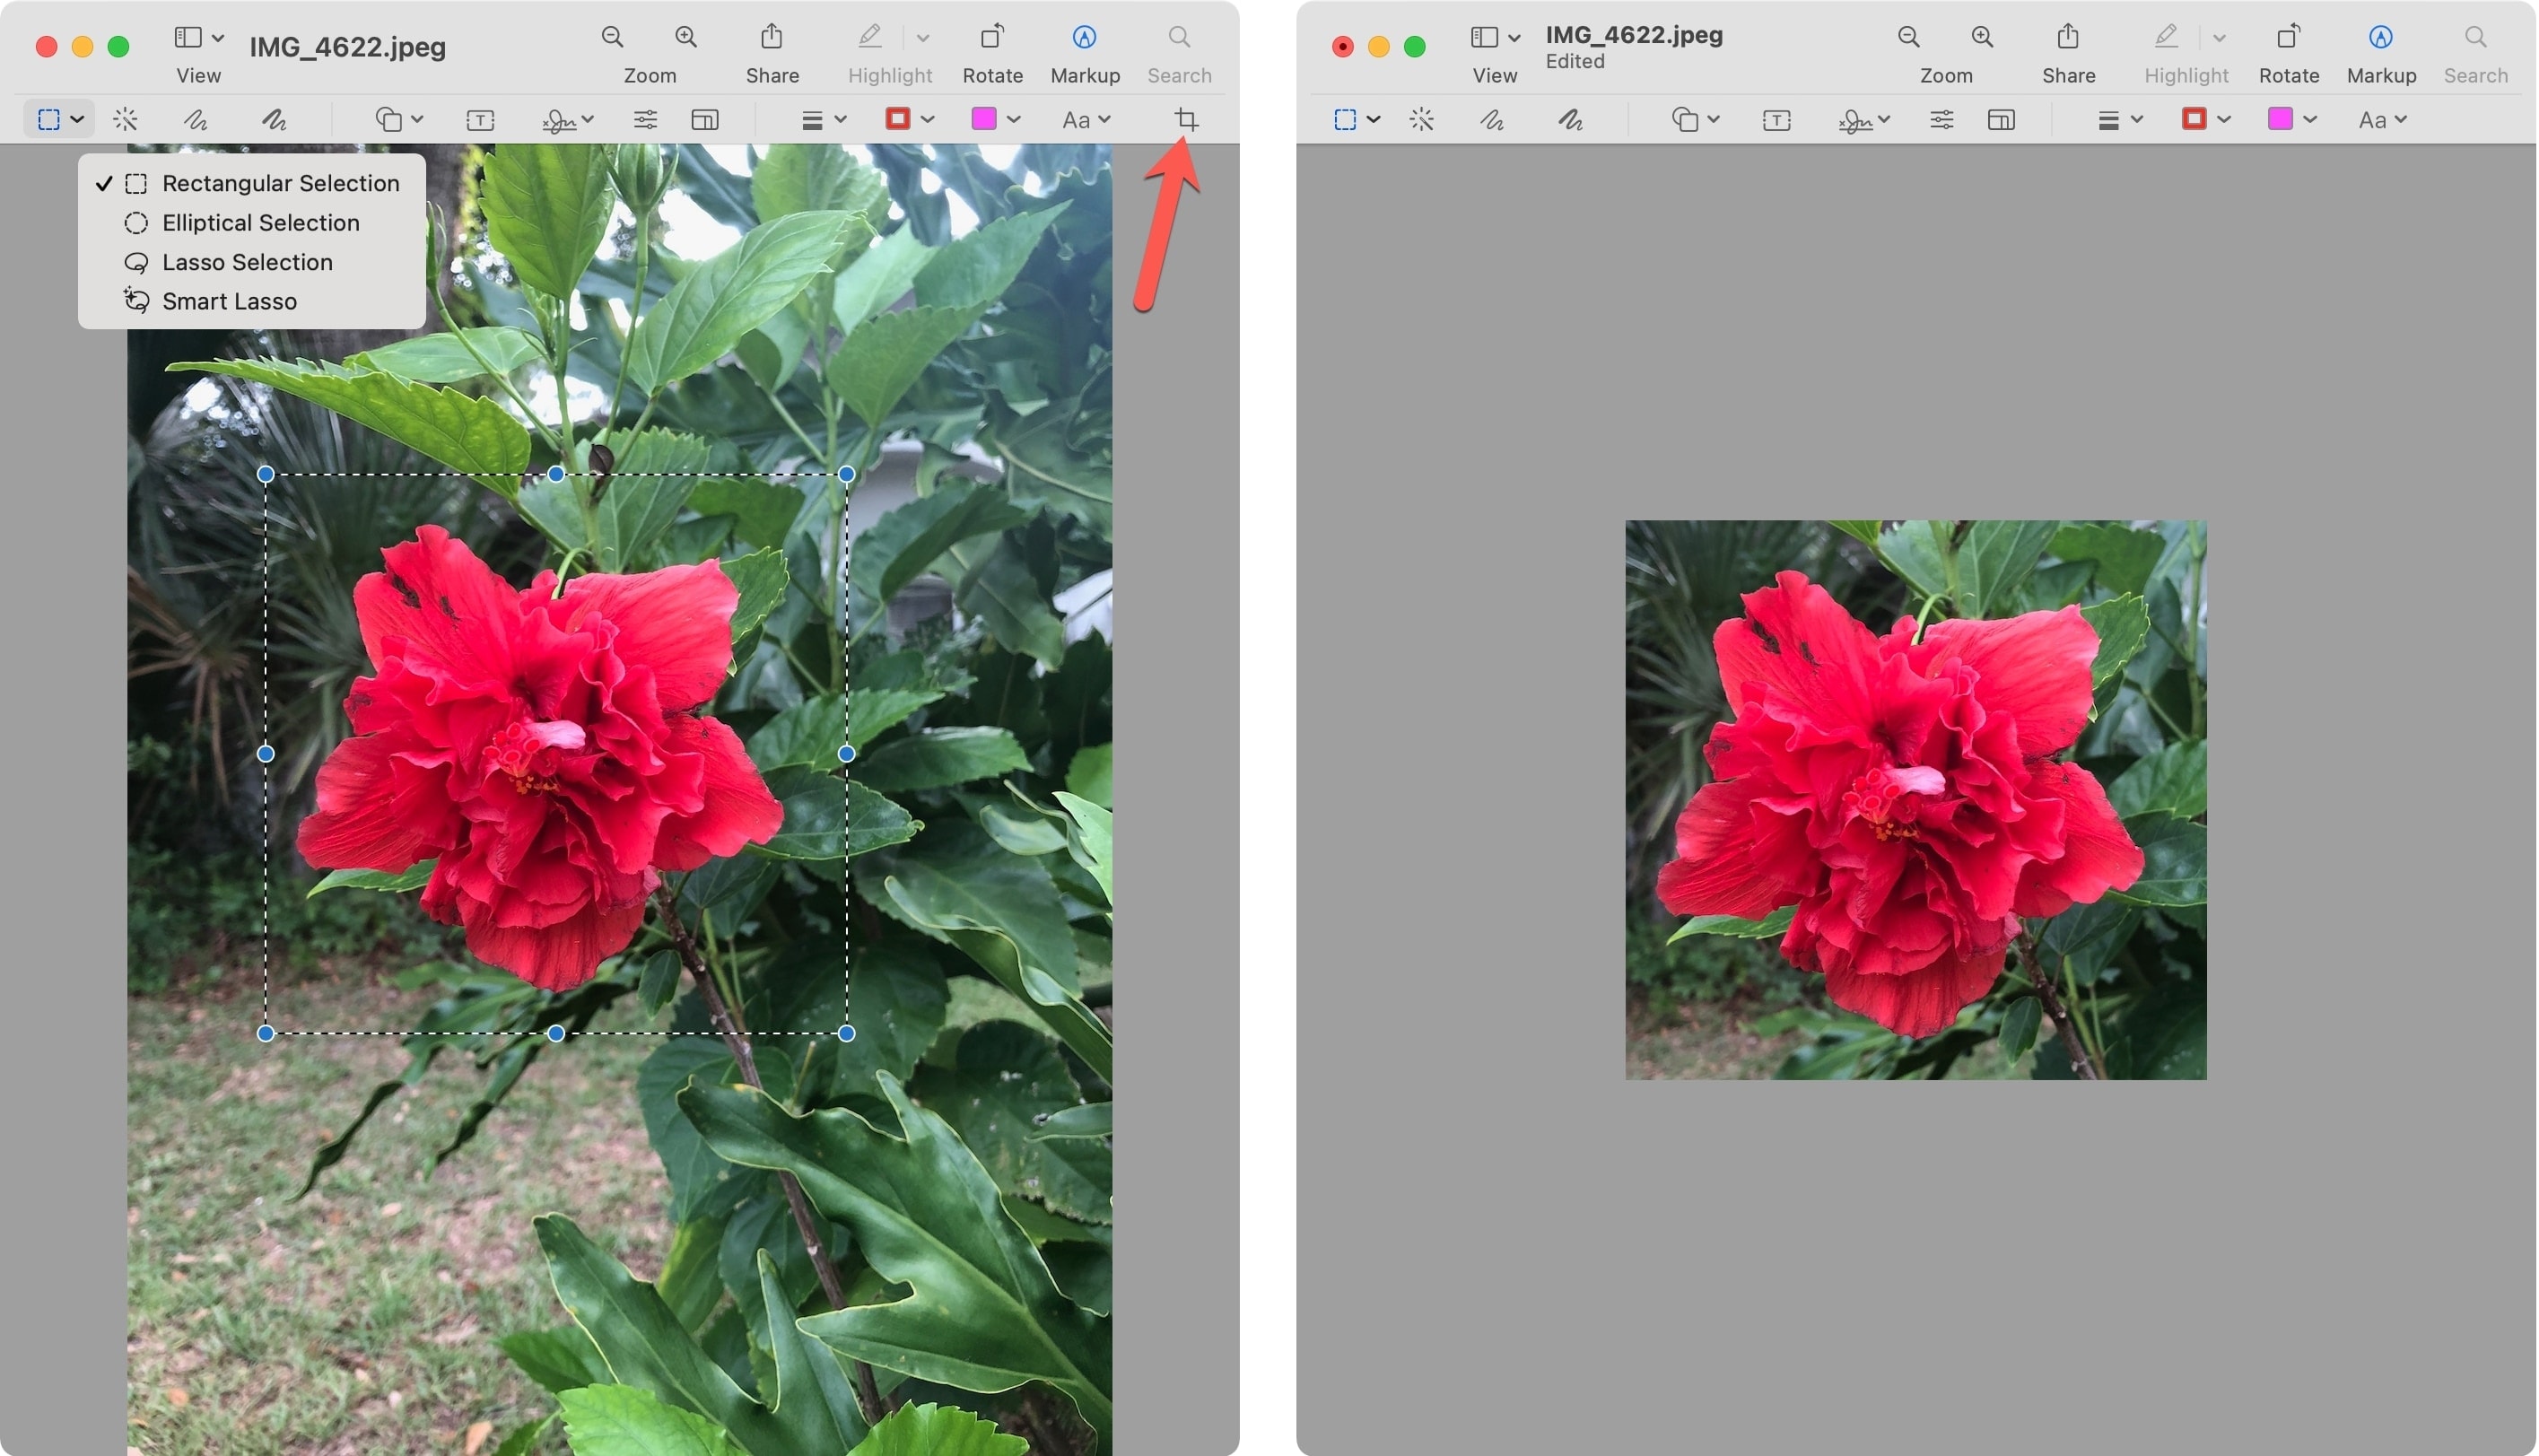
Tip: Don’t like the final cropped image? Press the Command + Z keys to undo the crop.
2. Using the Photos app
If you have a photo or screenshot from another device that you want to crop and use iCloud to sync Photos, then you can use the editing tool built right into Photos on Mac. This is a great way to crop an image from your iPhone on a larger screen.
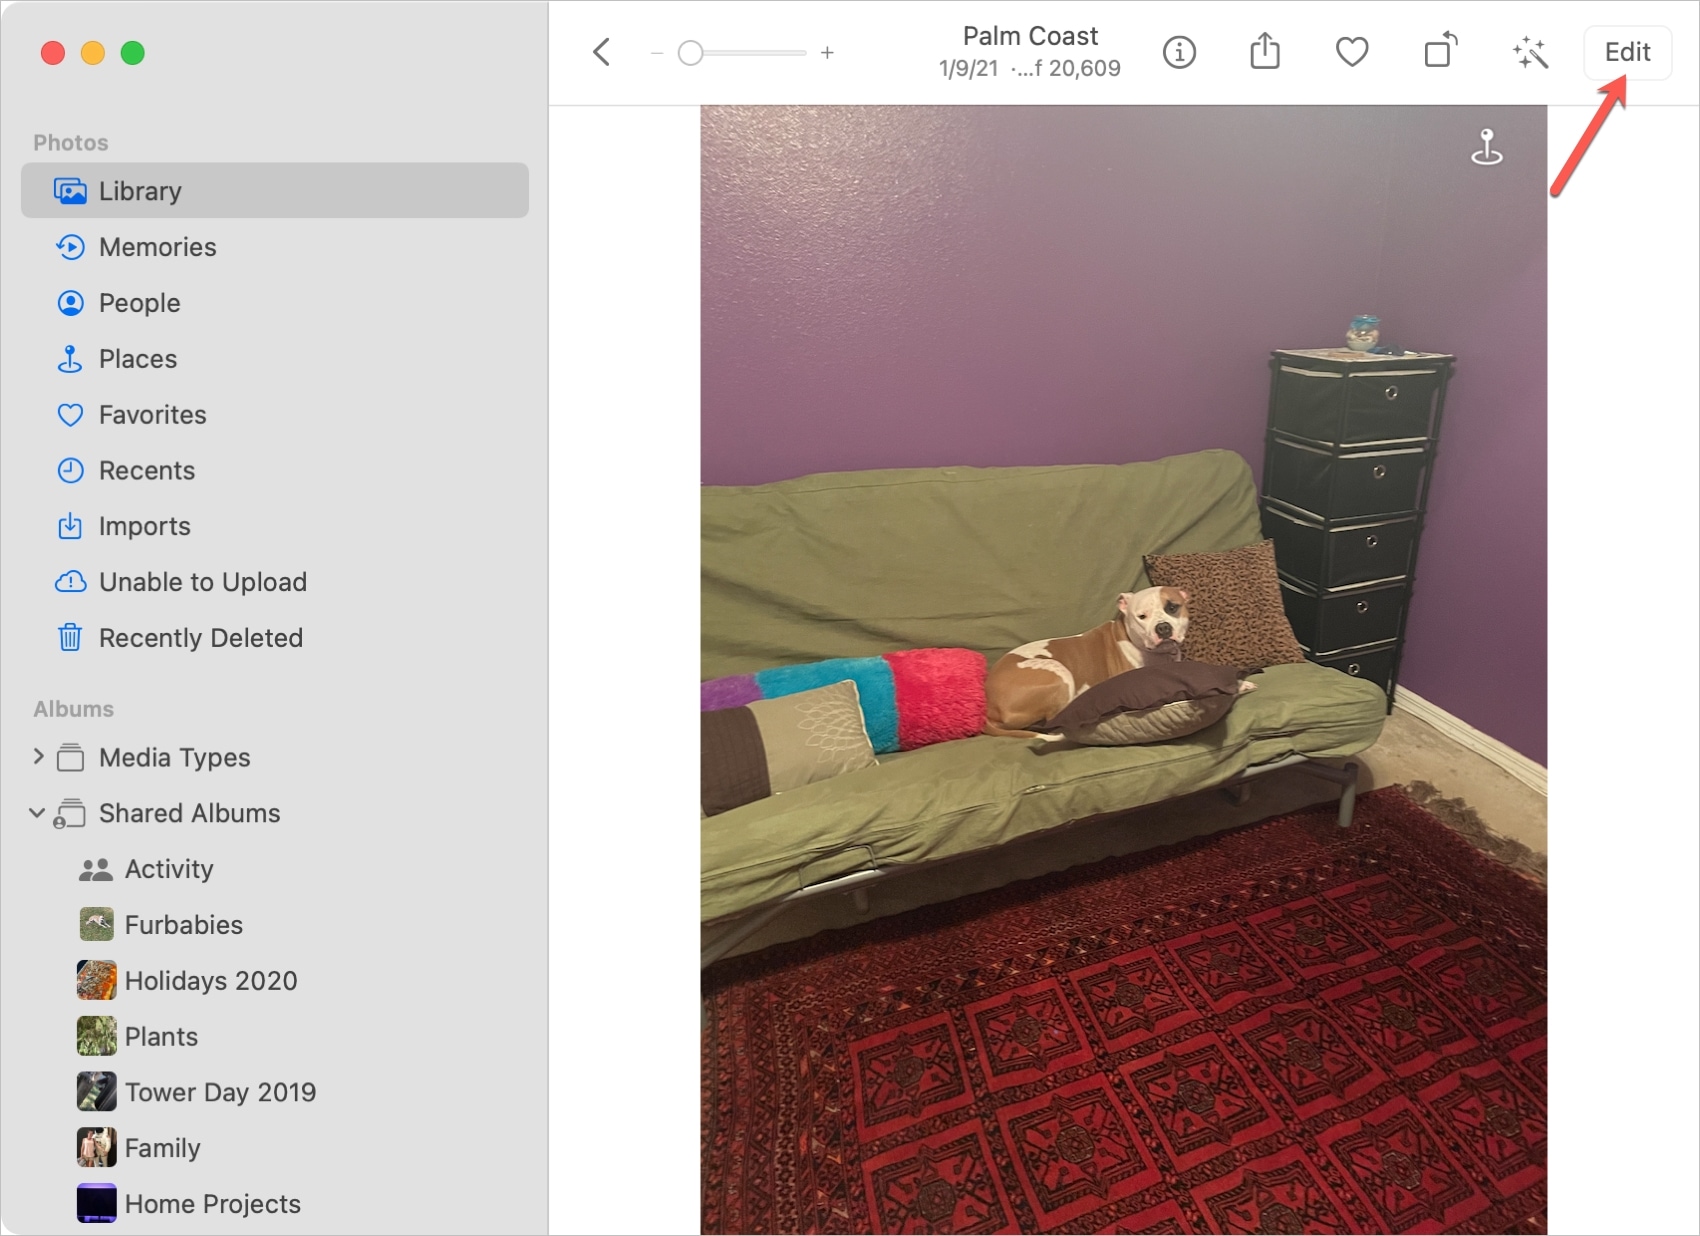
1) Launch Photos and double-click the image to open it.
2) Click Edit on the top right.
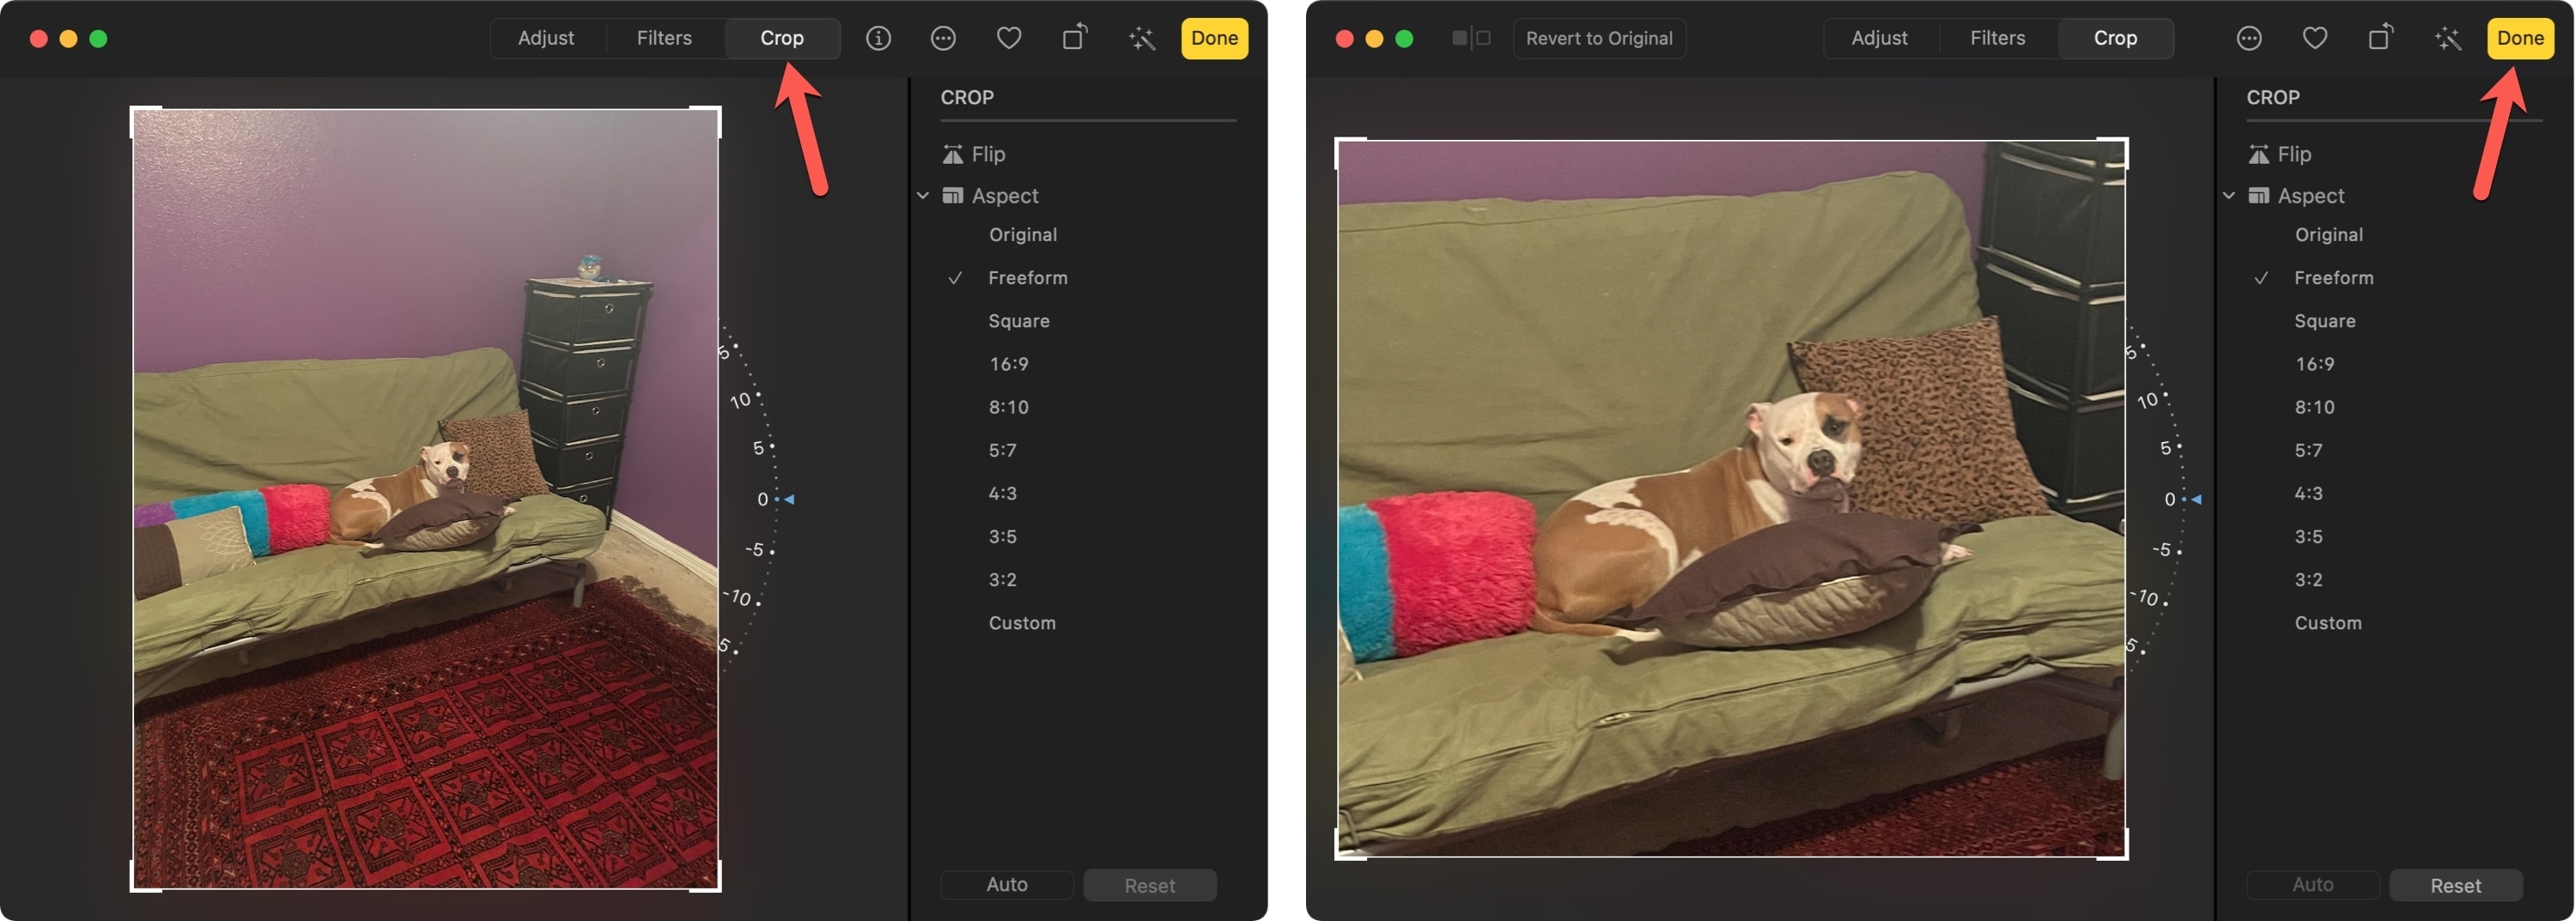
3) In the editing window, click Crop in the toolbar.
4) Drag a border or corner to retain the part of the image you want to keep. You can also use the Aspect options that display on the right side if you want a particular dimension or shape.
5) Click Done.
Keep in mind that when you edit images on your Mac using Photos, you can make other adjustments. Enhance the color, apply a filter, remove red-eye, and more.
3. Using Quick Look
Quick Look is a handy way to get a closer view of documents, images, and other items on your Mac. And if you’re new to the feature, check out our tutorial for using Quick Look.
Similar to cropping an image with Preview, you can use Markup to crop one you view with Quick Look.
1) Open the image with Quick Look by either selecting it and pressing your Space bar or right-clicking and choosing Quick Look.
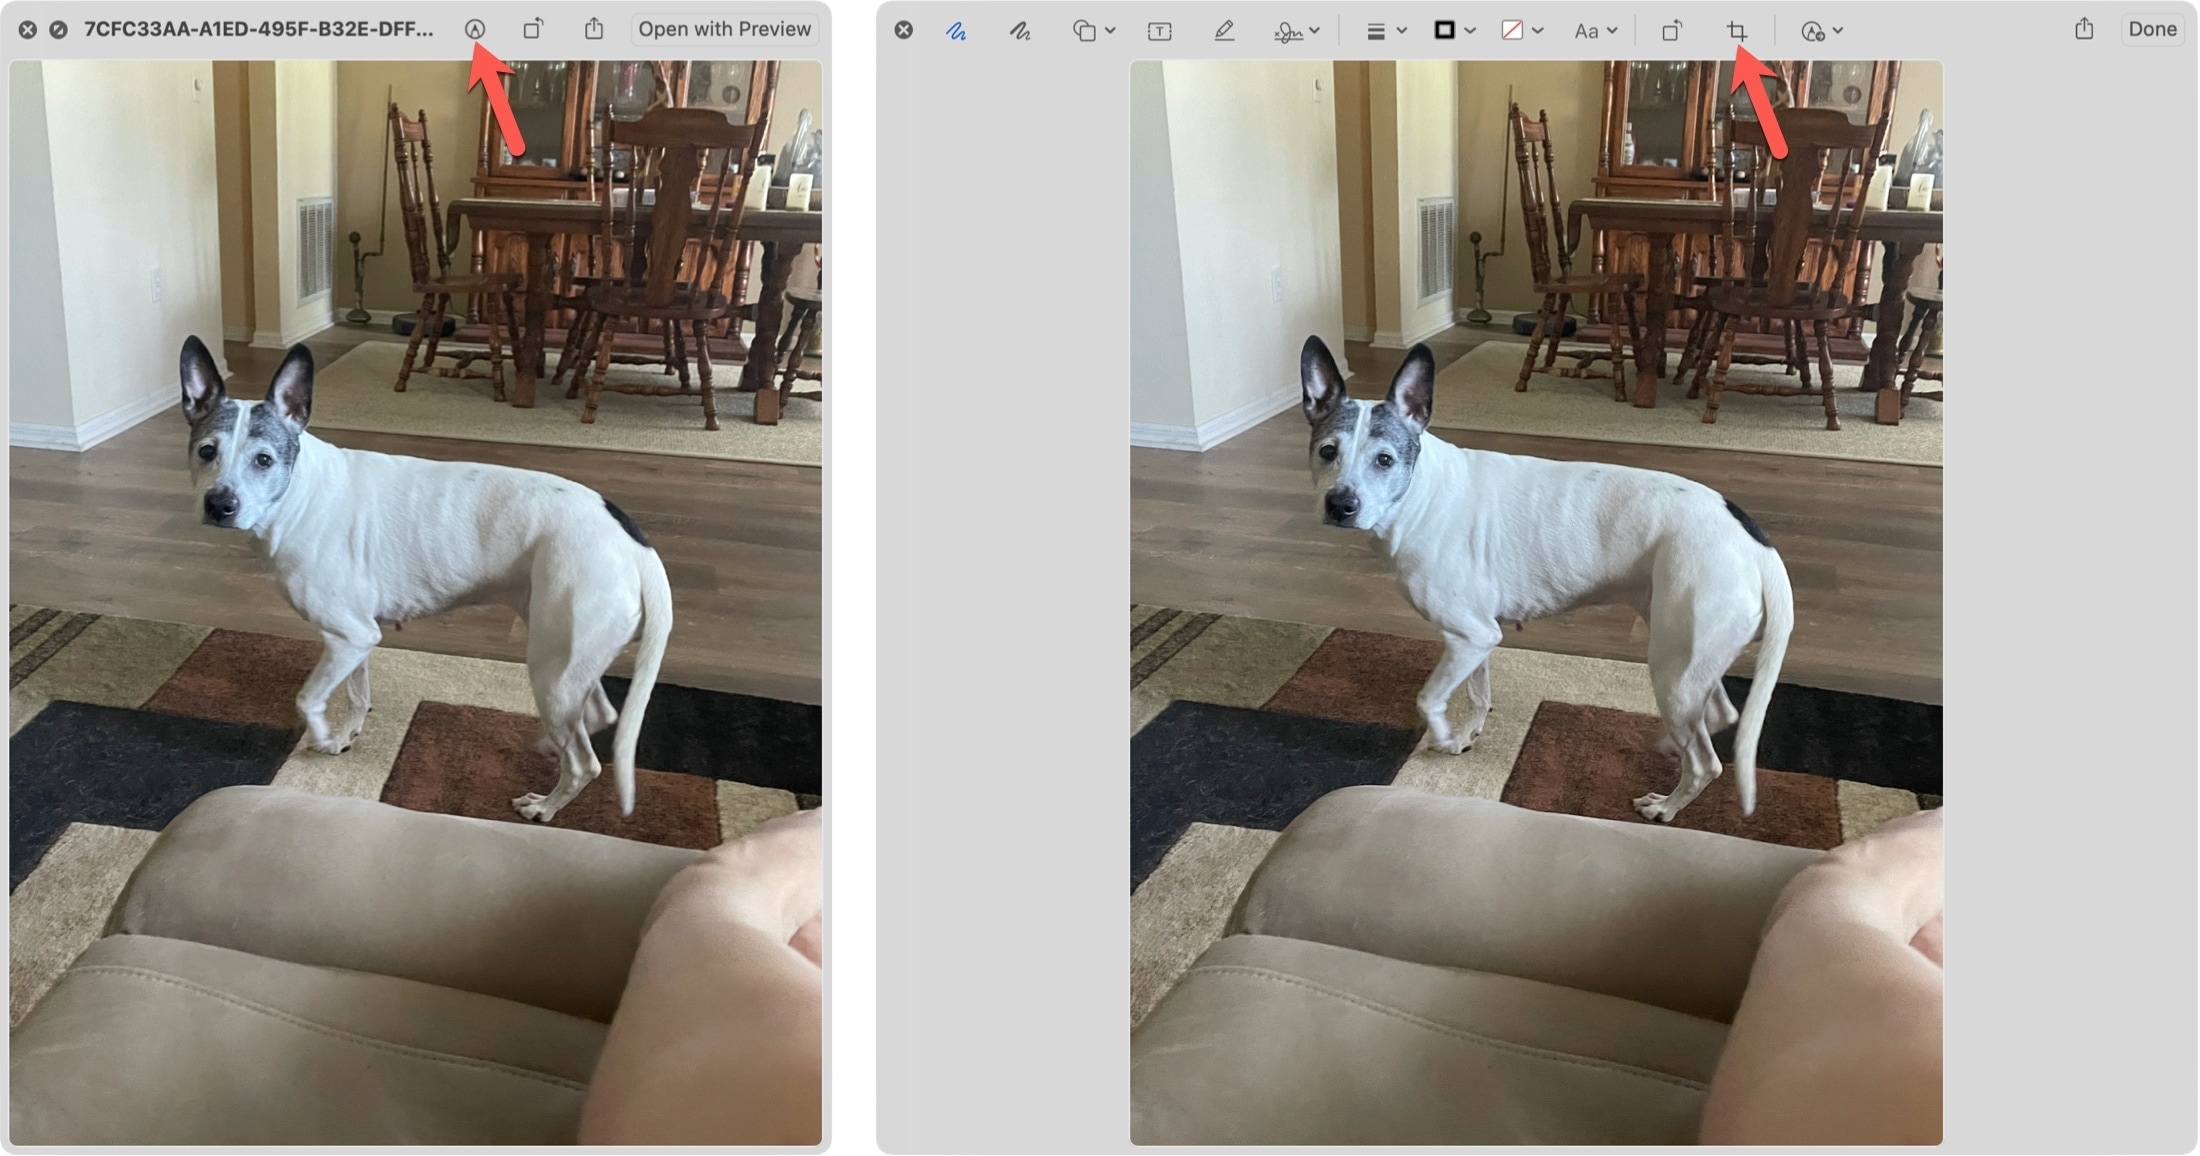
2) Click the Markup button and then the Crop button in the toolbar.
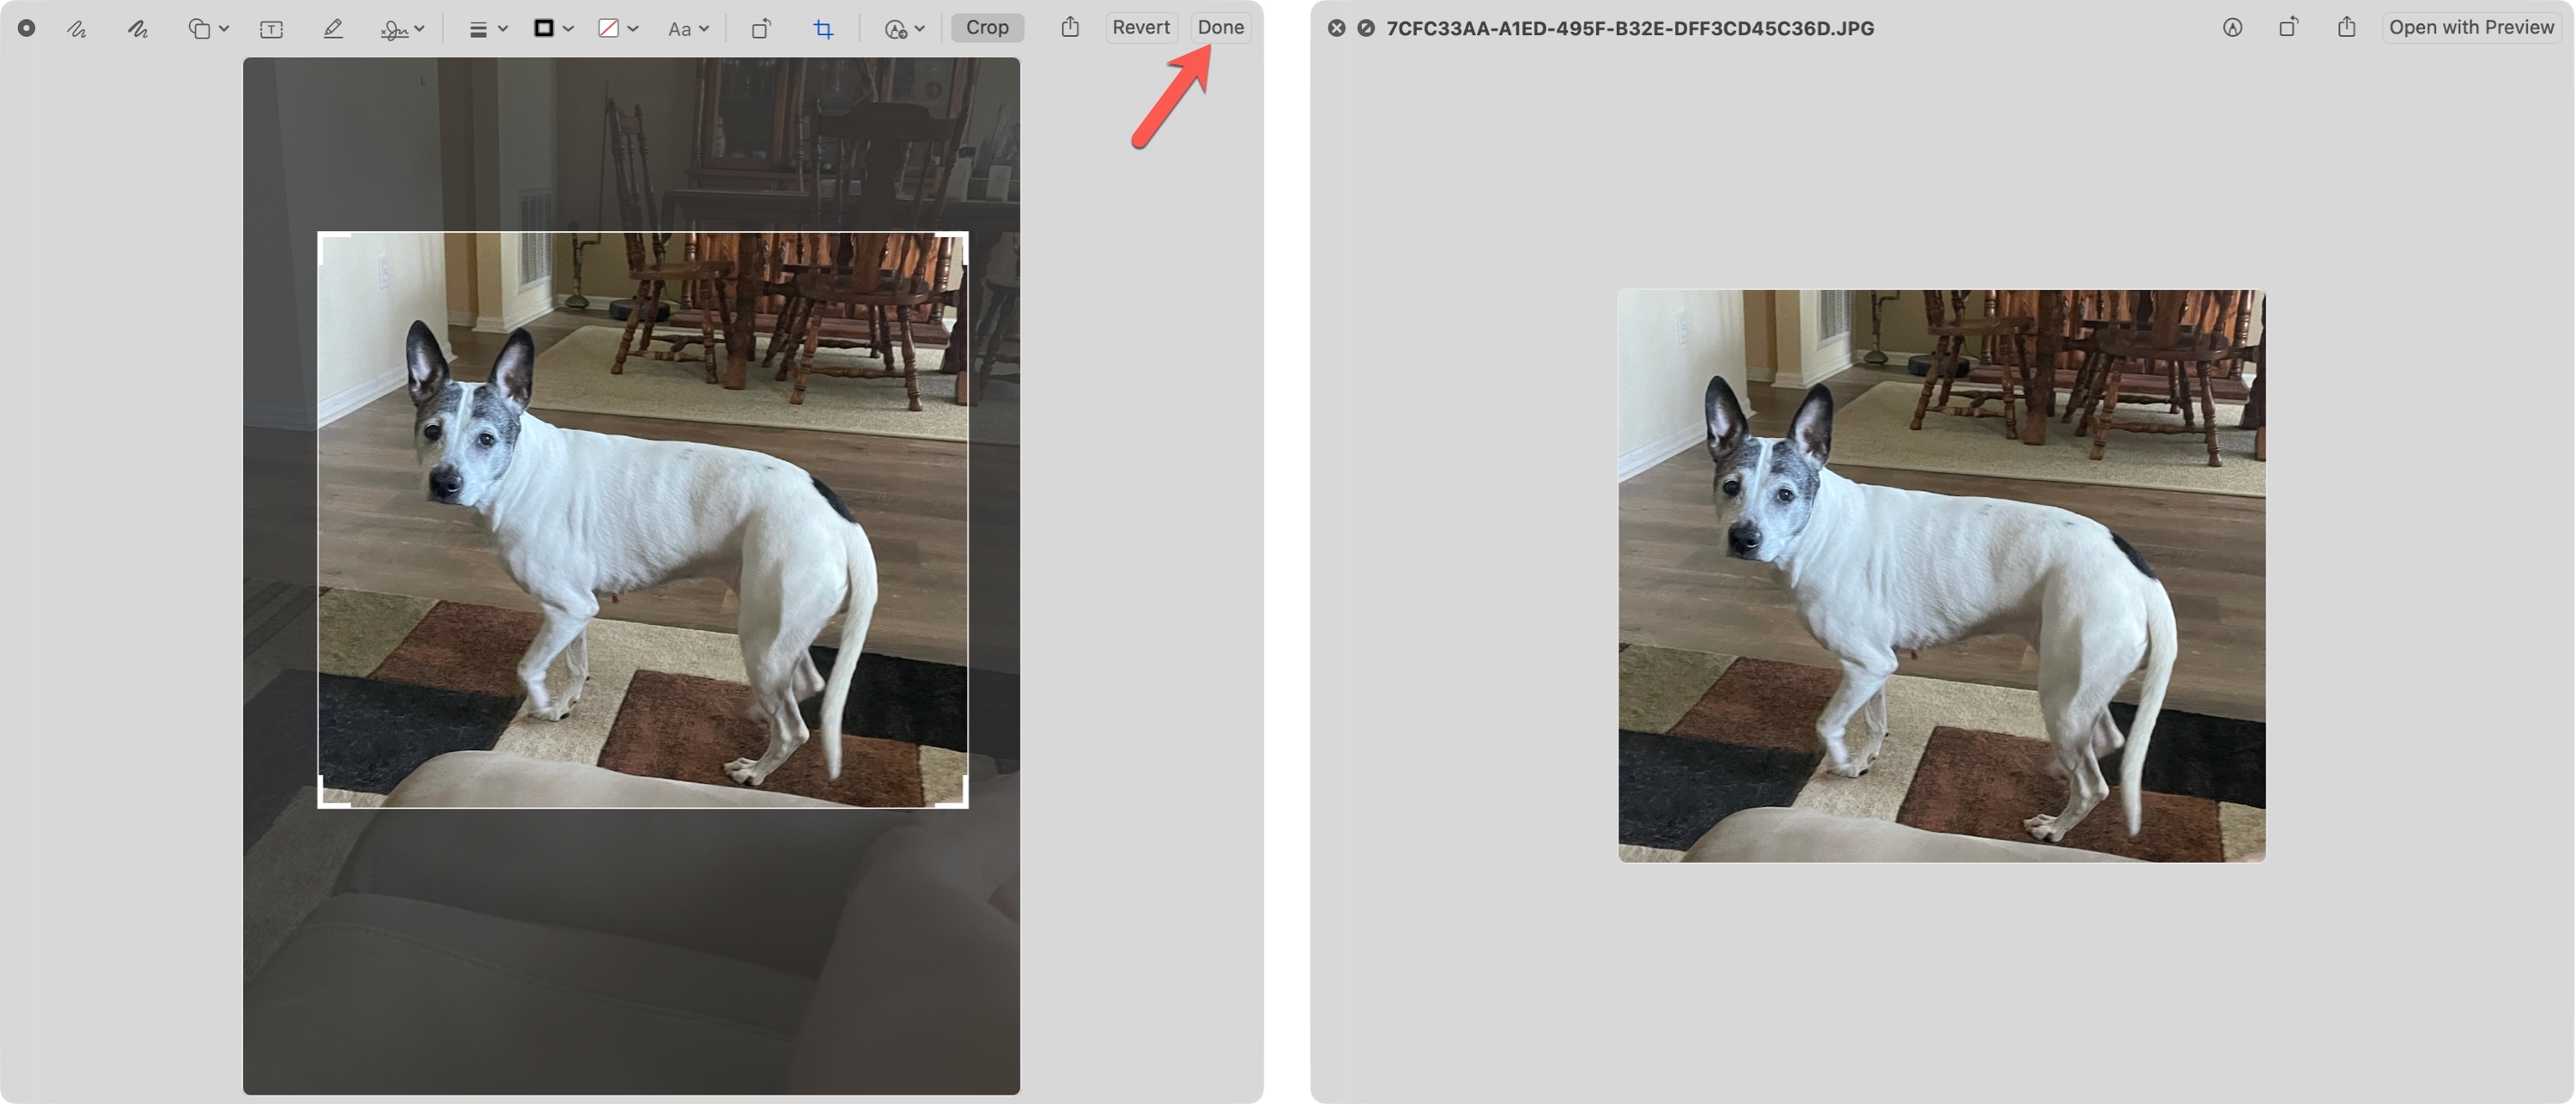
3) Drag a border or corner to select the part of the image you want to keep.
4) Click Done on the top right.
On a related note: