
In our third Time Machine tutorial for macOS, we’ll show you how to exclude specific files or folders from being included in your Time Machine backup. You’ll find that it’s extremely easy to curate your Time Machine backups using its preferences.
The thing that I really like about Time Machine is that you can exclude not only individual files, but entire folders of files as well. Have a look at our easy to use tutorial to find out how you can exclude certain data from becoming a part of your backup.
Excluding files and folders from being backed up in Time Machine
Step 1: Open Time Machine preferences in System Preferences
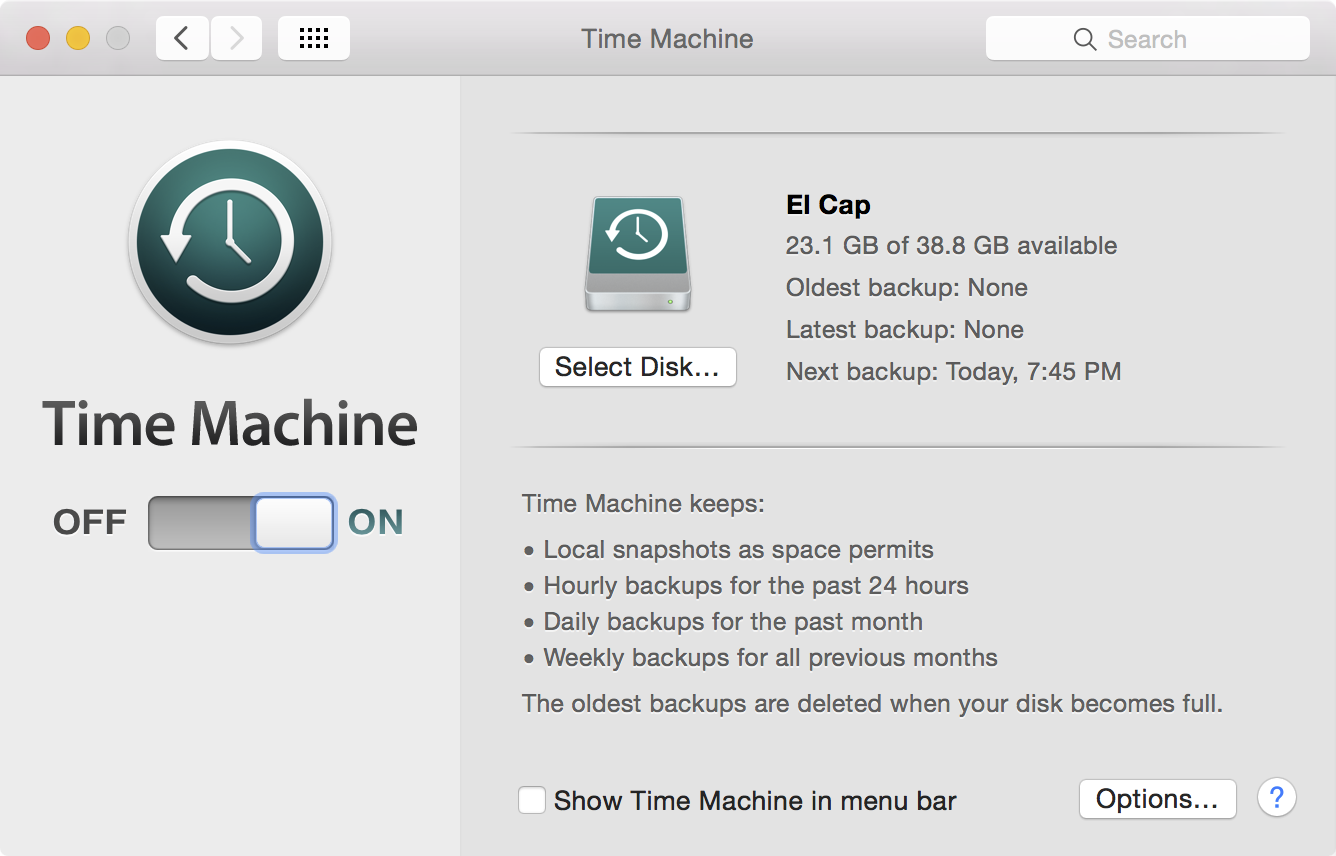
Step 2: Click Options…

Step 3: Click the ‘+’ sign to select a specific file or folder. In this example, I selected the entire Movies folder

Step 4: Click the Exclude button to submit your exclusion, and click Save to finalize changes.
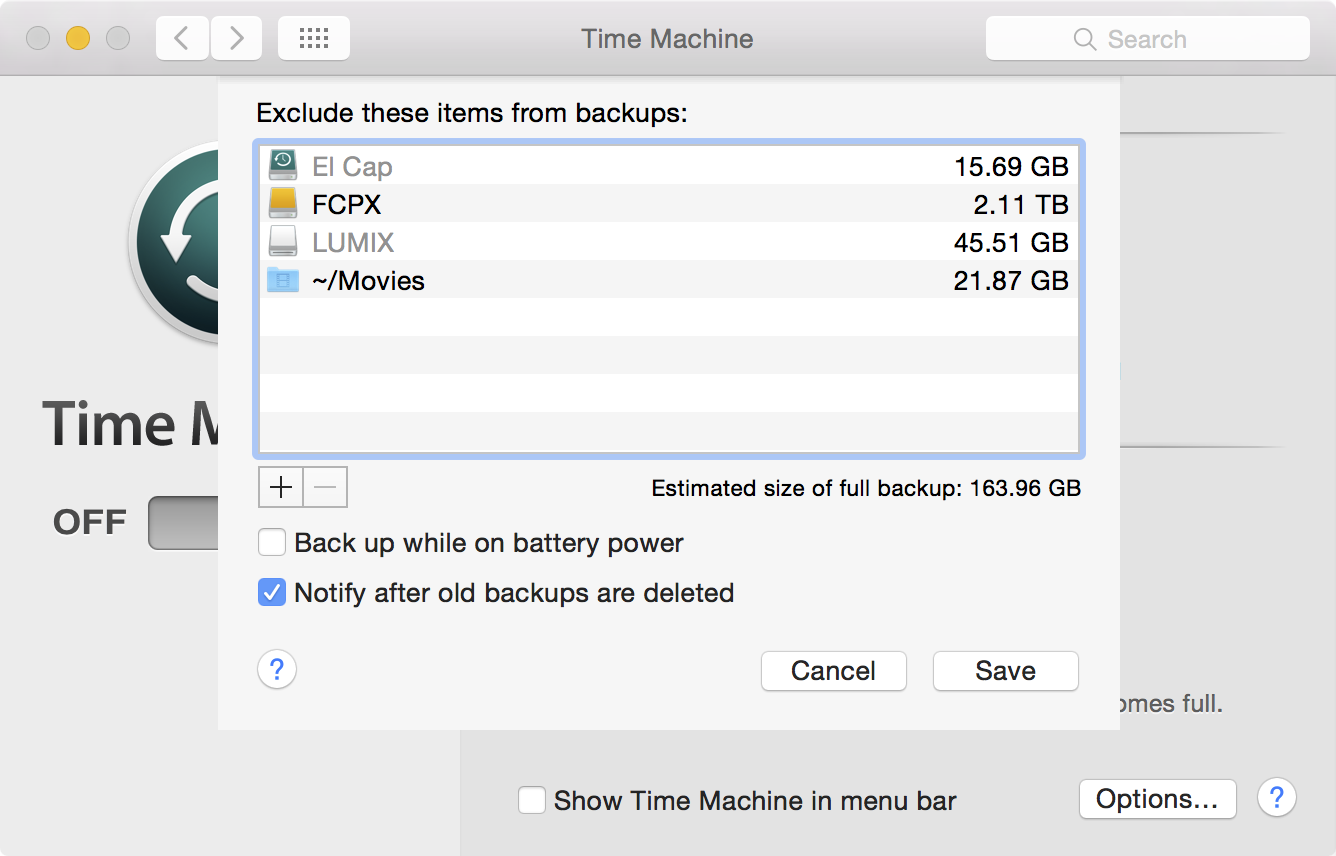
You will see the estimated size of full backup change in accordance with how much data is contained within the excluded files and folders.
And that’s really all there is to it. As you can see, excluding files and folders via Time Machine is a cinch, and most people will definitely want to take advantage of this feature since not all folders or files are needed for backup.
To learn more about Time Machine, make sure to also check out these other tutorials:
- How to set up Time Machine on OS X
- How to encrypt Time Machine backups
- How to view and restore specific files using Time Machine
- How to create a partition on your Time Machine external hard drive
- How to set up a new Mac from a Time Machine backup
- How to move Music or Photos to a new Mac using Time Machine