A flaw discovered in the Seagate drives inside the AirPort Time Capsule routers is causing fatal failures for some Apple customers, potentially putting their personal data at risk.
Seagate drive flaw could damage your data stored on Time Capsule
A flaw discovered in the Seagate drives inside the AirPort Time Capsule routers is causing fatal failures for some Apple customers, potentially putting their personal data at risk.
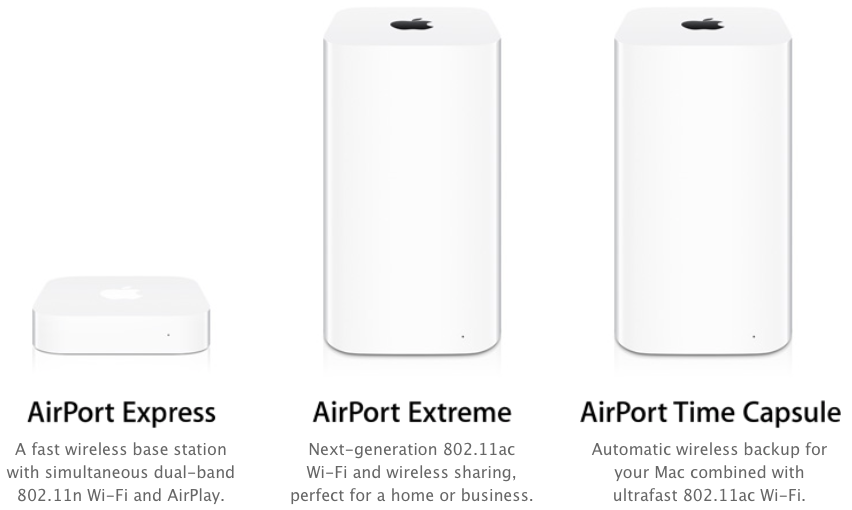
Are you in the market for an AirPort wireless appliance? If so, you better act fast because supplies of Apple's excellent wireless routers are already dwindling on Apple Online Stores across the globe and the company has no plans to make new ones again.

Apple yesterday published a support document with tips for choosing Wi-Fi routers.
The longstanding rumors of Apple exiting the Wi-Fi router market were true after all.
Apple may have stopped developing its AirPort-branded wireless base station devices, but it certainly continues to support users with timely software updates. Just today, they released new firmwares for the AirPort Express, Extreme and Time Capsule base stations.
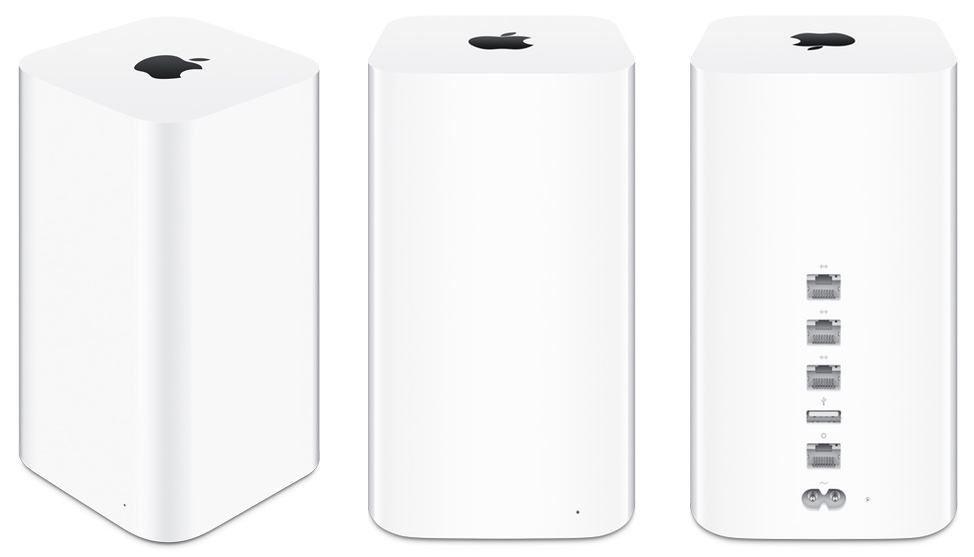
Following a brief period during which both the AirPort Extreme wireless base station and the AirPort Time Capsule wireless appliance were unavailable for purchase from Apple’s retail stores in the United States, the devices are now back in stock at most retail locations and are once again available for Personal Pickup, MacRumors discovered.
Both the AirPort Extreme wireless base station and the AirPort Time Capsule appliance, which is a combination of a base station and a 2TB/3TB wireless hard drive with built-in Time Machine support, have been pulled from Apple's retail stores in the United States, an Apple support representative has confirmed to MacRumors.

Over the last several months, we've revisited Time Machine, the backup utility present in OS X. We've showed you everything from performing an initial Time Machine setup, to encrypting Time Machine backups, to restoring specific files from those backups.
Time Machine is a great tool that every OS X user should become intimately familiar with, and in this roundup, we'll revisit each of the topics covered over the last couple of months.
With Time Machine, it's easy to restore all of your data back to a new Mac or to a fresh install of macOS. As we outlined previously, users can choose to restore all data, or pick and choose the data that they wish to restore during the initial setup process of macOS, and that includes both music and photos.
Another option is to simply restore the entire Pictures or Music folder via the Time Machine interface. We show you how to do that via this post.
In the following tutorial, we'll show you another quick and easy way to recover photo or music data from a Time Machine backup—directly from the backup folder on your Time Machine external drive.
One of the primary benefits of using Time Machine is that it allows you to restore your backup on a new Mac or a new macOS installation. This makes it so that you can essentially pick up where you left off from your old machine or old installation.
Fortunately, restoring Time Machine backups to a new Mac is extremely easy and straightforward. In this fifth tutorial in our Time Machine how-to series, we'll show you how easy it is.
Time Machine is extremely easy to use, and its flexibility makes it a great solution for keeping your Mac backed up safely. But with external drives being as large as they are, you may wish to use some of the space on your Time Machine drive for basic file storage.
There are many ways to go about this, but one of the best ways is to simply create a separate partition on your external drive. By doing this, you have a dedicated partition for file storage, and a dedicated partition for your Time Machine backups.
Although it's possible to store files on your Time Machine partition, in my opinion, it's a better practice to keep them separated. In this fourth entry into our Time Machine tutorial series, I'll show you how simple it is to create a second partition on your Time Machine external drive.
Time Machine is very useful, because not only does it allow you to back up all of your user data, but it also allows you to selectively view and restore portions of that data, even down to individual files.
In this tutorial, the forth in our series about Time Machine, I'm going to show you to how to view and restore an individual file using a Time Machine backup.