
In our second Time Machine tutorial, we’re going to show you how to encrypt a Time Machine backup. Encrypting your backups is extremely easy and straightforward. All you need to do is select a single check box in order to enable encryption and enter a password. In this tutorial, we’ll show you how to do it, and why you should consider encrypting your backups.
Why you should encrypt your Time Machine backups
If someone steals your time machine drive and it’s not encrypted, then they can easily connect your drive to another computer and view the contents of it. Since Time Machine backups contains all sorts of data from the computers that back up to it, it’s important that you keep the Time Machine data secure via encryption.
Encryption makes it so that unauthorized persons cannot view the contents of the drive without the proper encryption key.
How to encrypt your Time Machine backups
Step 1: After enabling Time Machine, as outlined in our Time Machine set up tutorial, you can choose to encrypt your disk by means of a check box.
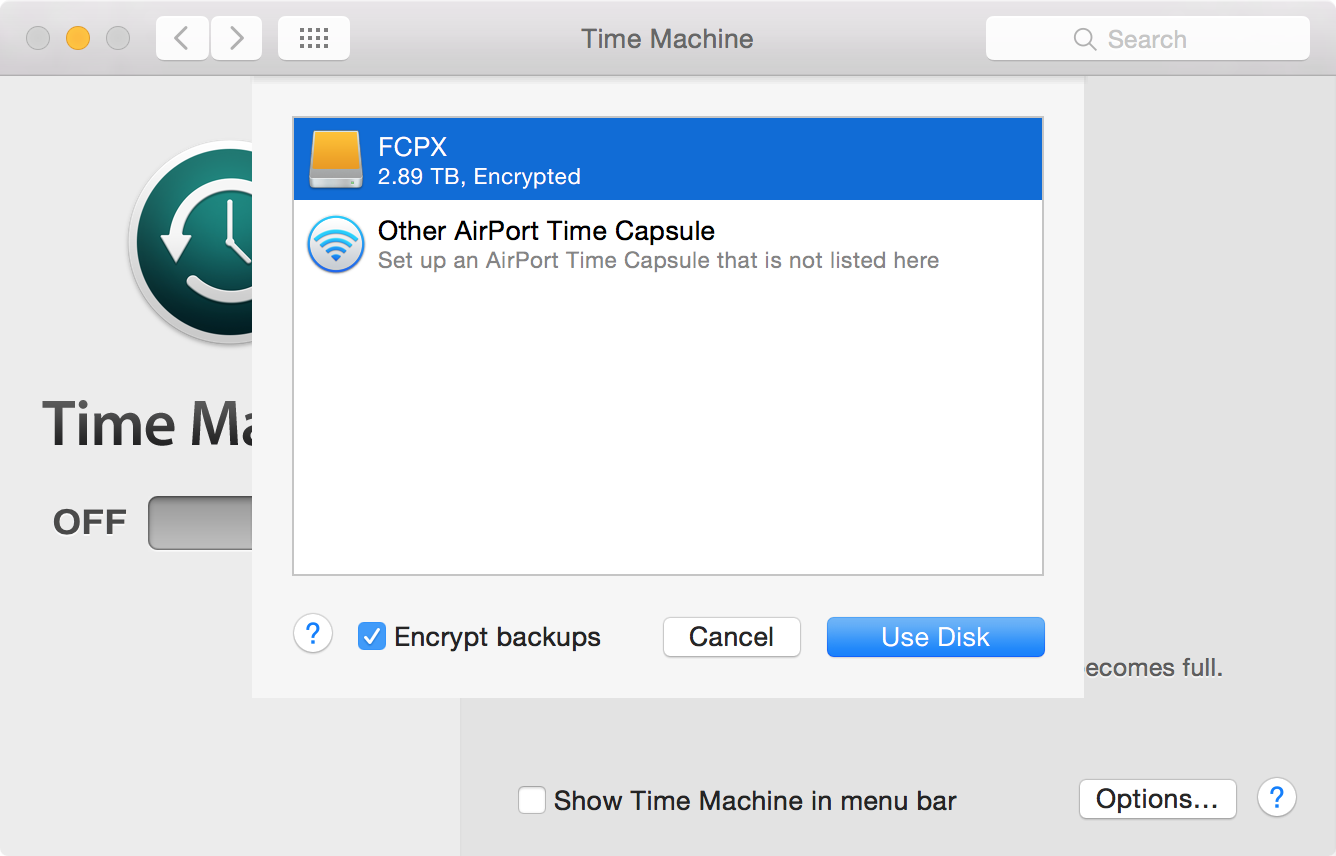
Step 2: Once you select Encrypt backups, click Use Disk, and you’ll be prompted to enter an encryption password.
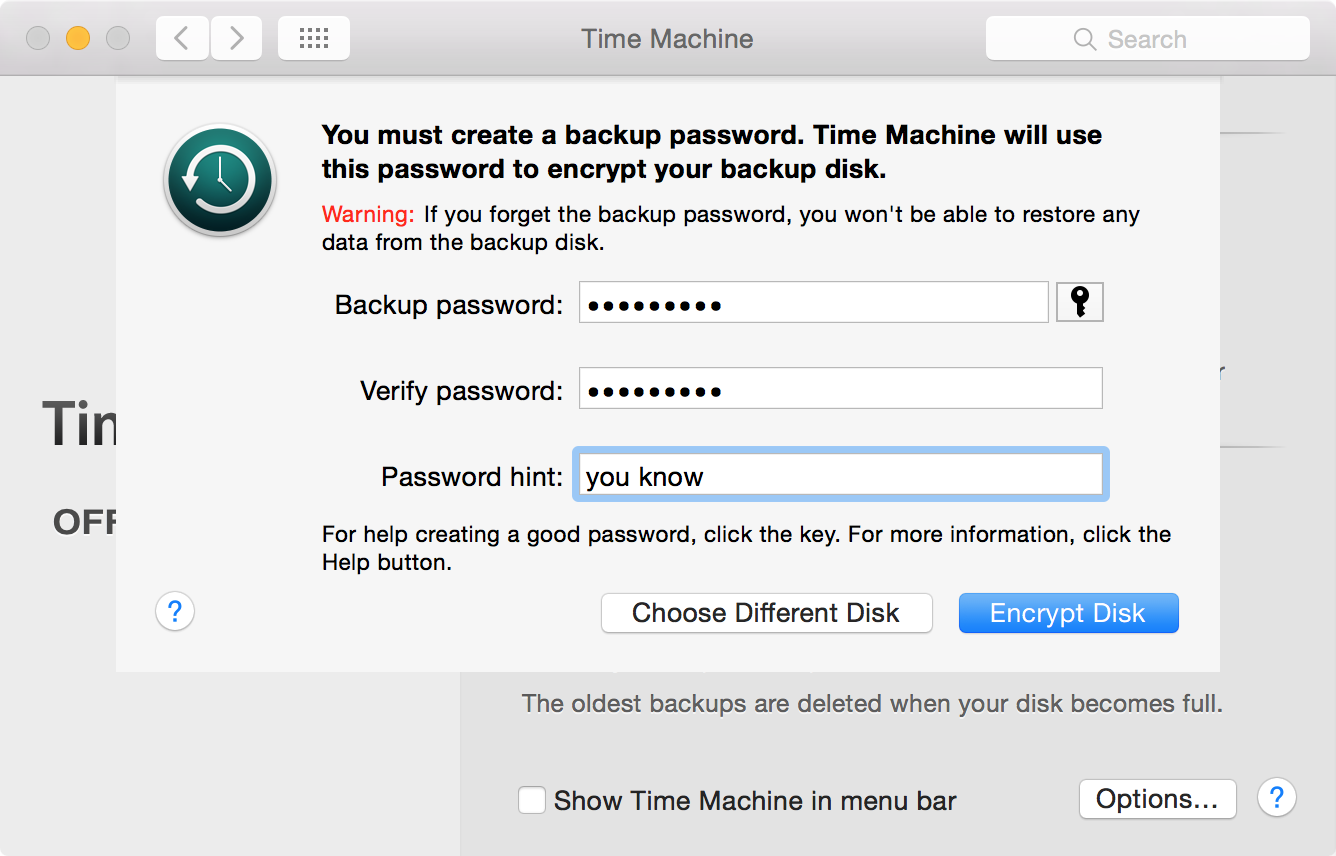
Step 3: Once you create your password and verify the password, you’ll need a Password hint as well. After that, click Encrypt Disk to start the encryption process. Once the Encryption is complete, the Time Machine backups will commence as I outlined in the previous tutorial.
To learn more about Time Machine, make sure to also check out these other tutorials:
- How to set up Time Machine on OS X
- How to exclude files from being backed up in Time Machine
- How to view and restore specific files using Time Machine
- How to create a partition on your Time Machine external hard drive
- How to set up a new Mac from a Time Machine backup
- How to move Music or Photos to a new Mac using Time Machine