Learn how to open a note in its own window to make it float over the Notes app or to keep it on top of all other app windows on Mac.
How to open a Mac note in its own window or keep it on top

Learn how to open a note in its own window to make it float over the Notes app or to keep it on top of all other app windows on Mac.
Learn how to cycle through open tabs in Apple's Safari browser on the iPhone, iPad, and Mac using a familiar gesture, an on-screen button, or a keyboard shortcut.
If you’re going to make the most of Safari as your desktop browser, it might make sense to memorize some of the best keyboard shortcuts to supercharge your browsing workflow.
This is especially true for folks who have dozens of open tabs at any given time. Safari for Mac provides you with many productivity-infused keyboard shortcuts that save time, including a trio of essential keyboard combinations for quickly switching between your open tabs.
TUTORIAL: 11 must-know Safari keyboard shortcuts for Mac
The macOS High Sierra 10.13.4 software update brought out yet another powerful shortcut for quickly getting to the rightmost tab. This is a handy productivity feature for those times when you have more tabs than fit Safari's tab bar.
It's only available on Macs that run macOS High Sierra 10.13.4 or higher so be sure to update your copy of macOS to the latest version available by choosing App Store from the Apple menu, then click the Updates tab.
How to jump to rightmost Safari tabTo get to the rightmost open tab in Safari for Mac, press Command (⌘)-9 on the keyboard.
Again, this particular shortcut requires that macOS High Sierra 10.13.4 or later be installed on your Mac. If you have an older macOS edition, pressing the same shortcut will select your ninth tab from the left. In case you didn't know, you can jump quickly to any of your first eight tabs by pressing Command (⌘)-1 to Command (⌘)-8.
macOS High Sierra 10.13.4 and up allows jumping to the rightmost open tab using Command-9
You can cycle through your open tabs even faster with a trackpad gesture: when there are more tabs than fit in Safari's tab area, use your trackpad to swipe left or right over the tab bar to scroll through your open tabs like a pro.
TUTORIAL: 3 ways to reopen recently closed tabs in Safari for Mac
And if your Mac has the Touch Bar feature, you can touch an icon displayed on the Touch Bar to jump directly to the corresponding tab or scroll through all of your open tabs by swiping left or right over the Touch Bar area.
Need help? Ask iDB!If you like this how-to, pass it along to your support folks and leave a comment below.
Got stuck? Not sure how to do certain things on your Apple device? Let us know via help@iDownloadBlog.com and a future tutorial might provide a solution.
Submit your how-to suggestions via tips@iDownloadBlog.com.

Learn how to efficiently manage your Safari tabs with these four different techniques to close all tabs except the one you’re currently browsing.
In this tutorial, we will show you how to find and delete all duplicate songs in your Apple Music or iTunes library on your Mac or Windows PC. Doing so will clean your media library and help reclaim local disk space.

Learn about 3 easy methods to reopen any recently closed tabs in the current browsing session on Safari for Mac without losing your current tab.
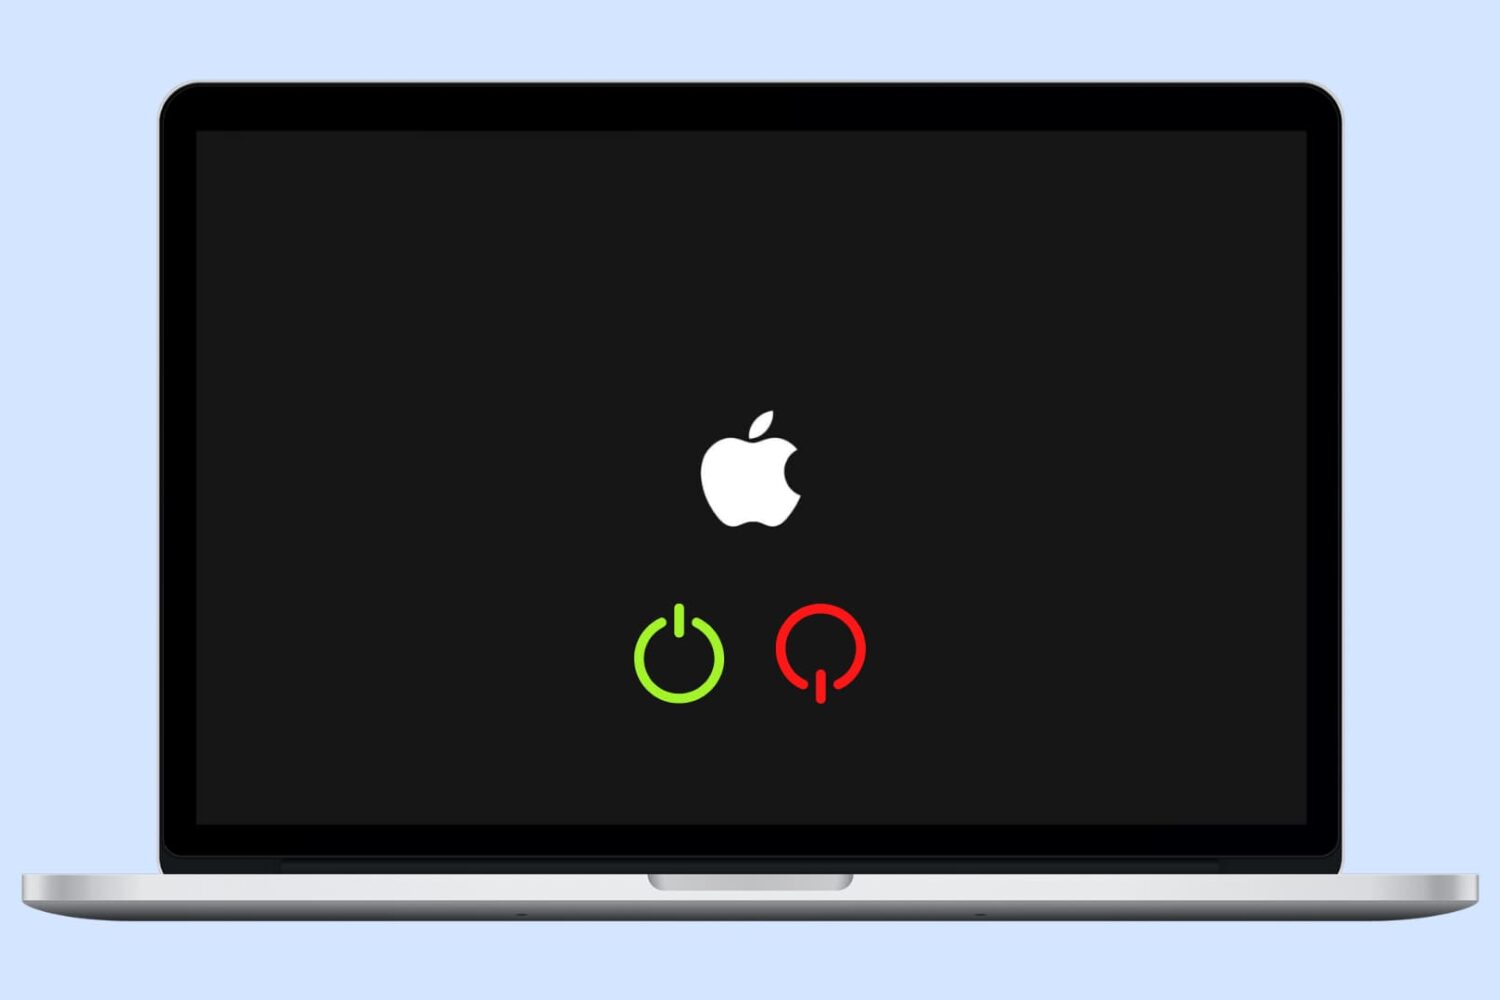
Learn how to turn your Mac on and off automatically on a schedule for enhanced productivity and energy efficiency.
The Markup tools in the Preview app that came installed on your Mac allow let you put out something on an image, annotate a PDF file, add some text, sign a document and much more.
You can take a screenshot of any menu in any app on your Mac, with or without the menu title. This also works with windows in the Finder and most apps.
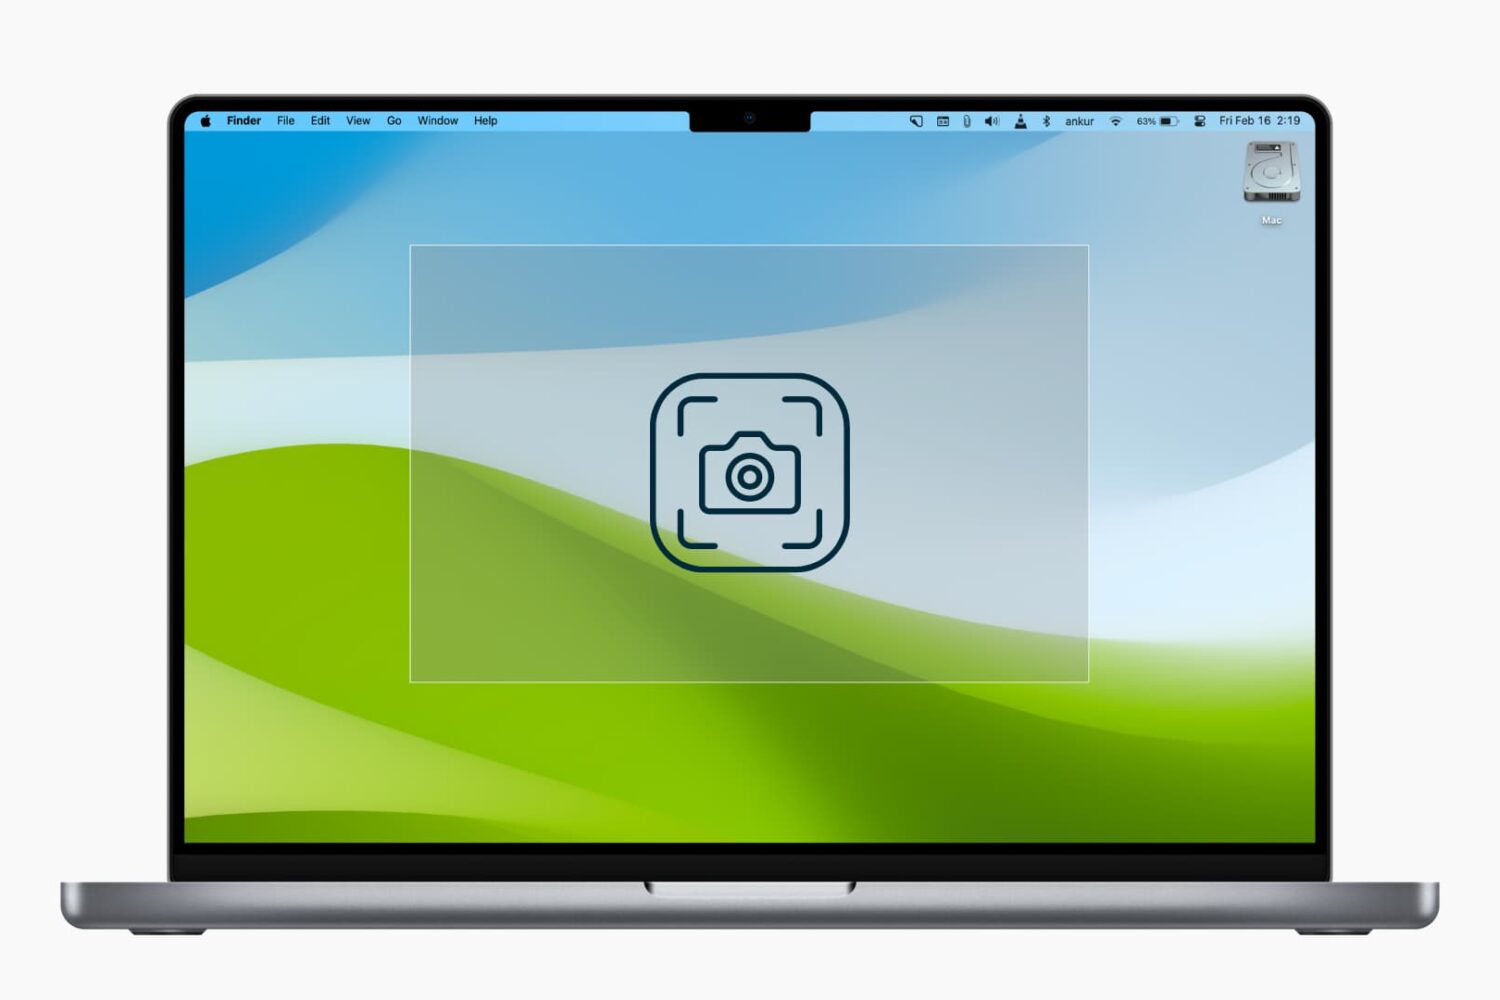
In this tutorial, we’ll explain how to use modifier keys to accurately reposition or refine the dimensions of the selection area when you’re taking screenshots of your Mac’s screen.

Learn all the ways you can select stuff on your Mac, including contiguous groups of Finder files, multiple non-adjacent items, and more.
In this short tutorial, we'll show you how to automatically hide and show the Mac Dock, and we'll even share a pro tip to make the animation faster.