In this step-by-step tutorial, we show you how to capture screenshots and make video recordings of your Apple TV screen running a recent version of tvOS. Aside from your TV, all you need is a little help from your Mac.

Take screenshots on Apple TV
1) Turn on your Apple TV and go to its Settings.
2) Scroll down and select Network. You’ll see the name of the Wi-Fi network your Apple TV is connected to. Don’t exit this screen until you’re on step 6.
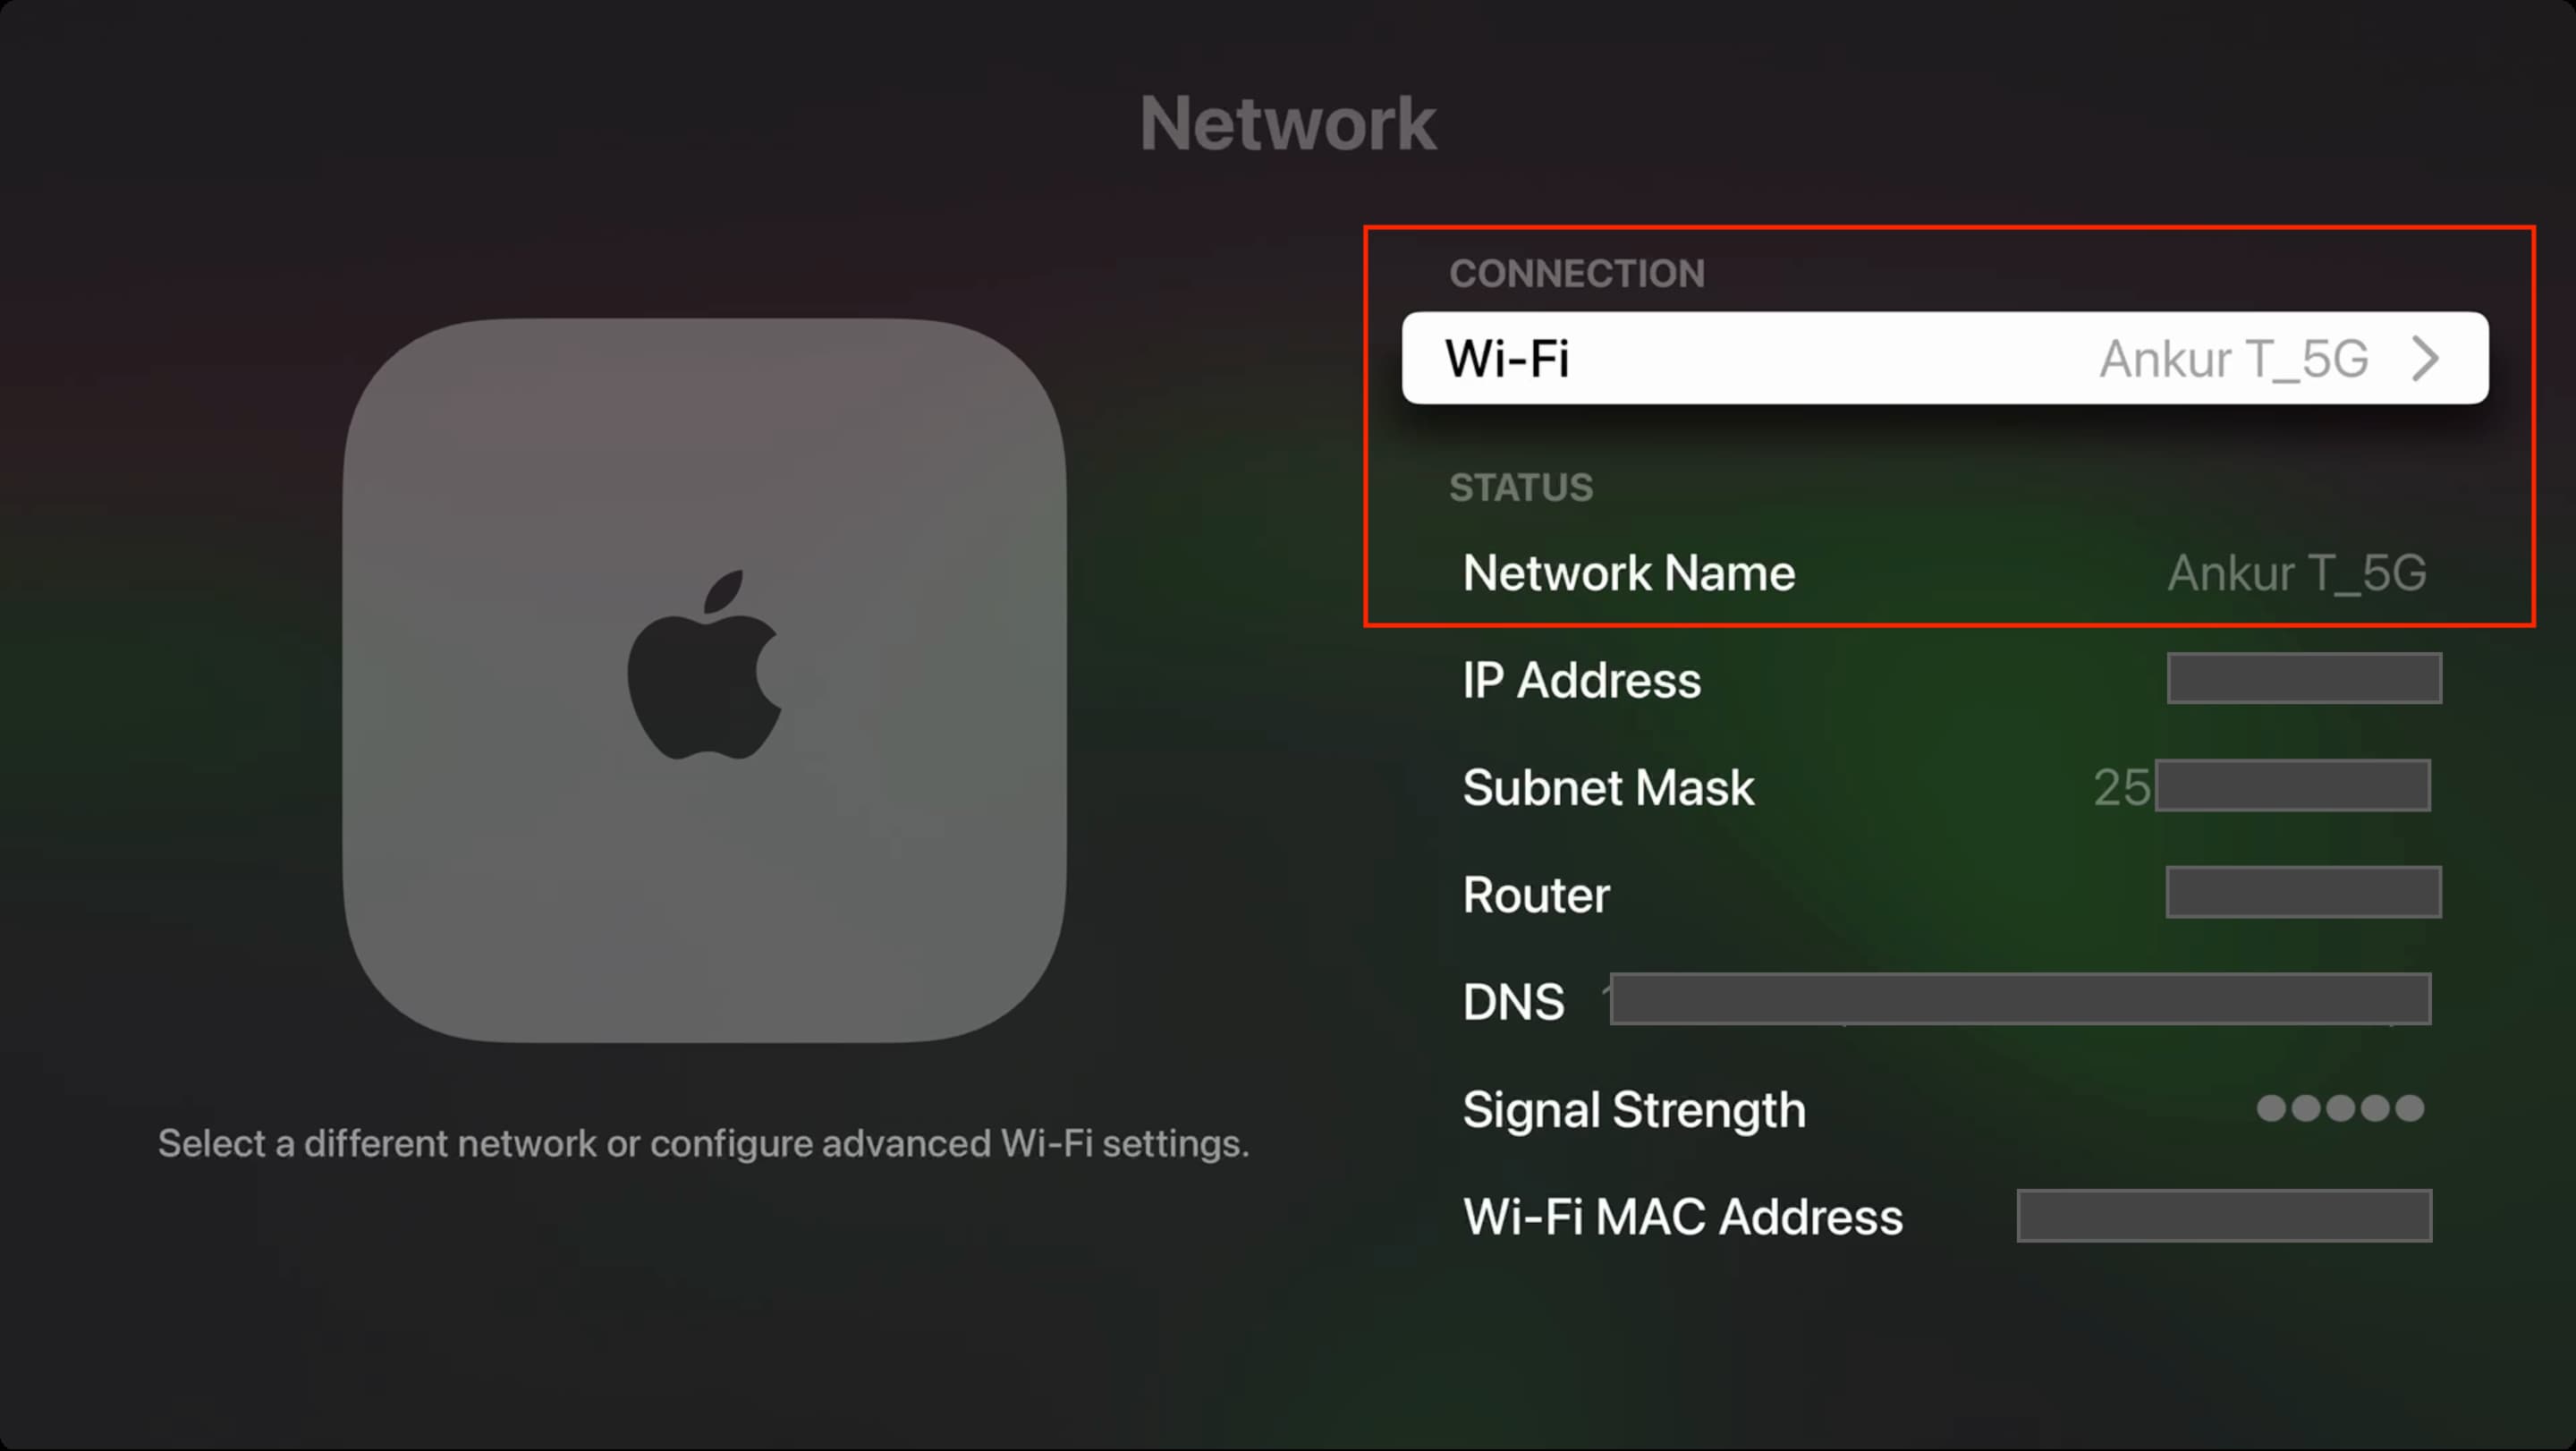
3) Now, connect your Mac to the same network. If you’re at home, it likely is already connected to the same home Wi-Fi network.
4) Open the Apple QuickTime Player that comes pre-installed on all Macs. From the top menu bar, click File > New Movie Recording.

5) Click the tiny arrow next to the white-red record button and select your Apple TV under the Screen heading.
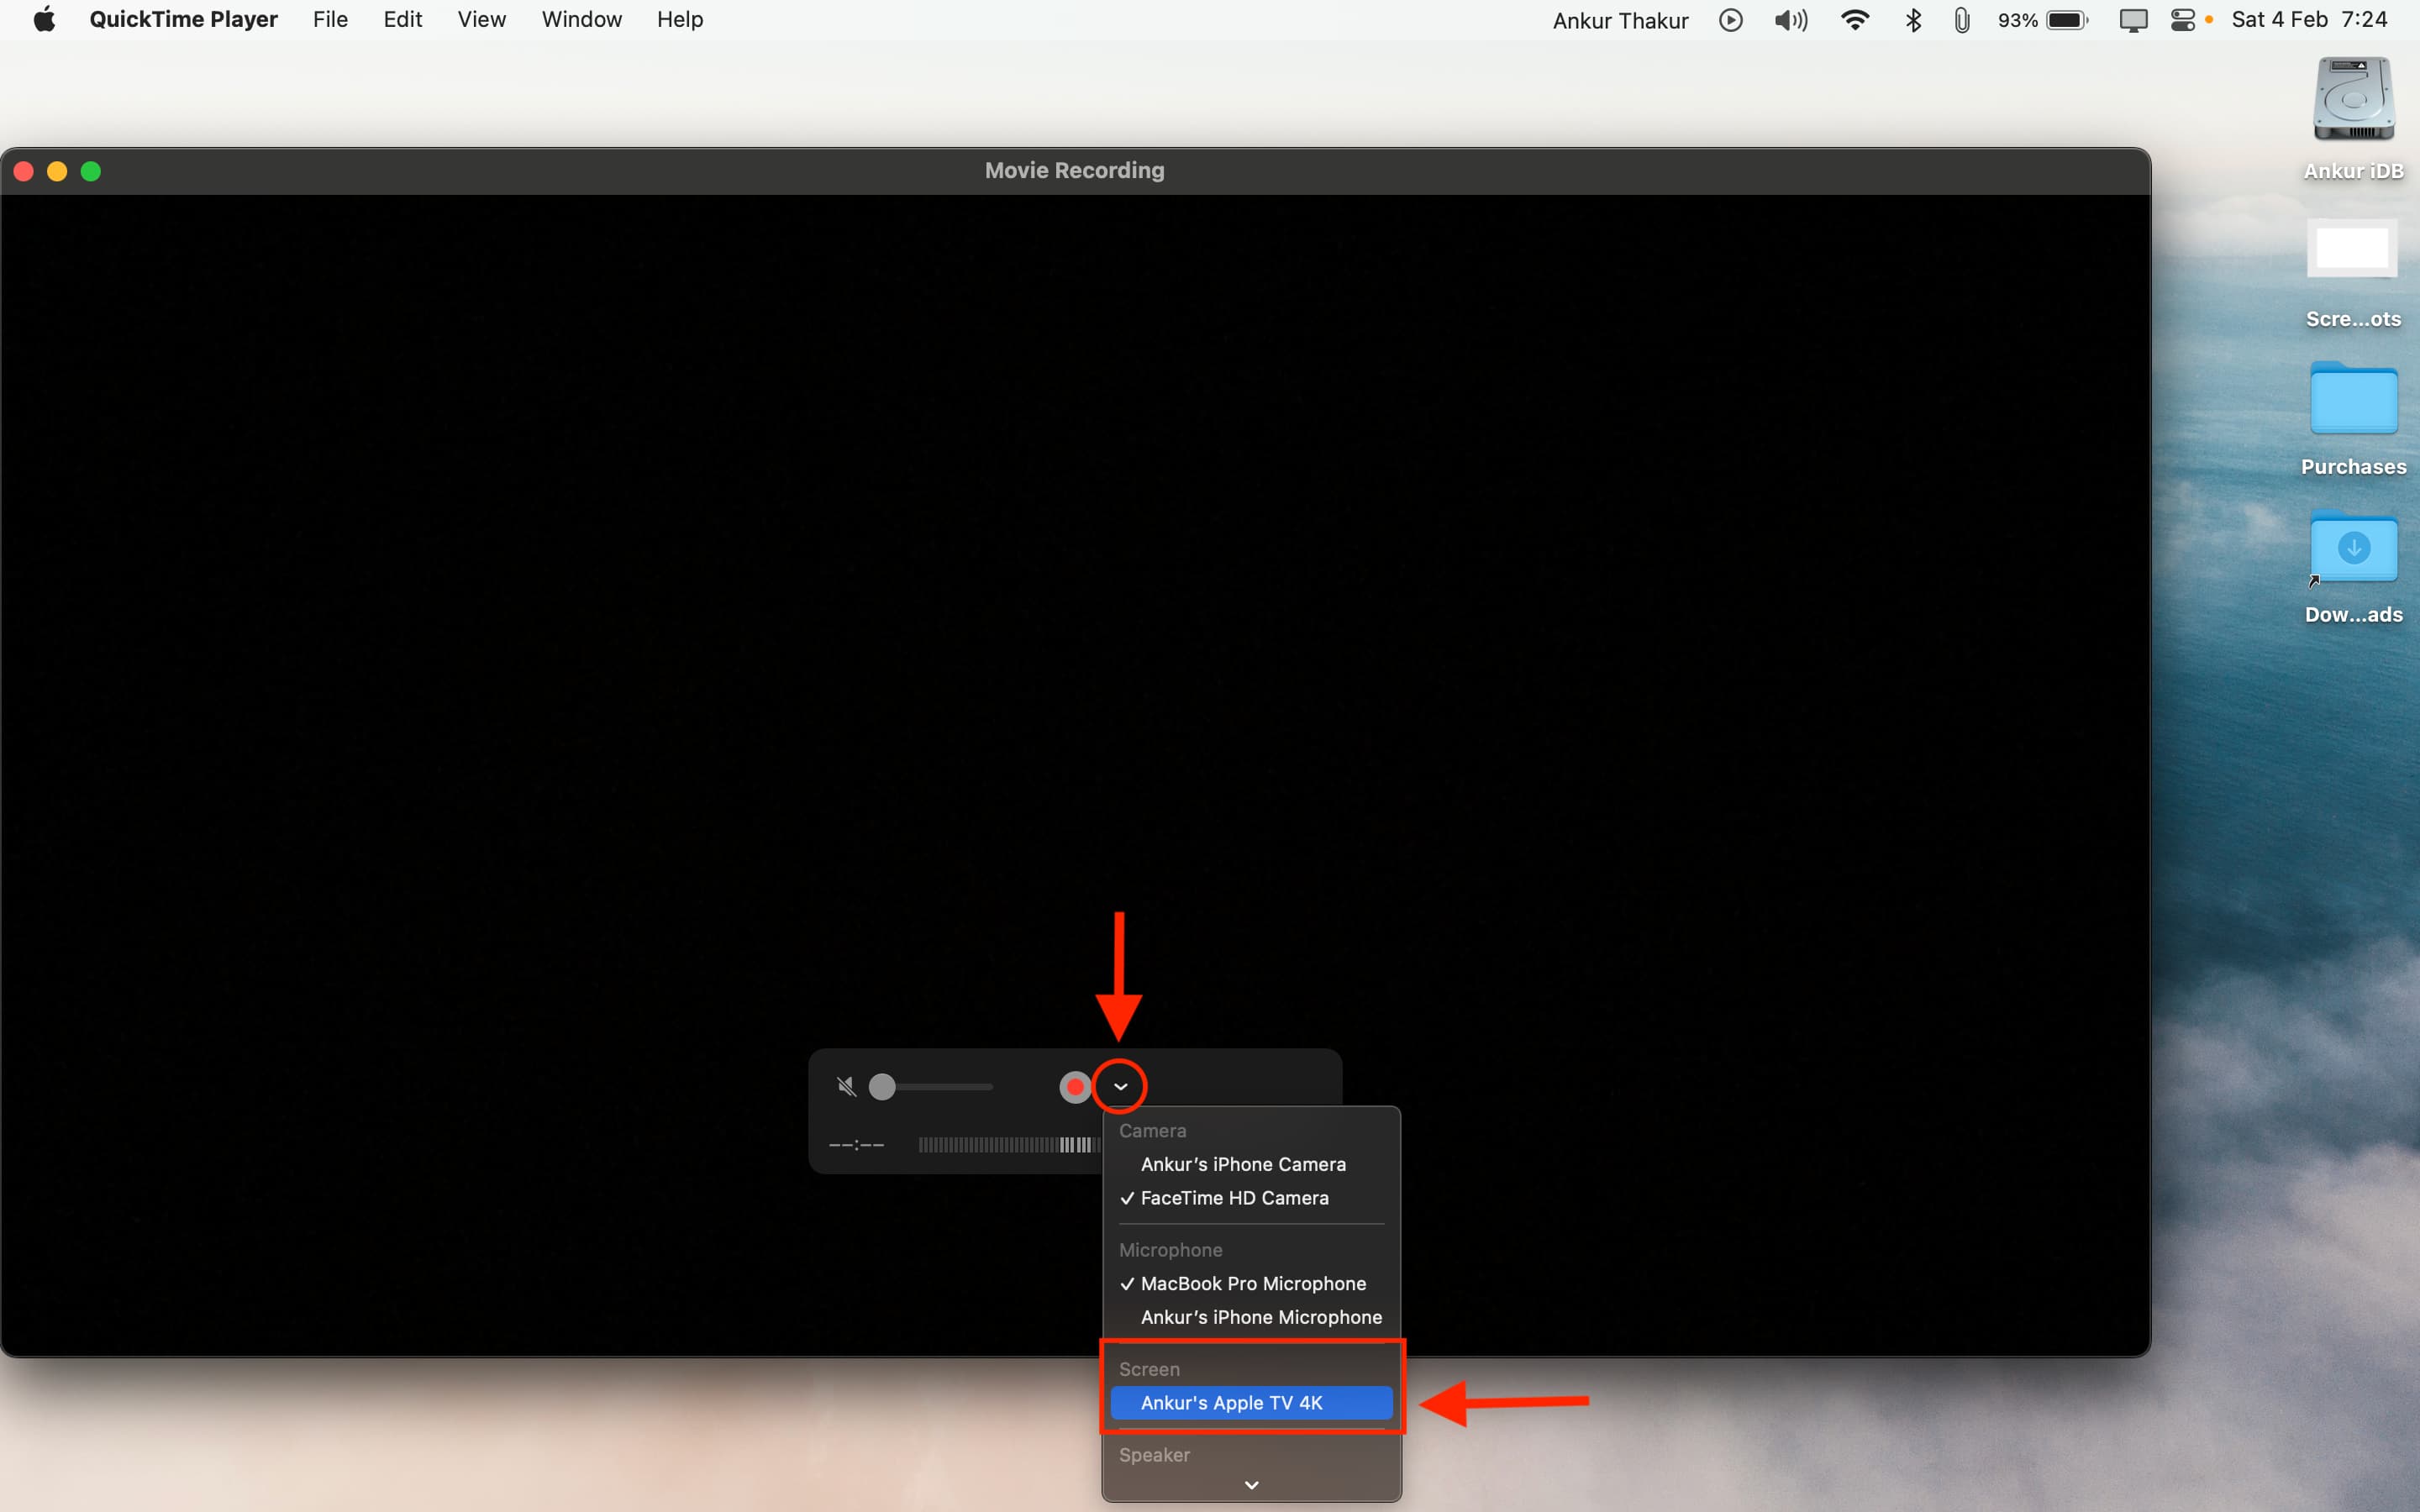
6) The first time you’re doing so, your Mac will show a popup saying, Enter the AirPlay code for “Your Apple TV name.” At the same time, you’ll see a four-digit code on your Apple TV screen. Enter this code on your Mac to authenticate the connection between your Mac and your Apple TV.

7) Immediately after, your Apple TV screen appears in QuickTime on your Mac. You’ll also see a red border on your TV screen, which signifies that your Apple TV screen is being used elsewhere – your Mac, in this case.
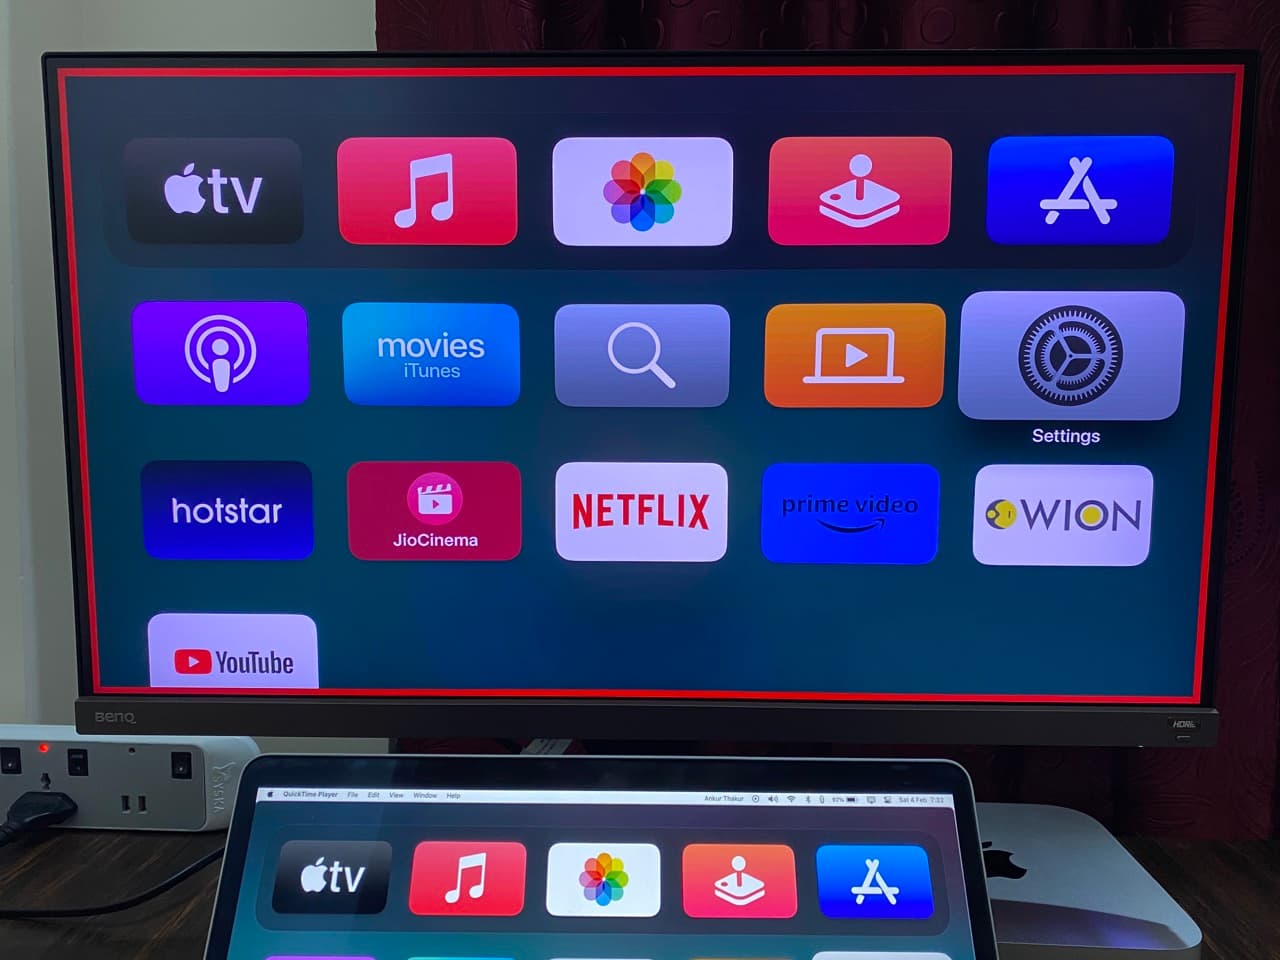
8) Use your Siri Remote to navigate to the screen on your Apple TV that you want to screenshot.
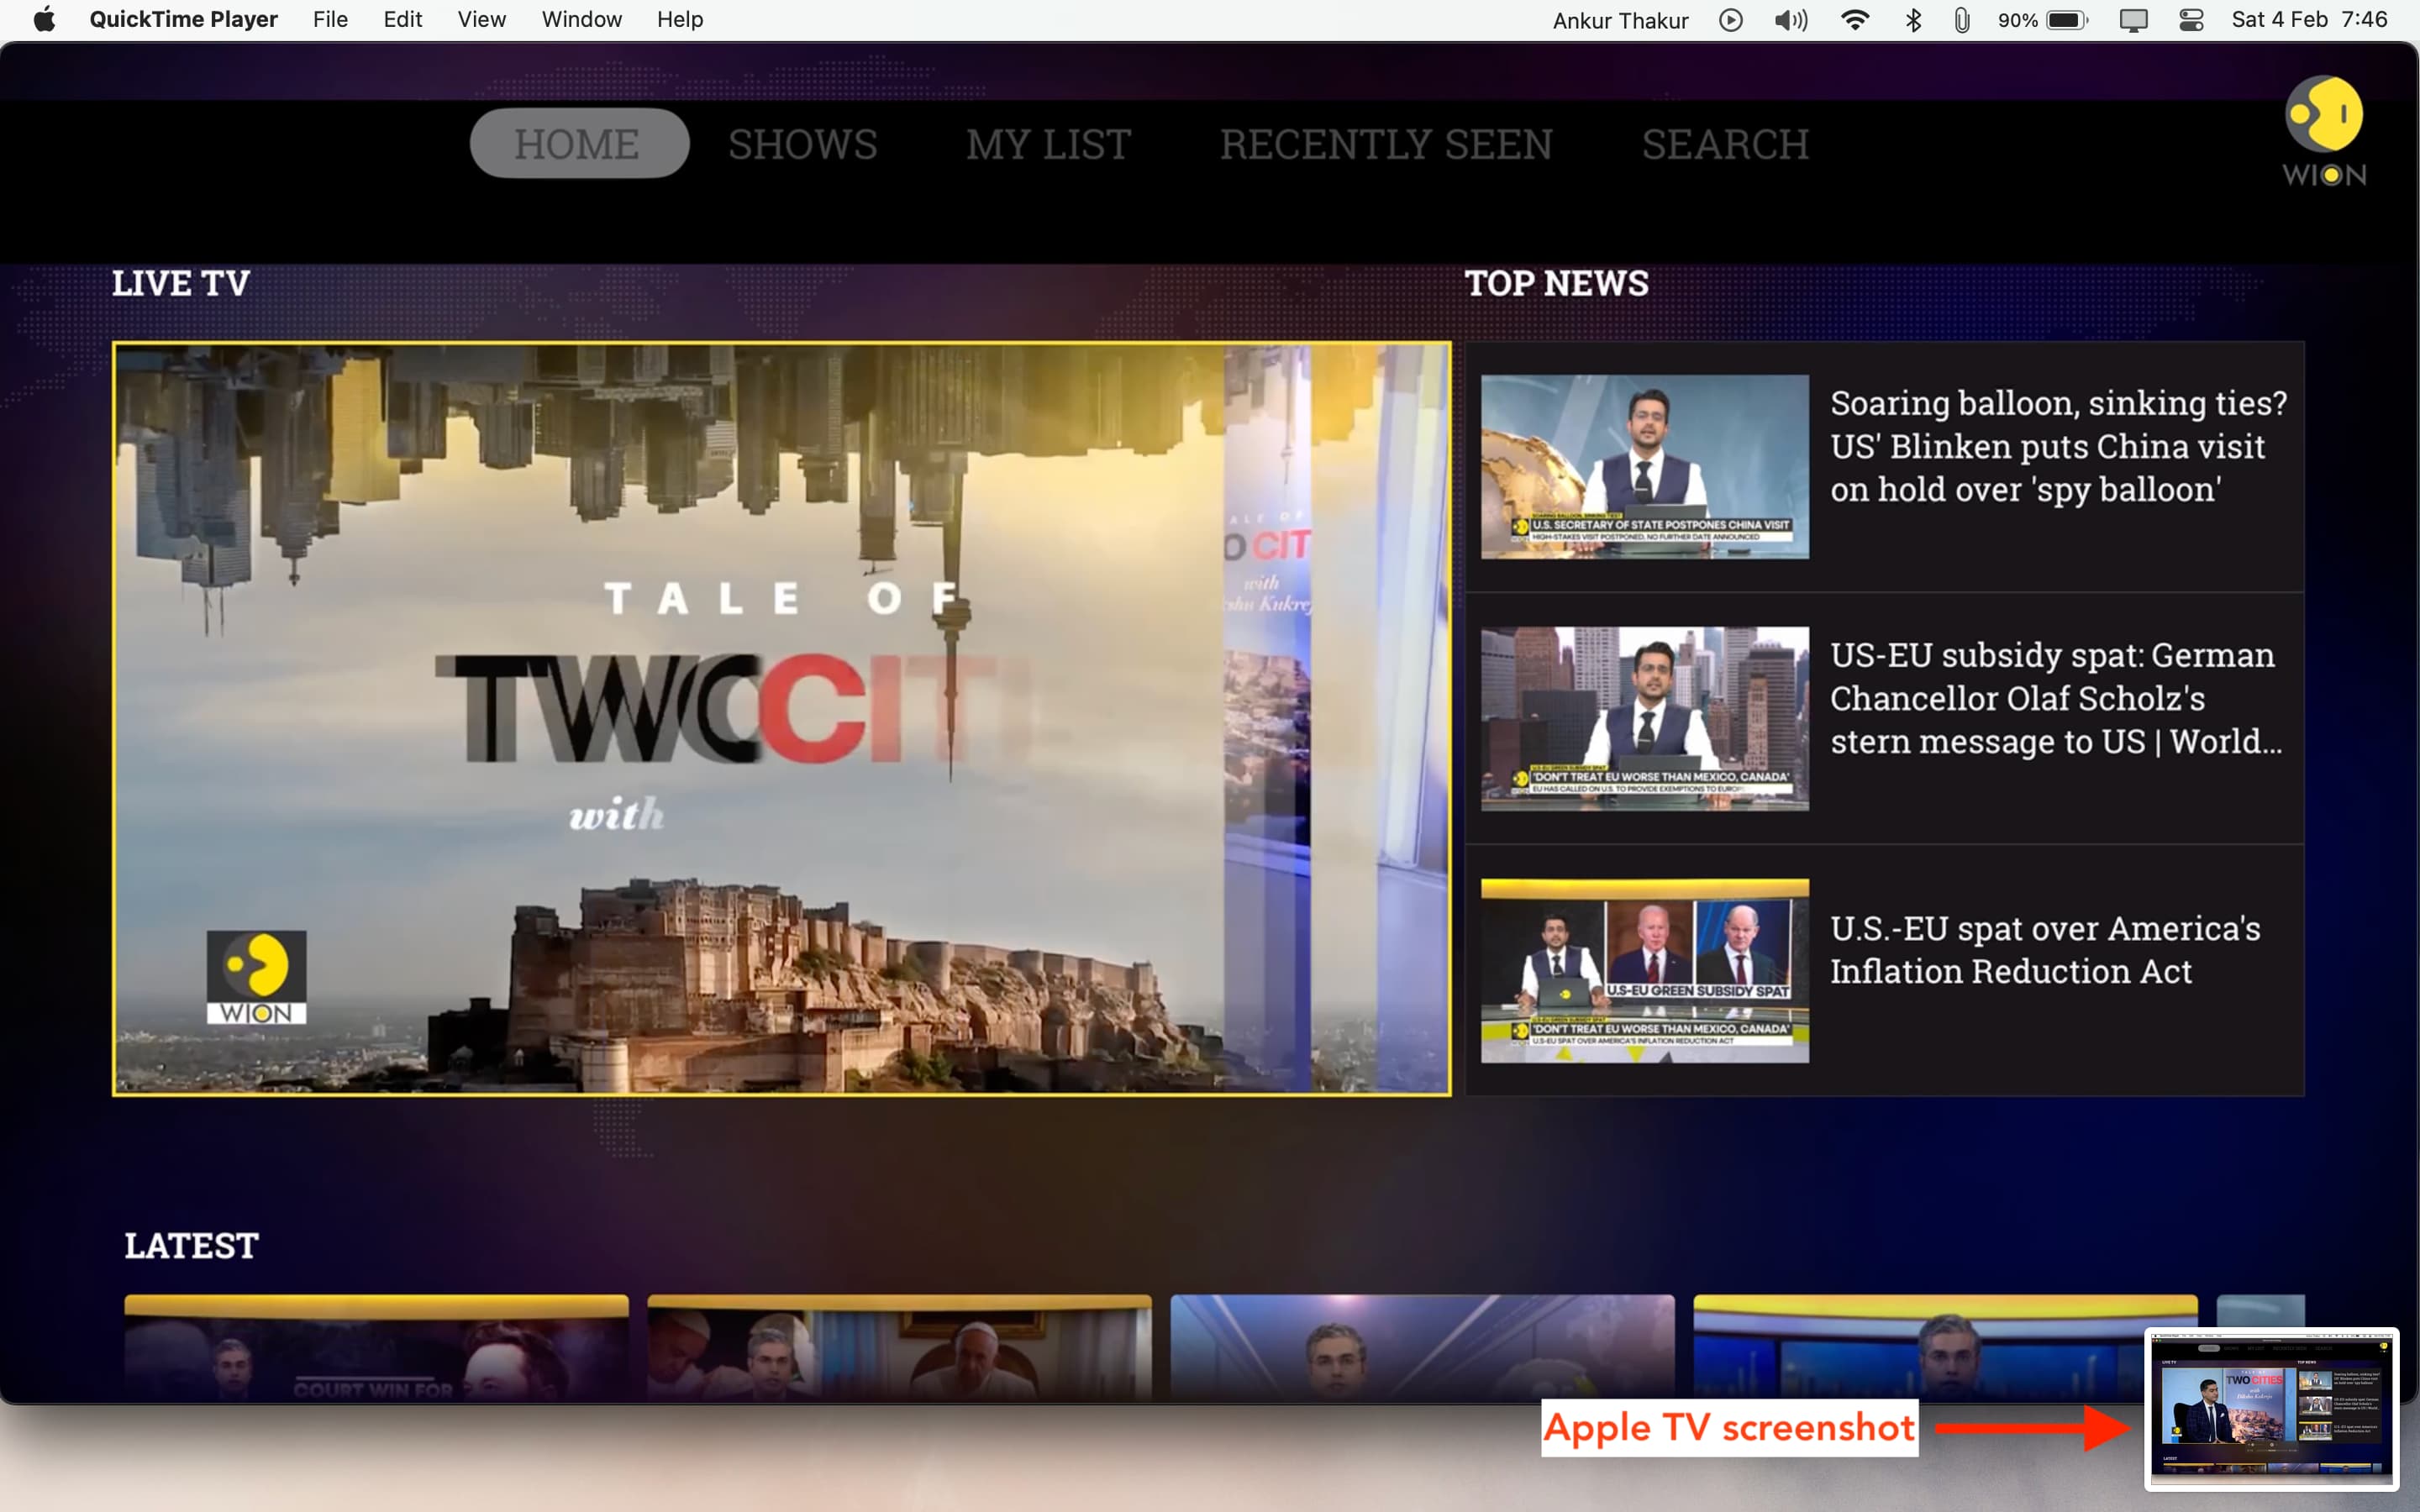
9) Now, click once on the QuickTime Player to hide its controls box. If you don’t, they will appear in your TV screenshot.
10) Finally, follow the usual steps to take a window screenshot of your Mac: Press together the Command + Shift + 4 keys on your Mac’s keyboard. Next, press the return / enter key, move your pointer over the QuickTime Player (which is showing your Apple TV screen), and click to take a screenshot of your Apple TV screen.
Screen record your Apple TV screen
1) Ensure your Apple TV and Mac are on the same Wi-Fi network.
2) Open QuickTime Player on your Mac and click File > New Movie Recording.
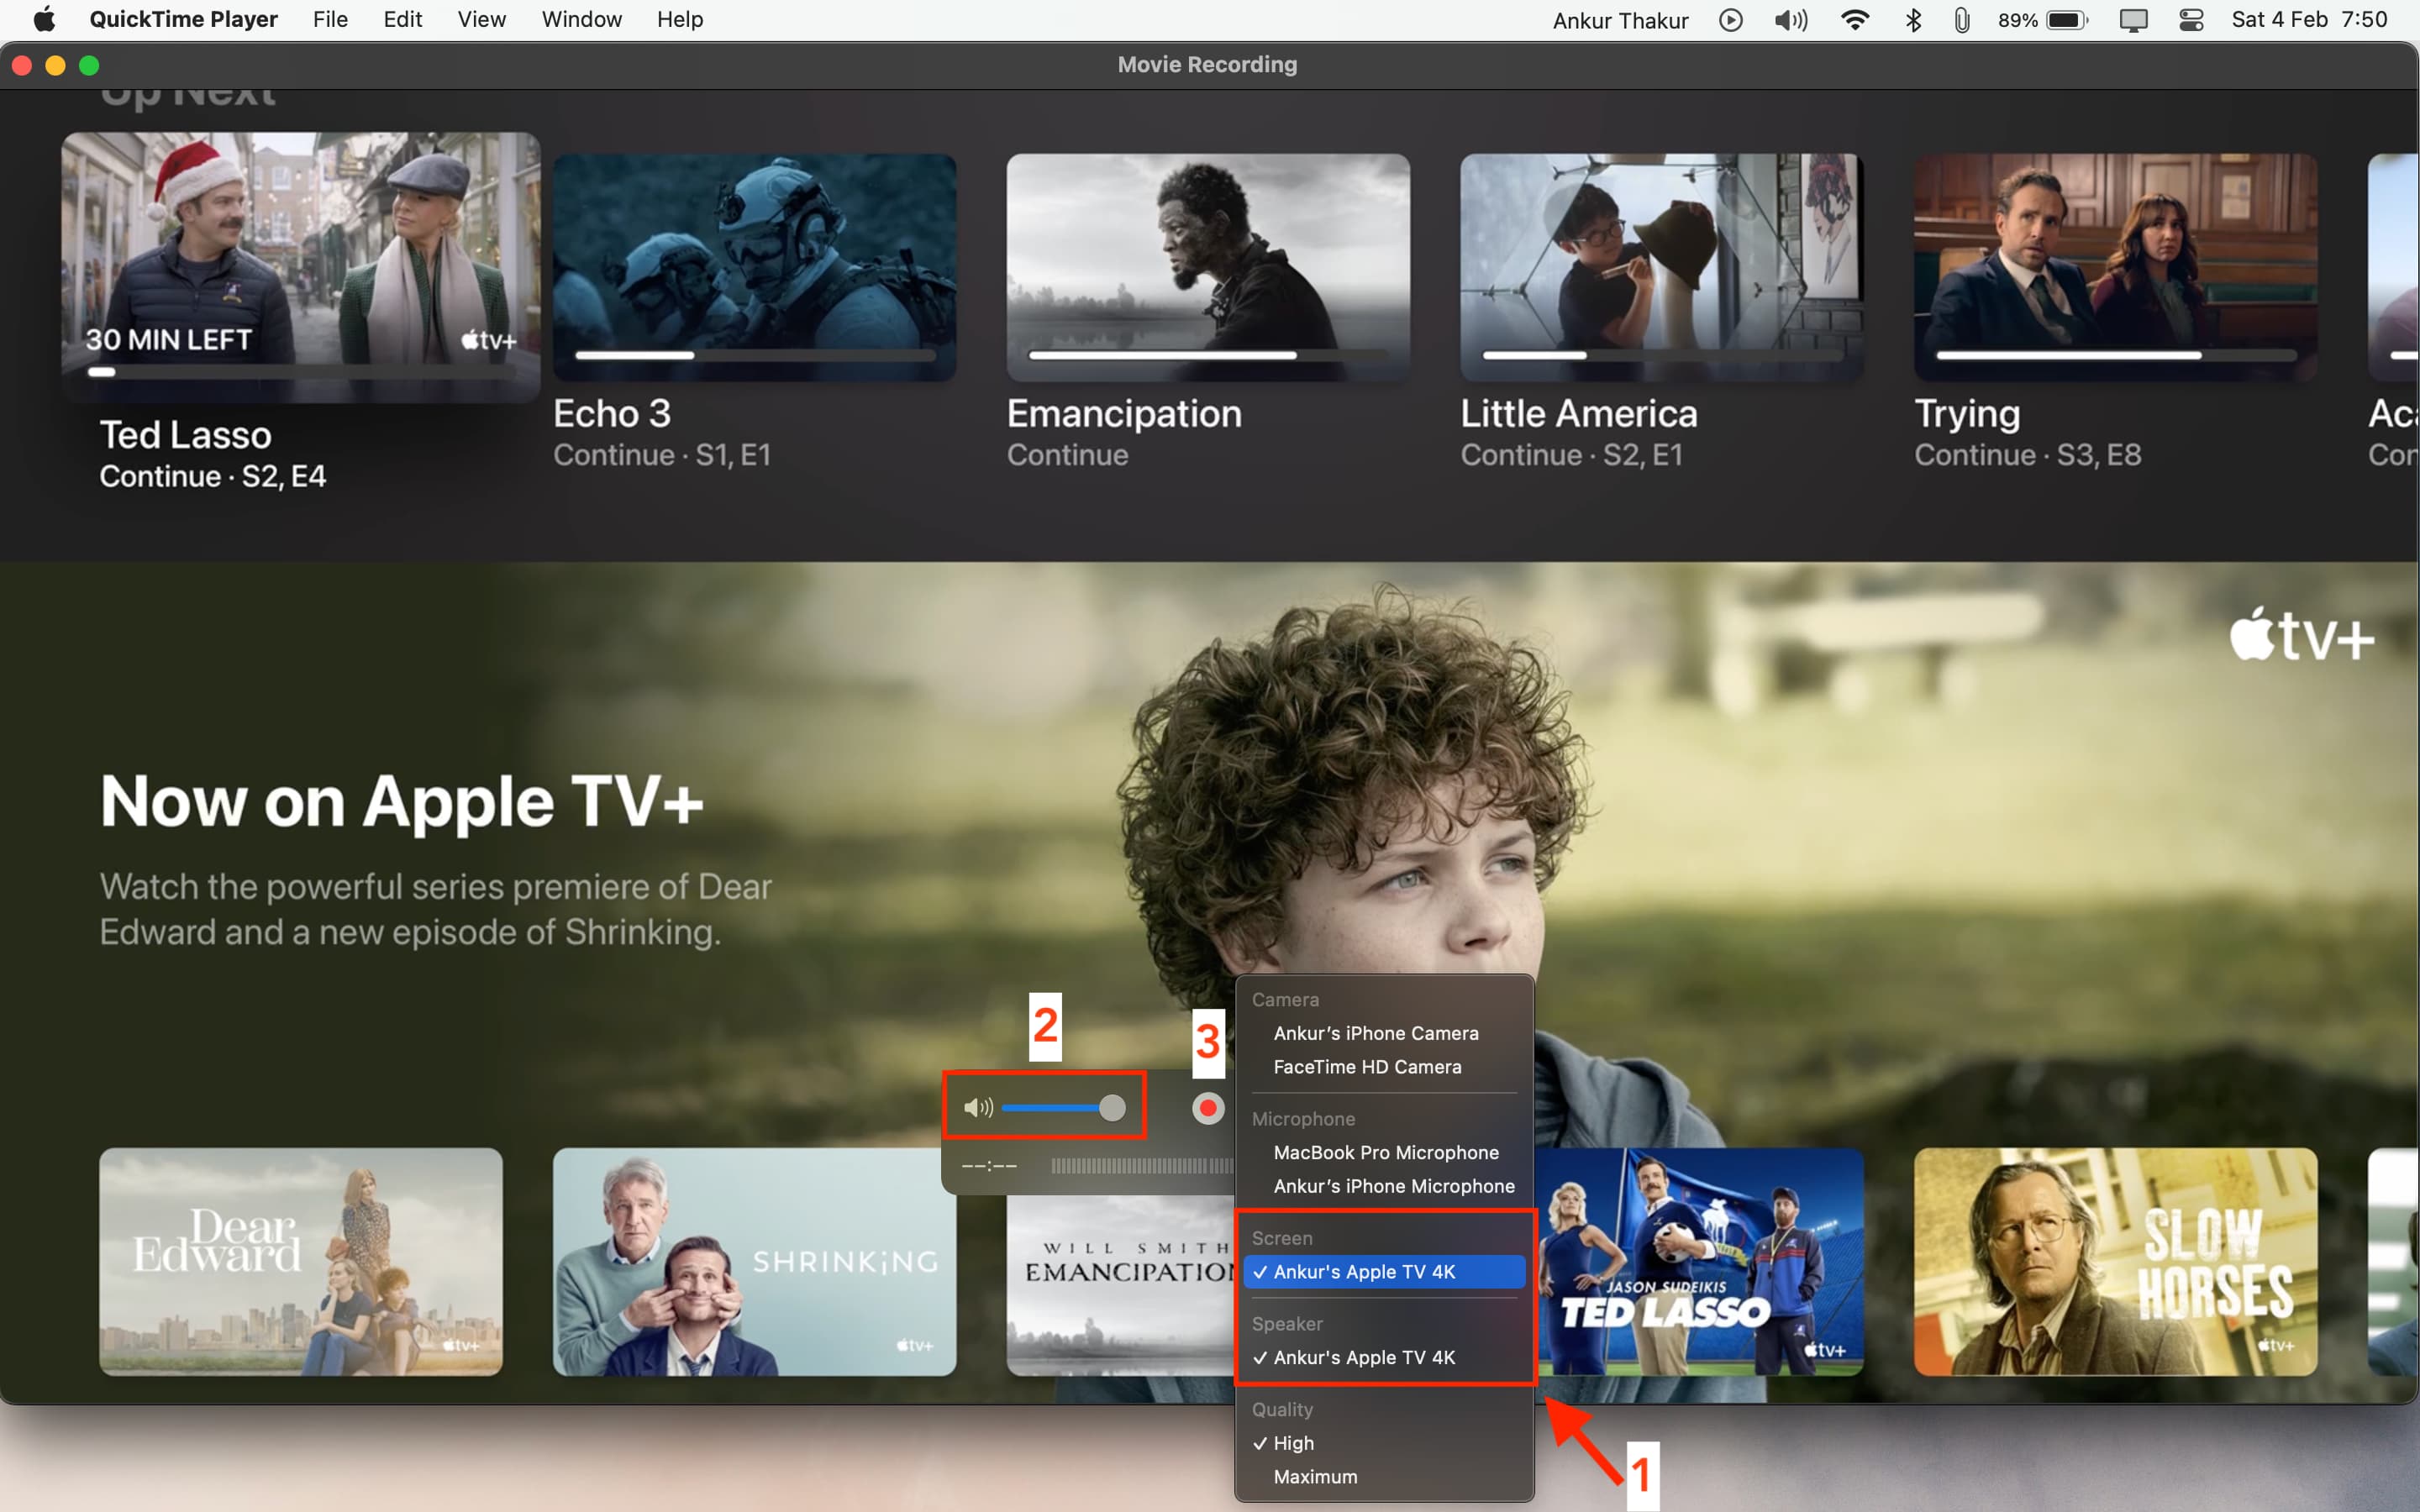
3) Click the arrow button next to QuickTime’s tiny white-red record button and select your Apple TV under the Screen and Speaker / Sound headings.
4) Drag the tiny speaker icon all the way to the right to unmute it. If you don’t, the screen recording won’t have any TV sound.
5) Now, click the white-red record button, and it will record everything that’s on your Apple TV screen.
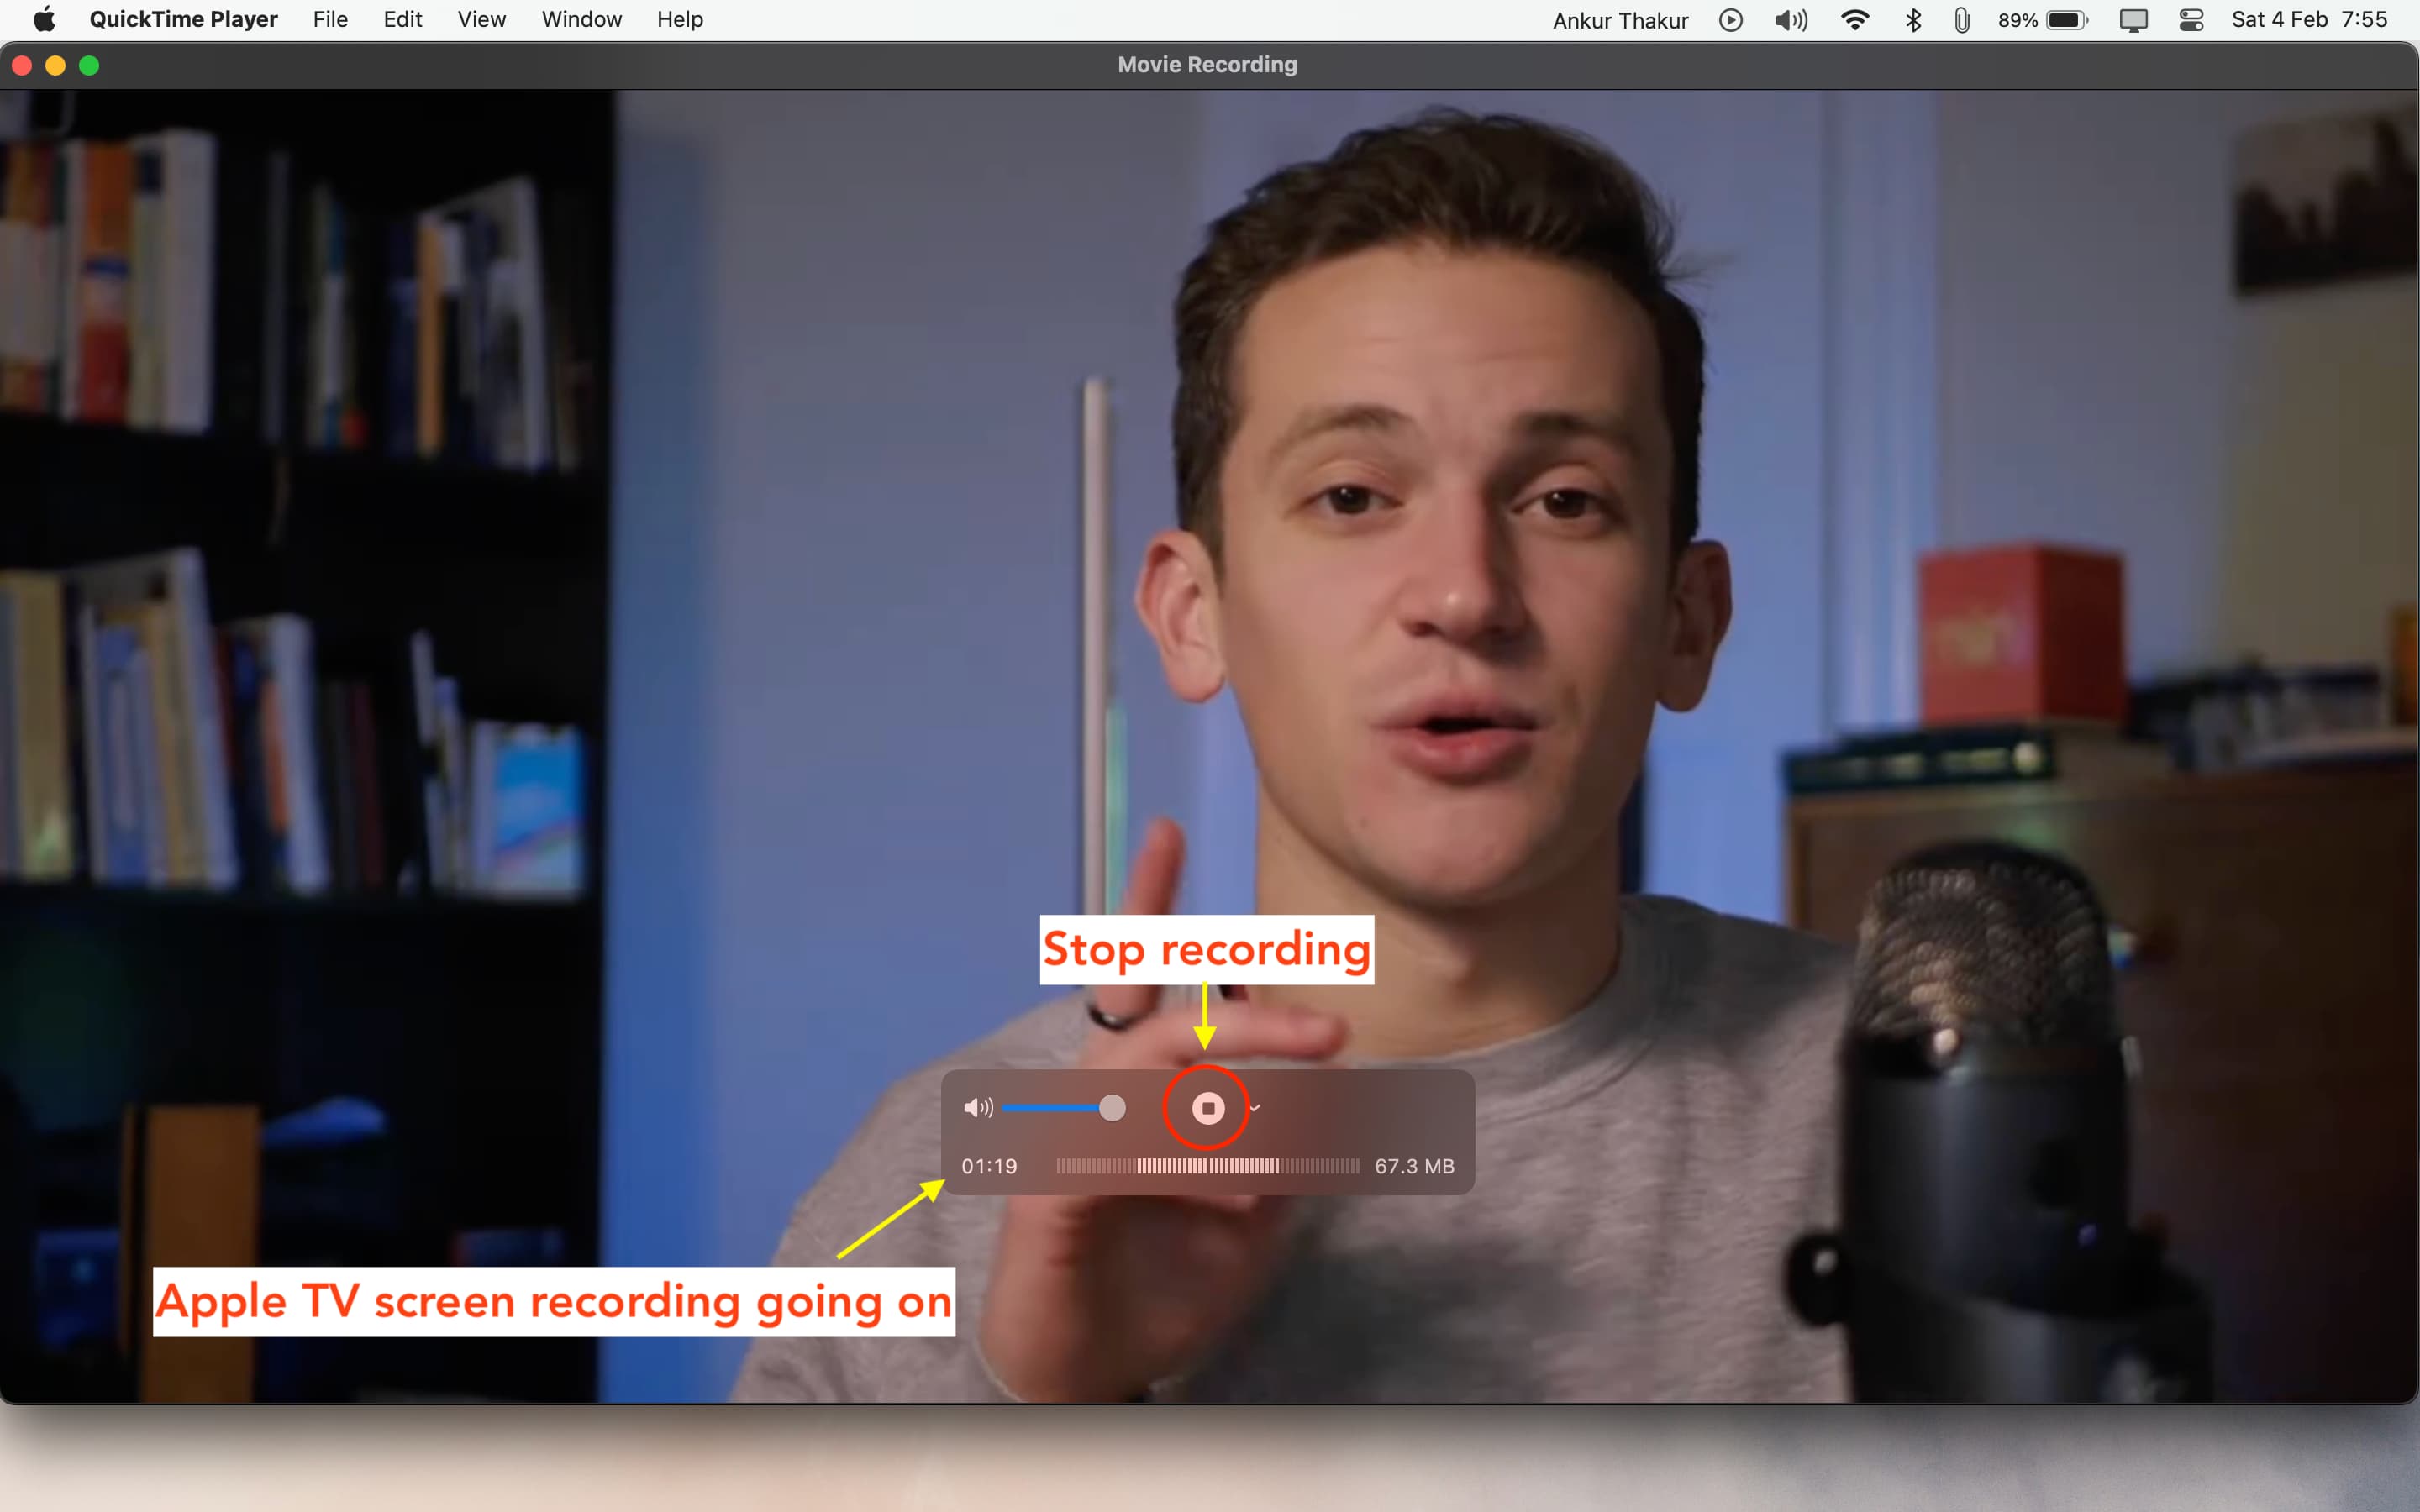
6) When done, stop the recording in QuickTime using the stop button.
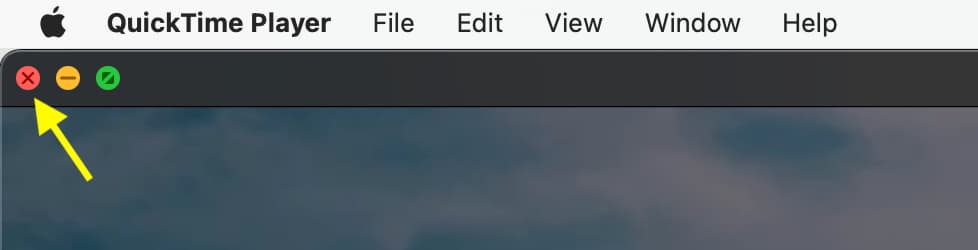
7) Finally, hit the red close button from the top left of the QuickTime window to save this Apple TV screen recording to your Mac.
Related: How to do a video recording of your Mac screen
How to take screenshots on old Apple TV models
If you can’t follow the above steps on your old Apple TV, follow these instead:
- Connect your Apple TV to your Mac via a USB-C cable. Apple TV HD has a USB-C cable at its back.
- Connect your Apple TV to a screen via an HDMI cable.
- Launch Xcode on your Mac.
- In Xcode, click Window > Devices in the menu bar.
- Select your Apple TV, and click the Take Screenshot button.
FAQs
Where are my Apple TV screenshots and screen recordings saved?
The Apple TV screenshots are saved at the same location as your Mac’s screenshots. In most cases, it’s your Mac’s desktop unless you had changed it earlier to a different location.
What is the format of Apple TV screenshots and screen recordings?
Since you’re capturing screenshots or making screen recordings on Mac, the format of both is the same as Mac, which is PNG for screenshots and MOV for screen recordings.
Can I screen-record movies and TV shows using my Apple TV?
Many apps like YouTube don’t block screen recording. However, if an app (like Apple TV+) restricts screenshots and screen recordings, then when you’re recording your Apple TV screen on Mac and try to play a movie or TV show, it will appear as a black box (most likely with a processing icon). It may not play the video until you stop recording your Apple TV screen.
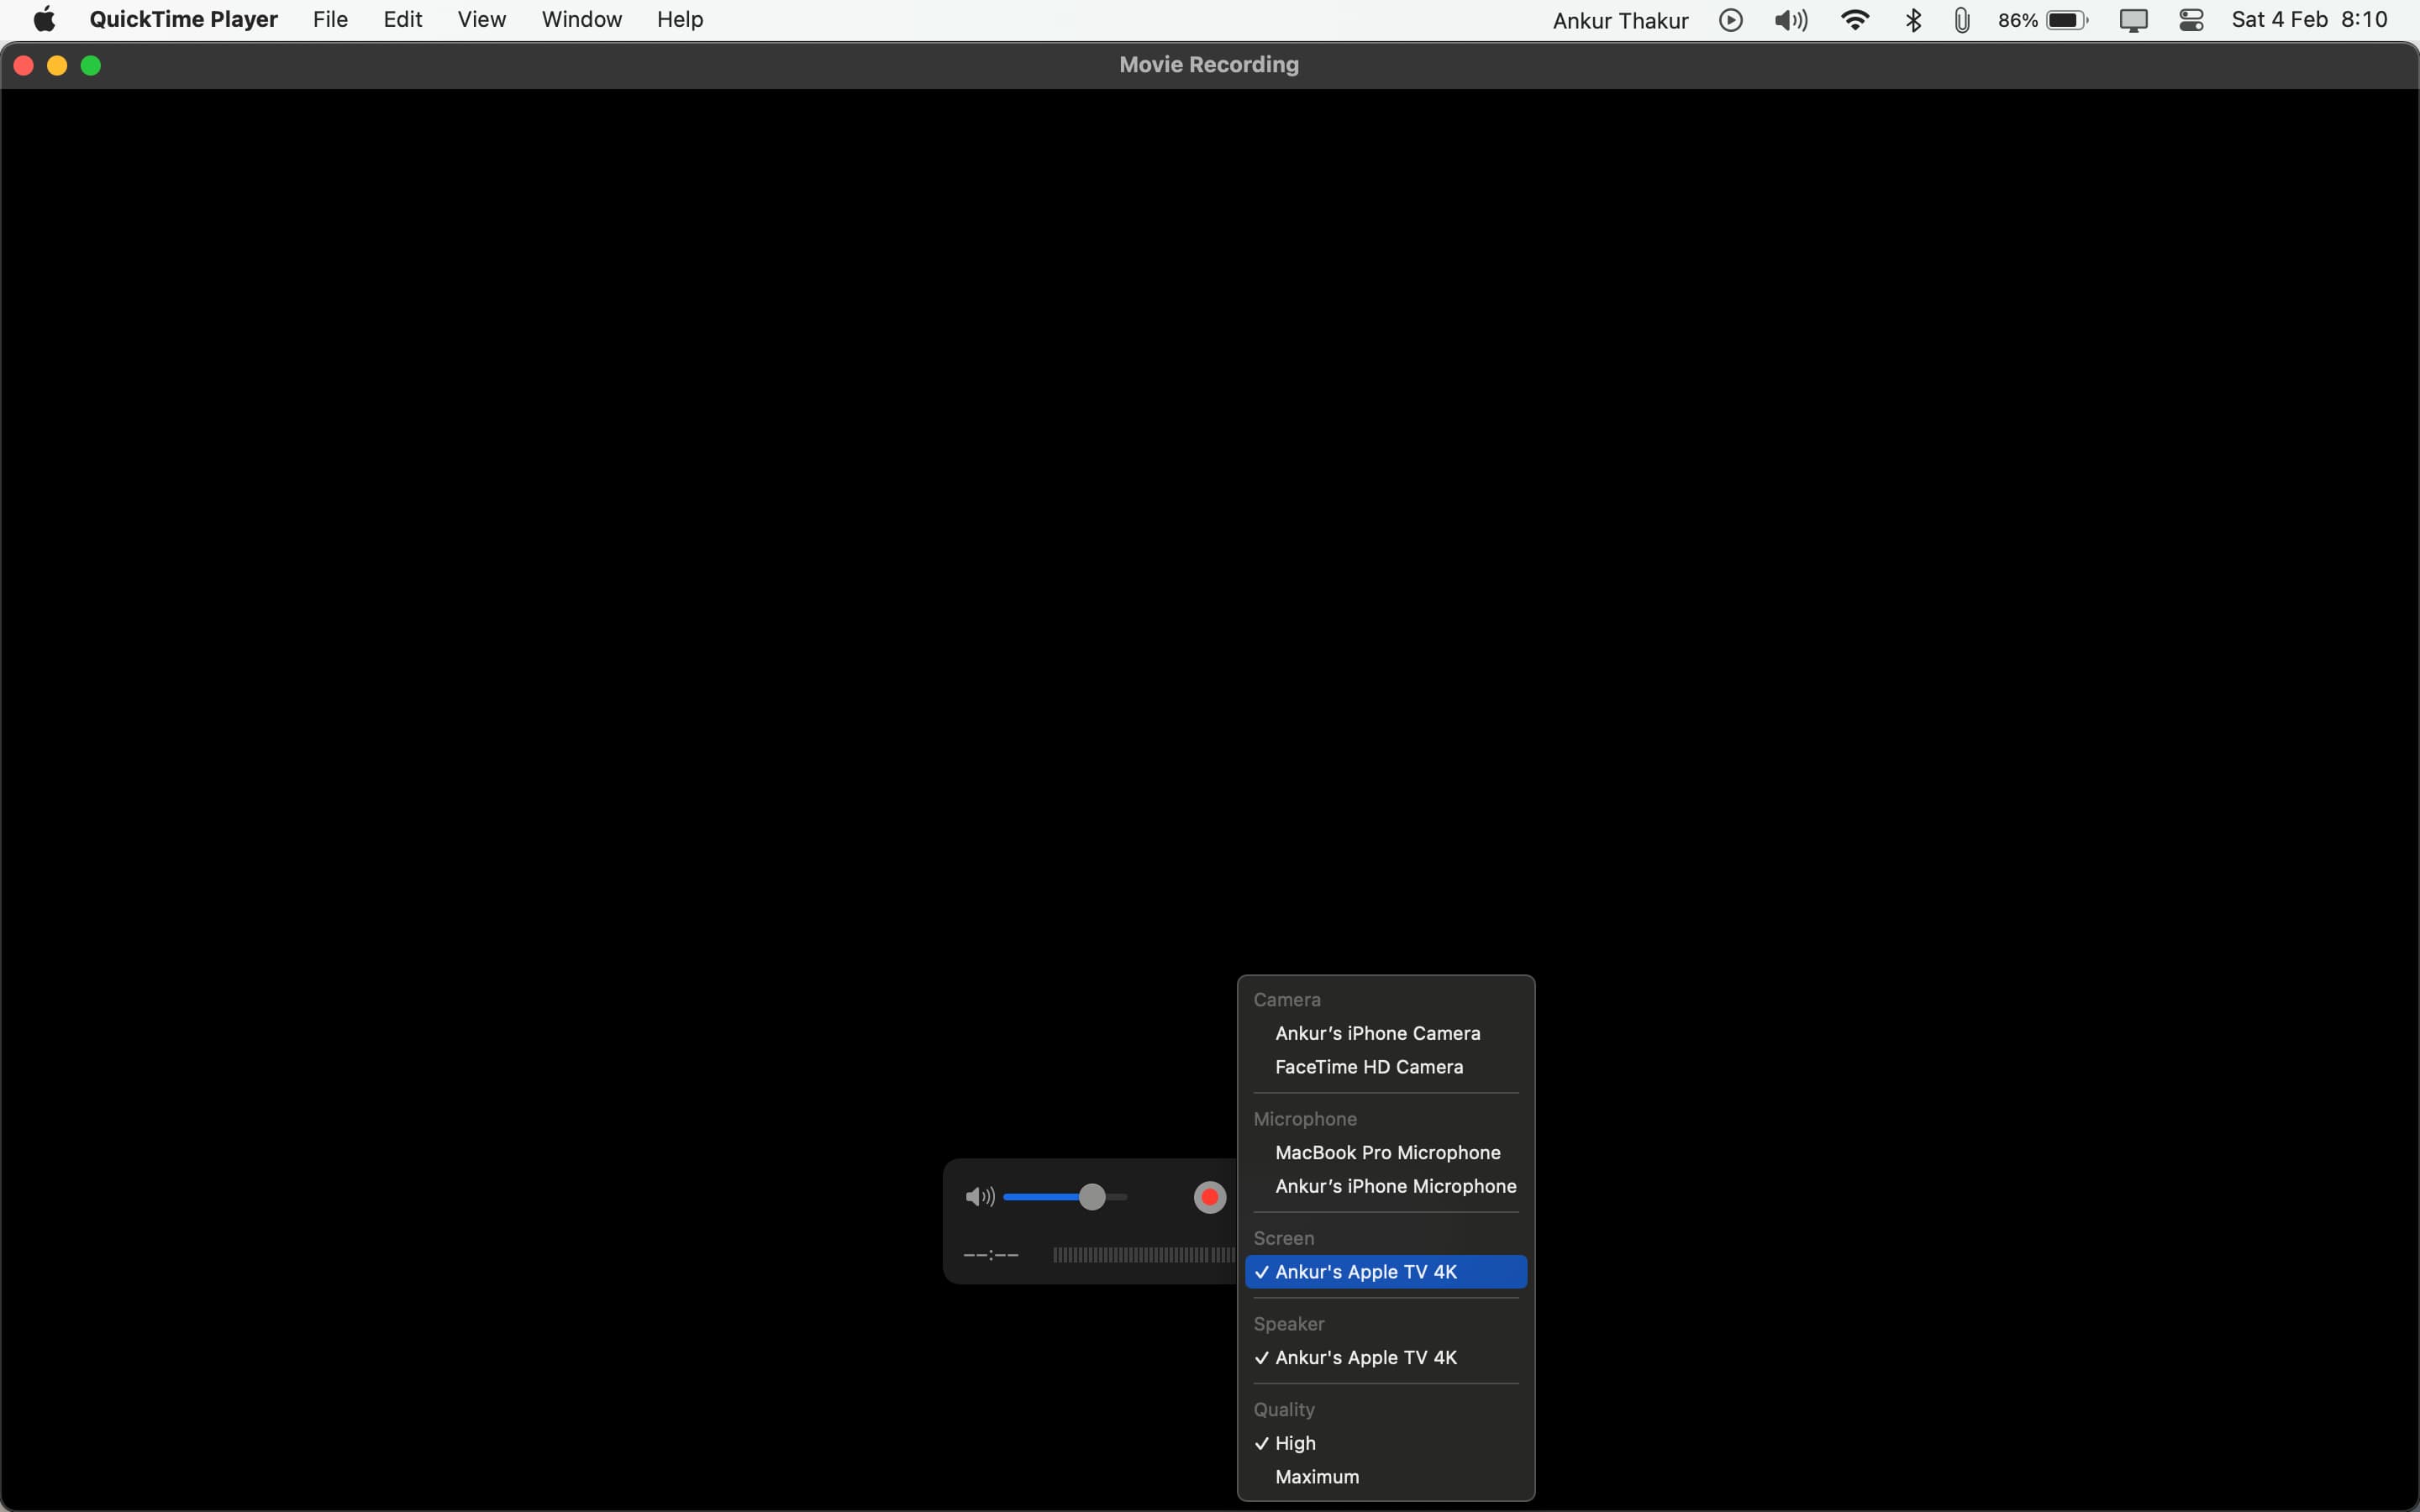
Apple TV not appearing in QuickTime Player on Mac?
If you’re not able to see your Apple TV in QuickTime Player as a potential Screen or Sound input option, then make sure your Apple TV and Mac are on the same network and have the same Apple ID. If the problem continues, force quit QuickTime Player and reopen it. After that, retry. If nothing helps, restart both Apple TV and Mac, and it will fix the issue.
Using HomePods as default sound output on your Apple TV?
If one or more HomePods are set as the default audio output for your Apple TV, you won’t be able to take screenshots or screen recordings using the method above until you tweak the settings. The reason it doesn’t work is that your Apple TV cannot AirPlay to QuickTime because the AirPlay connection is already in use by your HomePods. Go to the Apple TV settings and temporarily set the default sound output to your television speakers. The Apple TV will then appear in QuickTime for you to take a screenshot. Once you have taken the screenshots, you can set your HomePods as the default Apple TV speaker again.
Also, check out: How to use FaceTime on your Apple TV