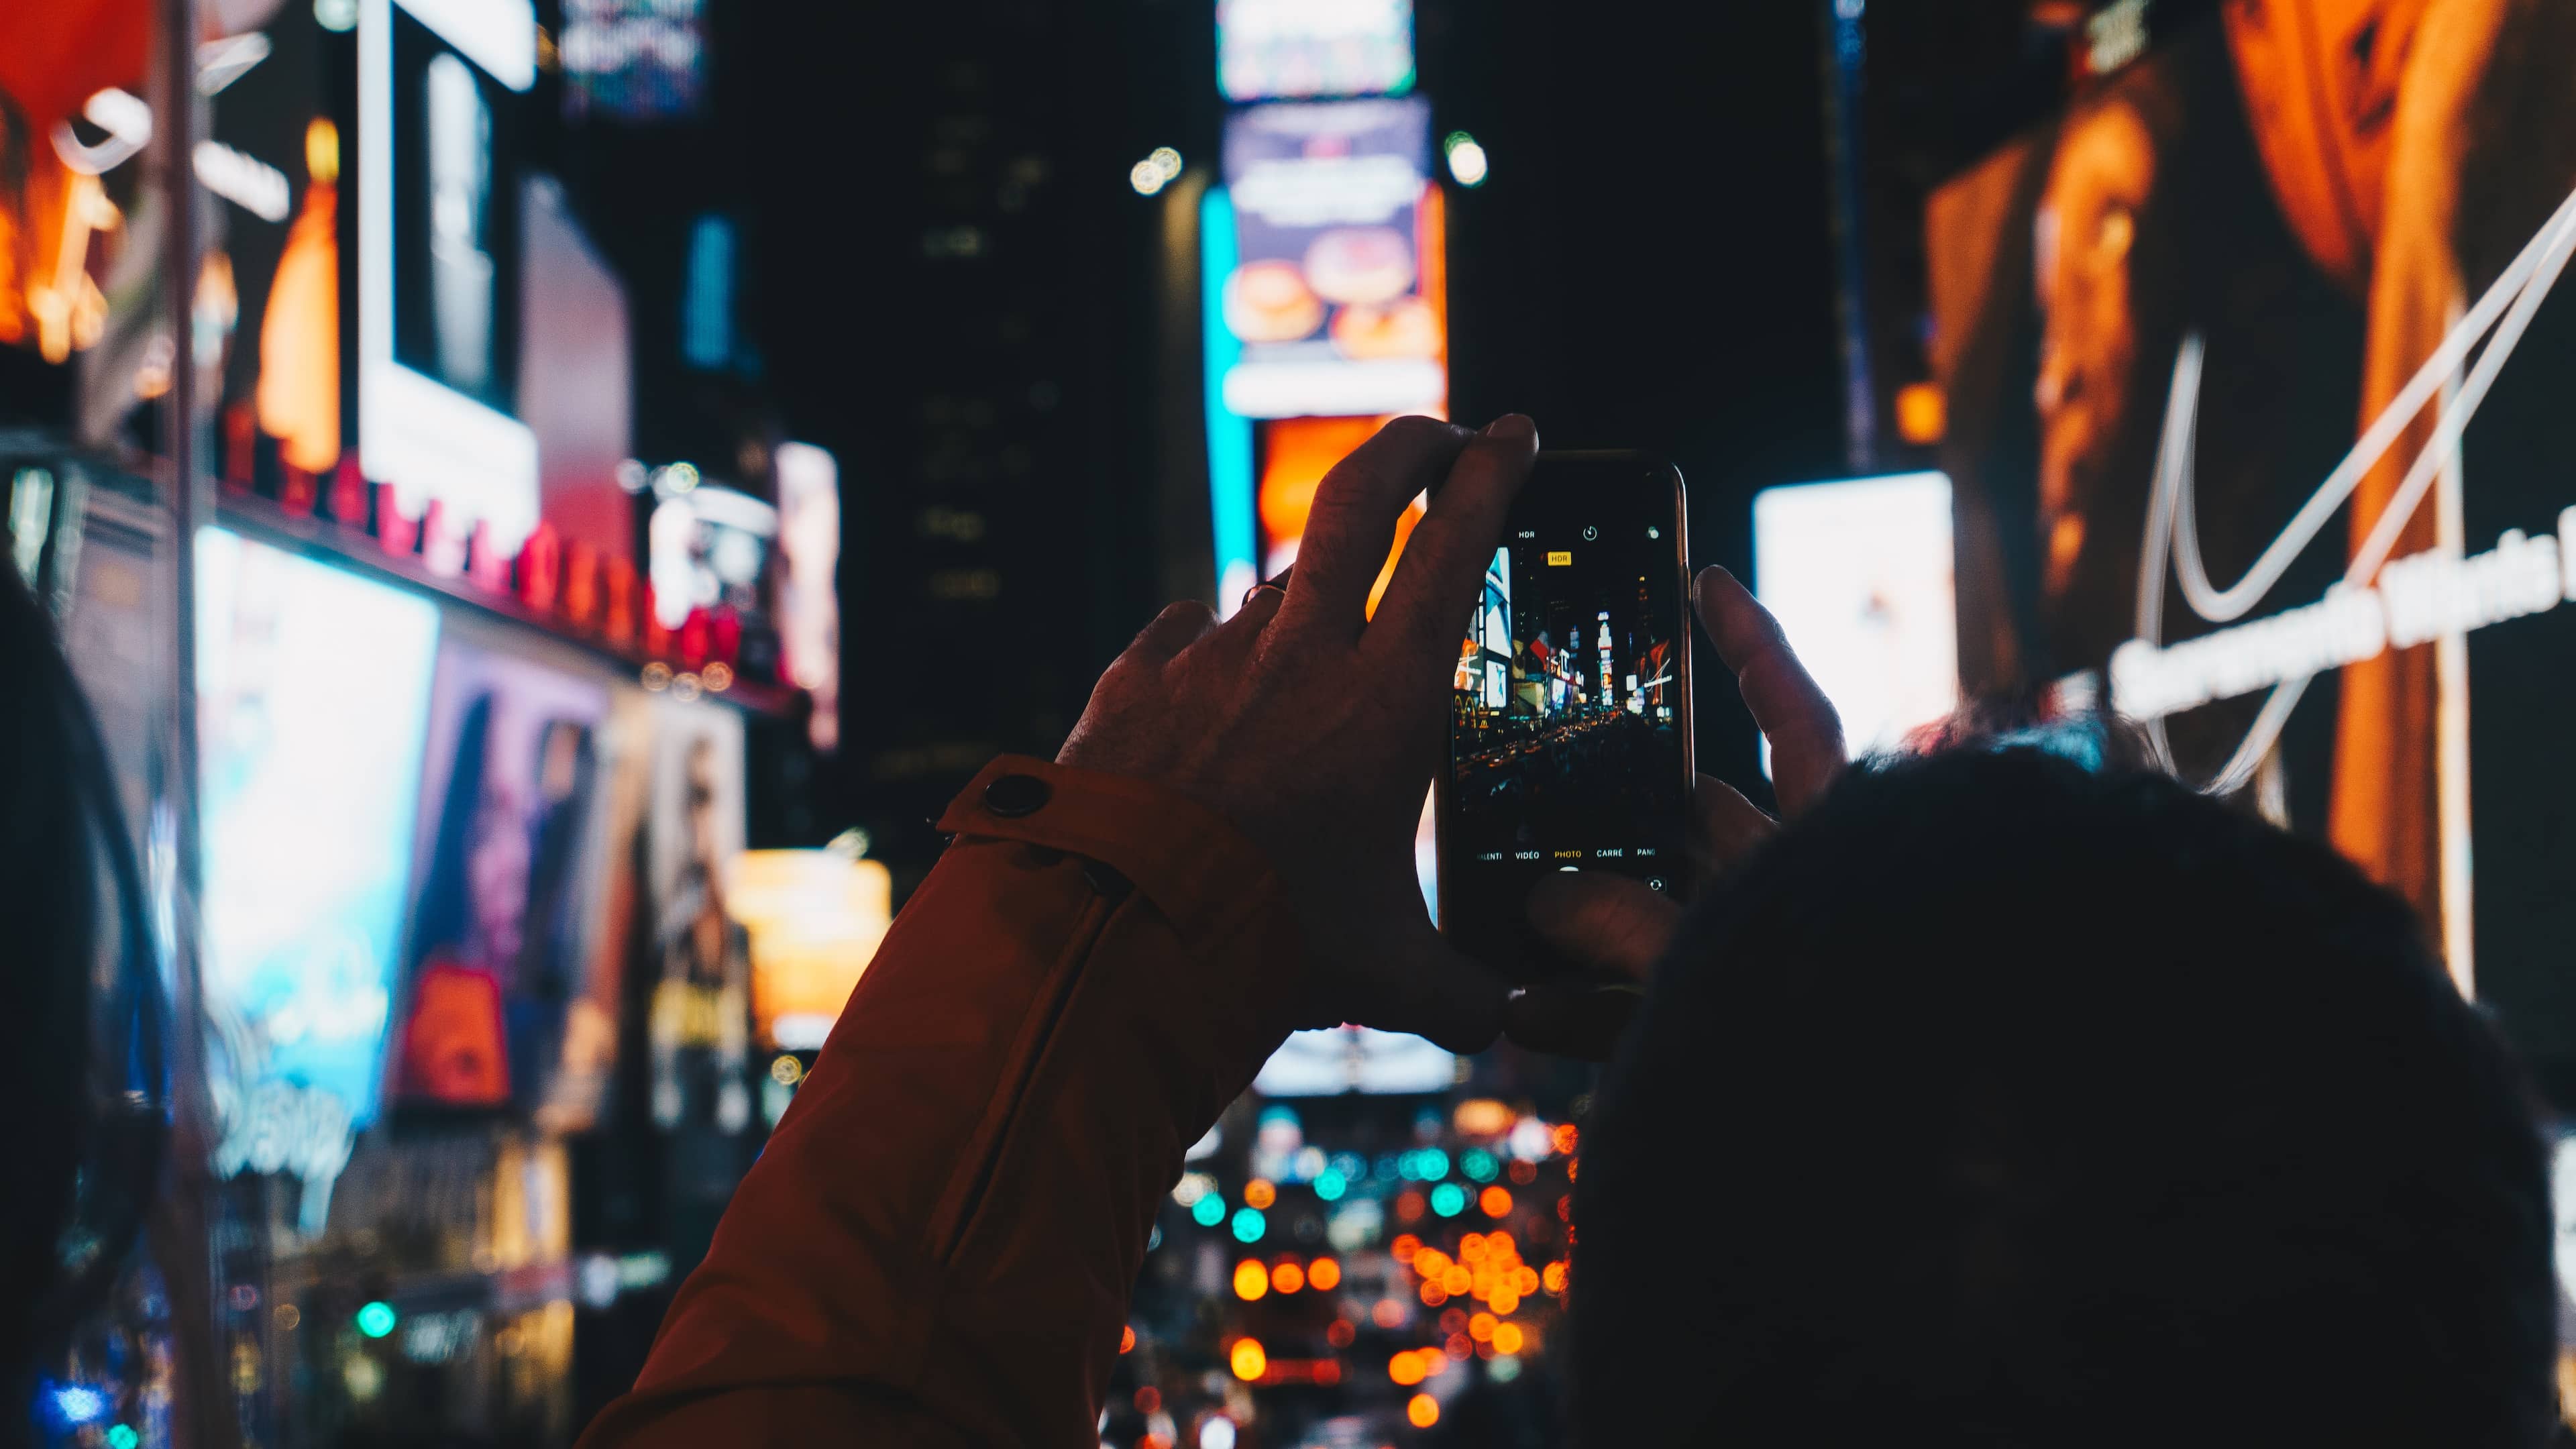
This tutorial teaches you how to avoid common iPhone photography mistakes that prevent you from taking great photos with your Apple smartphone.
There’s no shortage of tutorials showing you how to make the most out of your iPhone’s camera capabilities. Our iPhone photography section is a helpful resource for learning the basics, from camera settings to proper focusing and more.
This time around, however, we want to shake things up a little bit and discuss some of the basic mistakes everyone should avoid when trying to snap up a good photo with their iPhone. Without further ado, watch the above video from iDB’s house videographer Harris Craycraft. And if written instructions are more of your jam, here are 5 things you need to stop doing when taking photos with an iPhone.
1. You’re unaware Night Mode is turned on
Night Mode automatically kicks in when the algorithm detects poor lighting conditions. The problem is, the Night Mode toggle in the built-in Camera is pretty confusing and easy to miss. I believe Harris when he notes in the video that he saw countless times people taking Night Mode pictures without even realizing it.
Night Mode uses a long exposure time of up to a few seconds, depending on lighting conditions. People who are unaware of this just press the shutter button and immediately lower their phone, resulting in a blurry shot.
To fix this, make sure the yellow Night Mode icon in the Camera app is toggled off in such situations. To make the app remember this setting, go to Settings > Camera > Preserve Settings and slide the switch next to Night Mode to the ON position.
2. You don’t take photos of people in Portrait Mode

A common mistake when photographing someone is not using Portrait Mode, which uses depth information to simulate studio lighting and natural-looking bokeh, resulting in flattering portraits. But far too many people still capture their subjects in Photo Mode instead of swiping their way to Portrait Mode.
Our advice would be to always take a couple of portrait shots whenever photographing a person primarily in Photo Mode. And when using Portrait Mode, tell the subject to be totally still and be sure to use flash, even in daylight.
The iPhone 15 and newer automatically take portrait shots when a person, dog, or cat is detected in the viewfinder. So even if you forget to switch to Portrait Mode, your photo will have a depth-of-field effect which you can adjust later in the Photos app. Don’t use Portrait Mode in low light because the telephoto camera struggles in low-light situations. You also cannot take Portrait Mode images in the RAW format.
3. You use flash when photographing moving subjects
Another typical mistake is using flash when taking pictures of a fast-moving subject, like a car, a friend performing a backflip, or your cat catching laser dots. The Camera app fires the flash several times in a quick succession to adjust the amount of light needed to adequately illuminate the scene, and then it actually takes the shot.
The thing is, these pre-flash calculations take some time but the scene has already changed. Therefore, make a mental not to avoid using flash when photographing fast-moving subjects or you’ll end up with some weird-looking results.
4. You don’t give a damn about composition

You must learn the art of good photo composition. Many people take images with total disregard to proper framing, instead relying on the editing tools in the built-in Photos app to fix poor composition by cropping out unwanted parts. But anyone serious about photography will tell you to shoot as much in-camera as possible.
This means learning the Rule of Thirds and turning on the grid in Settings > Camera > Grid to frame your photos. The grid helps guide the placement of the horizon on photos and stops you from taking disproportionally framed images.
It can even make for more interesting shots. For instance, instead of placing the subject in the center, position their head at an intersection of the grid lines.
5. You zoom instead of getting closer to the subject
The design of the Camera app makes it difficult to discern whether you’re zooming optically or digitally. Recent iPhones provide up to 5x optical zoom. Beyond that, zooming is digital, which produces artifacts and results in blurriness.
You should walk as close to your subject as possible before actually taking the shot. Doing so will ensure your subject fills the frame and detail is clearly visible.
More tips for taking great photos with iPhone
If you like this tutorial, check out 5 things you should do to take great photos with your iPhone. Those already familiar with these tricks can dive into our collection of the best iPhone photography tips that covers choosing the right shooting format, adjusting exposure and focus, remotely controlling the camera, and much more.