Go through these tips before you download and install macOS 27 Golden Gate to avoid potential issues, last-minute hiccups, errors, or failed installation.

1. Ensure your Mac is compatible with macOS 27
macOS 27 drops support for all Intel Macs, while supporting all MacBook, Mac Studio, Mac mini, iMac, and Mac Pro models with Apple silicon chips.

2. Free up local space on your Mac
Like every other major Mac update, macOS Golden Gate requires north of 20 GB of free space on your Mac’s internal SSD so the new software can download, prepare, and install without issues.

3. Back up your Mac and your important files
While most macOS updates occur without issues, there are instances where the update fails, resulting in the loss of files or the entire operating system getting corrupted.
Therefore, we recommend backing up your Mac to Time Machine or a cloud solution like Backblaze. If you can’t do these, at least make sure your important files, documents, and pictures are manually backed up to iCloud, Google Drive, Dropbox, or an external hard drive. You can even use your iPhone or iPad as a pen drive to store these important files until the update finishes.
4. Know your Mac’s admin password
Installing a new macOS update requires you to enter the correct Mac password. Make sure you know it; otherwise, reset it first.
5. Get your Apple Account email address and password in order
Once you’re done updating, your Mac may prompt you to enter your Apple Account password to finish setting up the computer. Reset it now if you don’t know it.
6. Save your ongoing work
While I regularly restart my Mac and don’t have to worry about it, some people don’t shut down their Macs for weeks and have unsaved work in open apps. So if you’re one of those people, save your work, as installing a new macOS update requires a restart. If you have unsaved work, your Mac may have difficulty shutting down and installing the new update.
7. Ensure a fast and stable internet connection
Major macOS updates are approximately 15 to 20 GB in size. So, you should have a fast and reliable Internet connection to download them. If it’s choppy, the update may fail, restart, and resume multiple times, which can lead to issues. It would actually be best to update your computer using your home or office network rather than using public Wi-Fi from a coffee shop or airport.
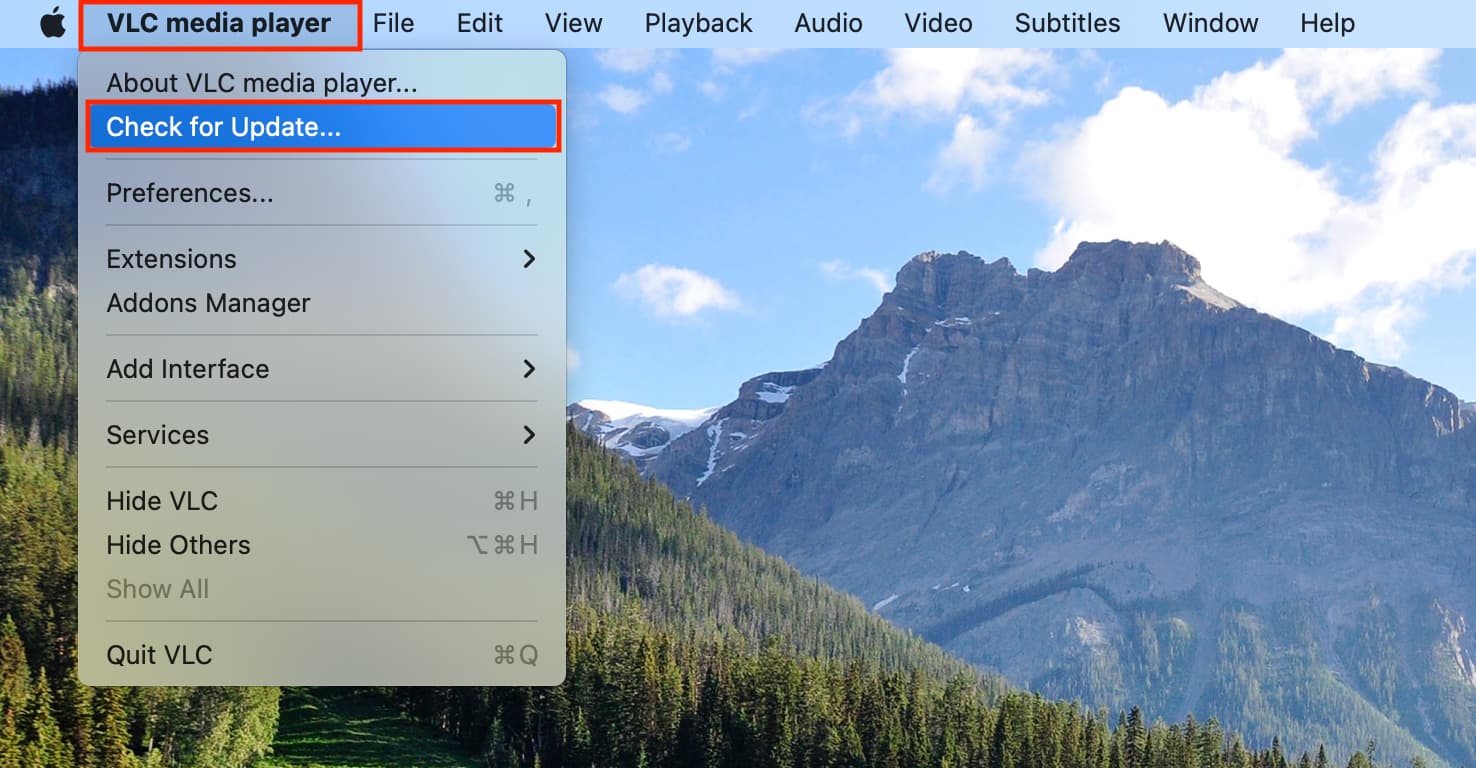
8. Update important apps
You don’t have to worry about this tip if the app is downloaded and updated via the Mac App Store. However, several Mac apps show the update button when you open them. If an important app isn’t compatible with the new macOS version, it may not even open, and you may not be able to update it. In this case, it’s better to update that app before installing the new macOS. In many cases, the developer will make the app compatible in the time period between the macOS developer beta release (June) and the stable public release (September or October).
9. Update to the most recent build of macOS Sequoia
Another thing you can do for a smooth transition to the next major macOS version is to make sure your Mac is running the latest version of the current macOS. For instance, if you want to update to macOS 27 (Golden Gate), make sure no macOS 26 (Tahoe) updates are pending.
10. Run First Aid in Disk Utility
If your Mac’s internal drive shows errors, it can lead to failed updates or even loss of all data and the operating system. So, before moving forward, open the built-in Disk Utility app, select your internal volume, and run First Aid. Your Mac will check the disk for errors and repair them if necessary.

11. Don’t want beta updates? Turn it off
Apple has made it really simple to get developer and public beta updates. Once you opt for beta updates, you get beta software for all new macOS updates unless you turn it off.
If you no longer want to run the beta version of macOS, go to System Settings > General > Software Update, hit the info icon ⓘ next to Beta Updates, and set Beta Updates to Off.

12. Create a separate volume for the new macOS version
You have the option to install the new macOS on a different volume (partition). This way, you’ll have two versions of macOS (the current one and the new one) on your computer.
13. Don’t update on the first day
Apple servers are typically overloaded on the first days, and that can lead to long waiting times. It also means you’re getting the very first version of the OS, which can have major bugs. Therefore, it’s best to wait a few days, read what early testers are saying about the new macOS version and its stability on X, Reddit, etc., and then decide whether to update or not.
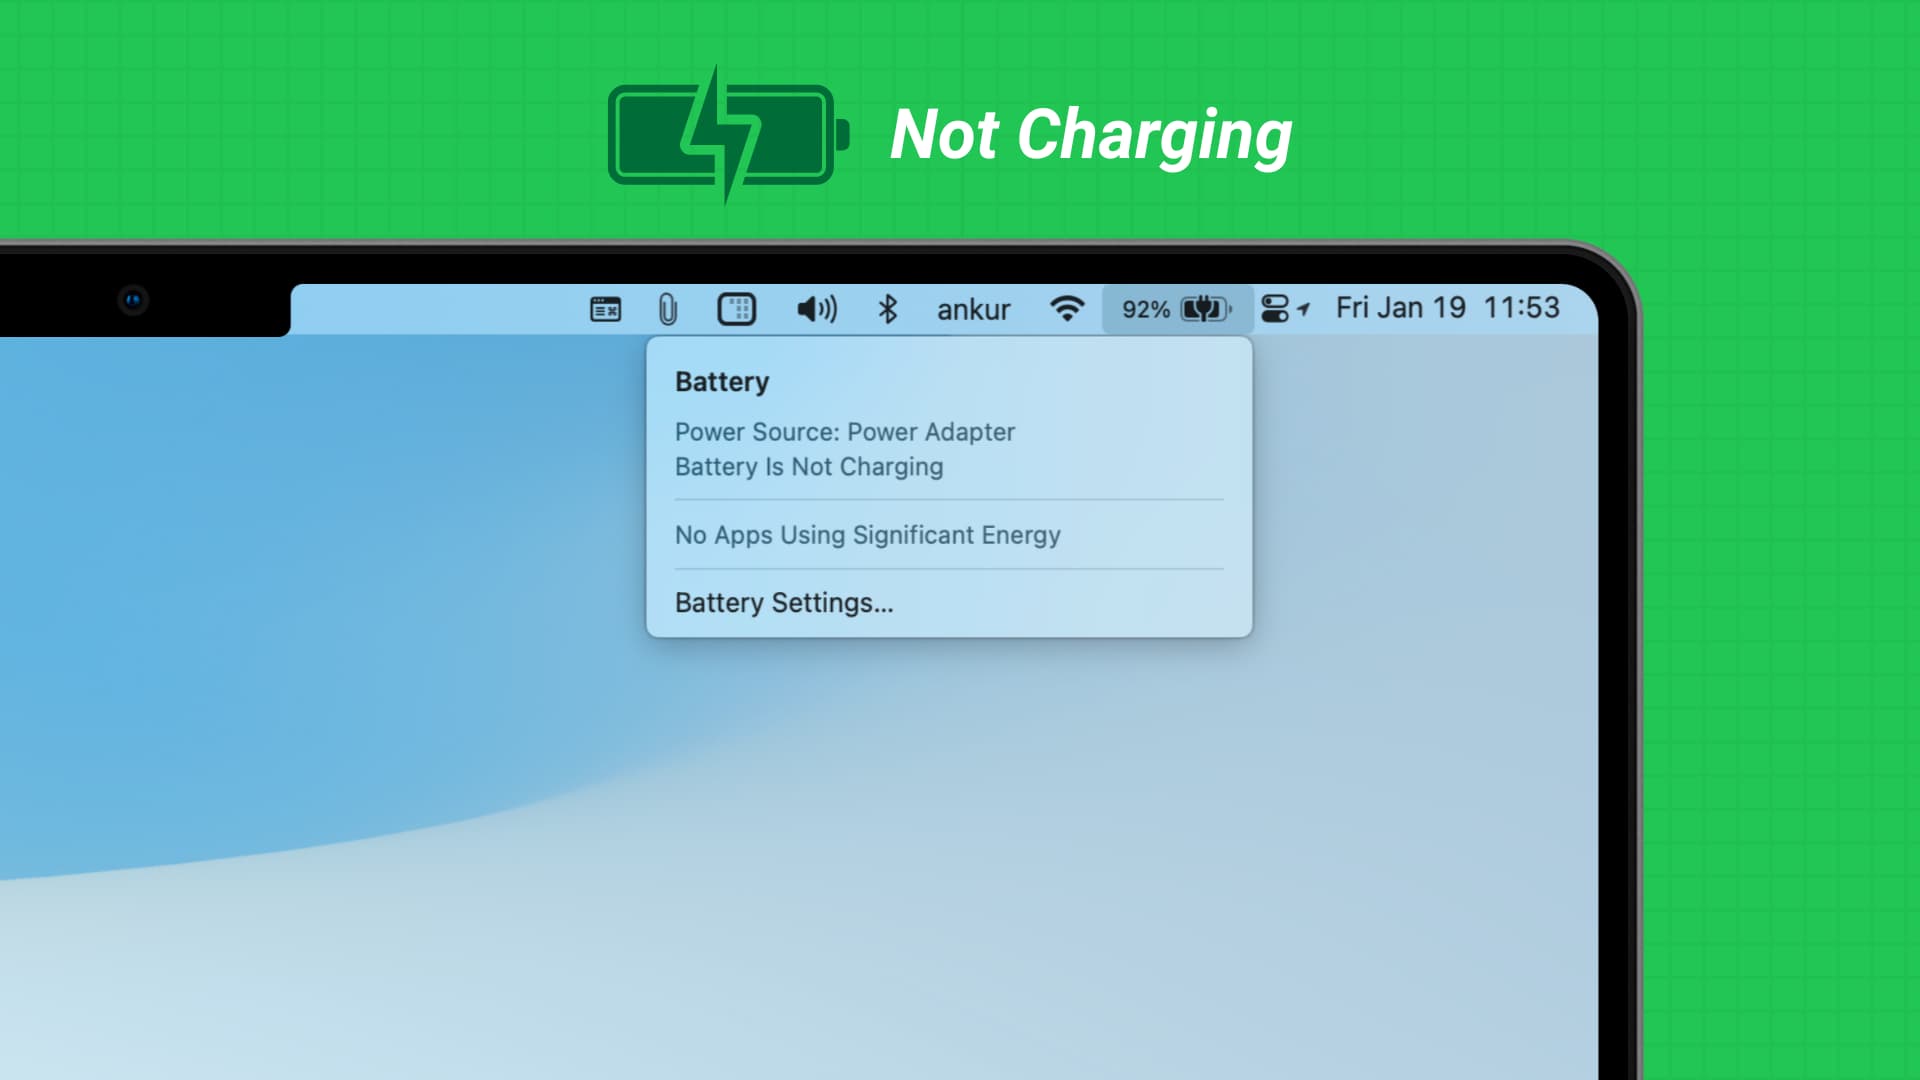
14. Get your MacBook’s power adapter
Your MacBook requires significant power to prepare and install the new macOS update. If you don’t have the right charging adapter, it may not charge or provide adequate power.
15. A cool room will help
Lastly, macOS updates tend to increase the computer’s temperature. If you live in a hot area or it’s summer season at your location, install the update in a cool room with a fan or air conditioning.
Also see: How to prepare your iPhone or iPad for a new iOS version