Apple makes it easy to record cool time-lapse video on your iPhone, but do you know how time lapses work in the Camera app? Here’s the nitty-gritty.
It’s simple to record time-lapse videos on your iPhone
Instead of adjusting a bunch of parameters, you only need to start and stop recording, and iOS will handle the rest. In Apple’s “just works” fashion, no matter how long your recording session (ten hours or ten days or ten minutes, it doesn’t matter), your time-lapse will end up being between 20 and 40 seconds long.
Visit the StudioNeat website for a graph showing how Apple’s time-lapse mode works and at which intervals the Camera app takes individual images. Generally speaking, it comes down to the following numbers.
Apple Camera app: Time-lapse frame rates
- 0-9 minutes: One frame every two seconds
- 10-19 minutes: One frame every four seconds
- 20-39 minutes: One frame every four seconds
- 40-80 minutes: One frame every four seconds
Apple’s Camera app shoots time-lapses in 1080p resolution (1920×1080) at 30 frames per second, with no HDR, regardless of your iPhone model. There’s no way to adjust the frame rate and resolution for time-lapse videos in the stock Camera app.
How time-lapse photography works
Time-lapse is a photography technique that captures individual photos or video frames at a much lower rate to create the accelerated time effect. For example, if individual photos are captured at one frame per second and then played back at 30 frames per second, time will appear to lapse 30 times faster.
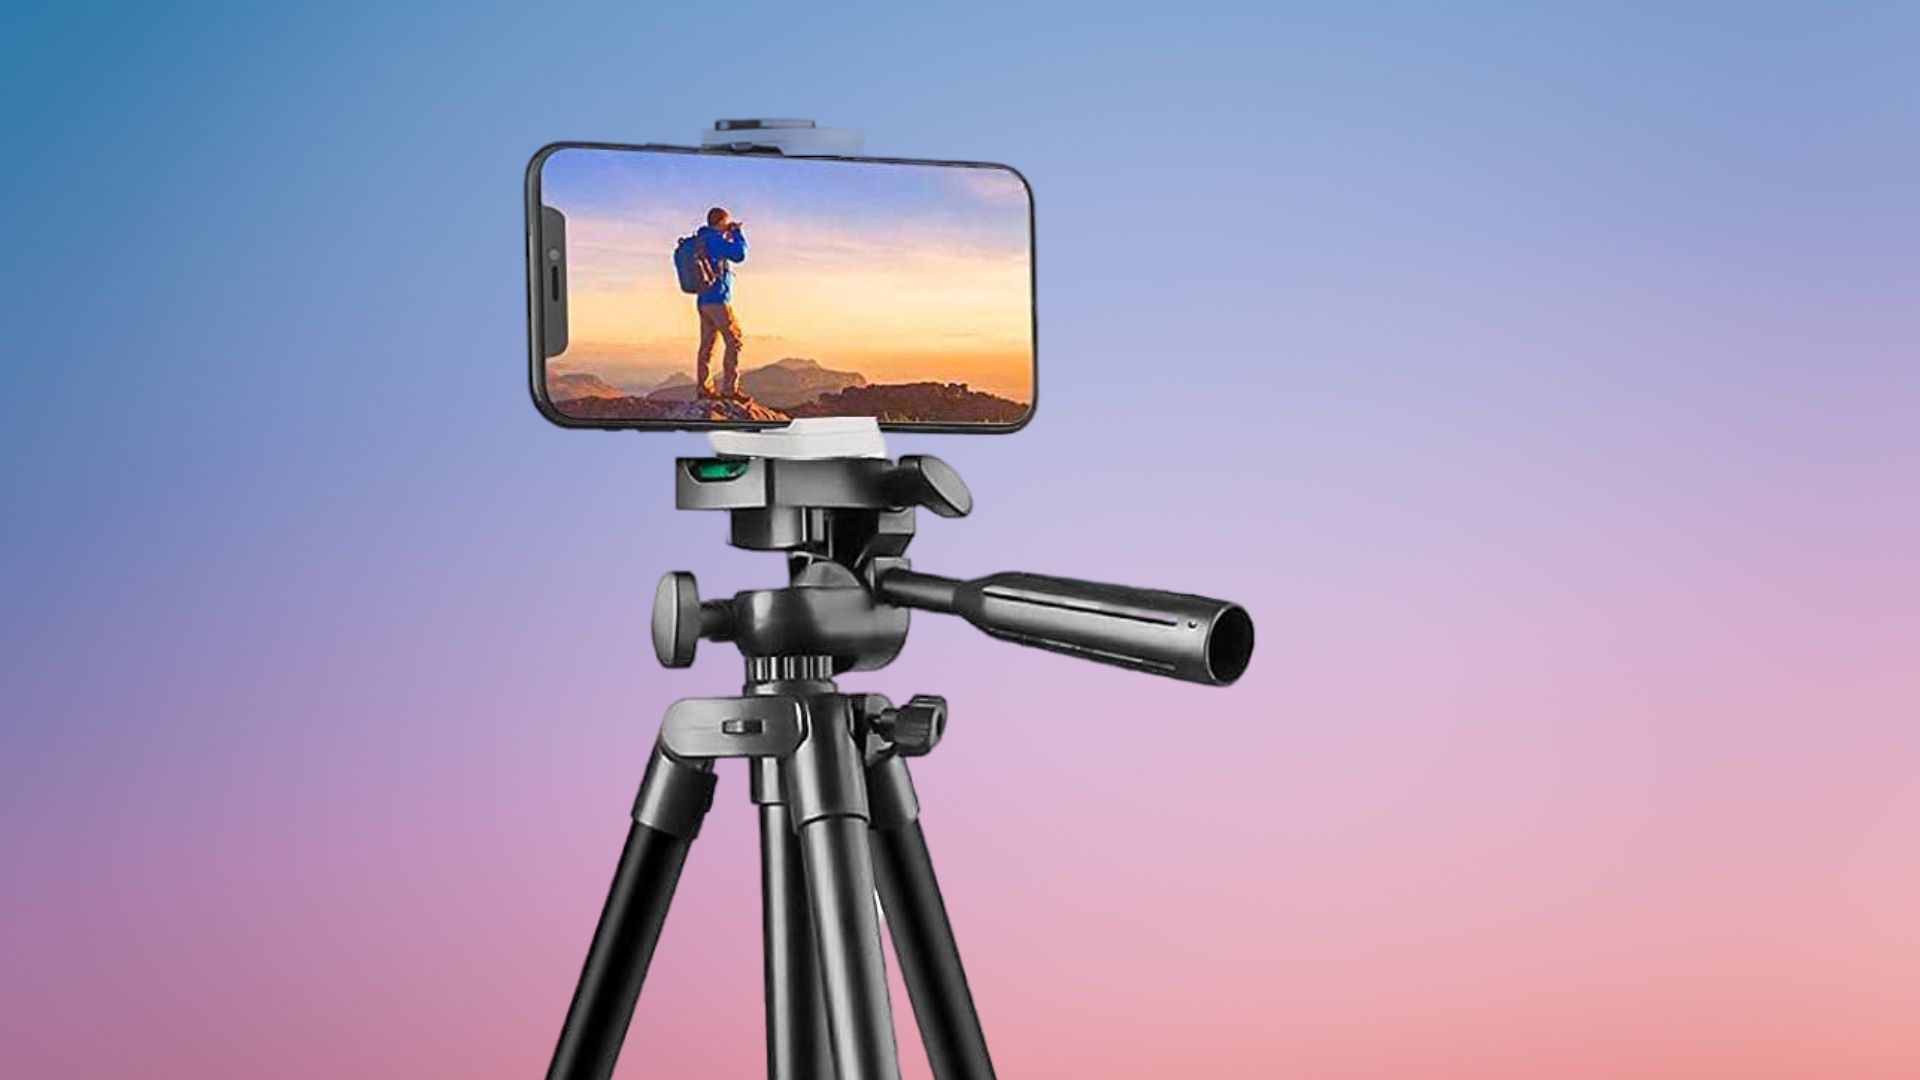
Buy a tripod. Or a gimbal.
Recording time-lapse videos debuted in iOS 8, which arrived alongside iPhone 6 back in 2014. It’s been an iPhone staple since then, so it’s quite a shame that Apple hasn’t bothered to introduce any significant new time-lapse capabilities.
There isn’t a single option in Settings → Camera that would permit you to adjust how iOS captures time-lapse videos. You’ll need to download third-party apps from the App Store to shoot time-lapse footage the way you want.
The point of a time-lapse is to capture an experience over a period of time, like a setting sun or traffic flowing. Surely you don’t want to hold your iPhone steady for an extended period just to create a few seconds of a cool time-lapse.
We recommend getting a tripod or, better yet, a gimbal to stabilize your footage.
Night mode time-lapse videos on iPhone 12 and later
The iPhone 12 and newer include imaging optimizations not found on older models for shooting time-lapses using a tripod. “On iPhone 12 models and later, use a tripod to capture time-lapse videos with more detail and brightness when recording in low-light situations,” clarifies a support document on the Apple website.
Unpacking this statement, what Apple wants to say is that capturing time-lapse videos of low-light scenes with iPhone 12 or later set on a tripod will cause Apple’s night mode to kick in. Night mode uses longer shutter speeds to boost the amount of light hitting the imaging sensor, resulting in longer, better light trails.
So if you plan on creating mesmerizing time-lapse videos of cityscapes and traffic at night, or the night sky and such, be sure to use an iPhone 12 or later with a tripod.
How to use time-lapse mode in the Camera app
https://www.youtube.com/watch?v=duTegchab1A
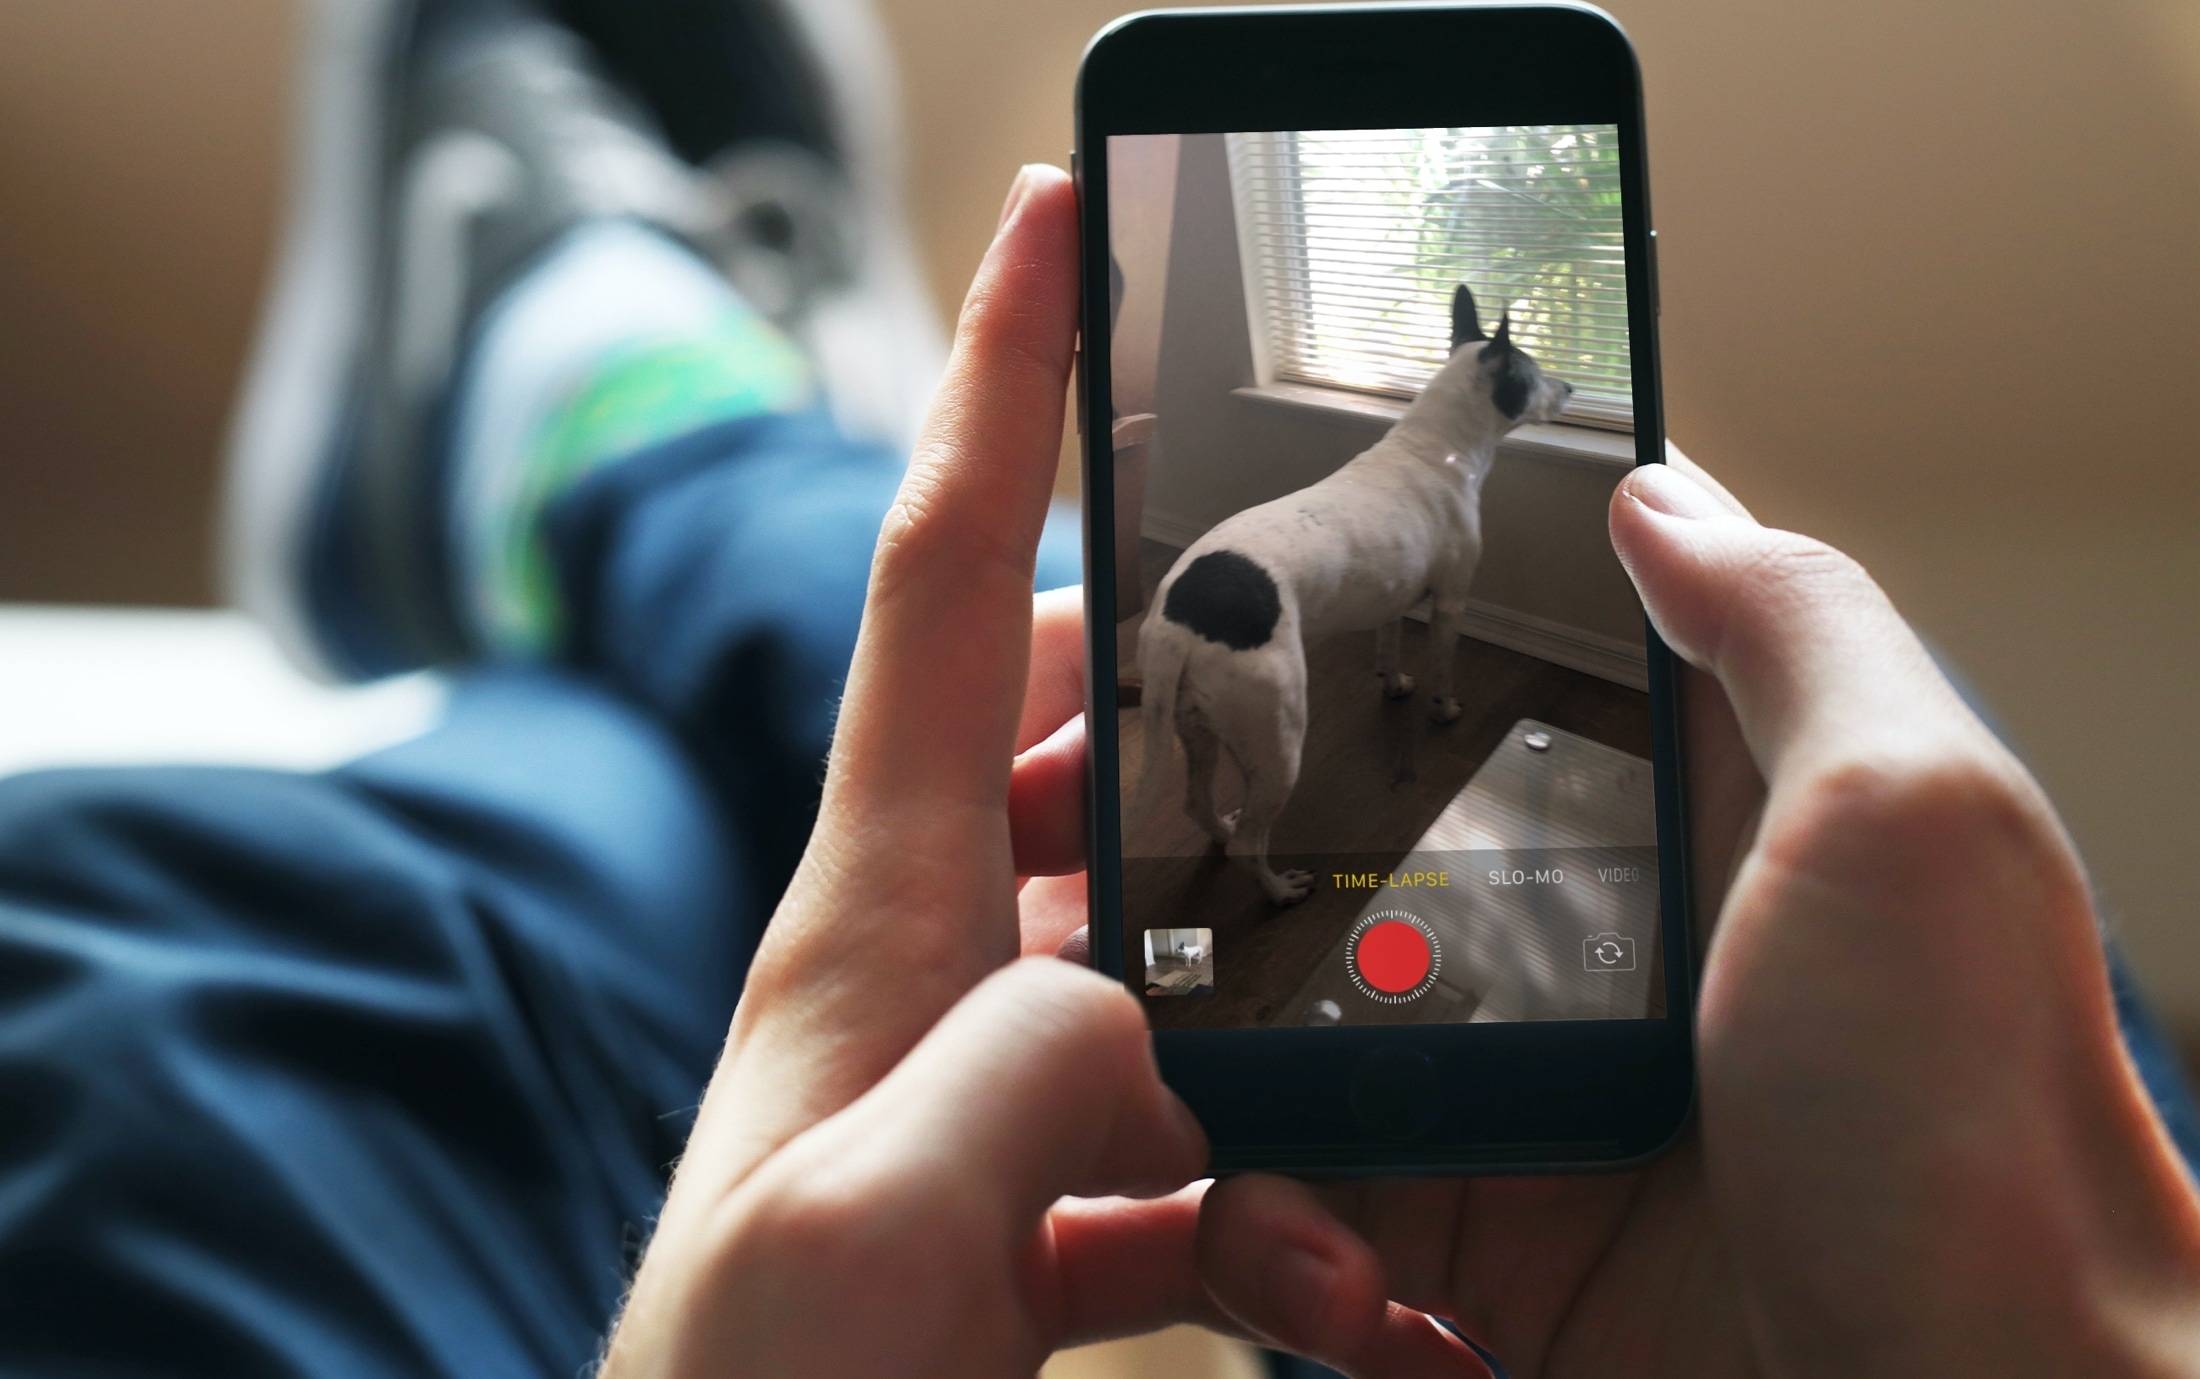
Before you can record a time-lapse video, please be sure to set your iPhone to Do Not Disturb mode. This will avoid vibrations if you get a phone call that could ruin your footage. To record a time-lapse video, open the Camera app and swipe right to select TIME-LAPSE at the bottom. To start recording, hit the shutter button.
Your iPhone will periodically take individual images until you tap the shutter button again. The algorithm stitches the individual photos together and saves a time-lapse video. When such footage plays back at normal speed, time appears to be moving moves much faster. You can find all your time-lapses in the Time-lapse album within the Photos app. Read: How to slow down time-lapse videos on iPhone
The iPhone 13 and newer can shoot macro time-lapse videos: Swipe to the time-lapse mode in the Camera app, then hit the .5X button at the bottom to switch to the ultra-wide lens. Next, move close to the subject (as close as 2 centimeters) and hit the shutter button to start and stop recording a macro time-lapse.