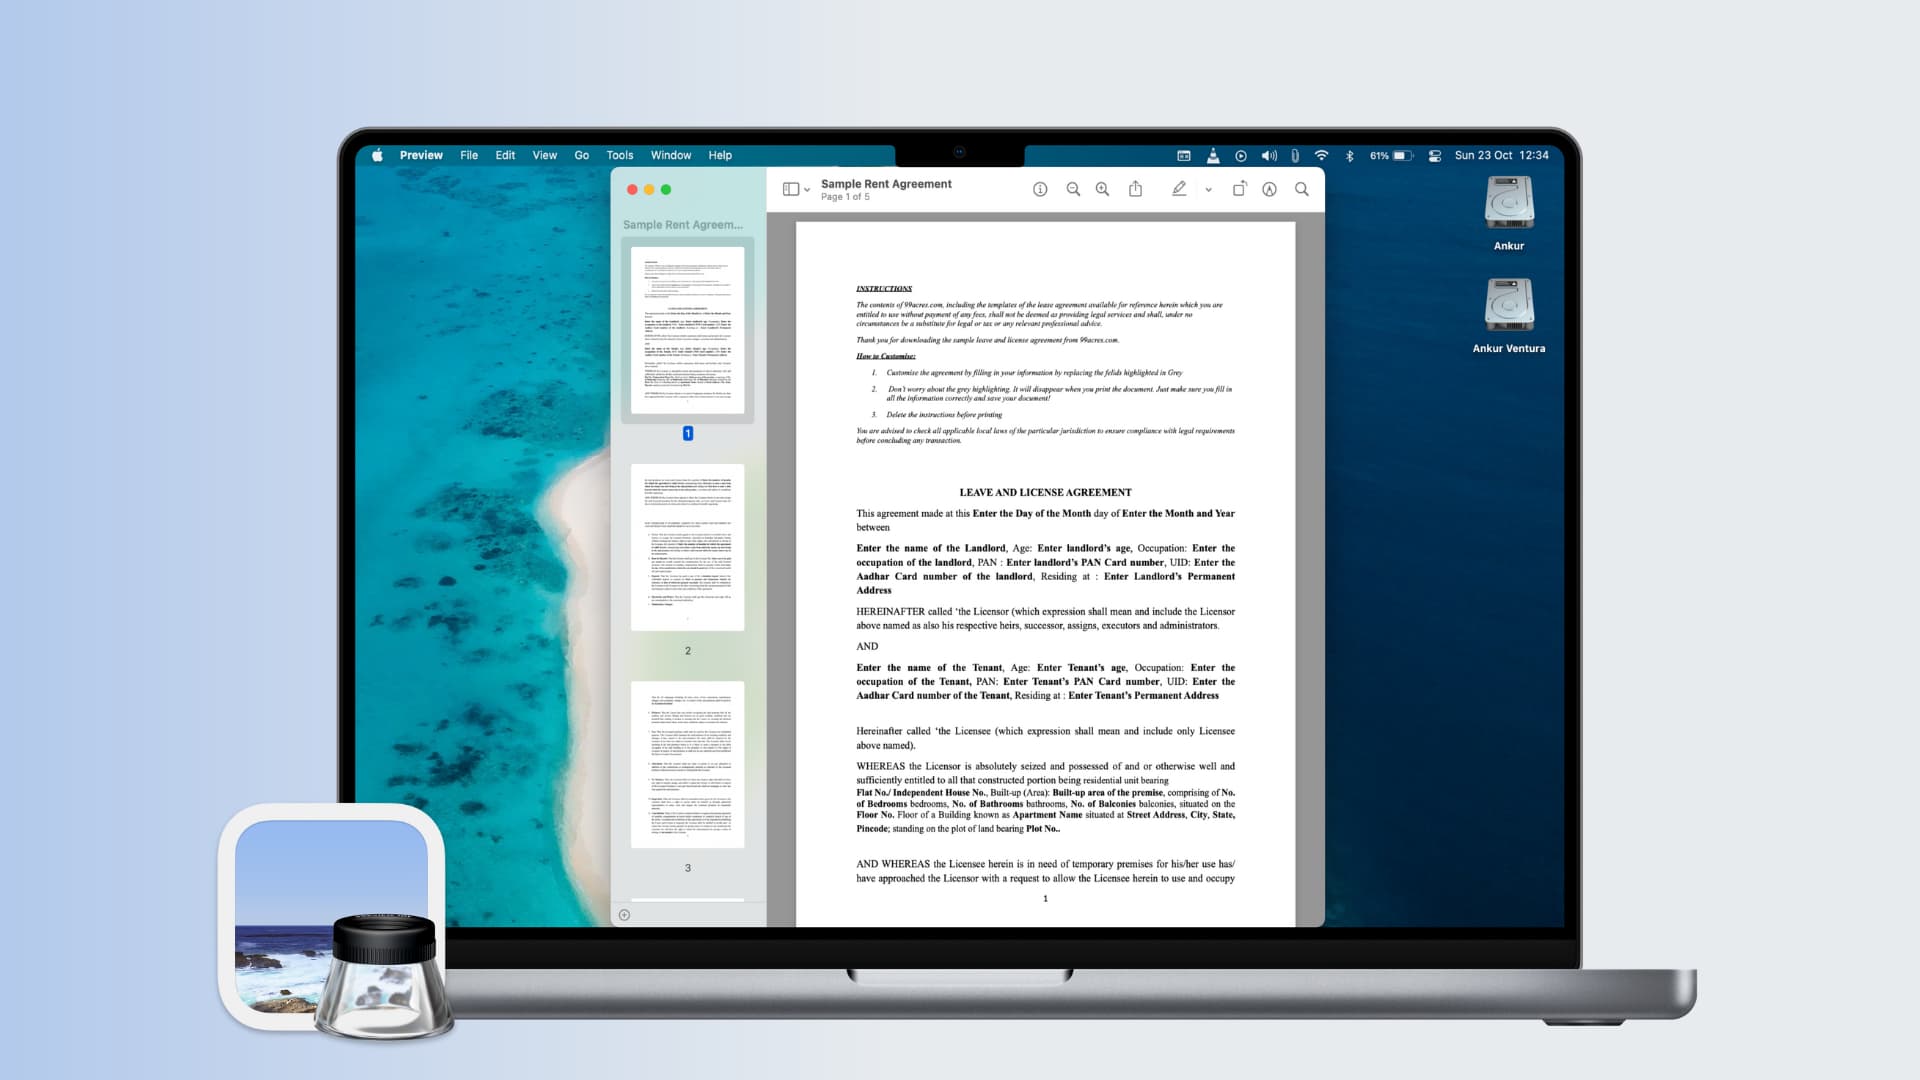
Have you ever opened an image or a PDF in Preview on your Mac and it looked odd? It may have appeared to be sized incorrectly thus making it more difficult for you to work with.
Here, we’ll show you how to set the image and PDF display sizes in Preview on Mac so that they always appear as you want them.

About image and PDF sizes in Preview
By default, Preview displays PDF files at the same size on your screen as in a printout, no matter what your resolution is set to. So if a PDF is 8.5 by 11 inches printed, it will appear that size in Preview. And images display as one pixel on your screen per one pixel in the image.
Change image and PDF sizes in Preview
Both sizes are easily adjustable in Preview on your Mac. So open it up and follow these simple steps:
- Click Preview in the top menu bar and select Preferences.
- To the change image size, click the Images tab. At the bottom, select the option next to Define 100% scale as. Again, this is set to 1 image pixel equals 1 screen pixel by default.
- To the change PDF size, click the PDF tab. At the top, select the option next to Define 100% scale as. As mentioned, this is set to Size on screen equals size on printout by default.

Once you make the size adjustment for either images or PDFs, you’ll have to reopen your item in Preview to see the display size difference. But then you should be able to view your item as you prefer.
Preview on Mac can be a terrific tool for both viewing and annotating images and PDF files. So tips on using it will come in handy when you need them. If you’re just learning how to use it, take a look at what’s Preview is and what can you do with it?
Do you have any tips of your own for Preview you’d like to share? If so, comment below!
Do more with Preview: