Learn how to add keywords to Photos on your Mac to organize your pictures more effectively and easily find the ones you’re looking for.
How much time do you spend organizing your photos? For most of us, the answer is probably “not much.” So, how easy is it to find a specific photo when you need it? The answer is likely “not very.”
Taking the time to add tags to your photos can make both organizing and searching for them much easier.
We’re here to help by showing you how to work with tags and keywords in Photos on Mac.
View and edit current tags (keywords)
Open the Photos app on your Mac to view your current tags. Note that Apple calls them Keywords, so we’ll be using that term for this tutorial.
Open the Keyword Manager
- Select one or more of your photos.
- Click Window > Keyword Manager from the top menu bar.
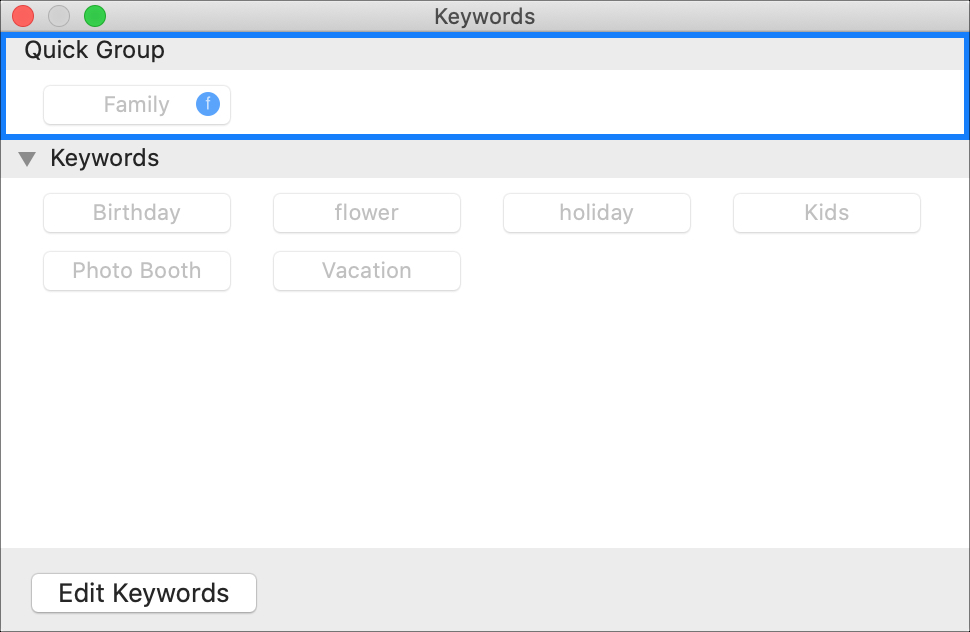
- You’ll see some default keywords at the bottom. You can click one to apply it to the photo(s) you selected.

You can also drag keywords from the bottom to the top of the Keyword Manager under Quick Group. Use these for your favorite keywords—the ones you’ll use most often—which can be found in the Show Only menu.
As you drag keywords into the Quick Group, tiny blue indicators will appear next to them. These are the shortcut keys you can use for the keywords, which can be seen by clicking Edit Keywords.
Next, click the Edit Keywords button. Here, you can add, remove, and rename keywords, as well as add or edit the shortcuts.
Click OK when you’re finished, and close the Keyword Manager if you’re done with it.
Add keywords to photos
To apply a keyword to a photo, you can use the Keyword Manager as described above. Alternatively, you can do this after accessing the details for that picture.
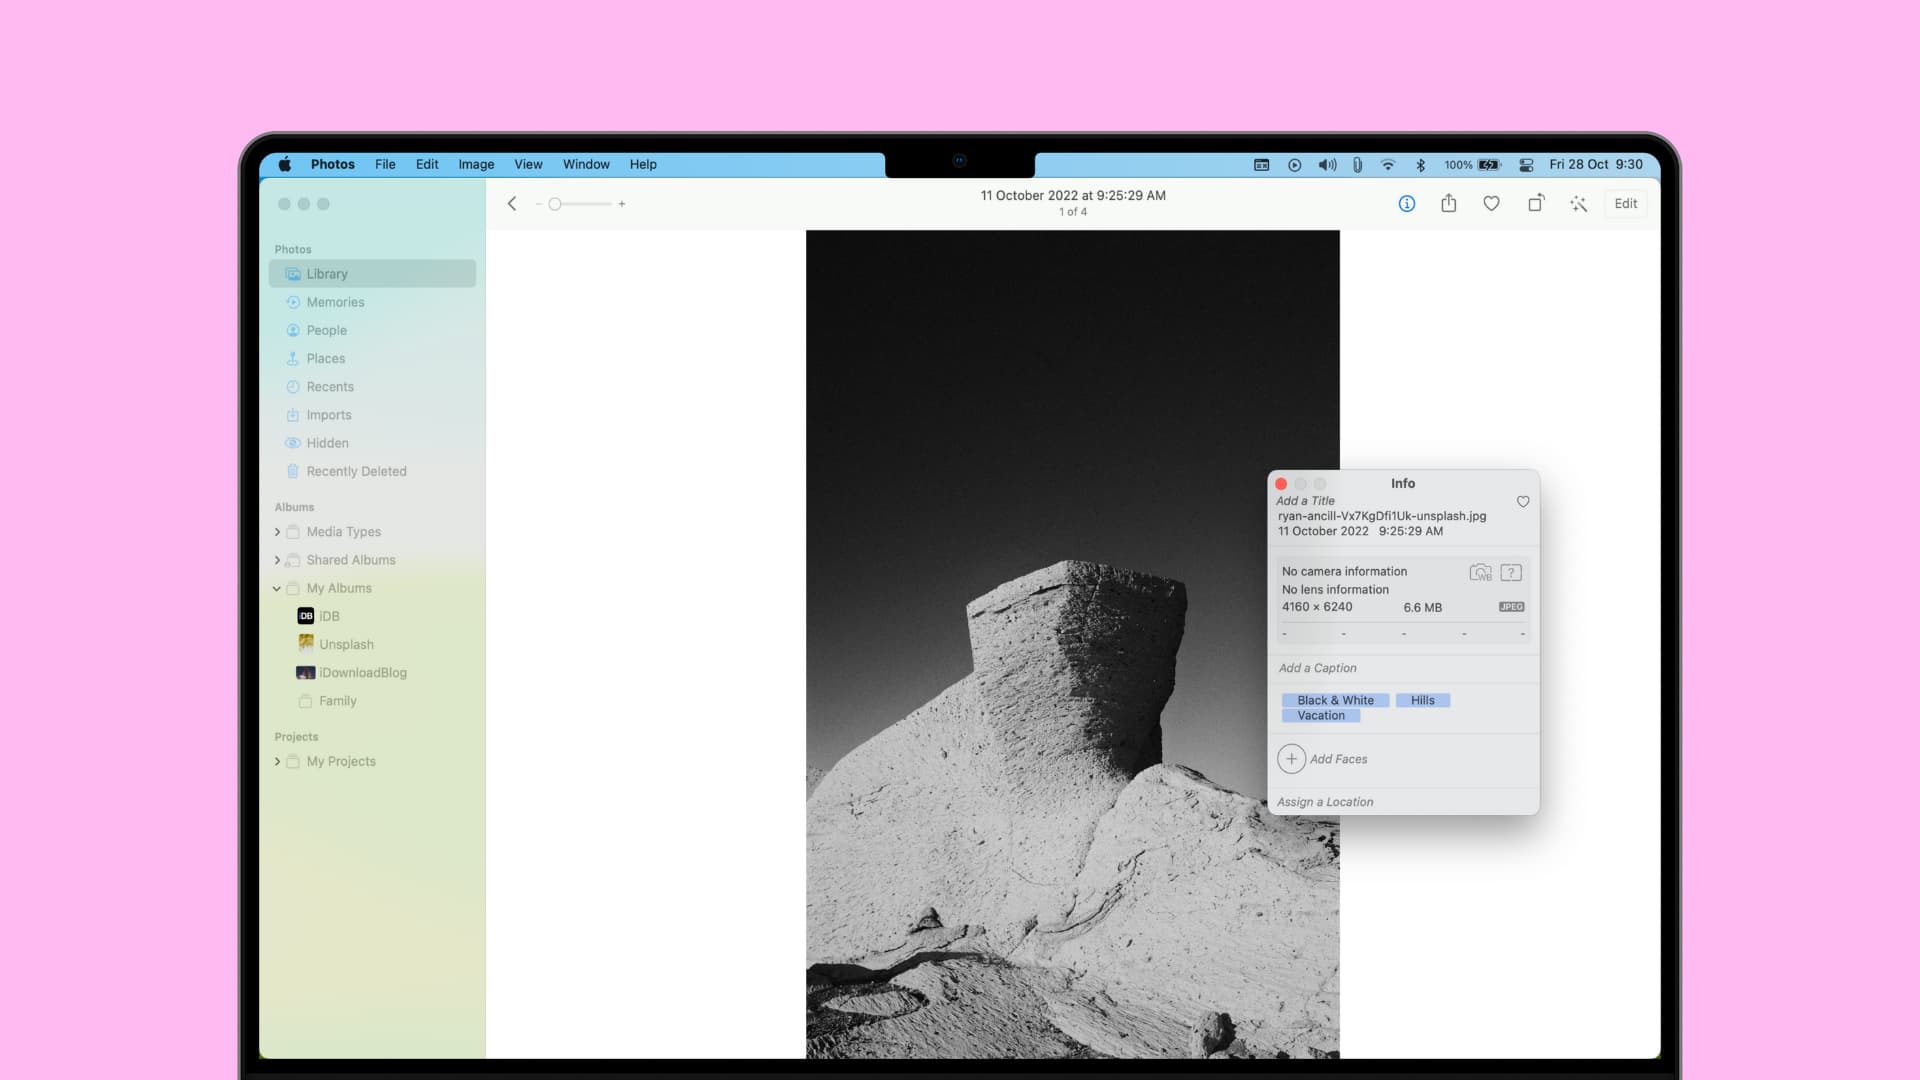
Select the photo and click the Get Info button ⓘ in the toolbar, or right-click the photo and choose Get Info from the shortcut menu.

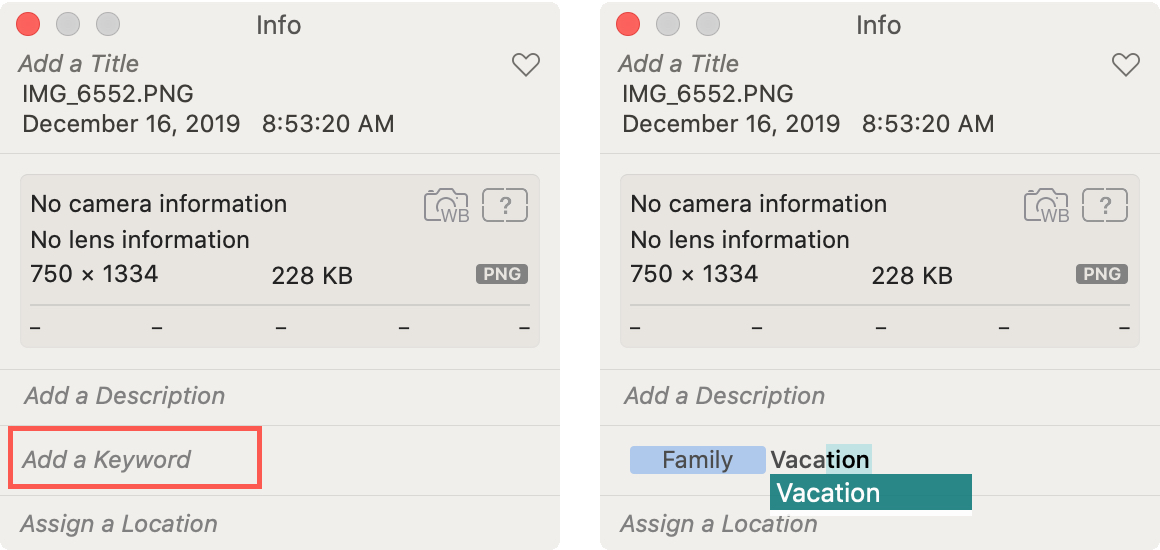
In the Add a Keyword section of the small pop-up window, start typing the keyword you want to use. You’ll see suggestions from your list and can simply select one. You can also apply more than one keyword if you’d like.
When you’re finished, close the Get Info window.
Delete a keyword from a photo
If you decide later to remove a keyword that you applied, open the Get Info pop-up for the photo, select the keyword, and hit the Delete key.
Search for a photo using added keywords
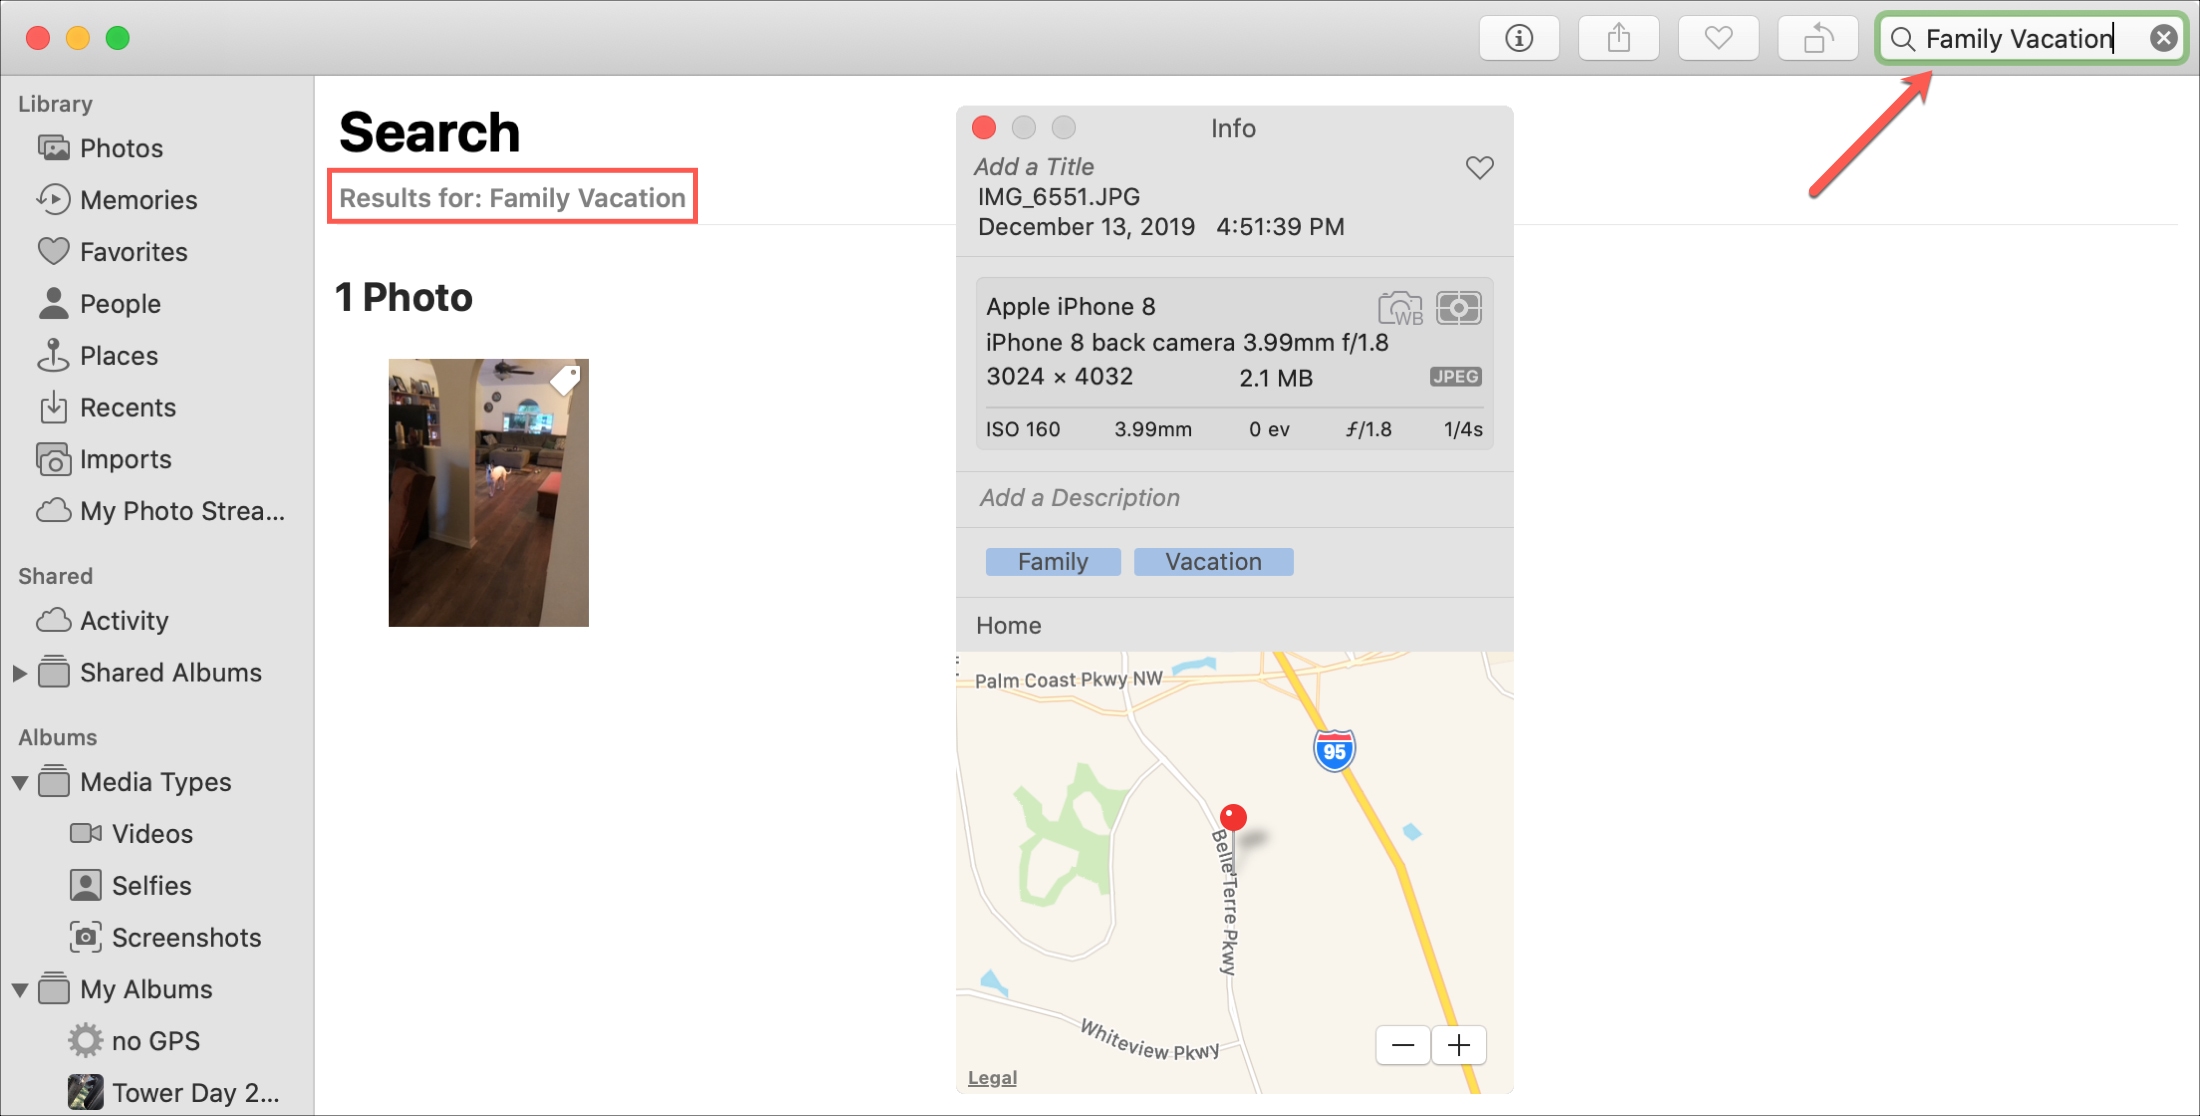
Now, you can use those keywords to find photos using the Search box at the top. Just start entering a keyword, and you should see suggestions you can select from.
If you applied more than one keyword to a photo, enter both keywords in the Search box. For example, if you tagged a photo with “Family” and “Vacation,” just enter “Family Vacation” in the search box with a space between the keywords.
Note: If you search for a photo immediately after applying the keyword, it may not show up right away. The app needs to index the new information, so just give it a minute or two.
If you spend a little time adding keywords to your photos, you’ll be thankful later when you’re hunting for pictures.
Are you going to tag your photos on Mac with keywords? If so, leave a comment below!
More useful tips for your photos: