Learn how to block specific email senders in the Apple Mail app on iPhone, iPad, and Mac to make sure you never see an email from that person or company again.
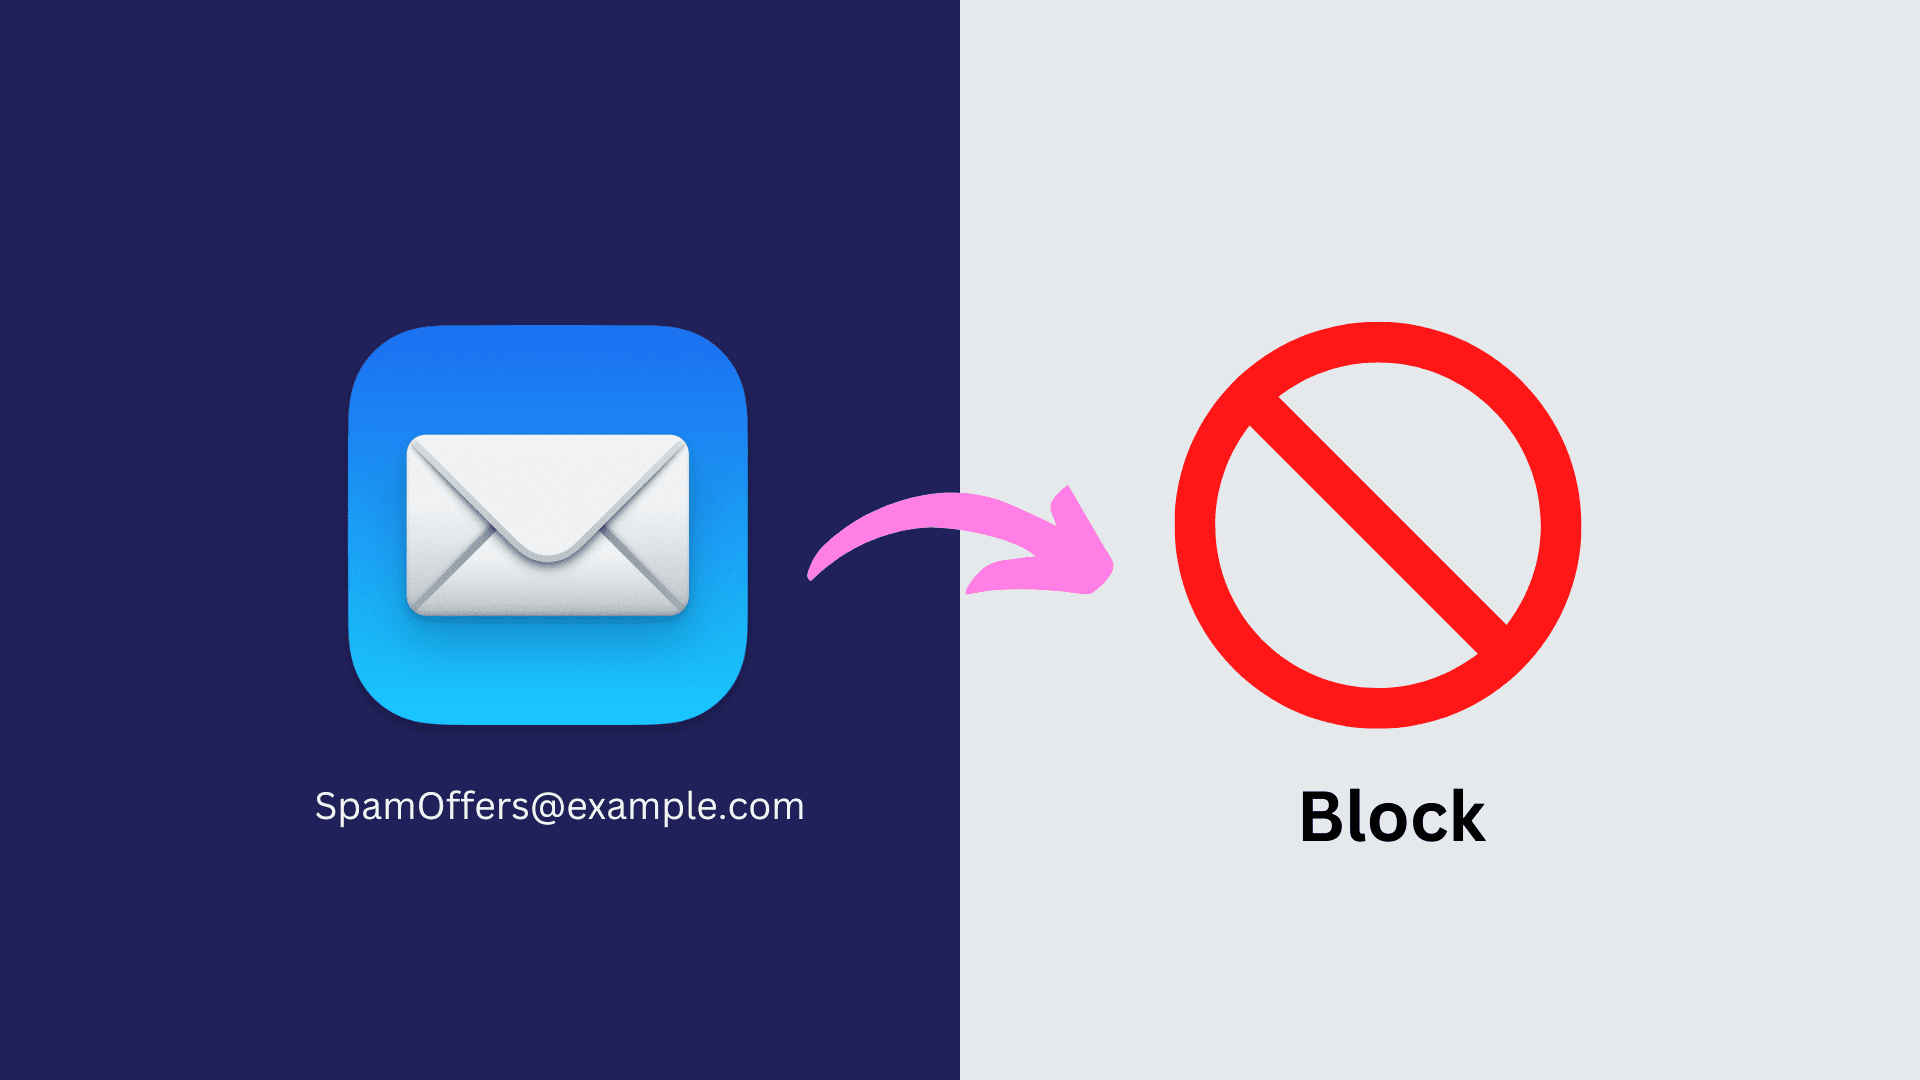
Sometimes the number of emails we get is so out of hand that it’s hard to manage them all. And when you throw spam into the mix, it’s even worse. You can certainly move unwanted emails to the Trash, but that doesn’t stop them from continuing to come in. Thankfully, you can take more control over those unwanted emails by blocking people from emailing you in the Mail app.
On iPhone and iPad
If you want to block a sender in Apple Mail on iOS, keep in mind that this action syncs across your devices (yay!) and automatically moves those sender’s messages to the Trash.
- Open the Mail app and select an email from the person you want to block.
- Tap in the email header, then tap the sender’s name or email address, and choose View Contact Card.
- Tap Block this Contact from the bottom, and confirm.

Emails from this sender will now move automatically to the Trash. But you can change this and choose to leave the blocked emails in your inbox. Such blocked emails will display a red block icon in inbox view, and a label saying “This message is from a Blocked Sender” when you open that email in full view.

If you want to keep emails from blocked senders in your inbox, go to iOS Settings > Apps > Mail > Blocked Sender Options and choose “Leave in Inbox.”

Note that if you block a contact, you’ll also be blocking all cellular phone calls and FaceTime audio and video calls from them. If you only want to block their email, save it as a separate contact and block that email contact. In case you change your mind, go to iPhone Settings > Apps > Mail > Blocked, swipe left on the contact or email address, and tap Unblock.
On Mac
If you happen to be on your Mac, you can block a sender in the Mail app just as easily as on iOS.
- Open the macOS Mail app and select an email from the person you want to block.
- Click the email header and then select the sender. You can do this while in your mailbox view or with the email open in its own window.
- Now click the tiny arrow next to it or right-click on the sender’s name, and choose Block Sender or Block Contact.

To have your blocked senders’ emails go to Trash or stay in your inbox marked as blocked, do the following:
- With the Mail app open and click Mail > Settings or Preferences from the menu bar.
- Go to the Junk Mail section and then to the Blocked tab.
- Under “When email from blocked address arrives,” make your selection from “Mark as blocked mail, but leave it in my Inbox” or “Move it to the Trash.”

Now you’ll have no more worries about spending time ridding yourself of emails from that person. And if you have a change of heart down the road, you can follow these same steps for both iOS and Mac and select Unblock (this) Contact.
Block an email on Mac by automatically deleting it
The Apple Mail app on Mac has a relatively unknown feature called Rules, which allows you to perform several tasks. Using rules, you can, for instance, block an email address in Mac’s Mail app, which will ensure you never have to see messages from that sender again. In order to “block” an email sender in Mail on Mac, you’ll actually have to set up a rule to delete those messages. This will automatically delete unwanted emails before you see them in your inbox. Here’s how to do that.
1) Open the Apple Mail app and click Mail > Settings or Preferences from the menu bar.
2) Select the Rules tab and click Add Rule.

3) Give your rule a name (i.e., Description).
4) Select the condition type for the rule in the If section, beginning with the any or all drop-down box. This selection is for if you’re setting up more than one condition and either want any condition to apply or all of them.
5) Choose your conditions. Select From in the first drop-down box, contains in the second, and then enter the email address you want to block in the third.
Note: If you have an email selected from the recipient you want to block when you open these settings, their email address will pop in automatically.
If you’d like to set up more than one condition, click the plus sign (+) and then add the details for the second one. Remember, some businesses use more than one email address, so you may need to add others here.
6) Next, you’ll pick your action. Select Delete Message from the drop-down box. When you finish, click OK.

7) You’ll then be asked if you want to apply your new rule to the messages in your inbox currently. So, select either Don’t Apply or Apply, per your preference.

If you choose Don’t Apply, you can still go to your inbox and apply the rule. Select the emails you want to run the rule for, either right-click or choose Message from the menu bar and select Apply Rules.
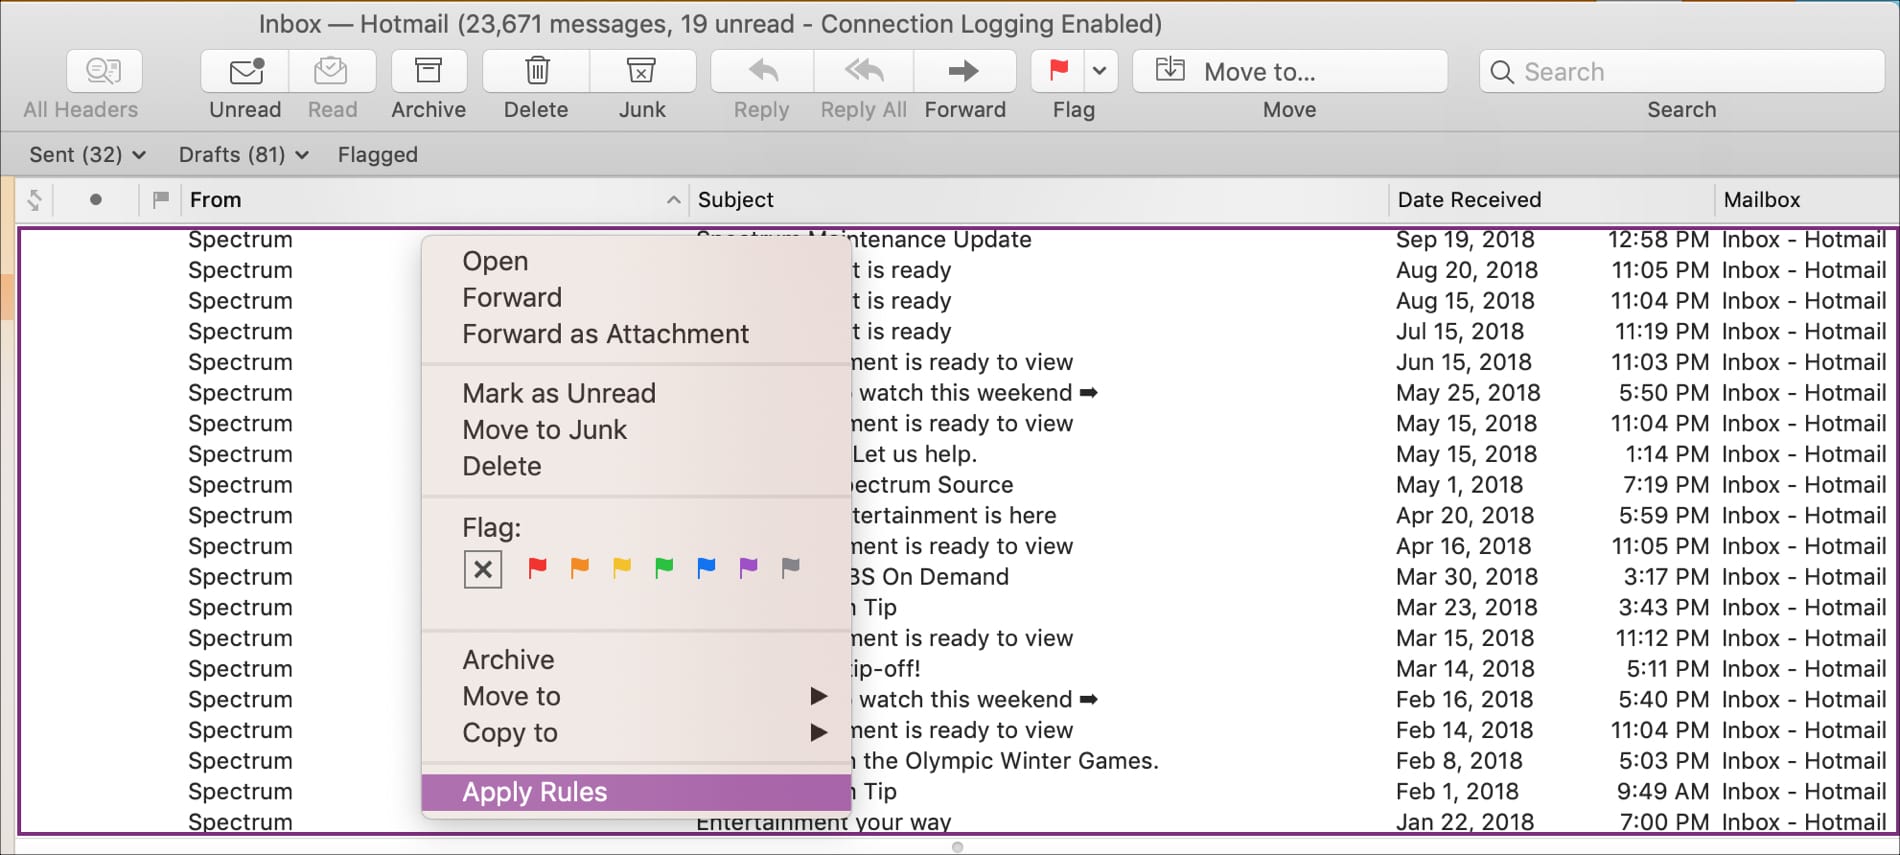
Rules will apply to emails in the order in which you have them. So, if you need to, you can reorder your rules by selecting and dragging them to different positions in the list.
If your rule does not appear to work, note Apple’s statement on rules as it may apply to you:
Mail stops applying rules to a message when it encounters the Stop Evaluating Rules action, or when a message is transferred to another mailbox by rules used on a mail server or computer or device synced to your computer.
Although there isn’t a button to push to stop receiving emails from certain senders, there is a workaround that actually works well to delete those messages automatically.
Also, check out: 40+ tips for the Mail app on your iPhone, iPad, and Mac