In this tutorial, we’ll show you the quick steps to disable all images on websites you visit in Safari on your Mac.
But why?
Want to surf like it’s the 90s again? Back when the interweb was not plastered with dizzying amounts of pictures and ads, surfing the world wide web meant more textual content, fewer distractions, and perhaps most importantly, way less data usage.
If any (or all) of those three conveniences speak to you, wait no more and try it for yourself on your MacBook today. You might just notice your productivity take a leap forward.
Besides making it a lot easier for you to focus on the words written (because that’s what the internet was originally conceived for) on any website, disabling images is also, by extension, going to contract articles, most of the time resulting in more content available at a glance.
The setting certainly does not rival professional ad-blockers in terms of in-browser advertising; however, depending on their placement, a fair number of unwanted images will, too, become subject to the block. Without further ado, let’s run you through it.
How to disable images in Safari
1) Pull up Safari from your Dock or Applications folder.
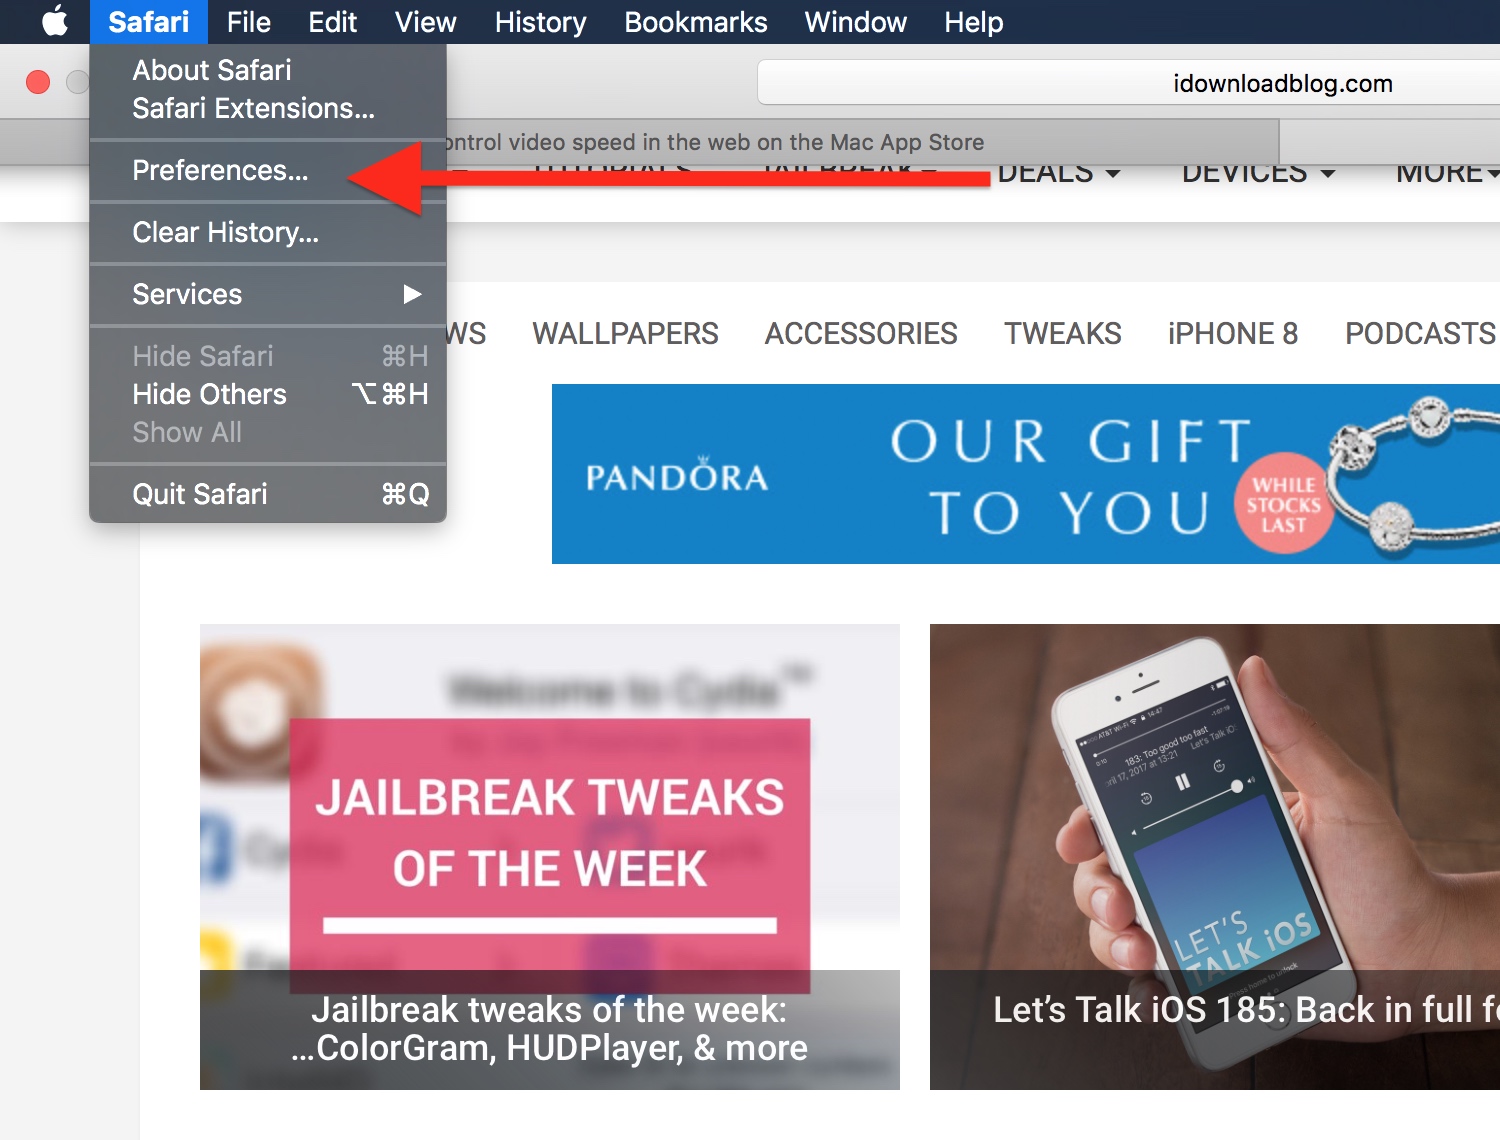
2) In your menu bar, click Safari and open Settings or Preferences.
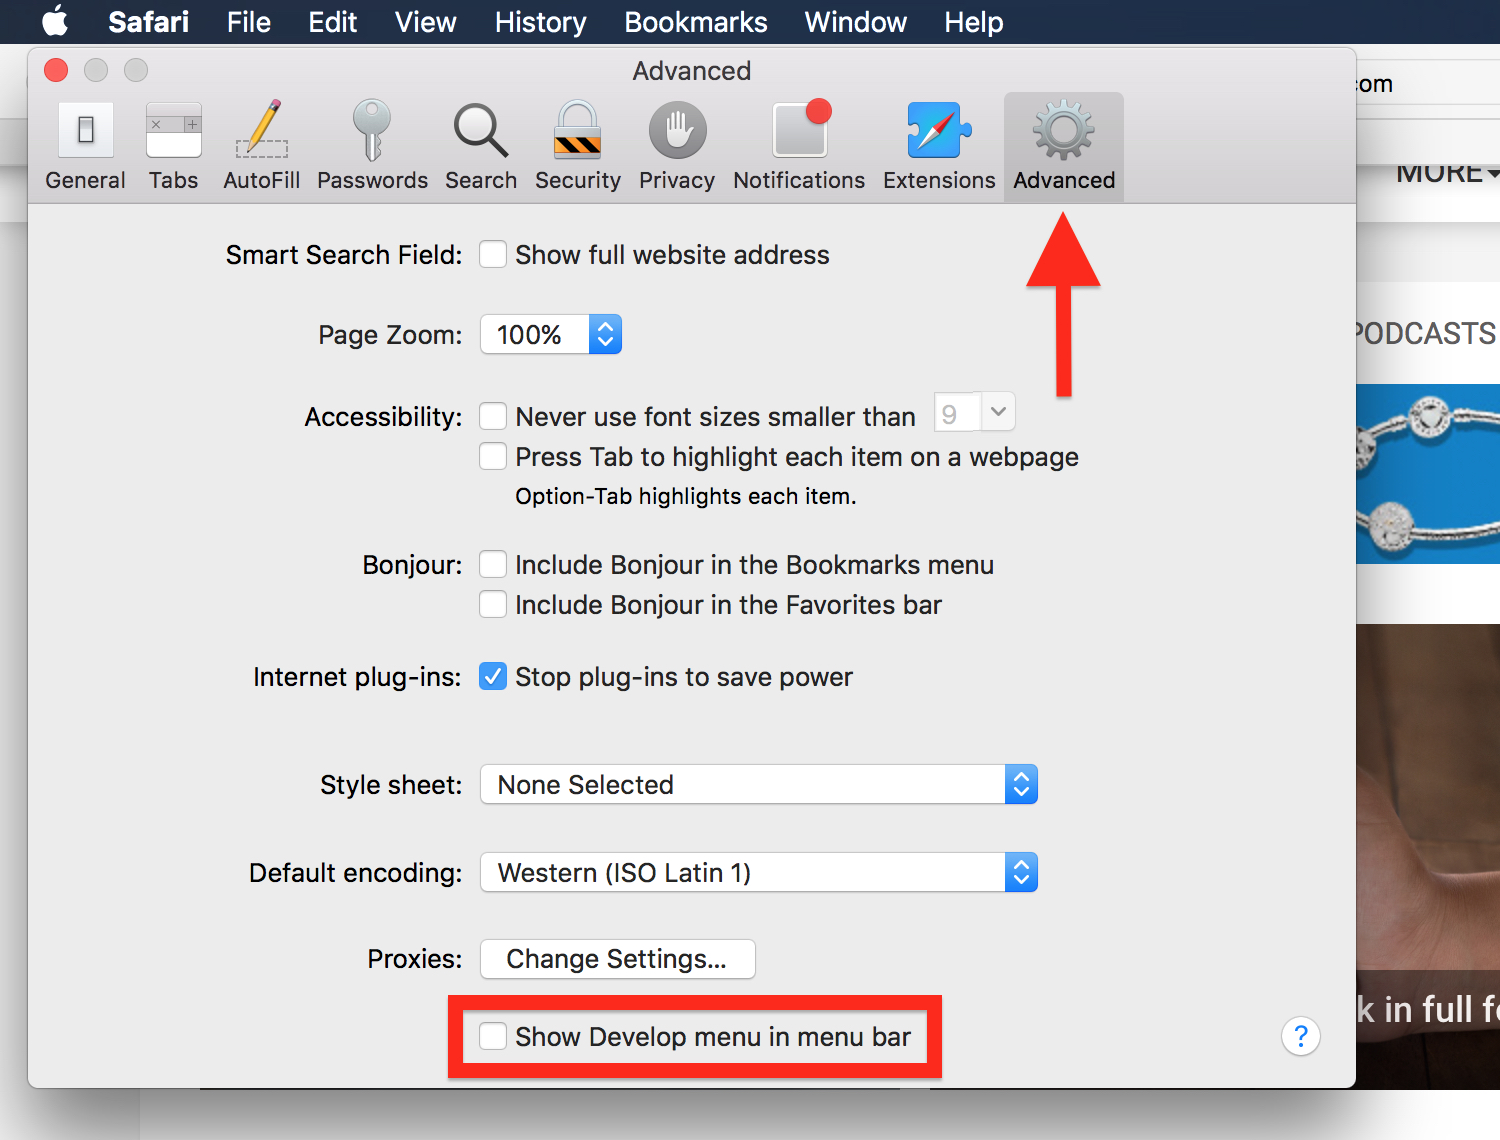
3) Navigate to the Advanced tab inside the settings.
4) Tick the box for Show Develop menu in menu bar.
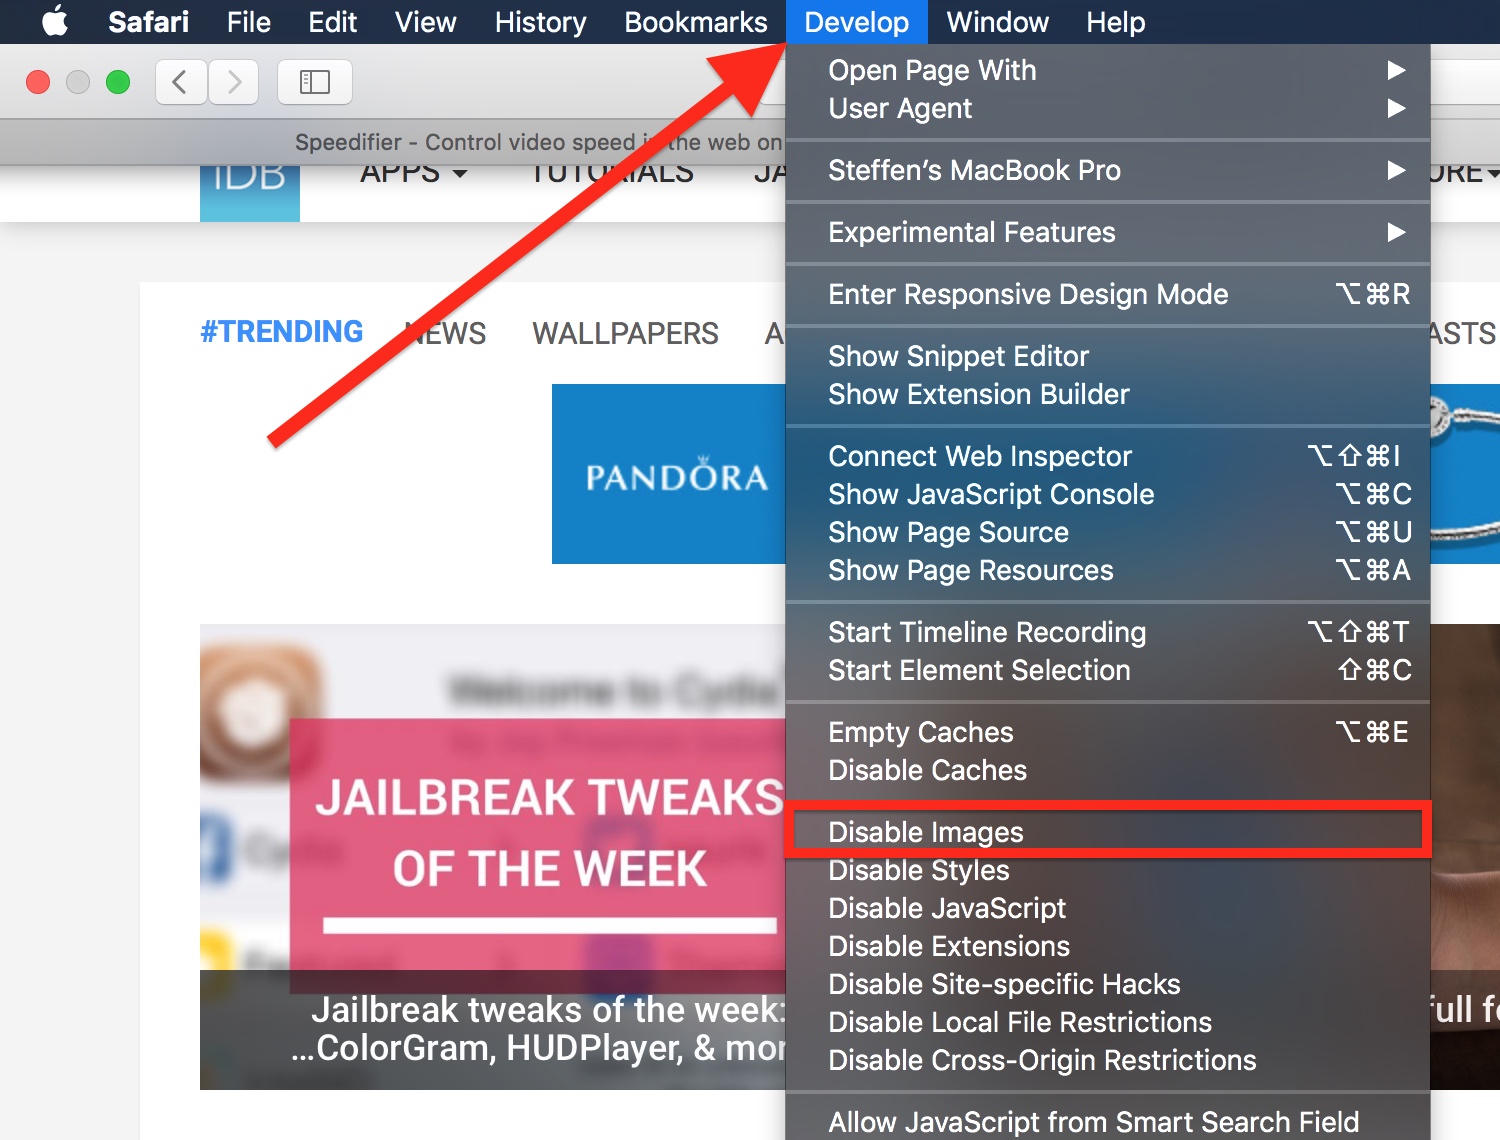
5) Close the Preferences interface and turn your attention back to the top menu bar. You will now spot a new tab sitting comfortably between Bookmarks and Window: pop open Develop.
6) The drop-down list will unveil a host of options, including Disable Images.
7) Almost home! If there is no instant change to the Safari layout in front of you, briefly reload your browser window (hit Command + R or click the circular arrow next to your URL bar). This will apply the new restriction to your current tab. For any new tabs, the setting will already be active.
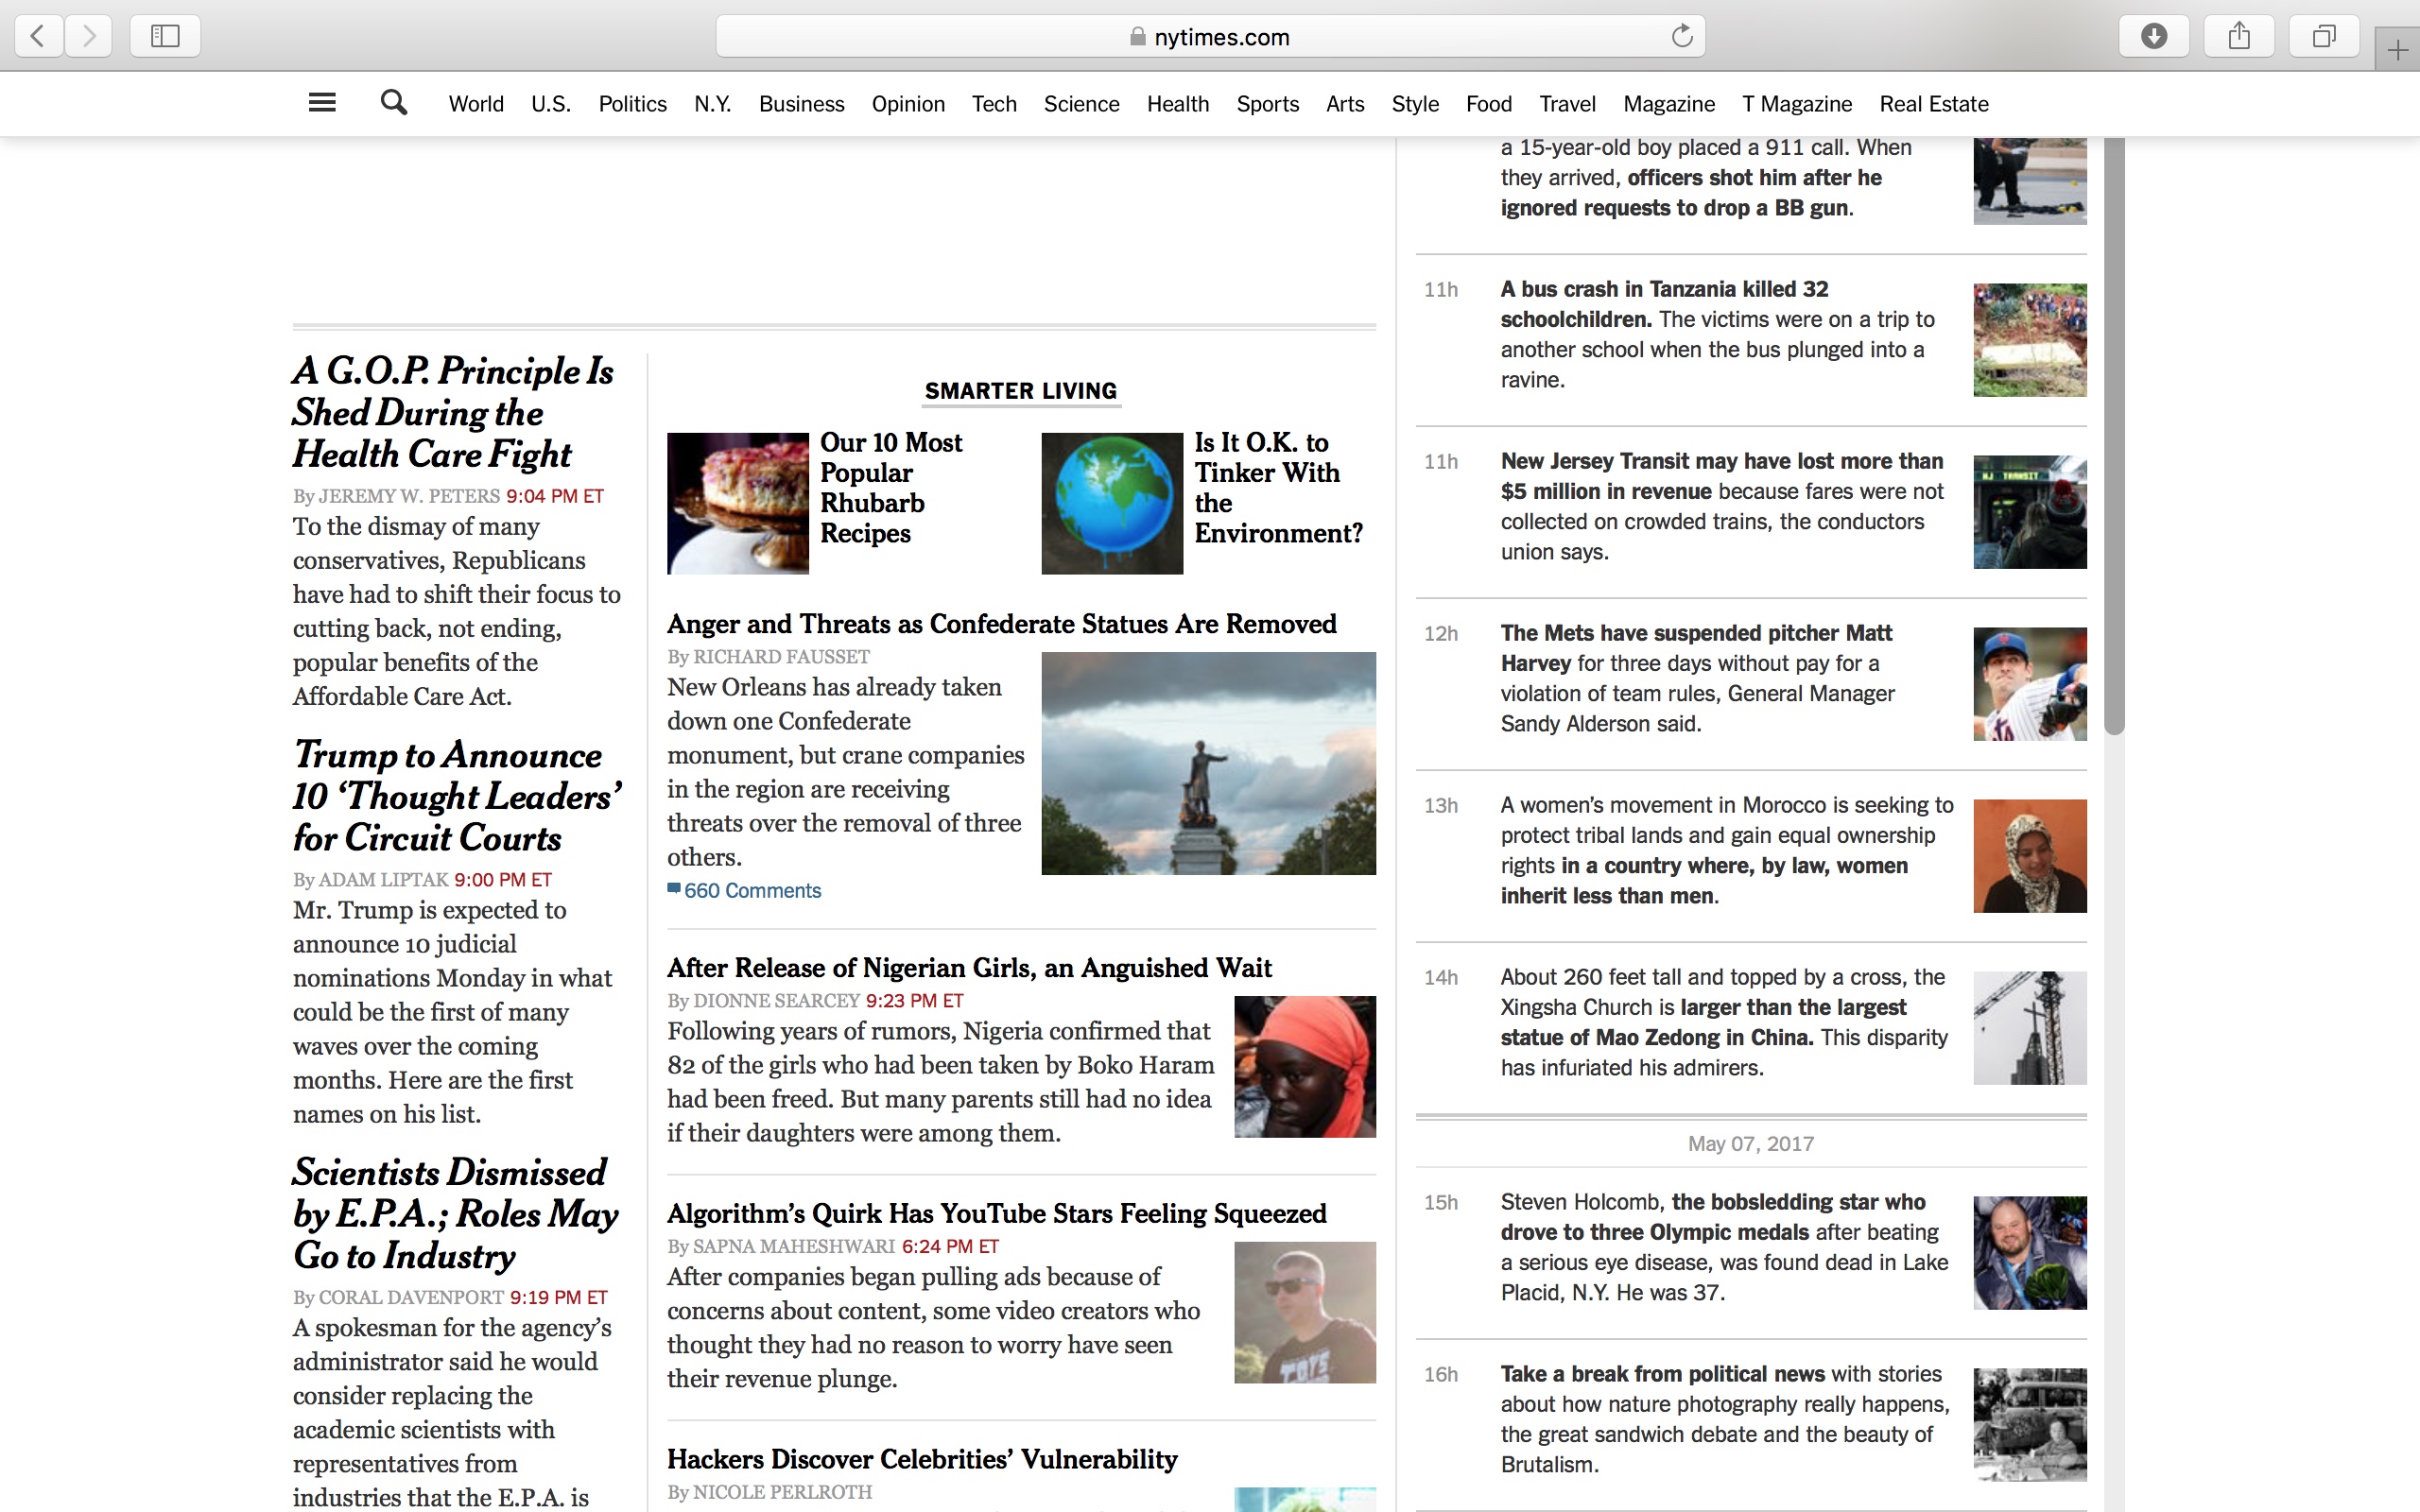
Over and out, that’s the whole trick! If you’re still on the fence about the pros and cons of the setting, have a quick look at a news website completely picked at random. By way of example, here’s the NY Times with and without images:
With images:
Without images:
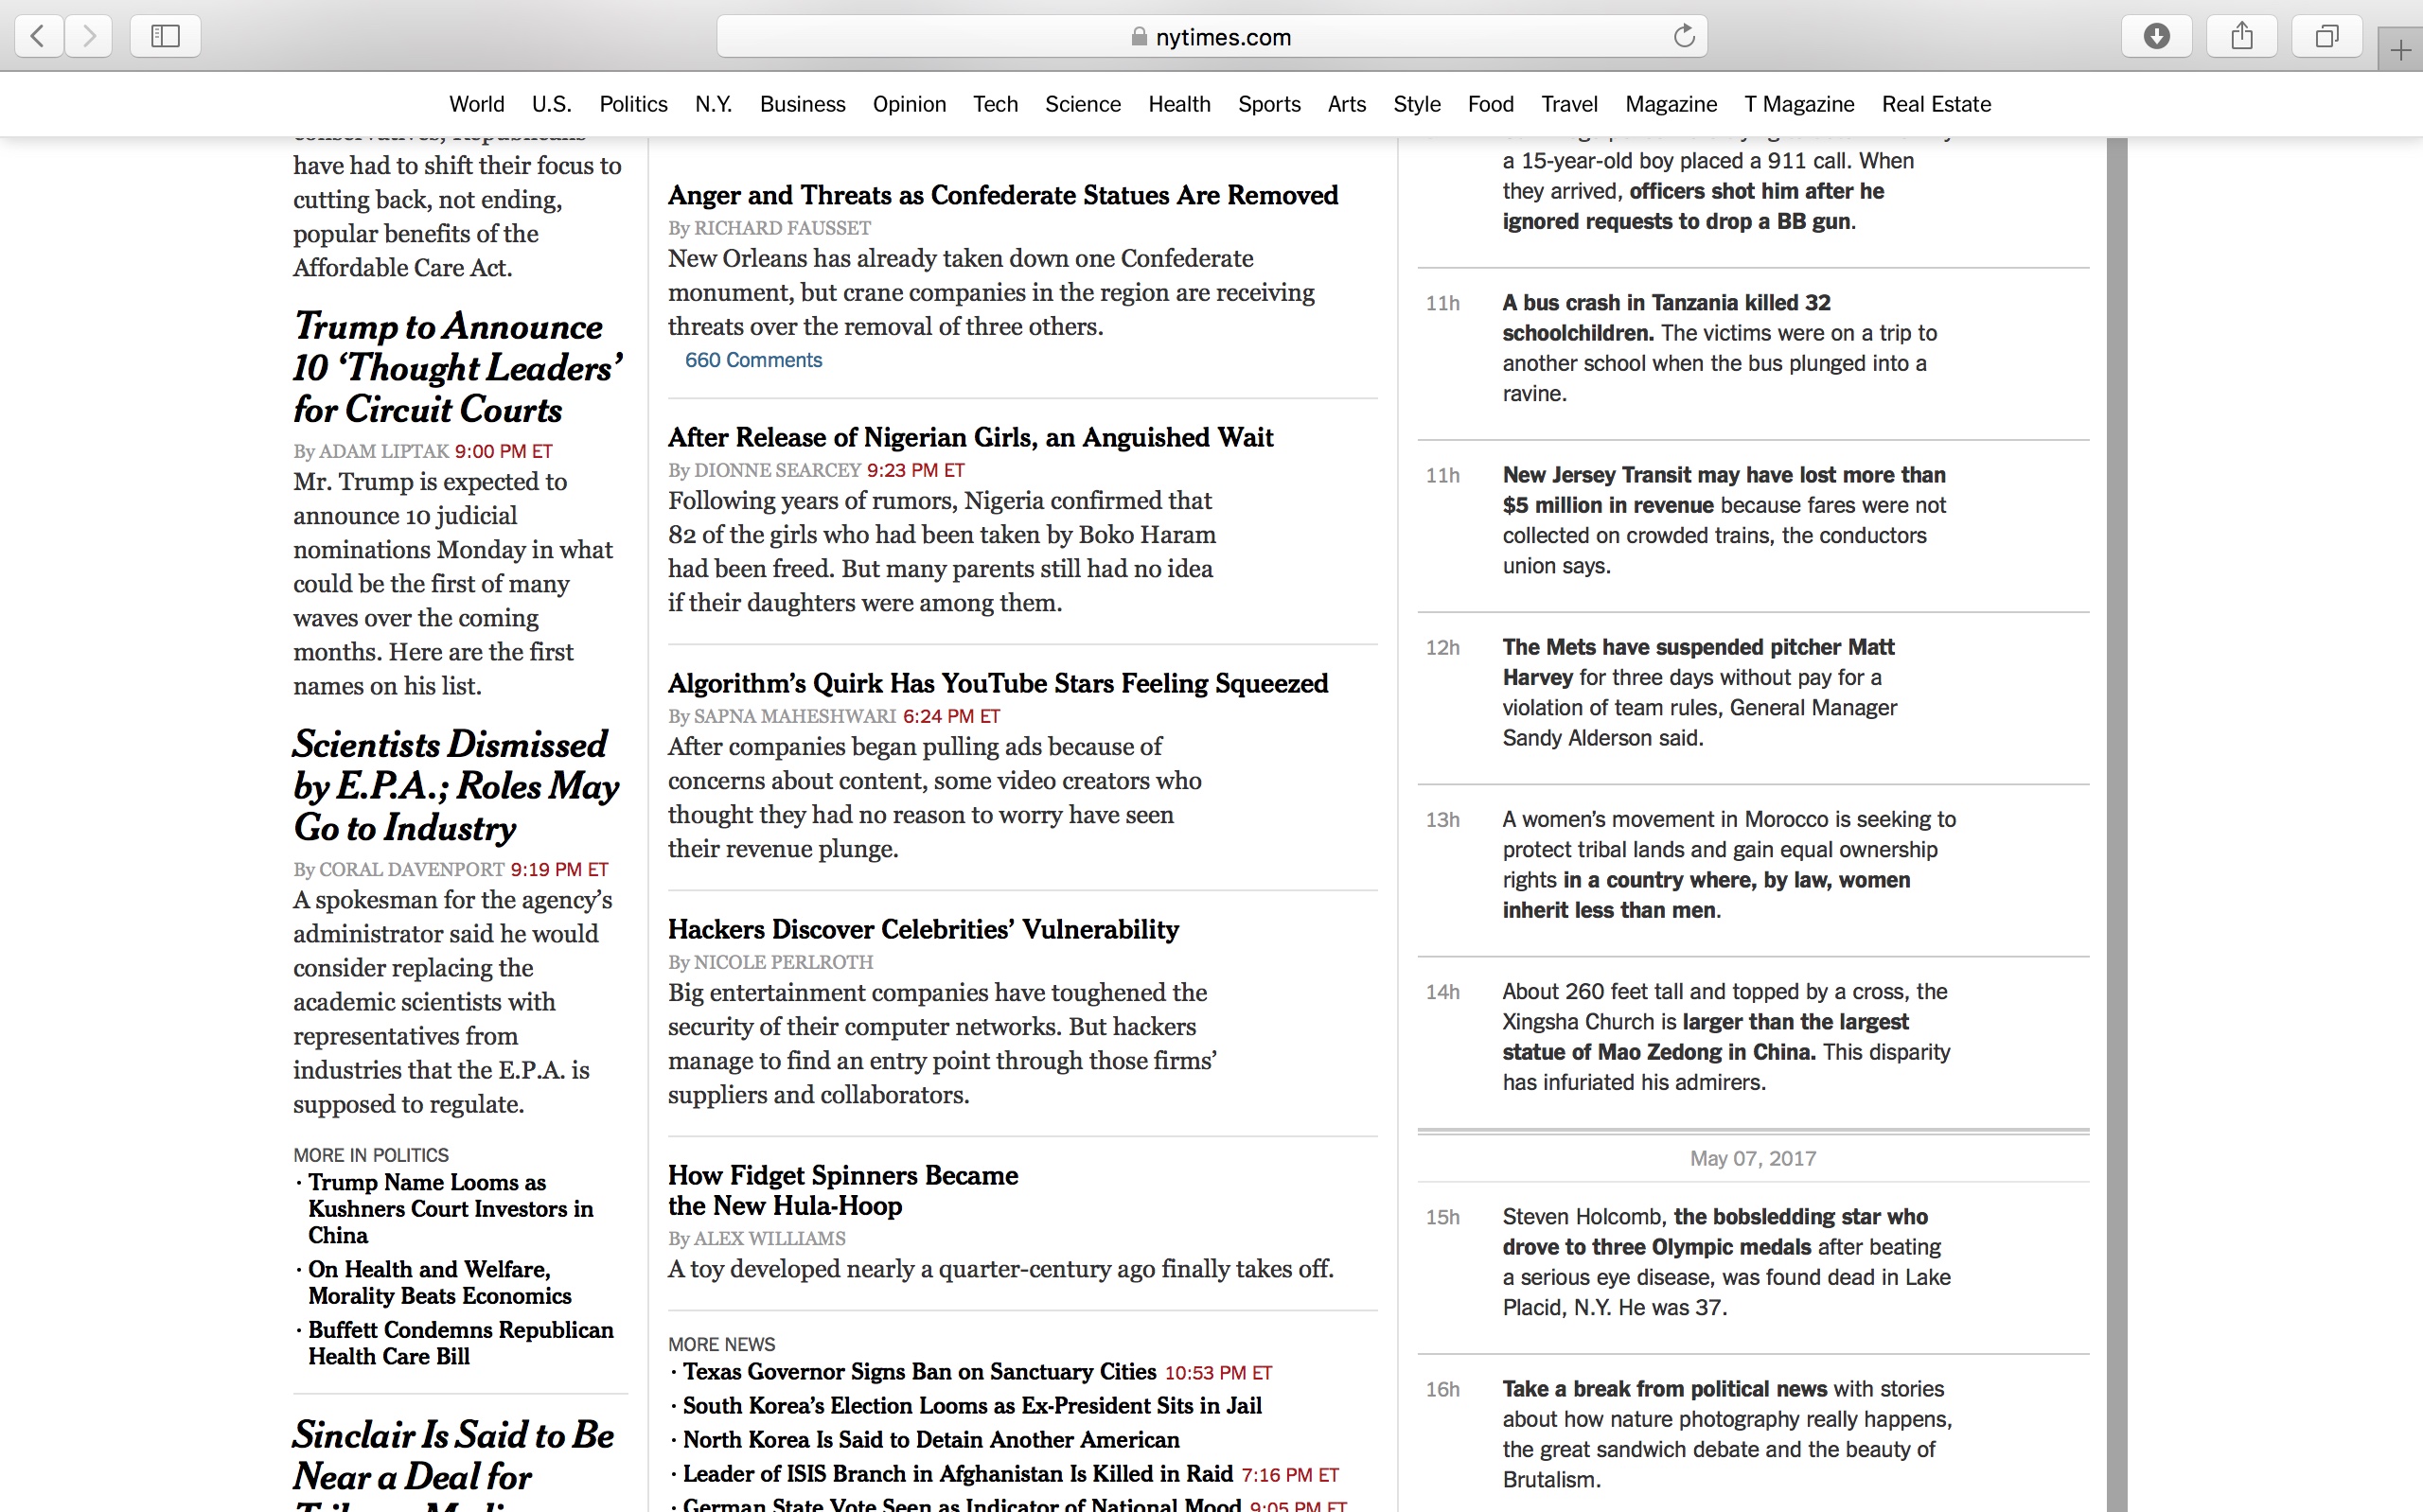
So there. The usefulness of the setting absolutely varies from instance to instance and website to website, and there are many stronger (and also weaker) cases that can be made in favor of disabling images. Then again, there is no question that it will consistently save you data, compress pages and thereby give you more information at a look. Plus, it’s almost a given you will be a whole lot faster consuming your daily dose of blogs or news on the internet.
Check out next: