In this tutorial, we will show you how to play, create, edit, and work with Memories in the Apple Photos app on iPhone or iPad to see curated slideshows of memorable pictures and videos of significant people, pets, places, dates, or events in your photo library.
About Memories
Apple’s Photos app for the iPhone, iPad, Mac, and Apple TV includes a powerful yet underrated feature called Memories, which scans your media library to unearth your cherished or forgotten events, trips, and people, such as a weekend hike, your baby’s first birthday, a year’s best photos and videos, etc.
Memories collates these items in gorgeous collections, and creates slideshows of them with music and animations. They are collections of photos and videos that can focus on:
- Locations, like a favorite vacation spot or your neighborhood
- Special events, such as birthdays and holidays
- Scenes, such as the beach or forest
- Pictures of family, friends, animals and so forth
Memories are created automatically, or you can create them yourself.
See your Memories and play them
Follow these steps to go through the Memories your phone has created for you, or the ones you have already created (more on it below).
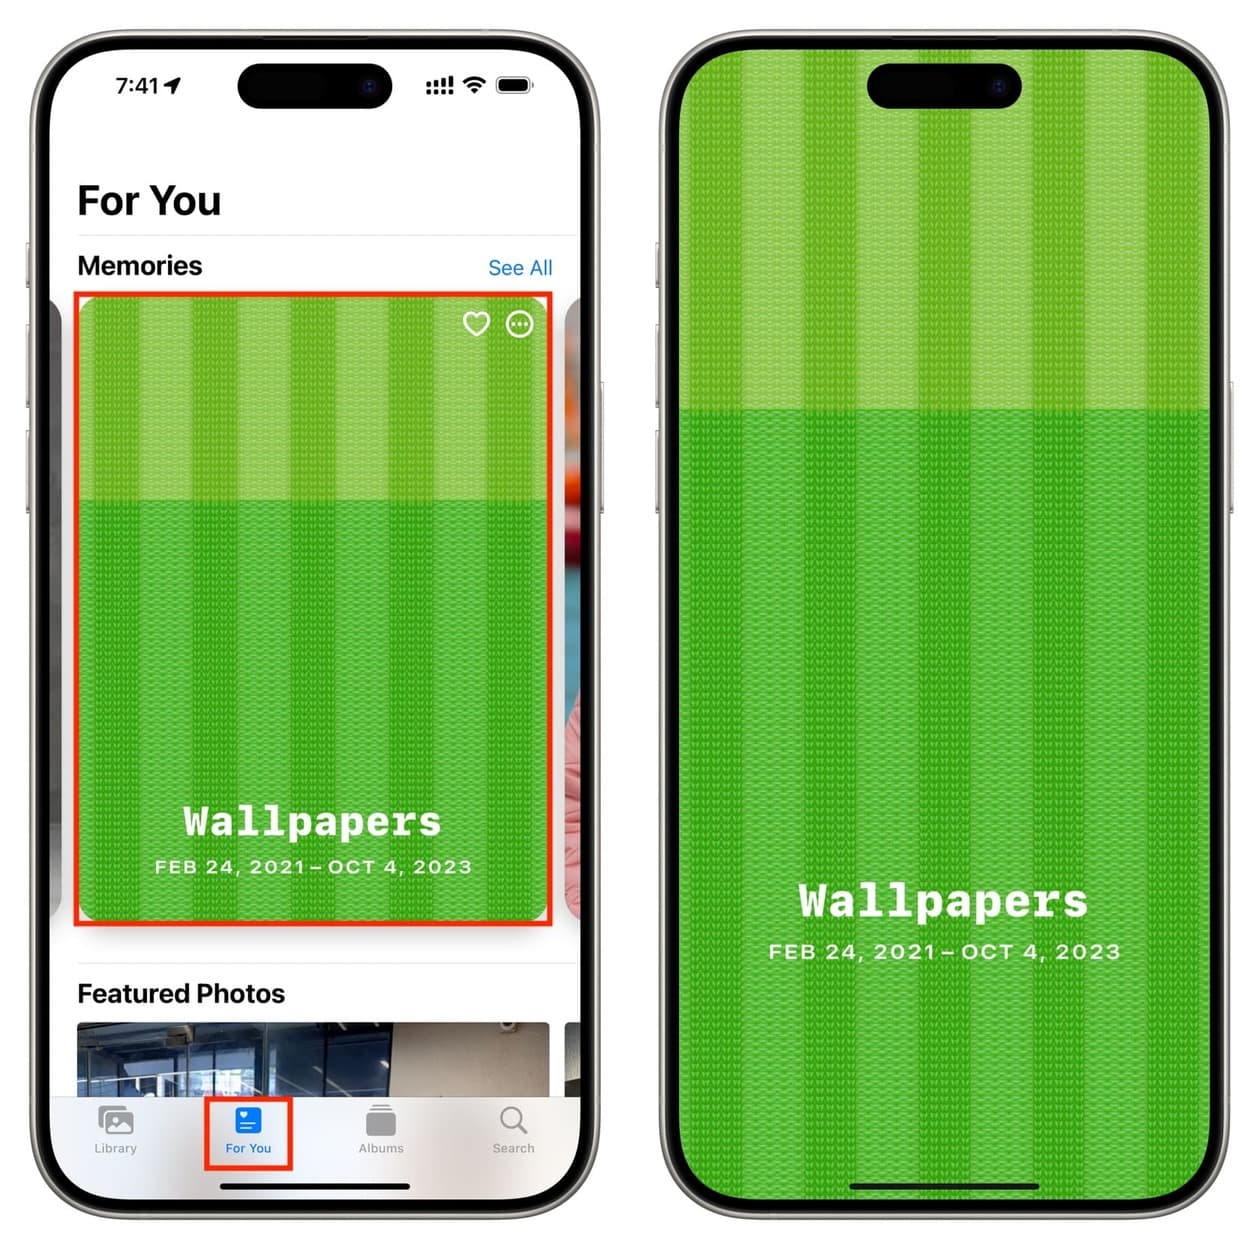
- Open the Photos app on your iPhone or iPad and tap For You.
- You will see the Memories section at the top if you have a bunch of pictures and videos in the Photos app. Swipe left or tap See All to go through all the Memories.
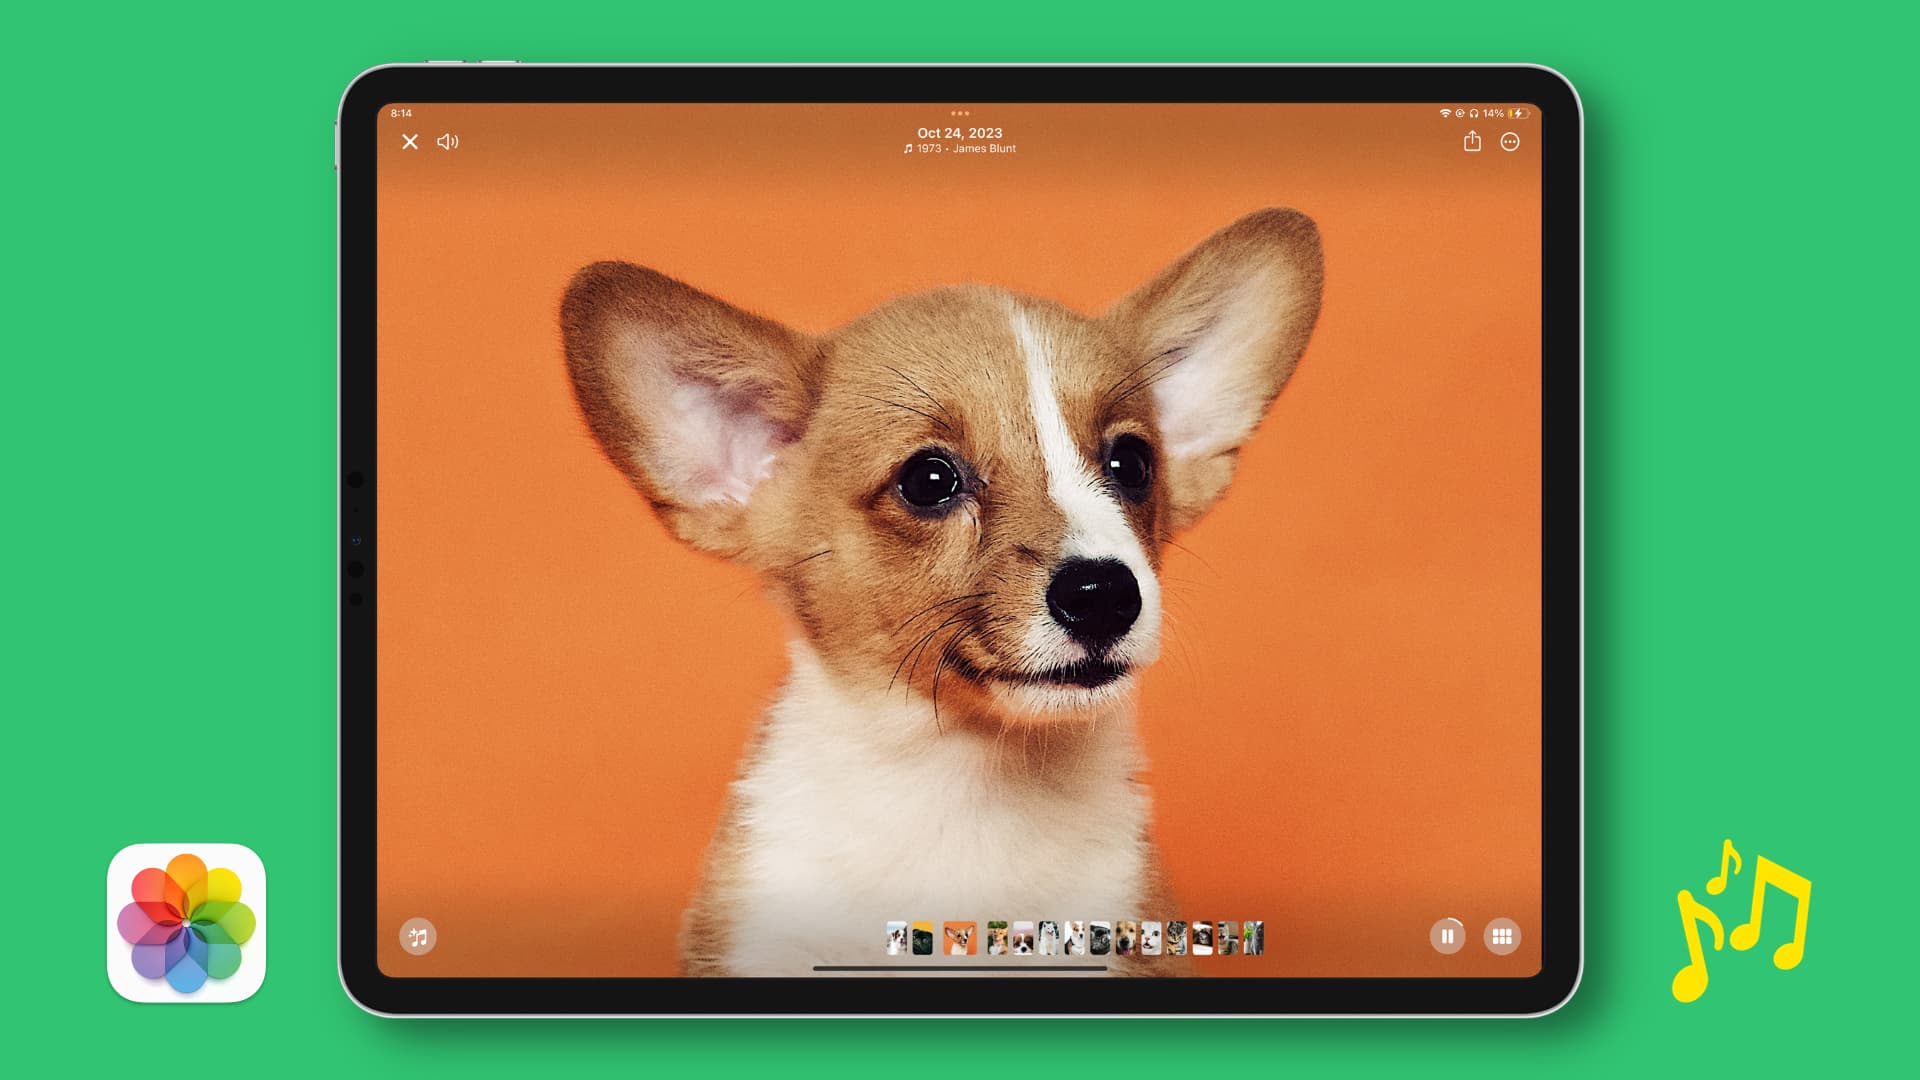
- Tap a Memory to play it. Swipe left or right on the screen to go to the next or previous photo or video of the Memory.
Create your own Memory and save it
You can create Memories from an album in your library.
- Go inside the Photos app and tap Albums, followed by selecting one.
- Tap the three dots icon for the album and choose Play Memory Video.
- Now, tap again on the screen to reveal all the buttons. Tap the three dots menu icon and choose Add To Favorites to save it.
- Go to Photos > For You to see this new Memory.

Tip: You can add the Photos app Featured widget on your iPhone or iPad Home Screen and tap the widget to see the Memory displayed there.
Edit a memory
Every Memory has a music track and several photos and videos. You can change the song, remove photos/videos from the Memory, or add more to it.
- Go to the For You section of the Photos app and tap a memory to play it.
- Tap once on the screen to reveal all controls. From here, you can do the following:
Change music and add filter
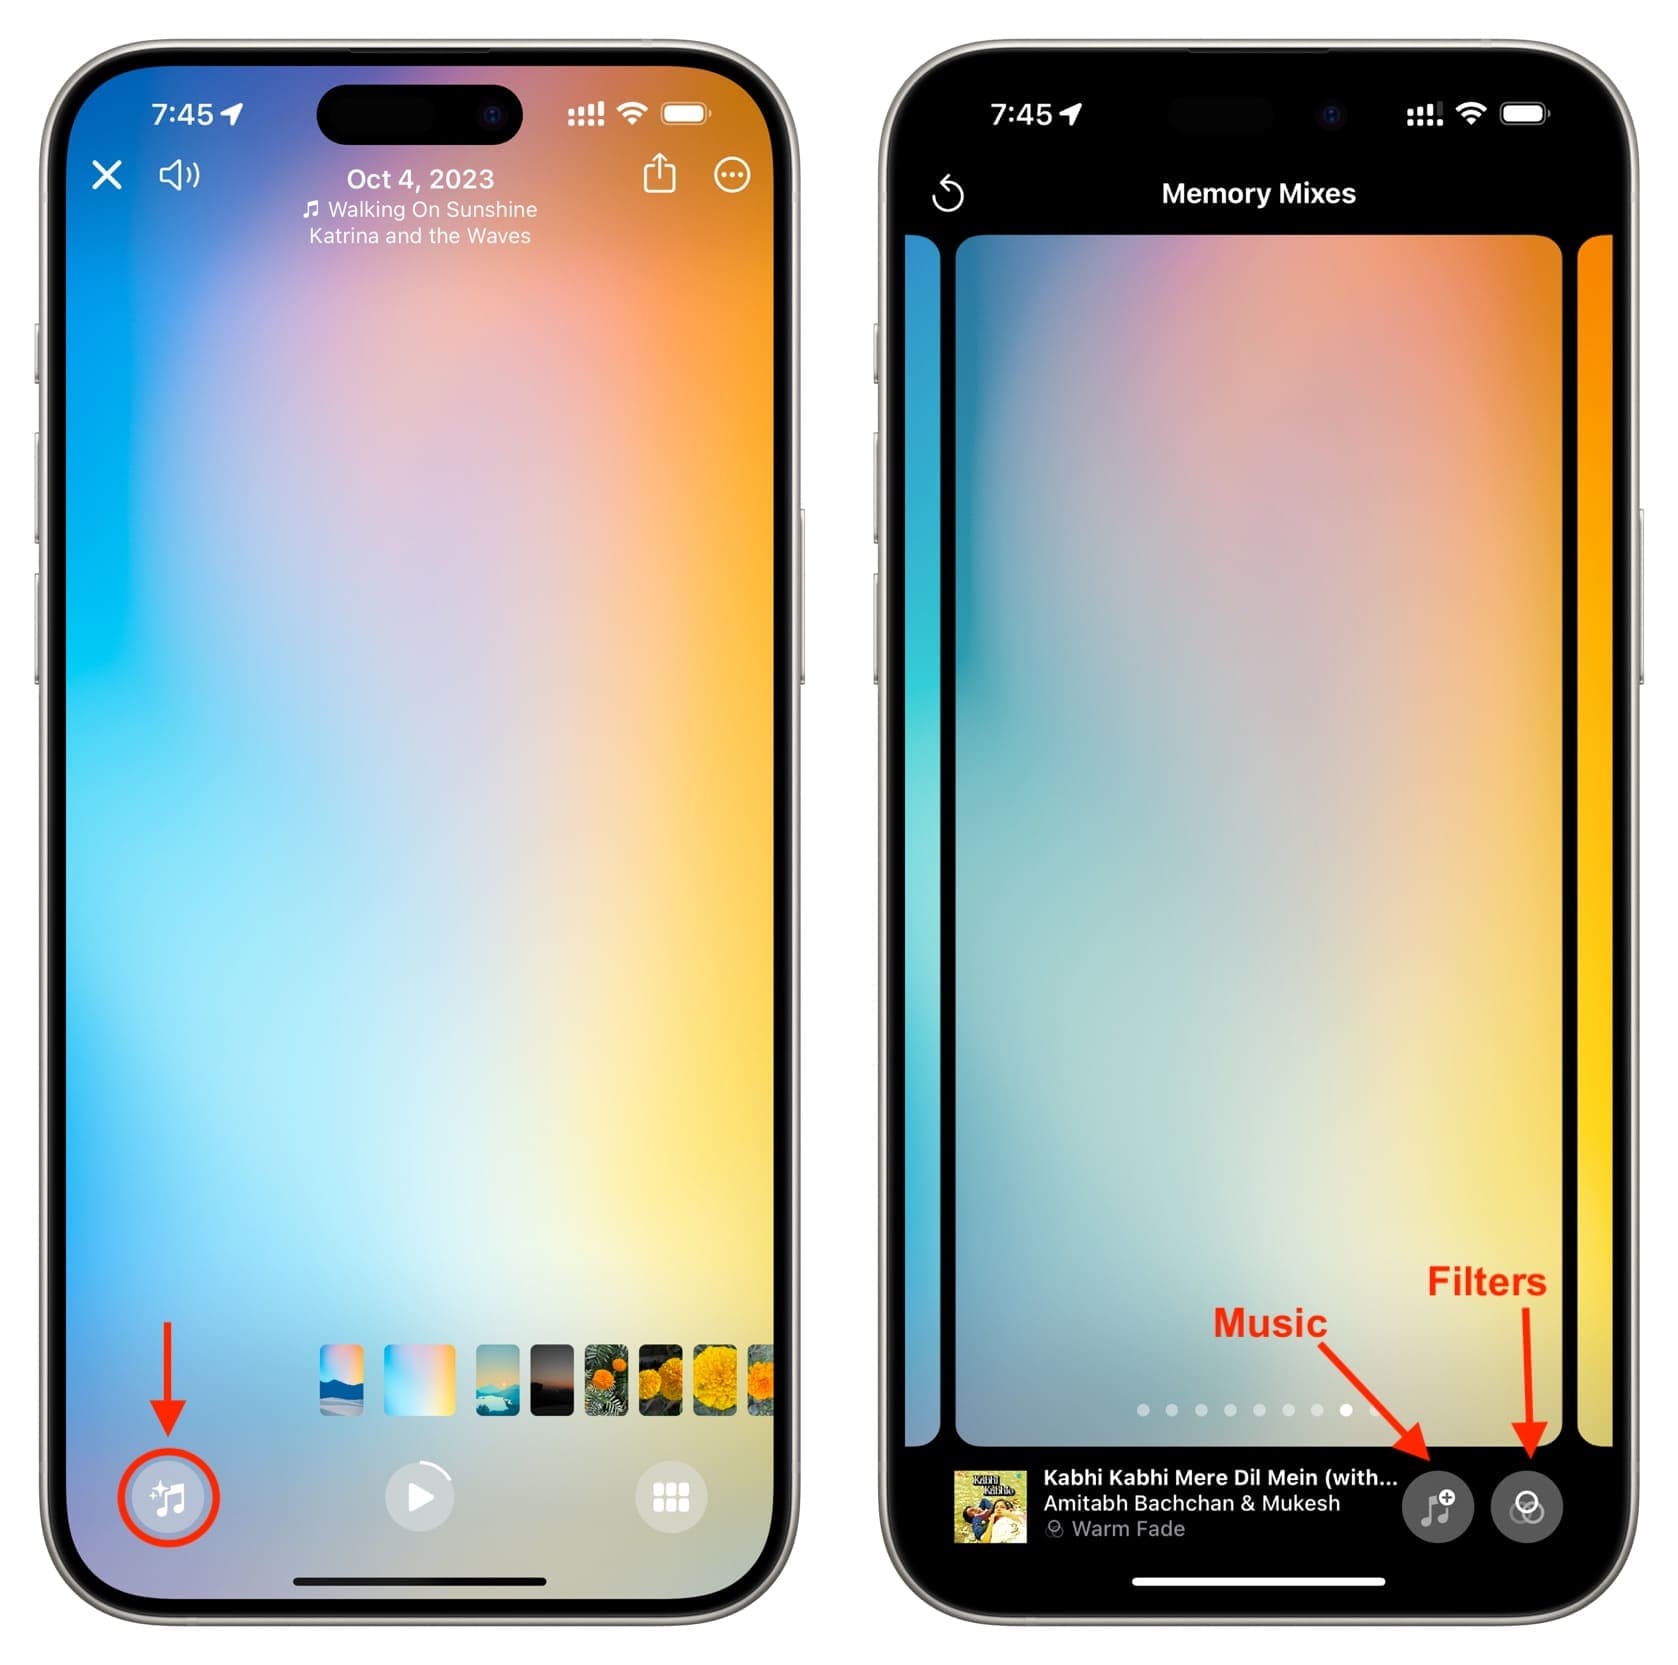
- Tap the Memory Mixes button.
- Swipe left to switch to a different photographic look and sound.
- You can also tap the music icon to pick a stock sound or one from Apple Music. Secondly, you can tap the filters icon to select a different look.
- Once you’re done editing, tap the screen to return to your Memory.
Add or remove photos
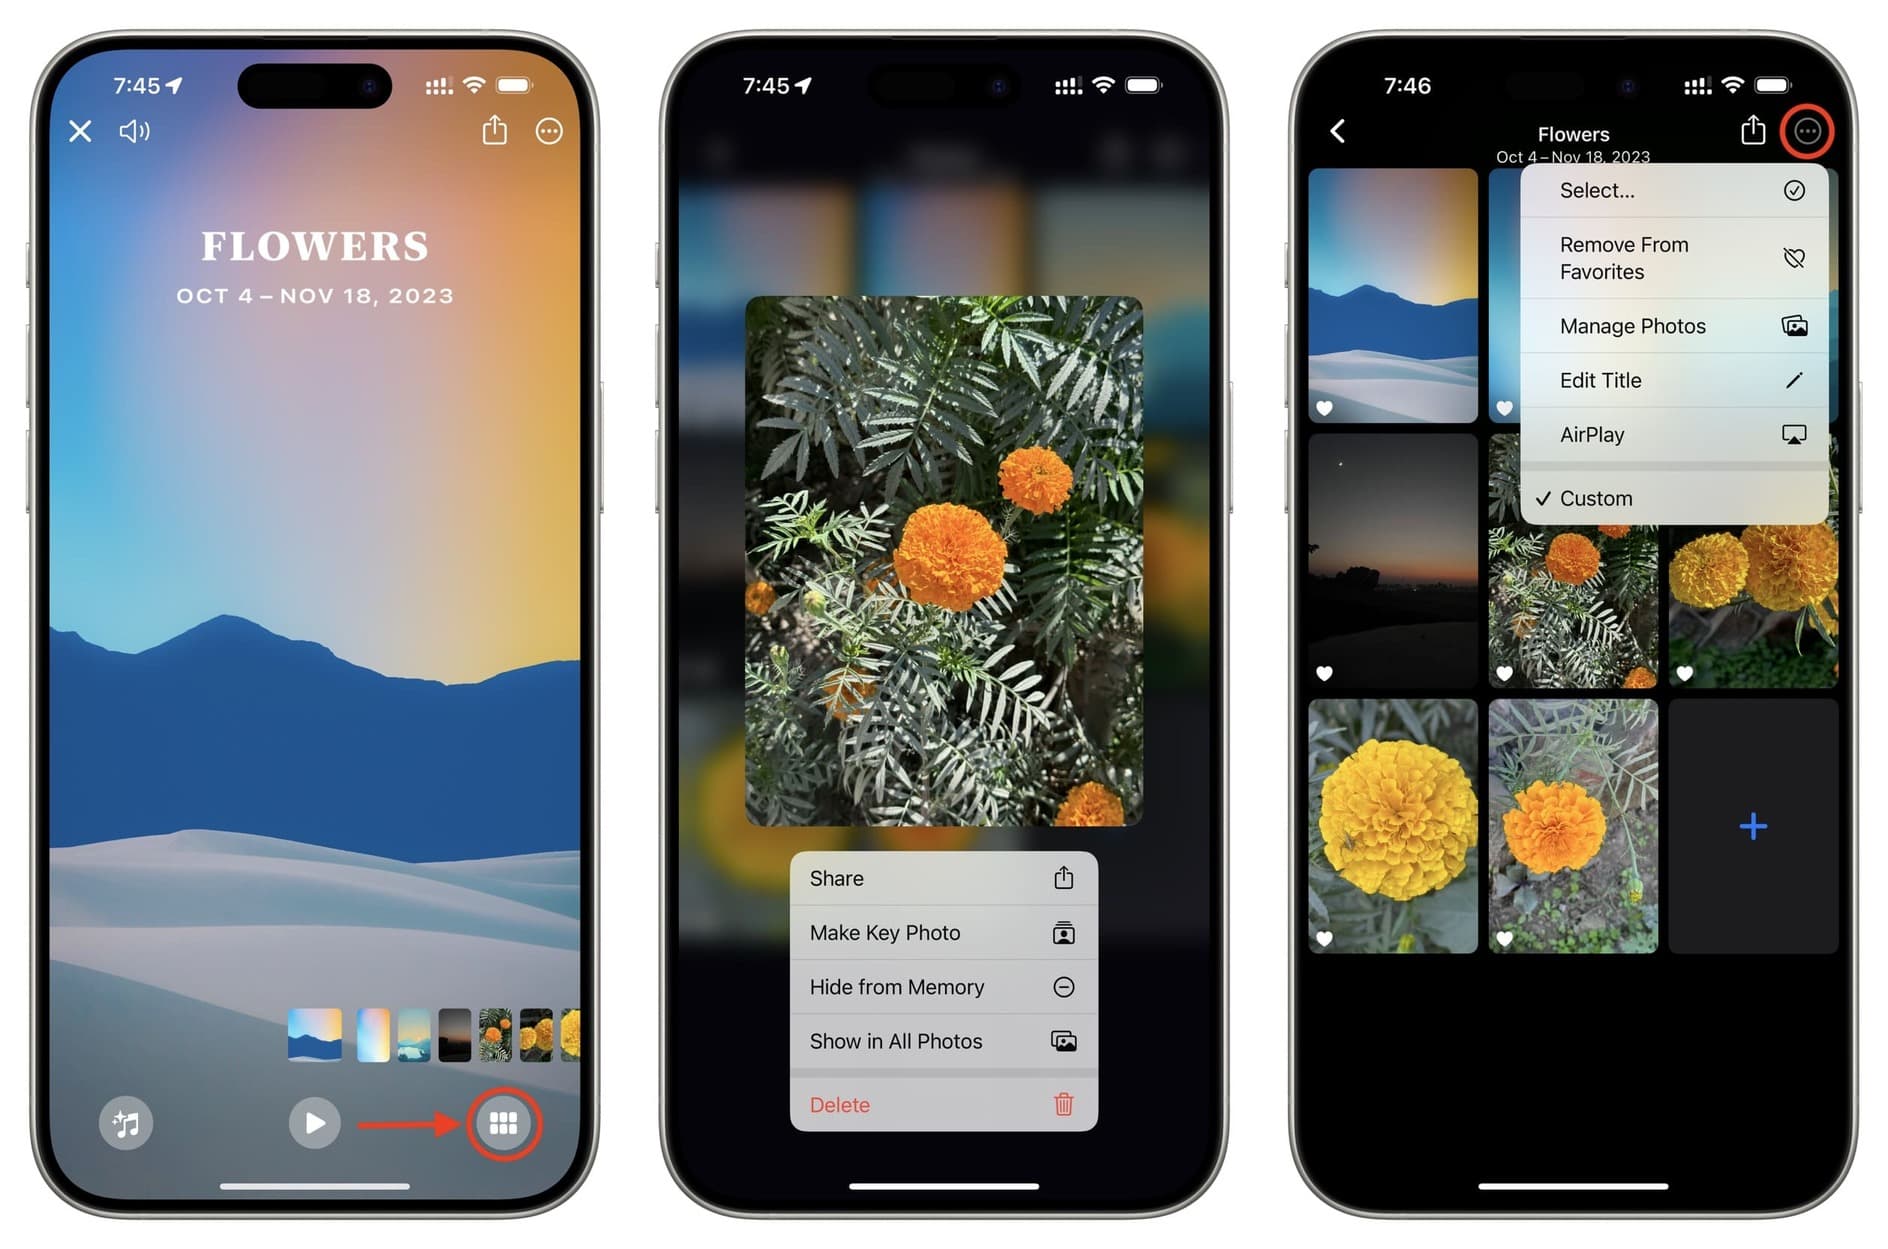
- Once you’re on the Memory screen, tap the browse icon to see the thumbnail of all the photos.
- Extra info: Touch and hold an image to make it the key photo or the first photo of the Memory and the Memory cover art. You can also hide it from the Memory, or delete it from your Photos app.
- Tap the plus button to add more photos.
- You can also tap the three dots menu button from the top and choose Manage Photos to add or deselect several images from the Memory.
Change the length of Memory
You can change the duration of Memories your iPhone has auto-created. You may not see this option for Memories created manually via albums or dates.
- Start playing a Memory.
- Tap the screen and then tap the three dots icon.
- Select Short, Medium, or Long (if you see it).

Rename the Memory or change its date
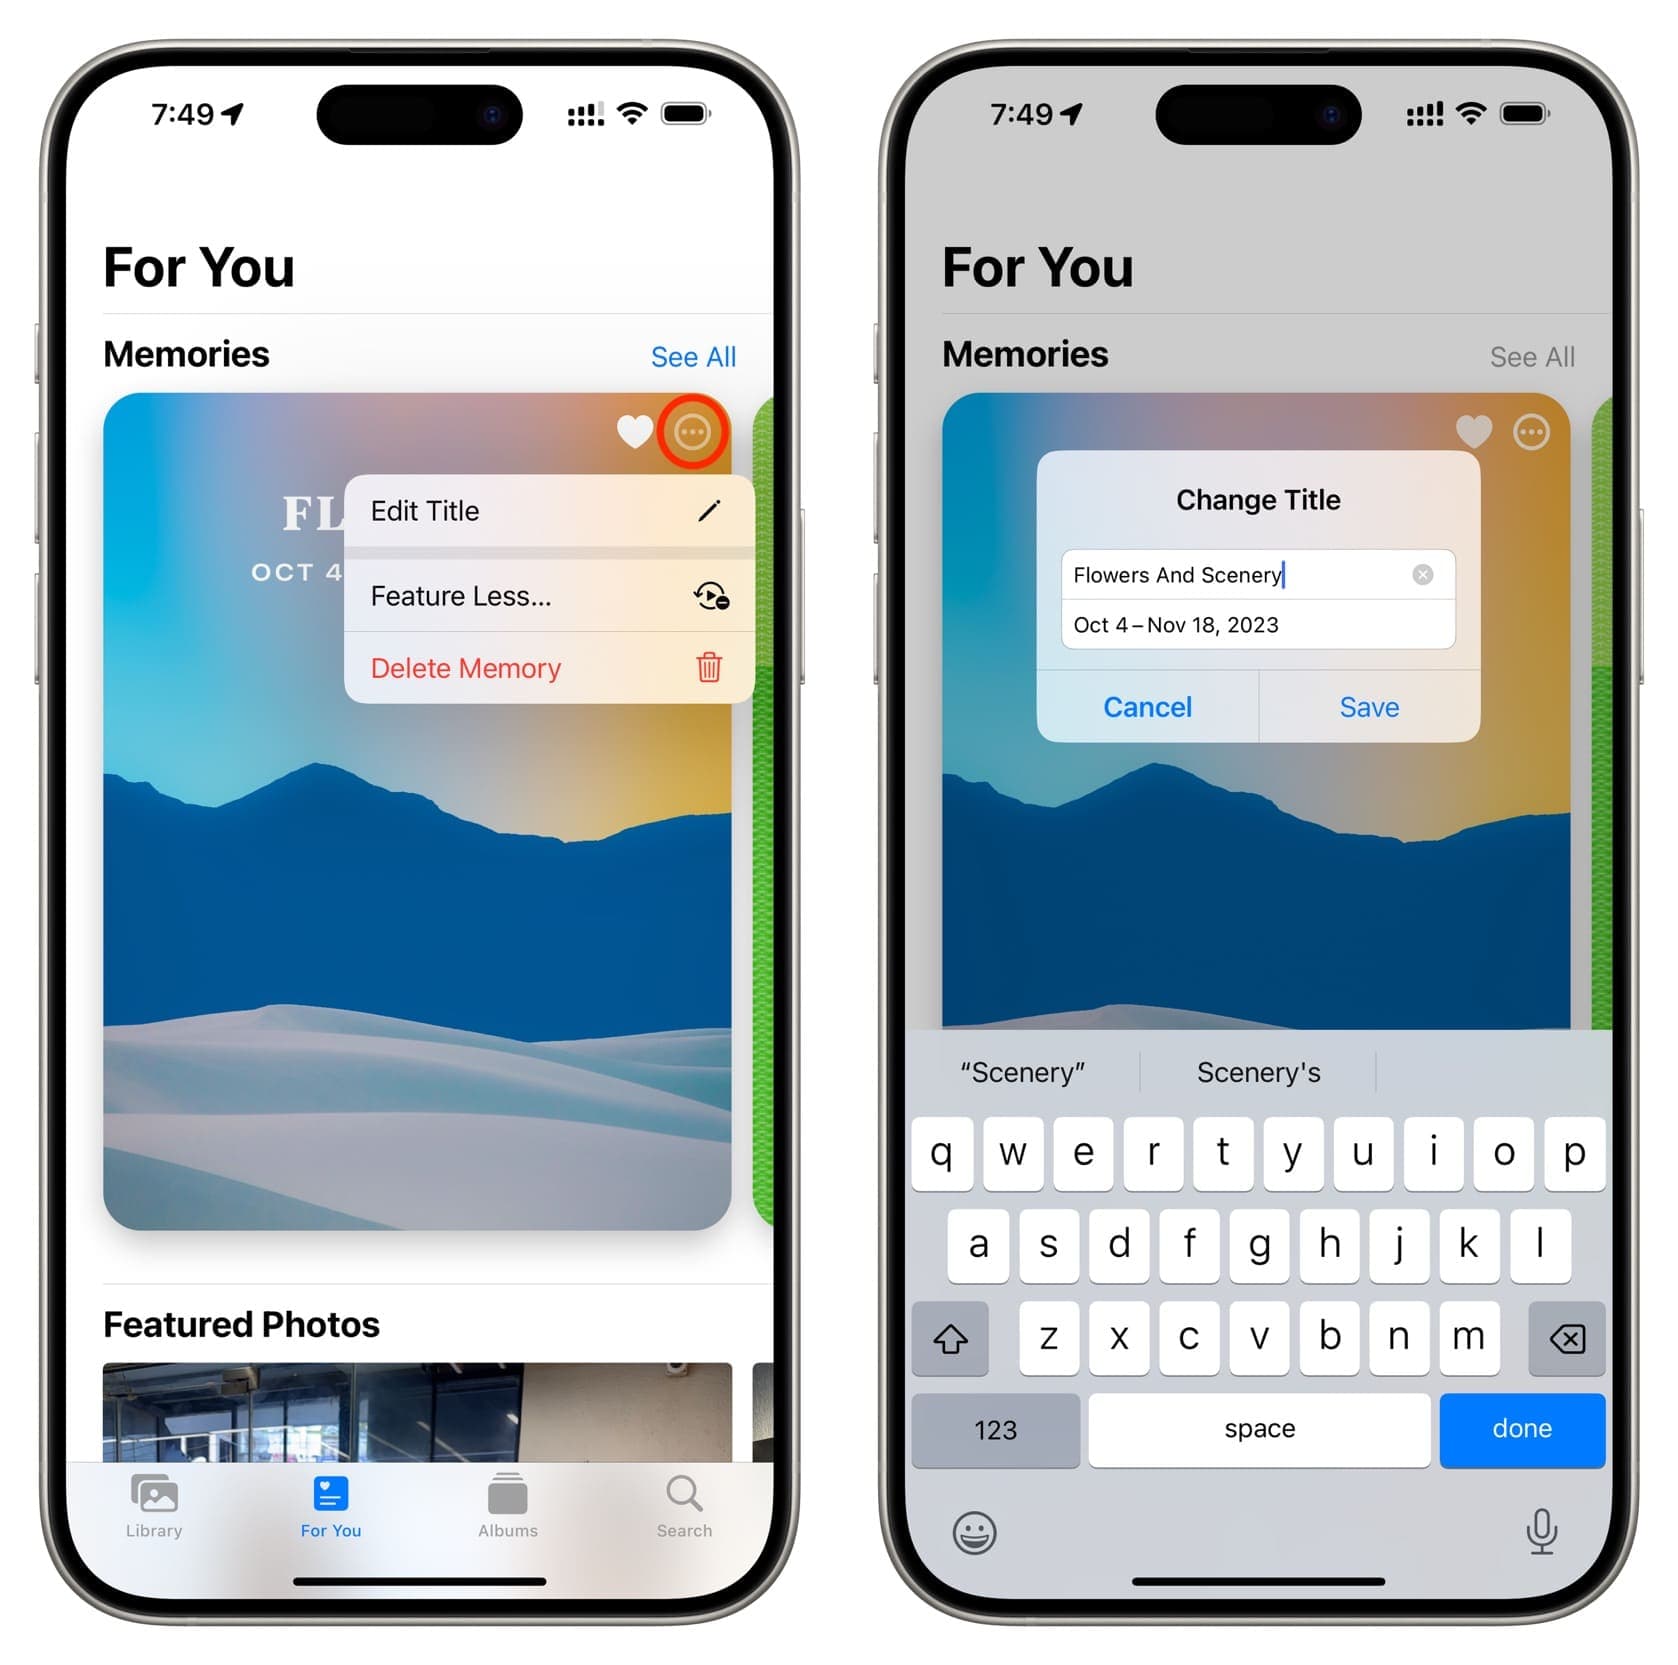
Tap the three dots menu icon from the Memories tile and choose Edit Title. Now, give it a new name and date, and tap Save.
Mark or unmark Memories as favorites
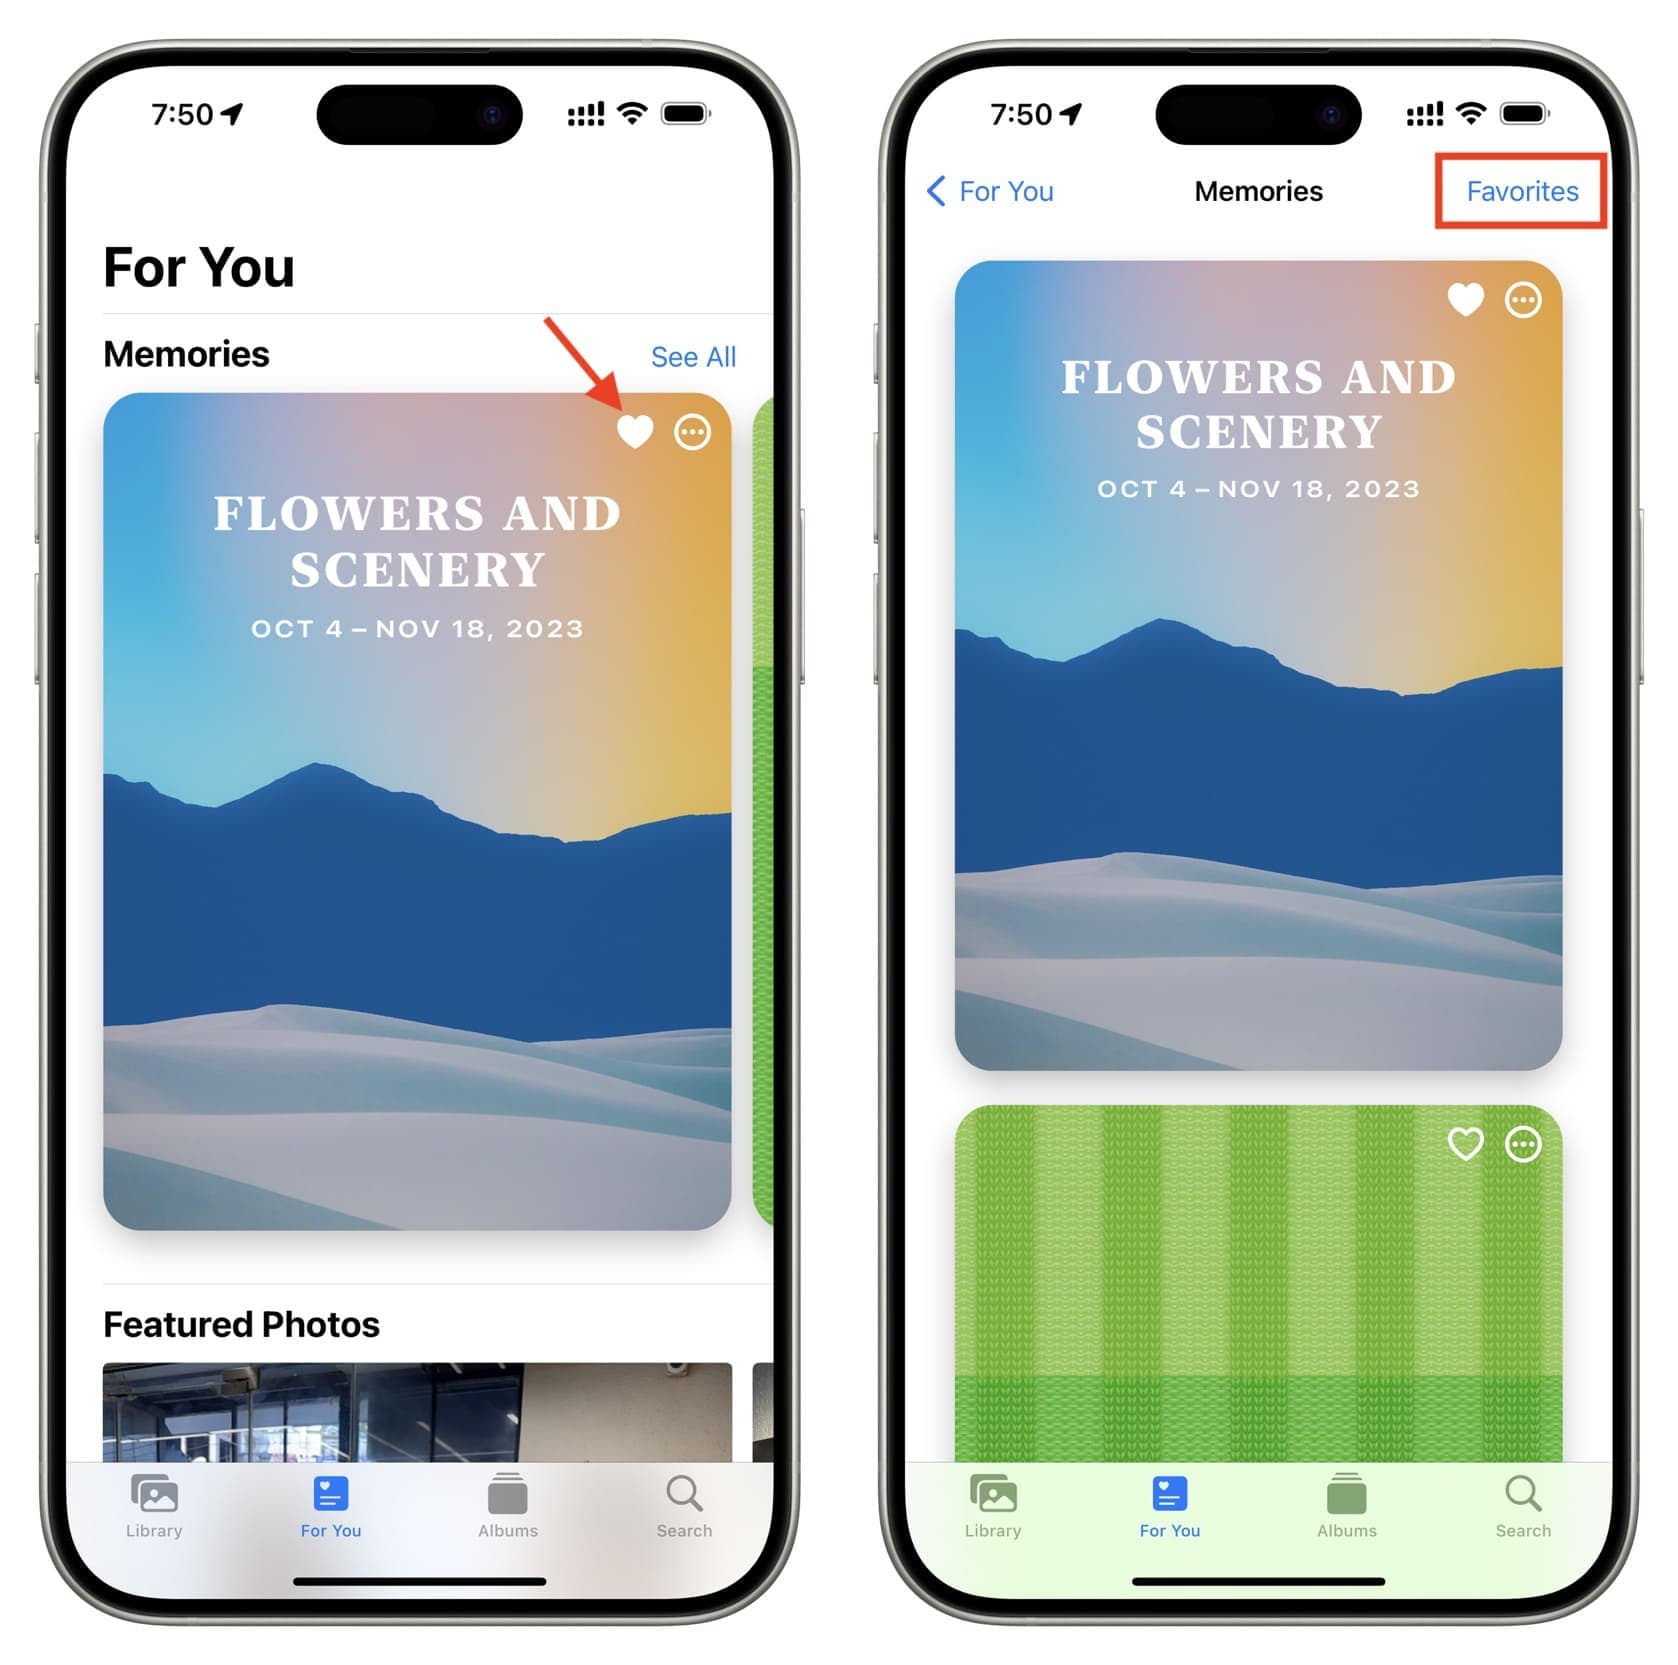
Access the Memories screen and tap the little heart icon to favorite or unfavorite it. To see all your favorite Memories in one spot, tap See All and tap Favorites.
Export Memory as a video file
- Start playing a Memory.
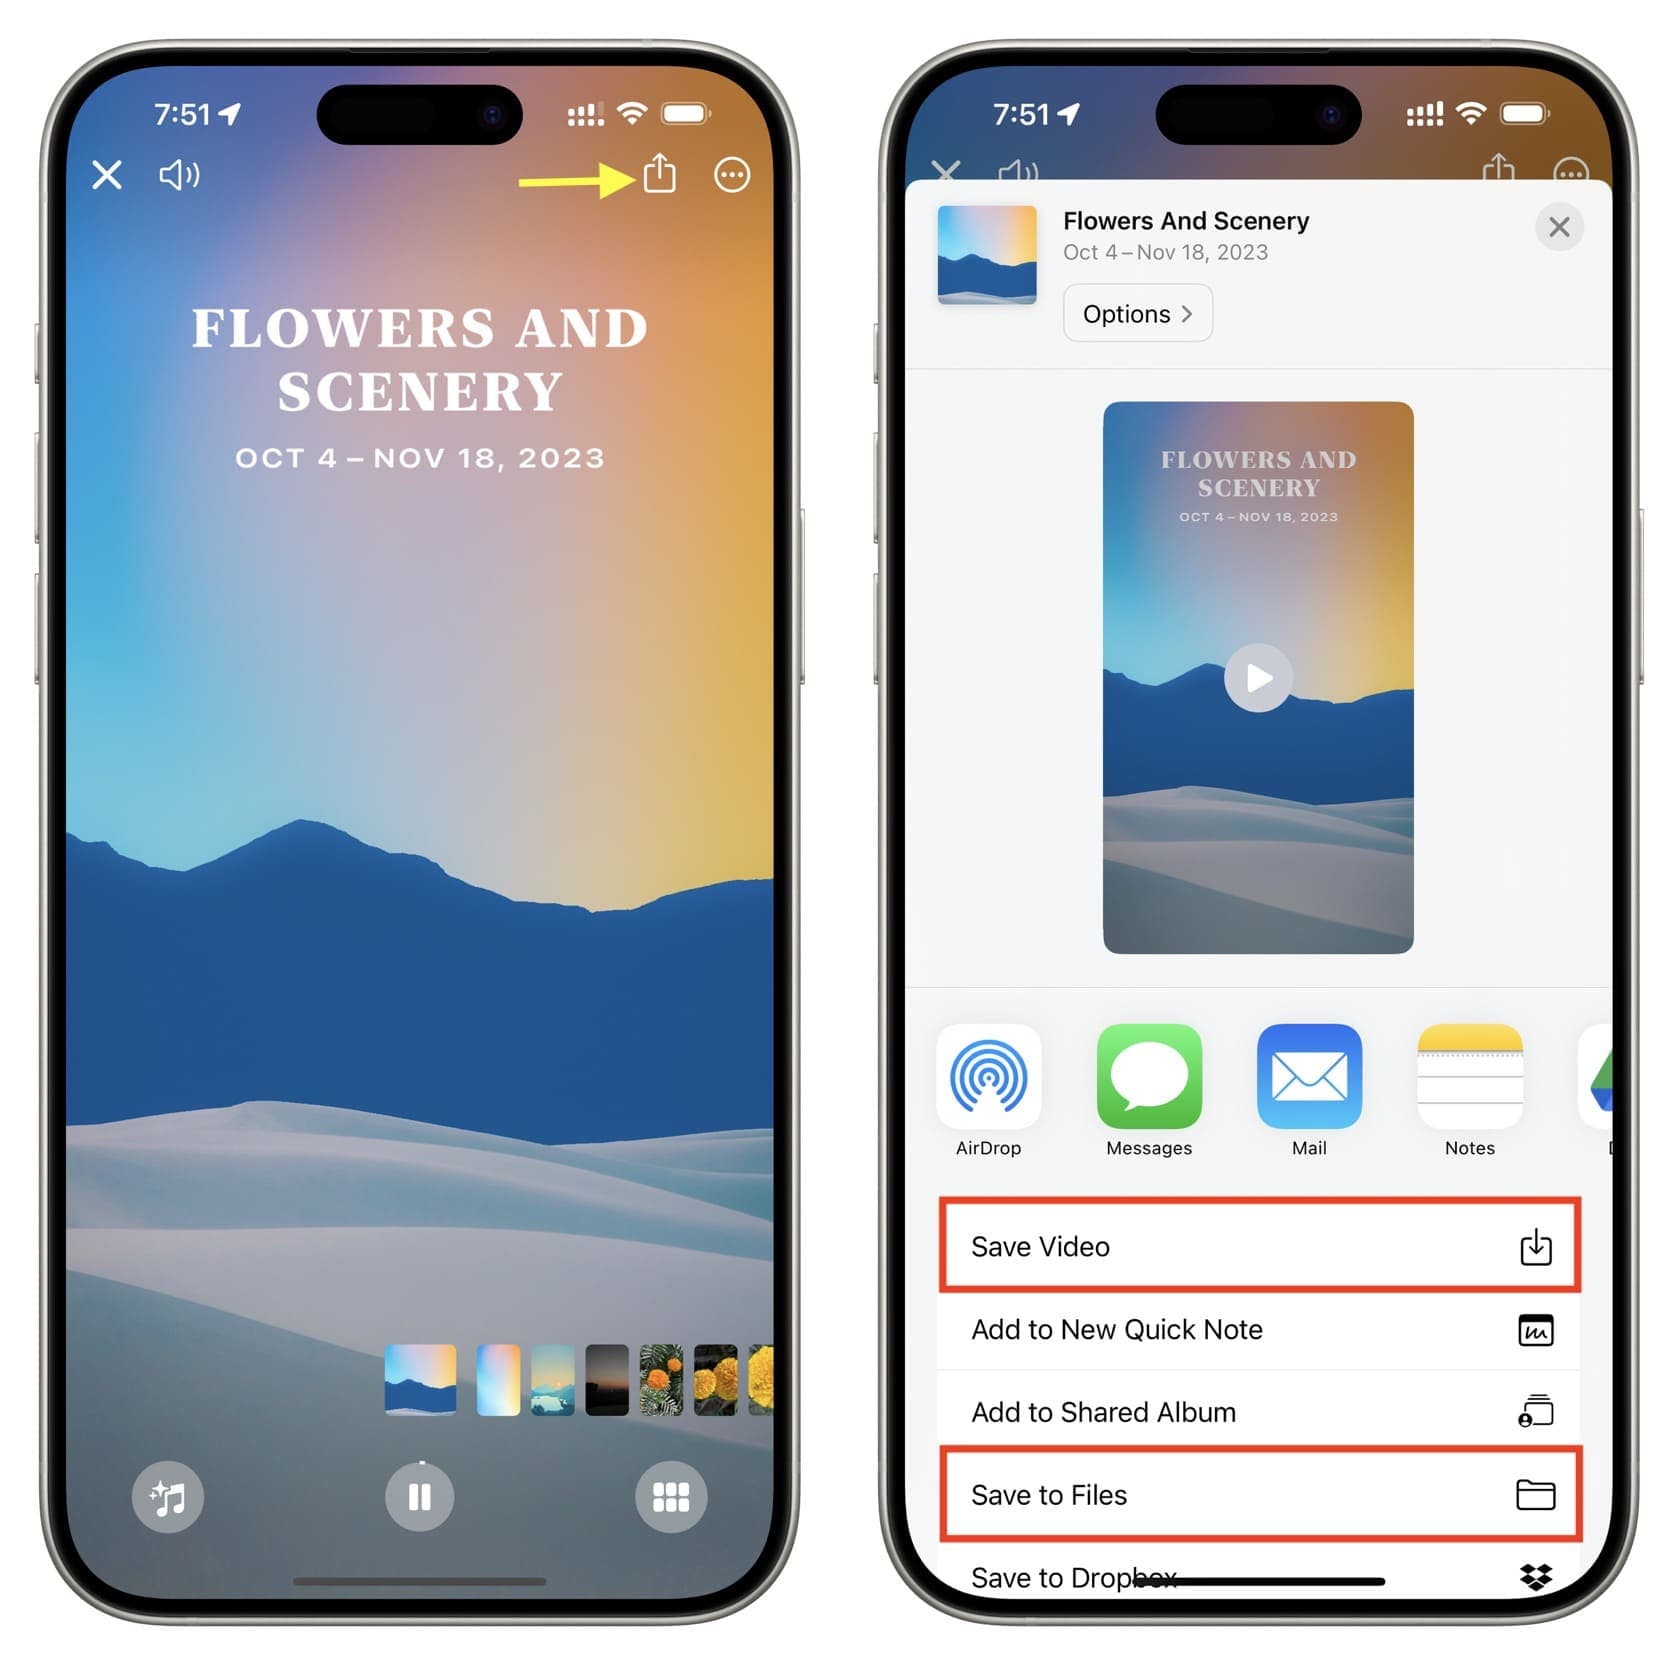
- Tap once on the screen and hit the share button.
- Important: If your Memory has an Apple Music song, you will have to tap Choose Shareable Soundtrack and then pick a non-copyrighted music track.
- Tap Save Video or Save to Files. The former will save the video to the Photos app and the latter to the Files app.
You can export the Memory and then share that video file or tap the share button when the Memory is playing and pick an option like Messages, Mail, WhatsApp, etc., from the Share Sheet.
Delete a Memory
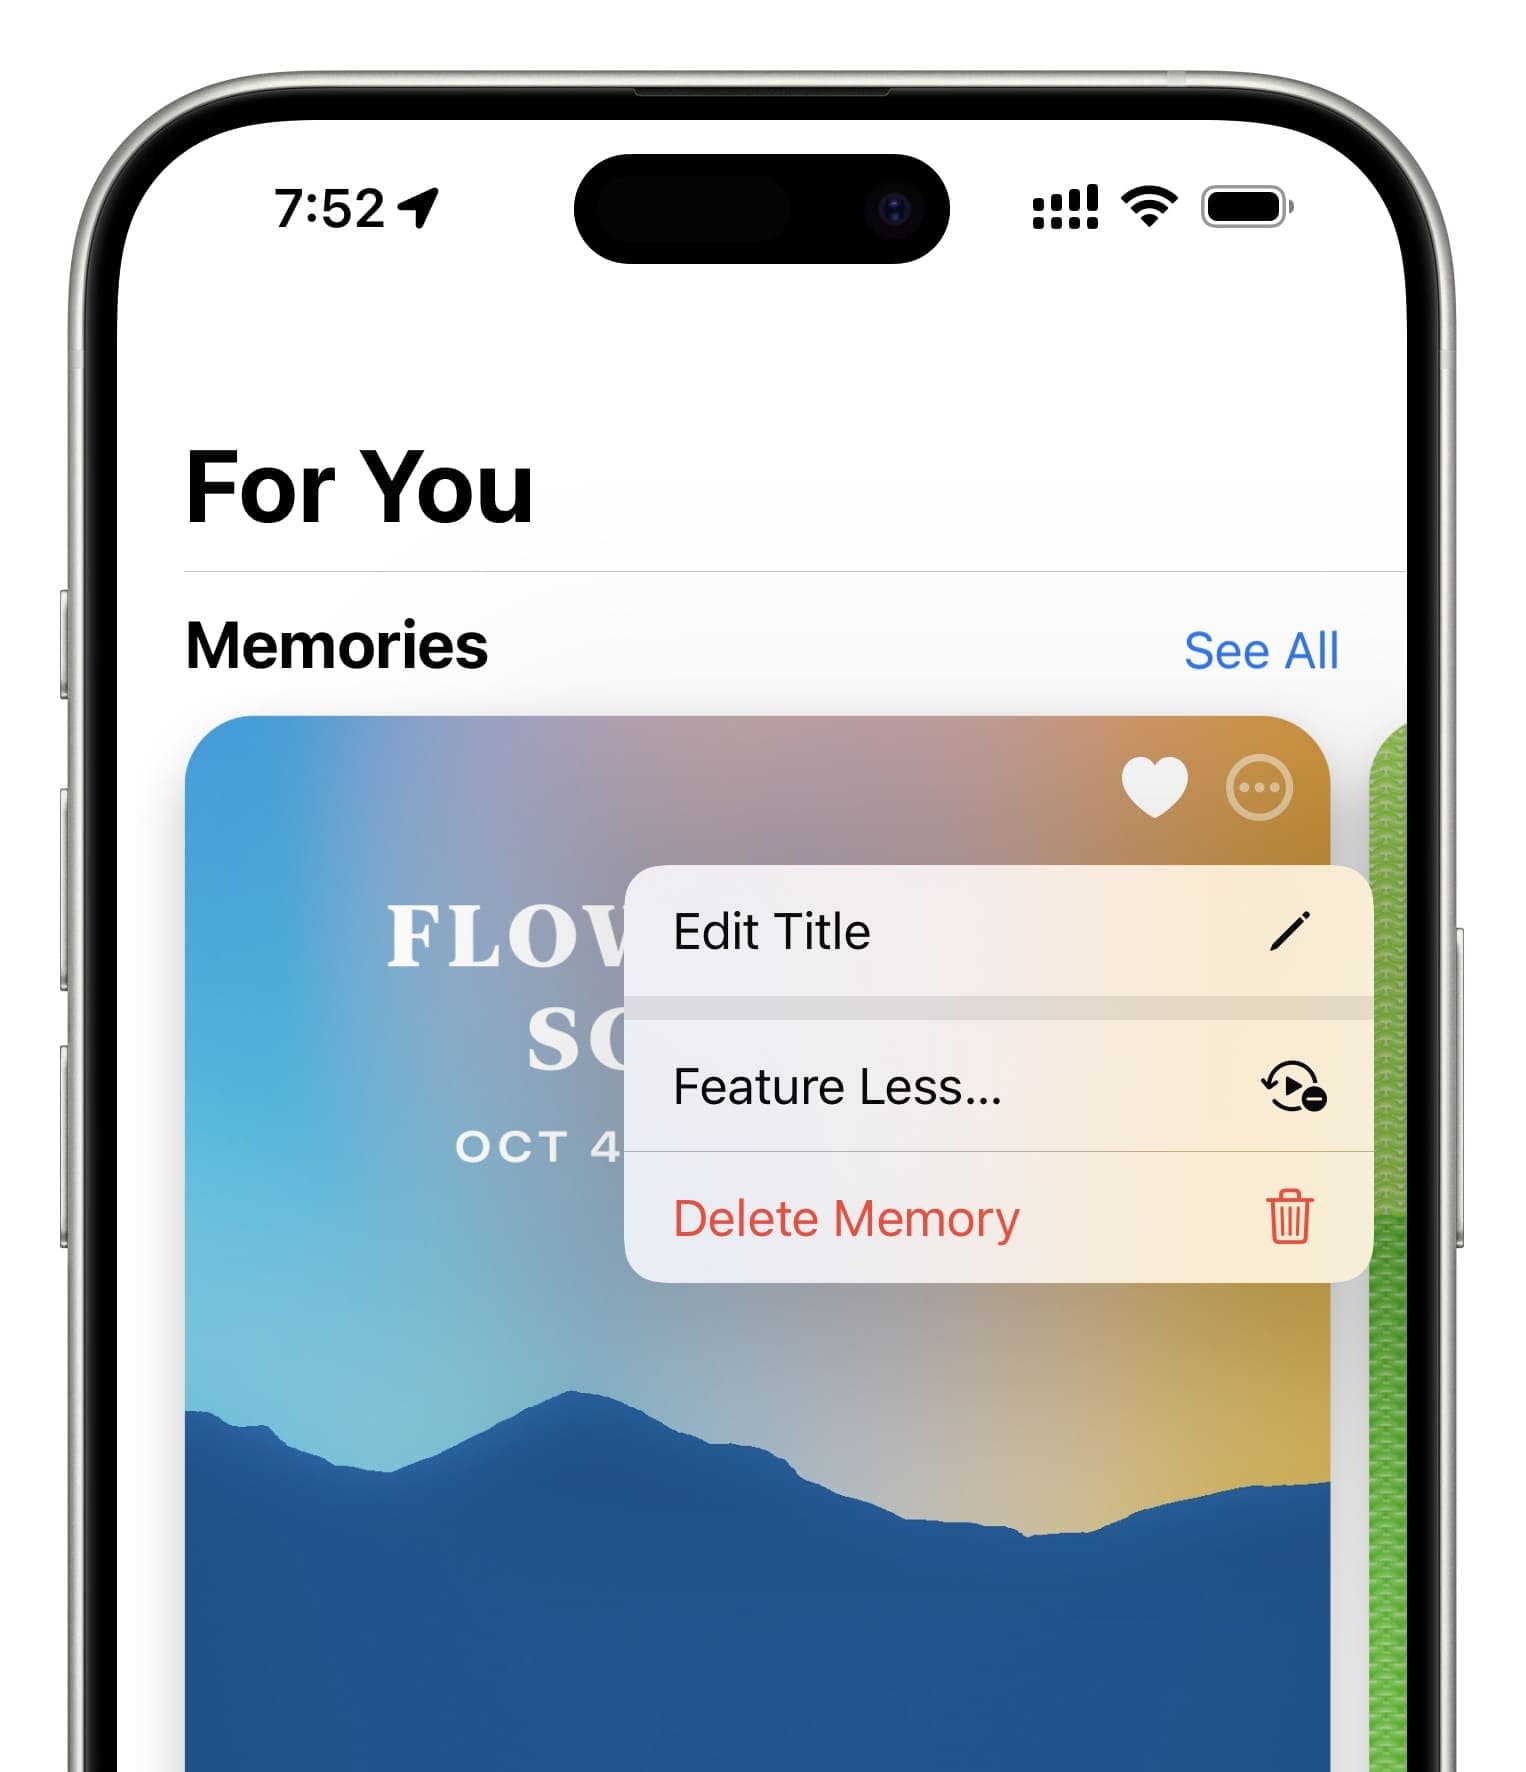
If you do not like a Memory, go to the For You tab of the Photos app and tap the three dots button for a Memory. Now, tap Delete Memory.
Get the same Memories on all your devices
If you want to get the same Memories everywhere, you must set up and sign in to iCloud with the same Apple ID on all your devices and enable iCloud Photos on every device you wish to use for Memories. This will ensure that up-to-date copy of your Photos library is available across all your devices for Memories to work with.
The magic behind Memories
In order for Photos to create Memories, it must first scan and analyze media in the Photos library, which can take some time depending on the number of items in your media library.
iOS only scans your library when the device is locked and connected to power. The magic behind Memories is advanced computer vision that helps Photos recognize seven basic facial expressions as well as a total of 4,432 different objects and scenes.
Facial, object, and scene recognition happens directly on the device, taking advantage of the power of Apple-designed silicon without sending any user data to the cloud or syncing recognized scenes and objects via iCloud.
In other words, Photos must analyze your library separately on each device, even if all the devices you own have the same photos and videos on them.
With the library analyzed, Photos will group the people, places, and things inside your photos into special Memories albums.
Memories and your privacy
Apple says that using on-device intelligence helps Memories create curated collections of your most meaningful photos and videos and bring them to life “in a way that’s personal and meaningful to you while maintaining your privacy”.
iOS leverages artificial intelligence and machine learning to provide smart features like Memories and improved autocorrect suggestions as part of a technique called Differential Privacy.
On the same note: How to create a slideshow in the Photos app on iPhone, iPad, and Mac