Apple’s Messages app and iMessage service form one of the most versatile messaging platforms available on mobile devices. With Messages, you can send texts, iMessages, photos and audio/video messages on your iPhone, iPad or iPod touch.
By using a combination of a twisting motion and the proximity sensor, Messages lets you respond to an audio message by lifting the device to your ear, as if you were talking on the phone.
This even works on the Lock screen. Upon playing a soft chime, Messages starts recording your audio response. It’s very convenient but sometimes doesn’t work as intended. As a result, Messages may randomly start recording audio in certain situations.
Thankfully, you can prevent this from happening by flipping a switch. In this post, you will learn how to disable this feature, which Apple refers to as Raise to Listen.
How to disable Raise to Listen for audio recordings in Messages
Step 1: Go to Settings → Messages on your iPhone, iPod touch or iPad.
Step 2: Flip the Raise to Listen switch under the Audio Messages heading to the OFF position, as shown on the screenshot below.
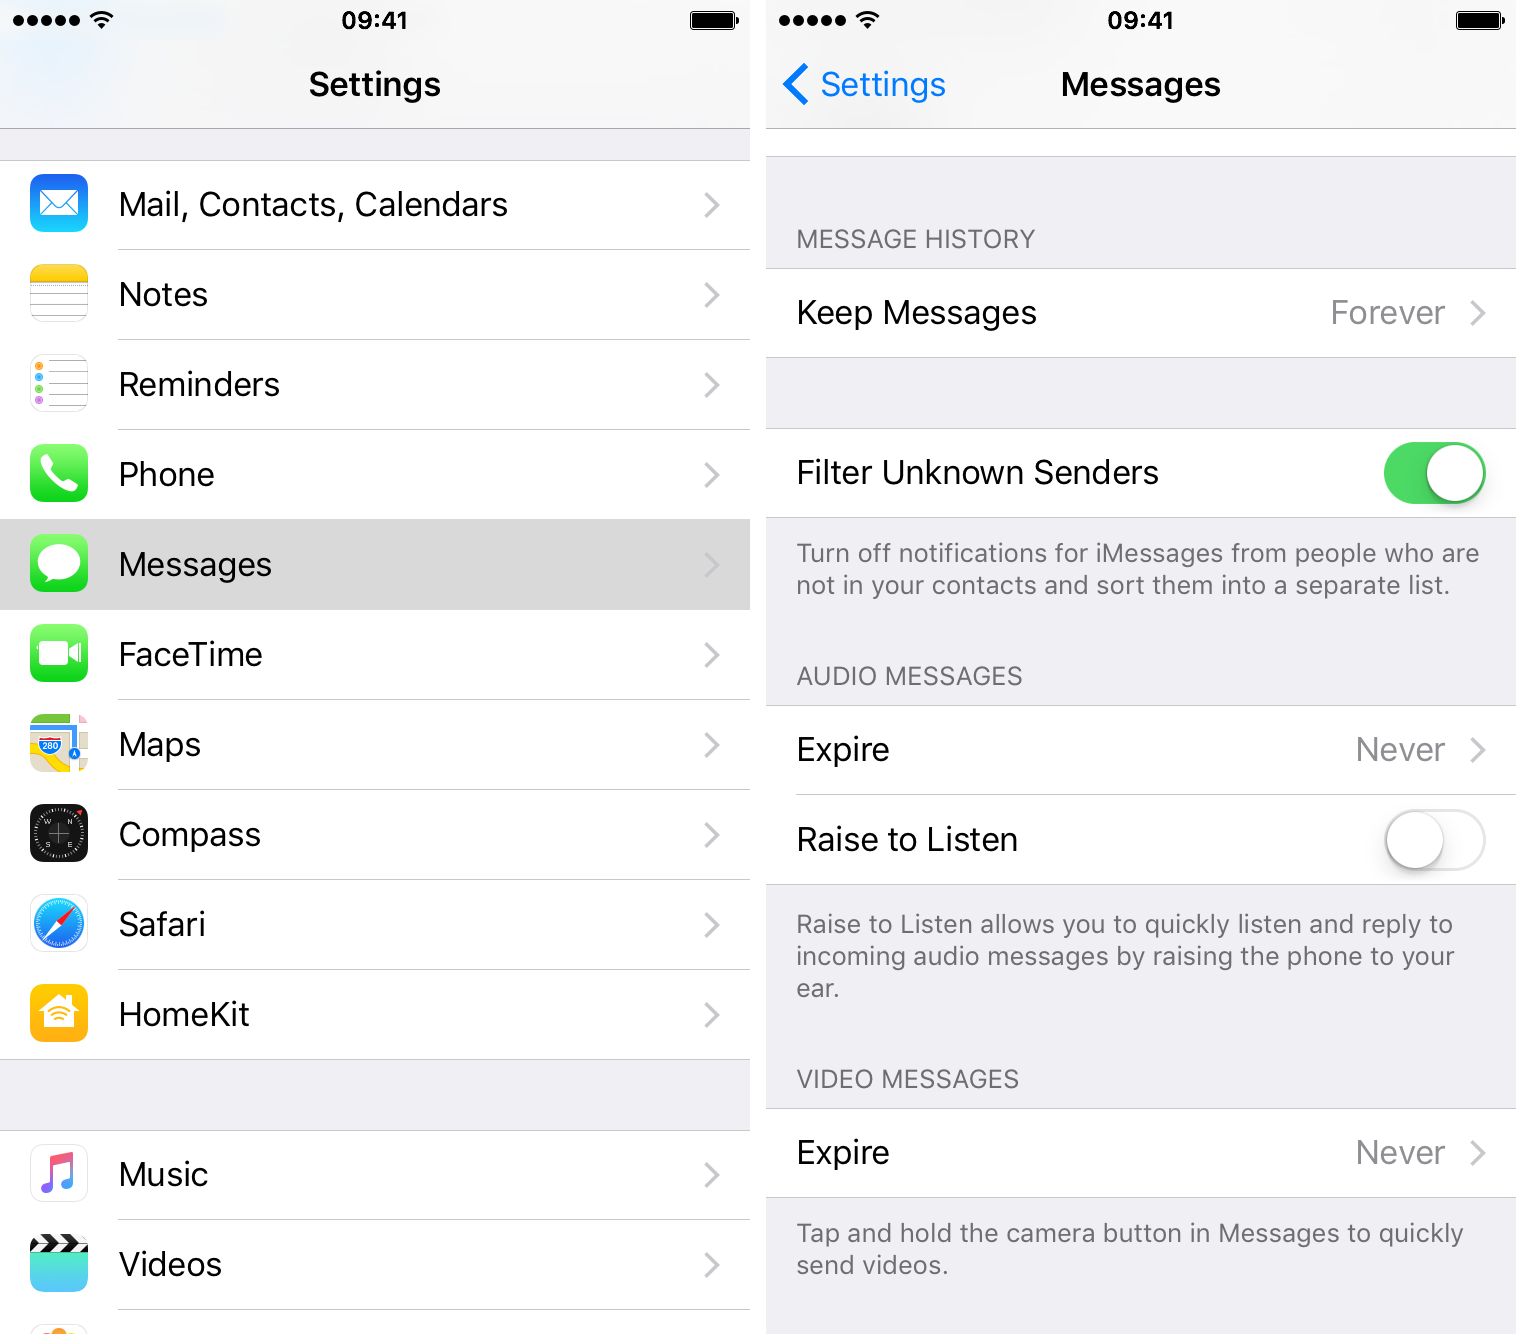
“Raise to Listen allows you to quickly listen and reply to incoming audio messages by raising the phone to your ear,” reads the description.
This will prevent the Messages app from automatically playing audio messages, or recording your own, after you bring your iPhone close to your ear.
How to send and listen to audio messages without Raise to Listen
You can play an audio message manually simply by tapping on it.
To reply with an audio message, tap and hold the microphone icon in a chat. Messages will start recording. Lift the finger when done to access options before sending.
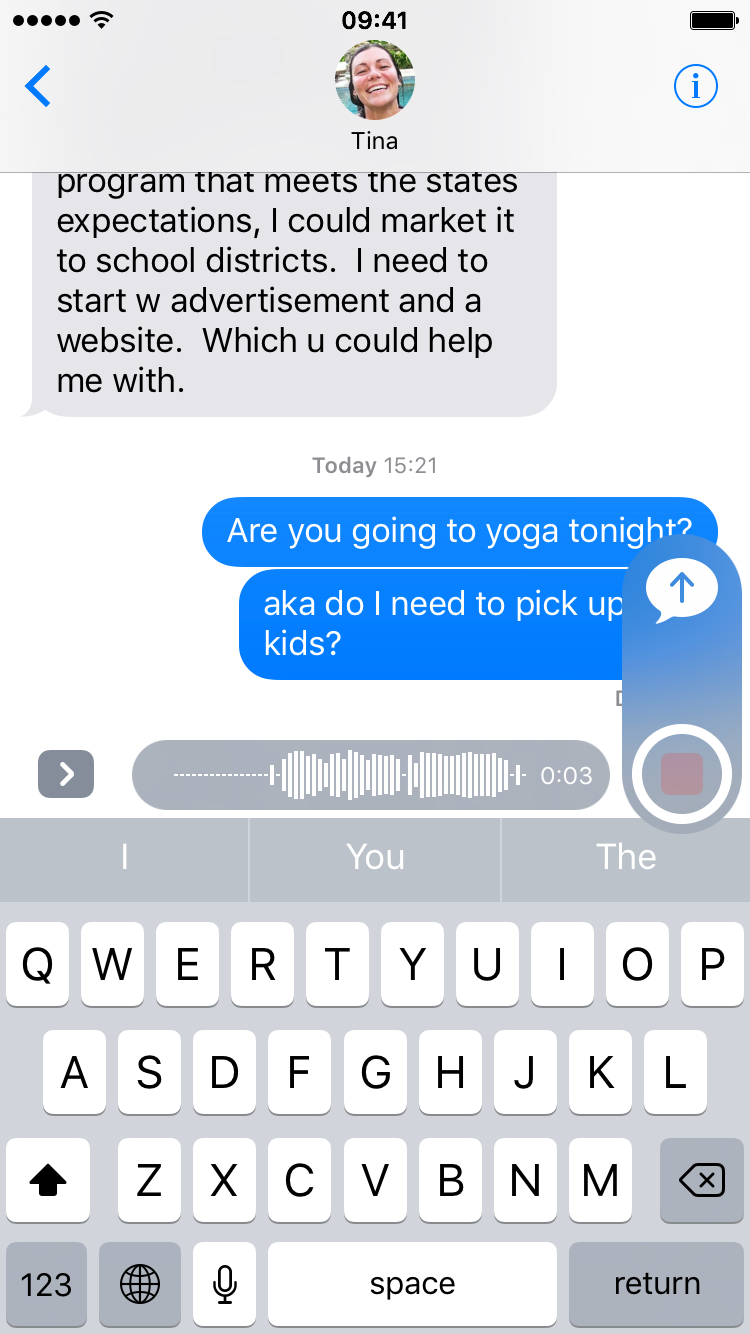
To preview the audio message before it’s sent, tap the play button next to the audio waveform. To cancel, hit the X symbol. To send the audio message, tap the up arrow.
You can also touch and hold the microphone button to start recording an audio message, then swipe up to send it immediately. Keep in mind that audio messages cannot be sent to non-iMessage users.
How to keep all audio messages you receive
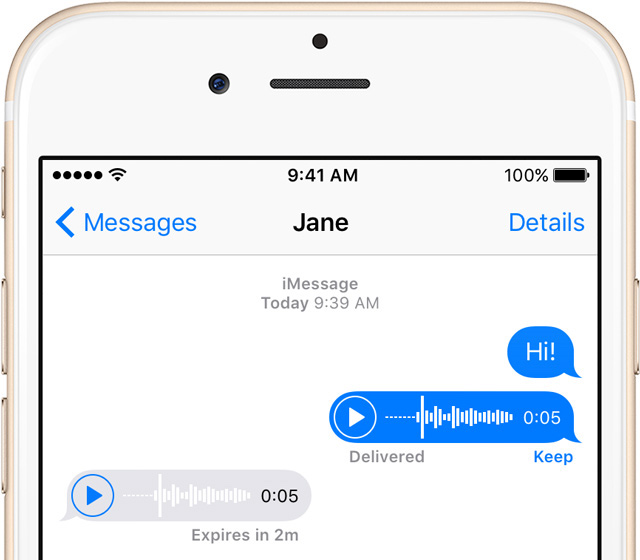
As a space-saving measure, audio messages you receive are deleted automatically two minutes after you listen to them, unless you tap the Keep link.
Or, you can go to Settings → Messages → Expire under the Audio Messages heading and select Never to have your iPhone keep all incoming audio messages automatically.
Tutorial: How to set iPhone to automatically delete audio messages created within Messages
Behind Raise to Listen wizardry
I learned through The Loop that Raise to Listen relies on both the iPhone’s proximity sensor to detect when the device is held close to your ear (or any other object) and a specific twisting motion to enable recording.
I originally thought Raise to Listen only needs a functioning proximity sensor, but “It’s the combination of the twisting motion and proximity to your ear,” the post states.
As a proof, hold your iPhone upright, wait a few seconds, then bring it to your ear without twisting it. Recording will not start.
“You can also make recording start by doing that same twisting motion and bringing your phone up to your hand, or even your coffee cup (the proximity sensor uses light, not heat, so any big enough object will trigger it),” explains The Loop’s Dave Mark.
Submit your feedback and tutorial ideas at tips@iDownloadBlog.com.