In this tutorial, we’ll show you how you can launch apps on your Retina display Mac in normal resolution rather than in its higher Retina display resolution form.
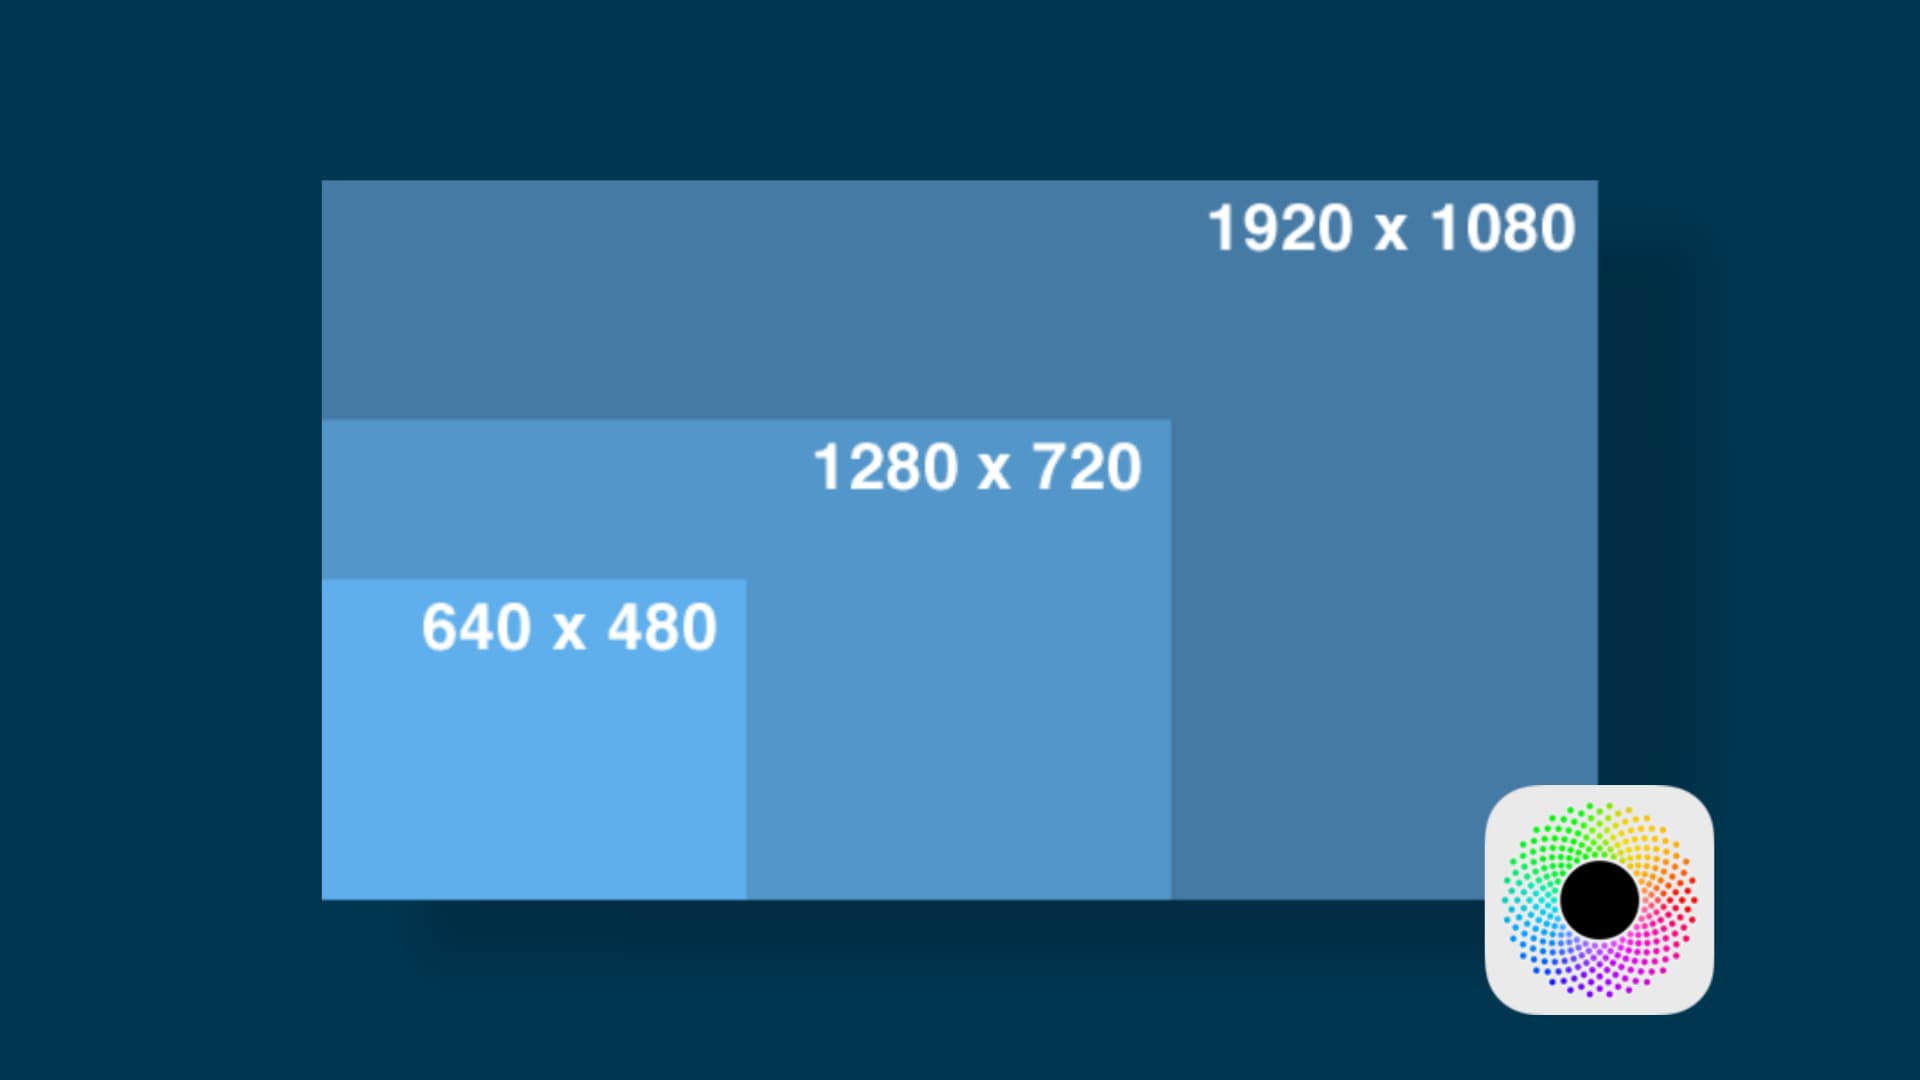
When it comes to most modern Macs, they come equipped with ultra high-resolution displays known as Retina displays.
These displays are the same size as standard displays but come with much denser pixel-per-inch (PPI) specifications than your average display.
Why launch apps in non-Retina resolution
For most people, this is a question of why you would actually want to do this in the first place. After all, you just spent a bunch of money on your fancy Mac, and you don’t want to sacrifice viewing quality because the Retina display looks so nice.
On the other hand, there are a number of reasons why you may want to launch an app in standard resolution rather than in Retina resolution; for example:
- To troubleshoot video card problems
- To better accommodate an external display
- To reduce the impact on system resources
- To reduce graphics card heat output
- To reduce problems if an app has a bug in Retina resolution mode
- And more…
While I understand most apps work without a hitch, it’s good to know that it’s possible to launch your apps in their native resolution mode. So, without further ado, let’s discuss how you can do it.
Remember that you may not see this option on newer Macs.
Launch Mac apps in standard resolution
If you’ve got a Retina display-enabled Mac, you can follow these steps to launch an app in standard resolution instead of Retina Display resolution.
1) Open a Finder window and navigate to your Applications folder.

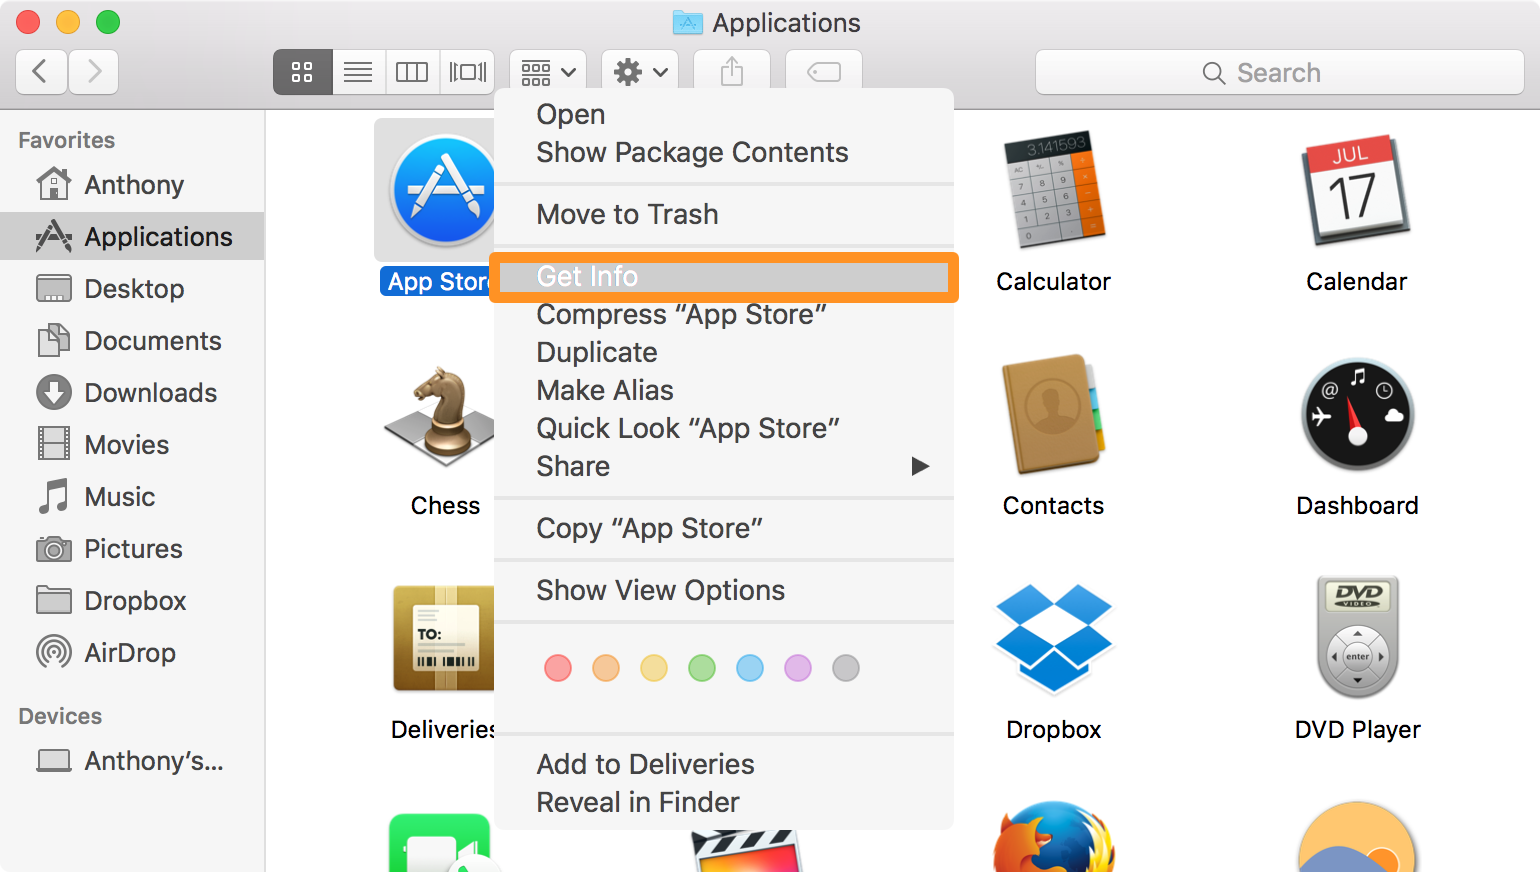
2) Right-click on the app you want to open in low-resolution mode from now on and click on Get Info from the list.
3) In the Get Info menu, you will want to put a checkmark in the box next to Open in Low Resolution.
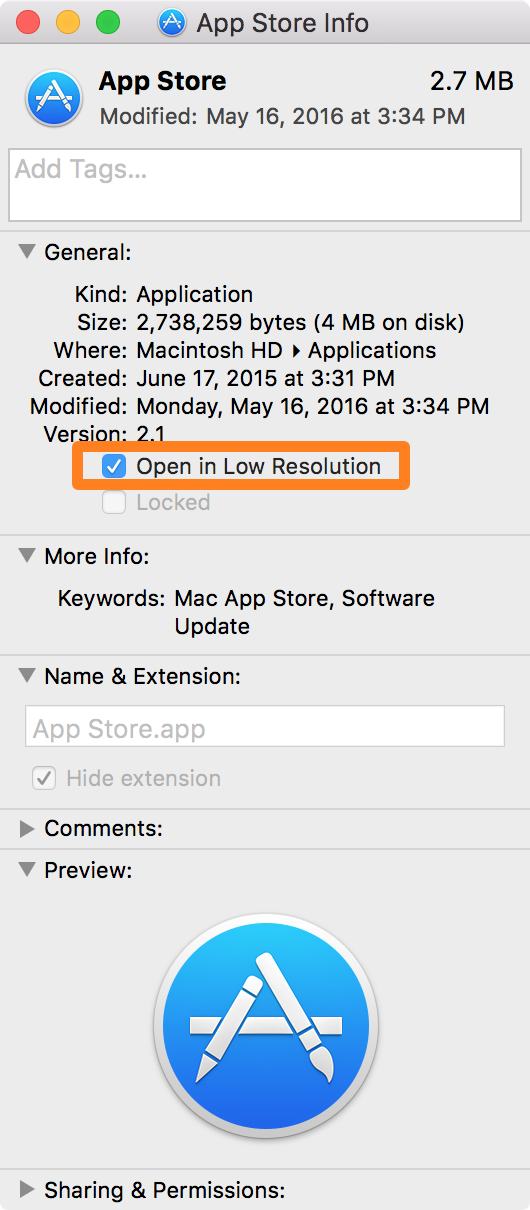
4) From your Applications folder, launch the app you just changed the settings on, and it will launch in the standard resolution instead of the higher PPI resolution that was formatted for your Retina display.
What’s the difference?
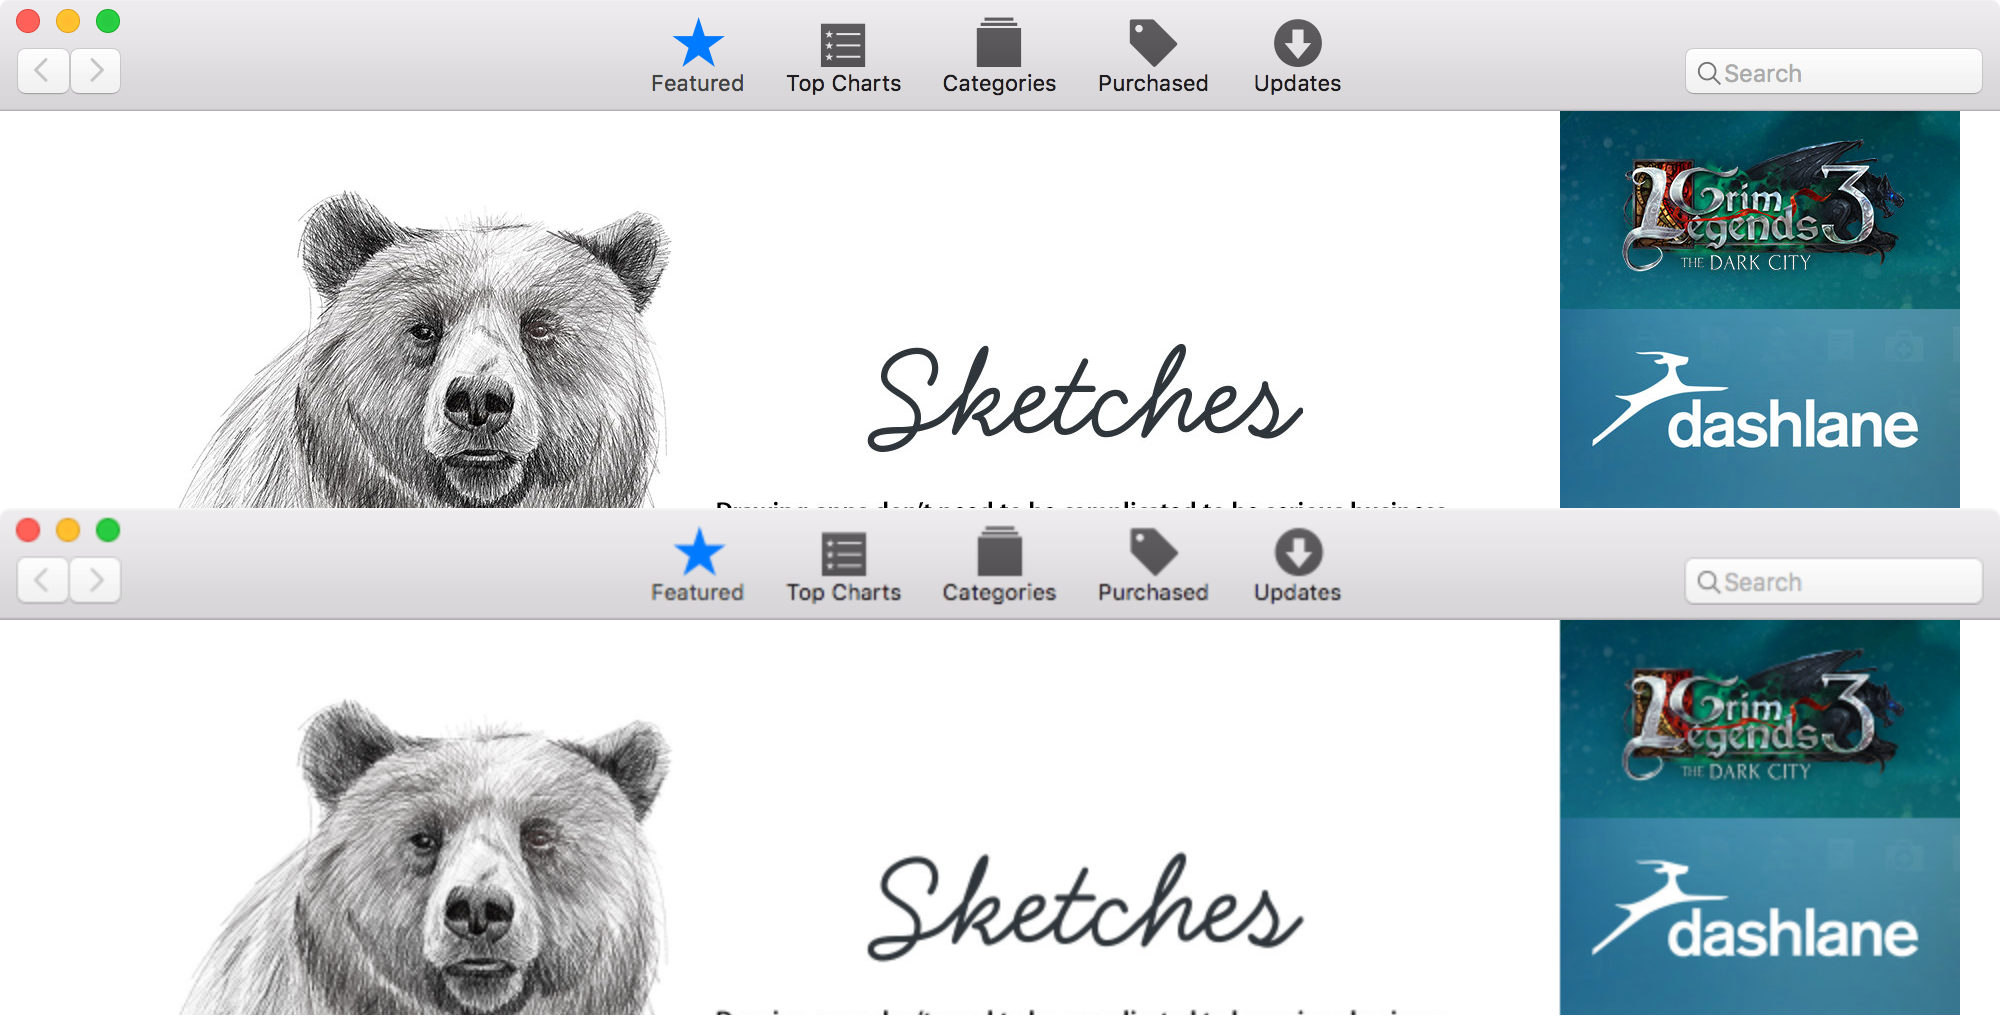
With the Retina display resolution, you would get crisp text and ultra-sharp edges, but with the standard resolution, you’re going to see a hazy and/or blurry effect to almost everything in the app because it’s being rendered at half of the resolution that it was intended to be.
In the example below, the top is rendered in Retina display resolution, and the bottom is rendered in standard resolution. You can see a clear difference in clarity between the two if you focus on the buttons in the navigation bars, as well as on the text throughout the screenshots.
In terms of what this will do for you, if you’re running an external display with an ultra-high resolution and you don’t think your computer’s graphics can keep up with it, then reducing the resolution of the apps you intend to use on it is one way to reduce the load on your GPU to prevent poor performance or hardware damage.
In many cases, apps will load quicker because they don’t have to spend too much time rendering. On the other hand, many modern computers are so fast that you may not even notice the differences. They’ll be minimal at best.
Did you know you could launch Mac apps in standard resolution on your Retina display-equipped Mac? Share in the comments!
You might also like: