When Yosemite was first announced with all of its awesome features, I exclaimed on iDB’s group chat session that I would be installing the OS as soon as it was available for download. Sebastien quickly rebuffed my excitement and told me how unreasonable it was to install a beta OS on my main machine, and especially so while I’m out of the country. After being a bit disappointed (that wasn’t what I wanted to hear at all…I mean, SMS texting on OS X!) I eventually came to the realization that he was right.
But then, I remembered that I didn’t need to settle. I could easily create a partition on my Mac and keep Yosemite completely separate from my main (and stable) Mavericks install. It had been a while since I had last messed around with disk partitioning in OS X, but it didn’t take long before I was installing the Yosemite beta on the same Mac where my primary Mavericks install lays its head down at night.
The benefits are multi-faceted. Number one, you get to try out Apple’s new OS right now. Number two, you don’t have to worry about buggy beta software cramping your style; after all, you’re still running your main OS on the a separate partition. Number three, it can be done quickly, and with little to no downsides (as long as you have the disk space to spare). Check inside for our full tutorial that shows you how to install OS X 10.10 Yosemite on a separate partition on your primary Mac.
Before starting
Before you get going on this tutorial, you’ll need to ensure that you have adequate disk space to accommodate another OS installation. If you’re running a Mac with less than 256GB of total HDD space, then I don’t recommend doing this. This warning primarily applies to the lower end Mac’s with SSDs—think the entry level MacBook Air. I recommend doing this on Mac with 256GB~ of total HDD space and above.
You also need to ensure you have adequate free disk space. If your primary OS X installation consumes most of the hard drive space, you’ll need to delete some files, or reconsider your options. If you actually want to be able to use and fully test your Yosemite install, I recommend at least allocating 50GB of storage space to Yosemite partition. You might be able to scoot by with 30GB~ but that’s really pushing it if you actually want to be able to use Yosemite, download updates, and download apps.
On my actual machine, I’ve allocated 50GB to the Yosemite partition for testing purposes. Only you will know what you truly need, but the more space you can allocate (within reason) the better.
Video Tutorial
If you’re not familiar with creating partitions and the exact procedures behind doing so, then I definitely recommend that you follow the step-by-step tutorial below. However, if you just need a brief refresher course, then this less than 2 minute video should be sufficient enough to get you started.
Please watch this video in full screen and choose high resolution settings. It has been recorded and exported in high resolution so that you can make out the details better on a computer monitor.
Step-By-Step Tutorial
Download OS X
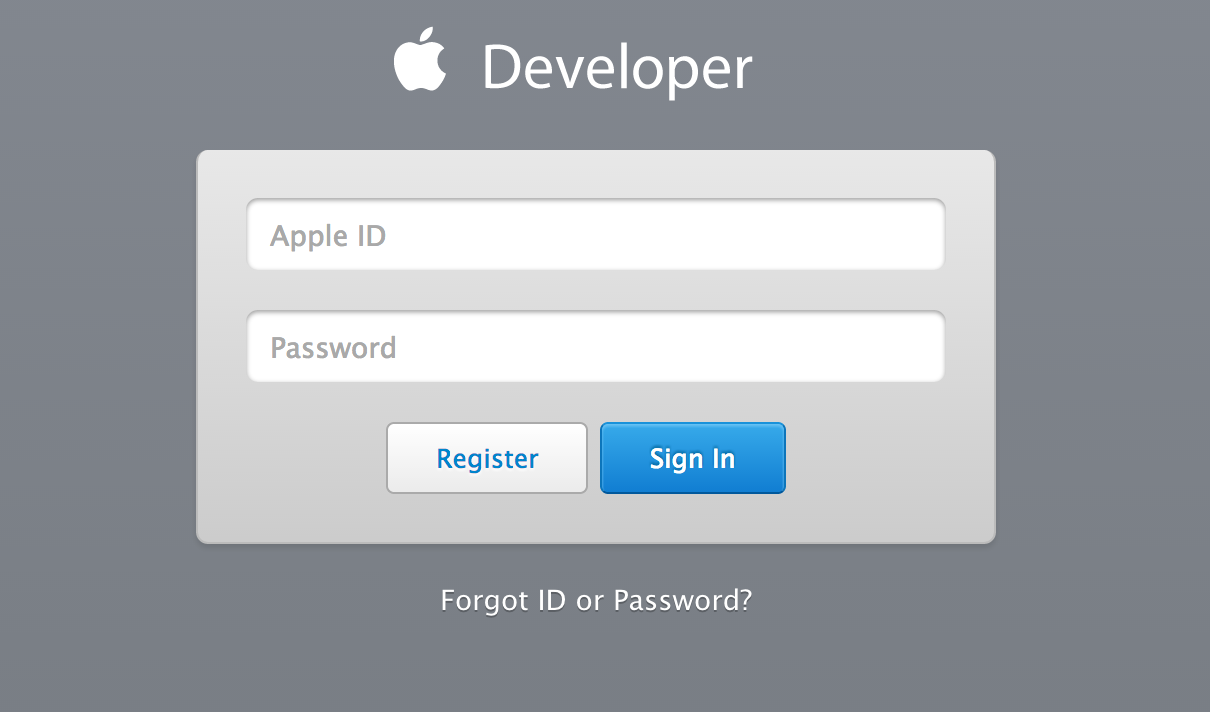
Step 1: Download OS X Yosemite via the Apple Developer Portal. Even if you’re not a developer, you can download it via Apple’s Yosemite OS X 10.10 public beta.
Step 2: Initiate the actual download via the Purchases tab on the Mac App Store app. The download is quite large (over 5 GB) so use patience when downloading.

Step 3: Once the download is completed, you should see a new “Install OS X 10.10 Developer Preview.app” in your Applications folder and in Launchpad.

Partition your Hard Drive
Step 1: Launch Disk Utility, which is available in /Applications/Utilities/Disk Utility.app. You can also find the Disk Utility app by searching via Launchpad.

Step 2: On the Disk Utility app, you should see Macintosh HD in your list of items on the left-hand side of the app. You will likely see two ‘Macintosh HD’ options. The first one applies to the logical volume, and the second nested ‘Macintosh HD’ applies to the primary partition. Select the first ‘Macintosh HD’ option.
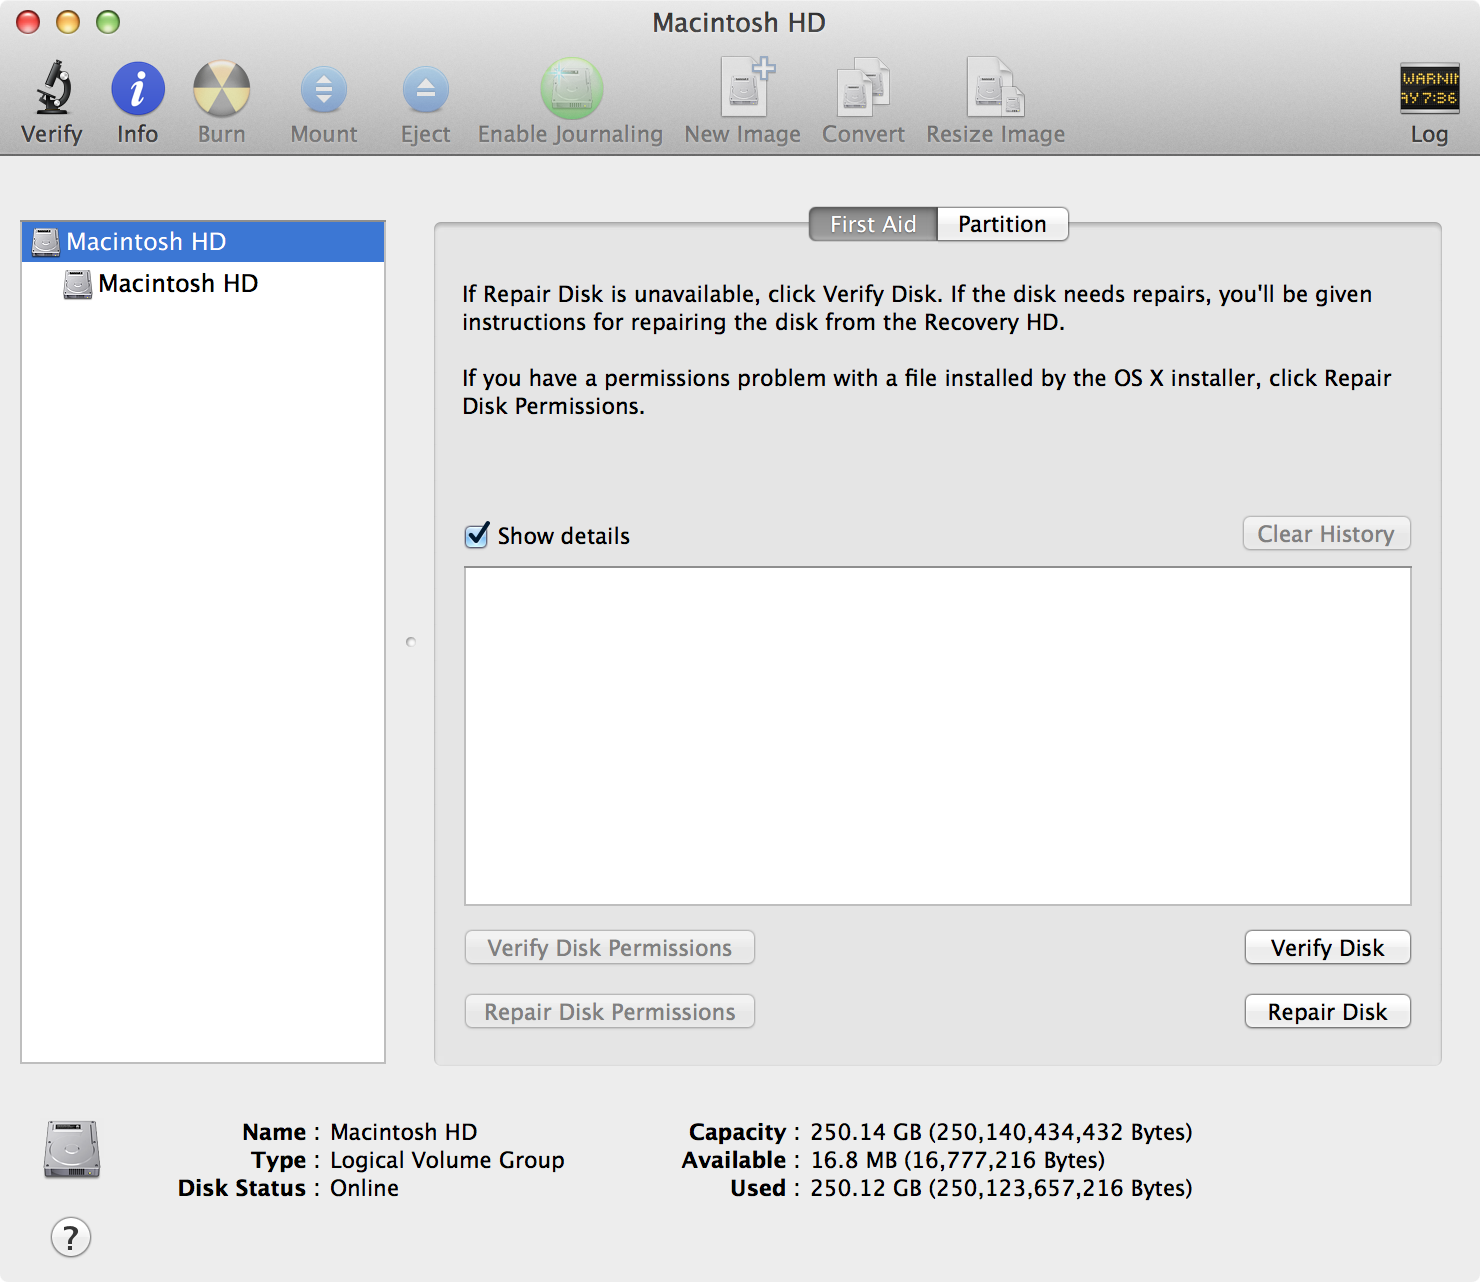
Step 3: Click the Partition tab

Step 4: Click the ‘+’ sign under the Partition Layout section. This will display a ‘Macintosh HD 2’ partition that can be resized using the drag handle between ‘Macintosh HD’ and ‘Macintosh HD 2’.
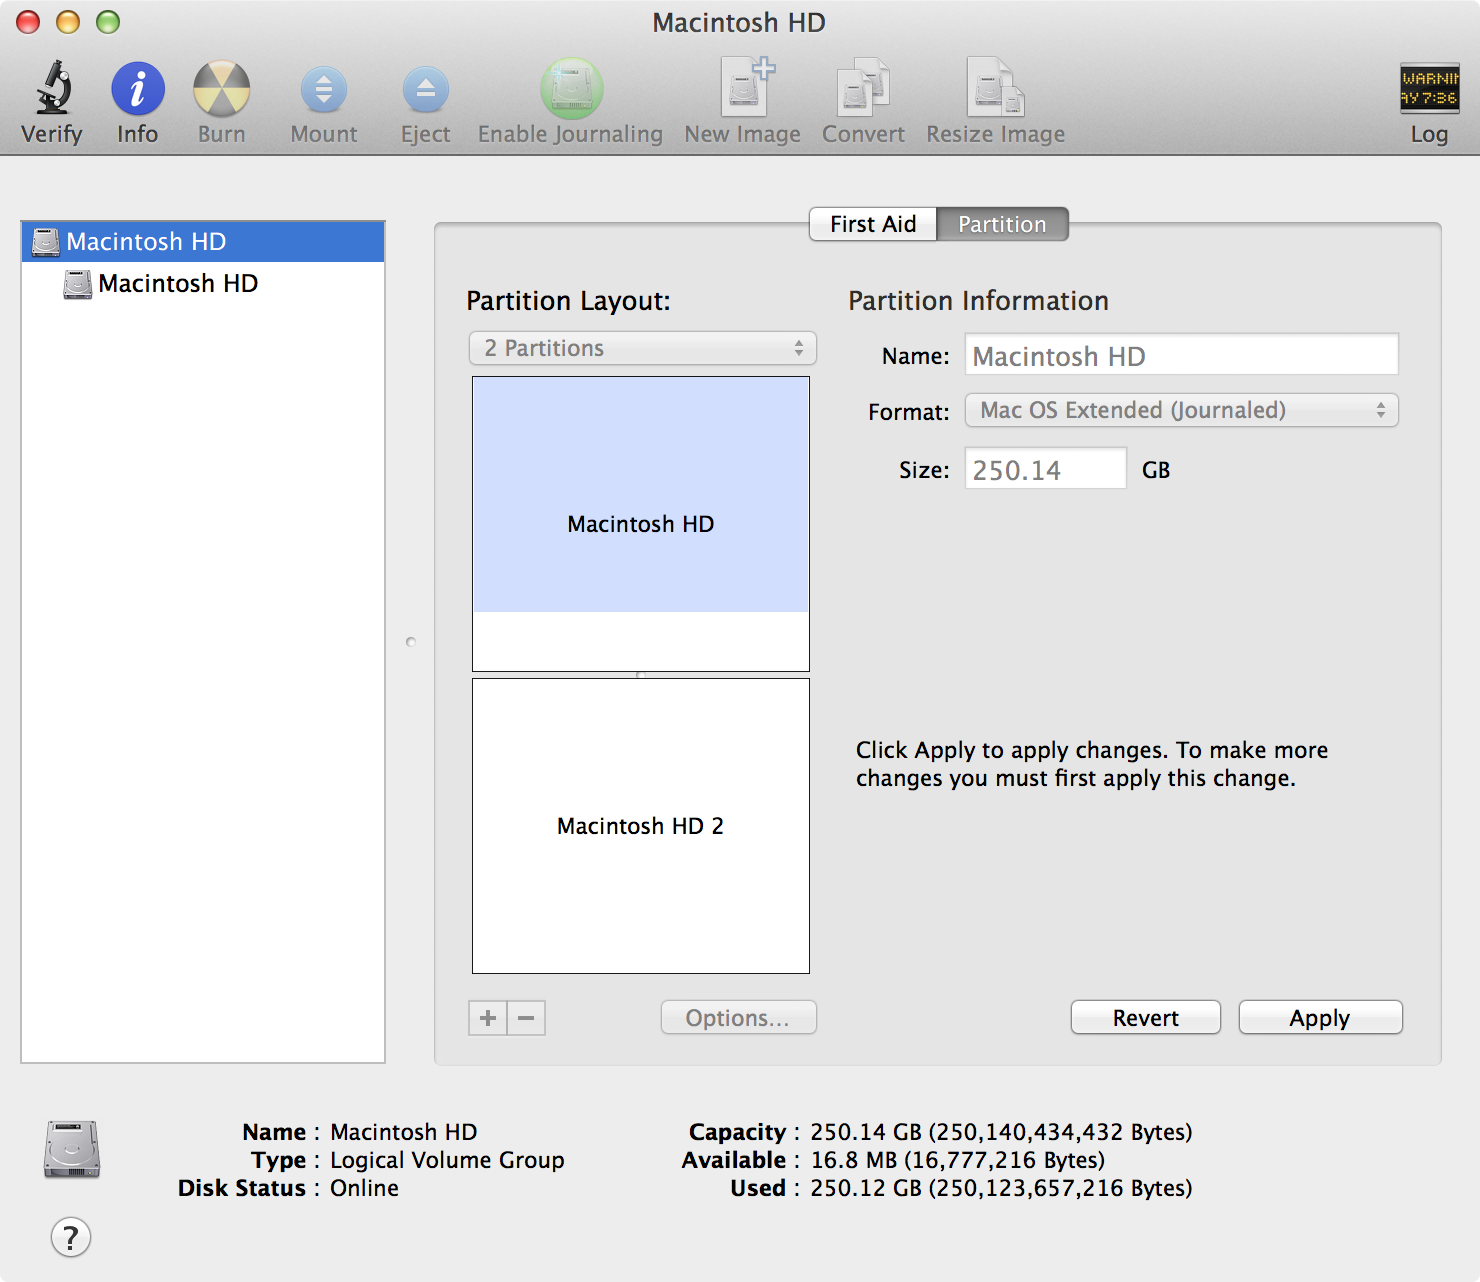
Step 5: Position the drag handle to ensure that the Macintosh HD 2 partition has enough space. I recommend using at least 50GB.

Step 6: Under Partition Information on the right-hand side of the screen, you’ll see the Name input box. By default the name will be Macintosh HD 2, but I recommend renaming the partition to something that’s easier to identify. Since we’re installing Yosemite, I suggest using the name Yosemite HD.
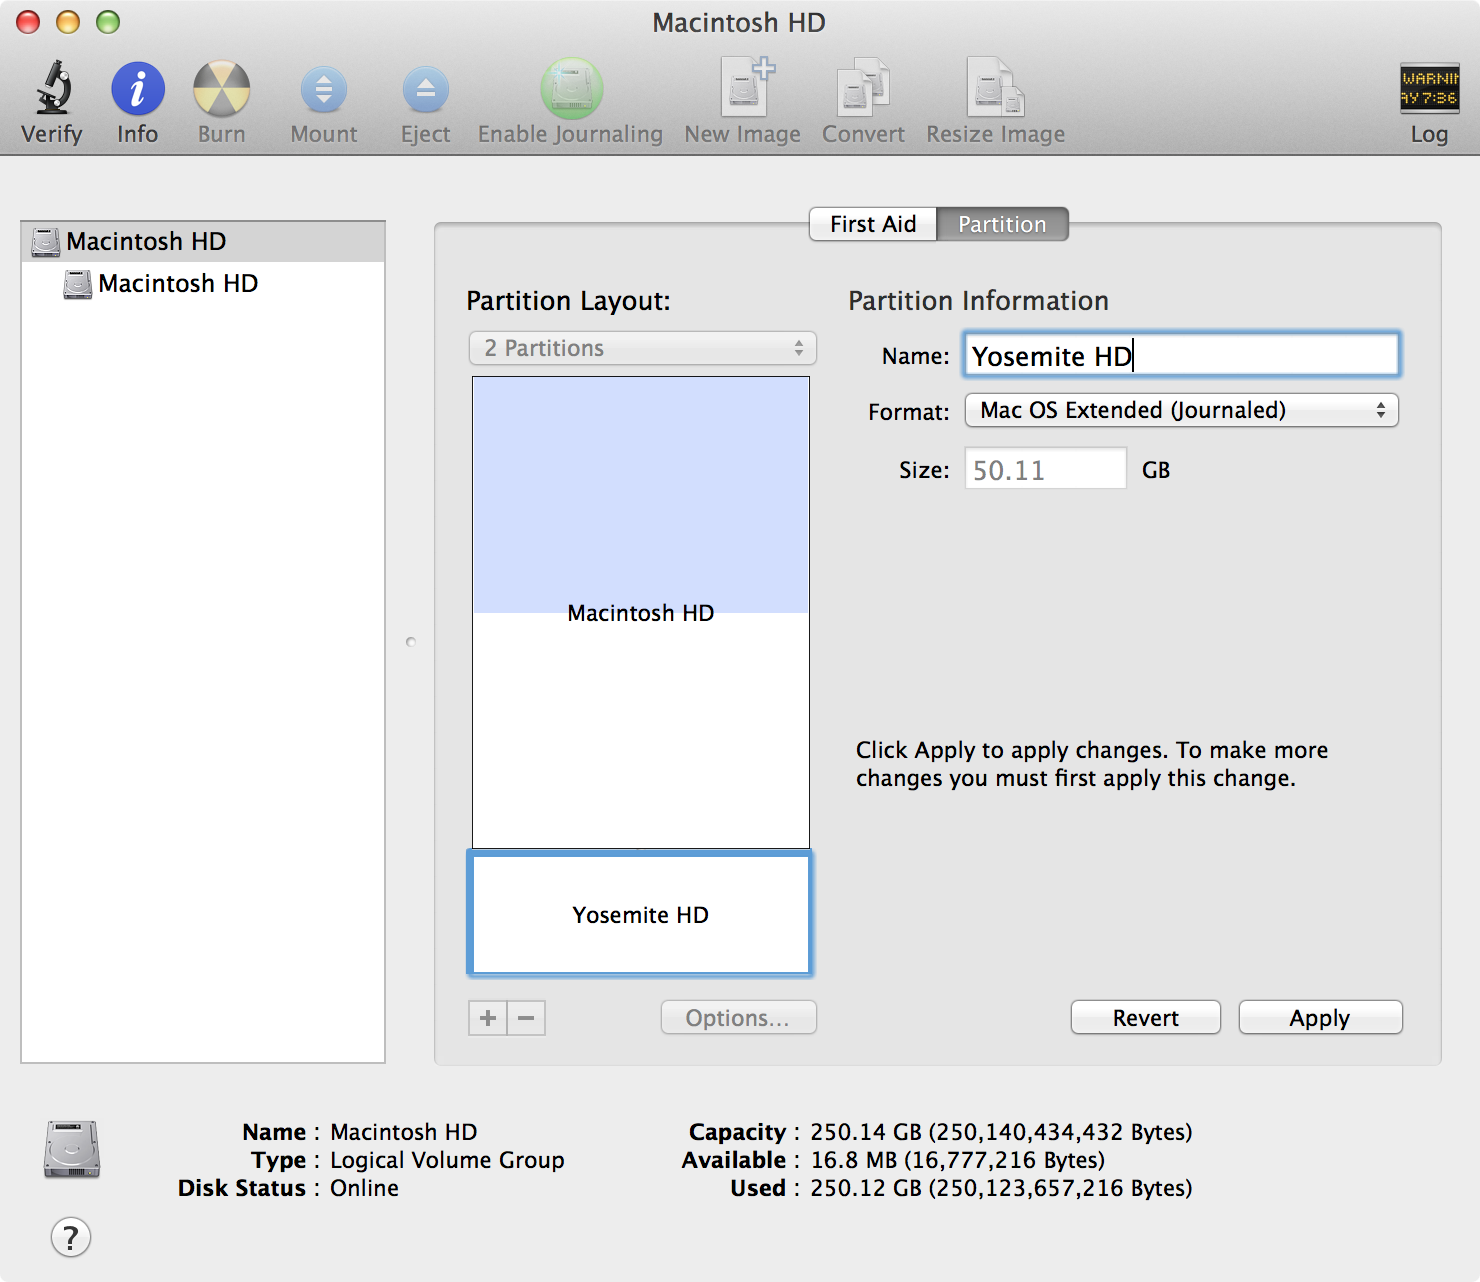
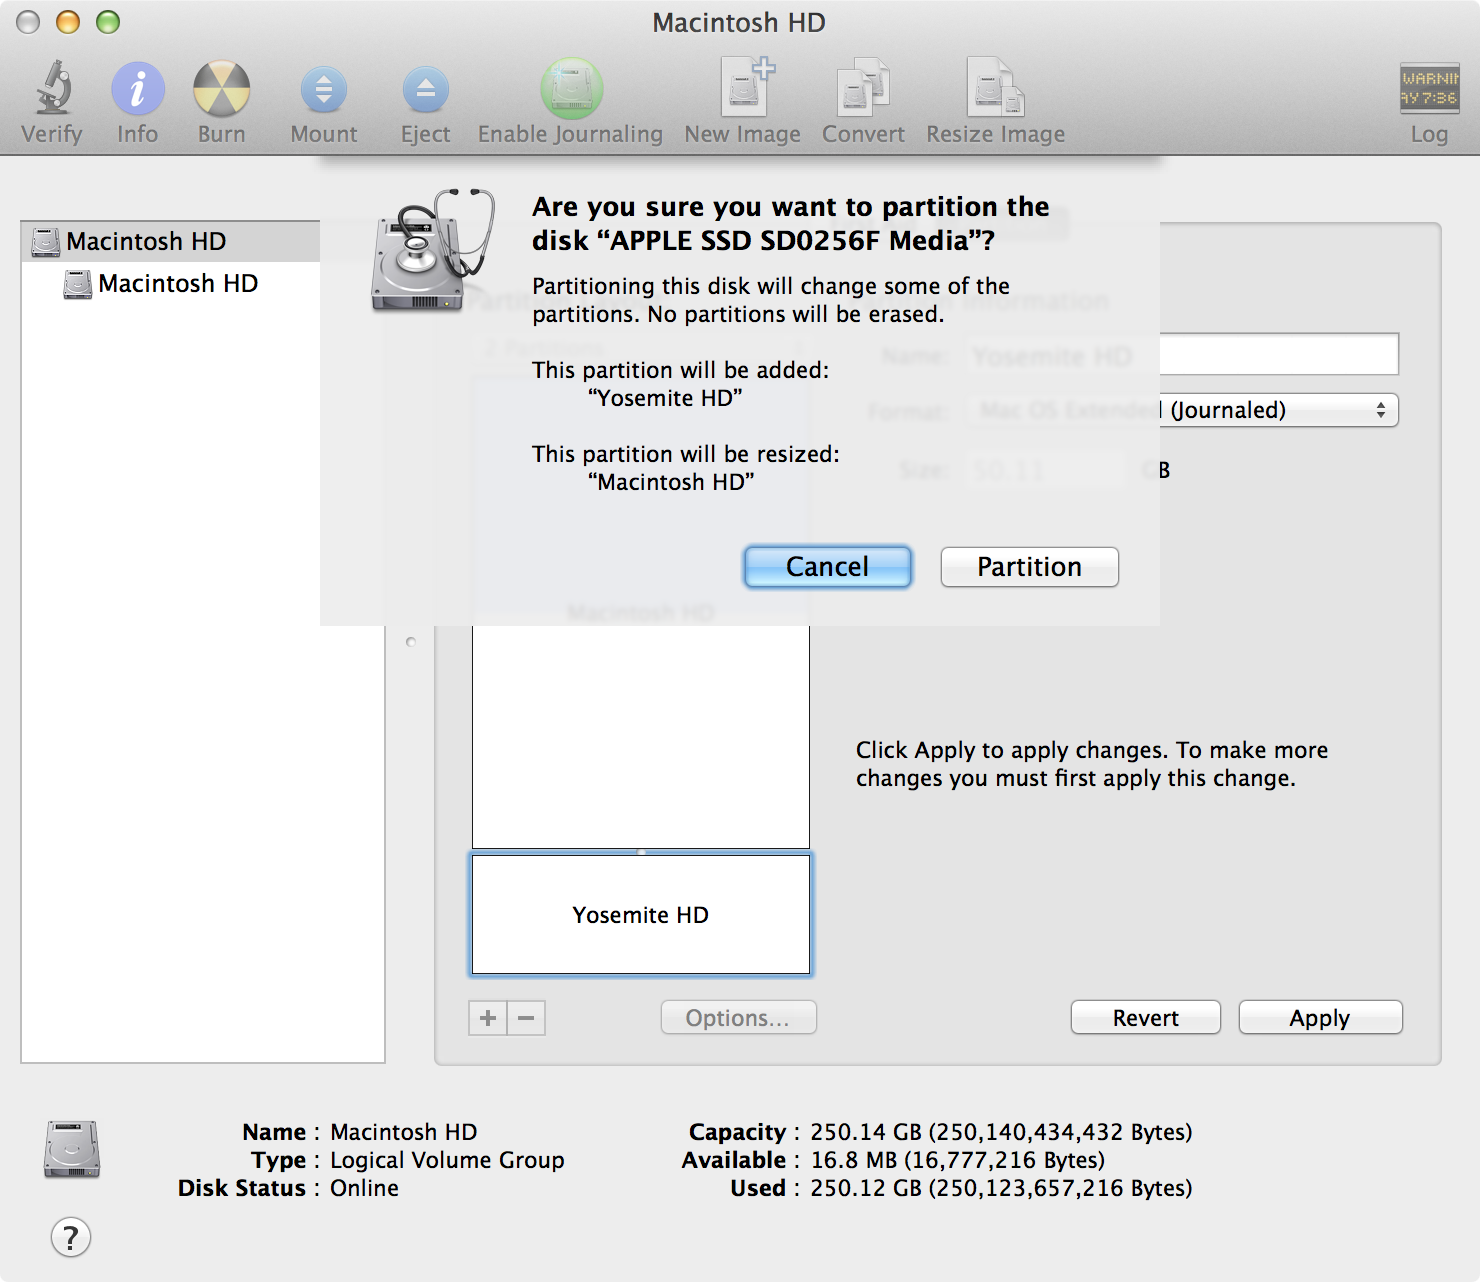
Step 7: Ensure that all other settings are left default, including the Format, which should be set to Mac OS Extended (Journaled). Click Apply near the bottom right-hand corner of the screen to create the partition. You will receive a prompt asking if you’re sure you want to proceed. Click the Partition button to continue.
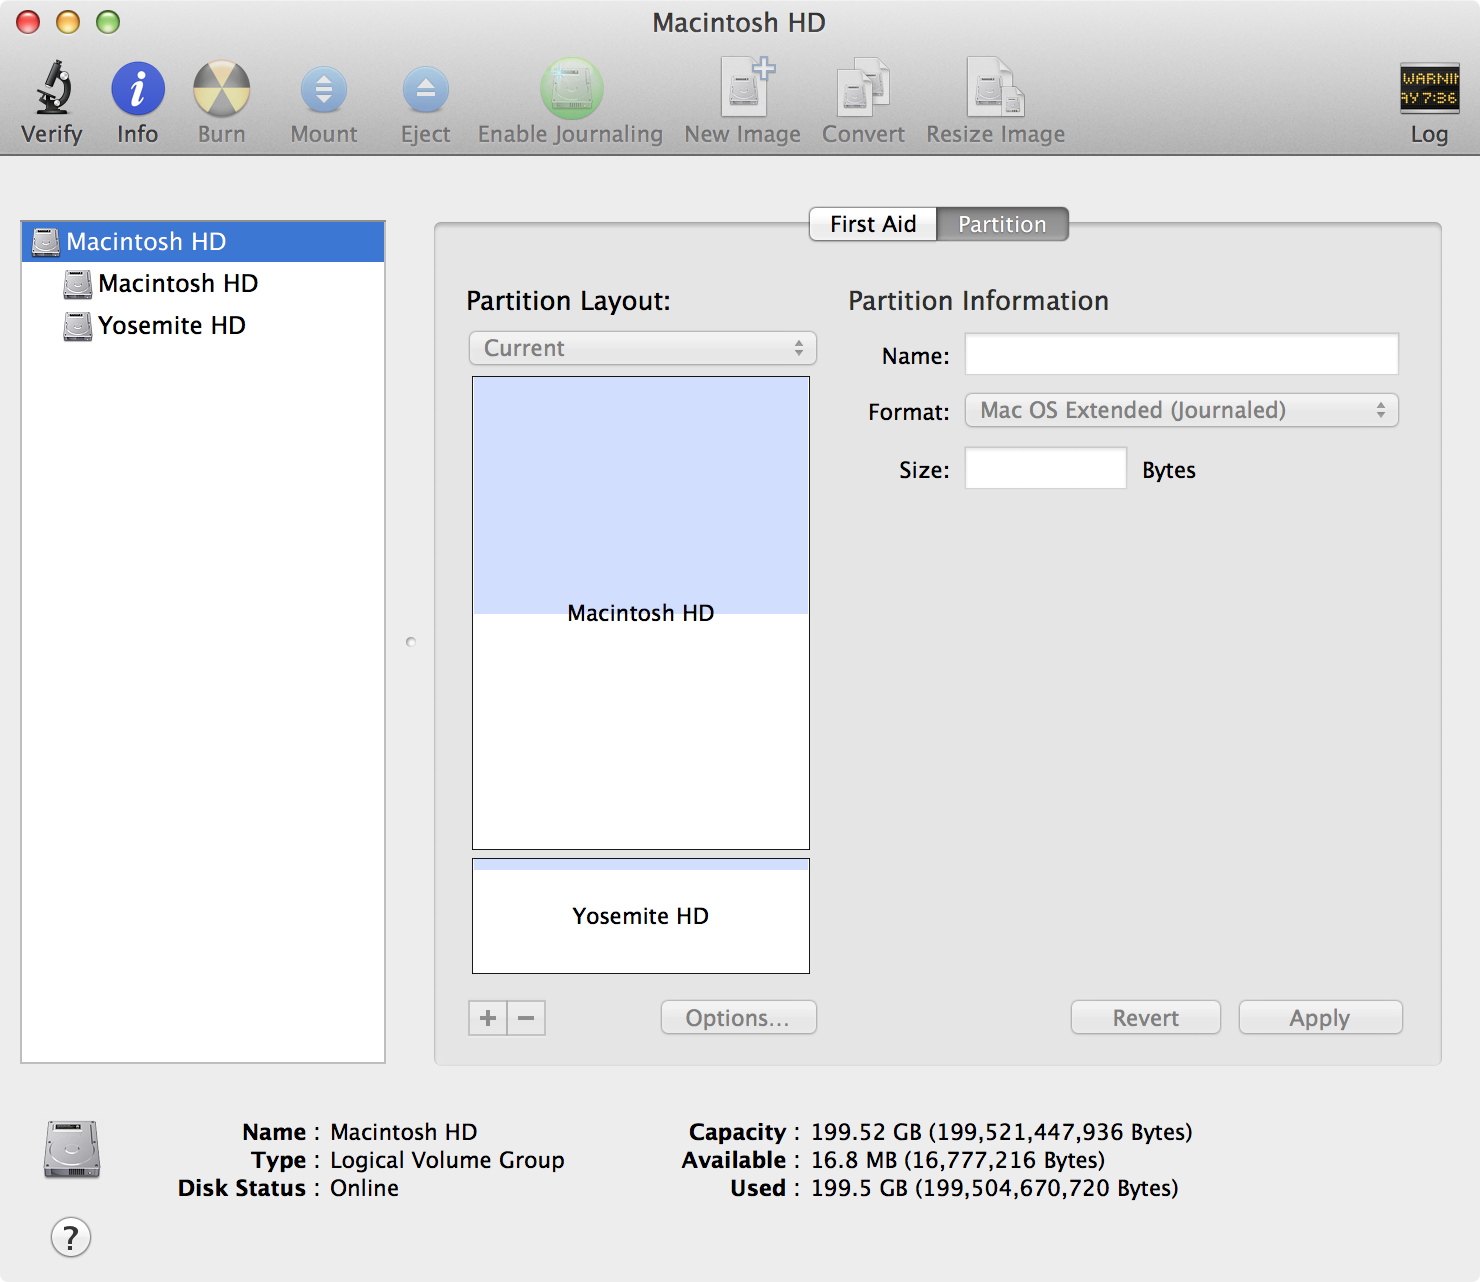
Step 8: Creating the partition will take a few moments. After the partition is created, you will see another partition—Yosemite HD—listed under the Macintosh HD logical volume.
Install OS X 10.10 Yosemite on the new partition
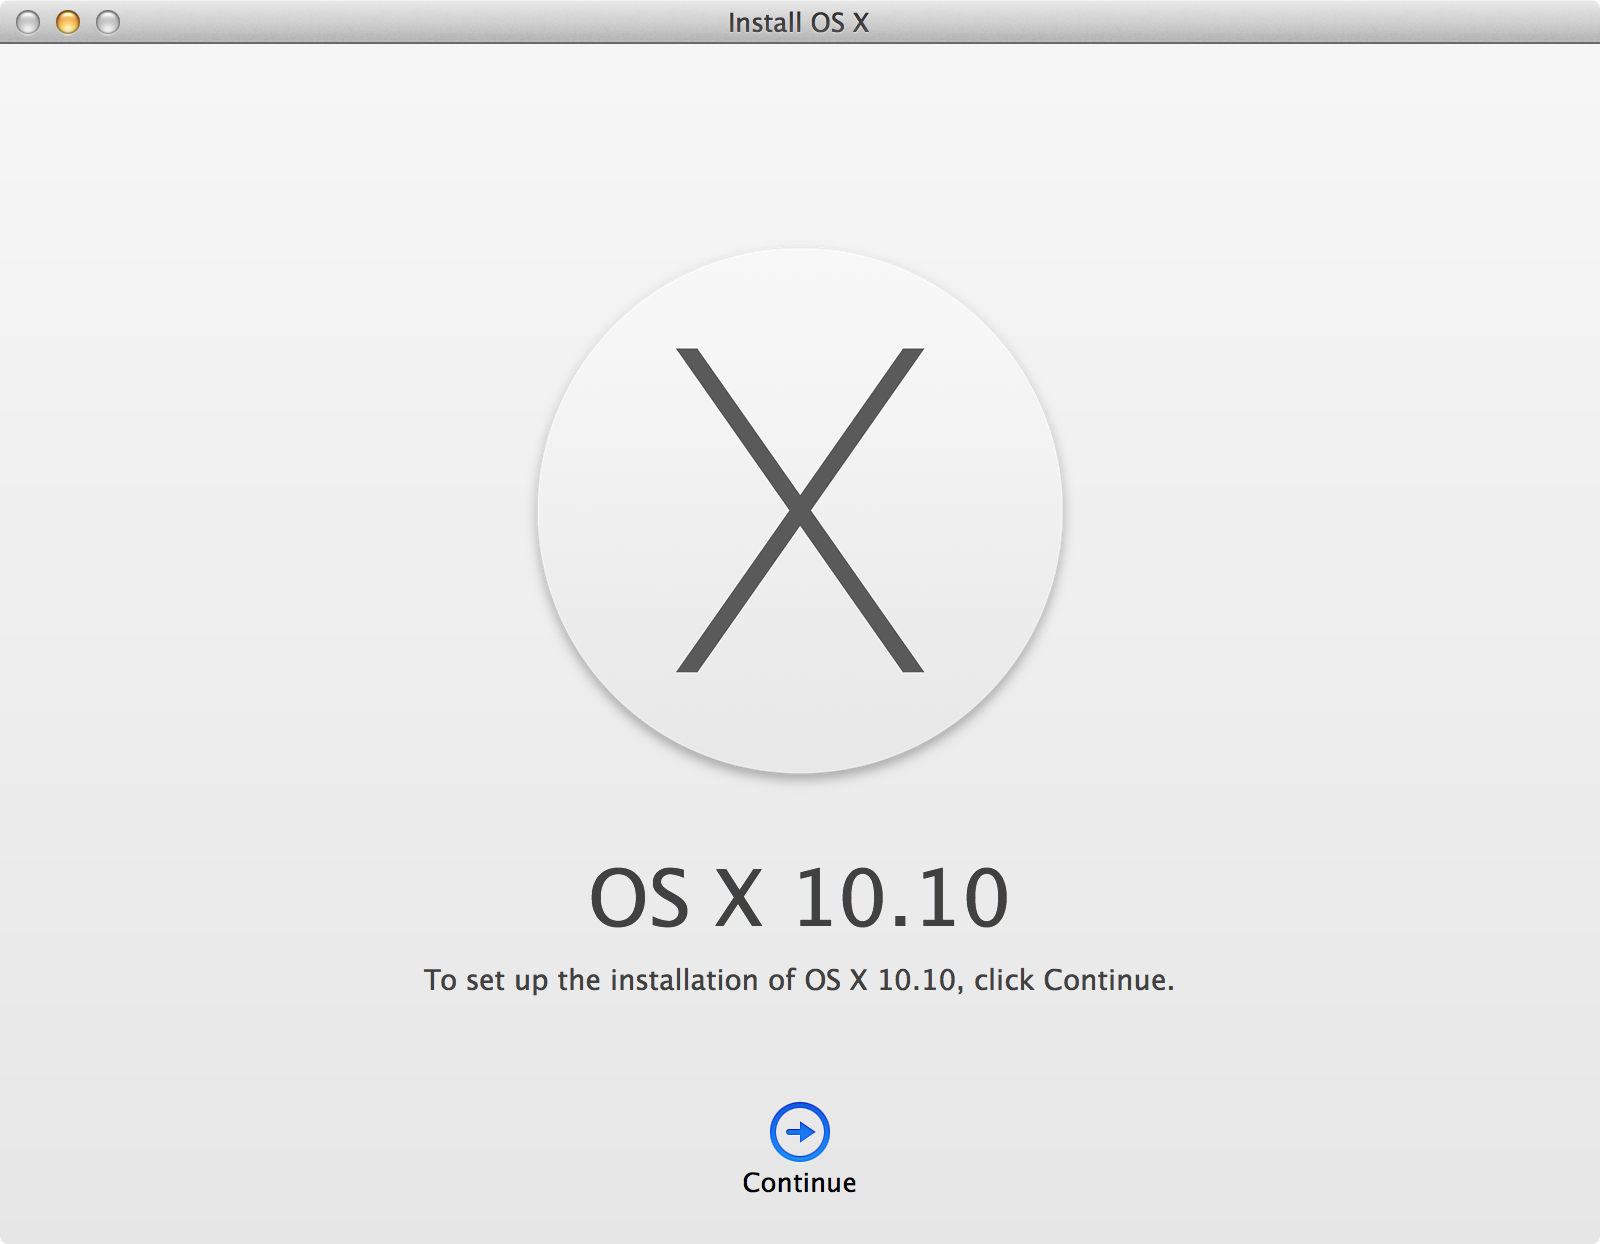
Step 1: Launch the “Install OS X 10.10 Developer Preview.app” to begin the Yosemite installation process.
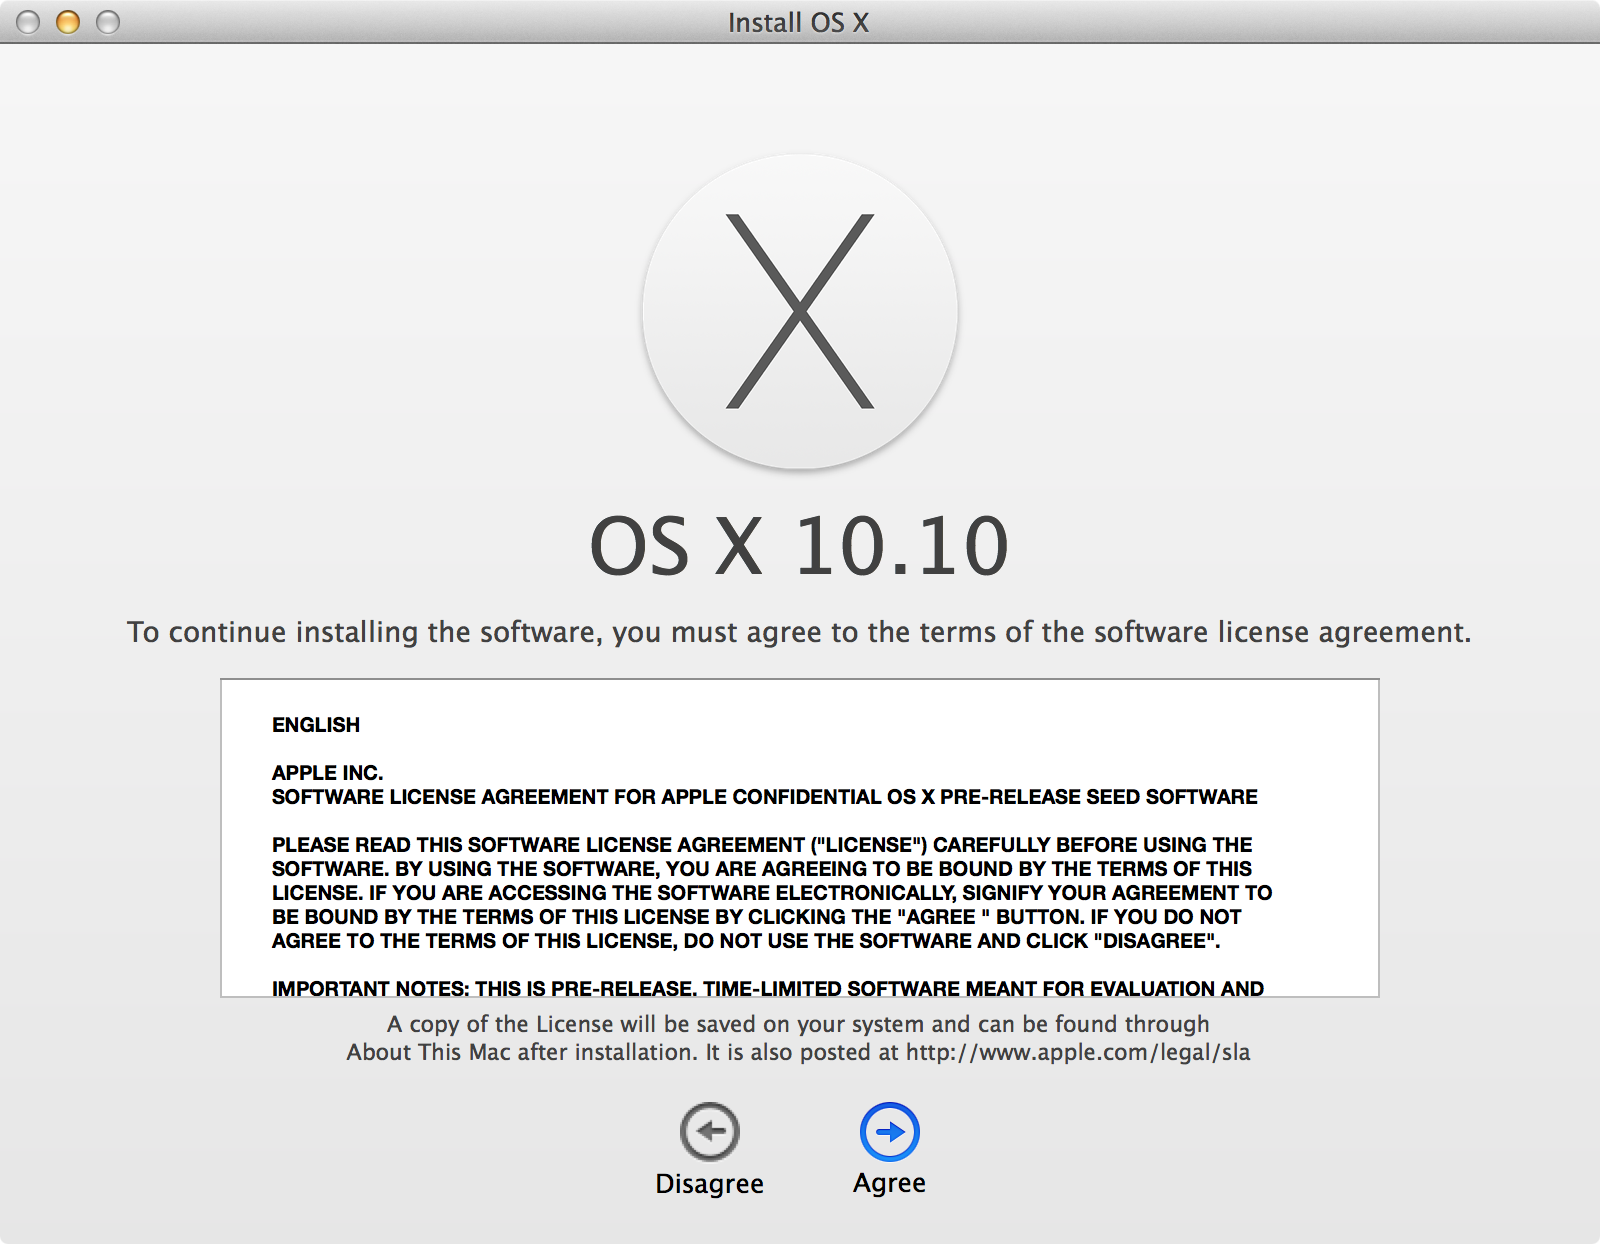
Step 2: Click Continue
Step 3: Click Agree
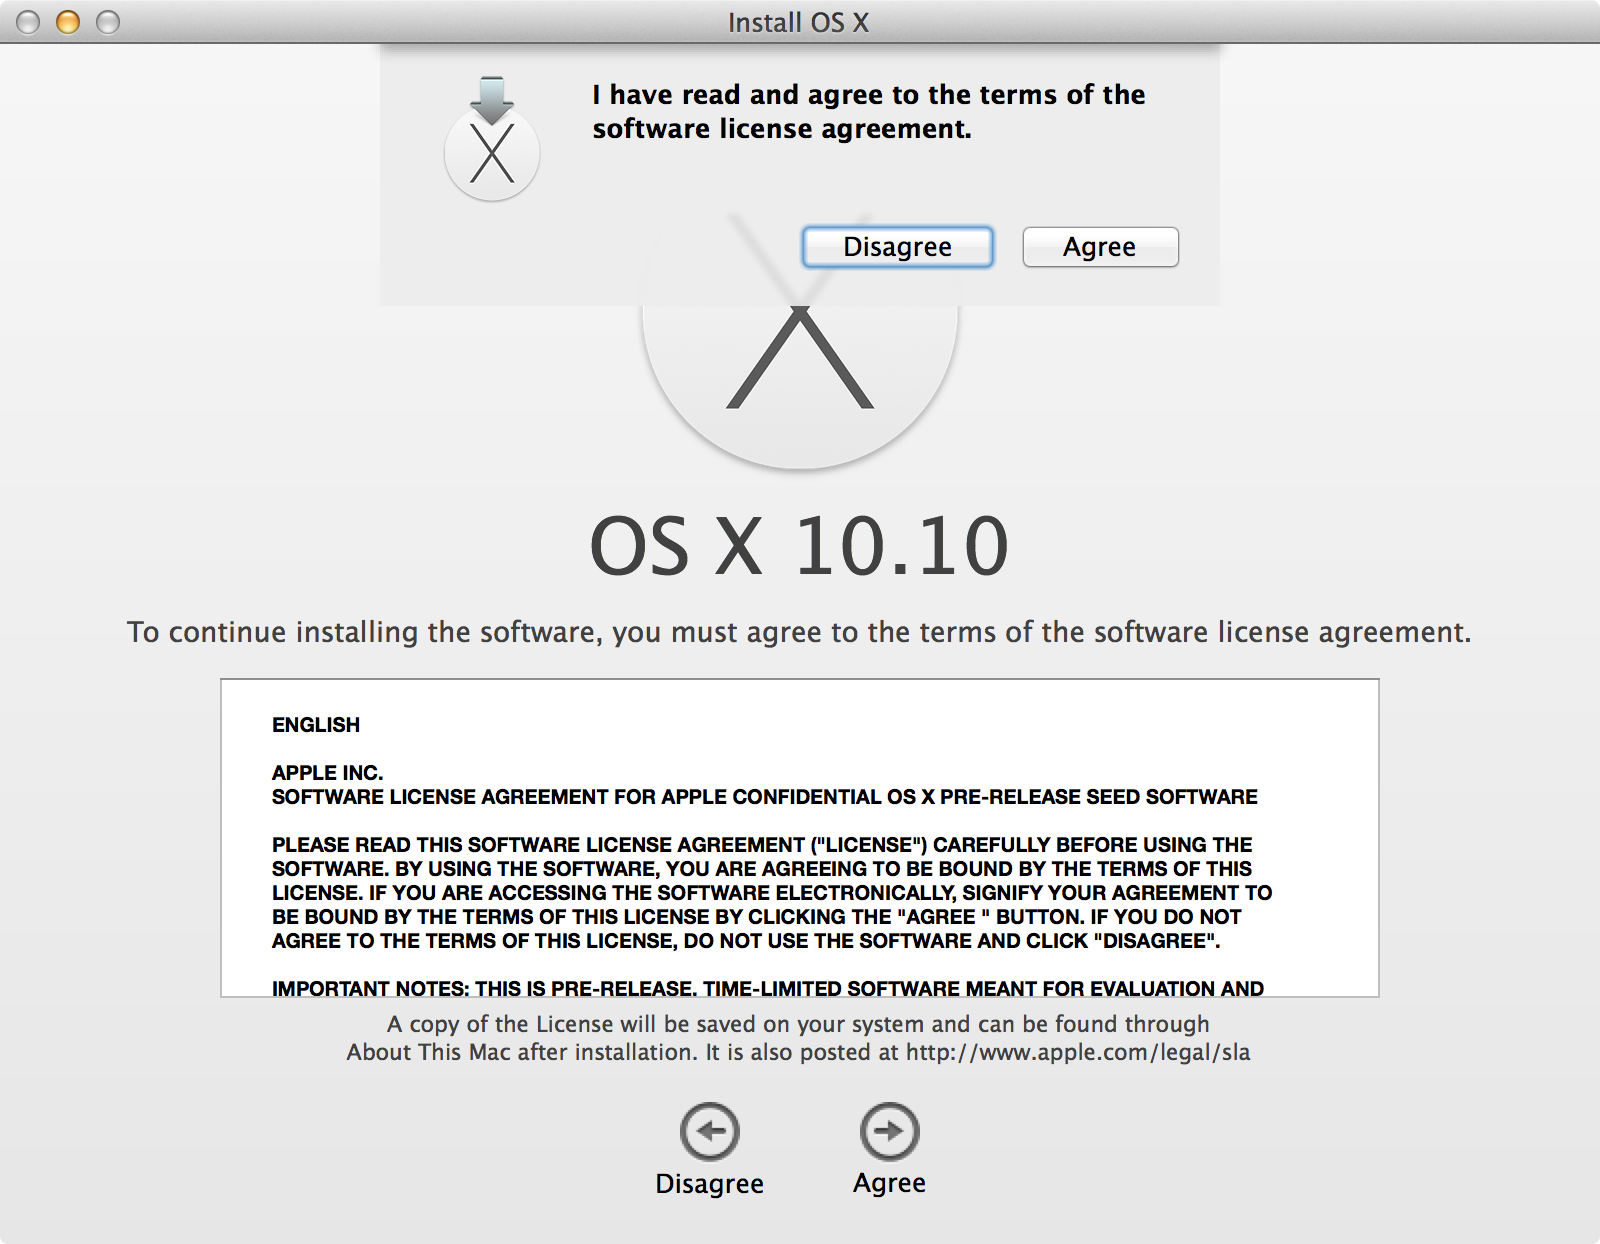
Step 4: Click Agree again
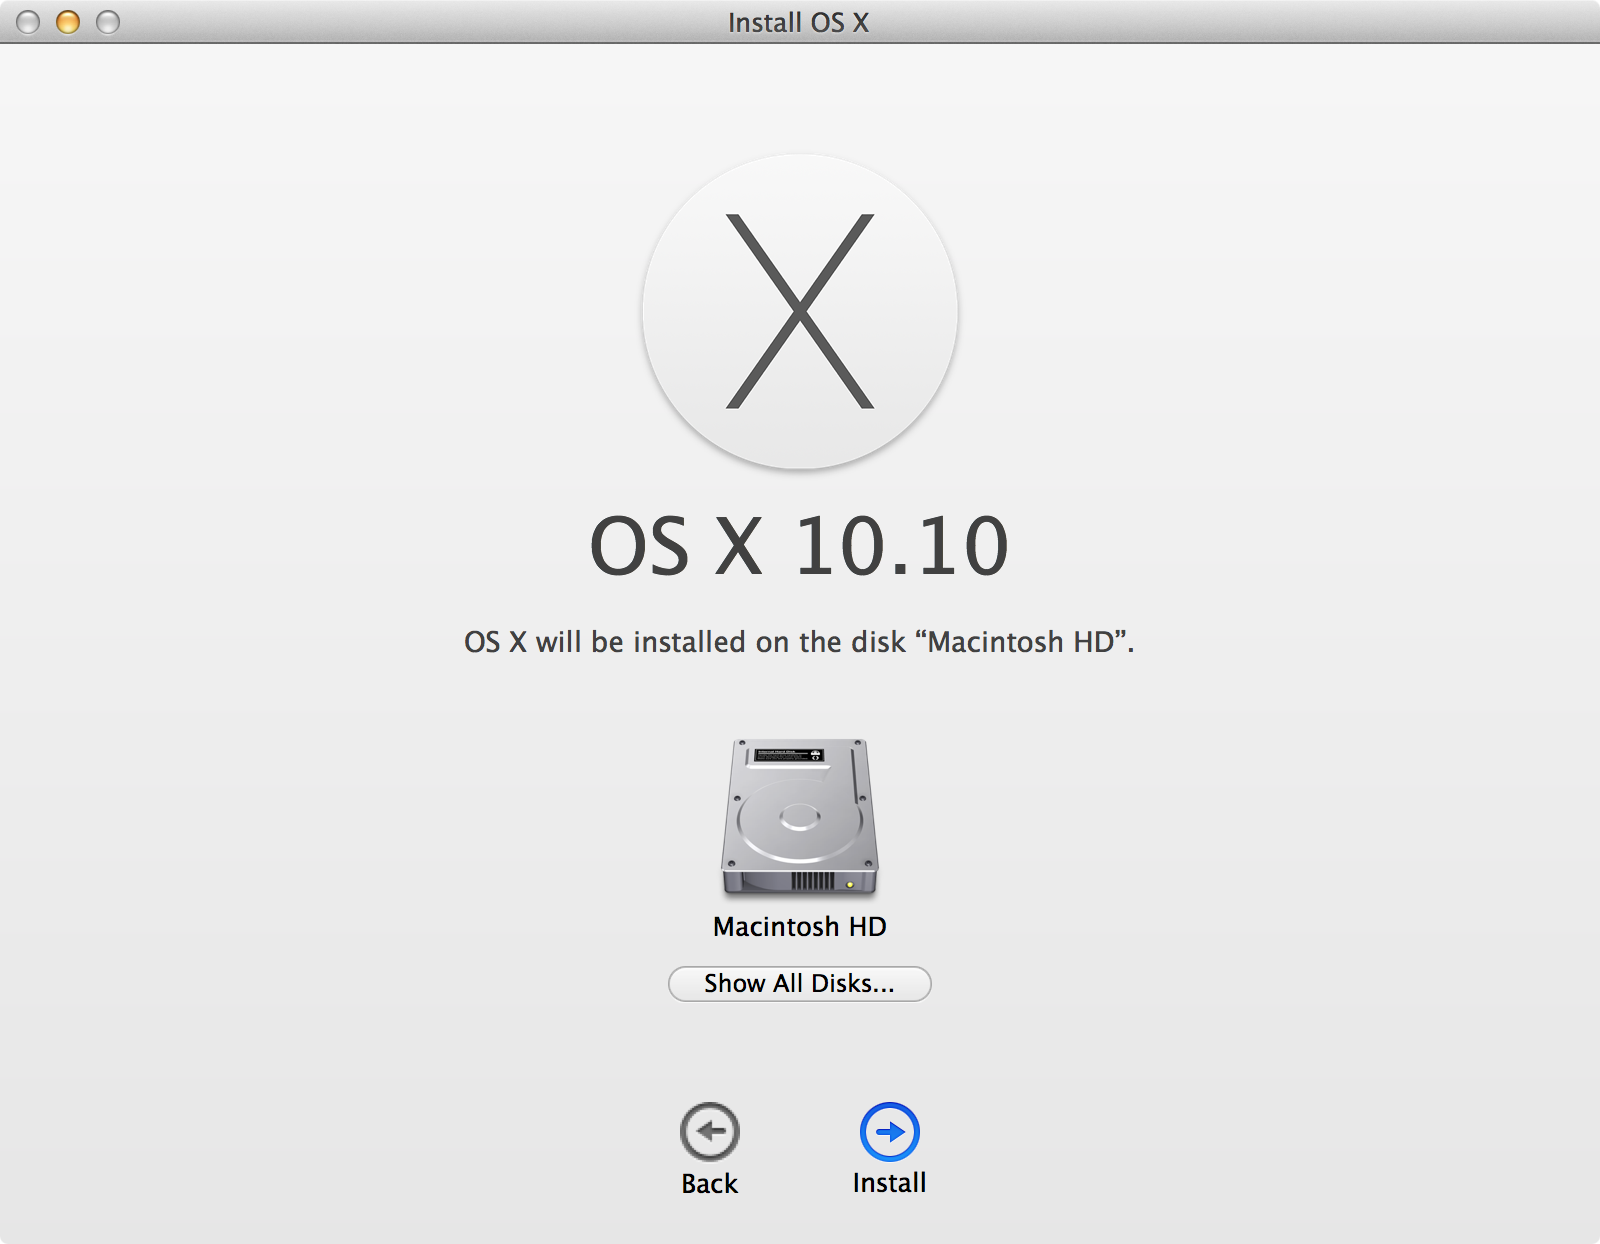
Step 5: Click Show All Disks…
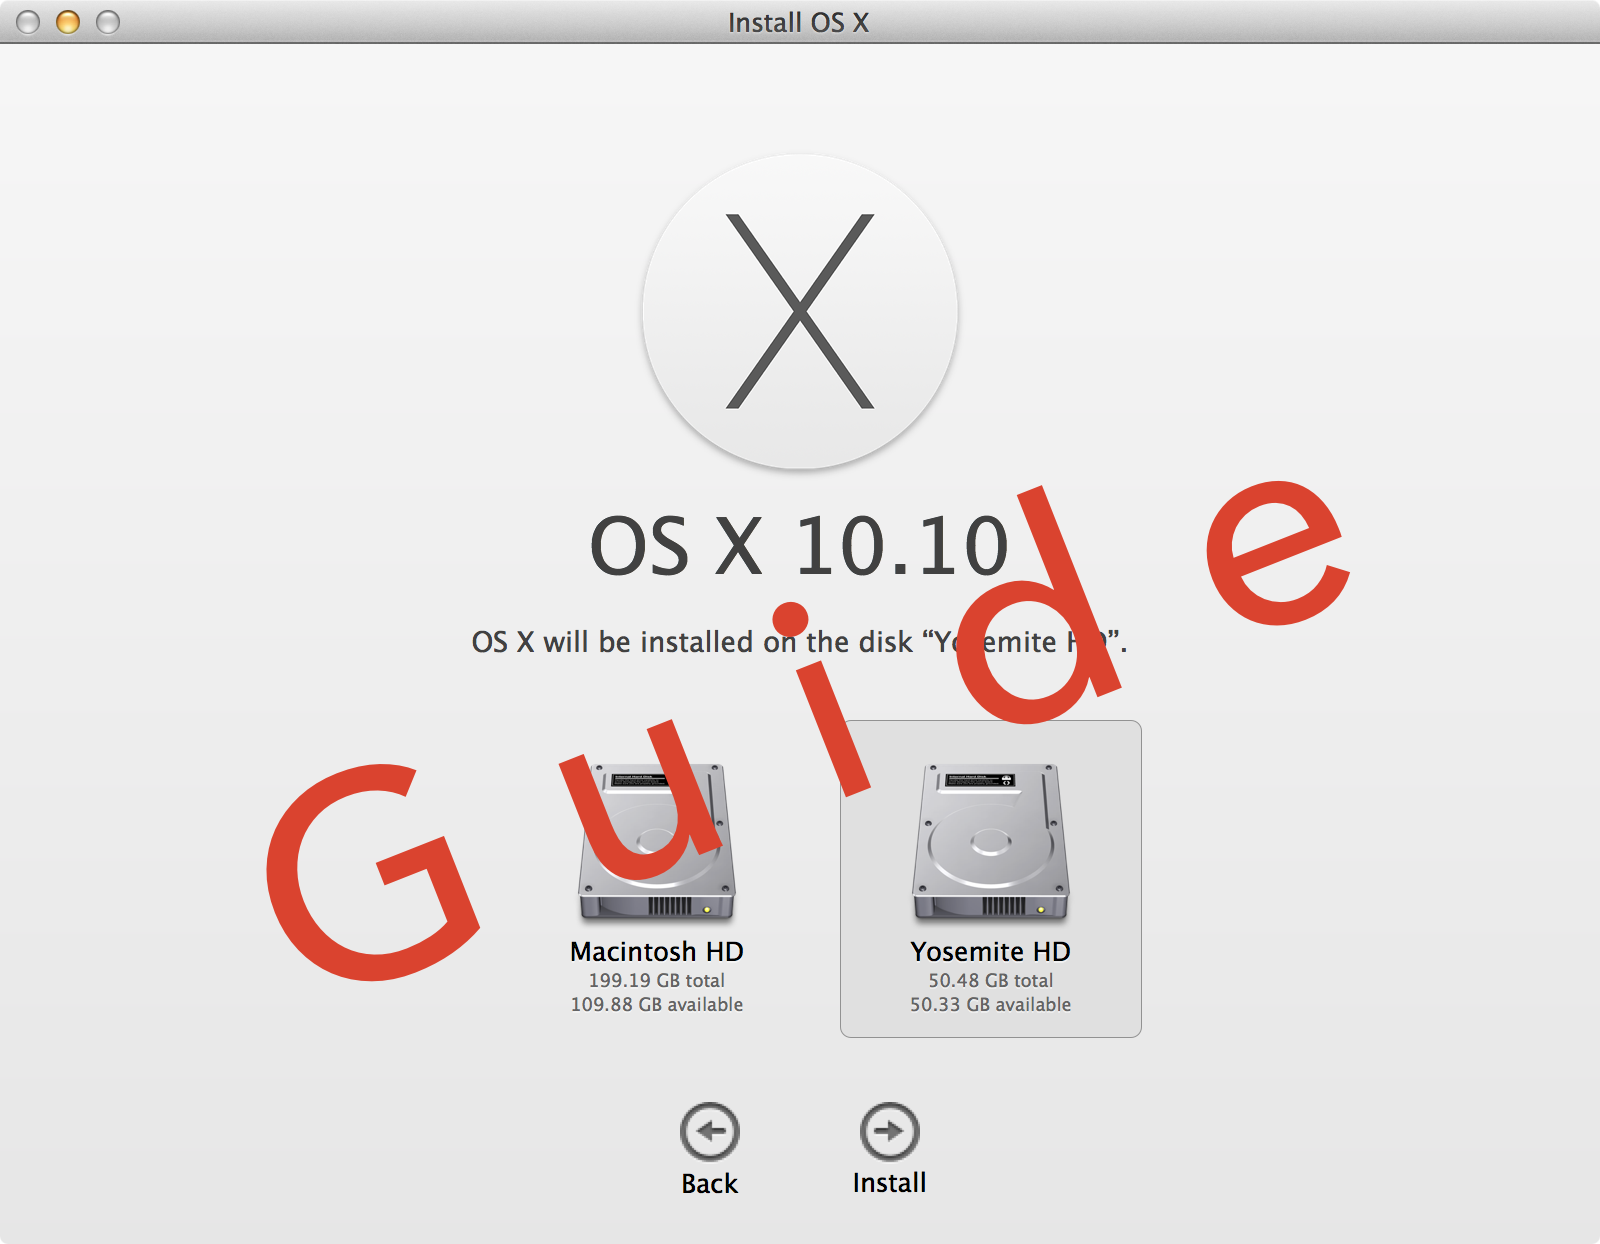
Step 6: Click Yosemite HD or whatever you decided to name the new partition
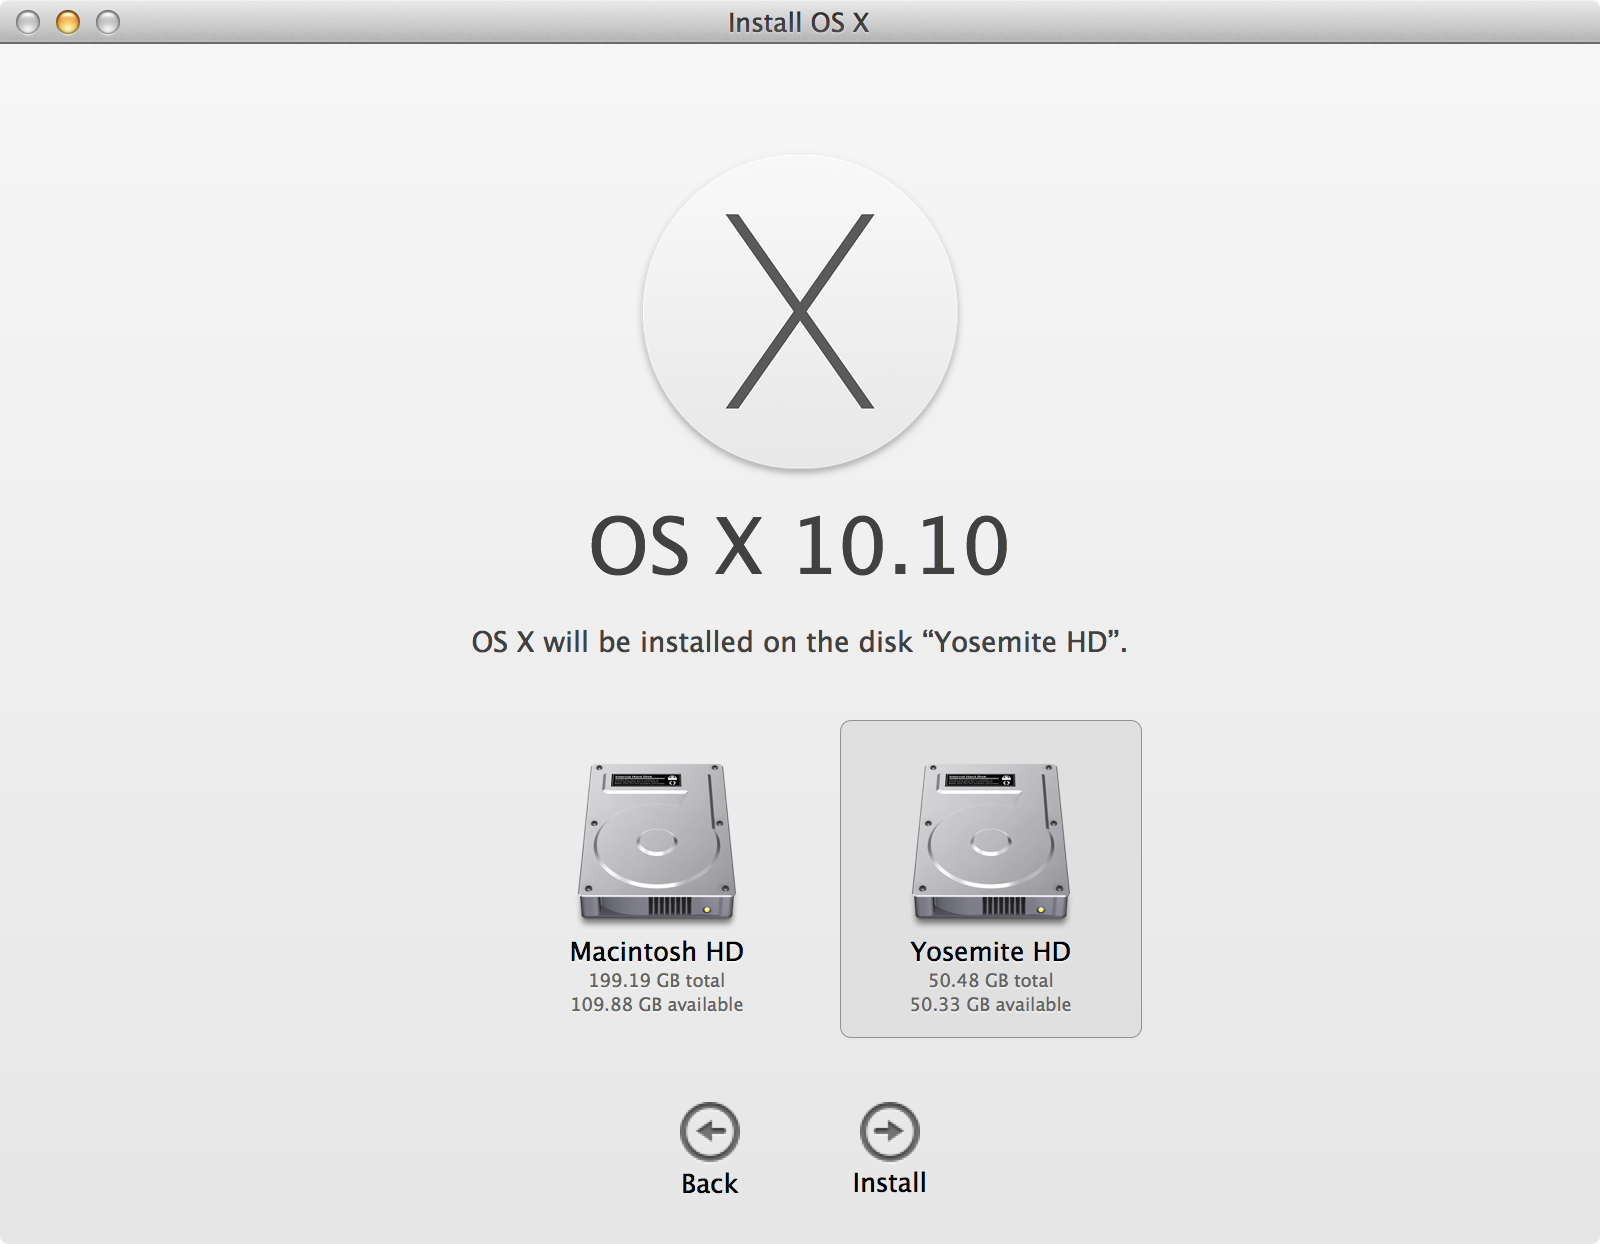
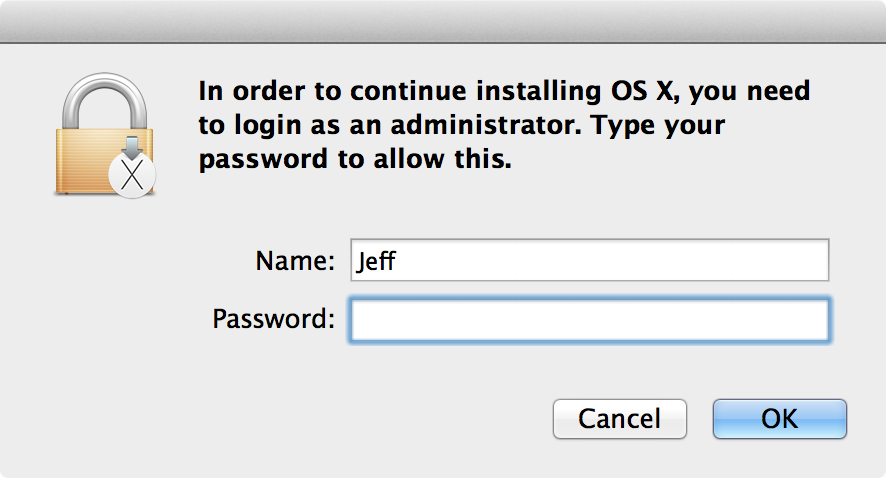
Step 7: Click install and enter your administrator password if prompted
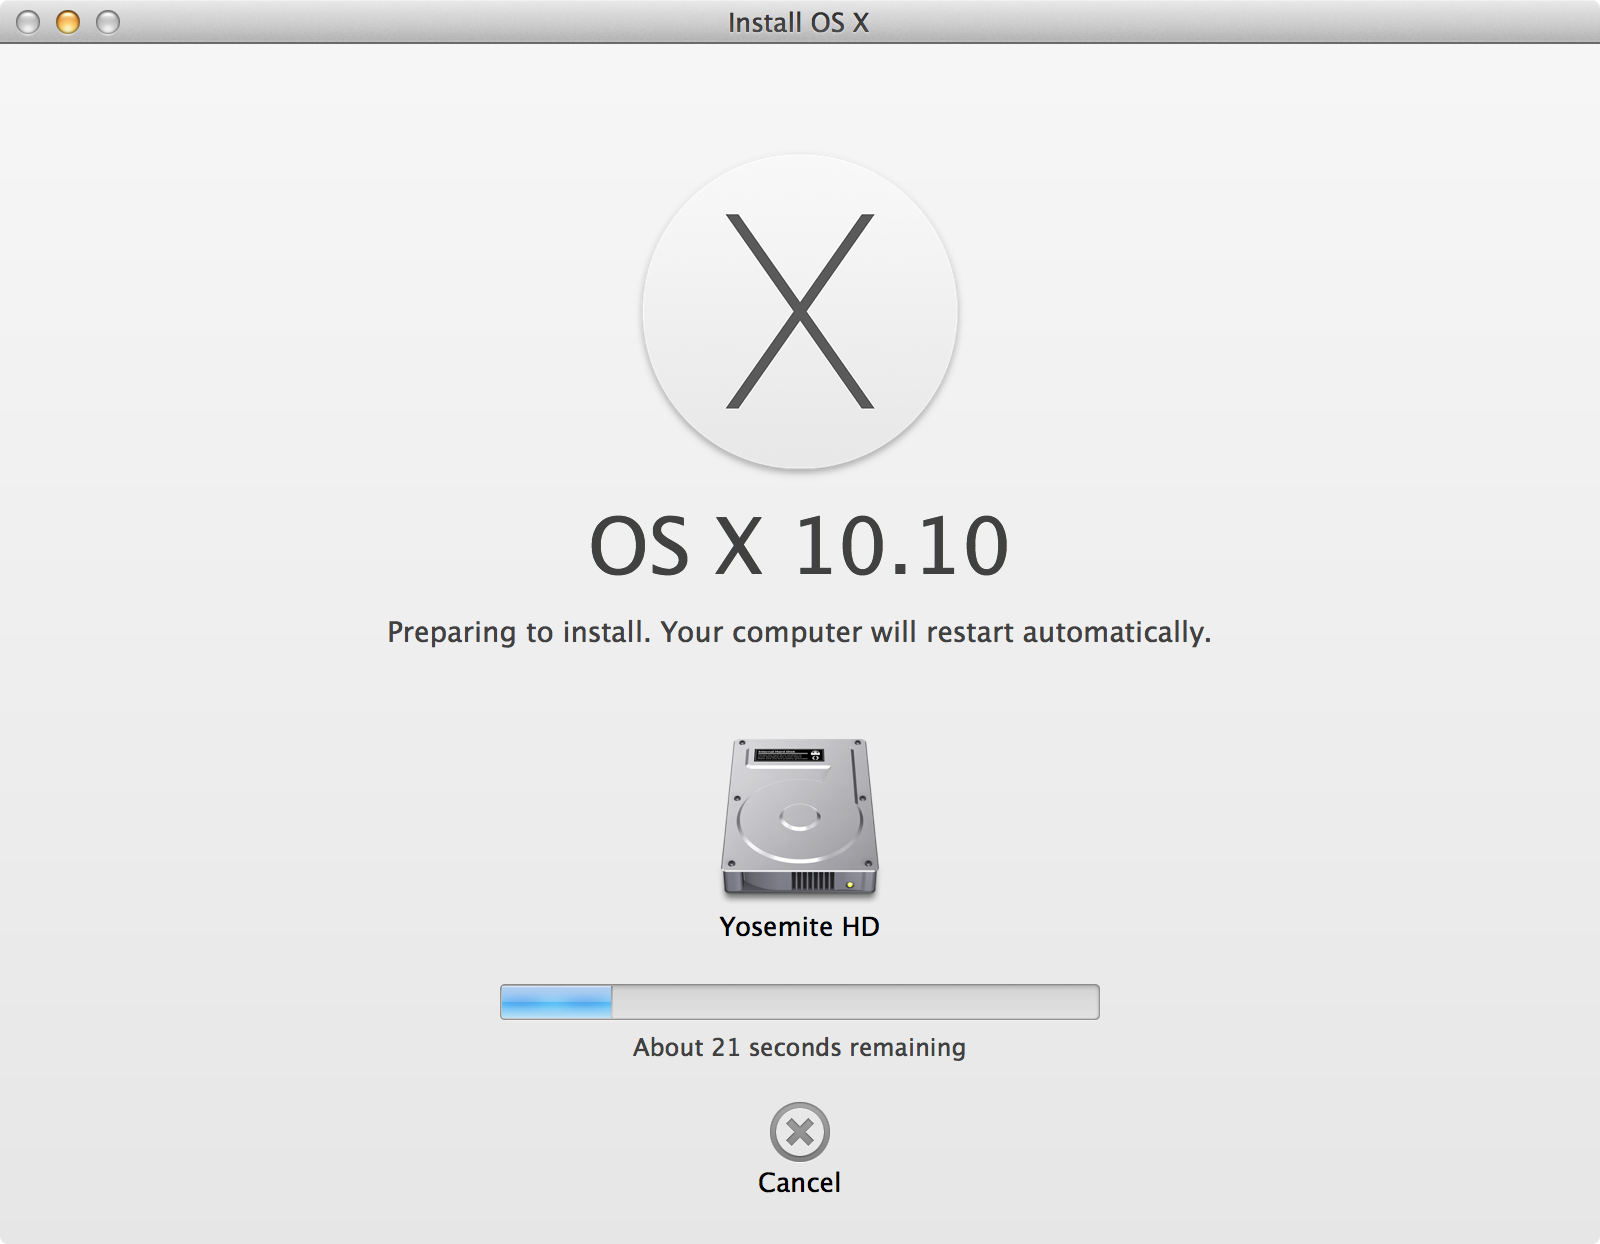
Step 8: The installation of Yosemite should begin. If you’re not plugged into a power source (Macbook), you may get a prompt that you should plug in the power plug before continuing. Or, if you discern that you have enough battery life left, click continue.
Switching between operating systems
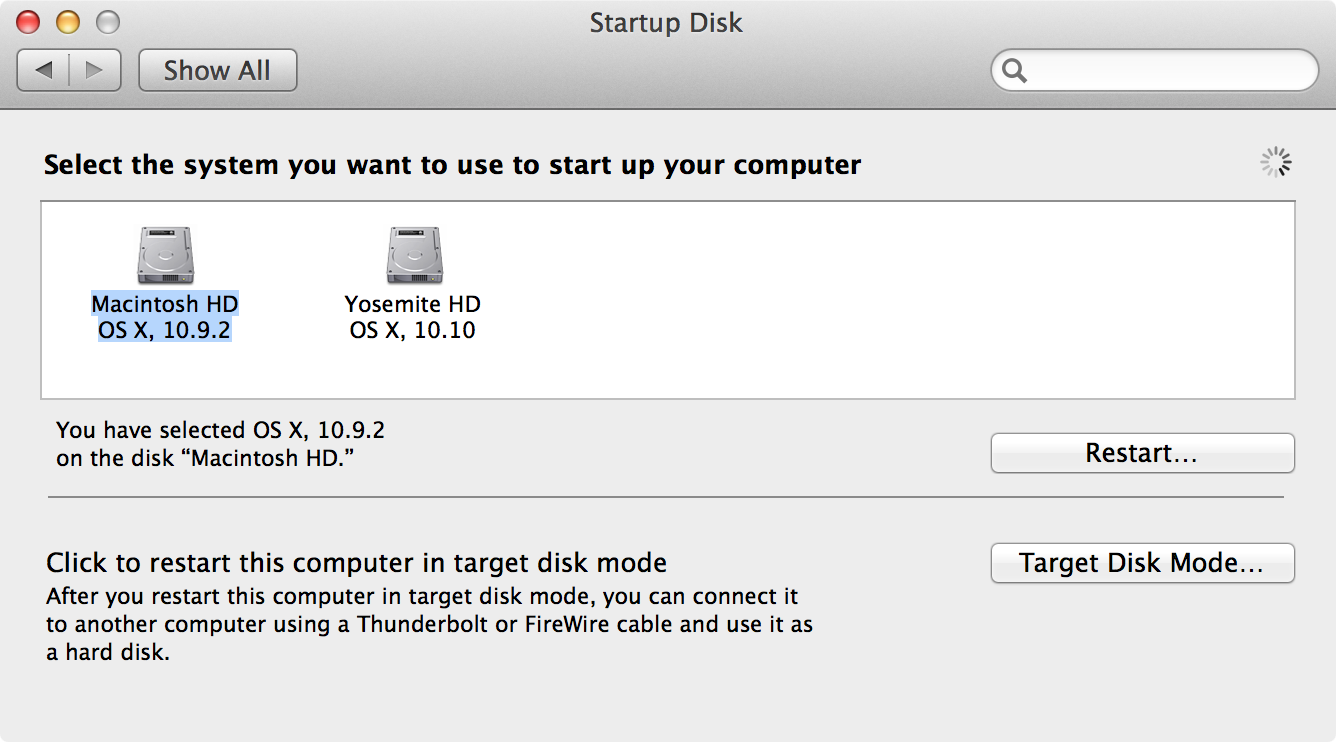
After the install completes, you’ll be booted into Yosemite. You can easily switch back to your older OS X install, presumably Mavericks, by rebooting and holding the Option key (⌥) as you reboot. You can also use the built in Startup Disk feature found in System Preferences to switch between OS installs.
Conclusion
And that’s pretty much all there is to creating a new partition and installing OS X 10.10 Yosemite on your Mac. It’s simple, straightforward, and only takes a few minutes of time to get started. Yosemite itself installs exceptionally fast as well. If you’re a developer interested in trying OS X on your primary Mac, or if you’re a normal user taking advantage of the public beta, this is without a doubt a great way to go.
Do you have any other tips for using the Yosemite beta on your Mac? Sound off down below in the comments section.