Mac

Stay up-to-date on the latest Mac news, and tutorials. Get expert tips and tricks to optimize your Mac’s performance and learn about the latest Apple products and software updates. Discover the best Mac apps and accessories to enhance your user experience.

How to delete old Time Machine backups

Do you use macOS's incredibly useful zero-configuration Time Machine feature to keep the personal files, settings and documents residing on your Mac safely backed up to an external disk? If so, is your backup disk nearly full? The best way to make room on your backup disk is to delete old Time Machine backups using Finder.

For example, the disk in my AirPort Time Capsule is nearly full because I have backups dating back to 2010. In this day and age of iCloud Drive and other cloud-storage services, keeping years worth of backups is kind of useless. That precious disk space could be put to better use for storing your photos and videos, for example.

In this tutorial, you will learn how to delete old Time Machine backups to help clean up your disk and regain storage space on it.

Deleting old backups should be your first order of business in situations when your Time Machine backup disk runs out of space. By default, Time Machine deletes older backups to make room for new ones as your backup disk fills up.

There are a couple ways to remove entire backups created on specific dates. We will describe both, but note that Apple seem to prefer the first method

How to delete old Time Machine backups

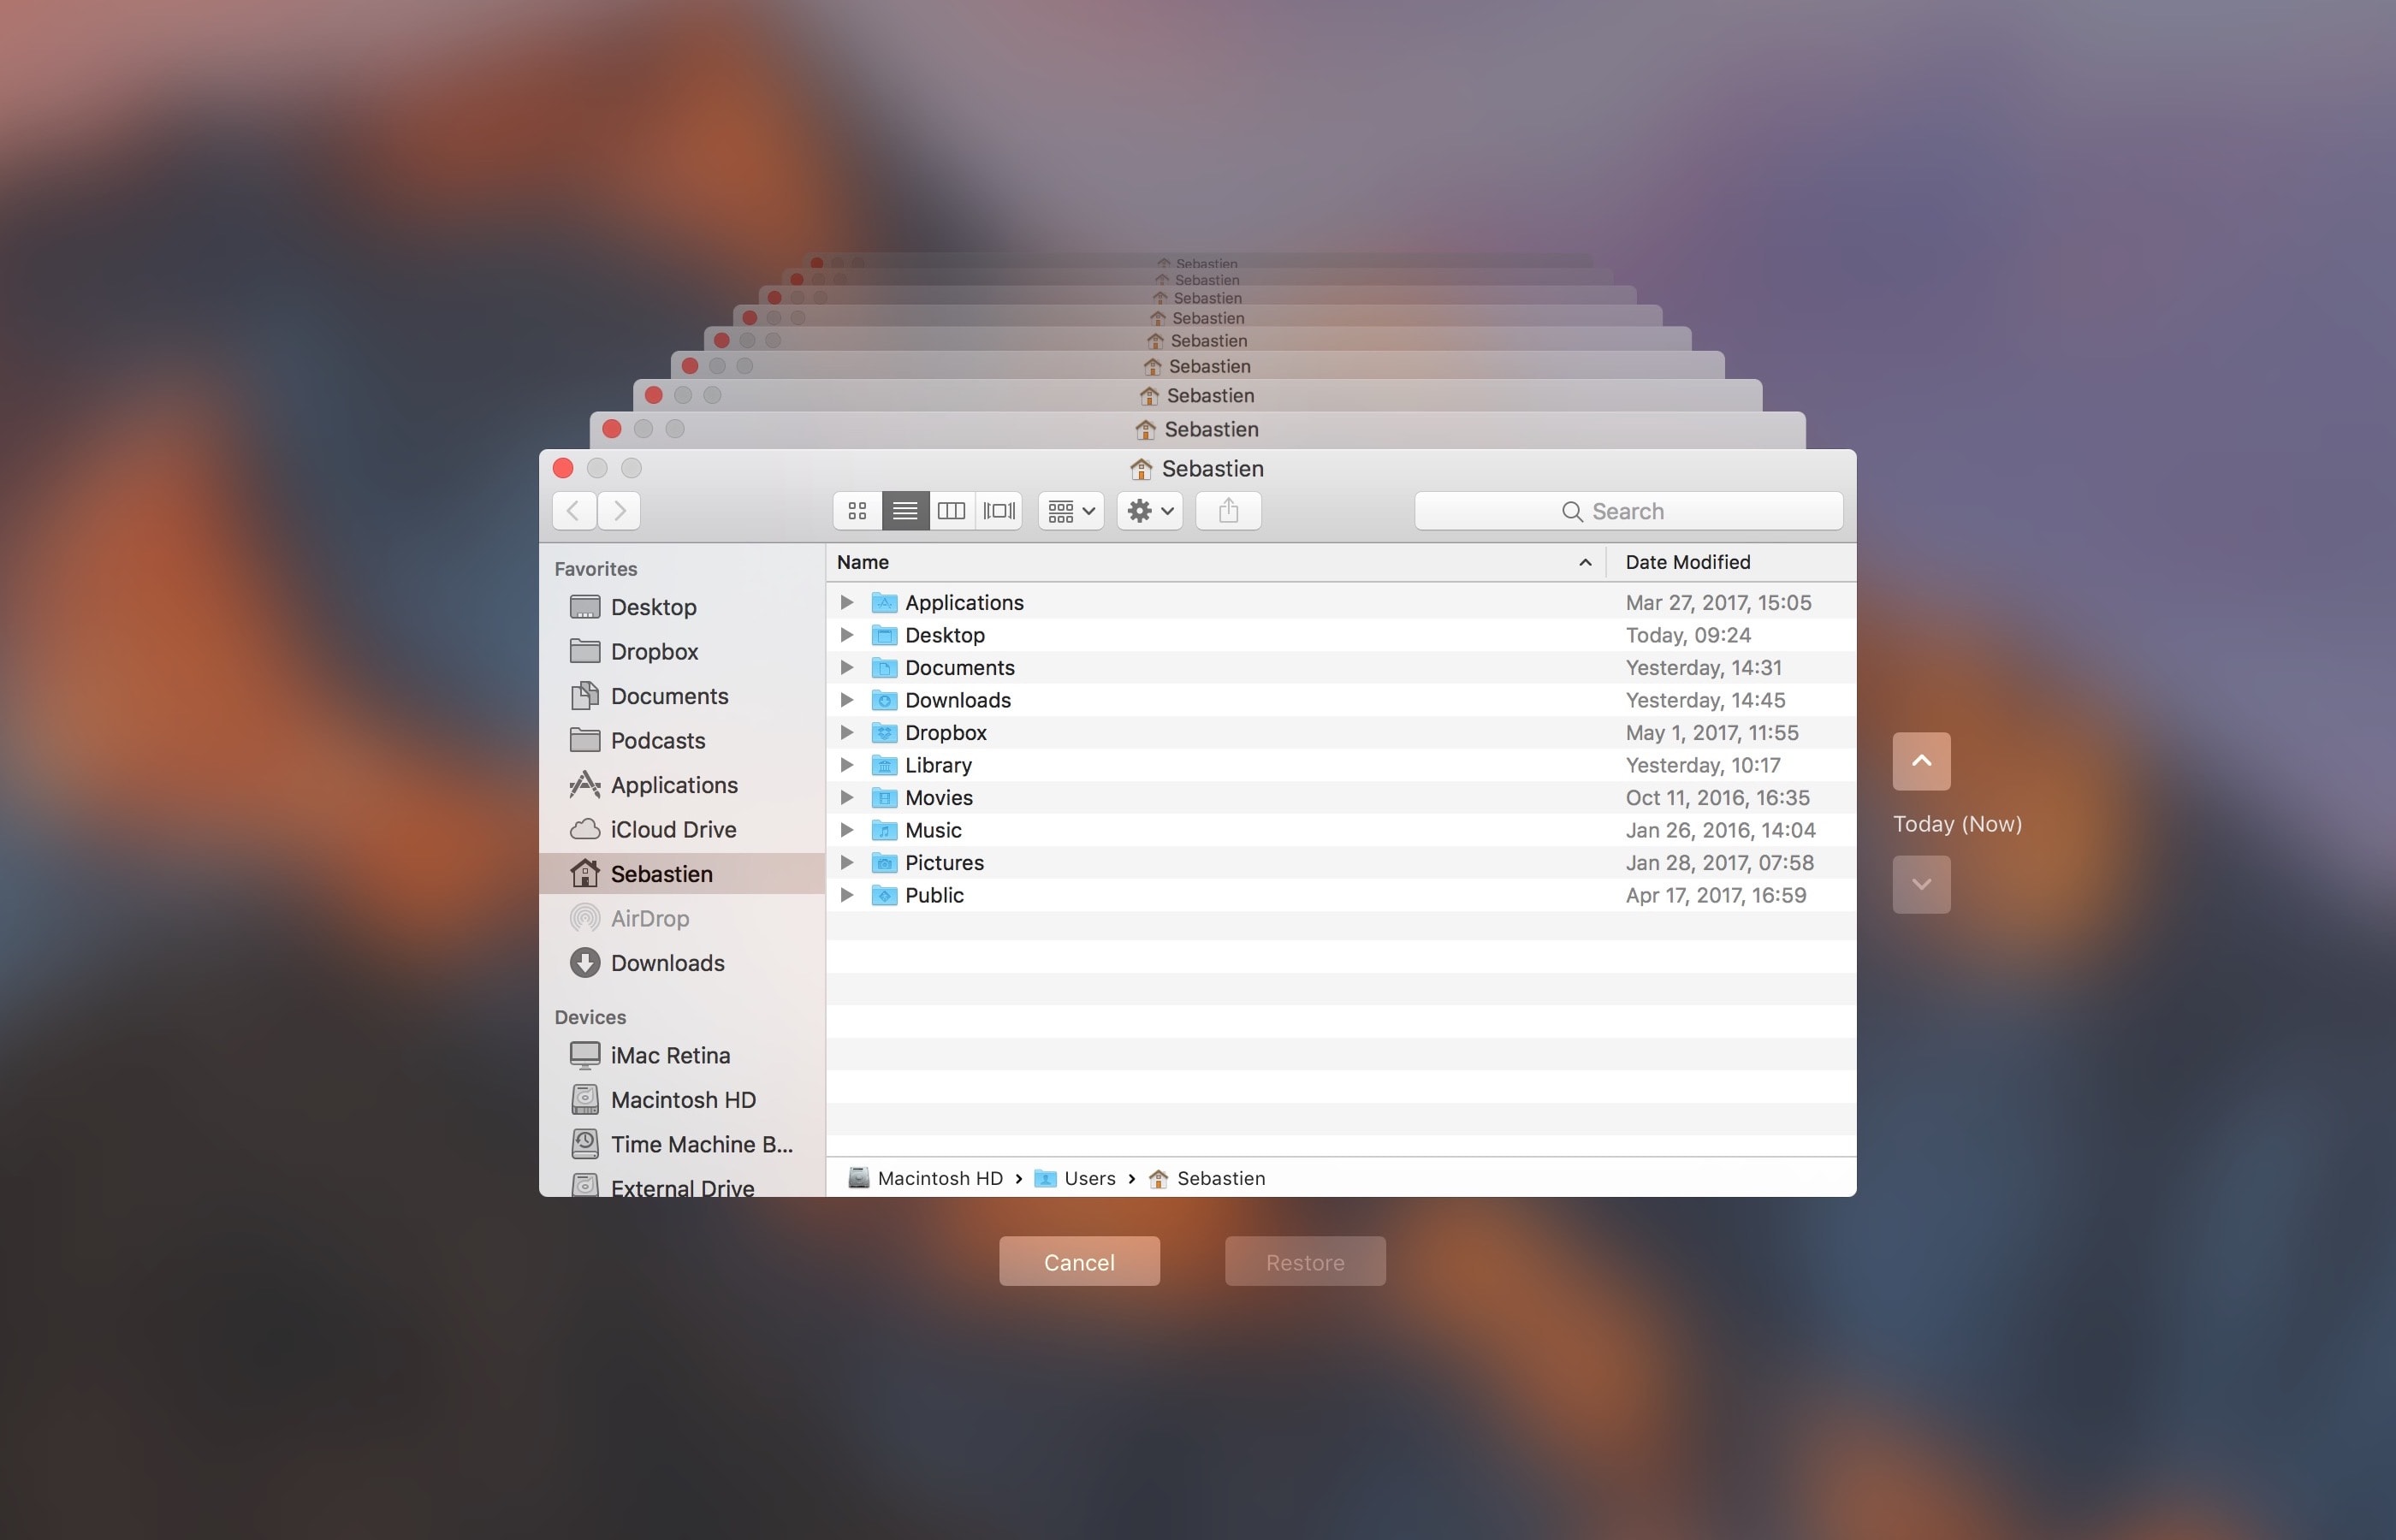
1) Click the Time Machine icon in your Menu Bar to enter Time Machine.

2) Navigate through the interface to the desired date.

3) Once you have located the day you want to delete from your backup, click on the gear icon and select Delete Backup.

4) You will be asked to confirm you indeed want to delete the backup, and you may be ask to enter your administrator password too. Once done, the backup for that specific day will be deleted.

How to remove old Time Machine backups using Finder

1) Click the desktop and open a new window by selecting New Finder Window from the File menu, or press the Command (⌘)—N keys on your keyboard.

2) Connect the disk containing your Time Machine backups to the computer and wait until its name appears underneath the Devices section in the Finder sidebar, then click it.

You may be asked to enter your administrator name and password to continue. If you use AirPort Time Capsule, you may be asked to enter a password to access the backup disk.

3) Navigate to the “Backups.backupdb” folder on your Time Machine backup disk as you would other folders. It should be a top-level folder of your backup drive.

4) Once inside the “Backups.backupdb” folder, navigate to the sub-folder named with your Mac computer's name. For instance, if your Mac is named “iMac Retina” in System Preferences, Time Machine will store backups inside the “iMac Retina” sub-folder.

TUTORIAL: How to change your Mac computer's name

5) You will see a bunch of sub-folders, each prefixed with the date of the backup in the YYYY-MM-DD format. For example, backups of your iMac created on April 19, 2017 would we stored in the sub-folder with the name beginning with “2017-04-19”. To delete a desired backup sub-folder, right-click or Control (⌃)-click it, then choose Move to Trash from the popup menu.

This will delete all copies of a backed-up file or folder from your Time Machine backup disk.

6) Repeat the process for other full-day backups you'd like to remove. When done, disconnect the disk by selecting its icon on the desktop, then choose Eject from Finder's File menu.

While you can safely delete sub-folders within the “Backups.backupdb” folder, you are not allowed to delete individual items inside the dated folders.

You're wholeheartedly discouraged from using Terminal or any other app other than Finder to move, copy or delete items from the Backups.backupdb folder.

You also cannot delete items from local snapshots stored on your internal drive.

To save space on the backup drive, why not exclude individual files or entire folders of files—like your Applications or Downloads folder—in the Time Machine preferences window?

That's all, folks!

If you have a question, post a comment below and we'll do our best to answer it. Please share this tutorial on social media and pass it along to the folks you support.

Submit your ideas regarding future coverage via tips@iDownloadBlog.com.
How to open your iTunes playlists in separate windows

In older versions of iTunes, you could easily open a playlist in a separate window. It was both a great time-saver and a boon to your productivity, especially on large screens.

For reasons unknown, Apple has removed that functionality from the iTunes 12 update which was overhauled around a single-window workflow.

Thankfully, the company has reinstated the ability to open playlists in new windows with iTunes 12.6. Here's how to open your playlists in their separate windows using iTunes for Mac.

How to open your playlist in a new iTunes window

1) Launch iTunes on your Mac.

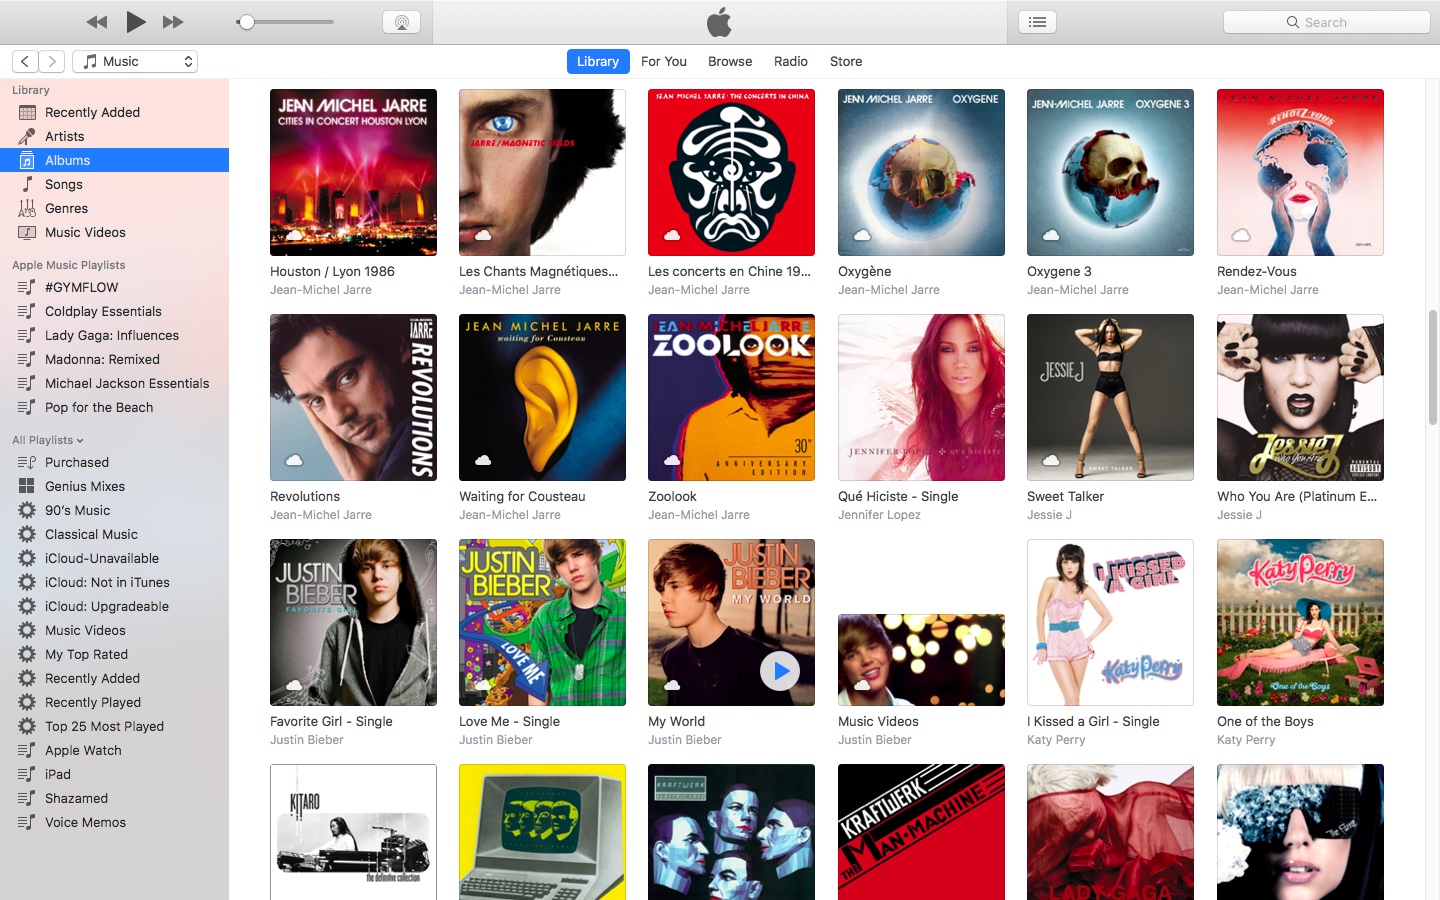
2) Choose Music from the menu near the upper-left corner, then click the Library tab.

3) In the lefthand column, right-click or Control (⌃)-click your playlist underneath the All Playlists heading, then select the option Open In New Window from the popup menu.

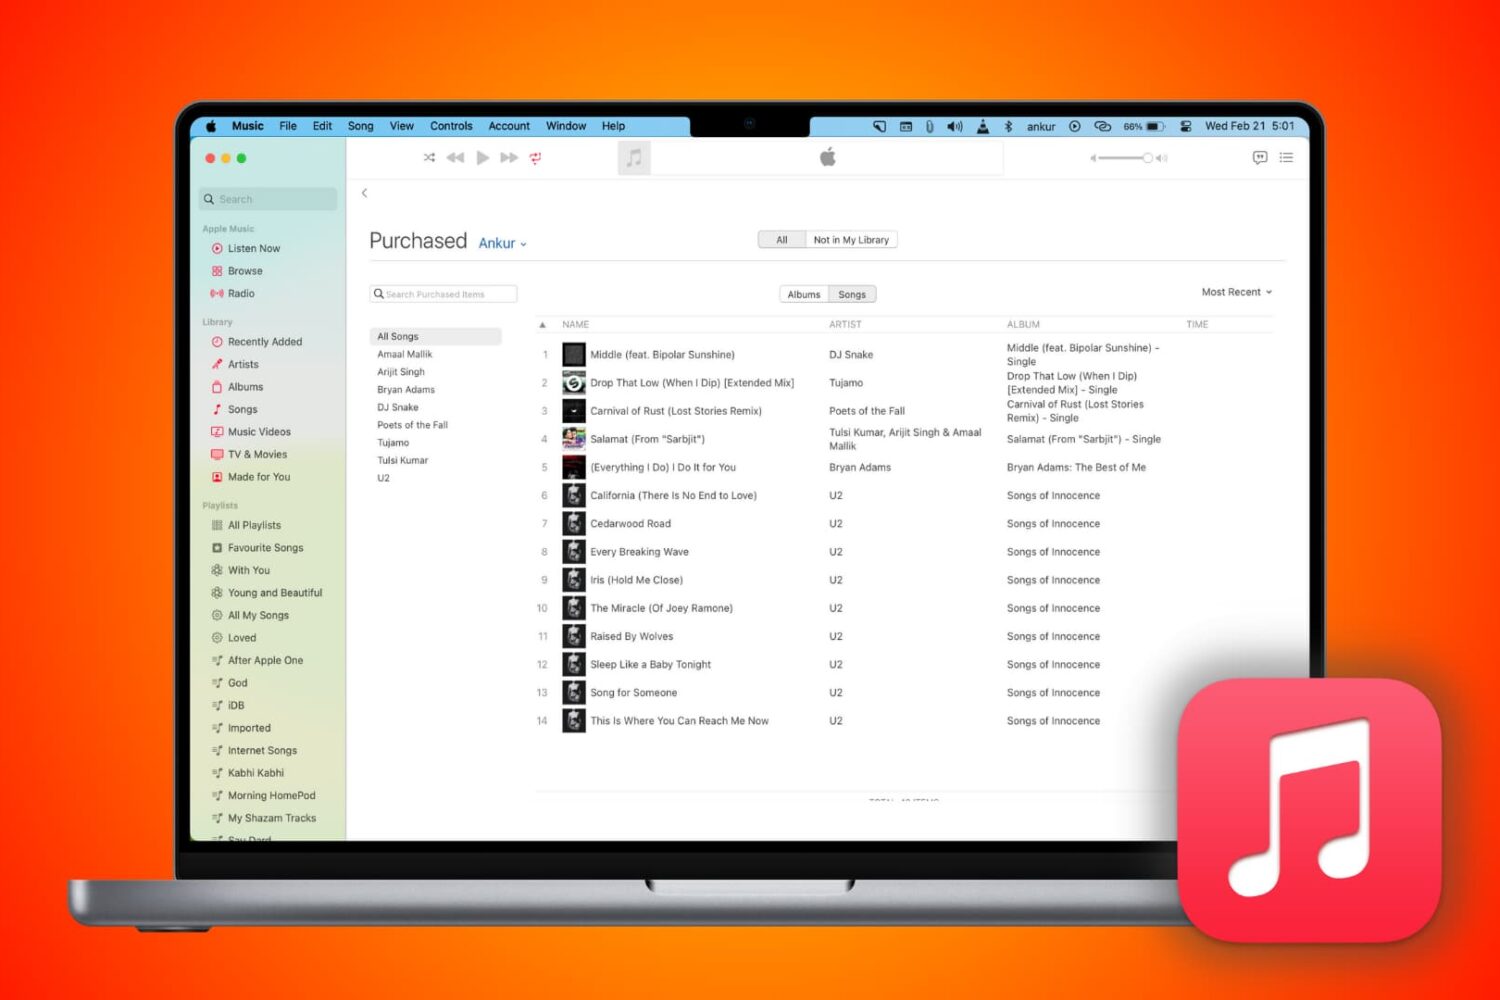
This will open a new iTunes window containing the selected playlist, as shown top of post.

You can drag songs at will between the playlist windows and open as many playlists in separate windows as you like. I don't have that many playlists created in iTunes so I was able to open “only” four playlist windows, but it worked like a charm.

How to open an Apple Music playlist in a new window

Playlists on Apple Music cannot be opened in their separate windows unless they're in your iTunes library. To do so, follow the steps below:

1) Launch iTunes on your Mac.

2) Choose Music from the popup menu near the upper-left corner of the window, then click either the Library or the For You tab.

3) Find a playlist on Apple Music and click the three dots in the lower-right corner of playlist graphics to bring up the contextual menu, then choose the option Add to Library.

4) With the selected Apple Music playlist now in your iTunes library, switch to the Library tab, right-click it underneath the Apple Music Playlists heading in the lefthand column, then select the Open in New Window command.

Just like that, the selected Apple Music playlist from your library opens in a new window.

iTunes playlists windows and Split View

Sadly, playlists windows in iTunes don't support macOS's useful Split View feature.

If iTunes supported Split View properly, it could have been a great multitasking feature. In other words, you cannot browse your iTunes library in the main window and have your favorite playlist in its separate window in macOS's Split View mode.

And that's it, boys and girls!

Pass along this article to other Mac users you support and don’t forget we accept your submissions regarding future coverage ideas via tips@iDownloadBlog.com.

If you have any questions, please post a comment below.

How to clear your web browsing cache in Chrome, Safari, and Firefox on Mac

Chrome settings on Mac

Over time, web browsers accumulate website data from everyday browsing. Known as cache, this data collection helps browsers load web pages more quickly, so these files don't have to be re-downloaded when you revisit the same websites in the future.

Unfortunately, cache is also the main suspect when diagnosing issues loading websites, and it can also eat up valuable storage space on your Mac. That's why in this tutorial, we'll show you how to delete cache and cookies in three of the most popular web browsers: Apple Safari, Google Chrome, and Mozilla Firefox.

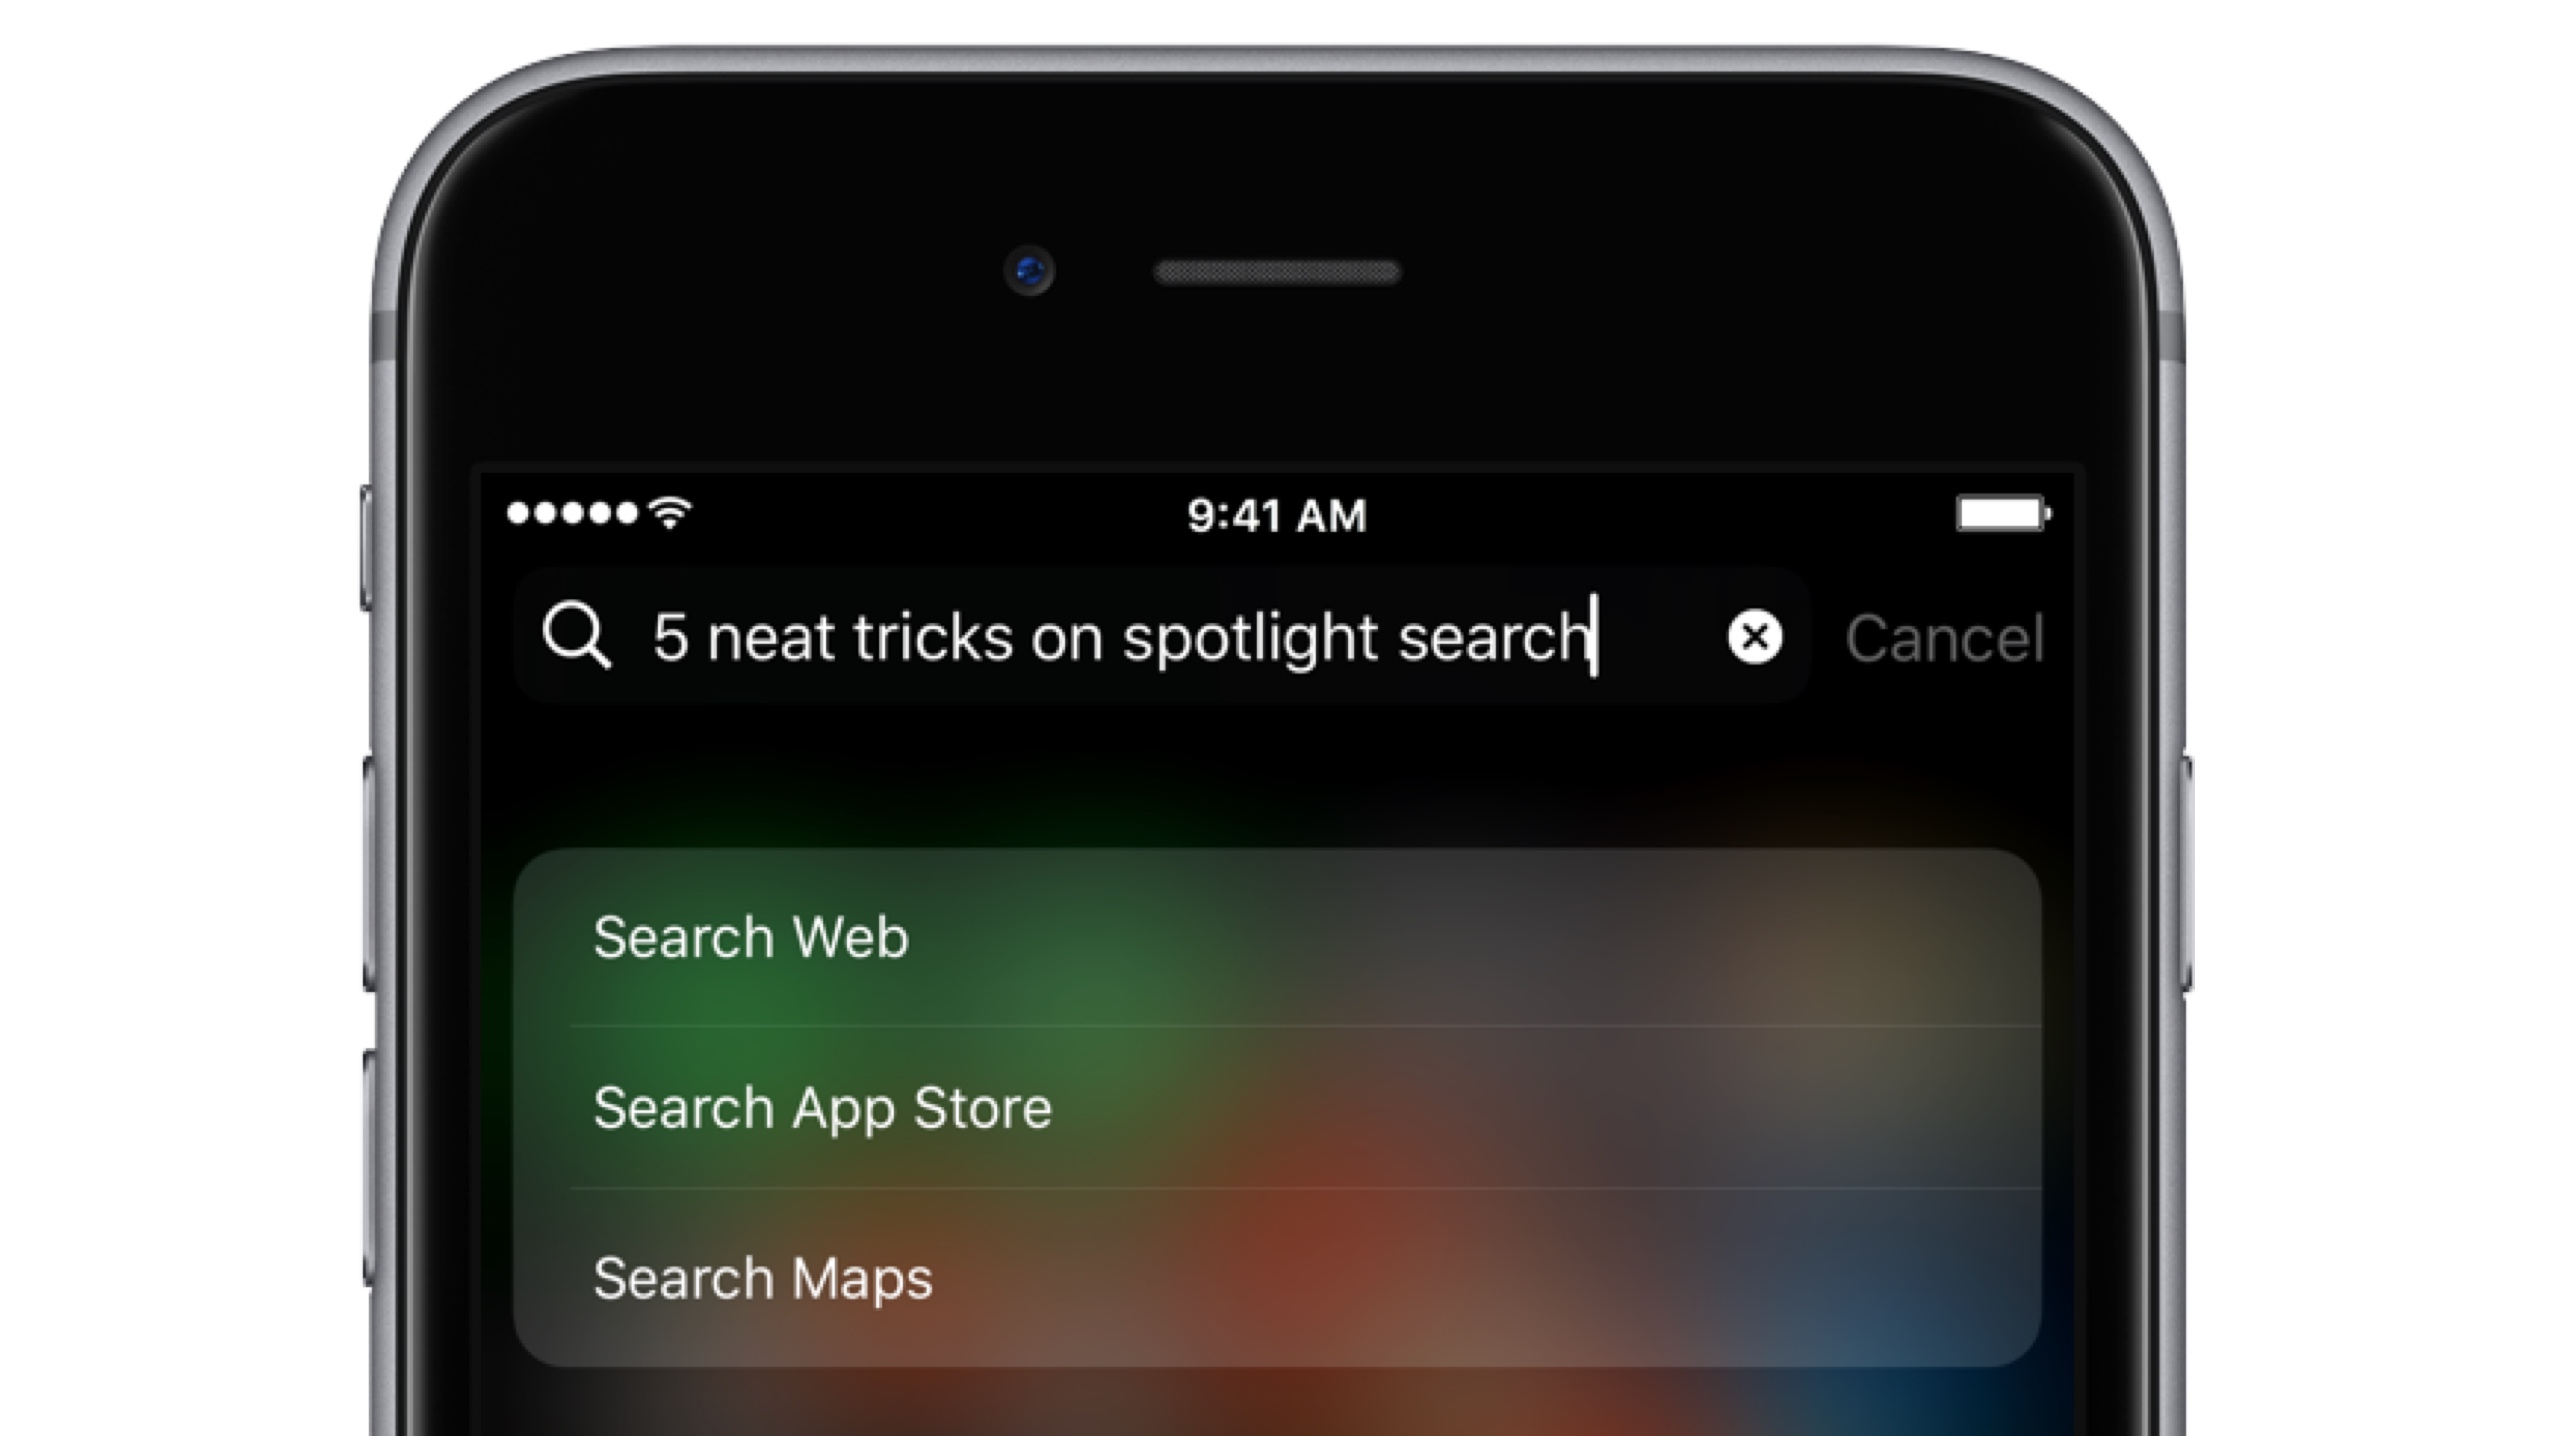
Five neat tricks Spotlight search can do for you on iPhone

Bearing in mind the numerous ways to invoke Spotlight search on your iPhone today, the feature has clearly become a centerpiece of iOS 10th iteration.

That is because for one, it's the fastest way to rifle through your device for any type of information, however it is also incrementally adopting Siri-level intelligence. You might know about using Spotlight for swift currency and measurement conversions by now, but the list does not end here. Largely undiscussed on the web, here are five more cool uses for Spotlight.

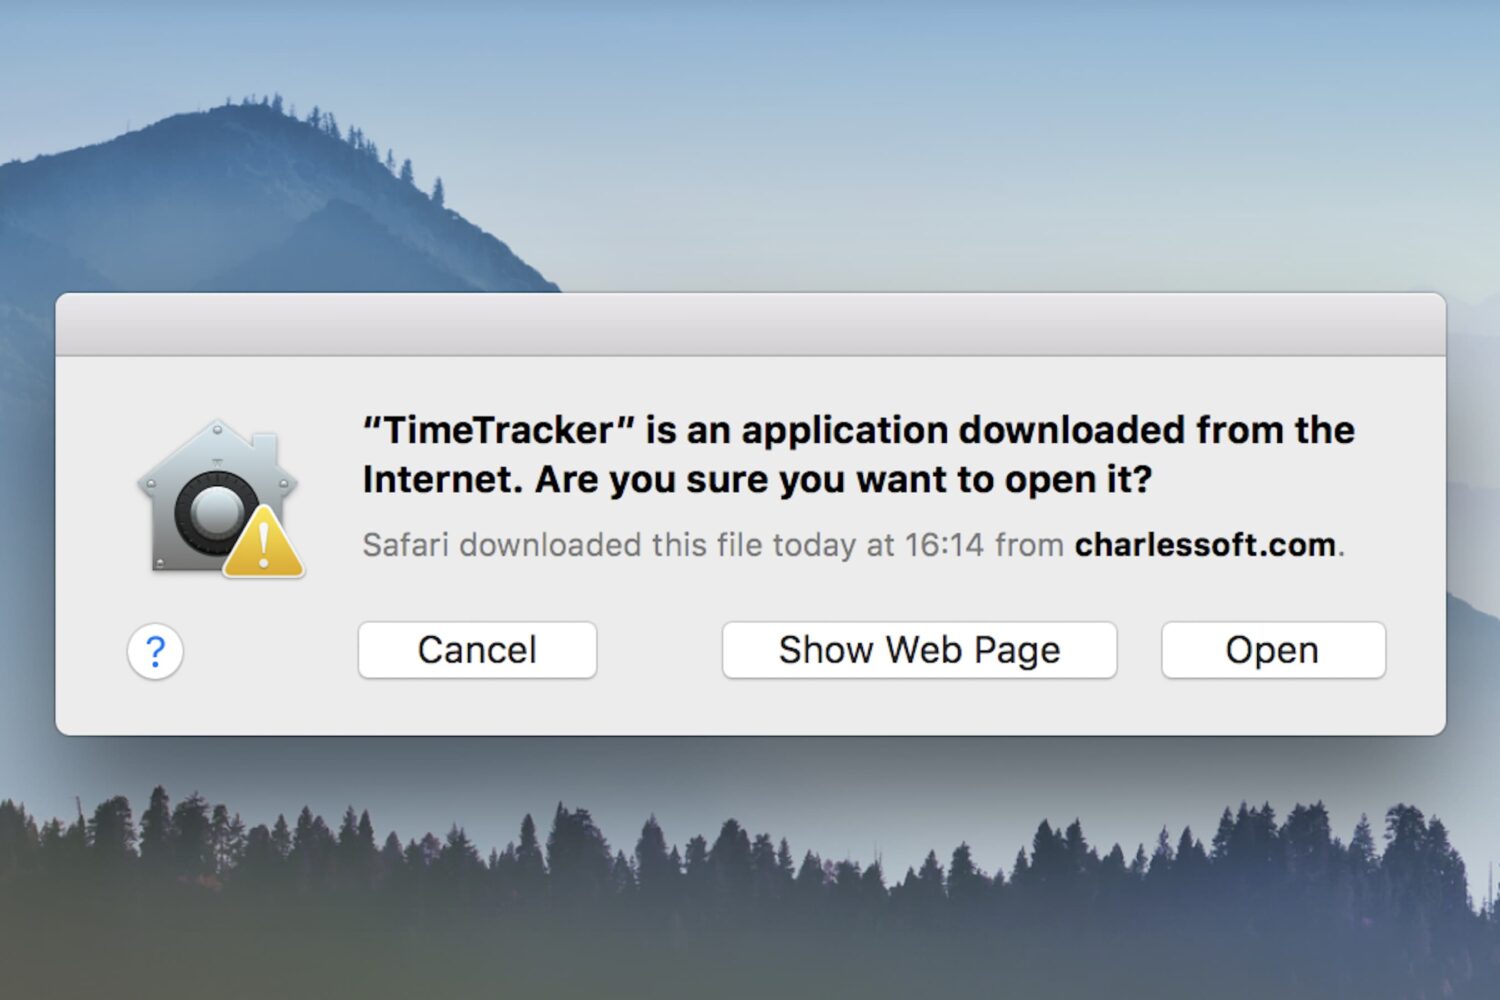
How to fix: This is an application downloaded from the Internet. Are you sure you want to open it?

Open app dialog box on Mac

One of the security features in macOS is a prompt that appears when opening a program for the first time: This is an application downloaded from the Internet. Are you sure you want to open it?

While this can be helpful to the average Joe, preventing him from opening programs he may have downloaded accidentally (such as malware), power users may wish to circumnavigate the prompt. If you already practice good housekeeping with what you download and open, this dialog can be a time waster. There are various ways to deal with it, and this guide will talk you through their pros and cons.

Does your Mac support Night Shift?

macOS Sierra 10.12.4 brought Night Shift to Mac. As you know, Night Shift debuted on iPhone, iPad and iPod touch with the release of iOS 9 nearly two years ago.

Like with iOS devices, macOS's implementation of the feature automatically shifts your display's colors to the warmer end of the color spectrum after dark, based on your computer's clock and geolocation. This helps cut down on exposure to blue light, which is said to cause sleeping problems.

Your computer must meet certain hardware requirements in order to benefit from Night Shift. Here are the full Mac system requirements for Night Shift and how to find out whether or not your particular Mac model is compatible with this feature.