Learn how to disable autoplay in Safari for Mac to stop websites from playing video and audio automatically, creating a calmer, less distracting browsing experience.
How to disable media auto-play for websites in Safari on Mac
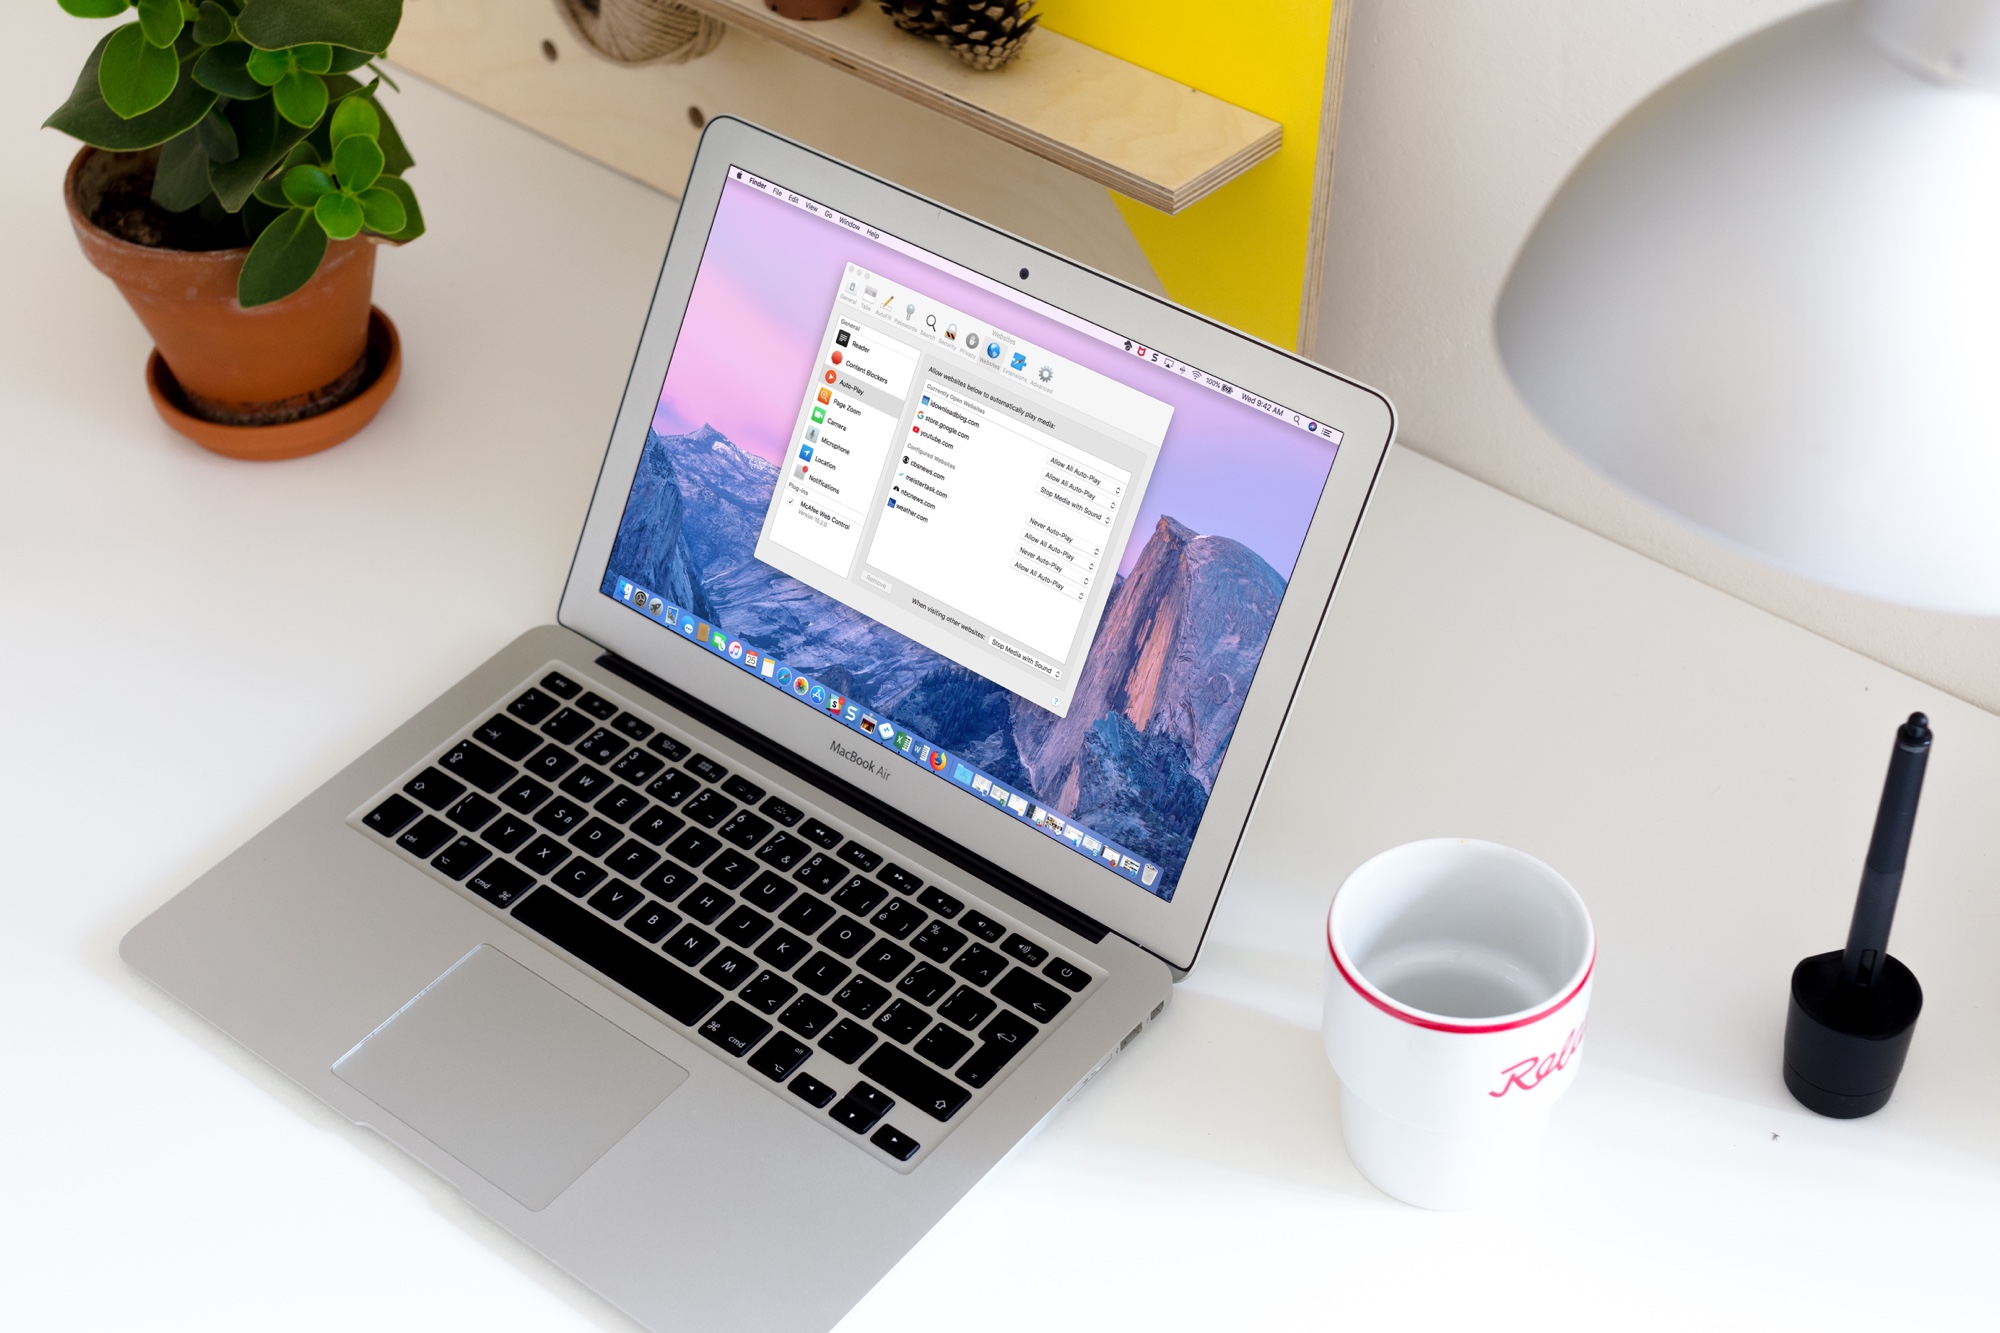
Learn how to disable autoplay in Safari for Mac to stop websites from playing video and audio automatically, creating a calmer, less distracting browsing experience.
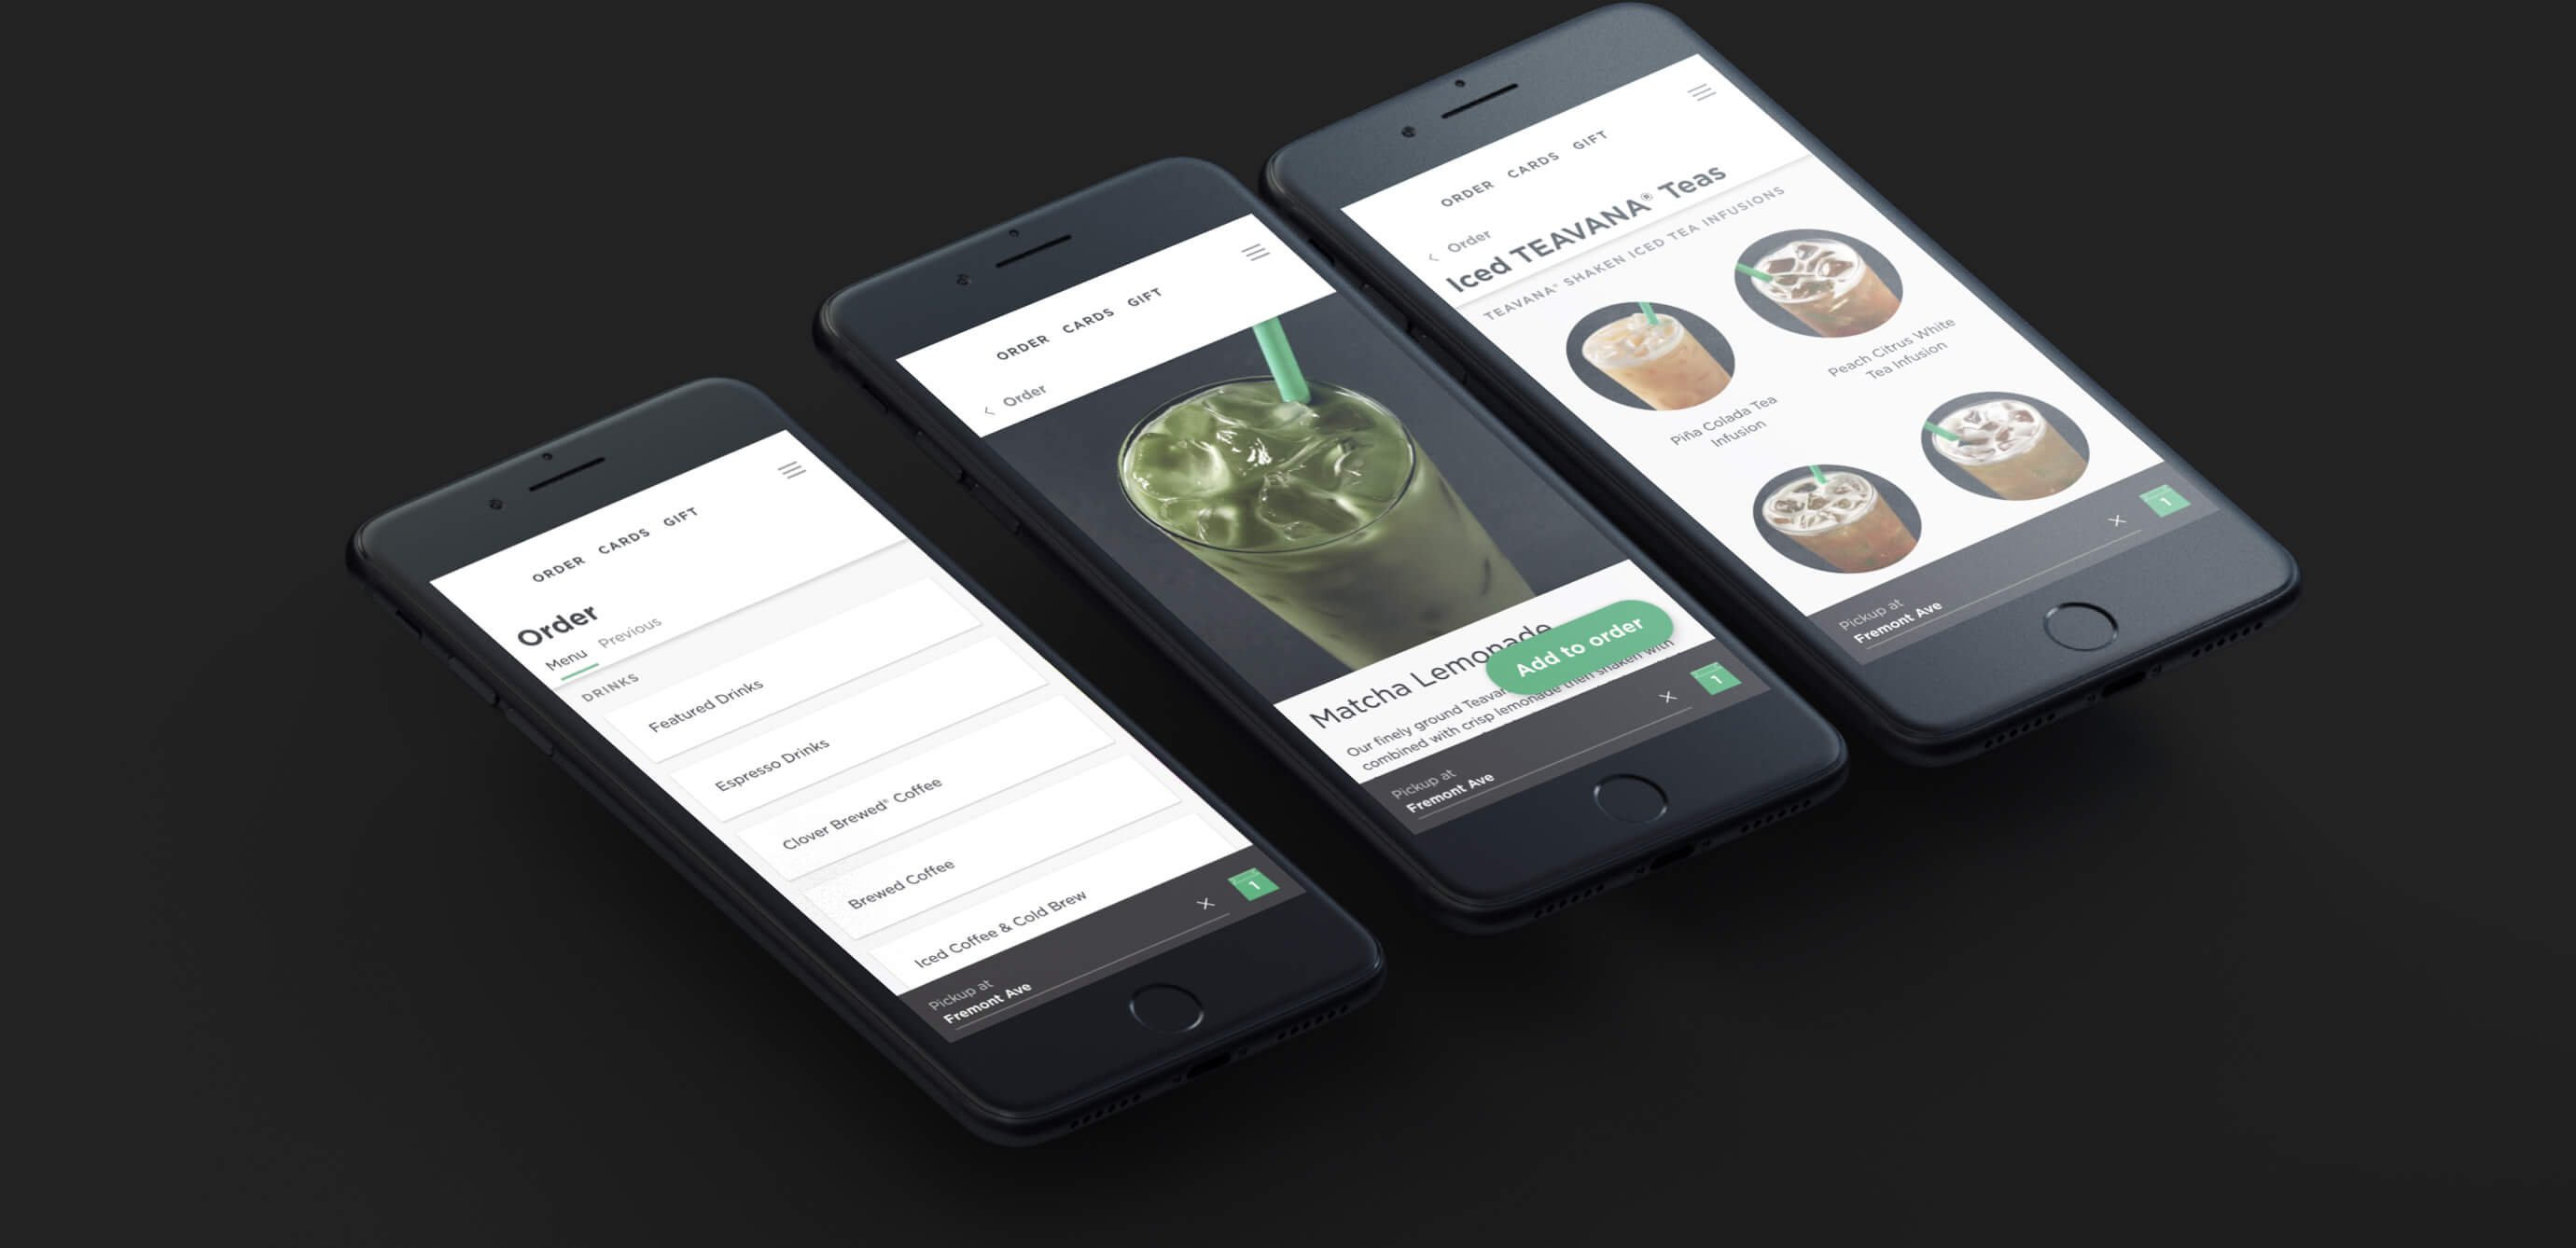
Thanks to modern web technologies like HTML5, Progressive Web Apps (PWA) run in a browser, don't require separate distribution, combine features of native apps with the benefits of a mobile experience and let you keep them on the Home Screen without the hassle of an app store.
In this tutorial, we'll help you install Progressive Web App to your iPhone or iPad Home Screen.
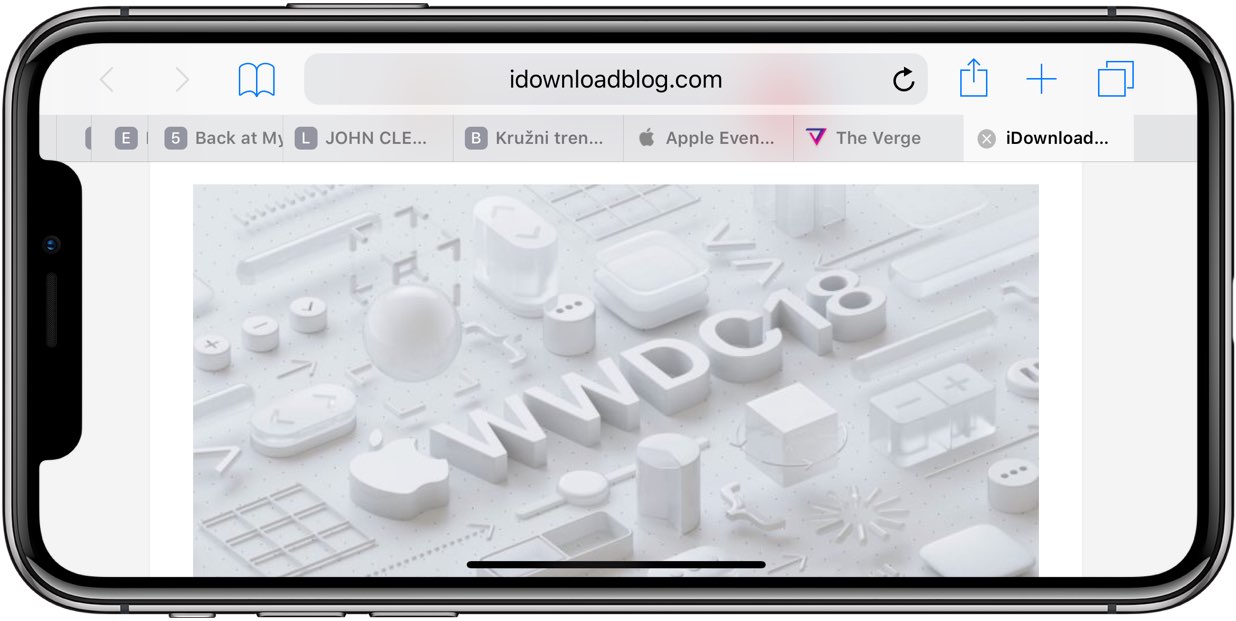
Apple's Safari browser that ships with macOS Mojave revives support for favicons. And thanks to iOS 12, favicons in open tabs are available on iPhone and iPad for the first time ever.
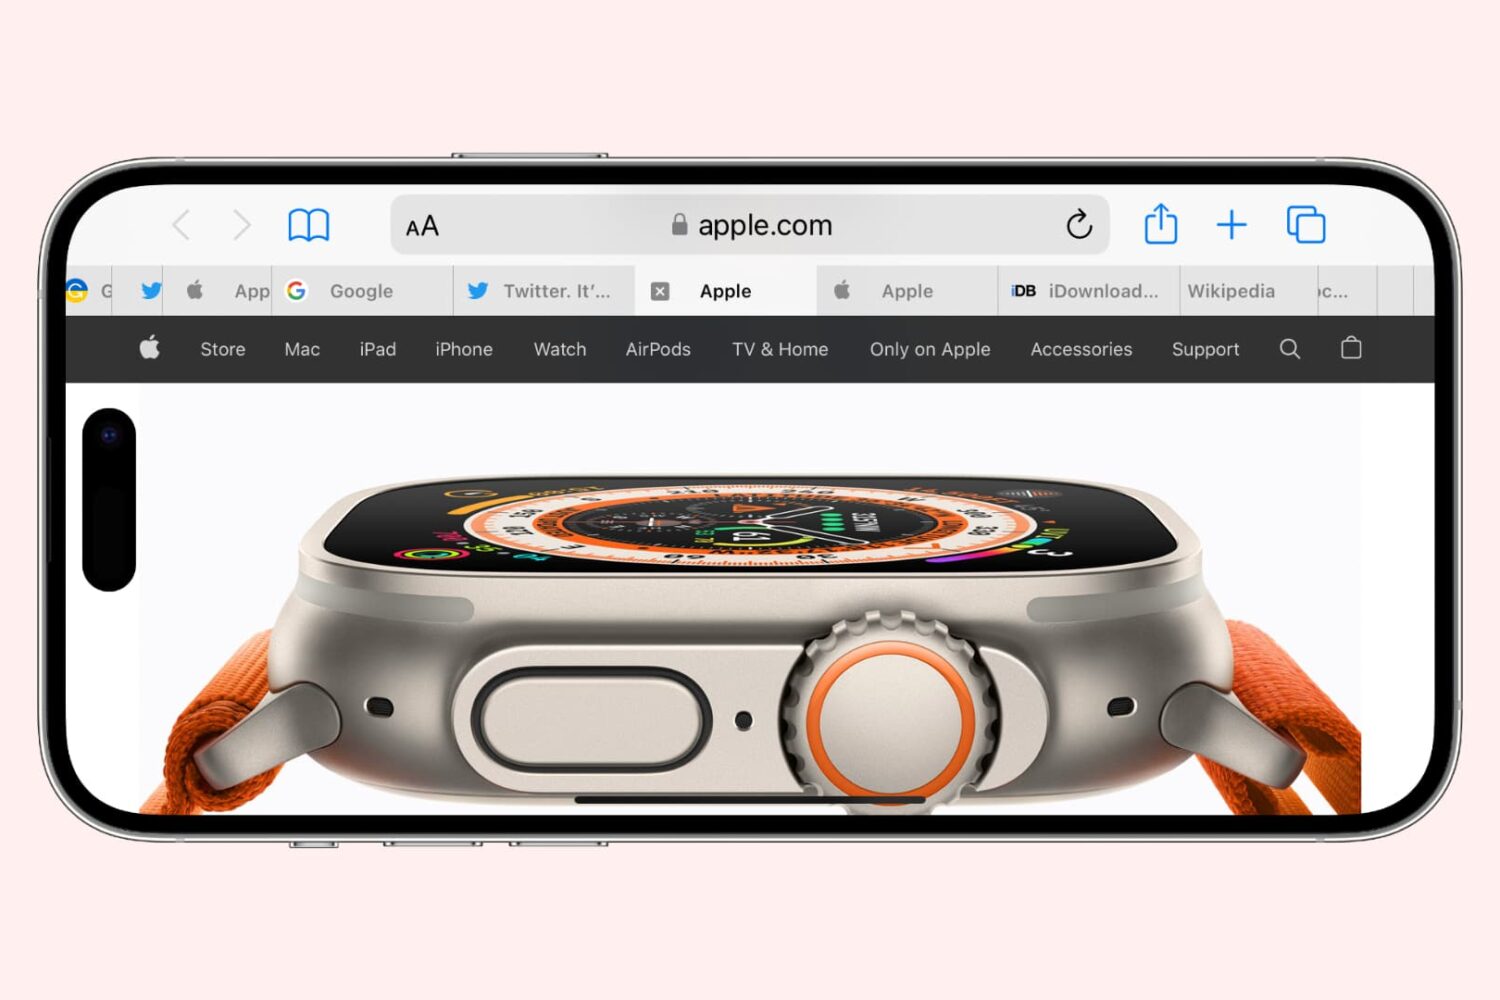
Learn how to cycle through open tabs in Apple’s Safari browser on the iPhone, iPad, and Mac using a familiar gesture, an on-screen button, or a keyboard shortcut.
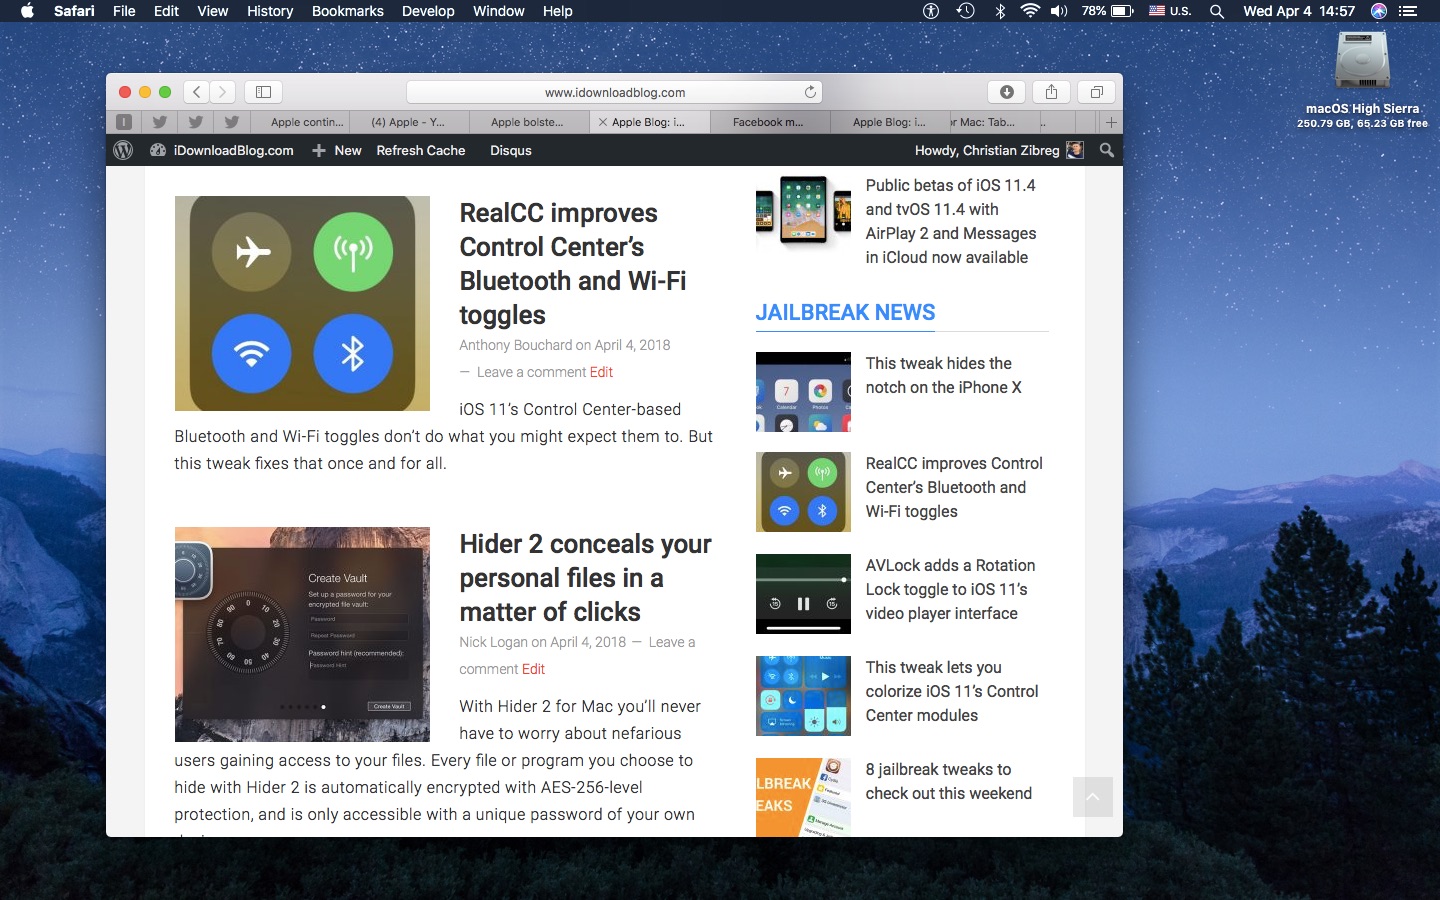
If you’re going to make the most of Safari as your desktop browser, it might make sense to memorize some of the best keyboard shortcuts to supercharge your browsing workflow.
This is especially true for folks who have dozens of open tabs at any given time. Safari for Mac provides you with many productivity-infused keyboard shortcuts that save time, including a trio of essential keyboard combinations for quickly switching between your open tabs.
TUTORIAL: 11 must-know Safari keyboard shortcuts for Mac
The macOS High Sierra 10.13.4 software update brought out yet another powerful shortcut for quickly getting to the rightmost tab. This is a handy productivity feature for those times when you have more tabs than fit Safari's tab bar.
It's only available on Macs that run macOS High Sierra 10.13.4 or higher so be sure to update your copy of macOS to the latest version available by choosing App Store from the Apple menu, then click the Updates tab.
How to jump to rightmost Safari tabTo get to the rightmost open tab in Safari for Mac, press Command (⌘)-9 on the keyboard.
Again, this particular shortcut requires that macOS High Sierra 10.13.4 or later be installed on your Mac. If you have an older macOS edition, pressing the same shortcut will select your ninth tab from the left. In case you didn't know, you can jump quickly to any of your first eight tabs by pressing Command (⌘)-1 to Command (⌘)-8.
macOS High Sierra 10.13.4 and up allows jumping to the rightmost open tab using Command-9
You can cycle through your open tabs even faster with a trackpad gesture: when there are more tabs than fit in Safari's tab area, use your trackpad to swipe left or right over the tab bar to scroll through your open tabs like a pro.
TUTORIAL: 3 ways to reopen recently closed tabs in Safari for Mac
And if your Mac has the Touch Bar feature, you can touch an icon displayed on the Touch Bar to jump directly to the corresponding tab or scroll through all of your open tabs by swiping left or right over the Touch Bar area.
Need help? Ask iDB!If you like this how-to, pass it along to your support folks and leave a comment below.
Got stuck? Not sure how to do certain things on your Apple device? Let us know via help@iDownloadBlog.com and a future tutorial might provide a solution.
Submit your how-to suggestions via tips@iDownloadBlog.com.

Learn how to efficiently manage your Safari tabs with these four different techniques to close all tabs except the one you’re currently browsing.

Learn about 3 easy methods to reopen recently closed tabs in the current browsing session on Safari for Mac without losing your current tab.

Configure Safari to automatically enable Reader view whenever you visit a specific website on your iPhone, iPad, Mac, or Apple Vision Pro, so you can read the article without ads and other distractions.
Safari has a built-in Reading List feature for saving webpages you'd like to revisit later. It's like bookmarks, but with full offline support. That is, any webpage saved in your Reading List prompt Safari to download and cache its text, images, layout and other assets on your device so that it can be read at any time, even without an Internet connection.
And with iCloud syncing, a webpage added to Reading List on one device gets individually cached across all your other devices, too. Caching webpages isn't the smartest idea if you're on a metered cellular plan, especially if you frequently use Reading List on the go.
Thankfully, iOS lets you decide whether or not Reading List items should be downloaded when your iPhone is connected to the Internet through your carrier's cellular data network.
About Safari Reading ListReading List made its debut with the release of OS X Lion and iOS 5 in 2011.
The feature received offline support the following year in OS X Mountain Lion and iOS 6. Reading List is unavailable on a device unless Safari syncing is turned on in Settings → iCloud on iOS or in the iCloud preference pane in System Preferences on macOS.
Don't confuse Reading List with Safari's regular bookmarking feature, which simply stores a webpage URL rather than download and cache its full contents, like Reading List does.
Due to the fact that a vast majority of websites take advantage of high-resolution image assets, your offline Reading List cache can eat up a significant amount of on-device storage.
And because Safari syncs your Reading List, bookmarks and other data via iCloud, adding a webpage to Reading List on your iPad prompts your iPhone to download it, and vice versa.
Thankfully, you can revert this behavior with a few taps, here's how.
How to stop Reading List caching via cellularSafari on iPhone and iPad defaults to caching all Reading List items for offline access, whether you're connected to the network via Wi-Fi or through your carrier's cellular data network.
To tell Safari to cache your Reading List items for offline access only when your iPhone or cellular-enable iPad is connected to a Wi-Fi network, do the following:
1) Open Settings on your iPhone or cellular iPad.
2) Tap Safari.
3) Scroll to the bottom of the Safari settings screen, then slide the switch Use Cellular Data underneath the Reading List headline to the OFF position.
This will stop Reading List items from being downloaded through this device's cellular connection. You must do this on every iPhone and cellular iPad using the same Apple ID.
With cellular updates turned off, any webpages you add to your Reading List in the future will still show up in Safari's Reading List menu but they'll only get cached via Wi-Fi.
Deleting offline Reading List cacheTo free up storage space taken up by Safari's offline Reading List cache, go to Settings → General → iCloud & Storage Usage, then tap Manage Storage under the Storage headline.
Find and tap Safari in the list of apps, swipe left over Offline Reading List, then hit Delete.
Wiping the cache clean won’t remove any items from your Reading List in iCloud.
You will still be able to open any webpage from your Reading List like you normally would, but your device will need to be connected to the Internet to display a non-cached item.
And one last tip before we sign off—knowing your Reading List is archived automatically in iCloud, you are actually able to easily restore it from an earlier version at any time.
Need help? Ask iDB!If you like this how-to, pass it along to your support folks and leave a comment below.
Got stuck? Not sure how to do certain things on your Apple device? Let us know via help@iDownloadBlog.com and a future tutorial might provide a solution.
Submit your how-to suggestions via tips@iDownloadBlog.com.
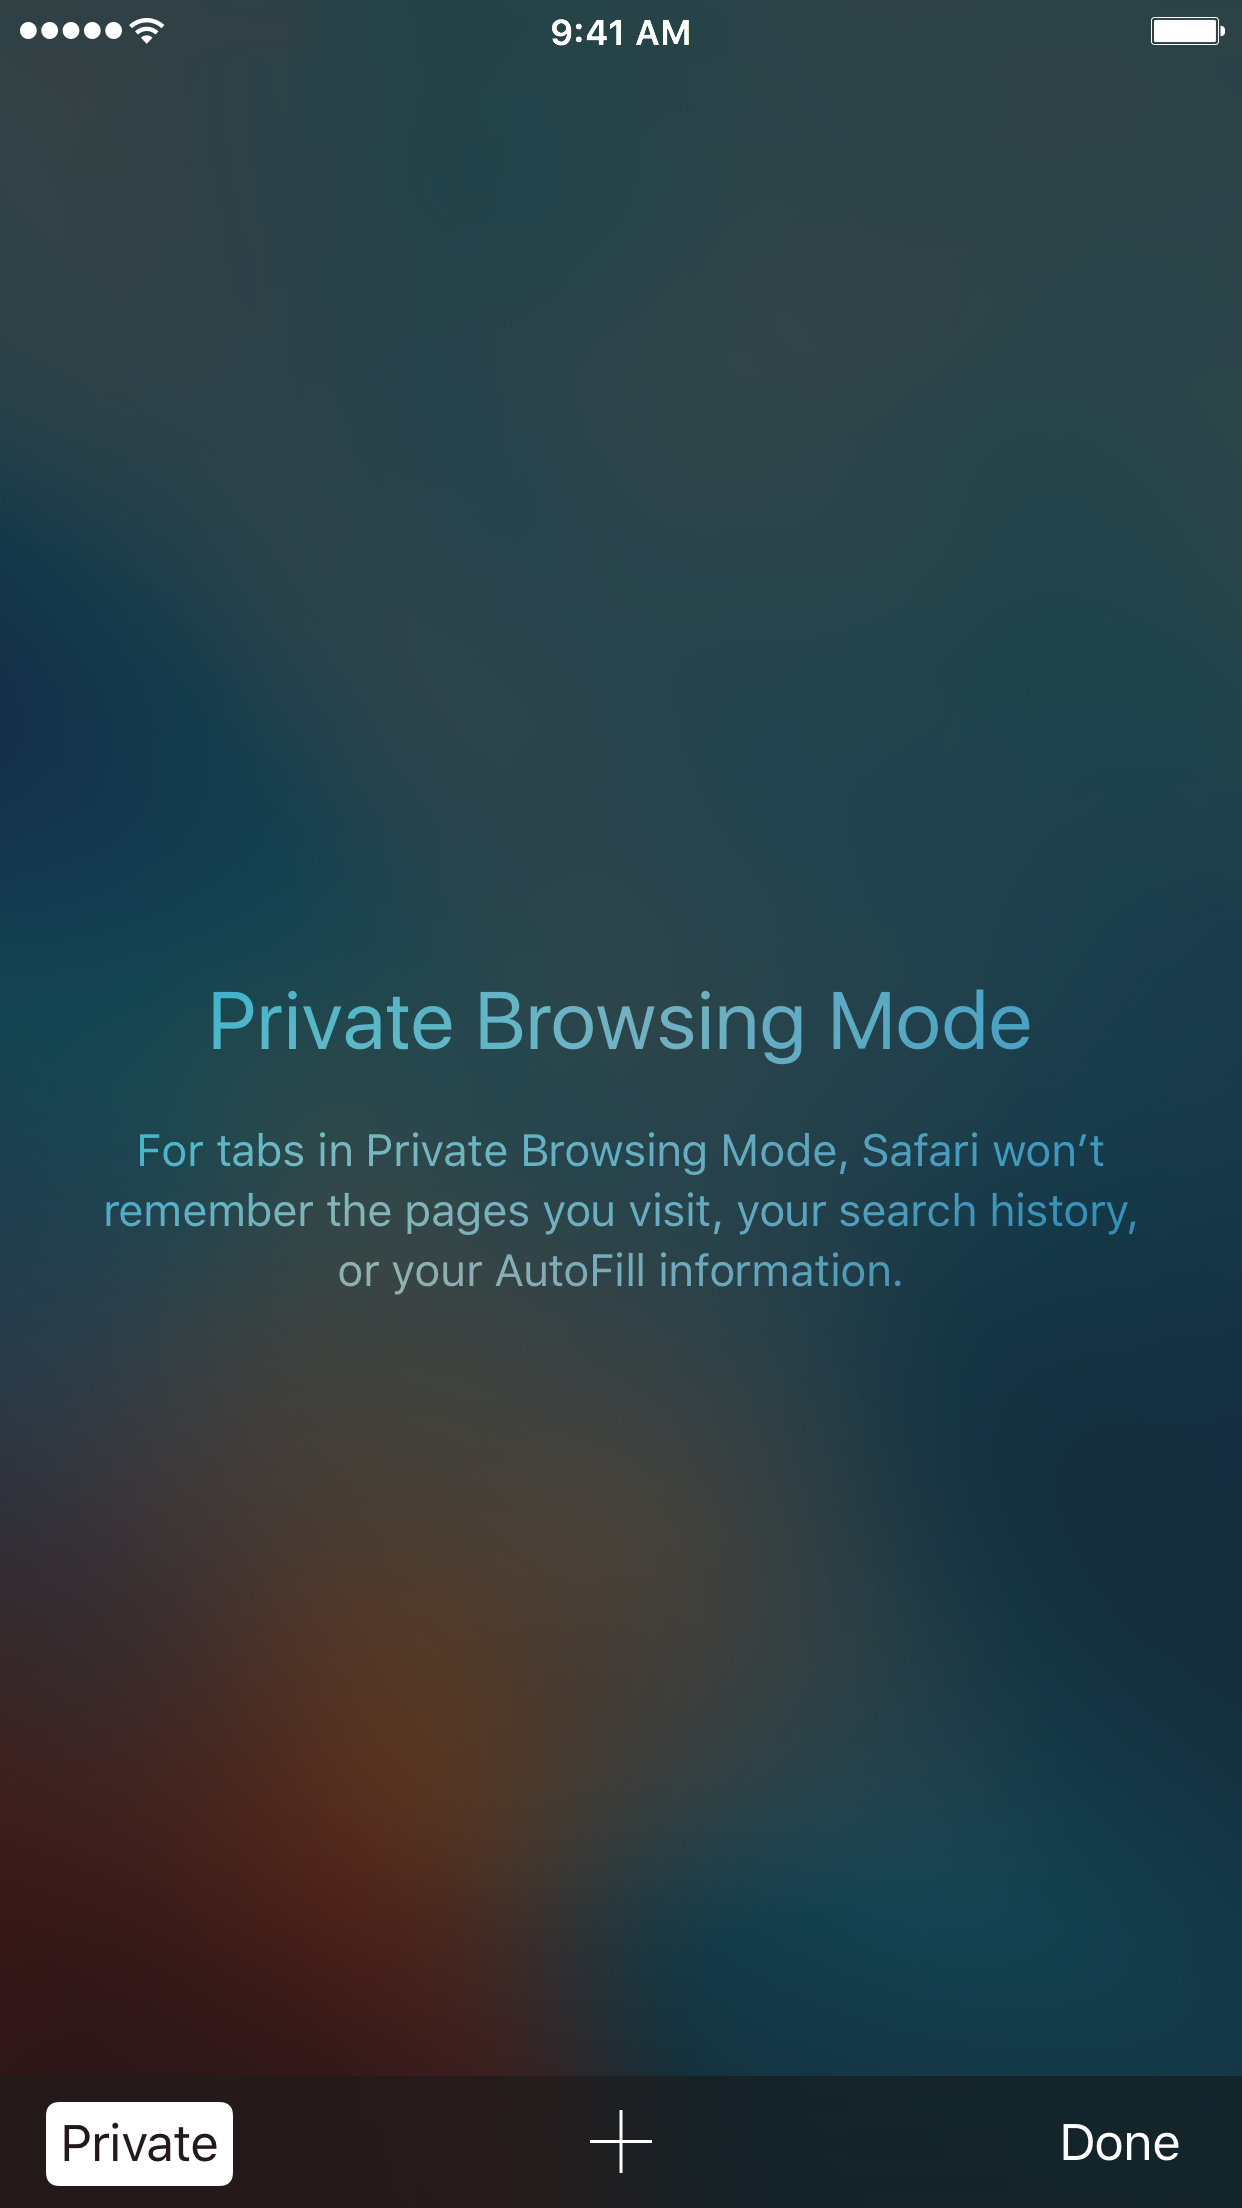
With privacy becoming a hotter topic these days, web users are becoming more and more wary about what they share online. While there are many different steps that can be taken to increase your online privacy, a very simple way to get started is to use a web browser in Private mode.
In this post, you will learn about what Private mode means in Safari, and you will find out how to always open Safari in a private window to make this simple precaution an automatic way of accessing the web on your Mac, your iPhone, or your iPad.
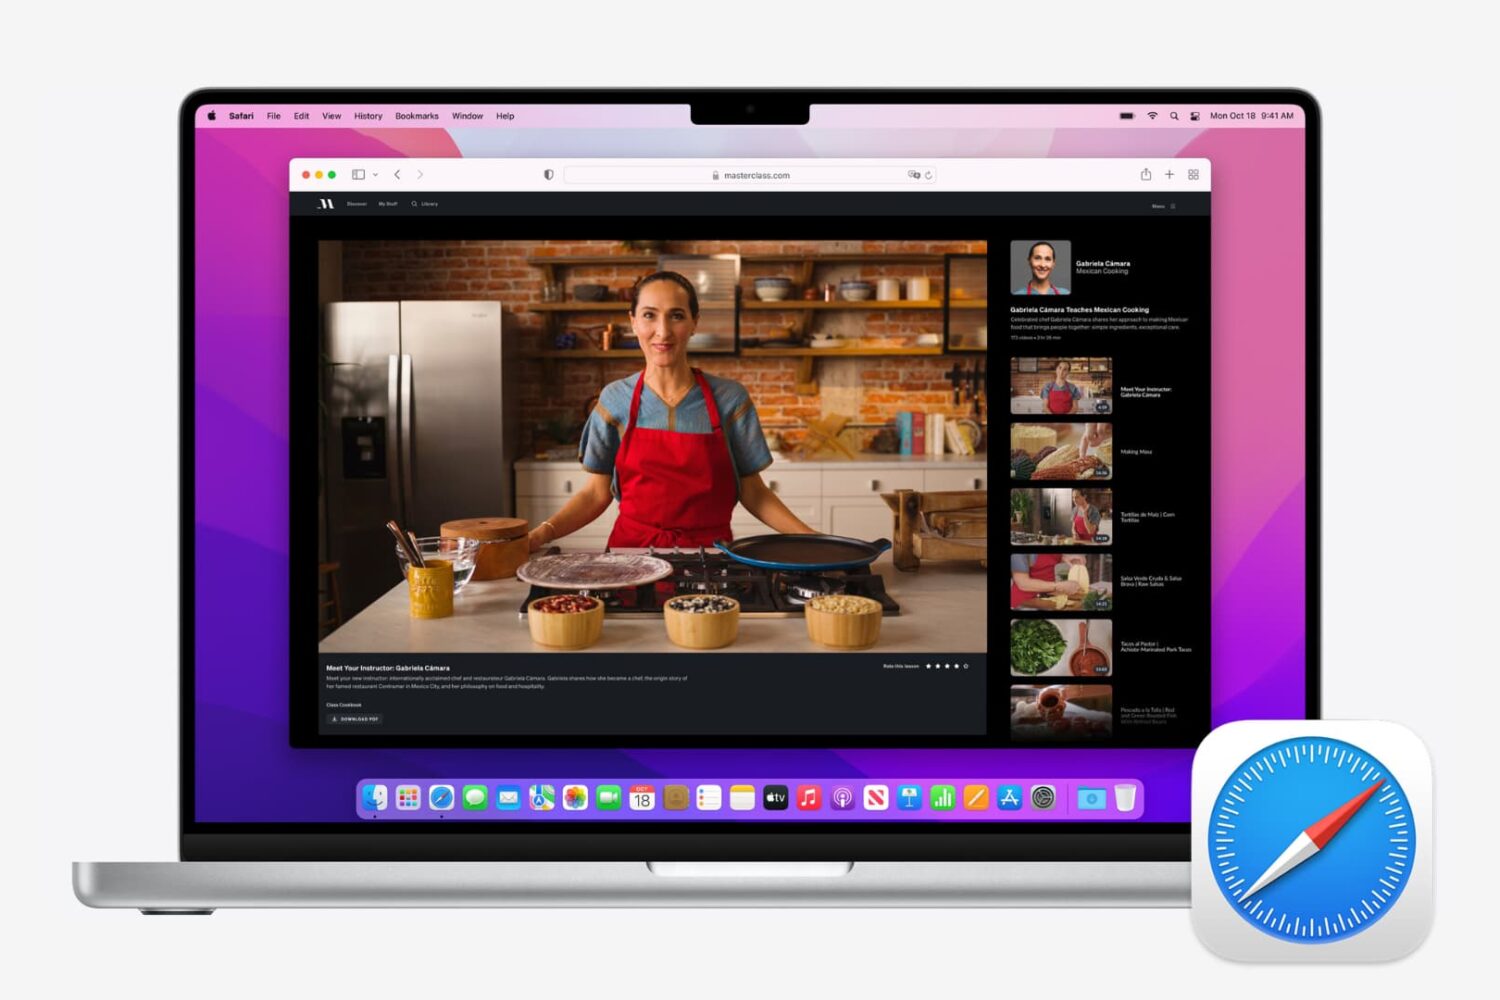
Master your Safari experience on Mac by learning how to switch between your multiple open tabs using keyboard shortcuts.
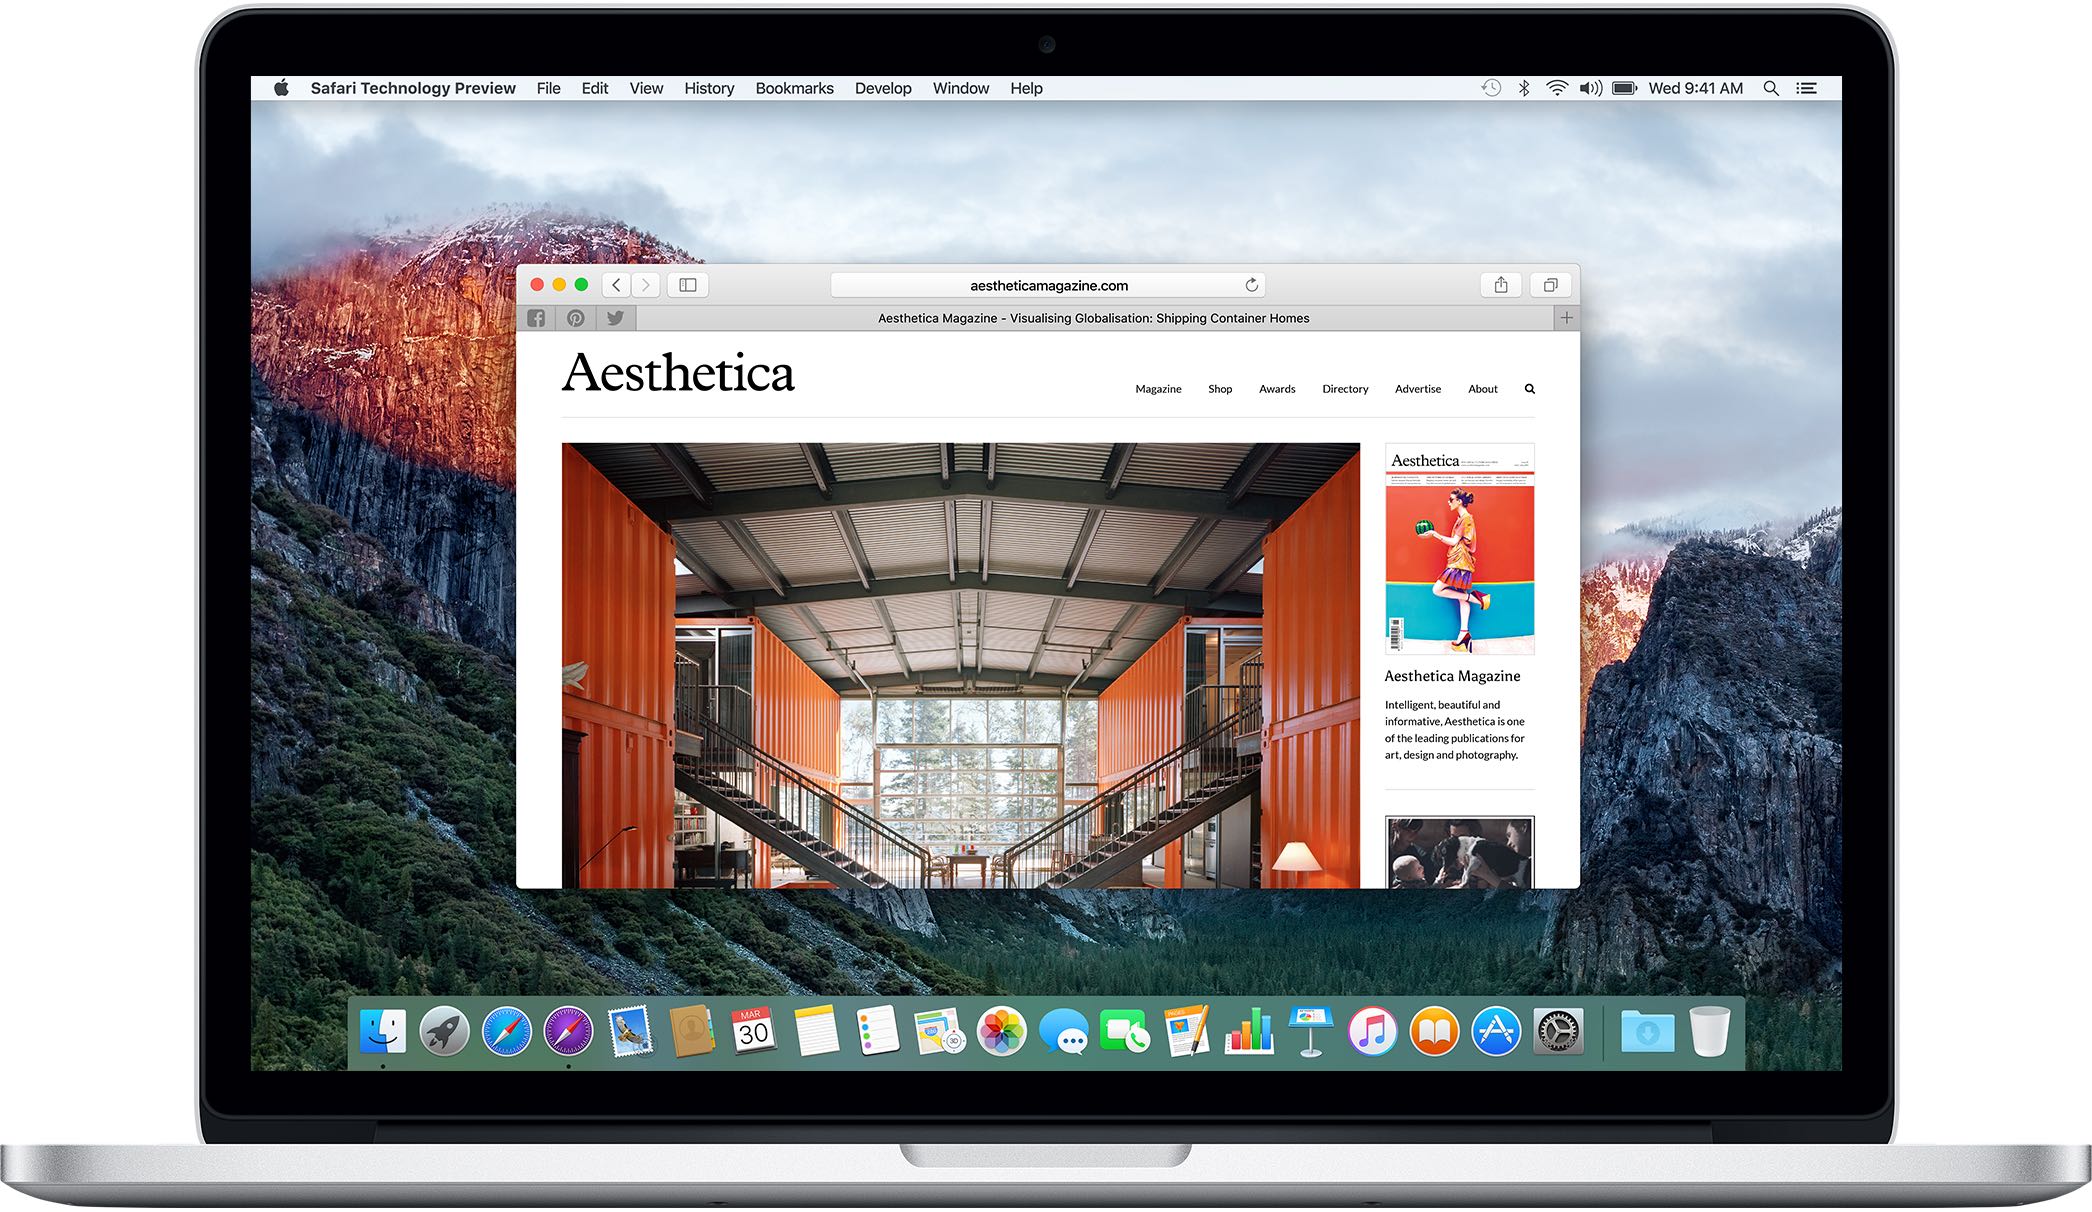
In this tutorial, we'll show you the quick steps to disable all images on websites you visit in Safari on your Mac.