In this tutorial, we’ll explain how to use modifier keys to accurately reposition or refine the dimensions of the selection area when you’re taking screenshots of your Mac’s screen.

Taking screenshots in macOS starts with simple keyboard combinations:
- Command + Shift + 3: Take a screenshot of the whole screen
- Command + Shift + 4: Take a screenshot of a portion of the screen
- Command + Shift + 5: Open the screenshot & screen recording utility
Thoughtfully, the Command + Shift + 4 shortcut or the Capture Selected Portion utility of Command + Shift + 5 can be combined with several modifier keys for enhanced functionality.
For example, pressing the Space Bar turns the crosshair selection tool into a camera icon, allowing you to effortlessly highlight and capture a single window or a menu. Other modifier keys let you send a screenshot directly to the clipboard, and so forth.
In addition to the above options, you can also refine your screenshot selection area for a precise screen capture. Here are four such tips to do that.
Tip 1. Reposition the screenshot selection area
You can easily reposition your selection in case you’ve miscalculated the starting point.
- Press Command + Shift + 4 on the keyboard.
- Move the crosshair pointer to where you’d like to start the screenshot.
- Press and hold the mouse or trackpad button, then drag the pointer to select an area.
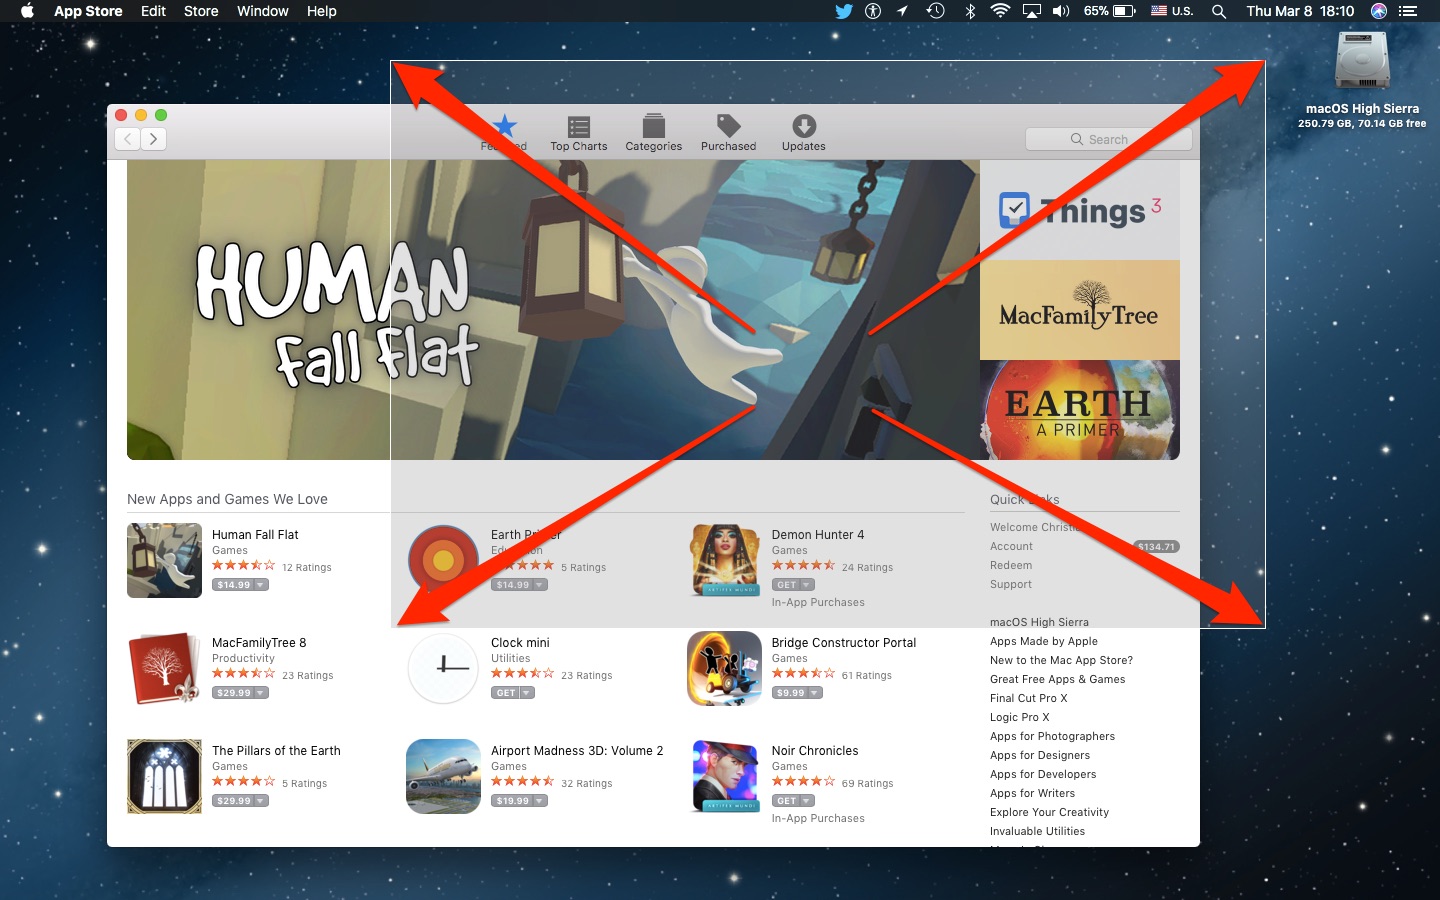
- If you misjudged the selection’s starting point, press and hold the Space Bar key without releasing the mouse button to move the entire selection area freely in any direction.
- When you’re satisfied with the selection, release the mouse or trackpad button.
Tip 2. Resize the screenshot selection area from its center
Do the following to resize the whole selection area from its center point.
- Press Command + Shift + 4 on the keyboard.
- Move the crosshair pointer to where you’d like to start the screenshot.
- Press and hold the mouse button, then drag to start expanding the selection area.
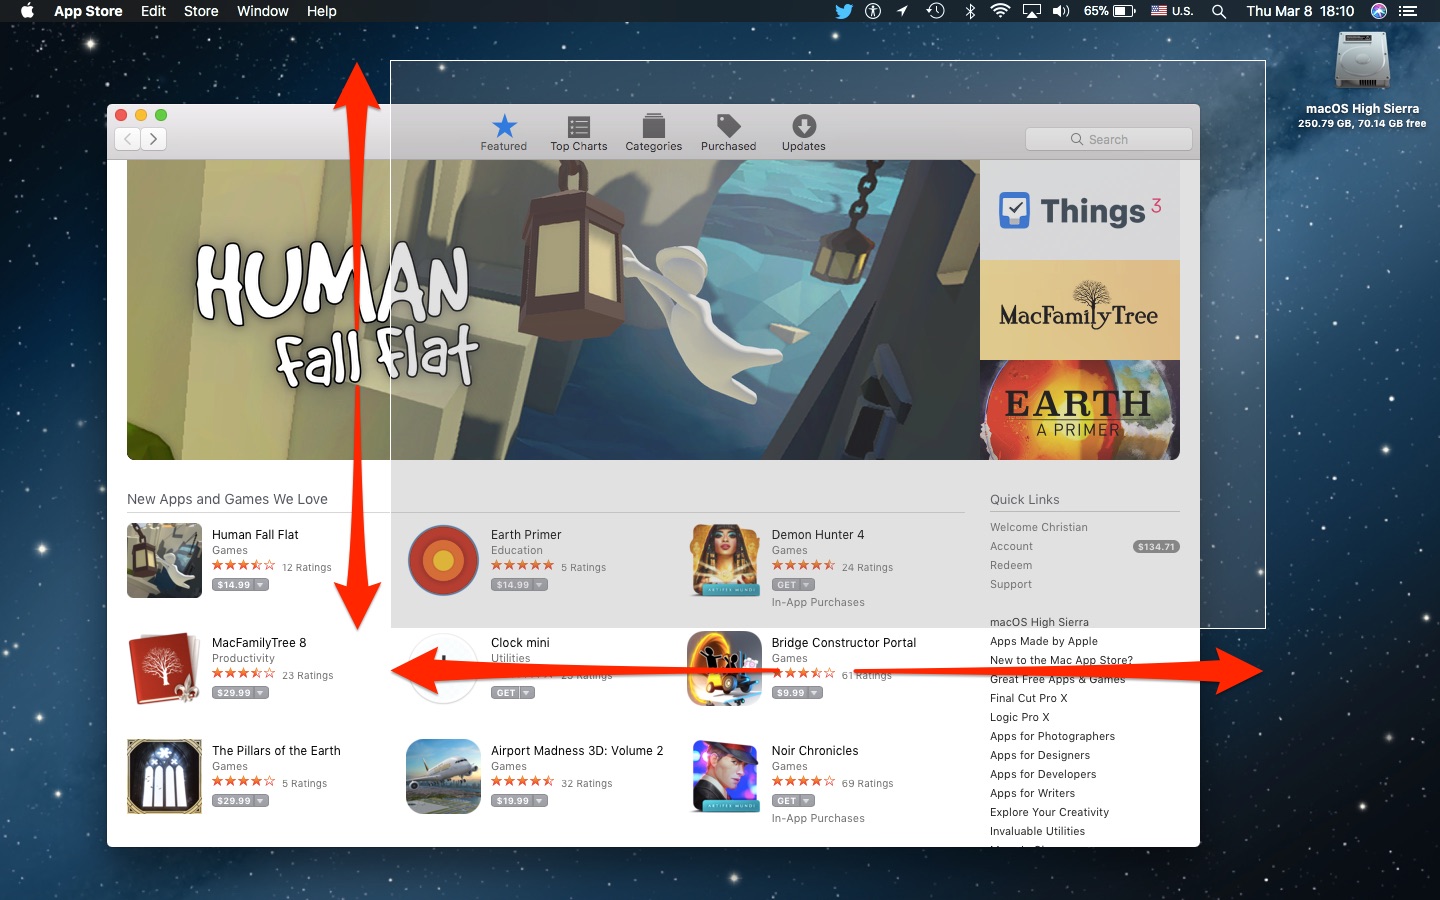
- Press and hold the Option key without letting go of the mouse button in order to resize the selection area in all directions simultaneously, right from its center point.
- When you’ve selected the area you want, release the mouse or trackpad button to capture a screenshot.
Tip 3. Resize the screenshot selection area in the dragging direction
You can lock the selection so it only resizes in the dragging direction.
- Press Command + Shift + 4 on the keyboard.
- Move the crosshair pointer to where you’d like to start the screenshot.
- Press and hold the mouse or trackpad button, then start dragging to select an area.
- Press and hold the Shift key to restrict the resizing action to the direction that you’re dragging in while locking other borders of your selection area.
- When you’ve selected the area you want, release the mouse or trackpad button to take a screenshot.
Tip 4. Remove the drop shadow from your screenshots
By default, screenshots of Mac app windows include macOS’s drop shadow effect. You can use a simple Terminal command to permanently remove shadows from all your screenshots or use modifier keys to do it on a per-case basis.
- Press Command + Shift + 4 on the keyboard.
- Press the Space bar. The pointer changes to a camera.
- Move the camera pointer over a window to highlight it.
- Press and hold the Option key before hitting the mouse or trackpad button to capture a screenshot of the highlighted window without the distracting drop shadow effect.
Bringing it all together…
The best thing about capturing screenshots on your Mac is the ability to combine the aforementioned selection methods during a single capture session to accurately and reliably reposition or resize the selection area.
You could, say, start making a selection normally, then hold the Space Bar to reposition the selection area and tweak your starting point before deciding to hold the Option key to further refine the dimensions of the selection area by resizing it from its center.
On a related note: