Learn how to enhance visibility and ease of use on your Mac by adjusting the mouse or trackpad cursor size.

If you have vision problems or simply happen to use a very high-resolution monitor, finding your Mac’s mouse cursor among the mess of windows, desktop icons, and various user interface controls can be a daunting task.
Thankfully, macOS provides a nifty little feature that temporarily makes the cursor larger when you quickly move your finger on the trackpad or quickly move the mouse. But if you’d like to permanently make the cursor larger so that it’s easier to see, you can do that, too, as explained in this quick tutorial.
Change your Mac’s mouse or trackpad pointer size
- Open System Settings.
- Click Accessibility in the sidebar.
- Select Display.
- Scroll down to the Pointer section and drag the Pointer size slider to a level you want.

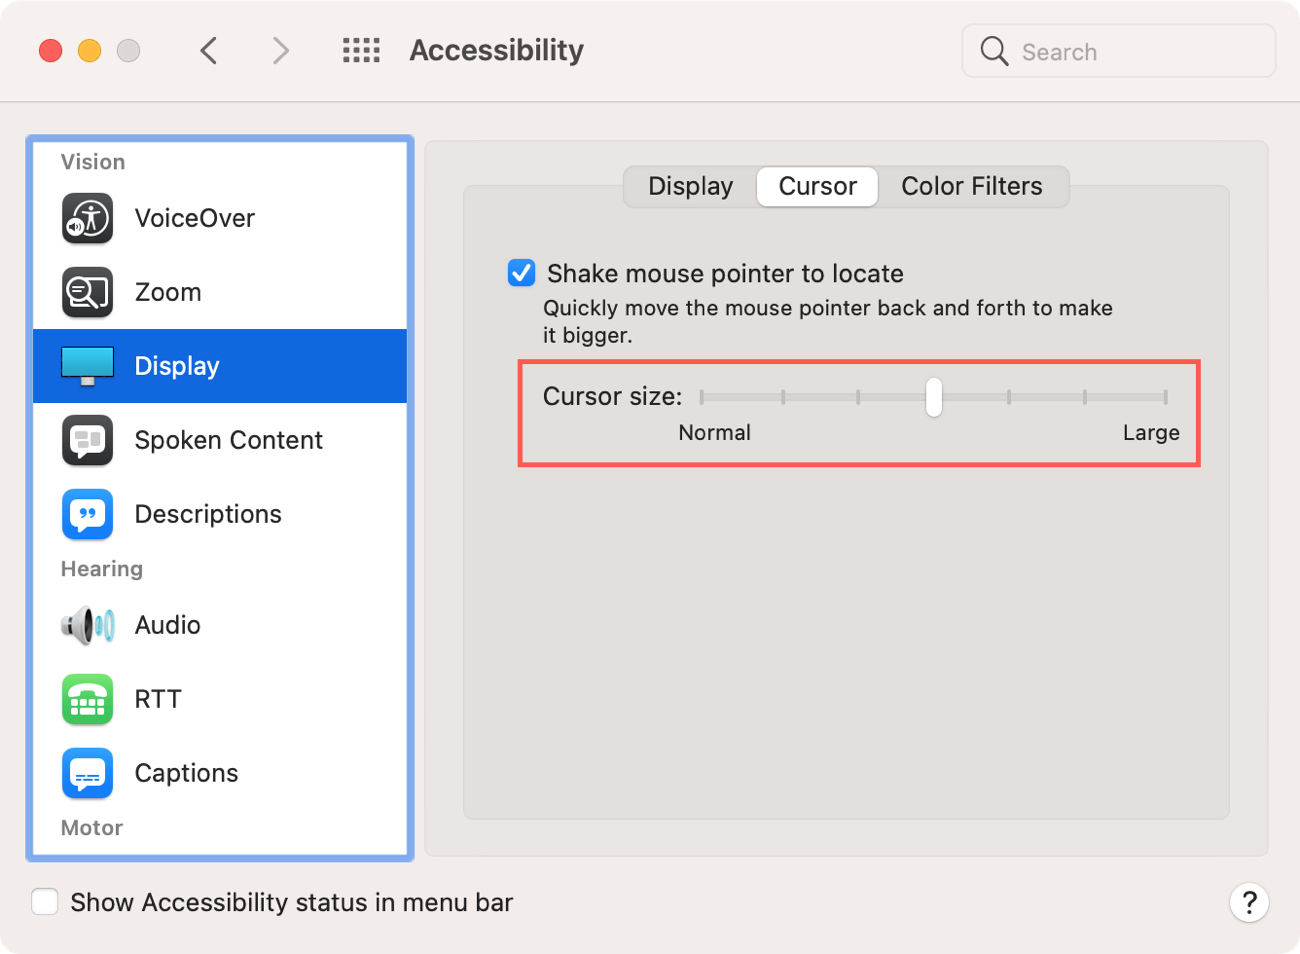
Note: If you’re on an older version of macOS, go to System Preferences > Accessibility > Display. Then, select the Cursor tab and drag the Cursor size slider to the right to make the mouse pointer larger (or to the left if you’d like to make the pointer smaller).
Aside from being easier to see, an oversized mouse pointer is great for those times when you have difficulty following the regular-size pointer when it moves or changes to an insertion point, crosshair, or other shape like the camera icon you see when taking a screenshot.
You can also change your mouse pointer’s color and outline if you have other visibility problems.
Furthermore, if you have issues controlling the mouse pointer, check out our troubleshooting tips for fixing a slow, unresponsive, and laggy mouse on your Mac.
Last but not least, if you’d like to move and control your mouse pointer using keys on your Mac’s keyboard, simply enable a handy macOS feature called Mouse Keys.