Learn how to transfer large videos, documents, and other files from one Apple device to another over a USB cable using wired AirDrop.

Prerequisites for wired AirDrop
- iPhone, iPad, and Mac running the latest version of iOS, iPadOS, and macOS.
- A USB cable or an appropriate dongle to connect both Apple devices. If you have a Pro iPhone or iPad (full iOS device list below), a Thunderbolt 3 or 4 cable can transfer files way faster.
- Even though transfer happens over a wired connection, Wi-Fi and Bluetooth must be enabled on both devices.
- AirDrop visibility must be enabled on the receiver device so you can see and select it. You can set the visibility to Contacts Only or Everyone by using the AirDrop button in iOS or macOS Control Center.
Use wired AirDrop to transfer files
- Connect your iPhone or iPad to your Mac or to another iPhone or iPad.
- If you get a “Trust This Computer” popup on your iPhone or iPad, tap Trust and enter your iOS device passcode. You’ll see this even when you connect your iPhone to your iPad with a cable.
- Select one or more files in the Photos app, Files app, Finder, or another app and use the share option, followed by AirDrop.
- Select another Apple device that’s connected using a cable.
- The transfer should start soon. If you’re transferring to or from an iPhone or iPad, it will say, “Using Wired Connection.”

My M2 Mac mini and M1 MacBook Pro don’t always make it clear that the transfer is happening over a wired connection. But in theory, it should say “Using Wired Connection,” as shown in this screenshot by Gui Rambo.

What happens if you disconnect the wire
I started transferring a large video file from my iPad Pro to my Mac using wired AirDrop. After a quarter of the way through, I disconnected the cable from my iPad, and the transfer paused. It did not continue seamlessly over Wi-Fi or Bluetooth.
I waited for a couple of minutes and then plugged in the USB-C cable again. After about 30 seconds of waiting, the paused transfer restarted on its own, and the transfer was completed successfully.

However, to be sure, I repeated the above experiment, but this time, the paused transfer did not resume after reconnecting the cable, and after waiting for a few minutes, it eventually showed the “AirDrop Failed” error.

To sum up, I’d say that you must not disconnect the cable or fiddle with the devices during transfer.
If there is a disconnection, AirDrop may fail, and you’ll have to start the process all over again.
Secondly, I’d recommend keeping both the sending and receiving devices unlocked and awake. If you’re transferring several GBs worth of files, go to iPhone/iPad Settings > Display & Brightness > Auto-Lock and set it to Never. Once the transfer is complete, you can change it back to 30 seconds or a minute.
How to tell if AirDrop is happening wirelessly or via wire
When AirDrop is taking place over Wi-Fi, it shows the receiver device’s name. But during wired AirDrop, it clearly indicates “Using Wired Connection.”

iOS devices that support faster data transfer speeds
You may be able to take advantage of faster data transfer speeds when using a Thunderbolt cable that supports USB 3 data transfer at 10Gb/s or higher. This can be up to 20 times quicker than a regular USB 2 found on other iPhones and iPads not listed here.
Faster USB transfer speeds are available on these iOS devices:
- iPhone 15 Pro
- iPhone 15 Pro Max
- iPhone 16 Pro
- iPhone 16 Pro Max
- iPhone 17 Pro
- iPhone 17 Pro Max
- All recent versions of iPad Pro
When it comes to Macs, all models from the last eight years support Thunderbolt 3 or 4.
In case you’re new to iPhone, remember that you can initiate an AirDrop transfer between two iPhones just by holding them near one another.
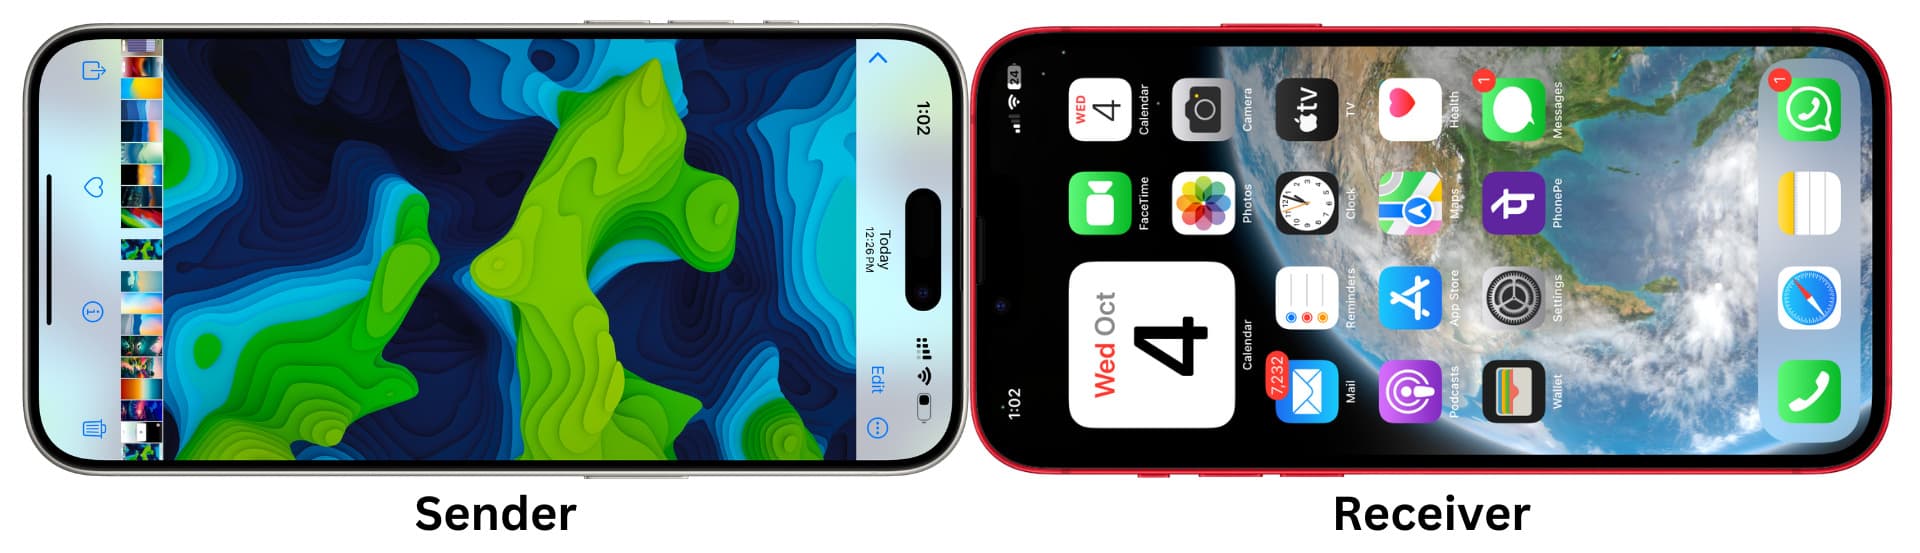
You can also use AirDrop over Cellular data. You can start a regular wireless AirDrop, and if you move out of Wi-Fi range, the transfer will continue over cellular data.