Learn how to download, install, and run iPad and iPhone apps on Apple silicon Macs, even if the app is unavailable in the App Store.

Given the iPhone’s huge popularity, most apps are first released for iOS devices to reach the most people. With the Mac’s comparatively smaller user base, it’s no wonder there aren’t s many helpful apps on the Mac App Store as there are on its iOS counterpart. If your favorite iOS app isn’t available on macOS, however, you can actually use its iPhone or iPad version so long as your Mac uses Apple silicon.
These Macs support iPhone and iPad apps
Apple’s in-house designed iPhone, iPad, and Mac processors share the same foundational architecture, permitting Macs to download, install, and run mobile apps written for iPhones and iPads. Of course, your computer must use an Apple silicon chip (M1, M2, M3, M4, and their variants). To check if your Mac has Apple silicon, click the Apple menu and choose About This Mac in the Overview section:
- If you see Chip in the Overview section followed by processor name, your Mac has Apple silicon.
- If it reads Processor instead, you have an Intel-based Mac.

There are two ways to use iOS and iPadOS apps on a macOS computer.
1. Download iOS apps from Mac App Store
- Open Mac App Store on your Mac, click the search bar at the top of the sidebar and search for an app.
- Results will show Mac-only apps, so click the “iPhone & iPad Apps” filter to see iOS and iPadOS apps instead.
- Click the Get option or the cloud icon with the downwardly-pointed arrow to download and install the selected iOS app on your Mac.
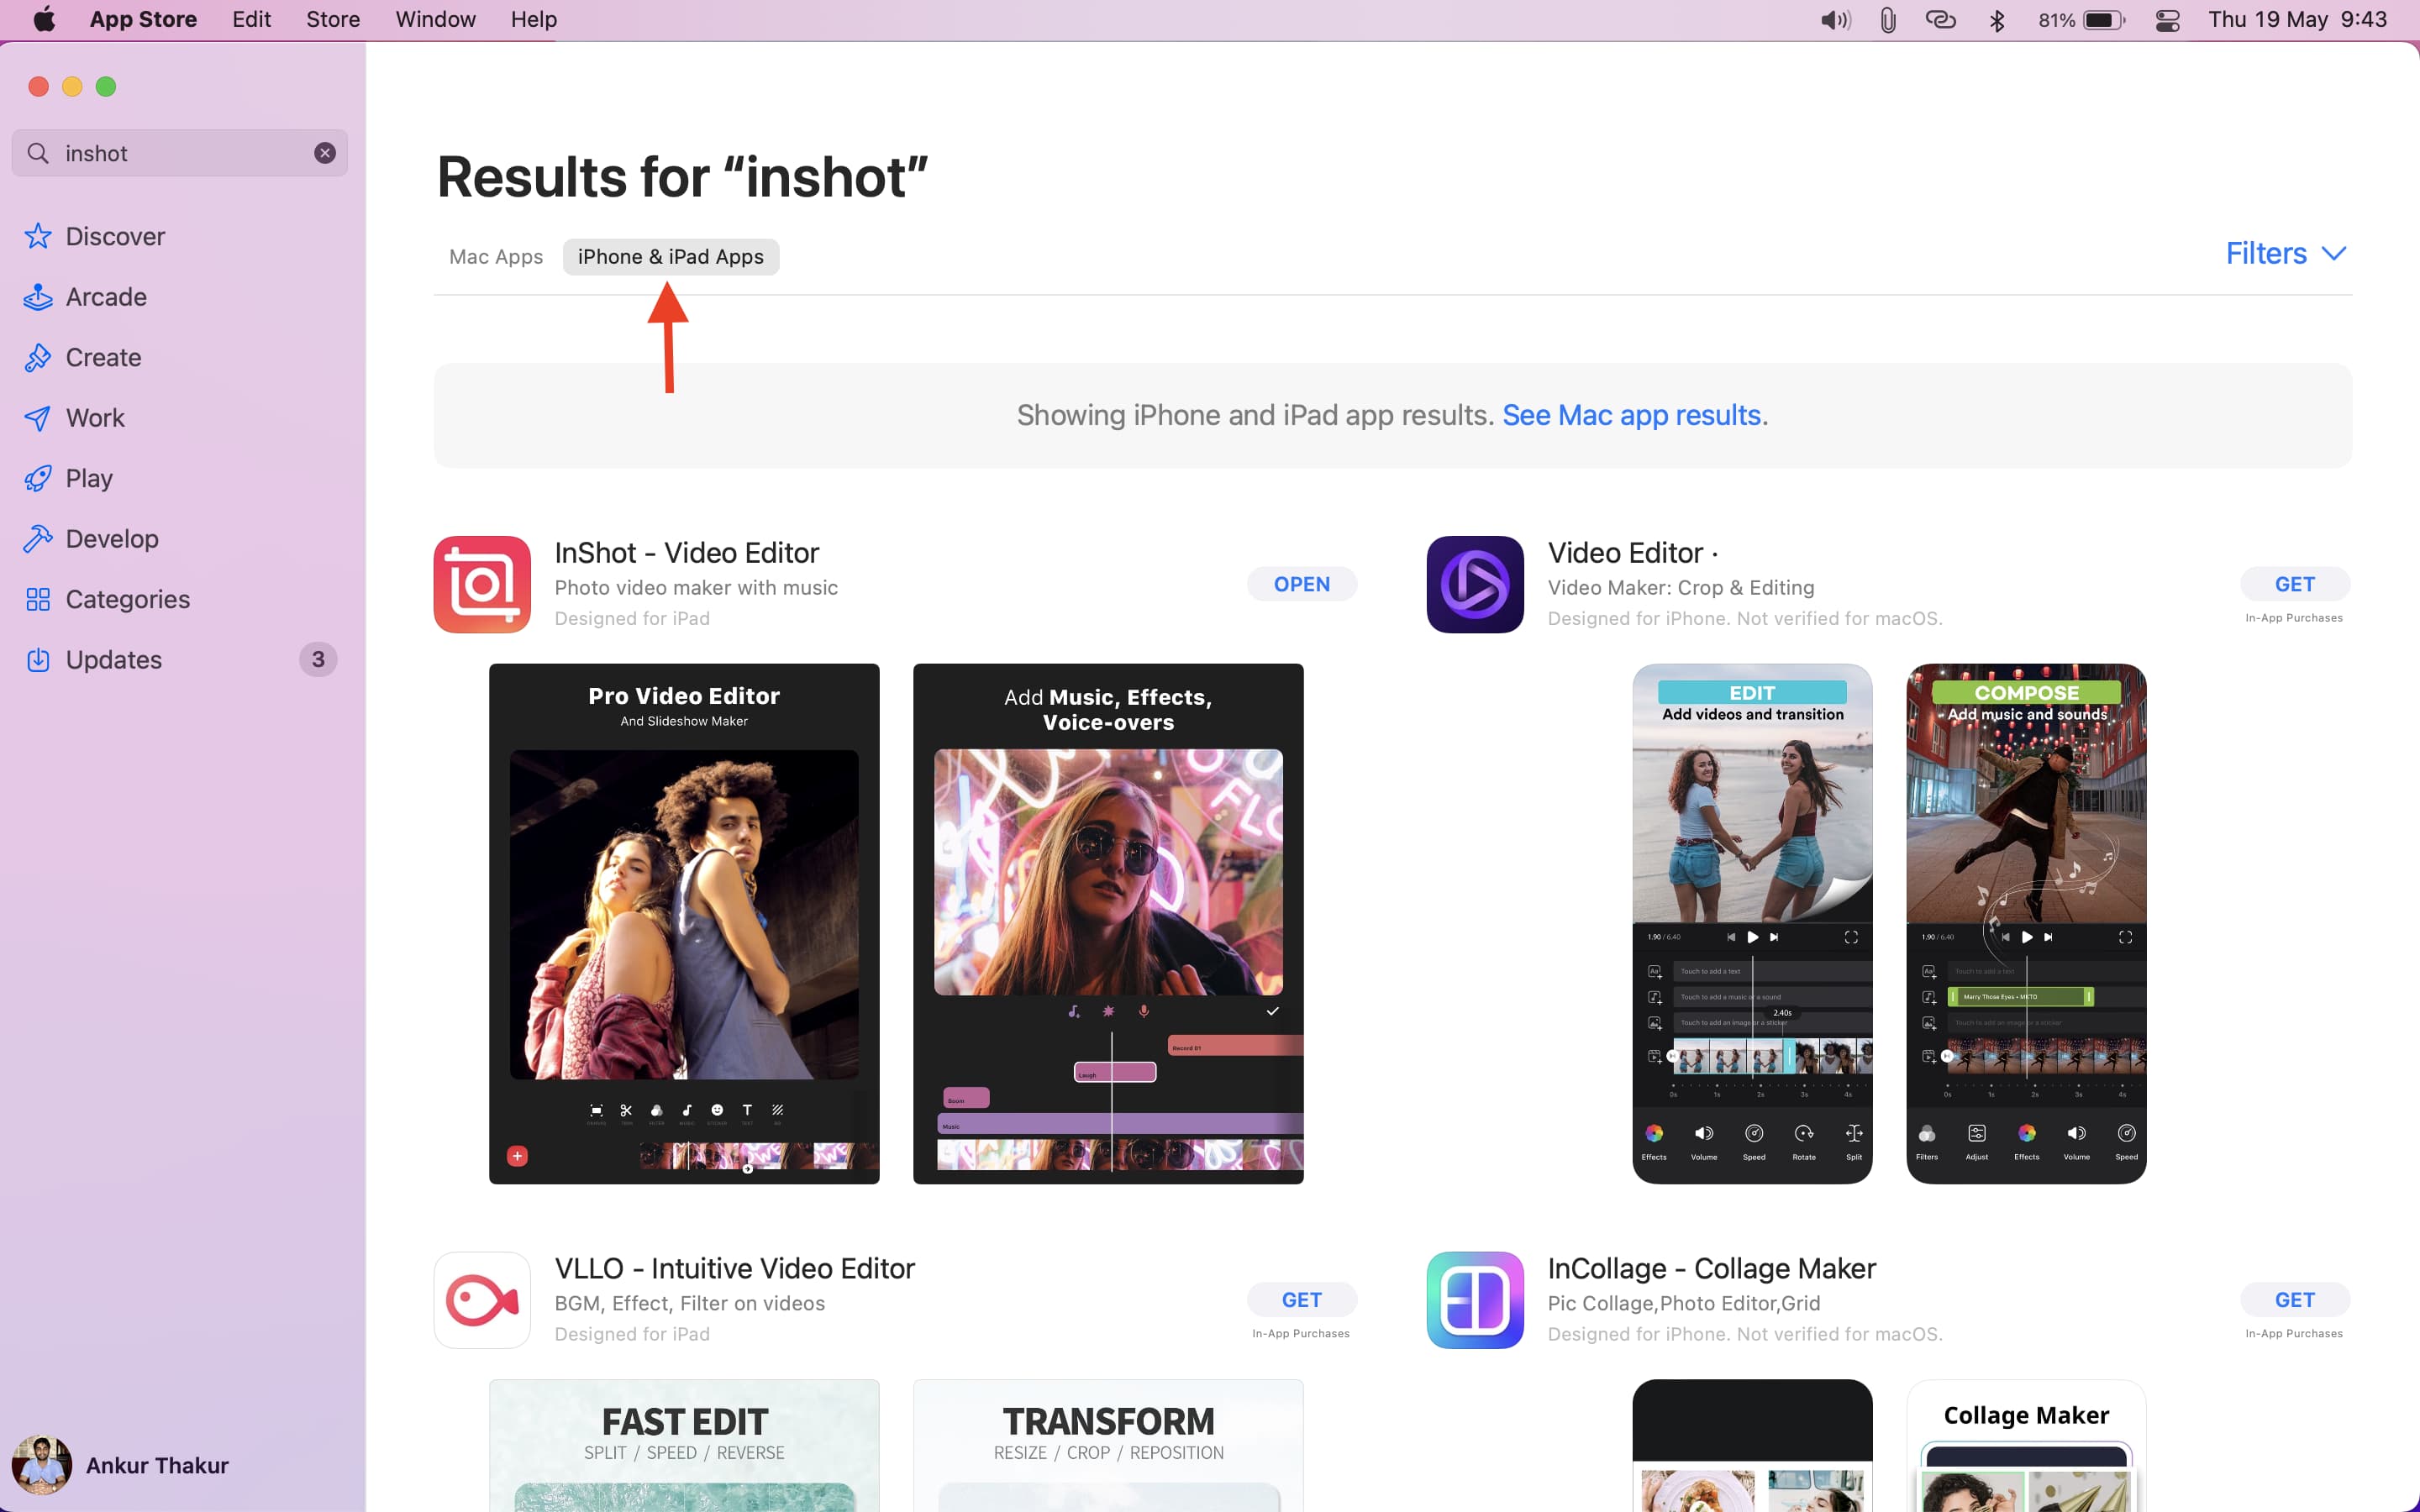
Developers decide whether to allow their iOS apps to run on Apple silicon Macs. Those that do display a “Designed for iPhone” or “Designed for iPad” label on their App Store page.

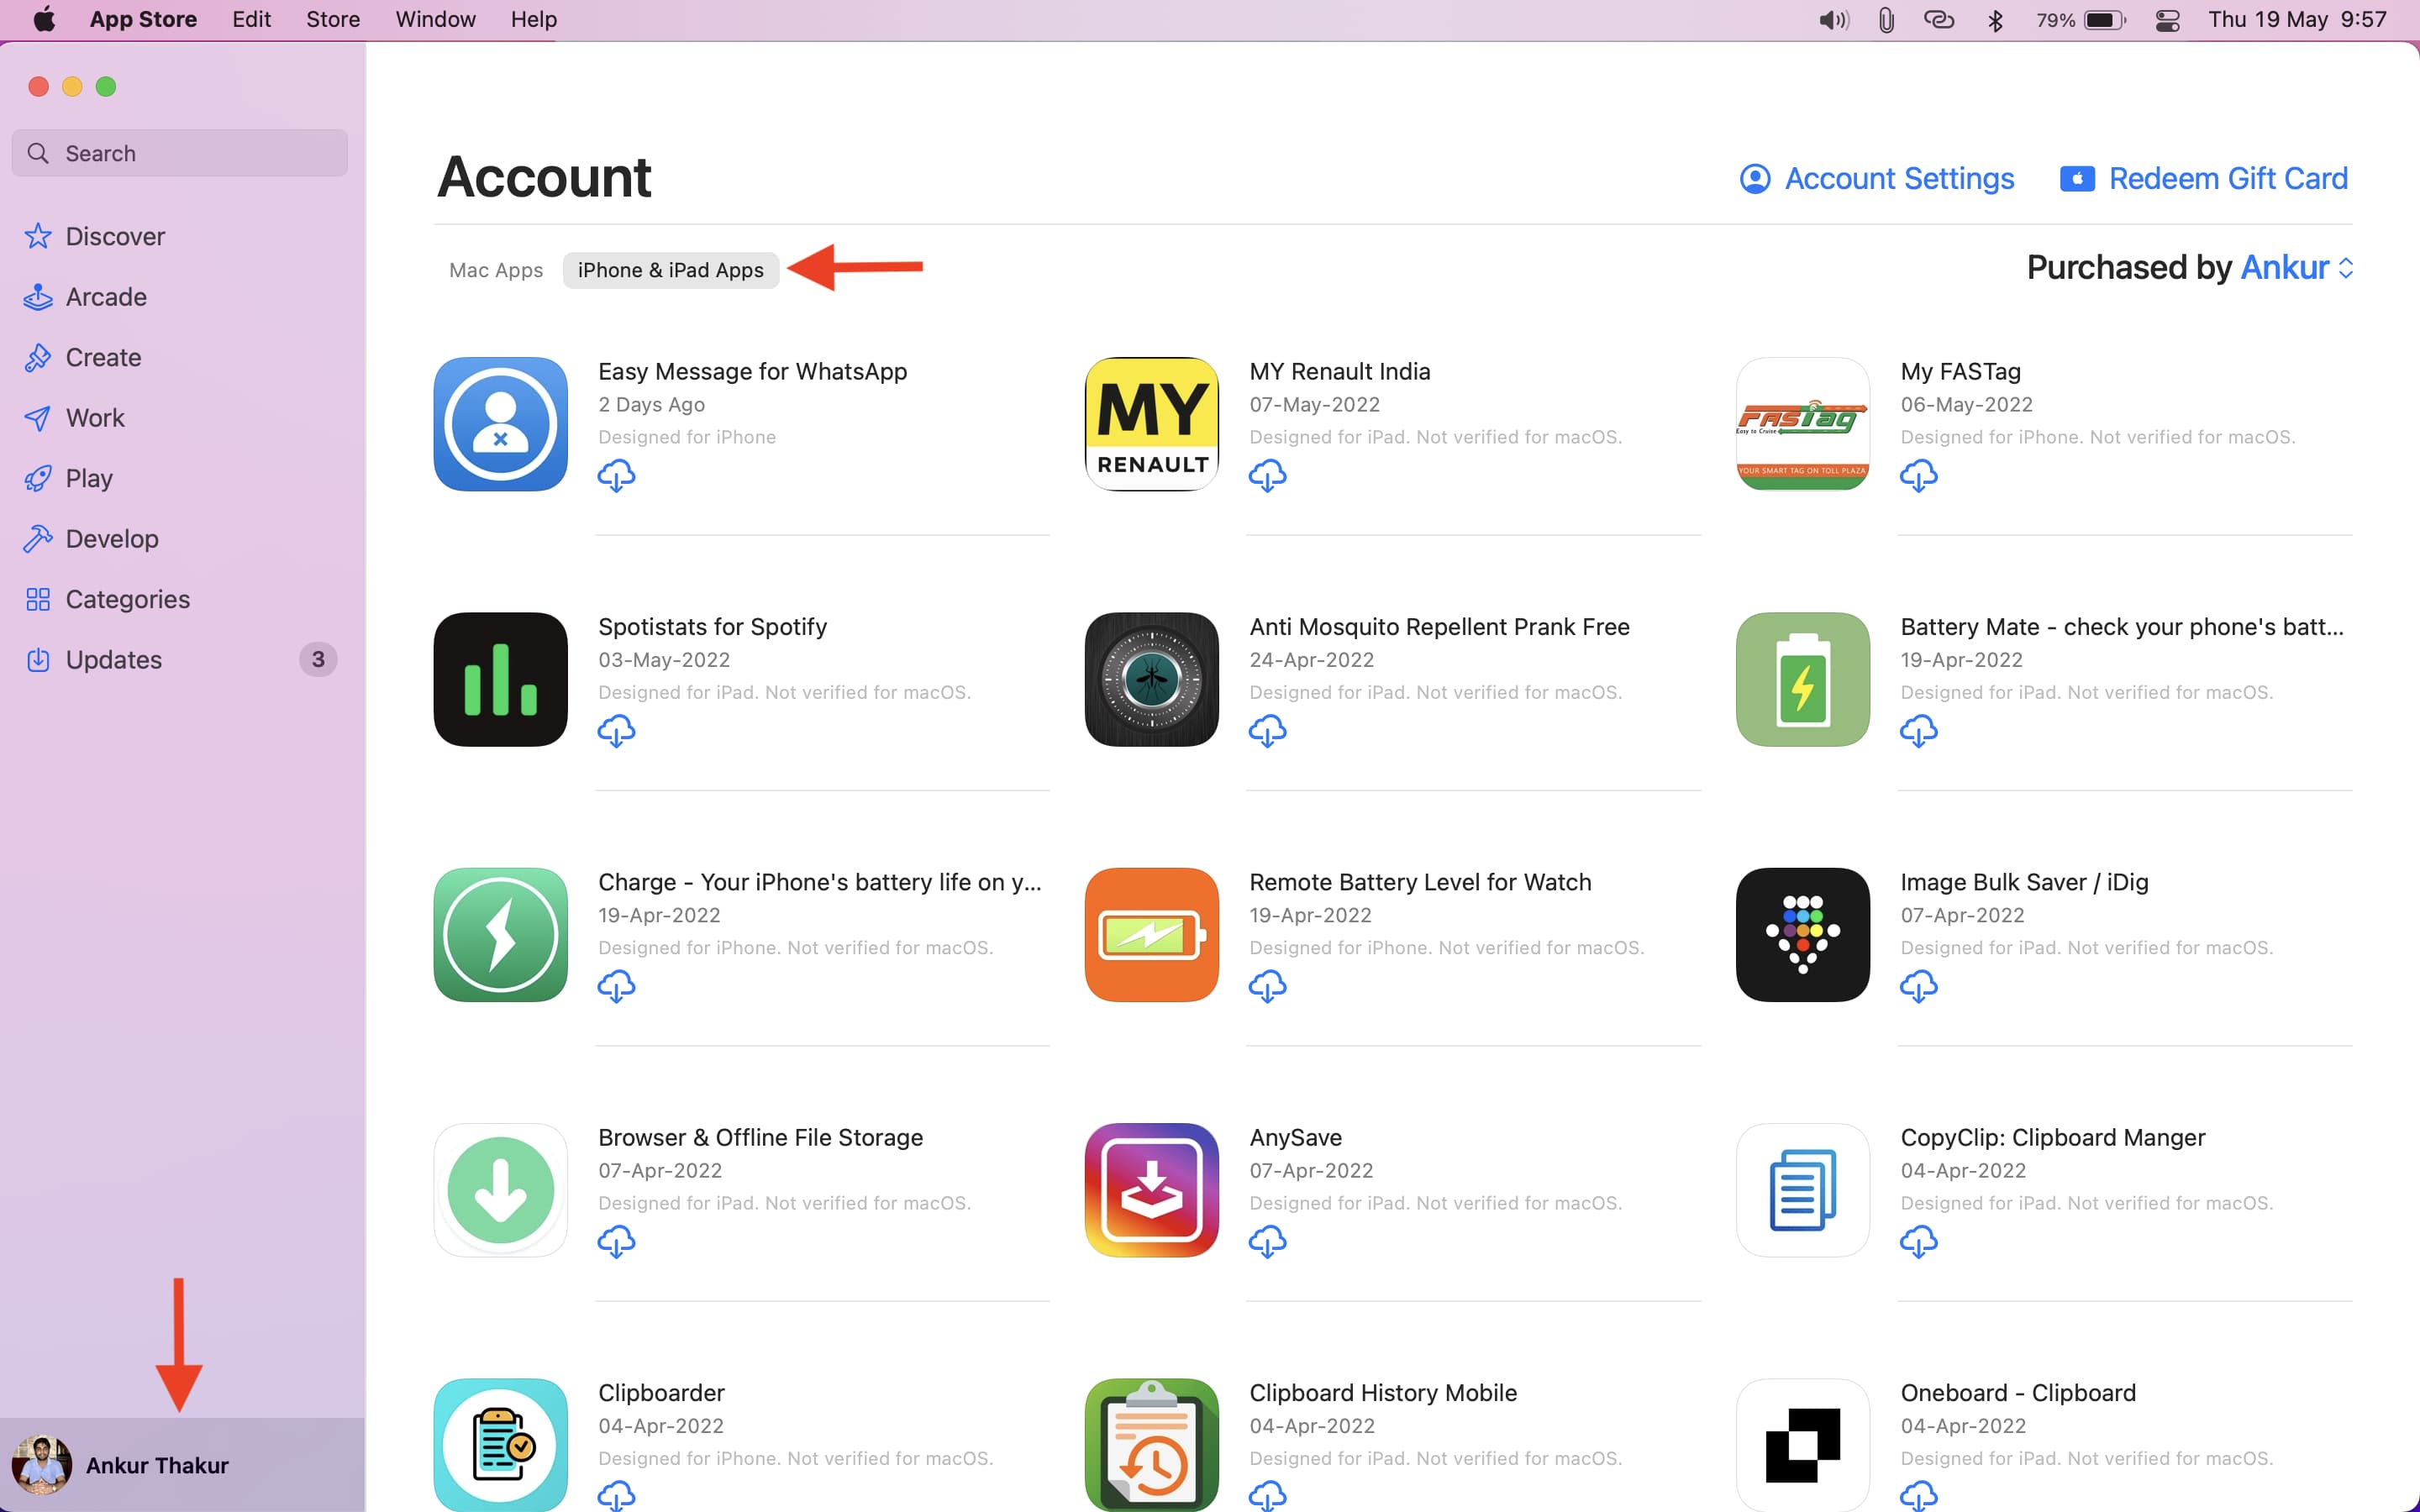
You can also redownload previously purchased iOS apps on your Mac via the App Store’s purchased section by following these steps:
- Click your name at the bottom of the sidebar in the Mac App Store.
- Go to the iPhone & iPad Apps section on the Account page.
- Click the download icon next to previously purchased app to use it on your Mac.
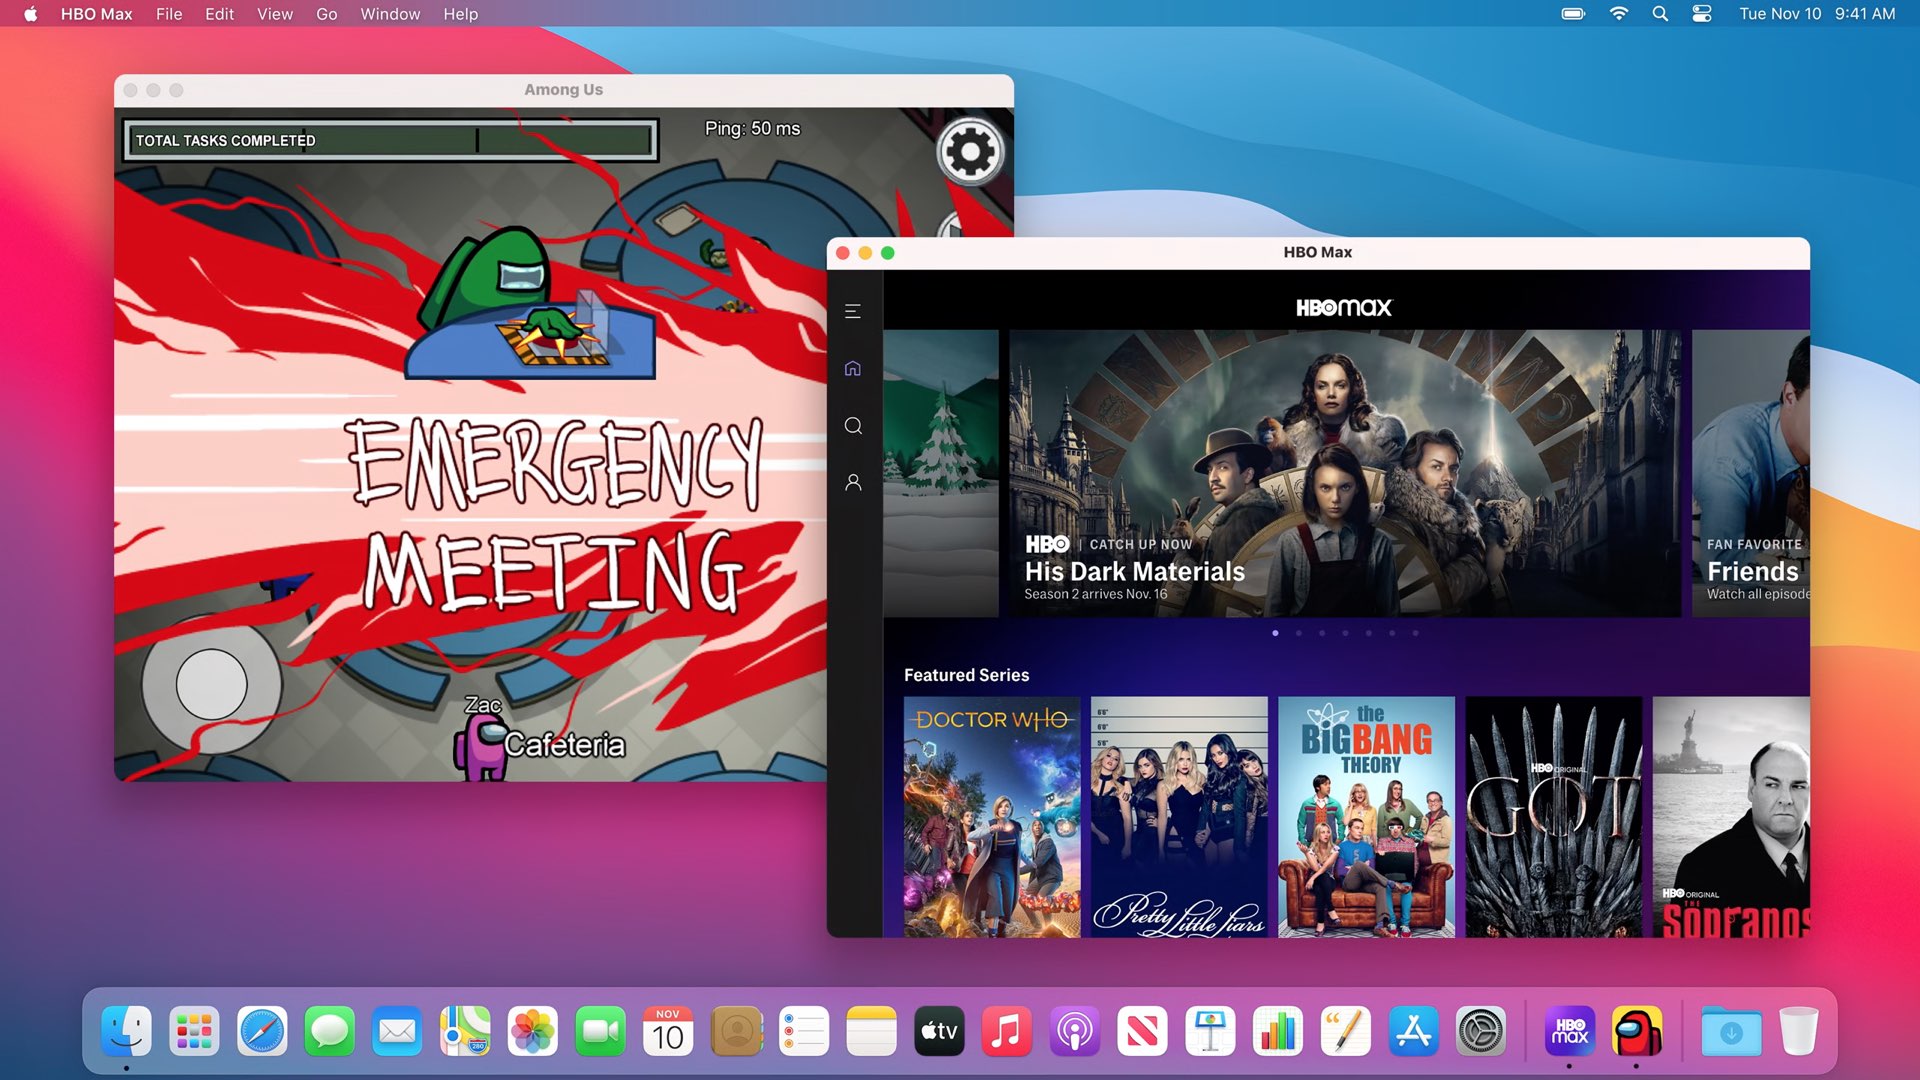
Note: Not all iOS apps feel at home on Apple silicon Macs. Apple provides this feature as a convenience to those who need to use apps unavailable on macOS, like Instagram or the Inshot video editor. And if Electron apps don’t feel like good citizens, try their iOS counterparts as they may actually run better on Apple Silicon Macs.
As long as a developer has flagged their iOS app to also appear in the Mac’s App Store, and you’ve previously purchased it on your iPhone and iPad, you can re-download it on your Apple silicon Mac at no additional charge. But what about iOS apps that don’t show up on the macOS App Store? Enter iMazing!
2. Use iMazing and IPA files
macOS runs iOS apps from the same IPA file your iPhone and iPad use. IPA stands for iOS AppStore Package and an .ipa file is an archive comprising app binary and other assets. To see what’s inside an .ipa file, save it to your Mac and change its extension to .zip, the unzip it. In the iTunes era, IPAs used to be saved along with your messages, photos, settings and other data in an unencrypted backup file. That’s no longer the case. Thankfully, the iMazing app by DigiDNA lets you download installers for apps on your iOS device directly from App Store.
A statement from iMazing
DigiDNA CEO Gregorio Zanon told The Verge they didn’t do this to hack Apple’s system. Instead, it’s a legitimate feature of iMazing, which packs dozens of other features that power iOS backup and management workflows.
App management has been available in iMazing since November 2017. We did not do any particular adjustments to ensure that iOS apps exported from iMazing’s library would run on Apple silicon Macs. It turns out that when developers choose whether or not to include their mobile app on the Mac App Store, no change is made to the app itself–the setting is purely a distribution toggle.
Hundreds of thousands of iMazing users depend on our app management to save bandwidth. Downloading an IPA just once and installing it multiple times saves time and energy, and is ecologically sound. We understand that developers wish to control which platforms their apps run on. We’re also hopeful that Apple can find a way to limit which operating system can run a specific IPA without altogether removing our ability to download apps.
Run any iOS app on a Mac
Here’s how to download .ipa installers for any iOS app on App Store, including those not found on the Mac App Store, with the iMazing app.
- Download and install iMazing on your Mac, then launch the app.
- Connect your iPhone or iPad to your Mac with a USB cable.
- Click Devices in iMazing’s lefthand column and select your connected iOS device.
- Click More, followed by Apps.
- Click Manage Apps at the bottom of the screen.
- Select the Library tab at the top.
- Click the cloud icon next to the iOS app you want to use on this Mac. You’ll need to provide your Apple Account credentials.
- Right-click the downloaded app in the list, choose Export IPA and save the .ipa to a folder on your computer.

Double-click the downloaded .ipa file to install the app in the Applications folder alongside macOS apps. You must be signed in with the same Apple Account on your Mac and iPhone/iPad for this to work.
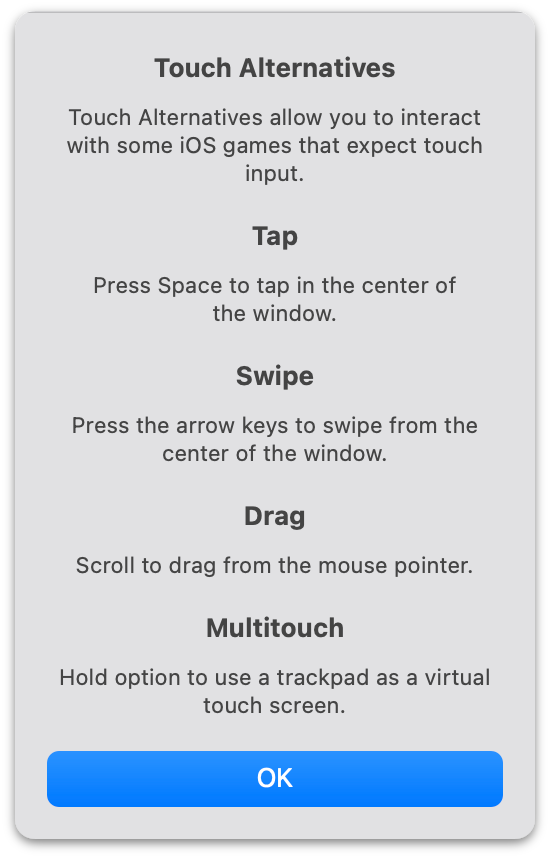
And that’s all there’s to it, folks! However, don’t expect miracles; running touchscreen-first apps on a computer that hasn’t been optimized for touch input may result in various hiccups and quirks. iOS apps need to use Apple’s “Touch Alternatives” system to work with macOS keyboards and mice.
Hat tip goes to Redditor “probablyamy,” who is the first to discover this method.
Check out next: How to distinguish between Apple silicon and Intel apps on your Mac