Learn how to lock files and folders on Mac, including your Desktop folder, to prevent accidental changes or deletions.

We often take precautions to secure our digital items from others. We password-protect things like PDF files and add passwords to Mac folders to prevent changes by others. But who protects us from ourselves?
If you’ve ever changed a file or moved a folder by mistake, then you know what I mean. The worst is when you do something like that and don’t even realize it until you need the item.
On your Mac, you can lock files, folders, and your Desktop (folder) to prevent unwanted changes. This doesn’t require a password. It’s just a simple “lock” to keep you, or someone else, from editing, moving, or even removing a file or folder.
Lock a file or folder on Mac
You can lock both closed and open files and folders on your Mac in a few different ways.
A closed file or folder
Right-click the file or folder and select Get Info. You can also select the file or folder and click File > Get Info from the top menu bar. Check the box for Locked in the Get Info window.
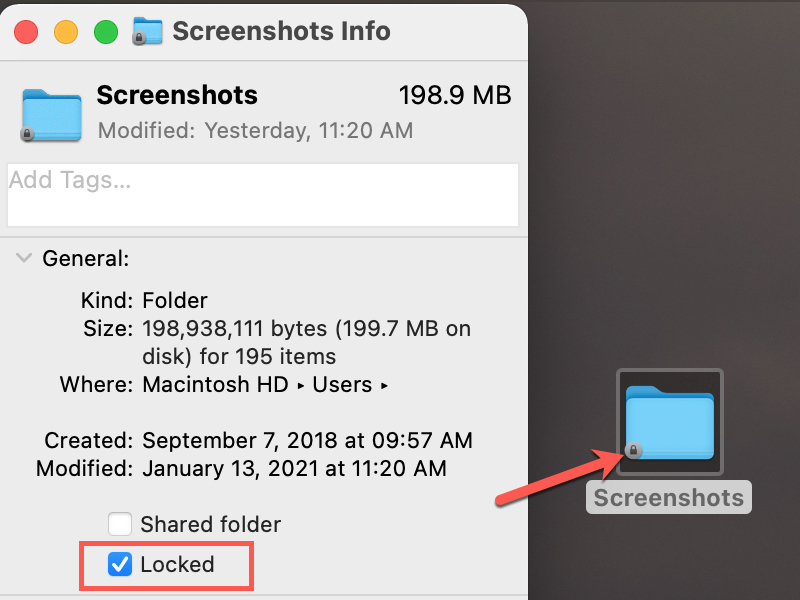
You’ll also notice a lock symbol in the corner when you lock a folder.
An open file
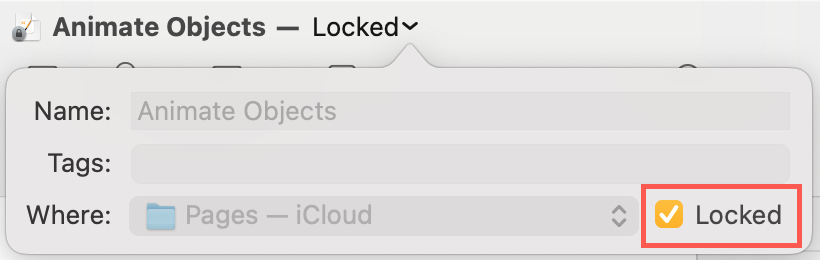
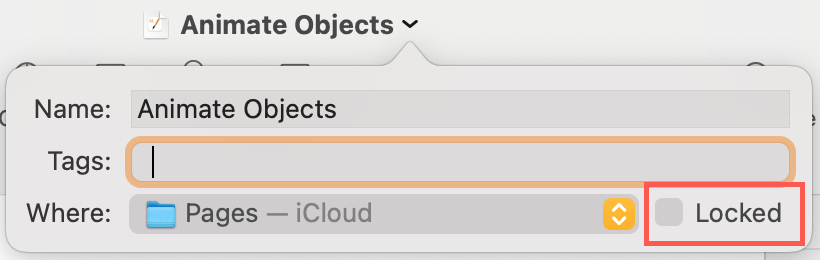
The following method works for open files in Apple apps like Pages, Preview, and Numbers. But you can check for the option with documents in other applications as well.
Click the arrow next to the file name at the top of the window. Check the box for Locked.
An open folder
With the folder open and active, click File > Get Info from the menu bar and check the box for Locked in the window.
With the folder open and not active, right-click it from its parent folder, select Get Info, and check the box for Locked.
Lock your Desktop (folder) on Mac
Many may not realize it, but your Desktop is a folder like any other. So you can use the same Lock action described above.
Right-click a blank spot on your Desktop, select Get Info, and check the box for Locked in the window.

Once you lock your Desktop folder:
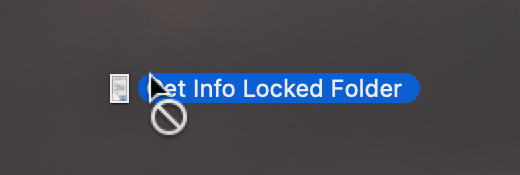
- You cannot add items to it. So, if you try to create a New Folder, you’ll see a message asking for your password to create the folder. Or if you try to drag an item from a folder onto your Desktop, you’ll see a circle with a line disallowing the action.
- You cannot remove items from it. If you try to remove an item, like dragging it into a folder, this will create a copy of the item. The original will remain on your Desktop.
- You cannot rearrange items by dragging. If you select an icon and try to move it to another spot on your Desktop, you’ll see a circle with a line through it, disallowing the action.
- You cannot rename items unless you enter your password in the pop-up message that appears.
Note: You can still use the Sort By and Stacks actions by right-clicking a blank space on a locked Desktop.
Working with locked files and folders
In addition to the above items for locking your Desktop folder, here are some additional things to keep in mind.

- If you send an item to the Trash, you’ll receive a message letting you know the file is locked and asking if you’d like to continue moving it to the Trash.
- If you move a locked file or folder, this will “move” a copy of the file or folder. The original will remain in its location.
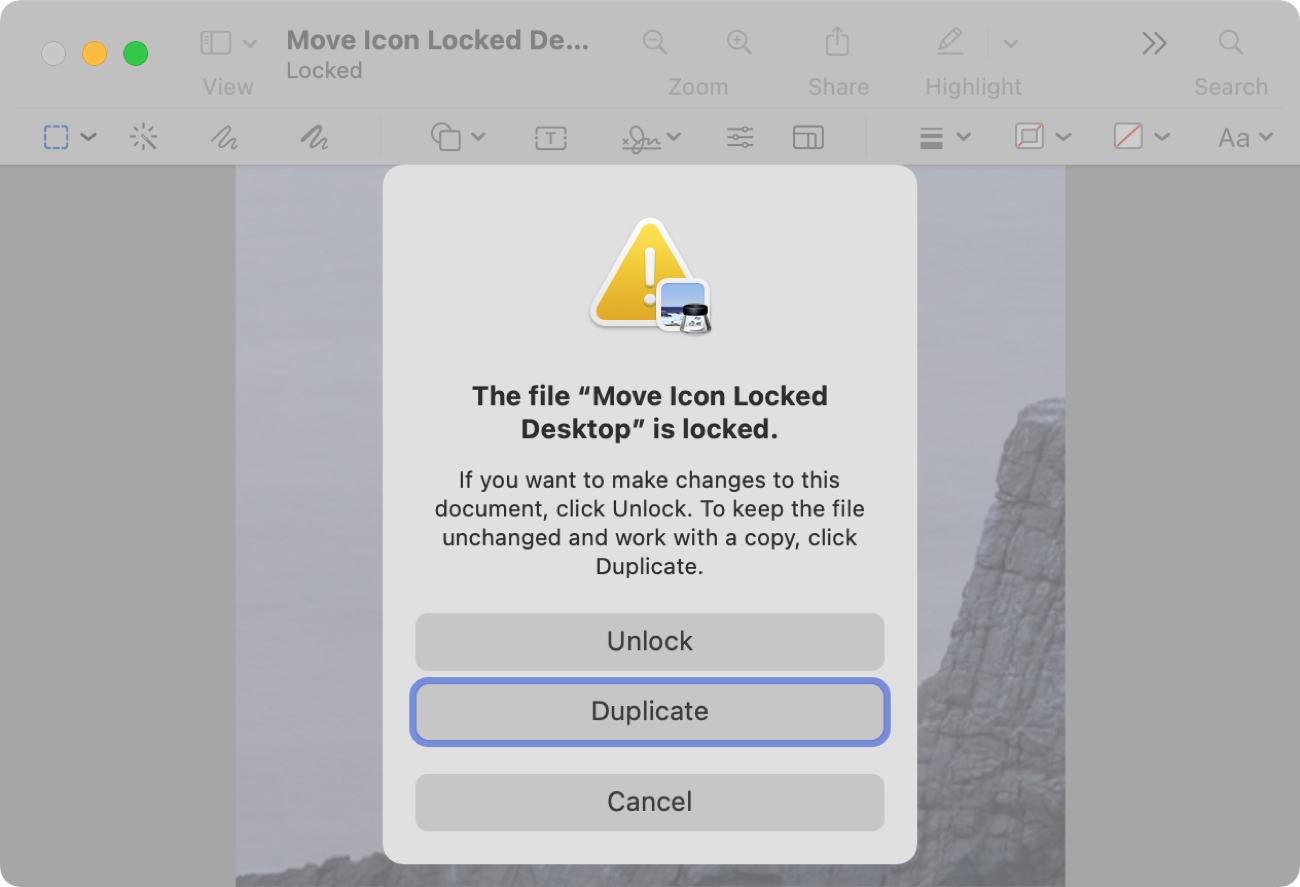
- If you try to edit an item, you’ll see a message letting you know it’s locked and asking if you’d like to unlock or duplicate the file.
Unlock locked files and folders
The steps to unlock a file or folder are similar to how you locked it. Open Get Info and uncheck the box for Locked.
For files you locked with the file name, like a Pages document, click the arrow next to the name and uncheck the box for Locked.
Using these methods to lock files, folders, or the Desktop on your Mac won’t keep them secure from prying eyes like password-protecting them. But it can keep you from accidentally making changes or deleting items.
Do you have tips like this for preventing mistakes on your Mac?
On a related note: