Learn how to use the built-in Terminal app on your Mac to hide files and folders from prying eyes. And of course, you can also unhide them when the need arises.

If you have some top-secret files on your Mac that you want to hide, there’s no switch or setting you can enable. However, there is a Terminal command you can use that lets you hide files or folders.
Once you hide them, they won’t display in Finder, but you can still get to them using their direct path. This keeps those items you want tucked away from plain view, nice and safe.
But before you get to the steps, here are a couple of related posts you may want to check out as well:
- How to password-protect one or more photos on Mac
- How to encrypt and password-protect folders on Mac
Hide files and folders on Mac using Terminal
1) Pop open Terminal using whichever method is easiest for you.
2) Navigate to the location of the file or folder you want to hide.
3) With both Terminal and file/folder on your screen, enter the following command into Terminal, but do NOT hit the enter / return key yet.
chflags hidden
Be sure to include a space after “hidden.”

4) Now, drag the file or folder from its location to the end of the command in the Terminal window, and press the enter / return key.
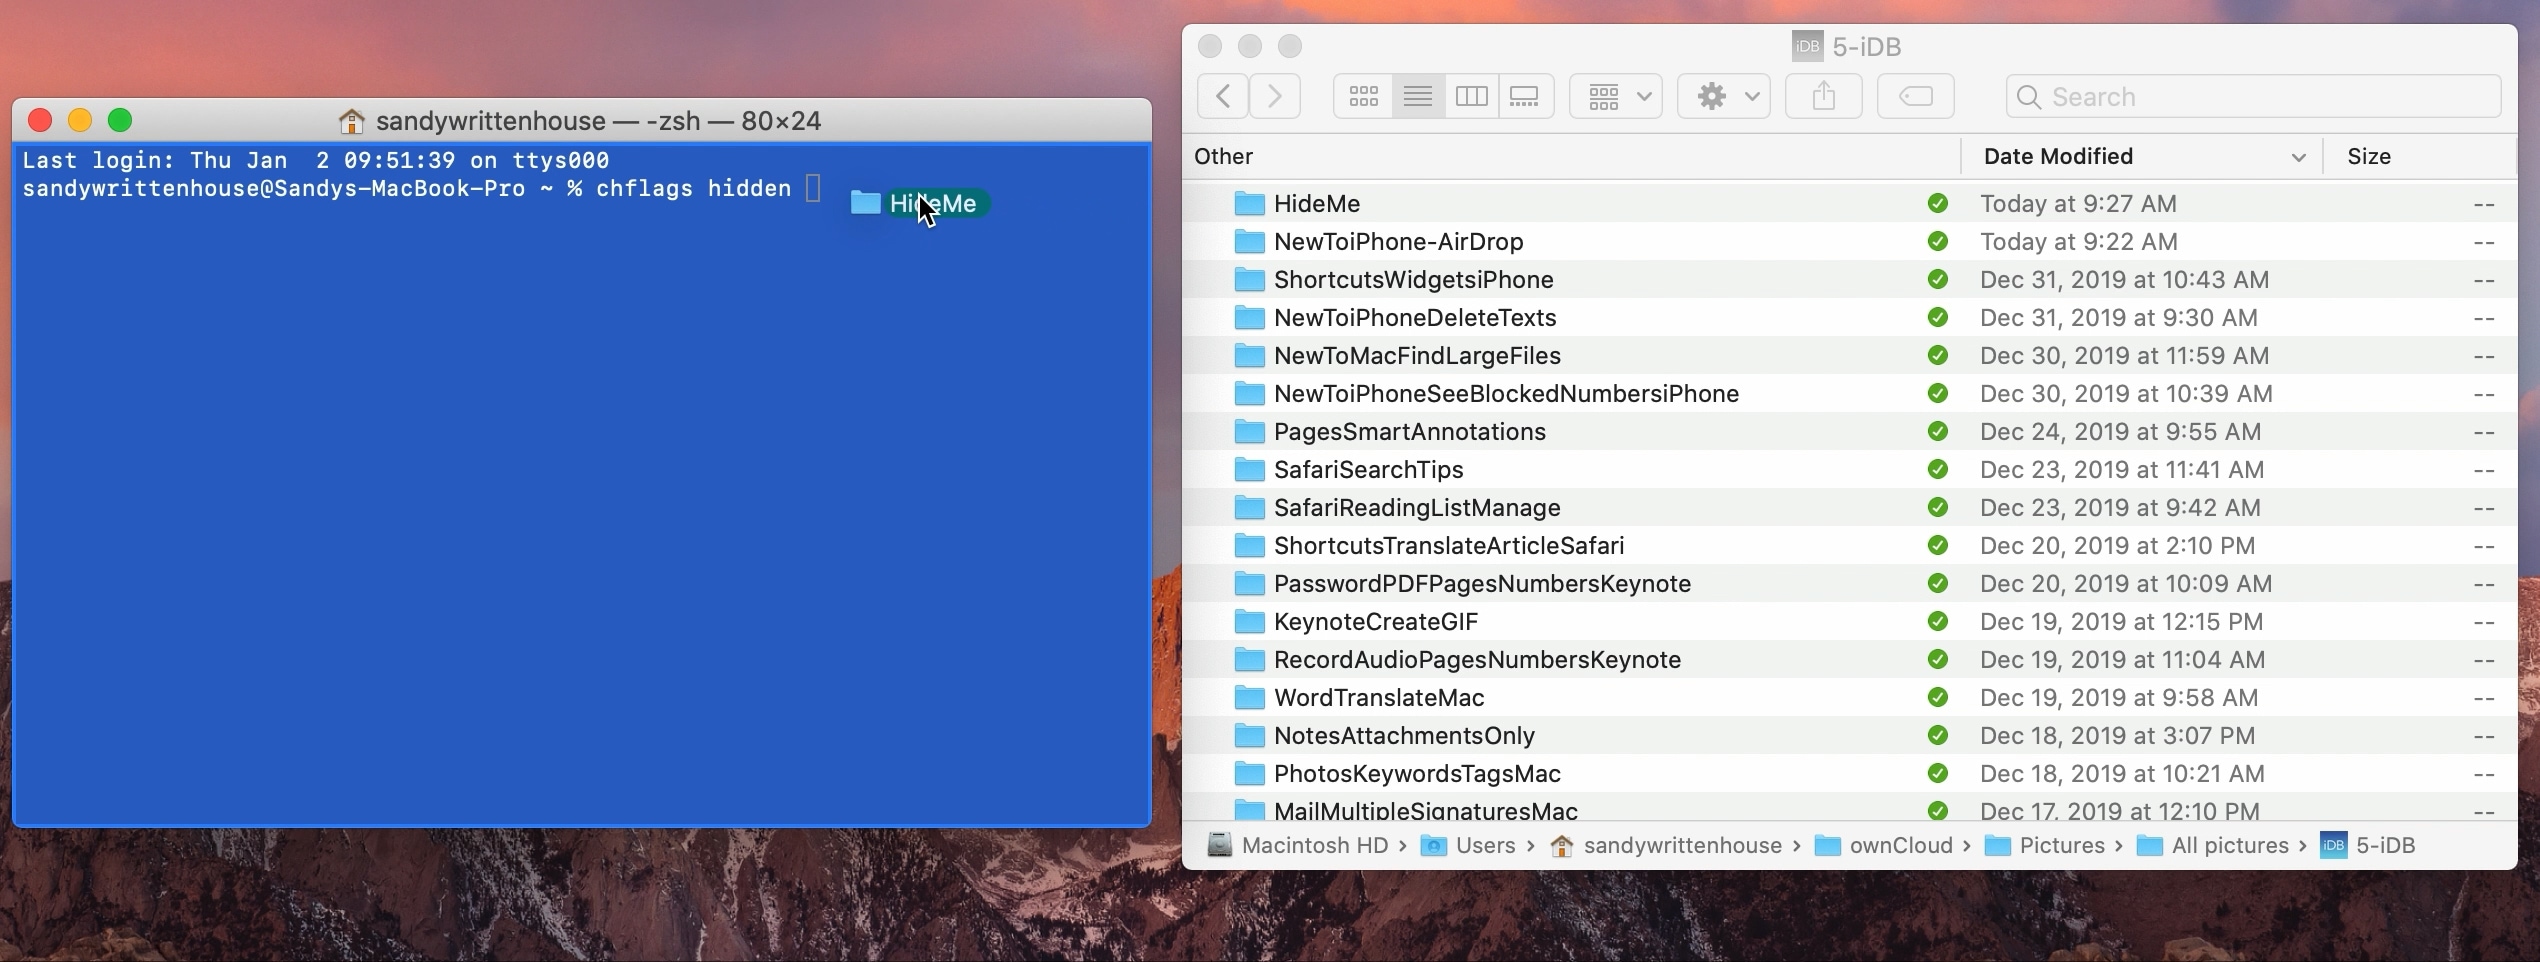
You may need to relaunch Finder to see the file or folder disappear from view.
Unhide files or folders using Terminal on Mac
If you want to reverse hiding that file or folder later on, this is also as simple as a Terminal command.
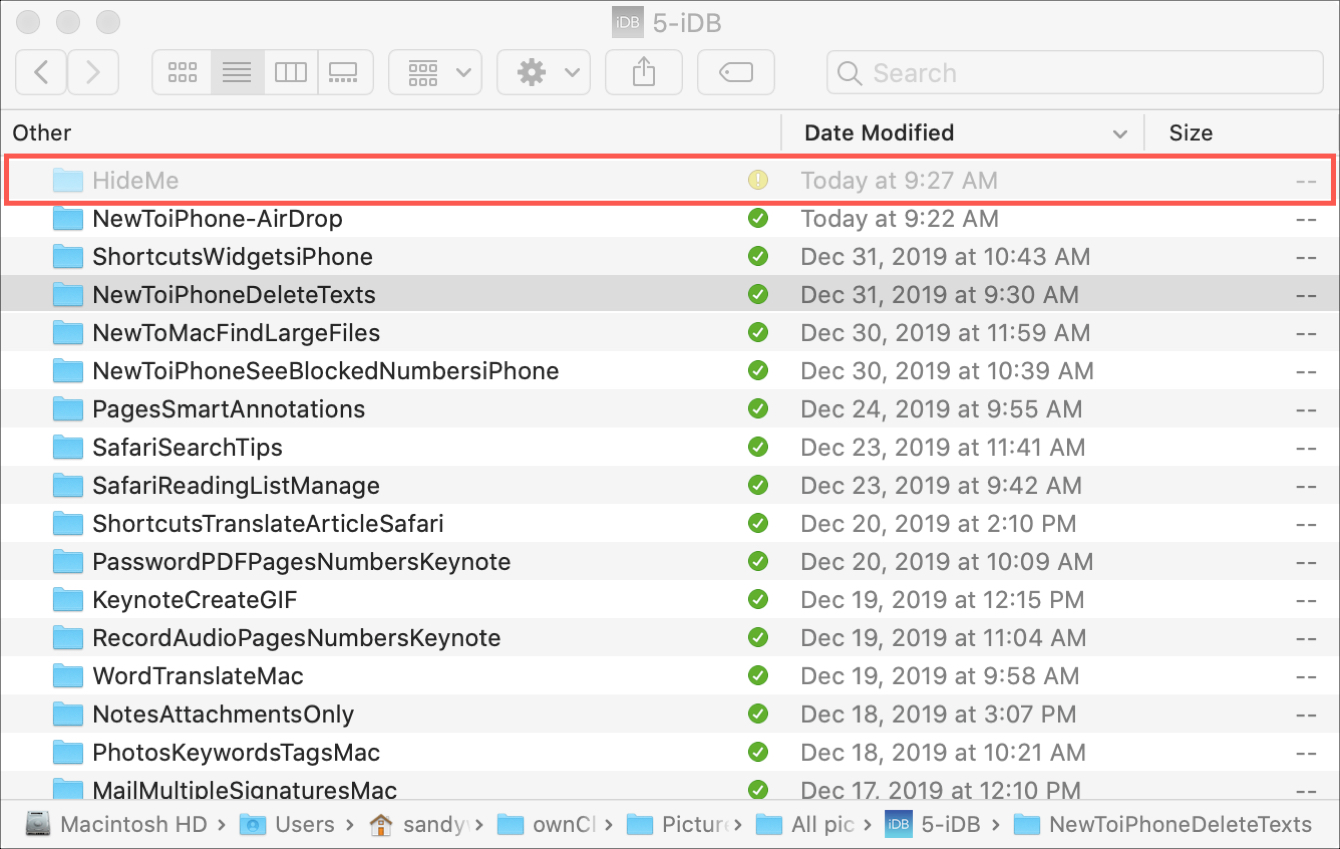
1) Open Finder and press Command + Shift + .(period) keys to show the hidden files.
2) Open Terminal and enter the following command with a space at the end, but do NOT hit the enter / return key yet.
chflags nohidden
3) Drag the hidden file or folder to the end of the command in the Terminal window and then hit the enter / return key. Your secret file or folder will now be visible in Finder once again. If it does not, go to the Force Quit window and relaunch Finder.

There are times when you have files or folders on your computer that you want to make sure no one else sees by mistake. And with a simple Terminal command, you can make it happen quickly.
Is this something that you can see yourself using down the road? If so, let us know!
On a related note: How to hide (and unhide) photos and videos on iPhone, iPad, and Mac