Learn how to personalize your Pages documents by setting another default font on your Mac.
If you use Pages as your preferred app on Mac for working with documents, you likely have a favorite font that you adjust in every new document. Thankfully, there is an option to set the default.
After this, you no longer have to change the font style and size every time you create a new document. You can set the preferred one in the Pages setting and then be done with it.
Set the default font style and size in Pages
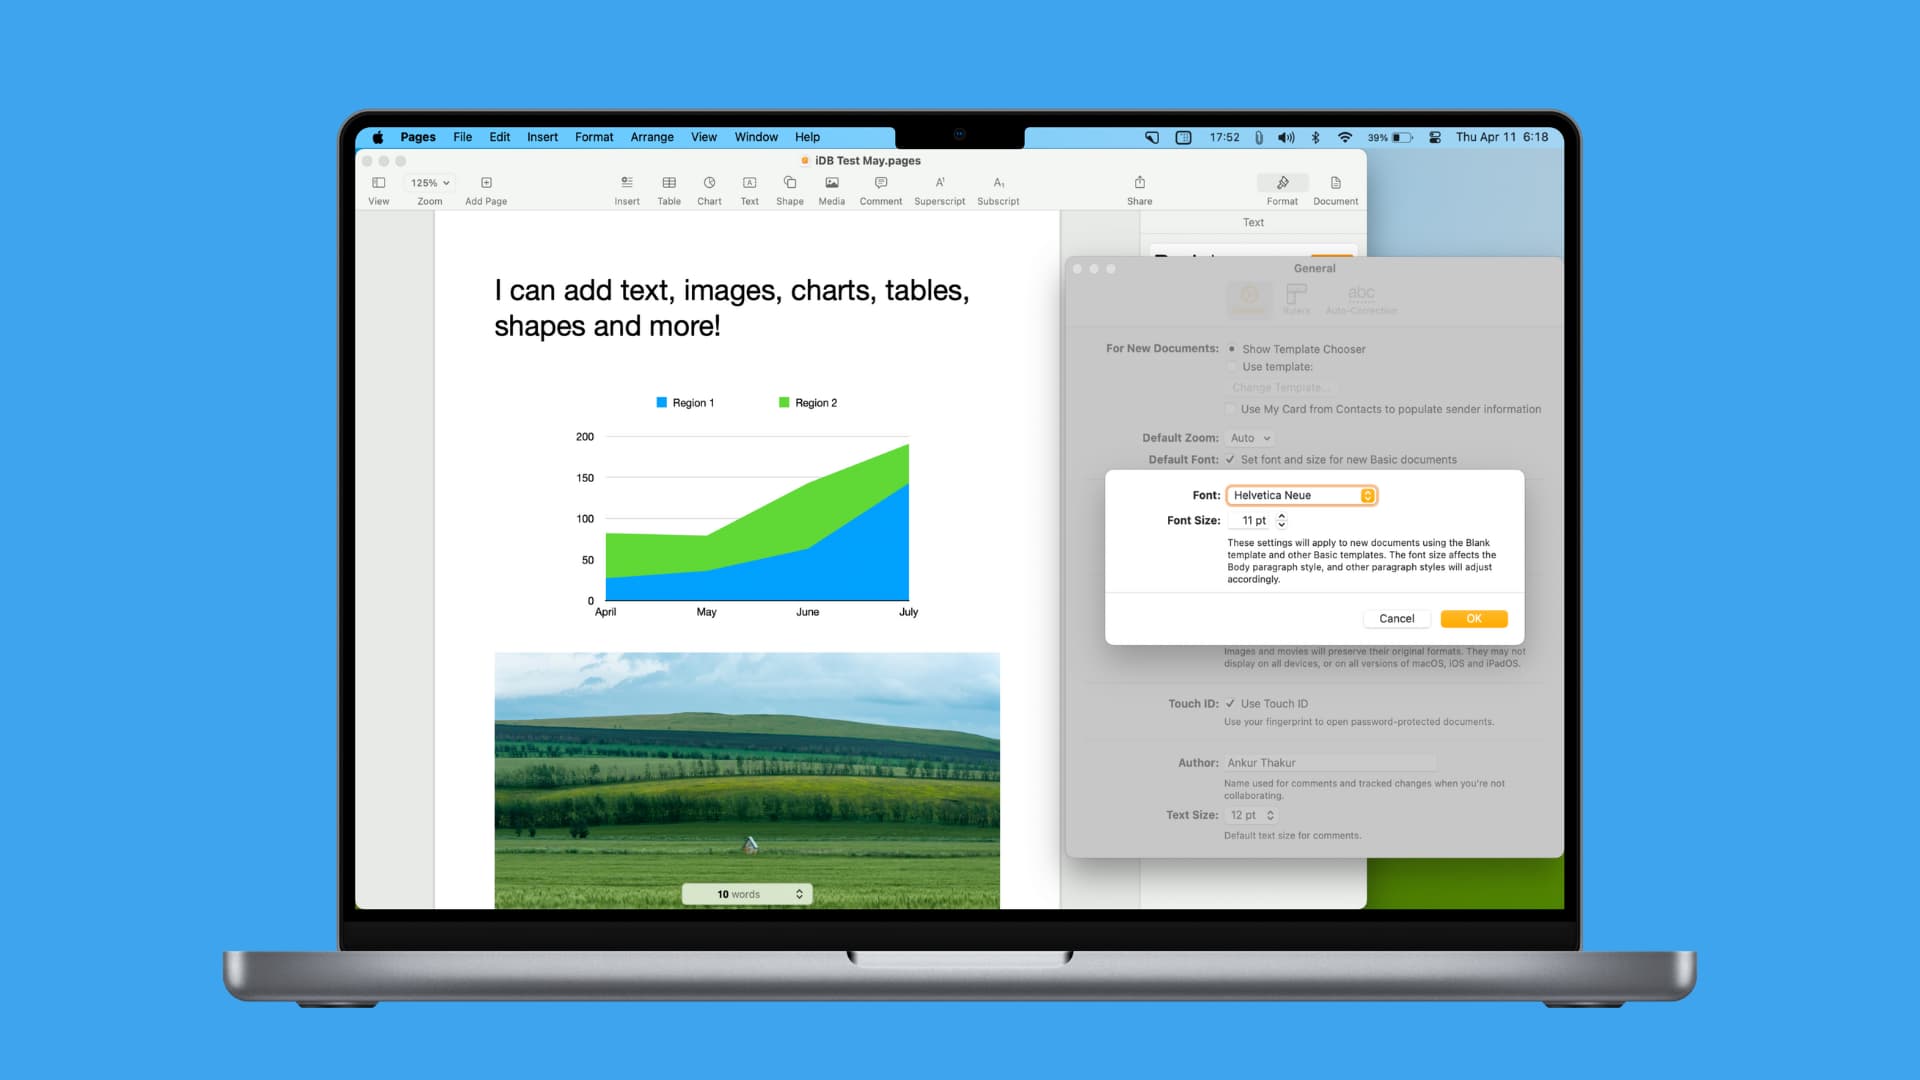
1) Open the Pages app and click Pages > Settings or Preferences from the top menu bar.
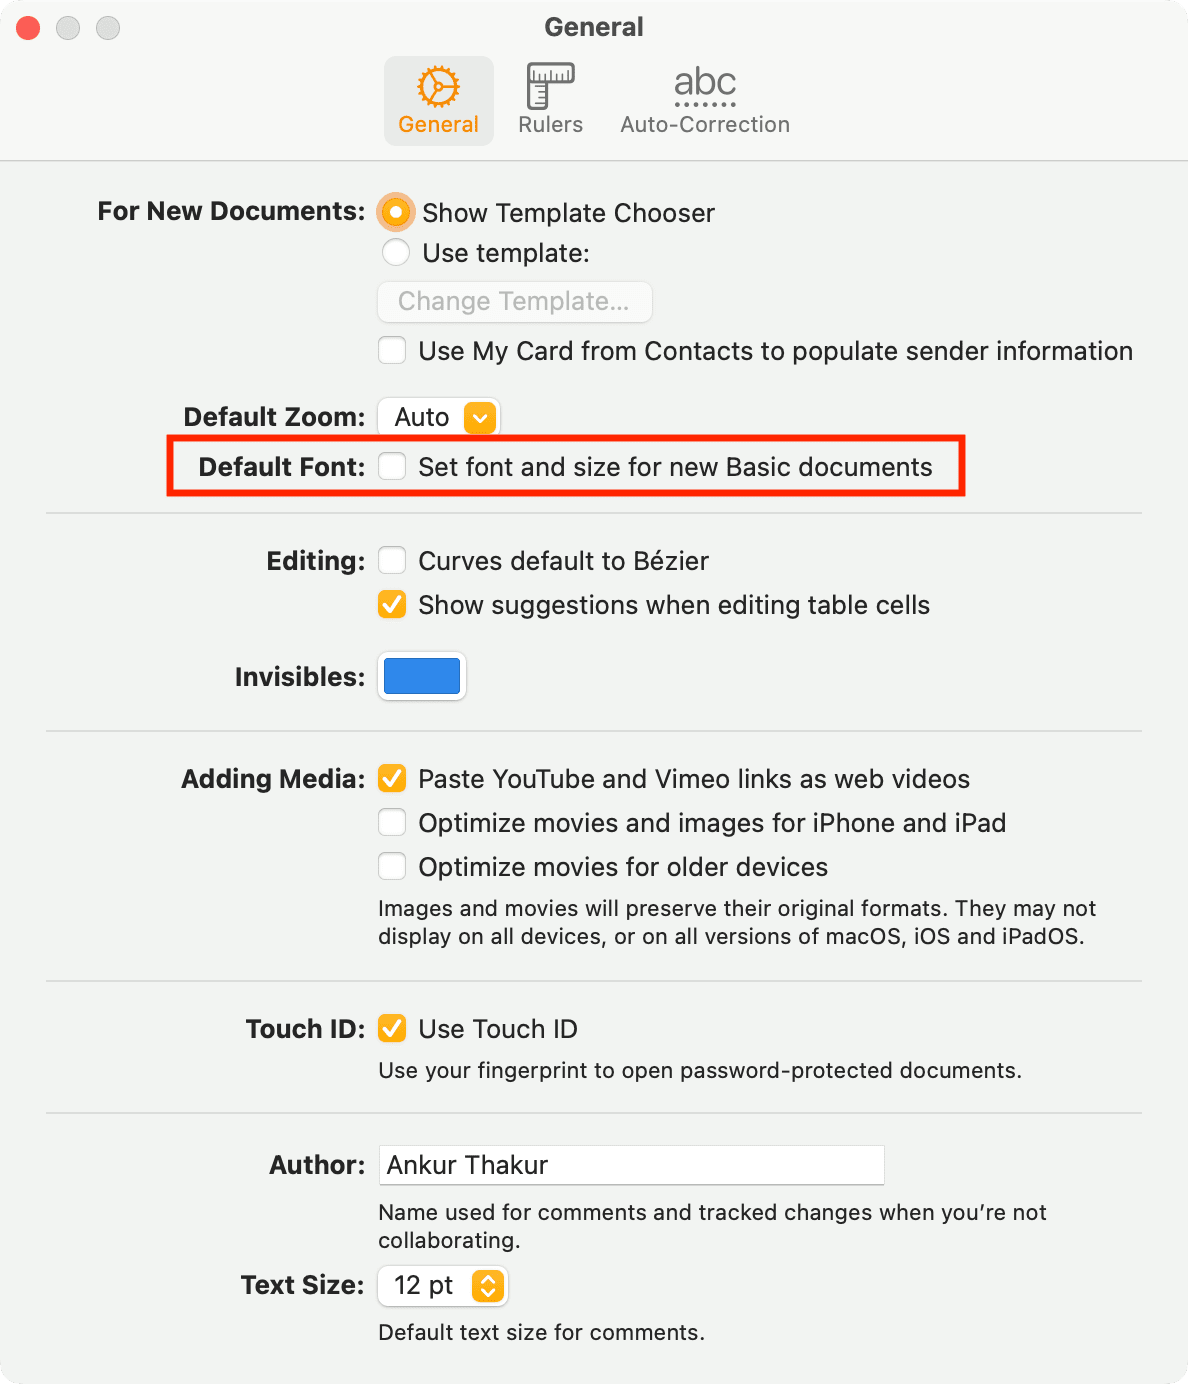
2) Make sure you’re in the General tab, and check the box for Set font and size for new Basic documents.
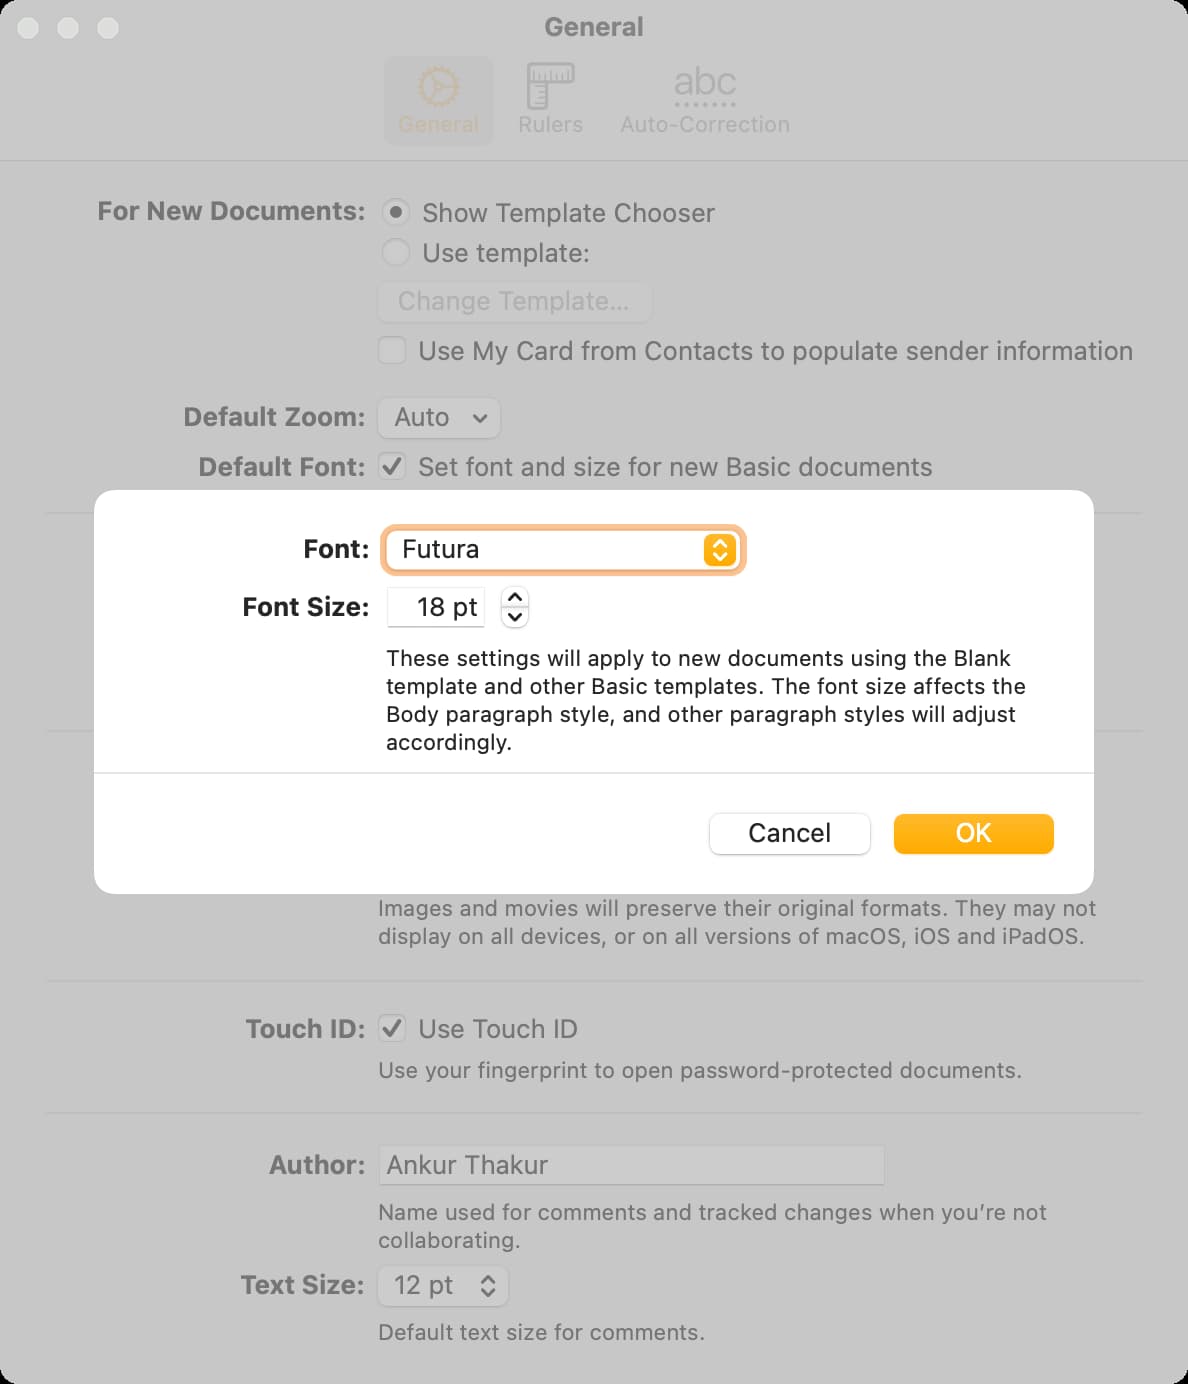
3) Choose the font you want to use in the drop-down box, then pick the font size directly below that, and click OK.
If you want to change either the style or size again later, just head back to the Pages Settings and click the Change button for the default font.
Remember, this font will apply to new Blank documents and Basic templates in Pages. The body and paragraph styles will change to match.
If you use Pages on your Mac regularly, changes like this can make a big difference. You don’t have to plan on adjusting the font with every new document you create, and can simply get right to work.
Do more in Pages: