Find out how to temporarily disable or permanently delete iCloud Photos on your iPhone, iPad, Mac, Apple TV, and Windows PC if you no longer want to back up your pictures and videos to Apple’s cloud storage.
Anyone can take advantage of iCloud Photos without upgrading to one of the paid iCloud+ tiers, with a major caveat — five GBs Apple “generously” provides will only get you so far.
Though not as pricey, iCloud upgrades are not very competitive, so some folks have made a switch to Google Photos. Other people may prefer a third-party photo-syncing solution. Or maybe you’ve signed up for one of those cloud services that let you store huge photo libraries at no charge whatsoever or for a much lower monthly fee vs. iCloud storage buckets.
Turning off sync vs. deleting
Both these terms have different meanings and achieve different purposes.
- Turn off sync: Use this if you don’t want to sync existing iCloud Photos on a device and don’t want to upload new photos & videos from that device to iCloud Photos. This only affects that device, and all your iCloud Photos remain stored in iCloud servers and your other Apple devices.
- Delete: This will remove all your iCloud Photos and free up the iCloud space it currently occupies. You have 30 days to recover the deleted media, but after that, they will be gone completely!
Turn off iCloud Photos
iCloud Photo library syncing is turned off on a per-device basis. When you disable it, you’ll get the option to download all your existing photos and videos to that device or delete them from that device; choose one of these options as needed.
On Mac
- Launch System Settings.
- Click iCloud or Apple Account.
- Select Photos.
- Turn off Sync this Mac. And then choose to download or delete photos from this Mac.

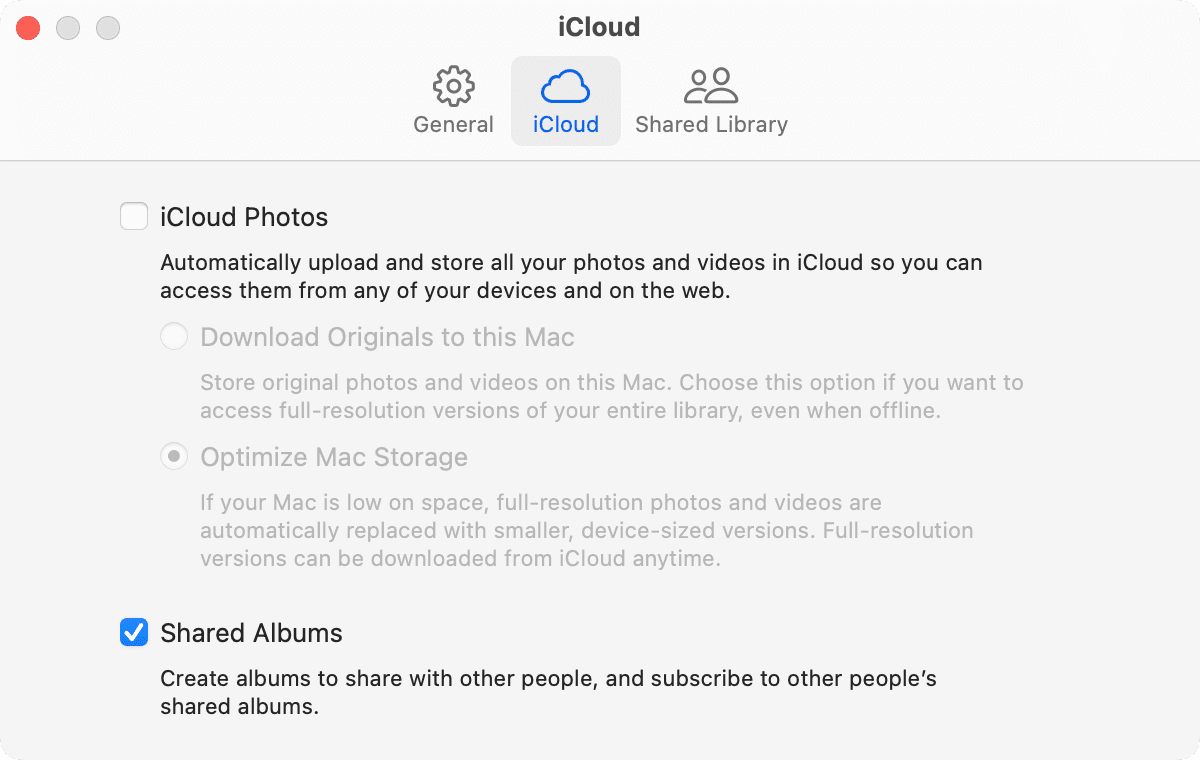
Or, open the Photos app, click Photos > Settings from the top menu bar > iCloud, and uncheck iCloud Photos.
On iPhone, iPad, and Vision Pro
- Open Settings.
- Tap iCloud > Photos.
- Turn off Sync this iPhone/iPad/Vision Pro.

You can also turn off iCloud Photos from Settings > Apps > Photos.
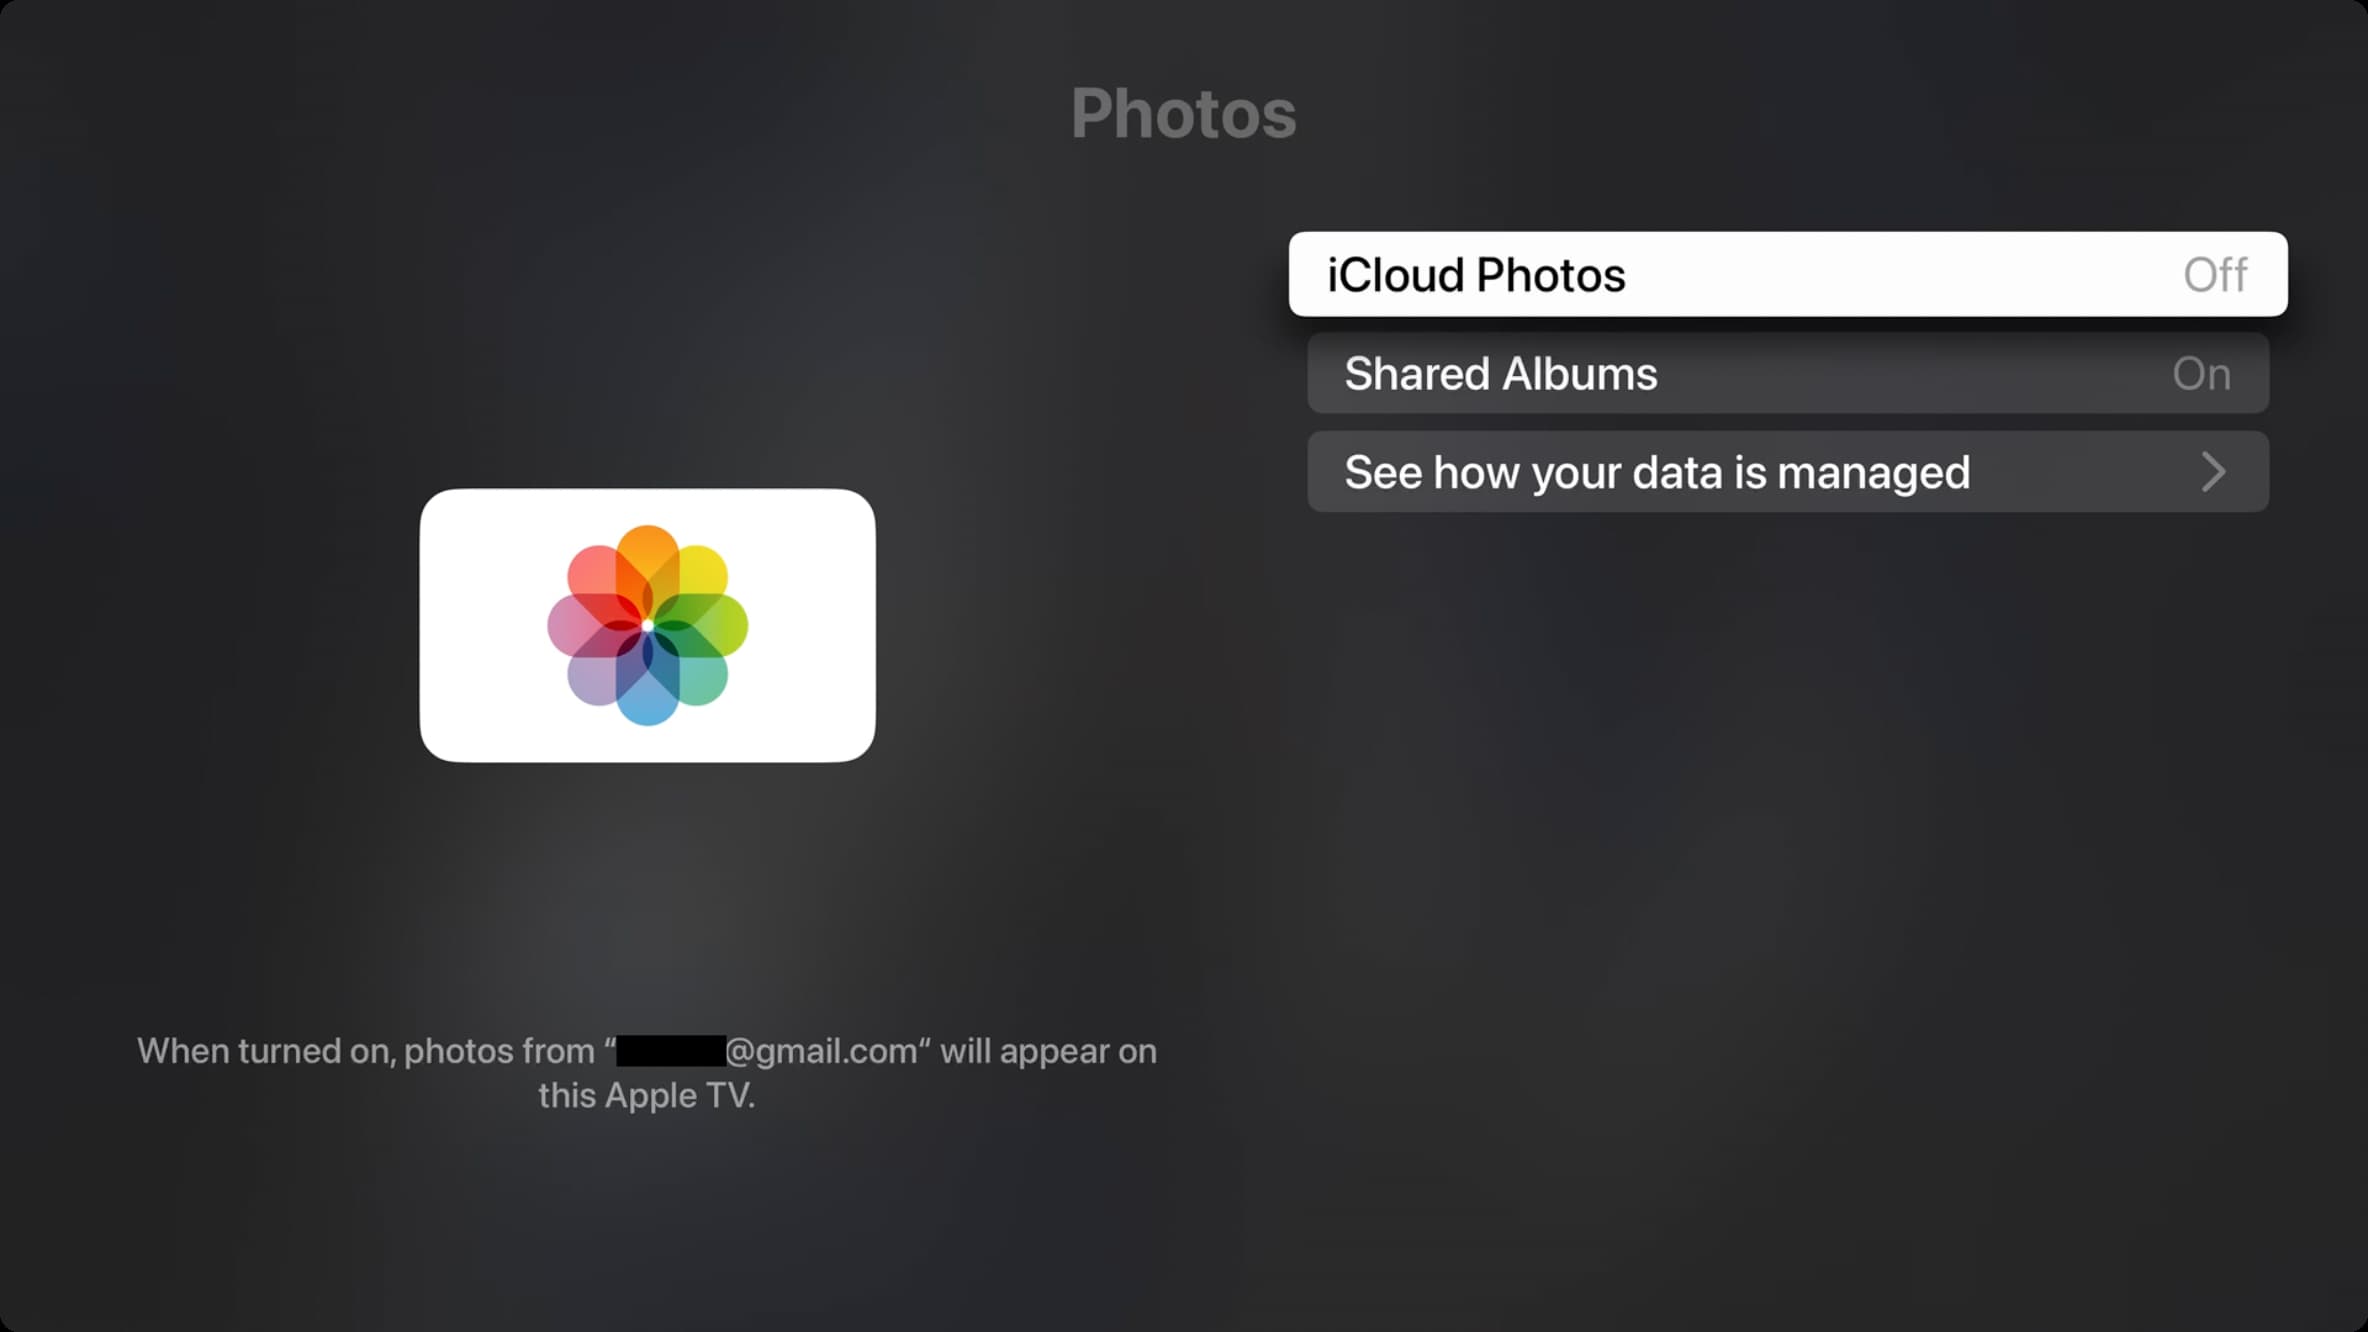
On Apple TV
- Go to tvOS Settings > Users and Accounts.
- Select the default user.
- Select Photos > iCloud Photos, and turn it off.
On Windows PC
- Open the iCloud for Windows app and select iCloud Photos.
- Turn off the first switch for “Upload and store your PC photo library in iCloud and access photos and videos from all your devices.”

As mentioned, these switches disable iCloud Photos on a per-device basis.
But even if you went ahead and turned off iCloud Photos on all your gear, synced media would continue to live in the cloud and take up your iCloud storage. You can continue to access them in a web browser. Important: Make sure to read the alert when you turn off iCloud Photos on the last device.
Delete all your iCloud Photos
By now, you know how to switch off iCloud Photos on your selected devices. But how do you entirely say goodbye to iCloud Photos and remove your content from Apple’s servers? Enter a secret switch that does just that. Small wonder Apple buried it deep within settings: it’s a master switch that instantly disables iCloud Photos on all devices and recovers iCloud storage taken up by synced media.
Important: Since this happens at the Apple account level, you only need to follow these steps on one of your devices, and the pictures & videos will be deleted from everywhere. So, before you do that, download your entire iCloud Photos library or transfer iCloud Photos to Google Photos.
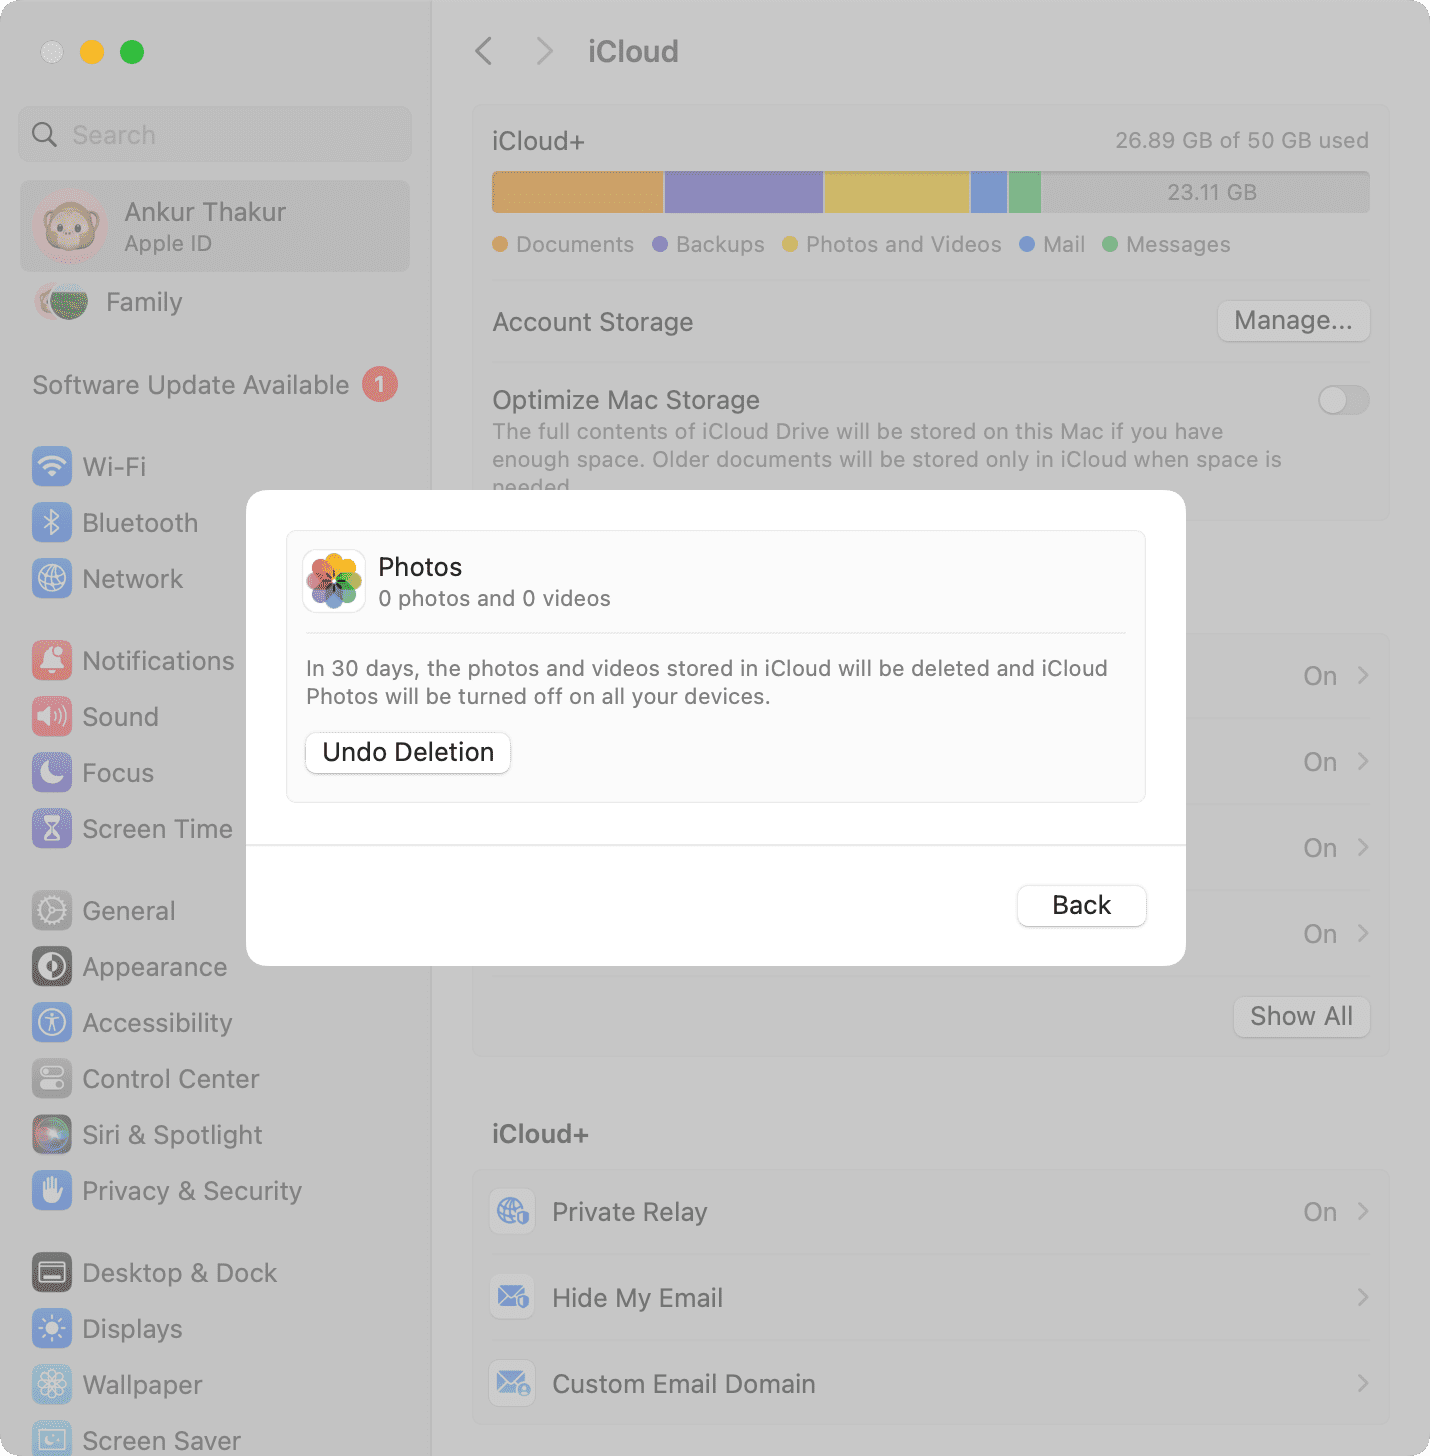
On Mac
- Open System Settings.
- Select your Apple Account name from the top left of the window.
- Select iCloud.
- Click the Manage button in the Storage section.
- Select iCloud Photos, click Turn Off and Delete from iCloud, and confirm.

On iPhone or iPad
- Open iOS Settings.
- Tap your Apple Account name at the top.
- Go to iCloud > Storage > iCloud Photos.
- Tap Turn Off and Delete Photos and confirm.

Disabling and deleting your iCloud Photos library will immediately turn the feature off on all your devices and recover the iCloud storage that was dedicated to keeping full-resolution versions of your original photos and videos.
Undo deleting all your iCloud Photos
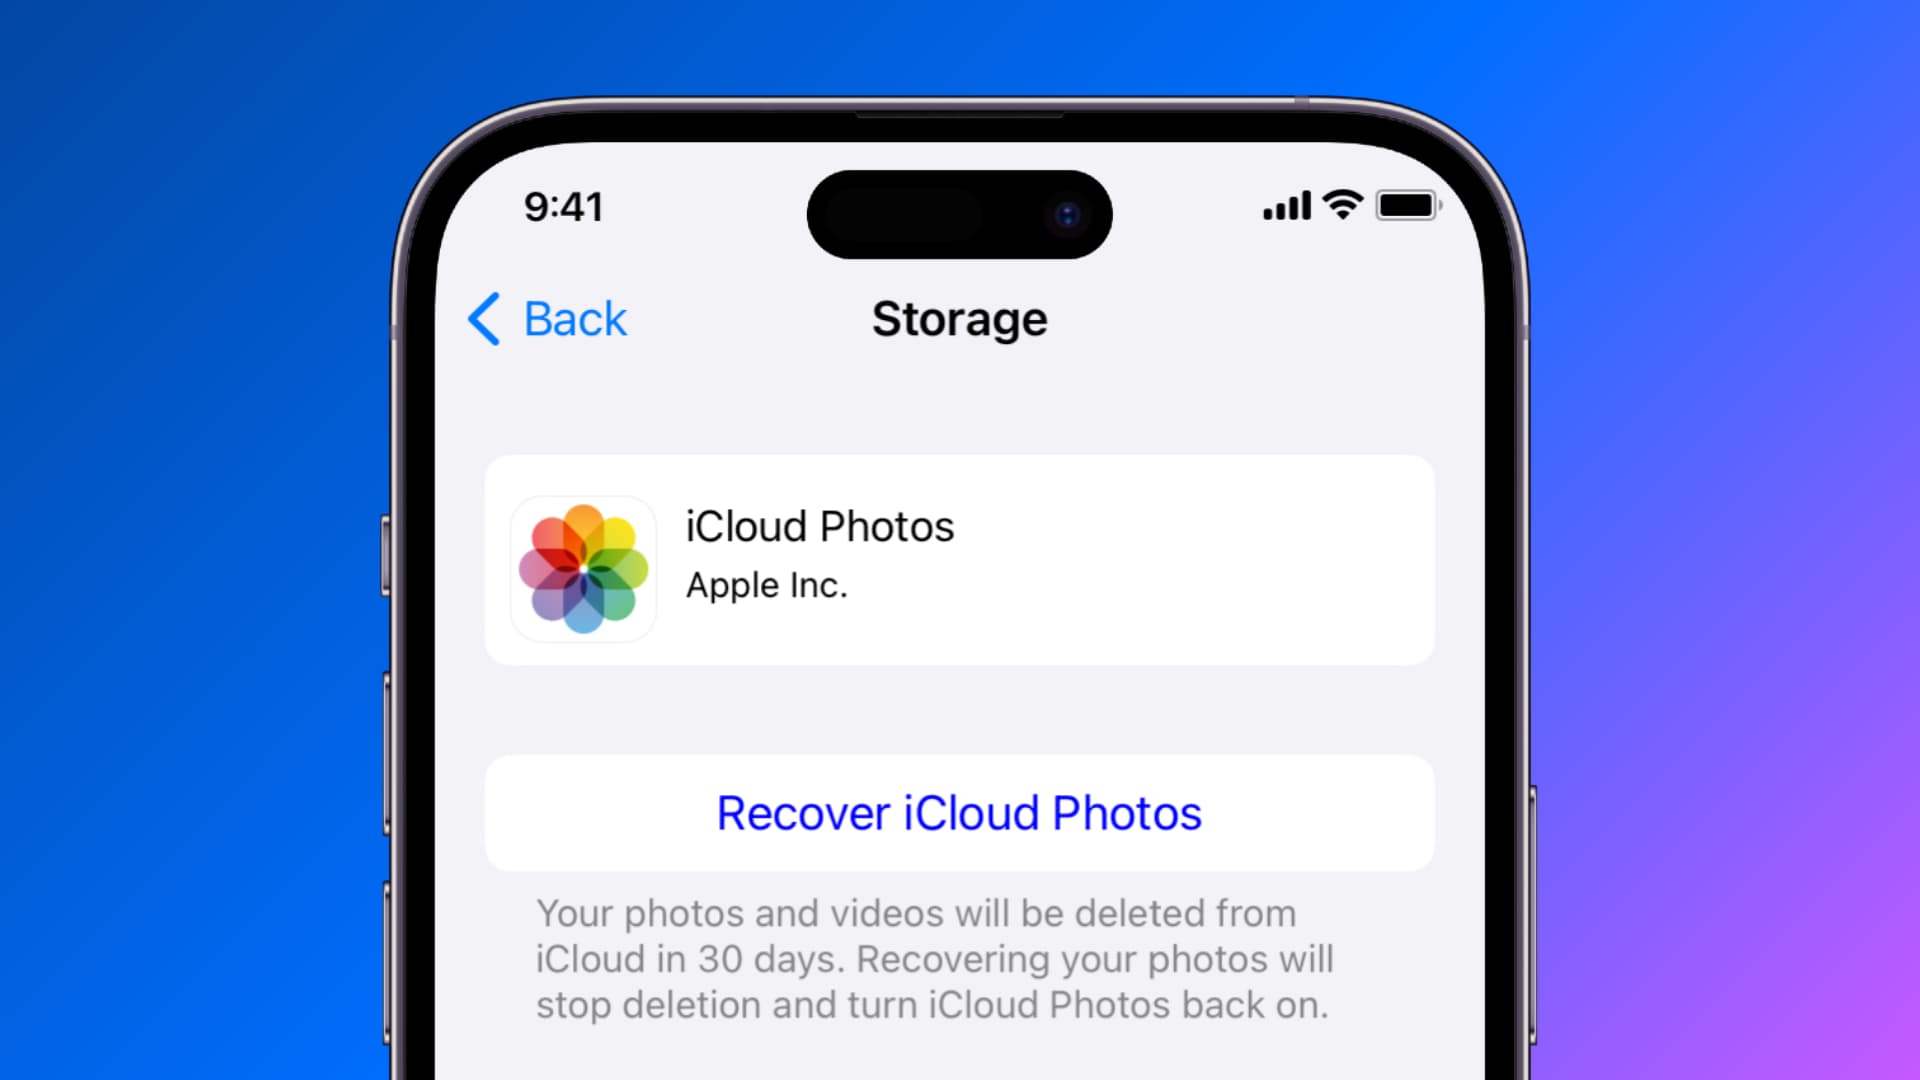
Thankfully, Apple lets you revert the action if you accidentally toggle this master switch. The Recover iCloud Photos (on iOS) and Undo Delete (on Mac) buttons appear right after you turn off your iCloud Photos. Click it, and everything returns to normal.
You have up to 30 days after turning off your iCloud Photos to change your mind and re-enable it. After 30 days have passed, any synced photos and videos will be permanently deleted from iCloud, and Apple won’t be able to bring them back for you.
Also, check out: